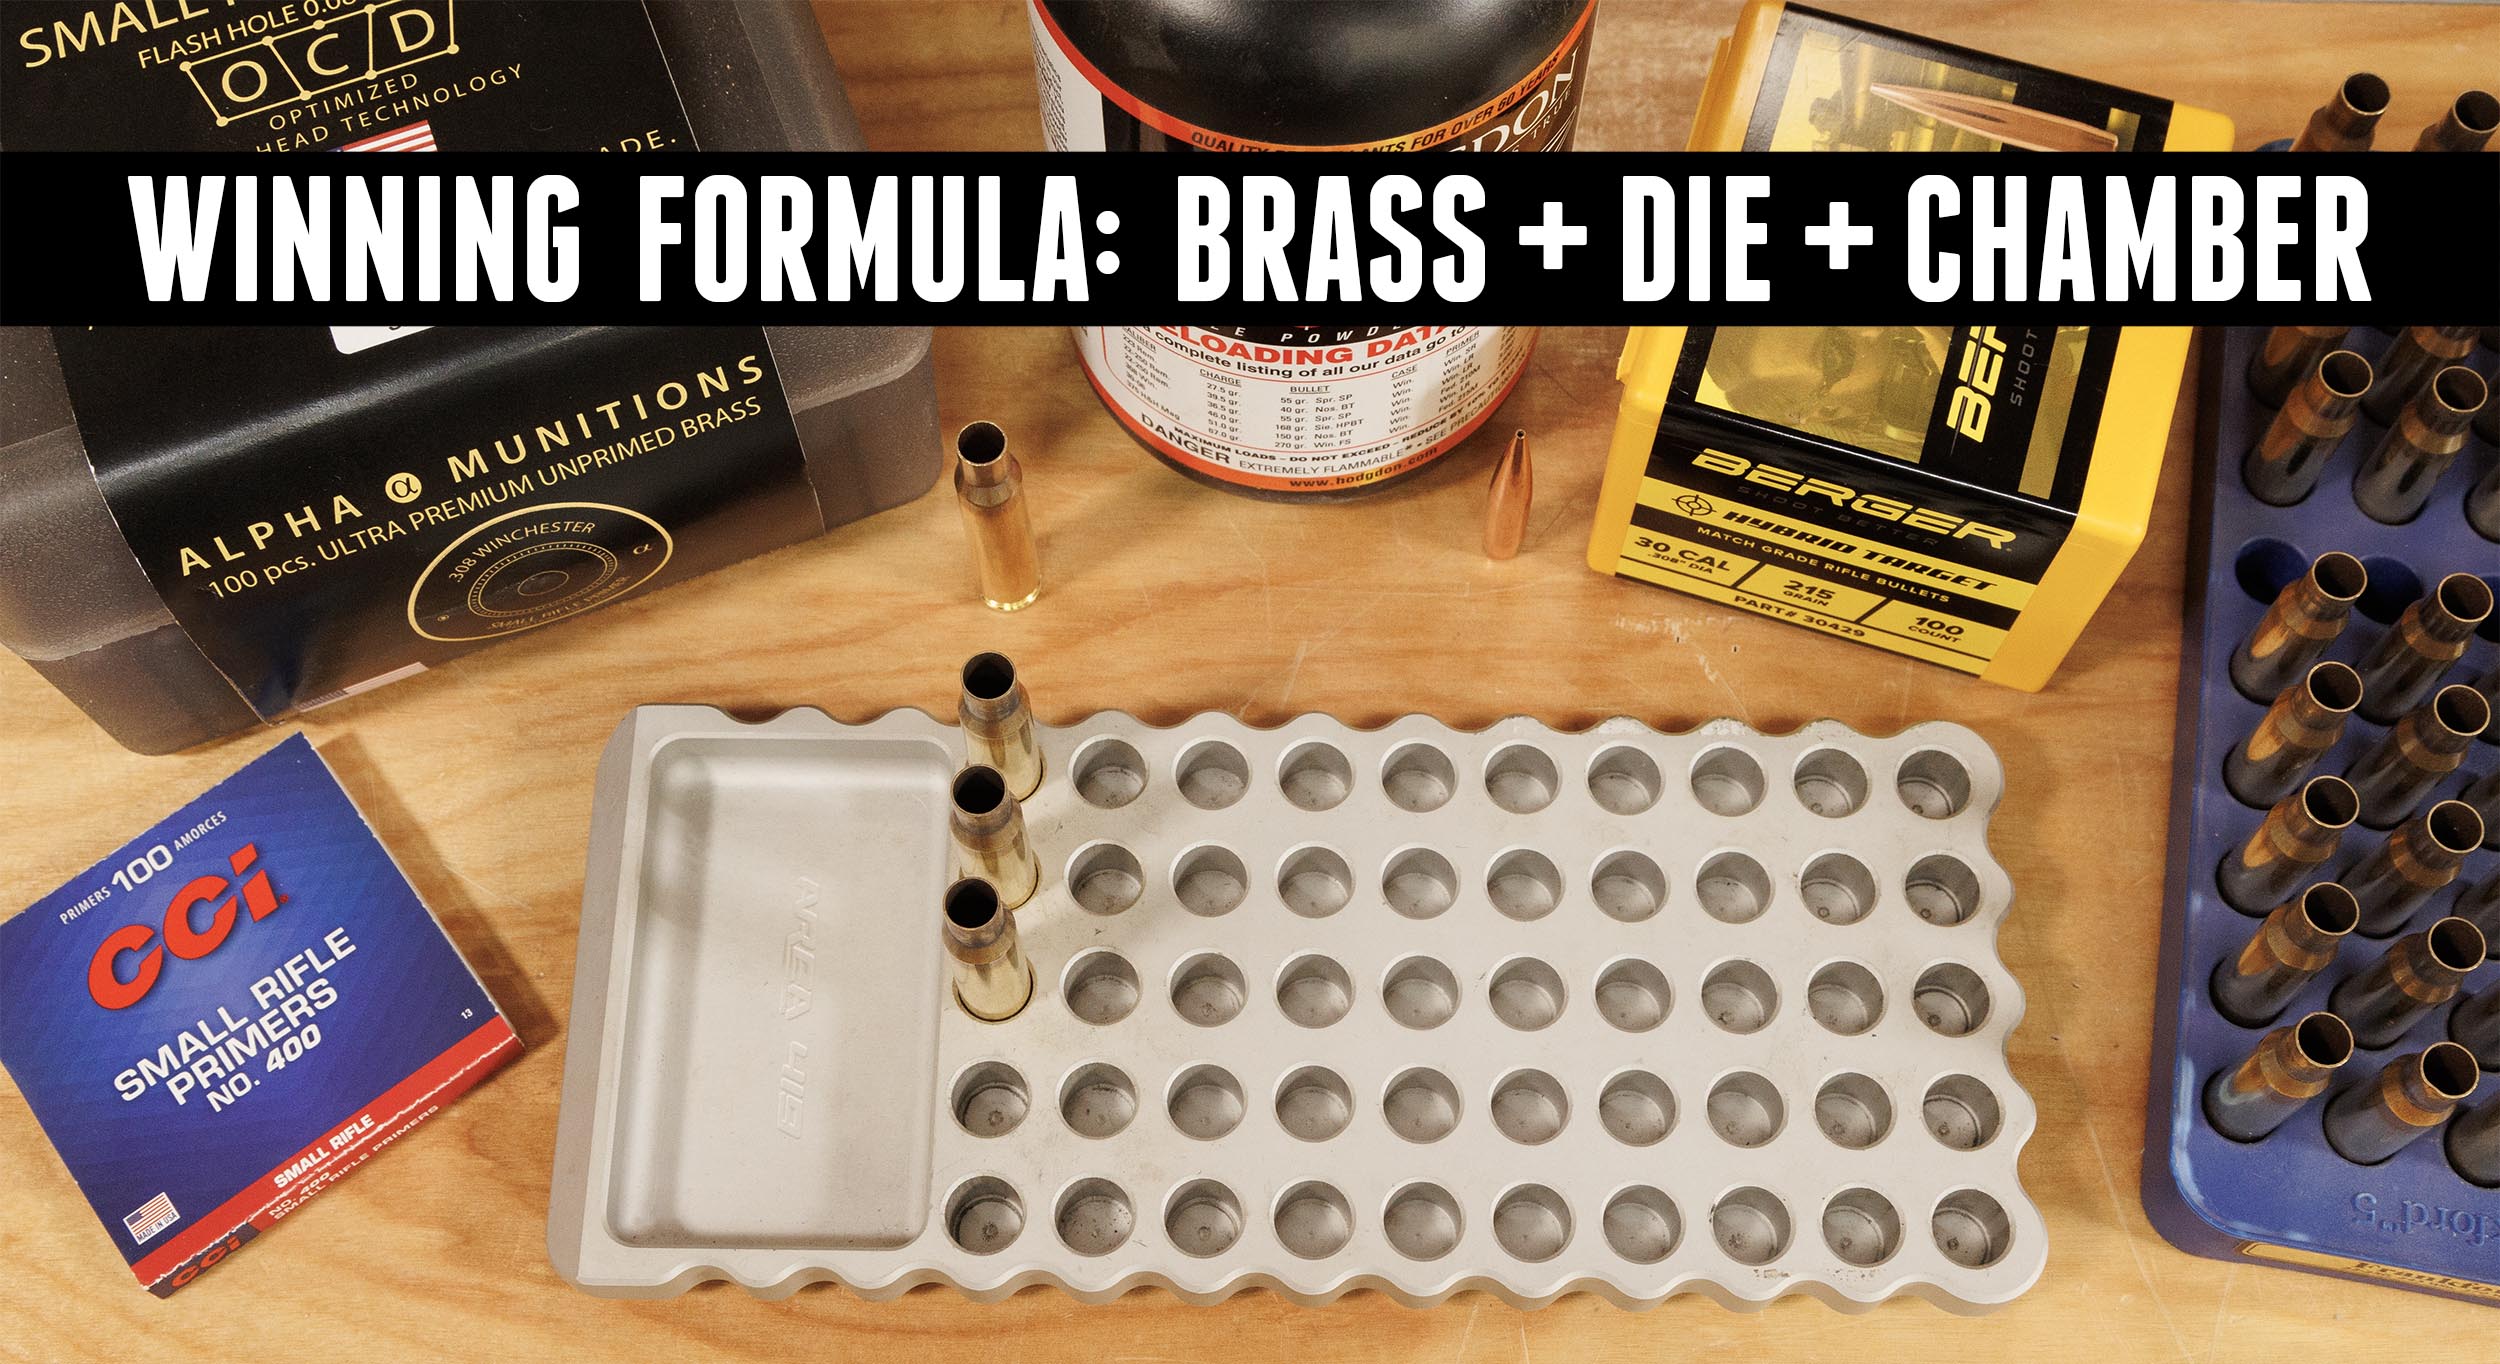
I recently pushed the limits of .308 Winchester using Alpha Munitions OCD brass. Details of the brass, reloading process, and the rifle’s chamber all have to come together perfectly for safe, proper firing. Here’s how it works! Disclaimer Ultimate Reloader LLC / Making with Metal Disclaimer: (by reading this article and/or watching video content you […]
Tag: 308 Winchester
INSANE Performance: Pushing the 308 Win into 300 Win Mag Territory (Bat Machine, Alpha Munitions)
DO NOT TRY THIS AT HOME. I’ve joined forces with BAT Machine and Alpha Munitions to truly test how hard we can push a .308 Winchester. Disclaimer Ultimate Reloader LLC / Making with Metal Disclaimer: (by reading this article and/or watching video content you accept these terms). The content on this website (including videos, articles, […]
SHOT Show 2024: Bergara’s New Rifles
This year at SHOT Show we met with Bergara to talk about their four new rifles! Disclaimer Ultimate Reloader LLC / Making with Metal Disclaimer: (by reading this article and/or watching video content you accept these terms). The content on this website (including videos, articles, ammunition reloading data, technical articles, gunsmithing and other information) is […]
Deer Rifles: It Doesn’t Take a Cannon
Deer, whether whitetail, blacktail or mule deer, are not huge animals. A big mature buck is rarely over 300 pounds and most are far smaller. They’re also really not very wide from side to side, have smallish bones and their hide isn’t particularly tough. This begs the question: Why do I hear deer hunters so […]
NEW: Bergara B-14 Squared Crest 7mm PRC
Earlier this year, I showed the Bergara B-14 Squared Crest in .308 Winchester. You all asked for 7mm PRC — here it is! Disclaimer Ultimate Reloader LLC / Making with Metal Disclaimer: (by reading this article and/or watching video content you accept these terms). The content on this website (including videos, articles, ammunition reloading data, […]

308 -vs- 30-06 -vs- 300 PRC: Heavy .30 Caliber Hornady Bullets for Big Game
Heavy .30 caliber bullets aren’t new for big game, but now there are high BC options! Which is better? Disclaimer Ultimate Reloader LLC / Making with Metal Disclaimer: (by reading this article and/or watching video content you accept these terms). The content on this website (including videos, articles, ammunition reloading data, technical articles, gunsmithing and […]
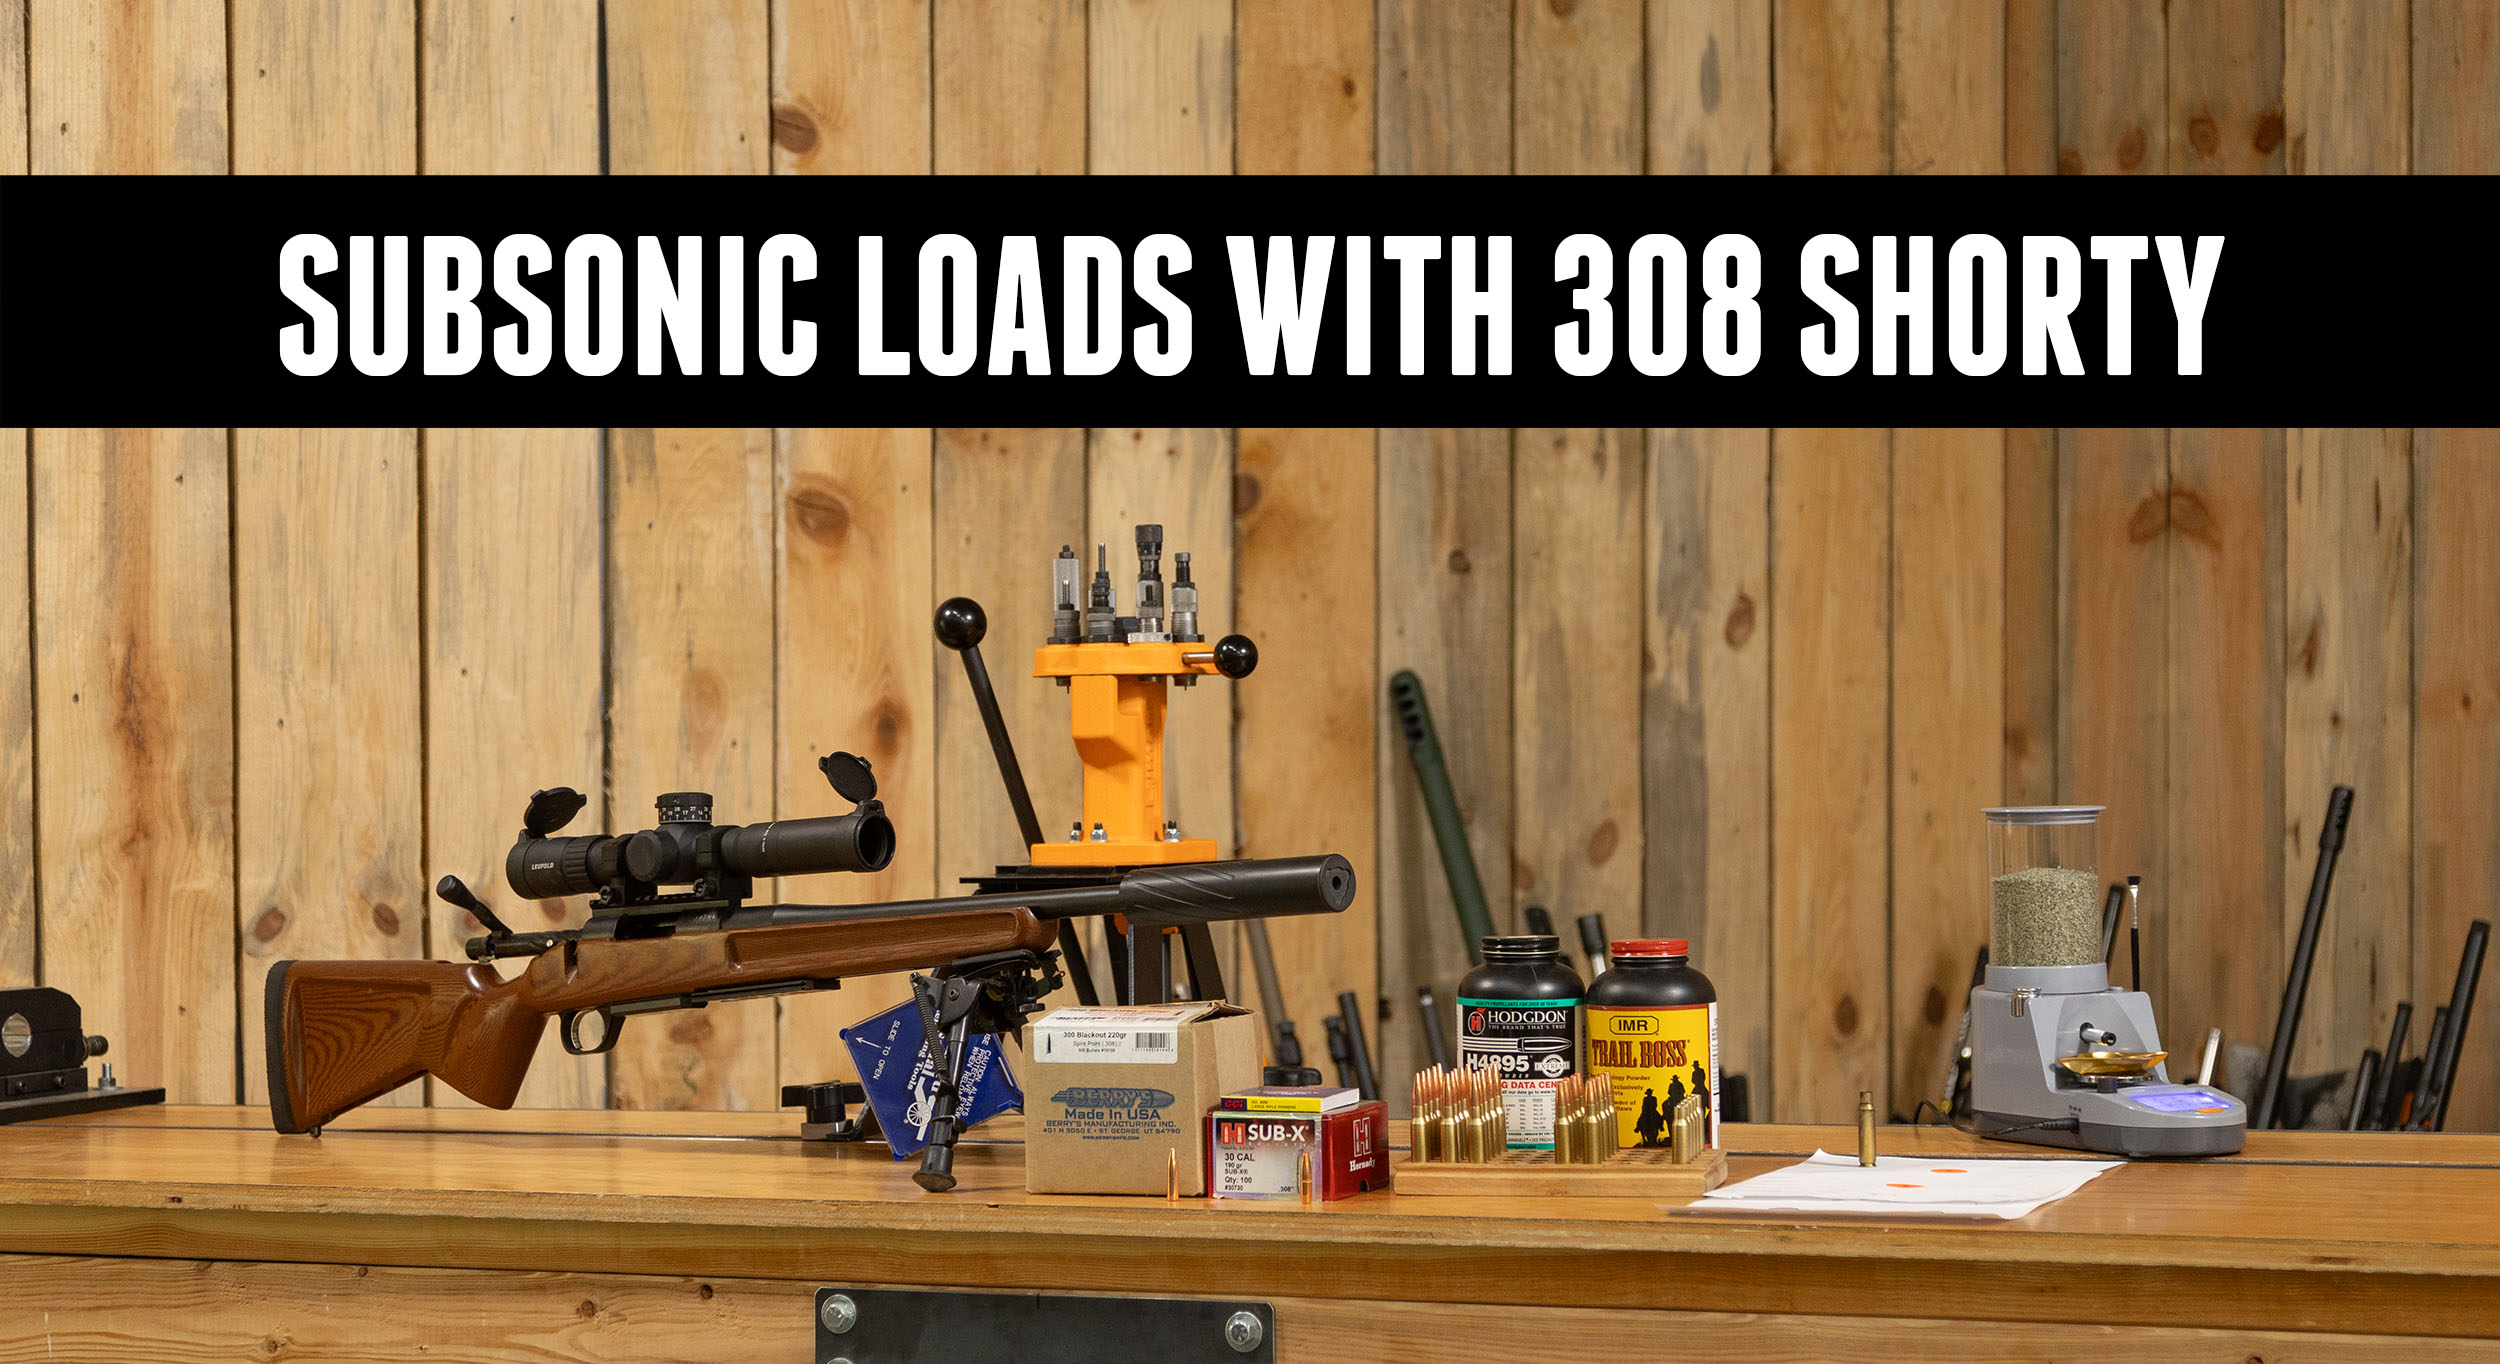
AMAZING 308 Subsonic Loads (and fun too)
Hornady produces a bullet specifically for subsonic use, the Sub-X. We’re trying it in the short barreled 308 Winchester, “Shorty.” Berry’s offers a fine inexpensive bullet as well. Disclaimer Ultimate Reloader LLC / Making with Metal Disclaimer: (by reading this article and/or watching video content you accept these terms). The content on this website (including […]
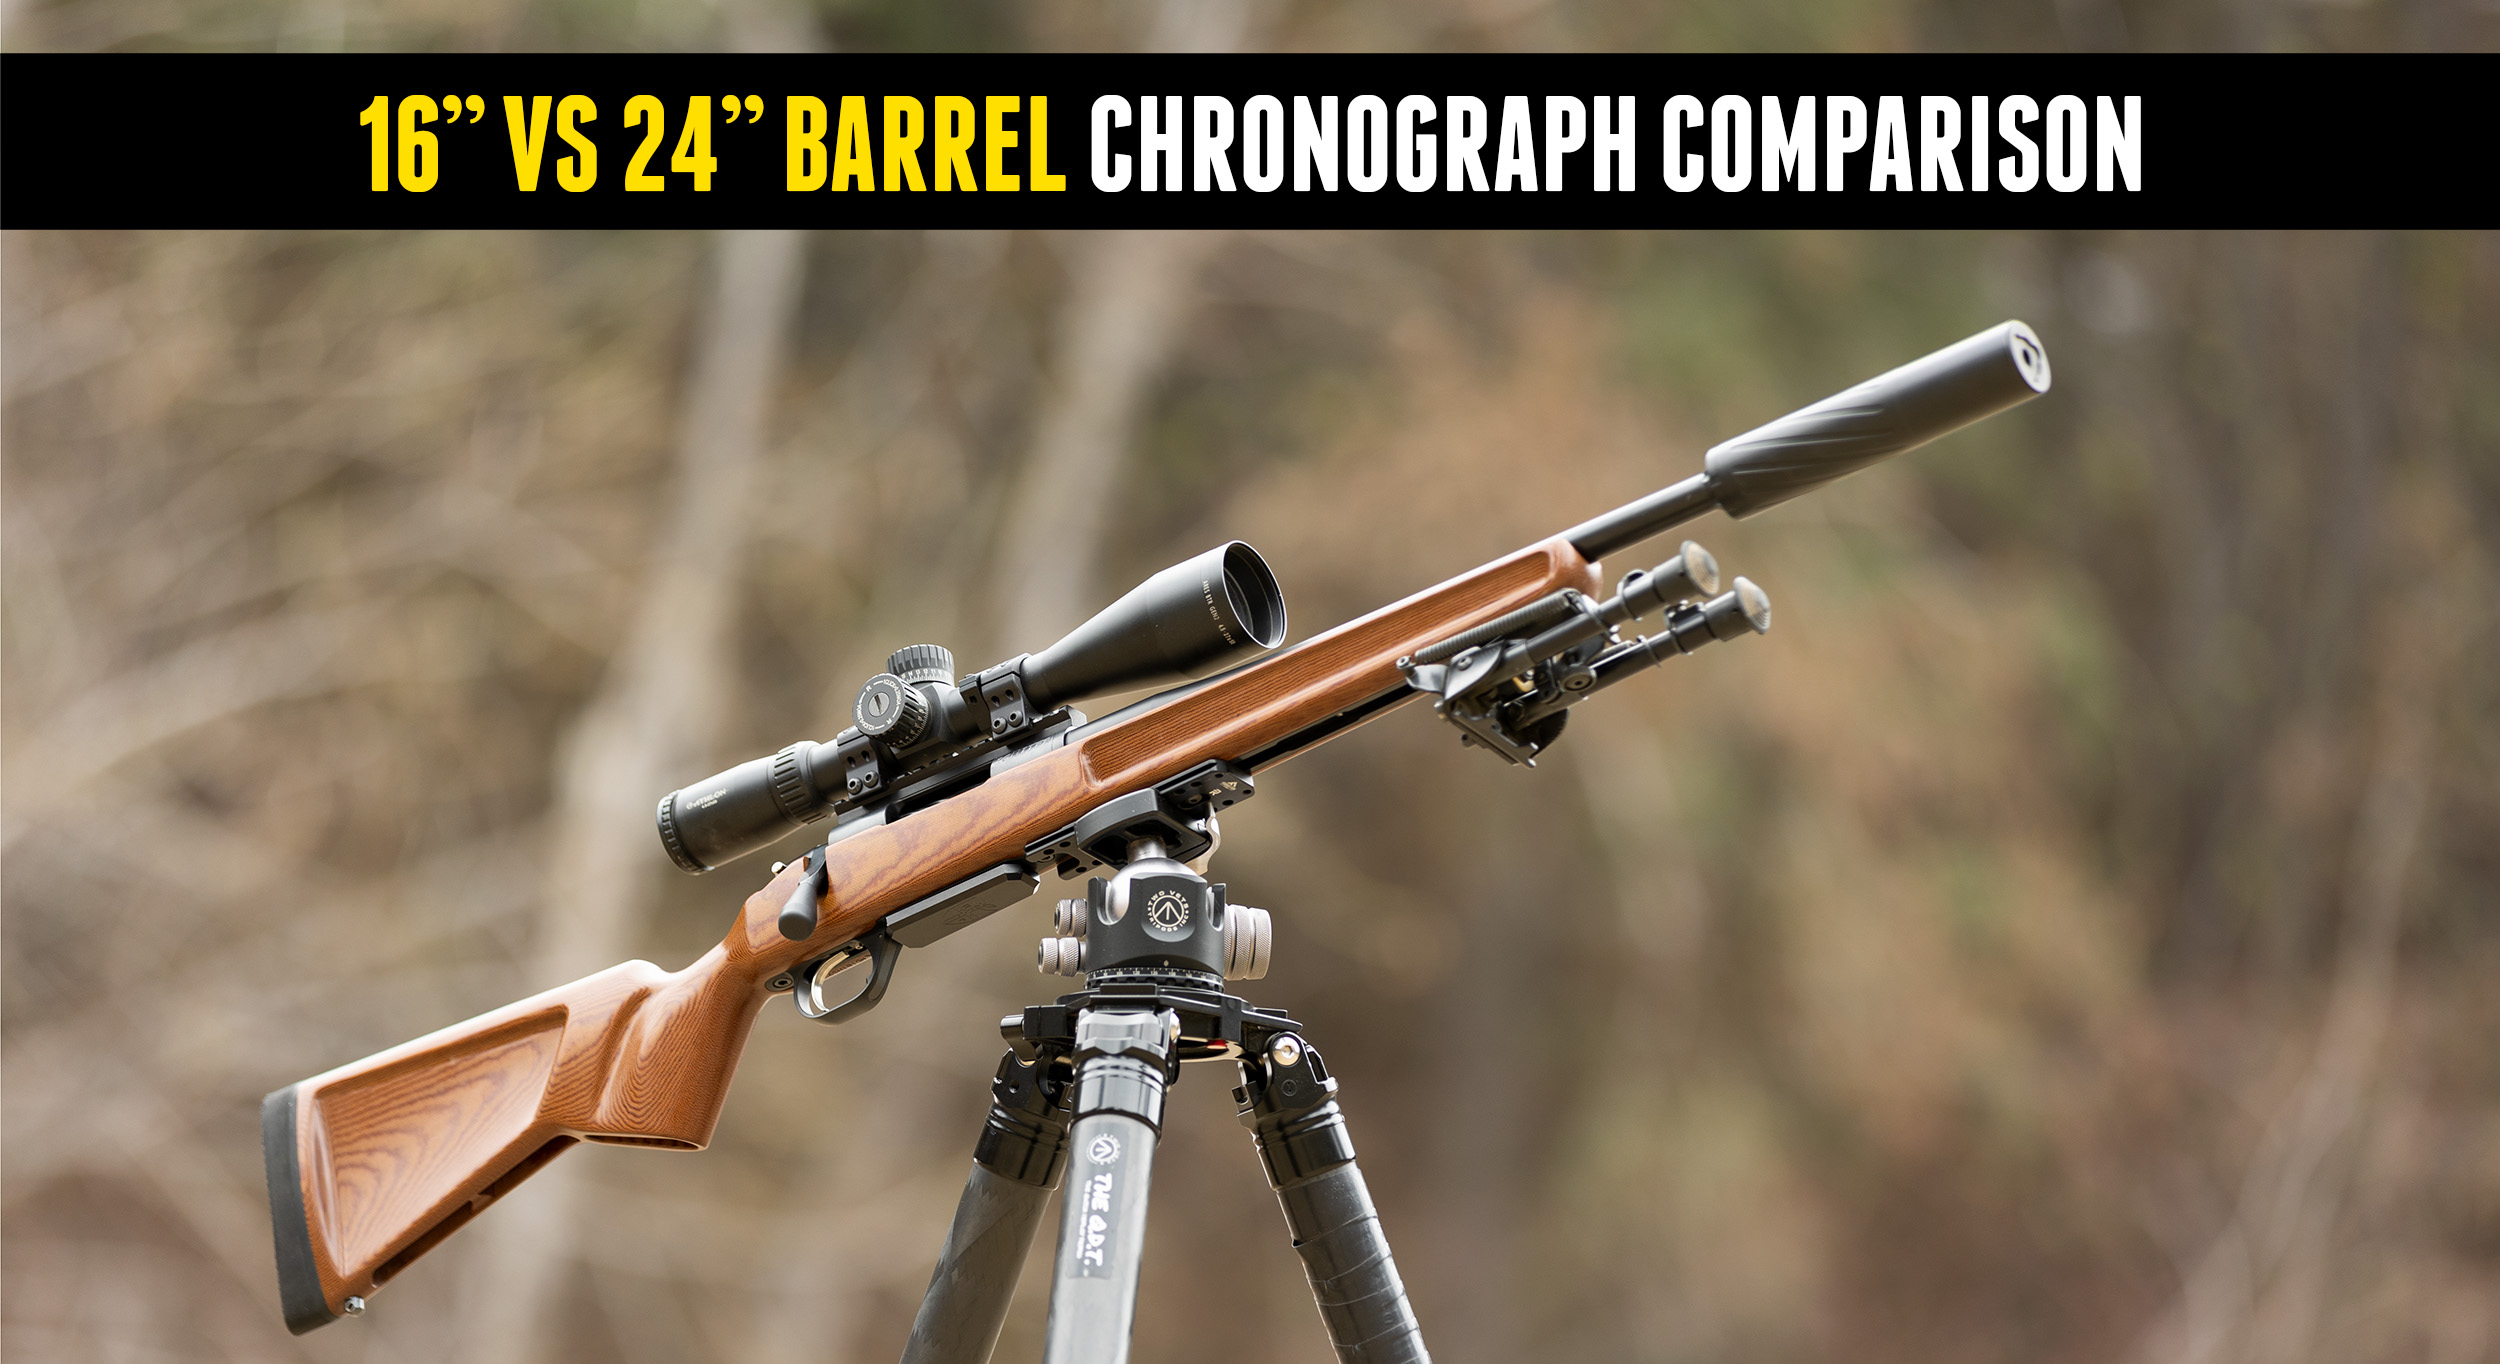
.308 Shorty Chronograph Data Comparison: 16″ vs 24″ Barrels!
A short while ago, we asked for input on our .308 build. Overwhelmingly, you all wanted a 16” barrel, so “Shorty” was born! Looking to compare velocities, I brought out my match .308 with a 24” barrel to compare the results with some Hodgdon pistol data! (Yes, .308 Pistol data.) Disclaimer Ultimate Reloader LLC / […]
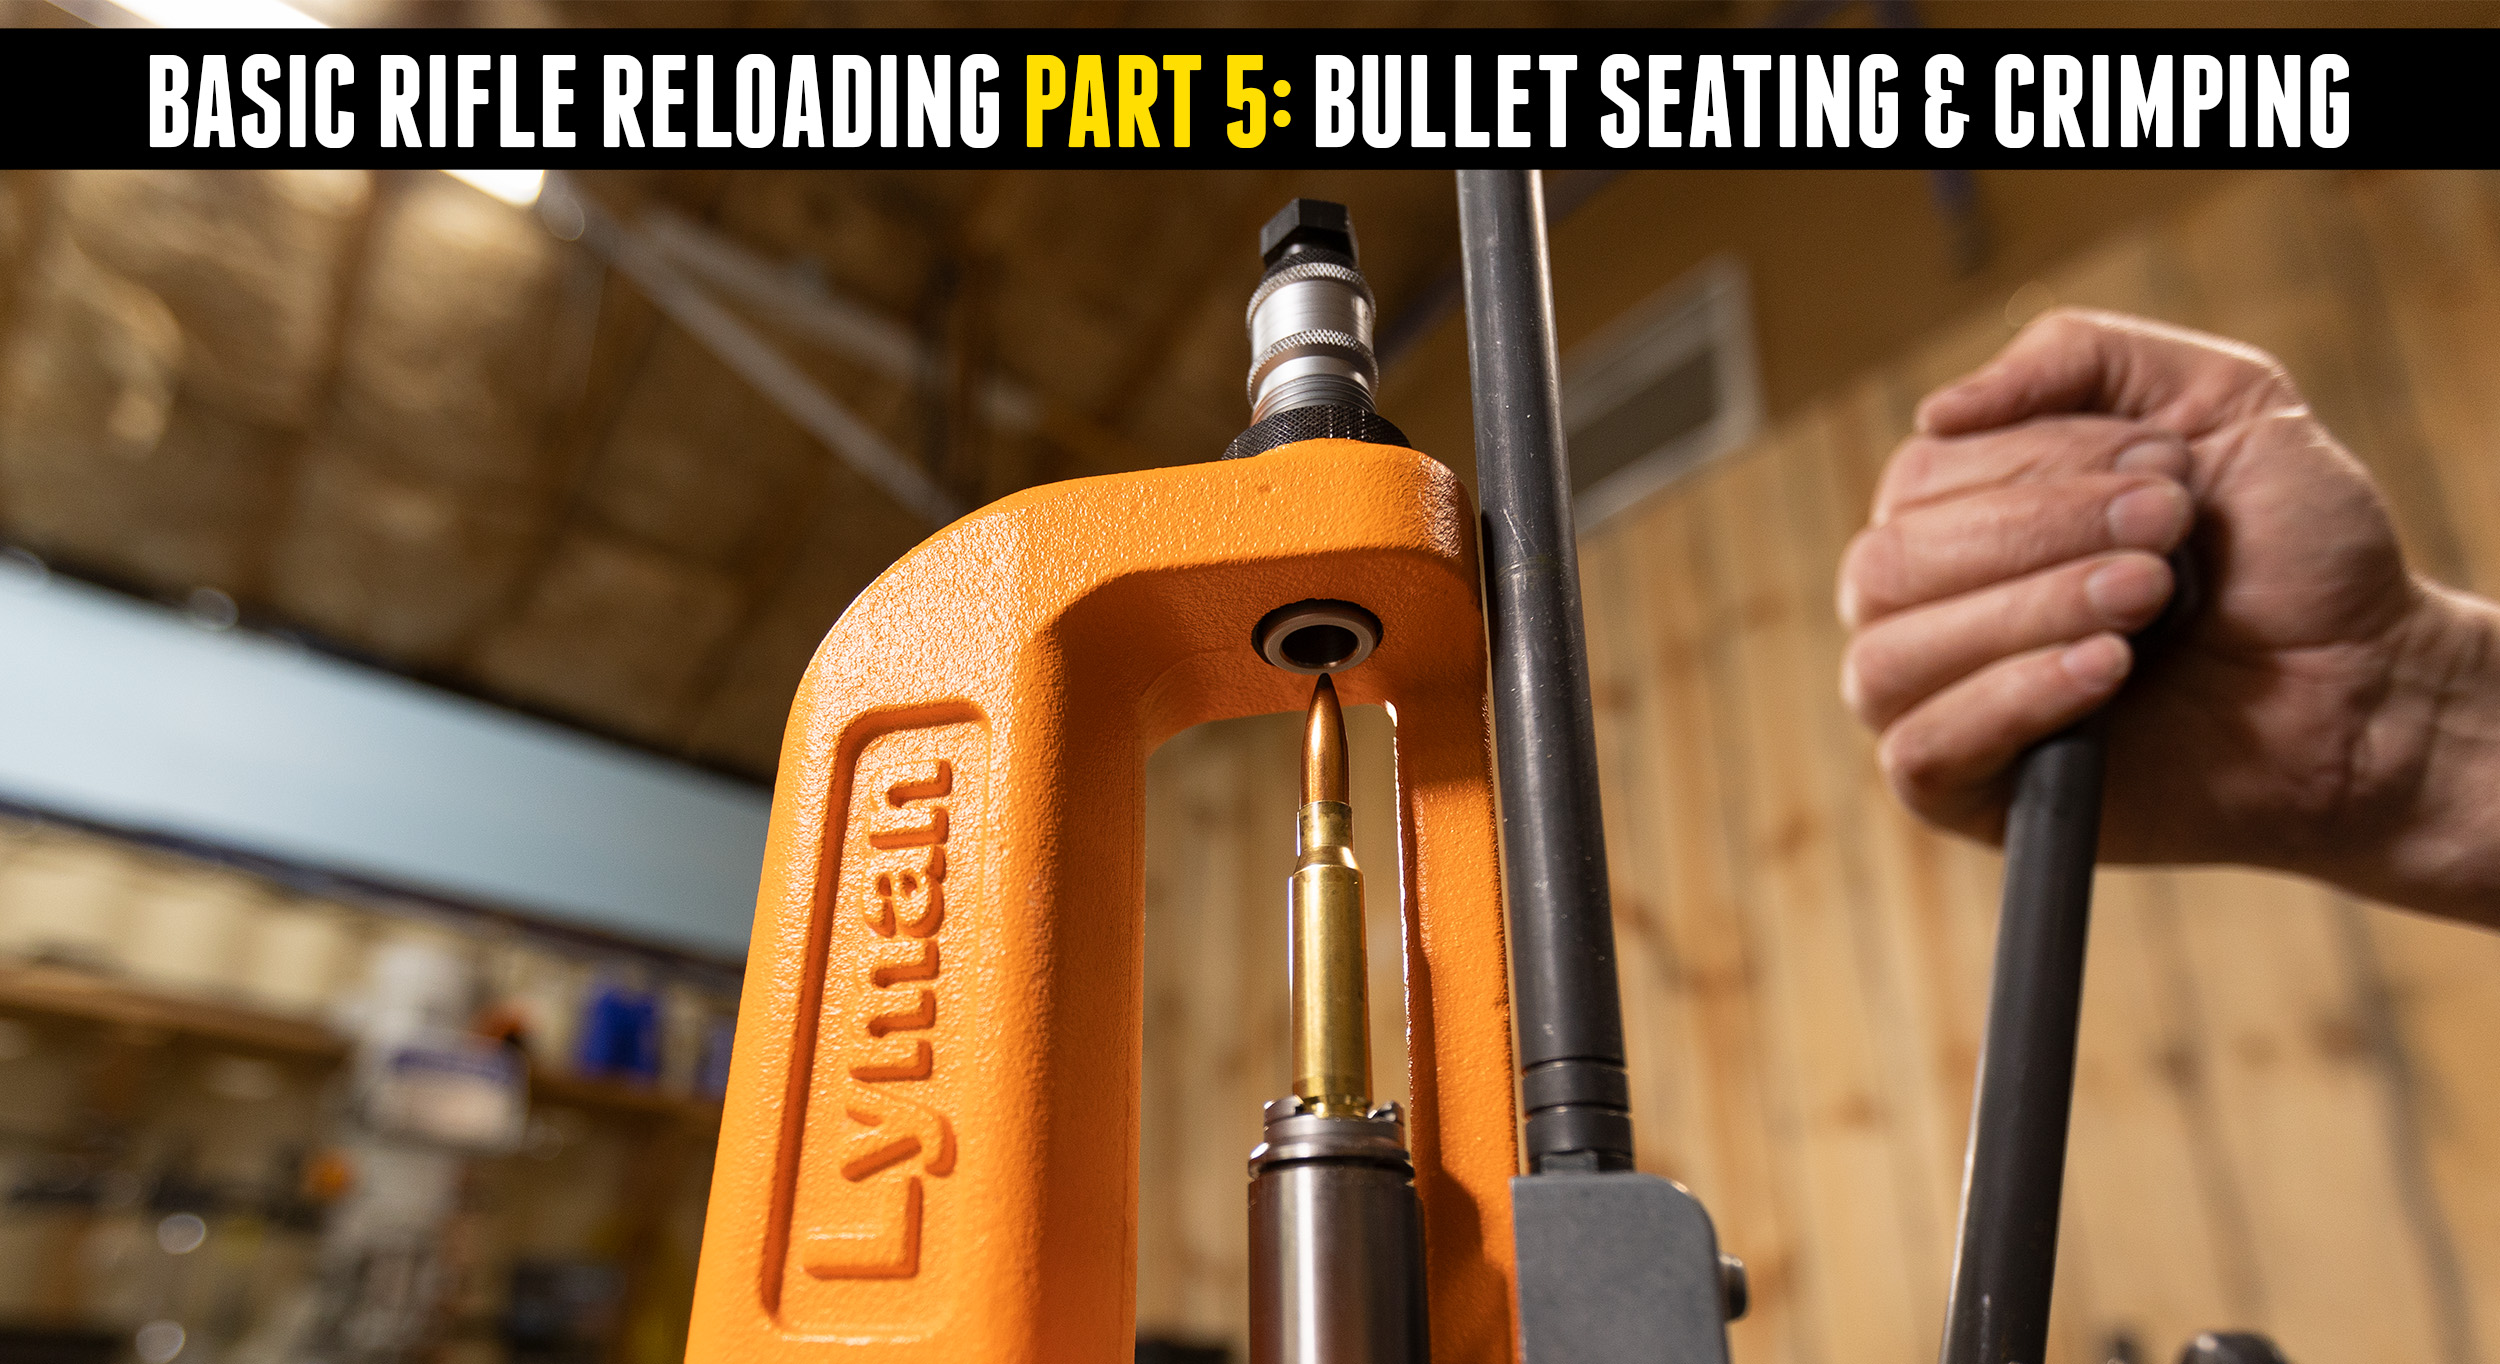
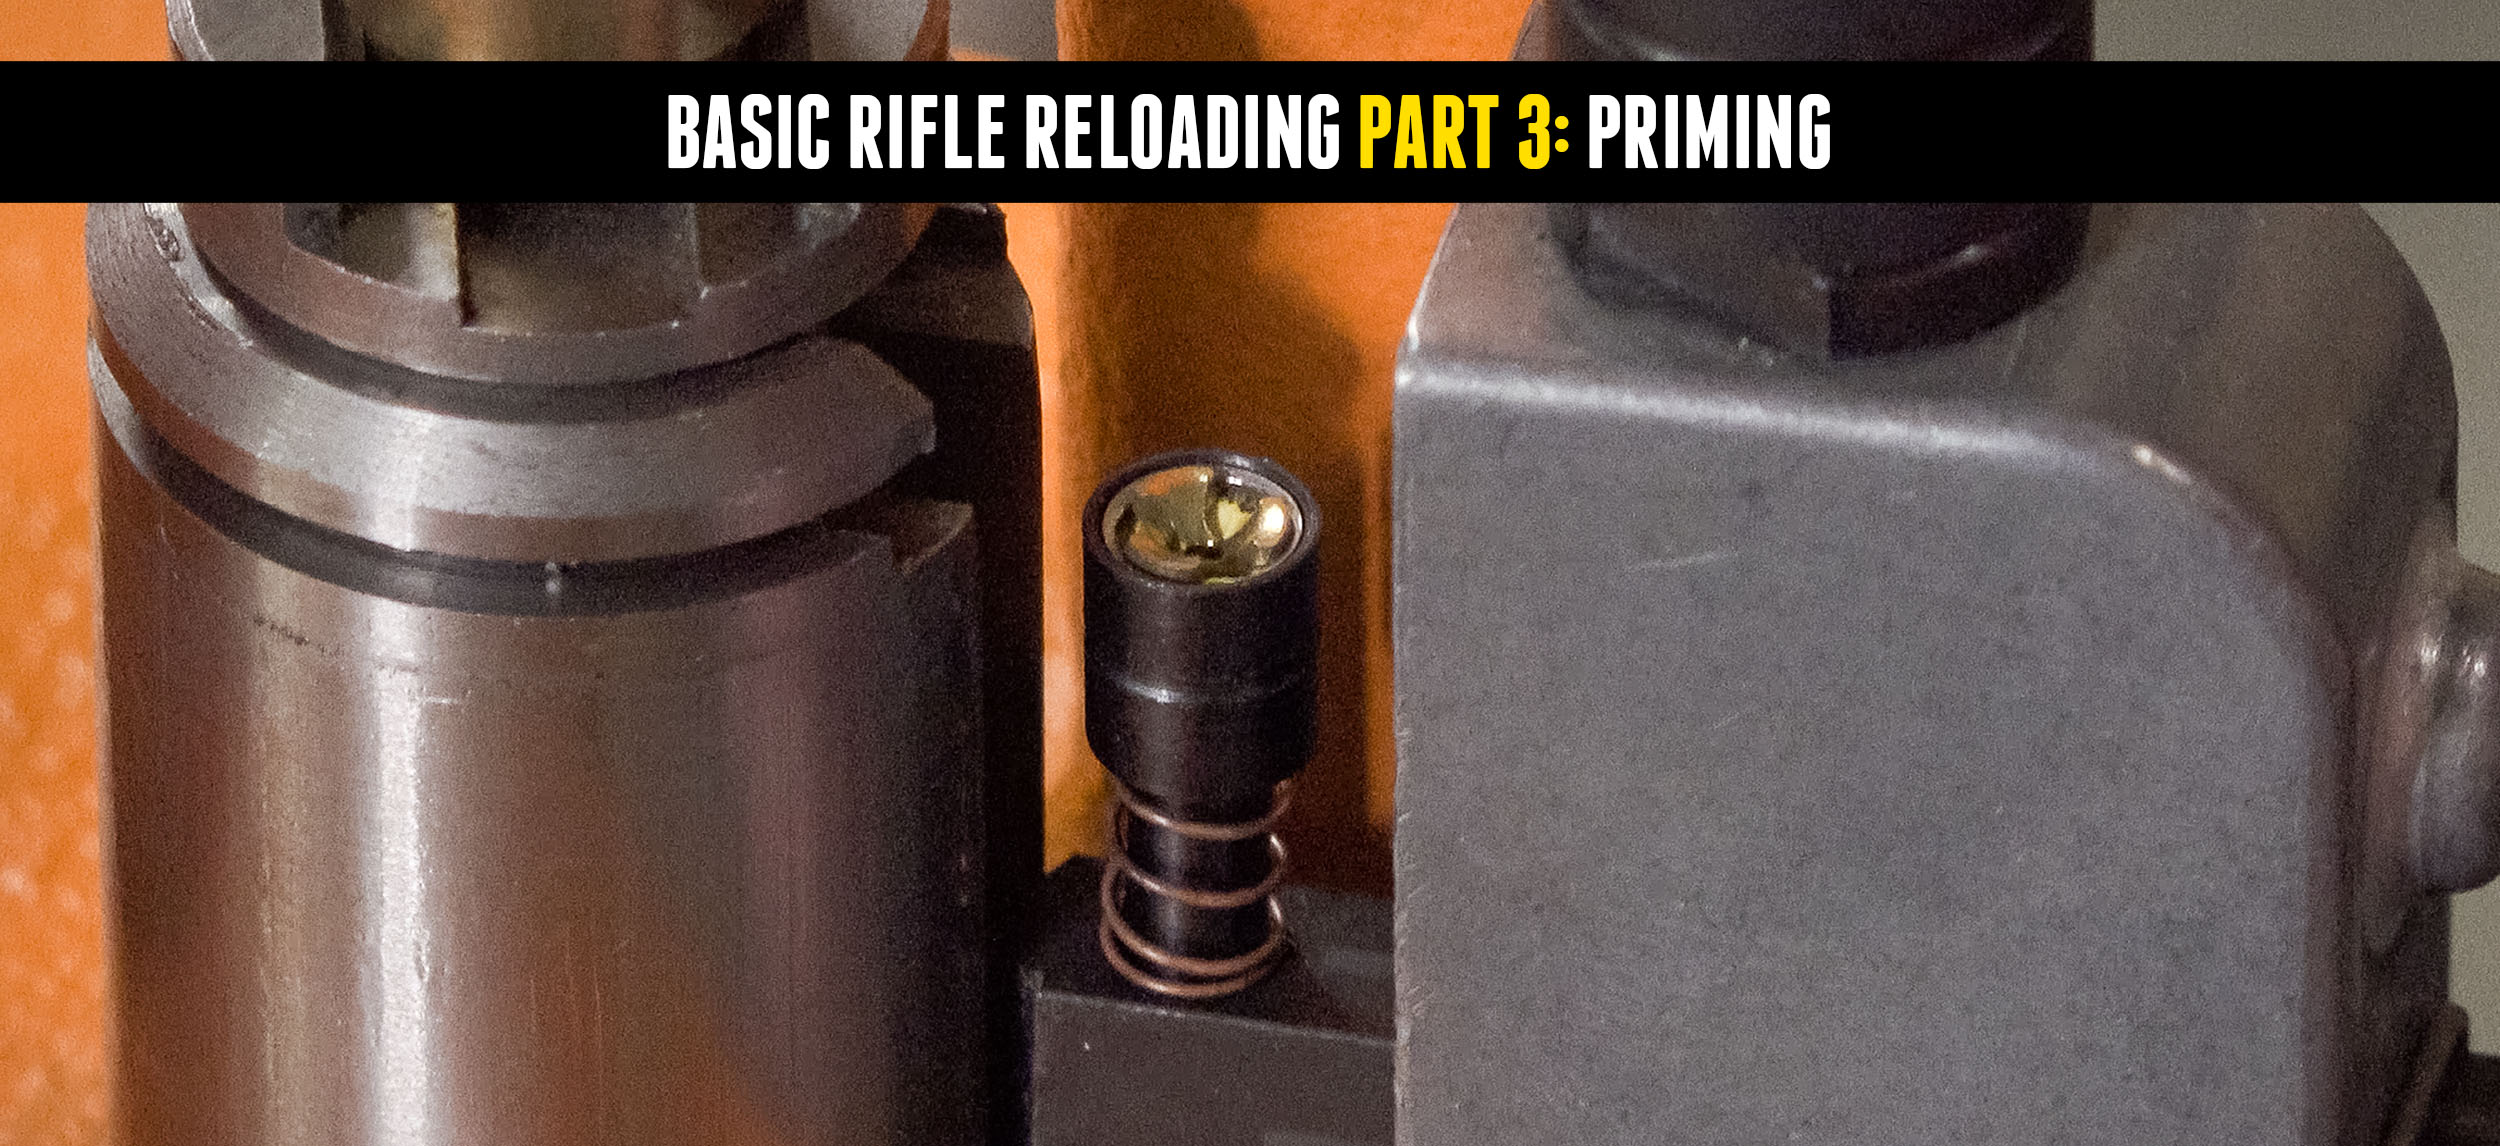
Basic Rifle Reloading 5: Bullet Seating & Crimping
At this point we have cleaned and lubed the brass, resized it, primed it and dropped in the powder charge. It’s time to seat the bullet! Disclaimer Ultimate Reloader LLC / Making with Metal Disclaimer: (by reading this article and/or watching video content you accept these terms). The content on this website (including videos, articles, […]
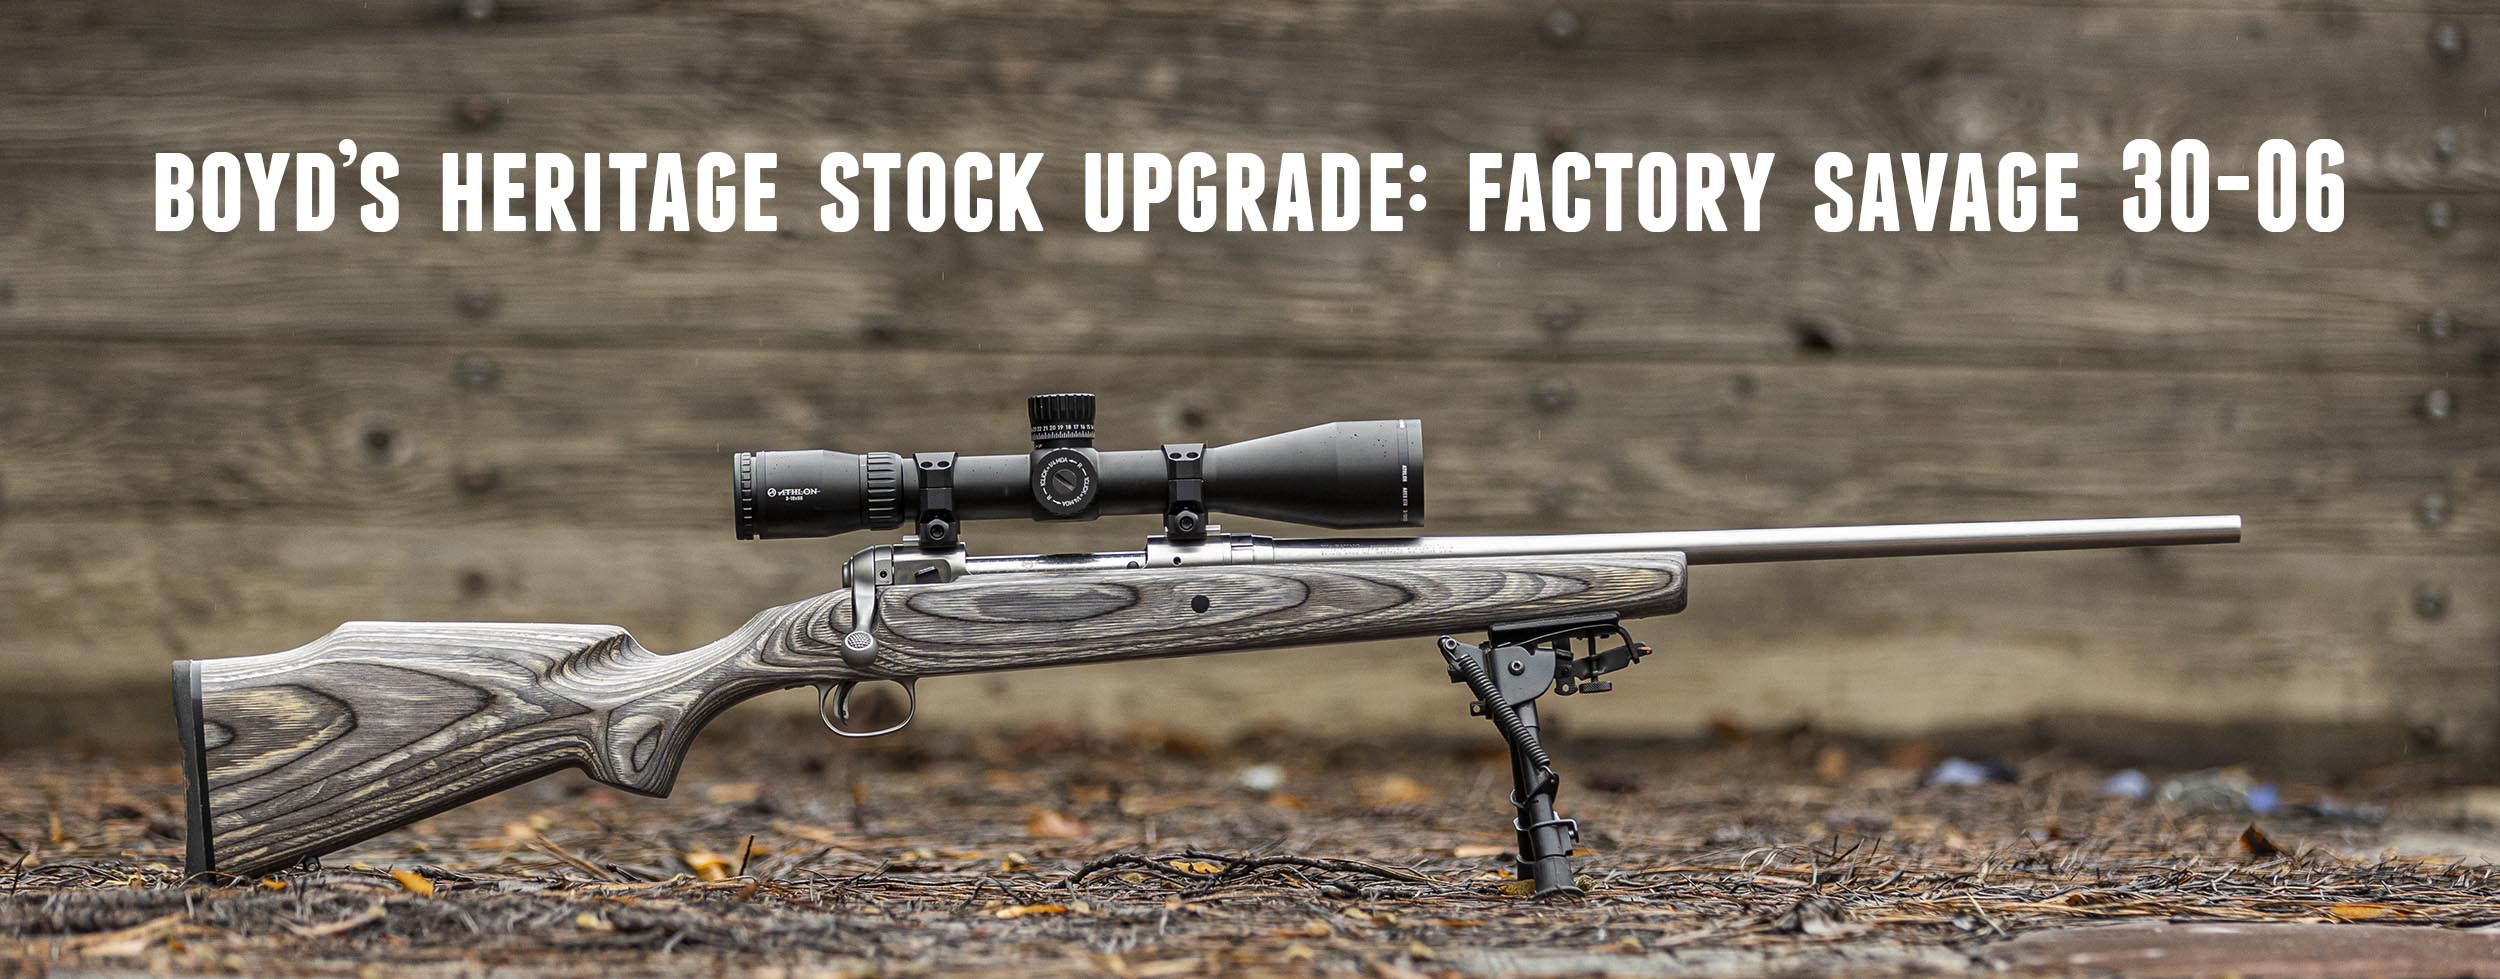
Boyds Heritage + Athlon Ares Upgrade (Savage 30-06)
I’ve got a killer upgrade package for my Savage 116 30-06 rifle utilizing a Boyds Heritage Stock, plus an Athlon Ares scope– and in this story we are going to put it all together! Disclaimer Ultimate Reloader LLC / Making with Metal Disclaimer: (by reading this article and/or watching video content you accept these terms). […]
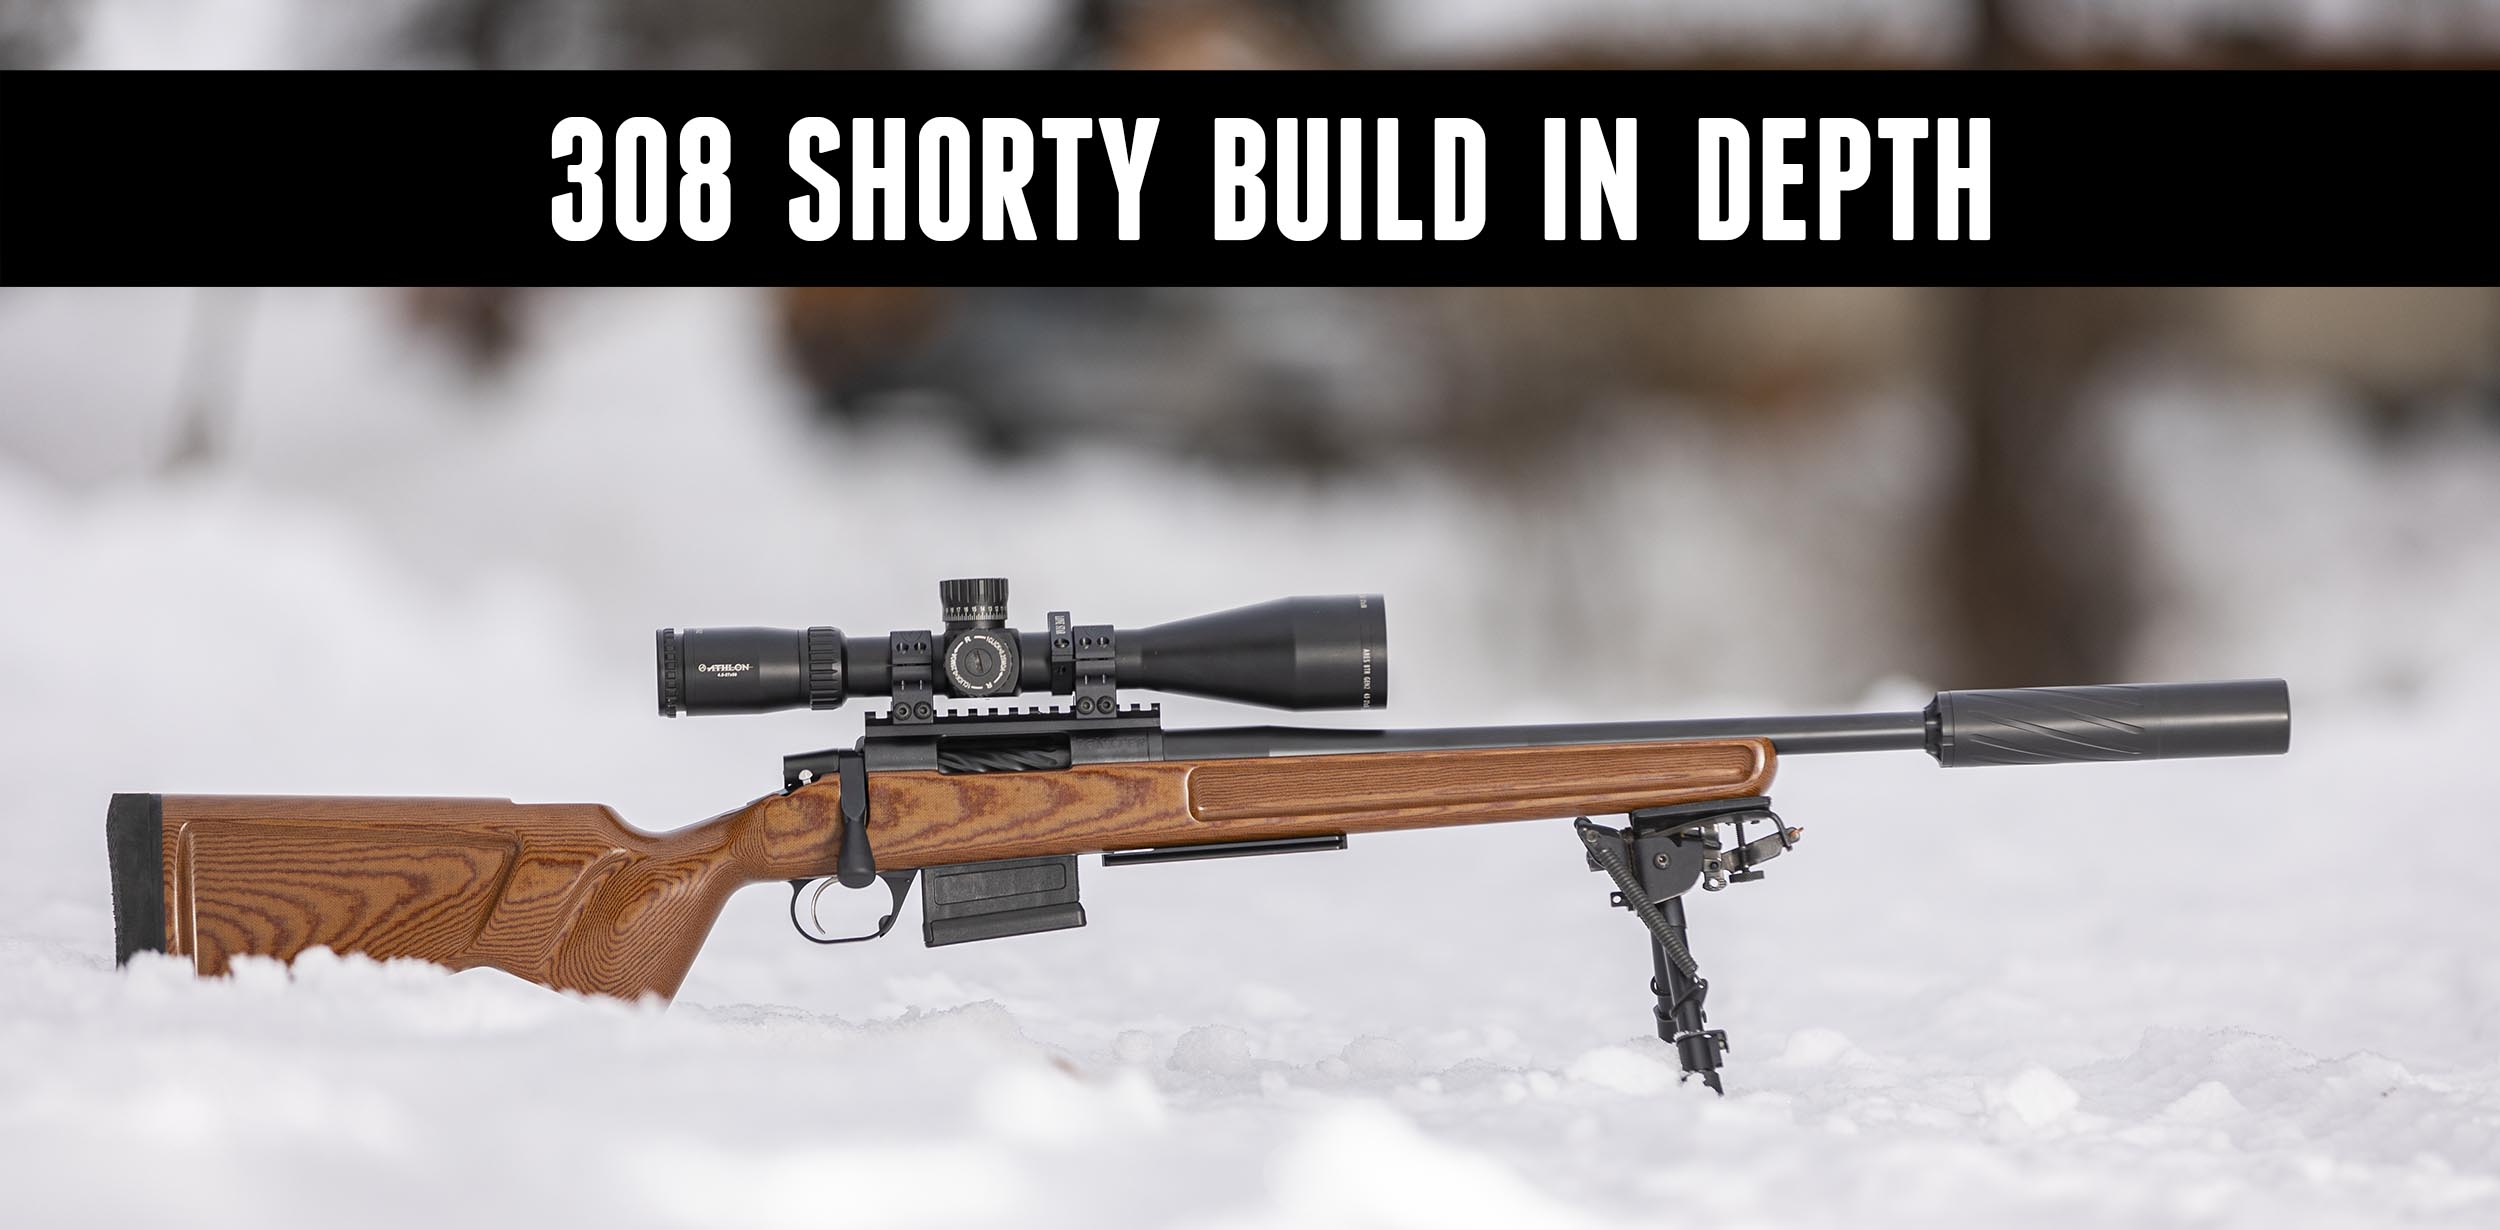
308 Shorty Build: Machining, Chambering, Cerakote
Before chambering my 308 Shorty build, I had to decide what length to cut the barrel to and what color to Cerakote it. I put out the poll, and you all answered! Now that the results are in, we’ll cover the end-to-end process in this story. Disclaimer Ultimate Reloader LLC / Making with Metal Disclaimer: […]
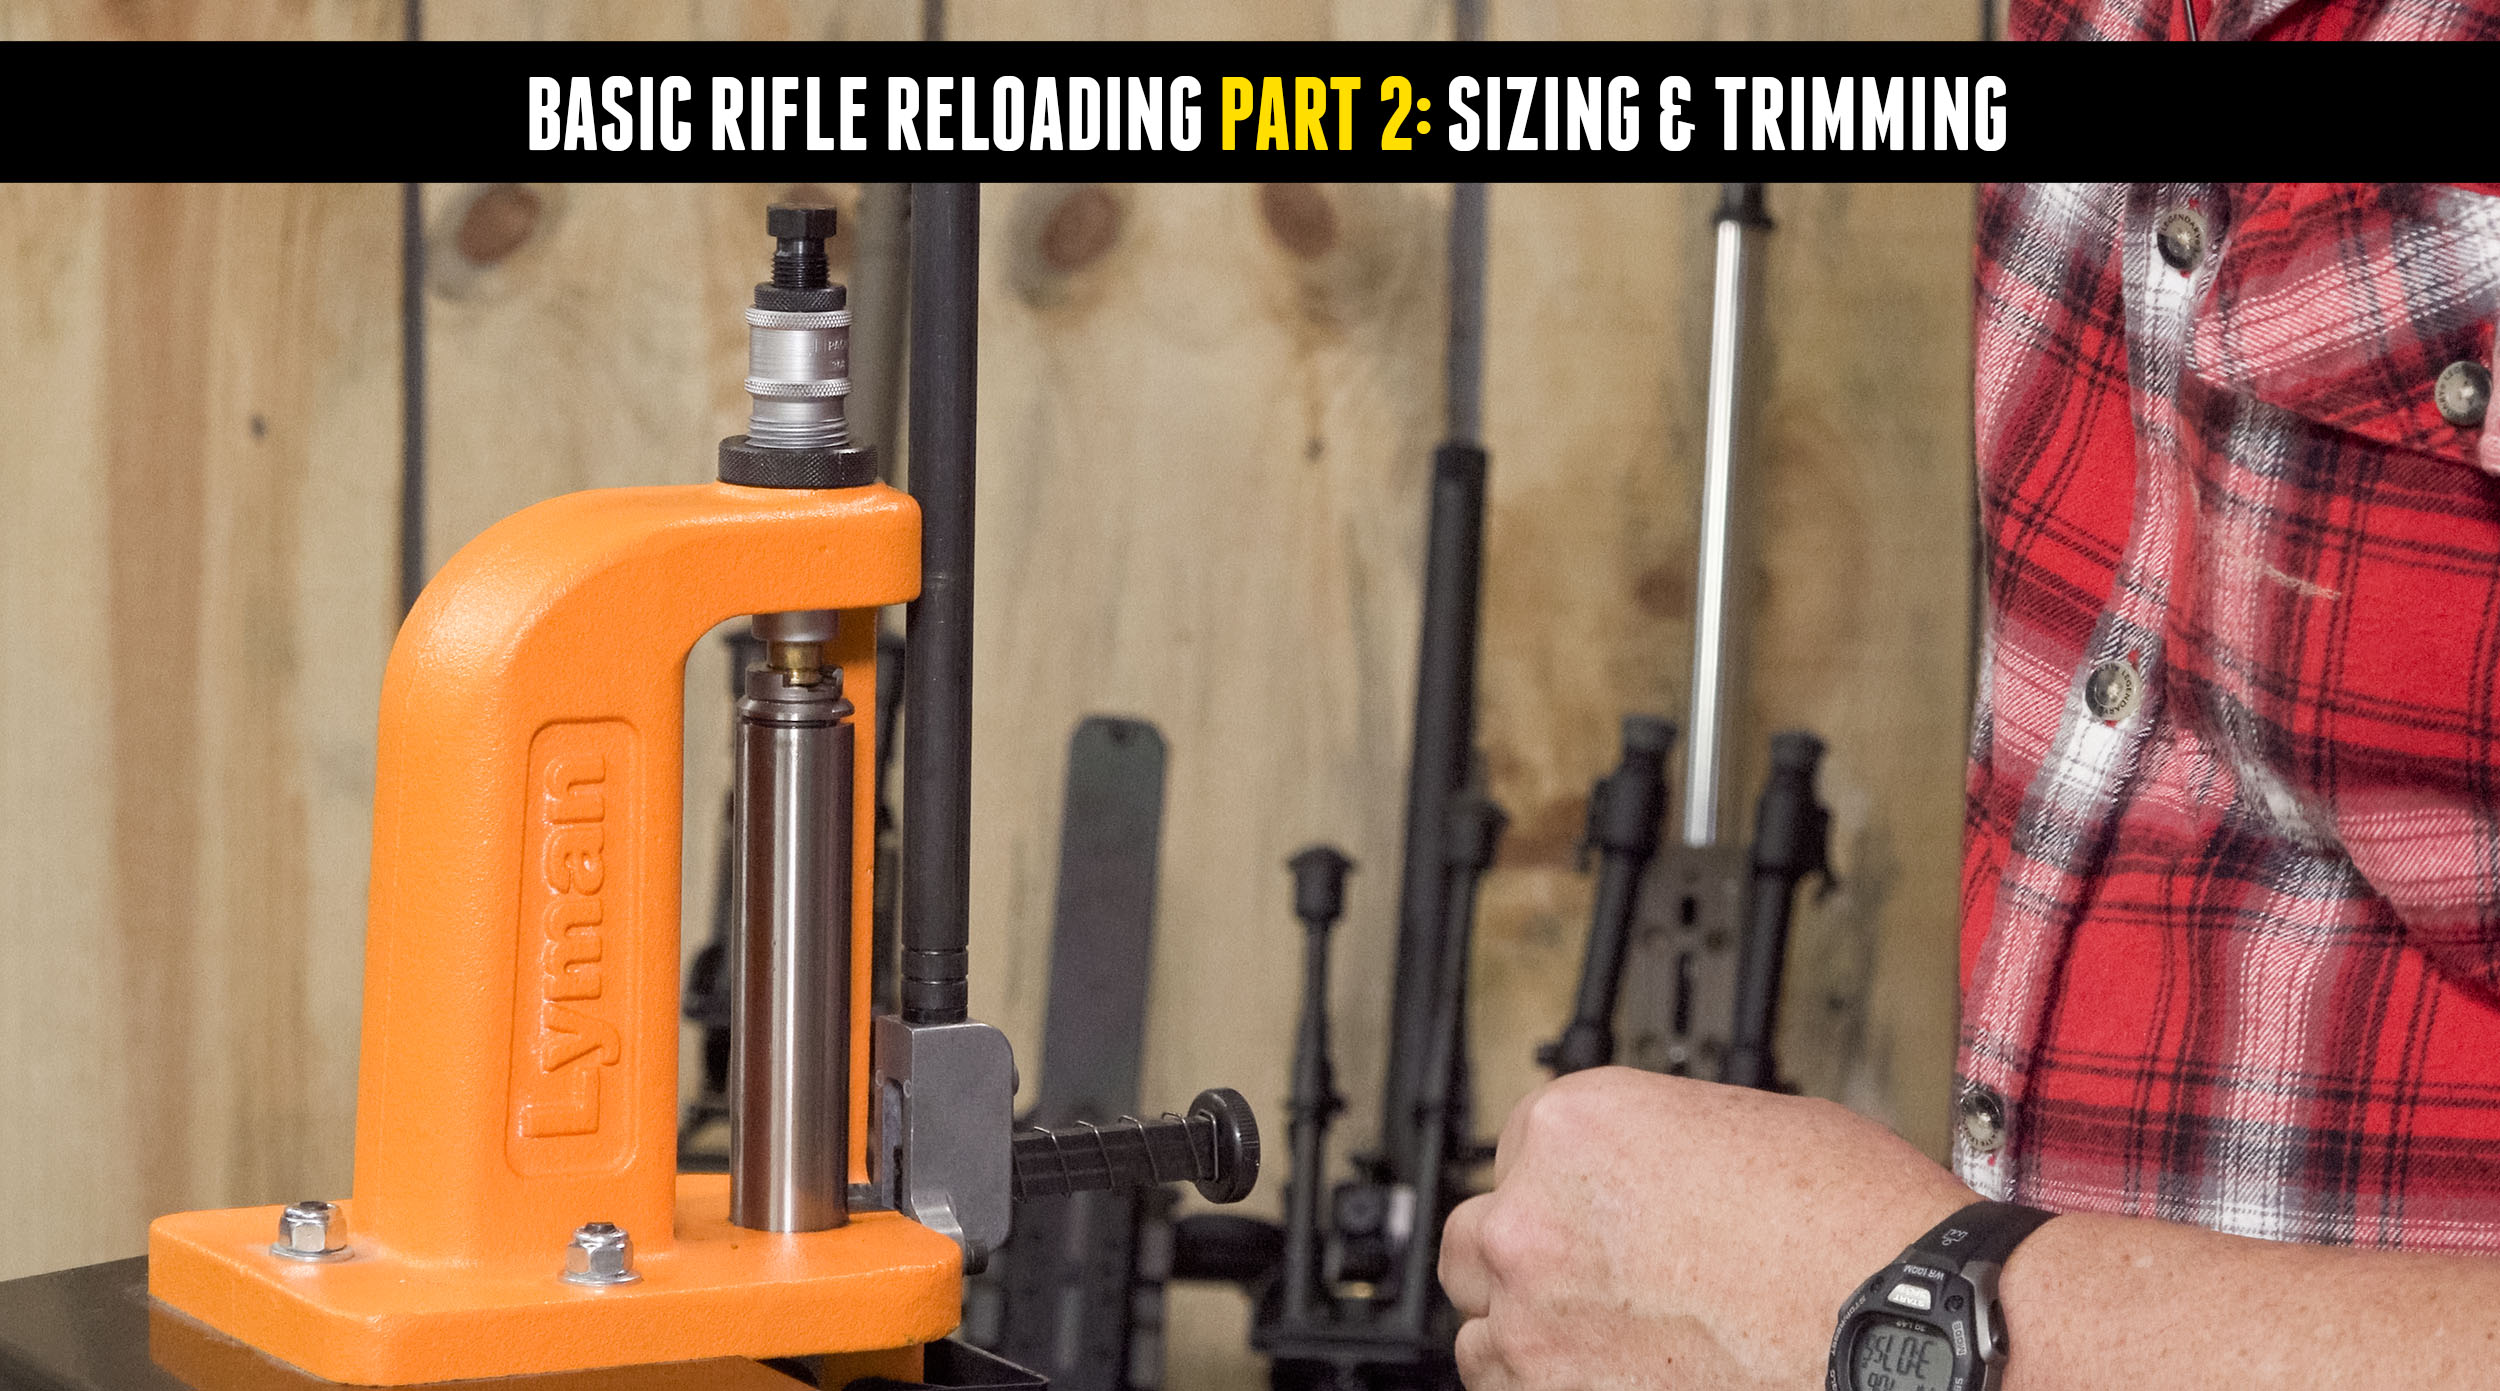
Basic Rifle Reloading Part 2: Sizing and Case Prep
In the first video in this series, we cleaned once-fired Federal cases using Lyman’s vibratory tumbler and walnut shell media. Now it’s time to resize the cases, decap/deprime them, trim them and do any other necessary case-prep work. Disclaimer Ultimate Reloader LLC / Making with Metal Disclaimer: (by reading this article and/or watching video content […]
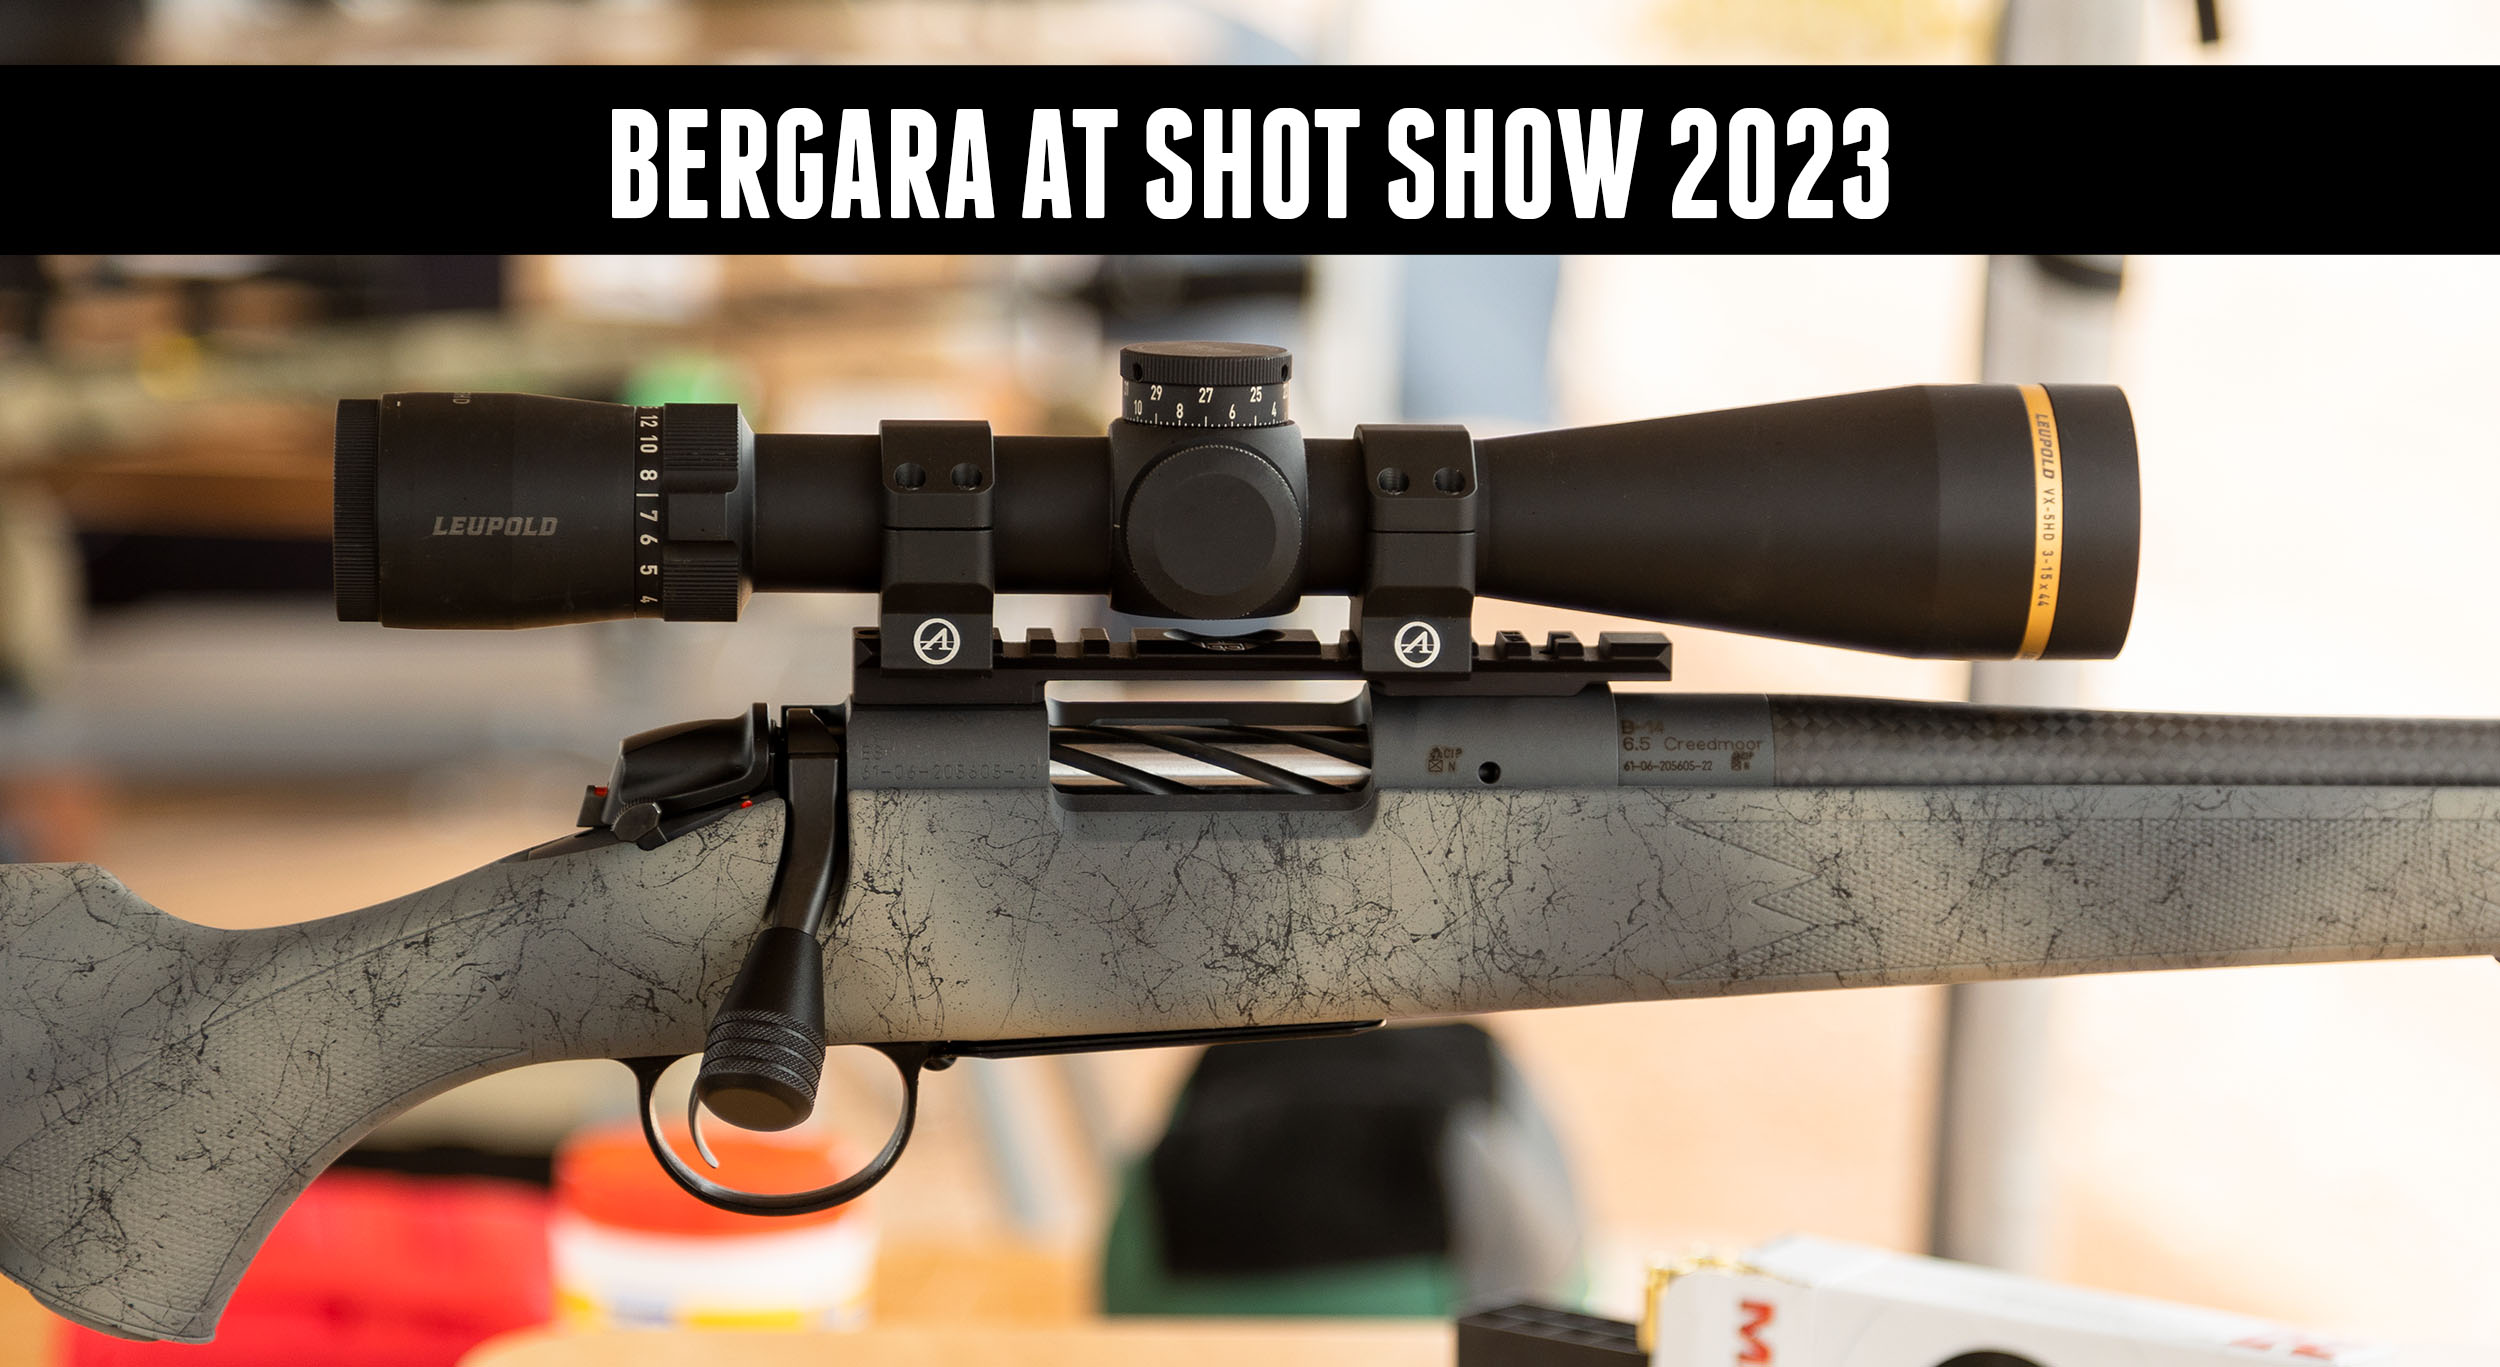
New Rifles from Bergara at SHOT Show 2023
Bergara’s Collin Russell took the time to walk us through Bergara’s new offerings released at the 2023 SHOT Show. We’ve already had hands-on experience with the all new Bergara B-14² Crest and fell in love with it. Disclaimer Ultimate Reloader LLC / Making with Metal Disclaimer: (by reading this article and/or watching video content you […]
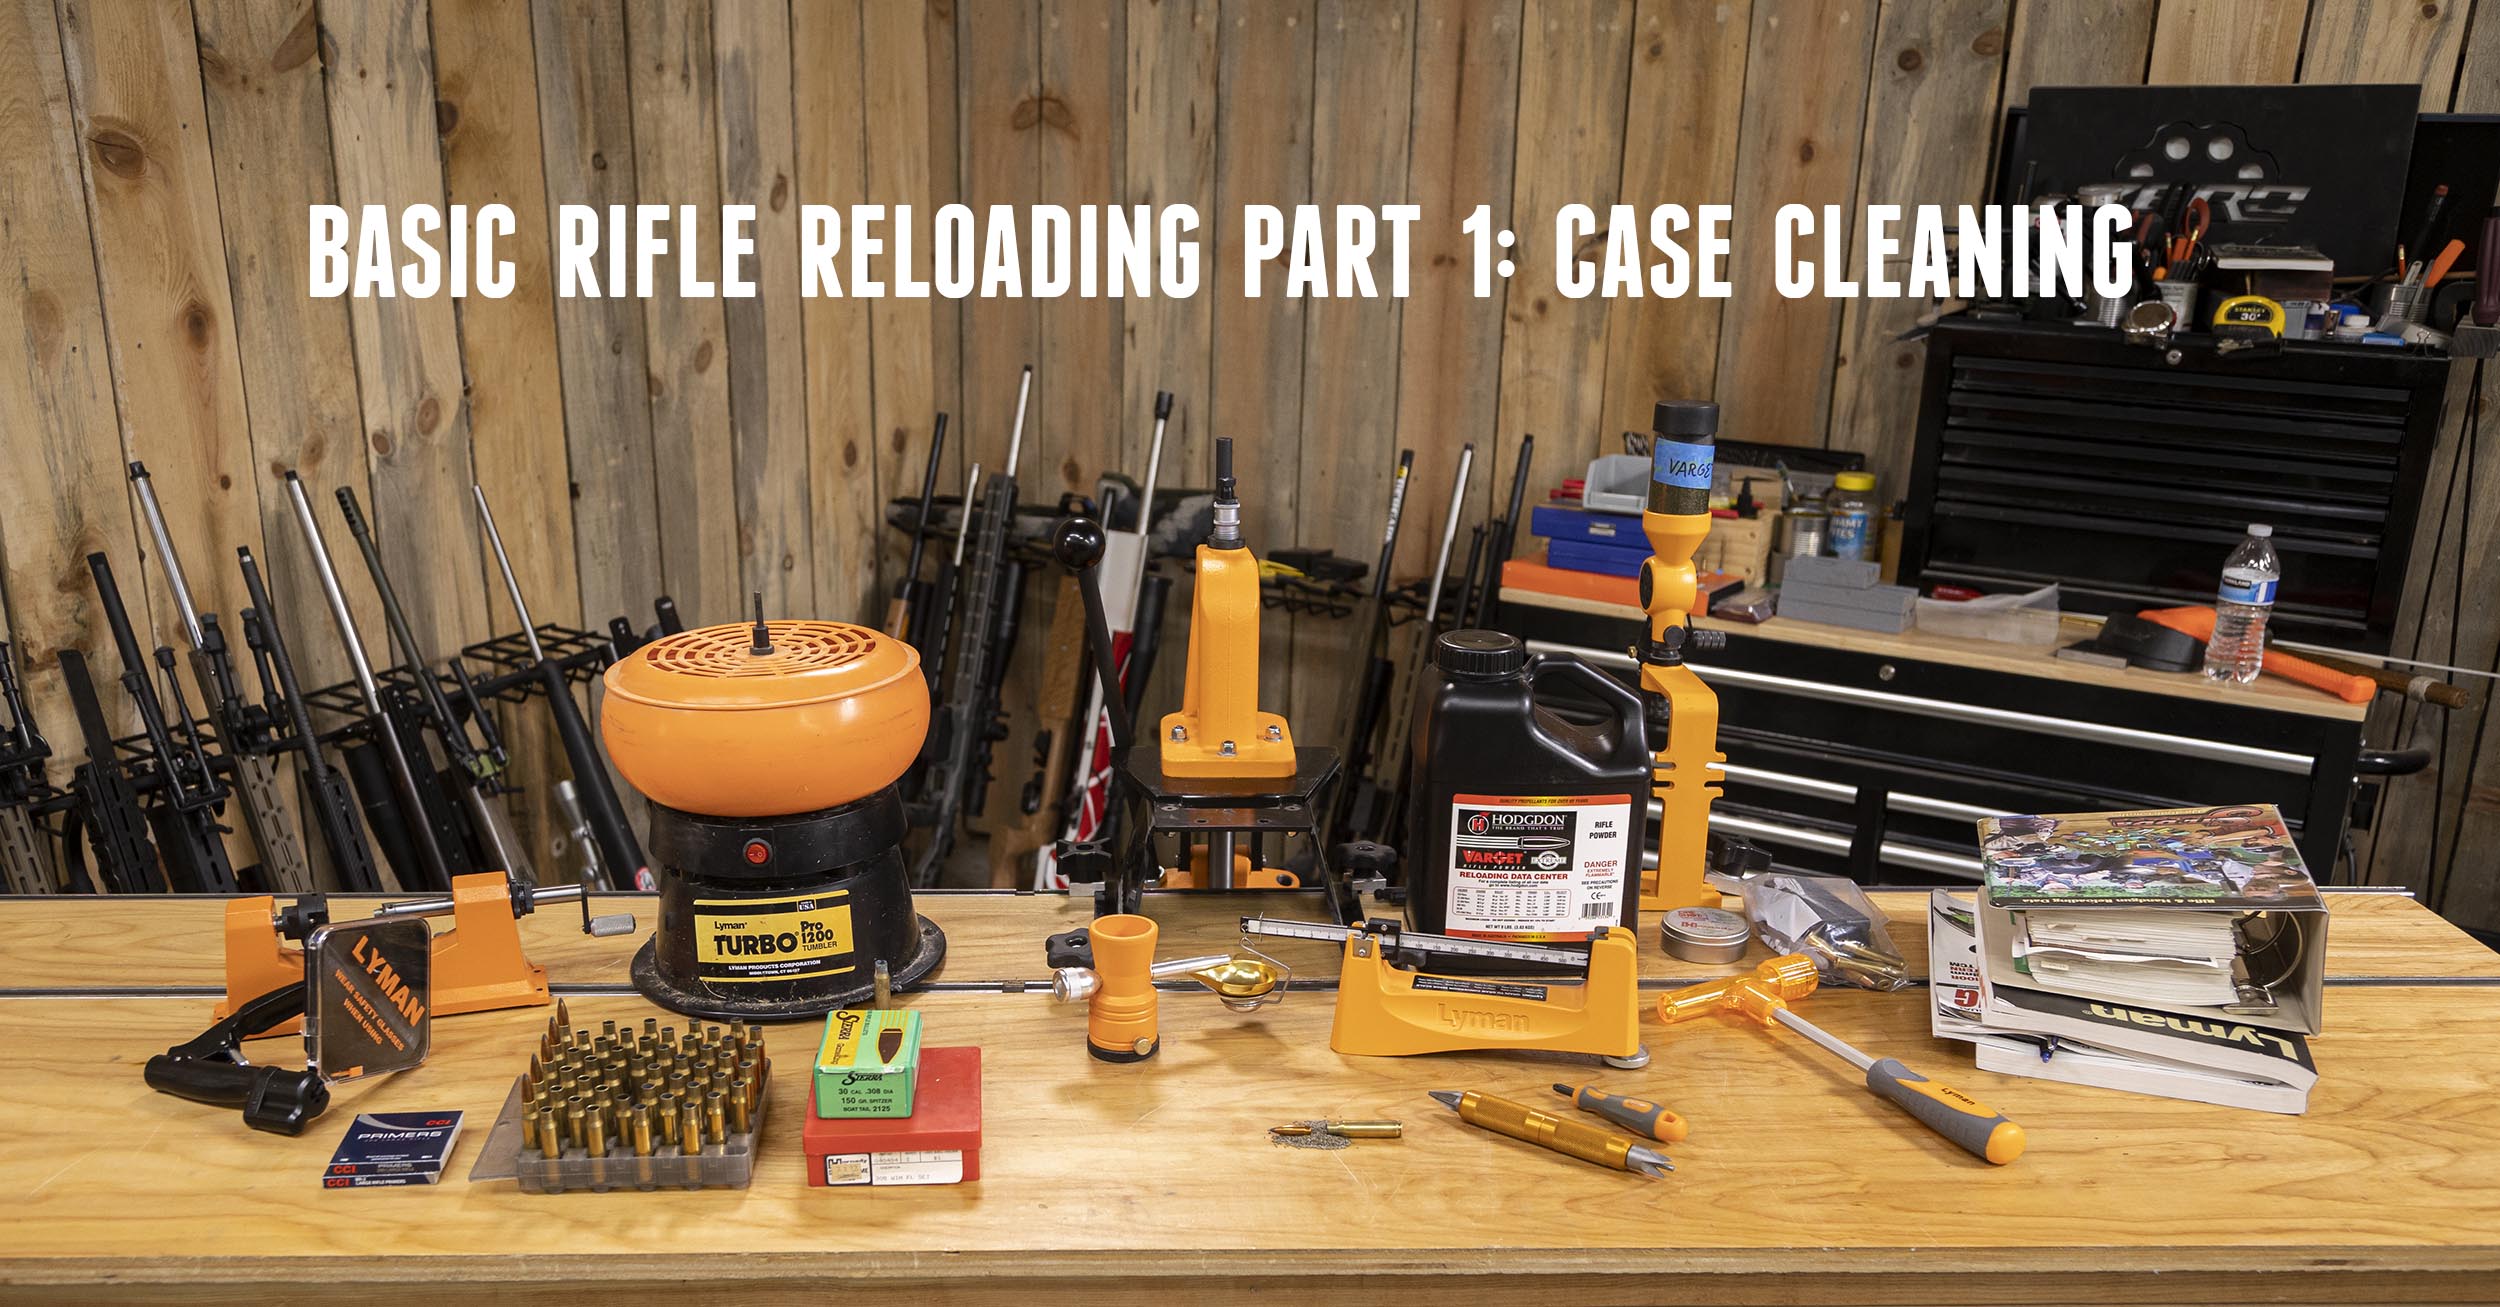
Rifle Reloading Basics Pt1: Safety and Brass Tumbling
Here at Ultimate Reloader, we use a lot of sophisticated equipment, but every person needs to start with the basics. In this series, we’ll review the basics of reloading for all the beginners out there, starting with cleaning brass! Disclaimer Ultimate Reloader LLC / Making with Metal Disclaimer: (by reading this article and/or watching video […]
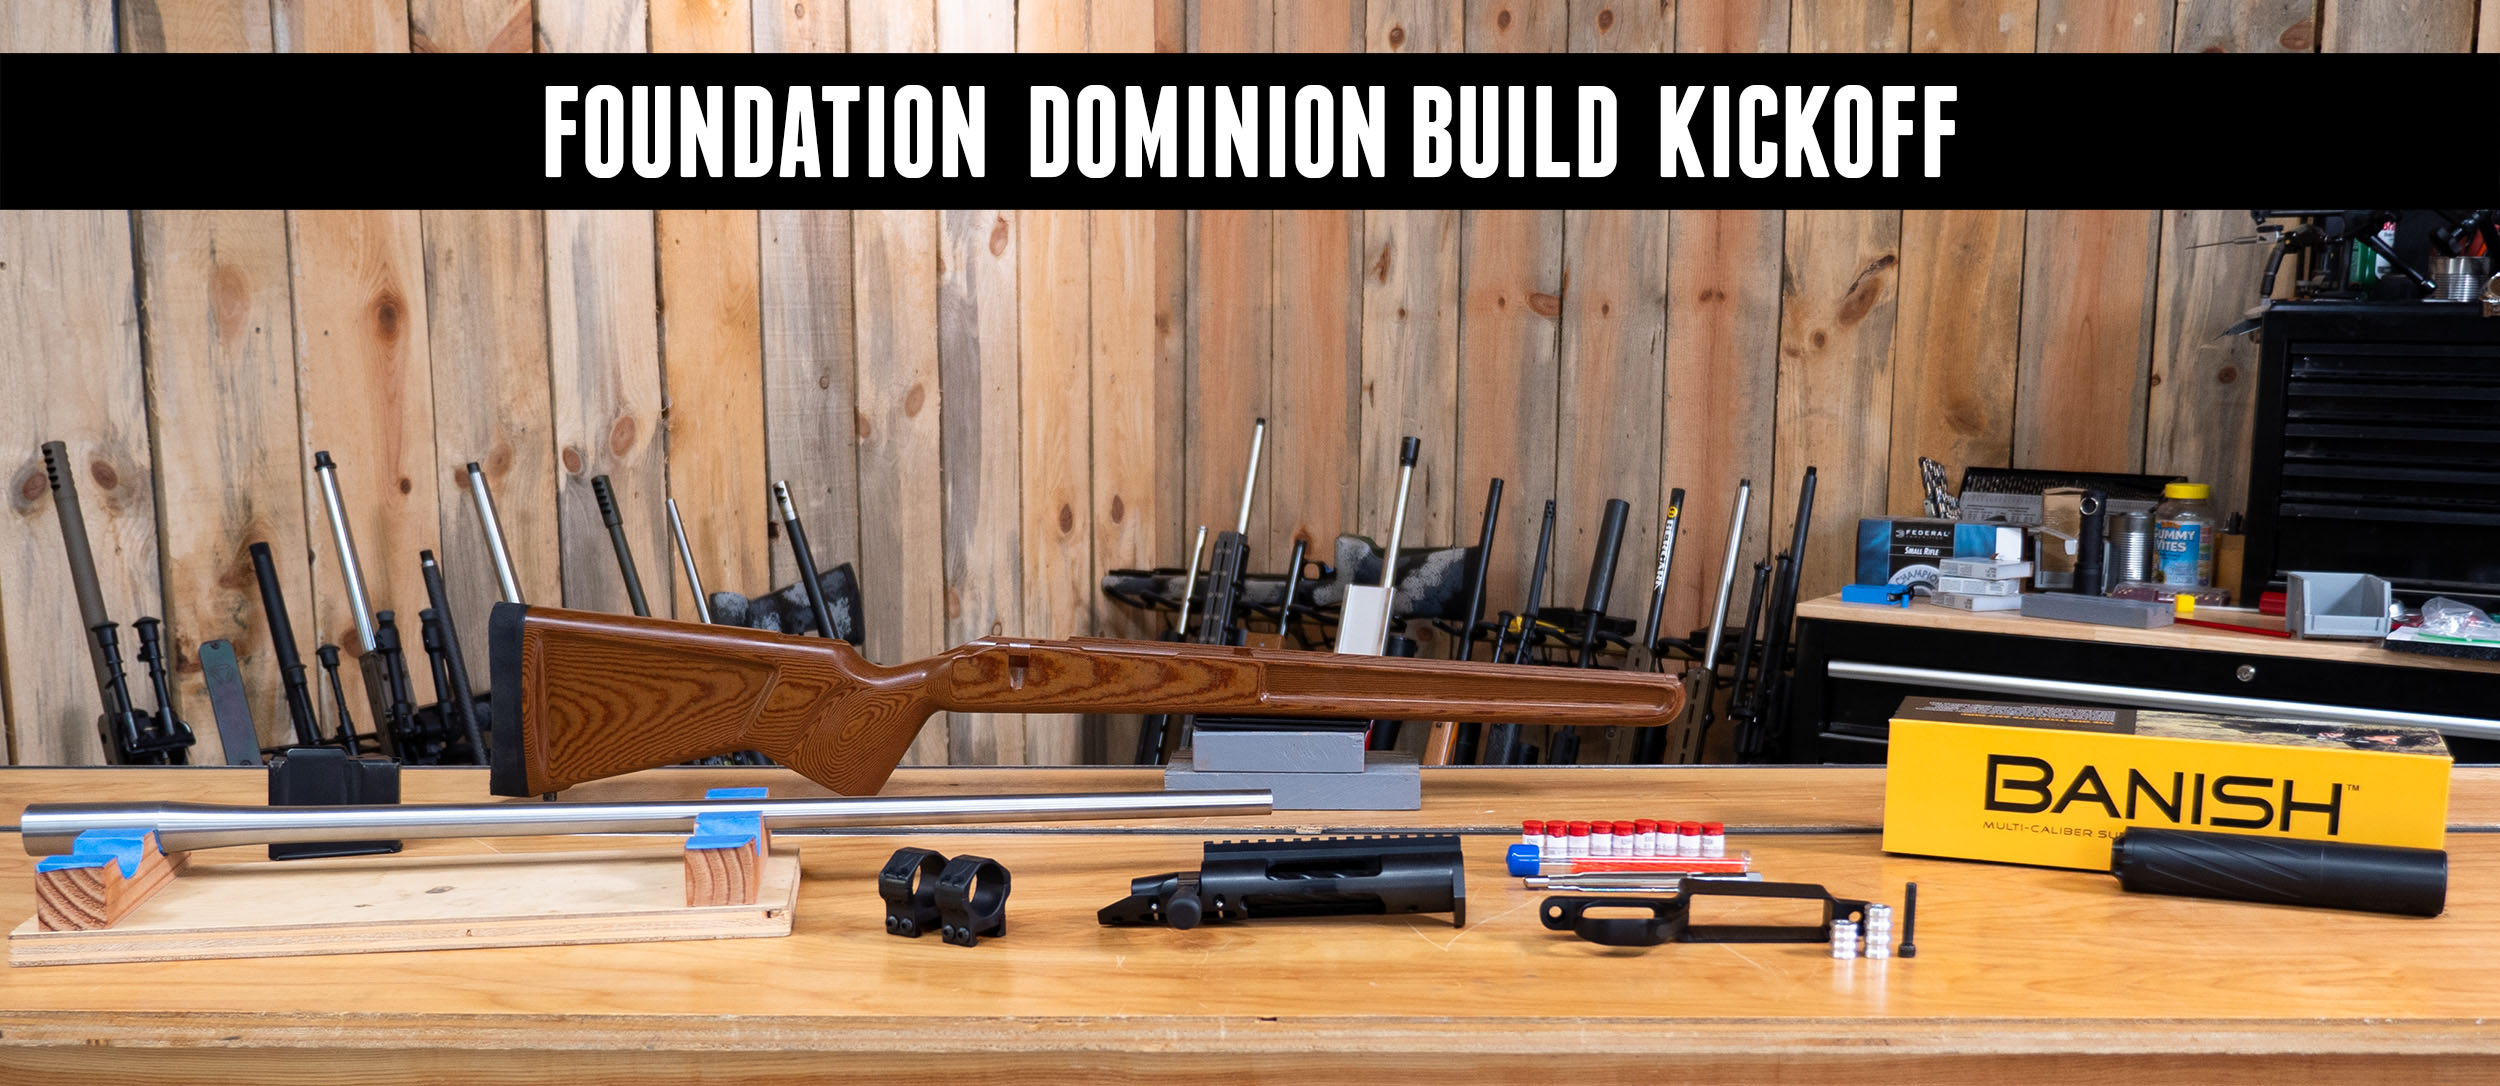
How short? 308 Shorty Build Kick-Off
Though I typically feature more modern cartridges in my rifle builds like the 7mm PRC, I’ve recently developed an affinity for the 308, partly due to testing the Bergara B-14² Crest. I’ll be basing my next rifle build (a 308 shorty) around the Foundation Dominion stock and BAT Igniter action, but need some help deciding on […]
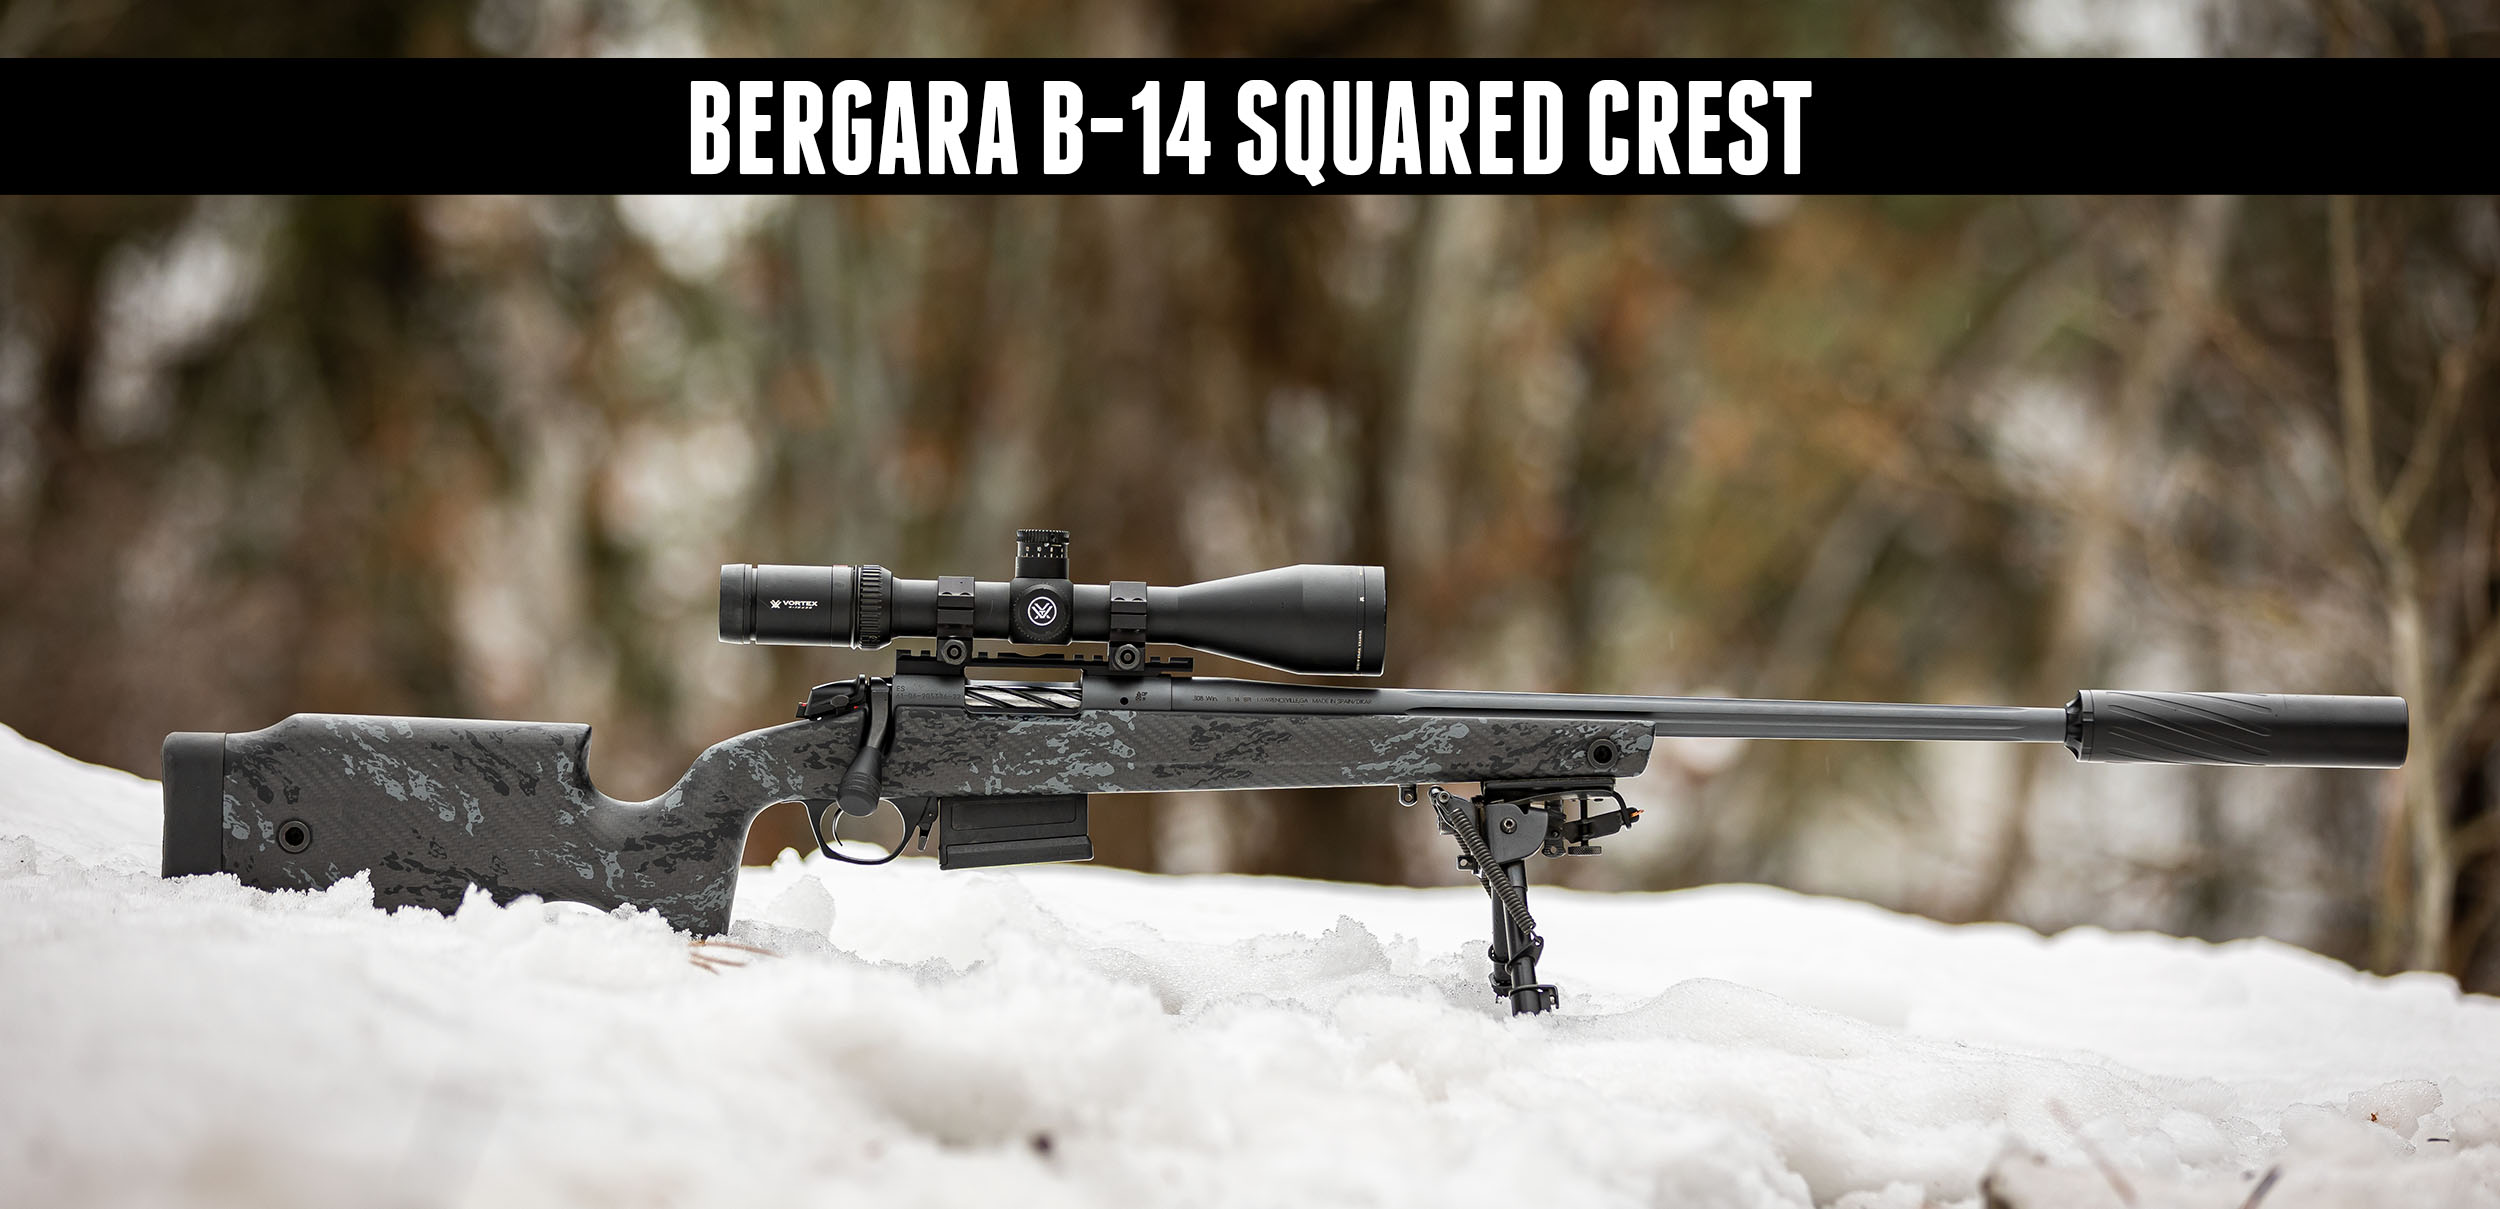
Hands-On: New Bergara B-14 Squared Crest
Bergara just announced the B-14 Squared Crest, an ultra lightweight hunting rifle with long range features. In this video, we’re giving you a hands-on look! Disclaimer Ultimate Reloader LLC / Making with Metal Disclaimer: (by reading this article and/or watching video content you accept these terms). The content on this website (including videos, articles, ammunition […]
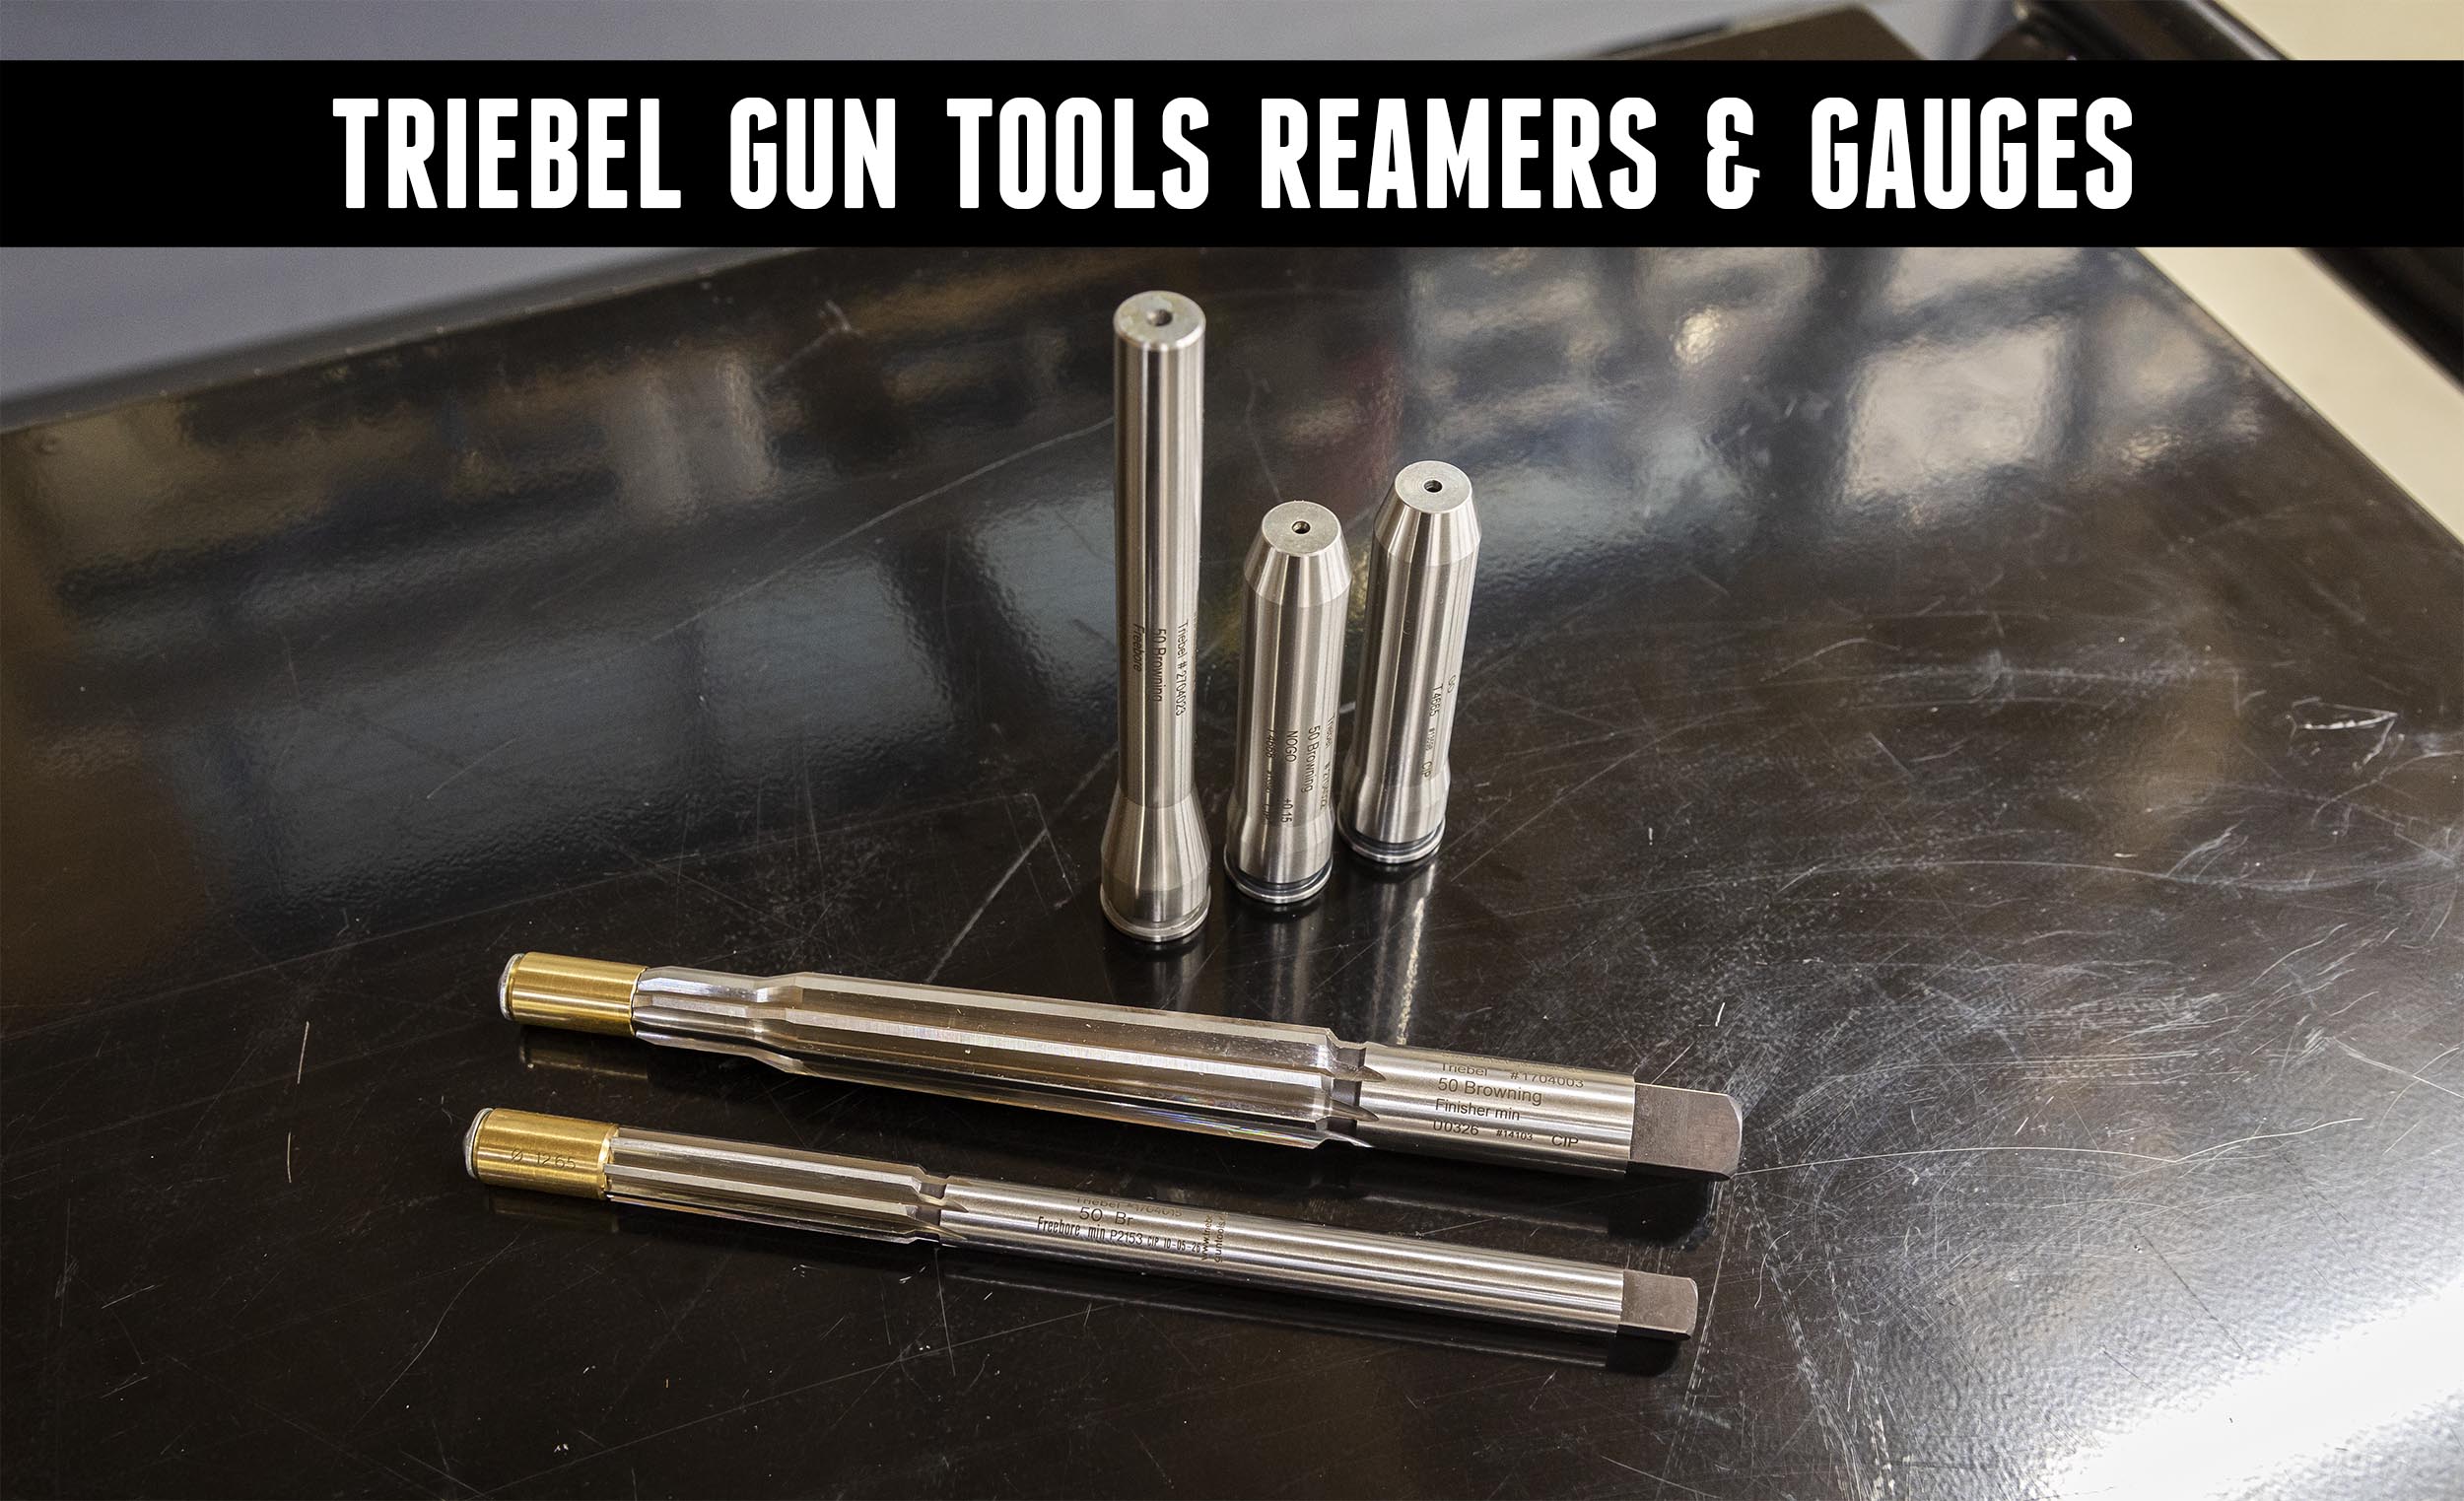
Overview: Triebel Reamers and Gauges from Germany
Triebel Gun Tools makes high quality reamers, gauges, reloading dies and other tools. In this story, we take a look at the Triebel tools at Ultimate Reloader, and give a brief overview of the reamers and gauges offered by Triebel. Disclaimer Ultimate Reloader LLC / Making with Metal Disclaimer: (by reading this article and/or watching […]
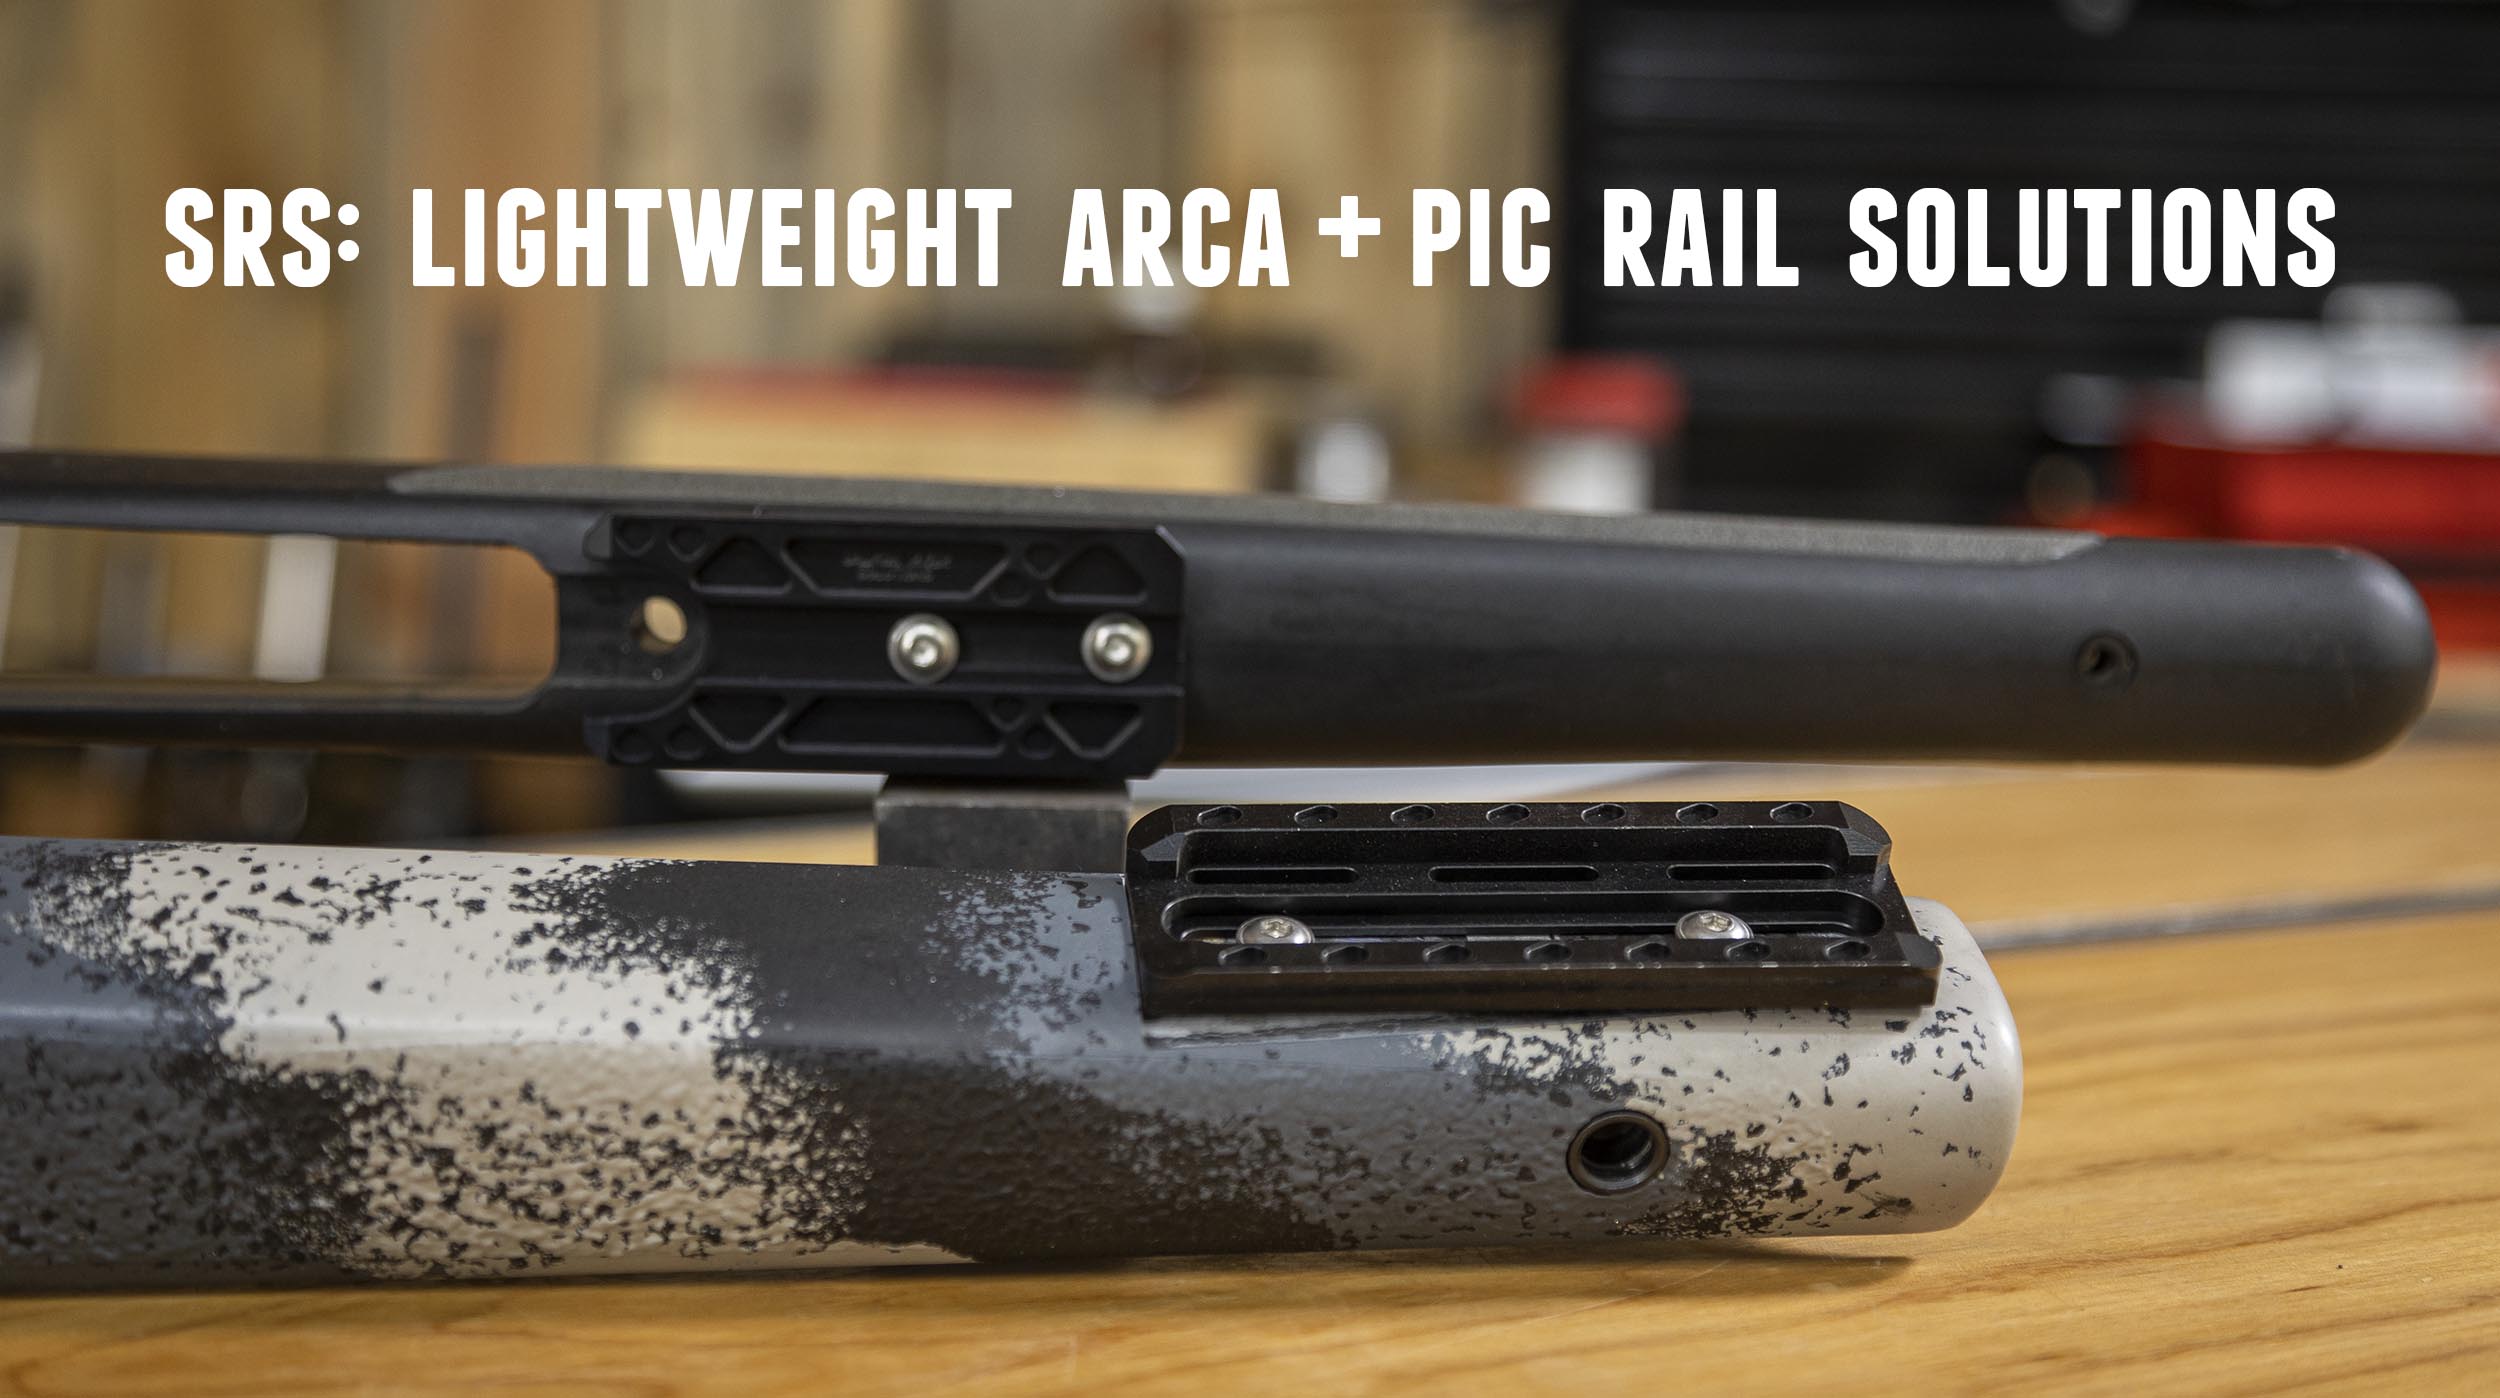
AWESOME Light-Weight Rails from SRS (Arca, Picatinny, Combo)
Salmon River Solutions (SRS) makes a number of specialty rails — let’s take a closer look. Disclaimer Ultimate Reloader LLC / Making with Metal Disclaimer: (by reading this article and/or watching video content you accept these terms). The content on this website (including videos, articles, ammunition reloading data, technical articles, gunsmithing and other information) […]
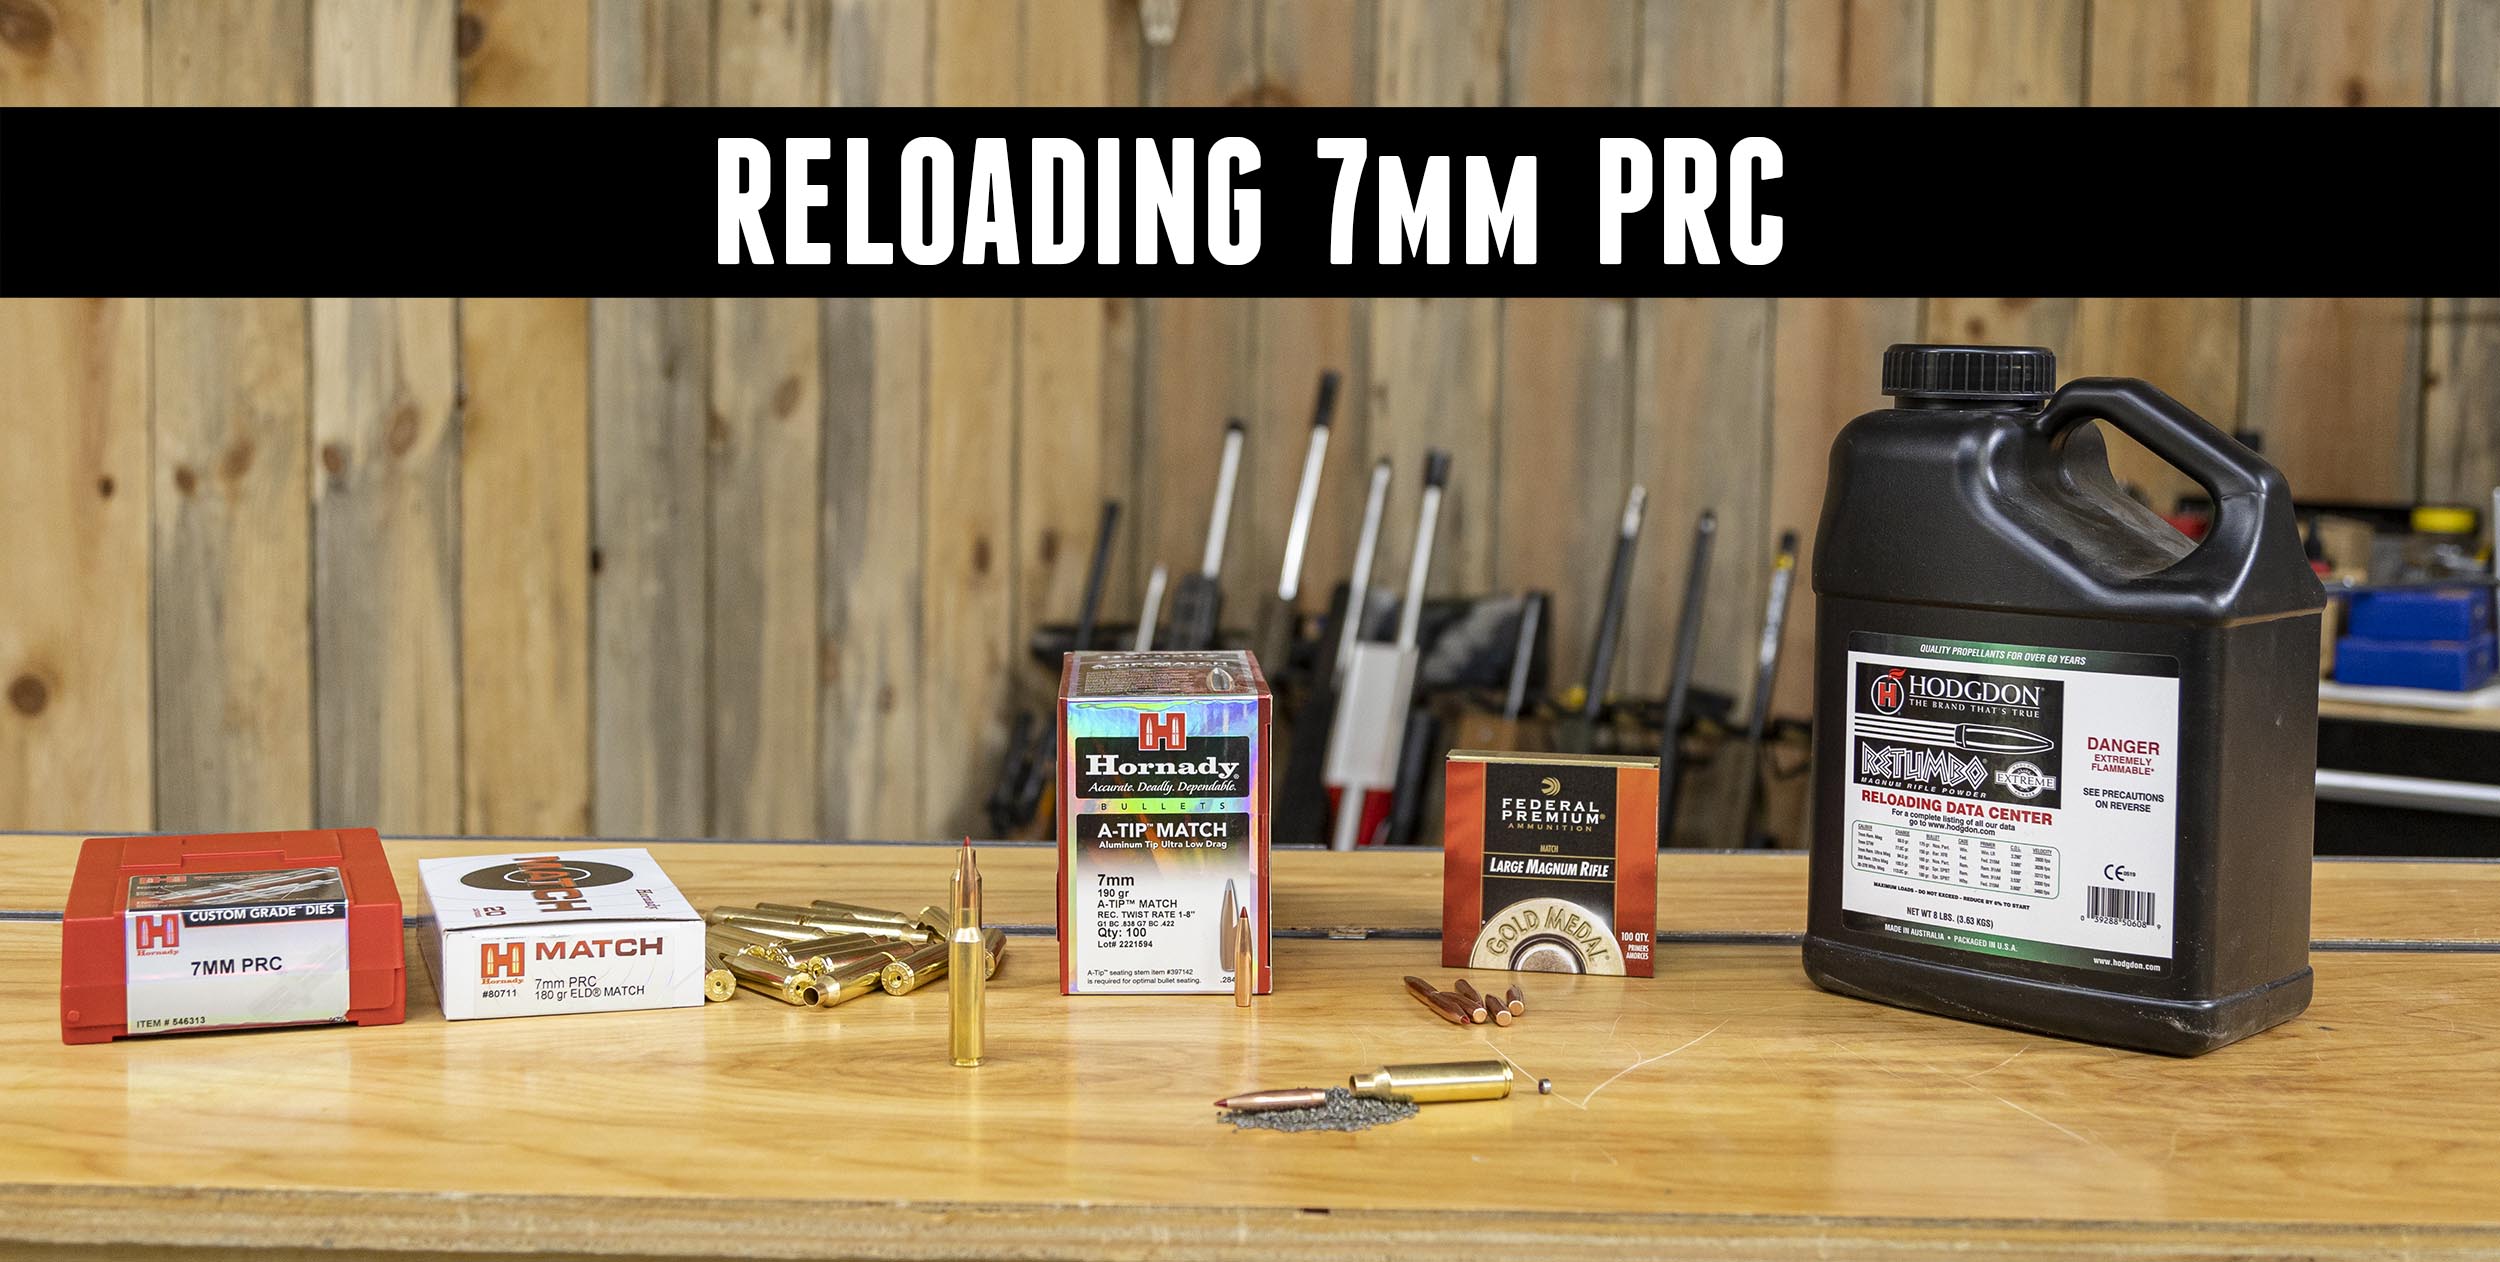
7mm PRC Reloading: What You’ll Need
Want to know what it takes to load 7mm PRC? Disclaimer Ultimate Reloader LLC / Making with Metal Disclaimer: (by reading this article and/or watching video content you accept these terms). The content on this website (including videos, articles, ammunition reloading data, technical articles, gunsmithing and other information) is for demonstration purposes only. Do not […]
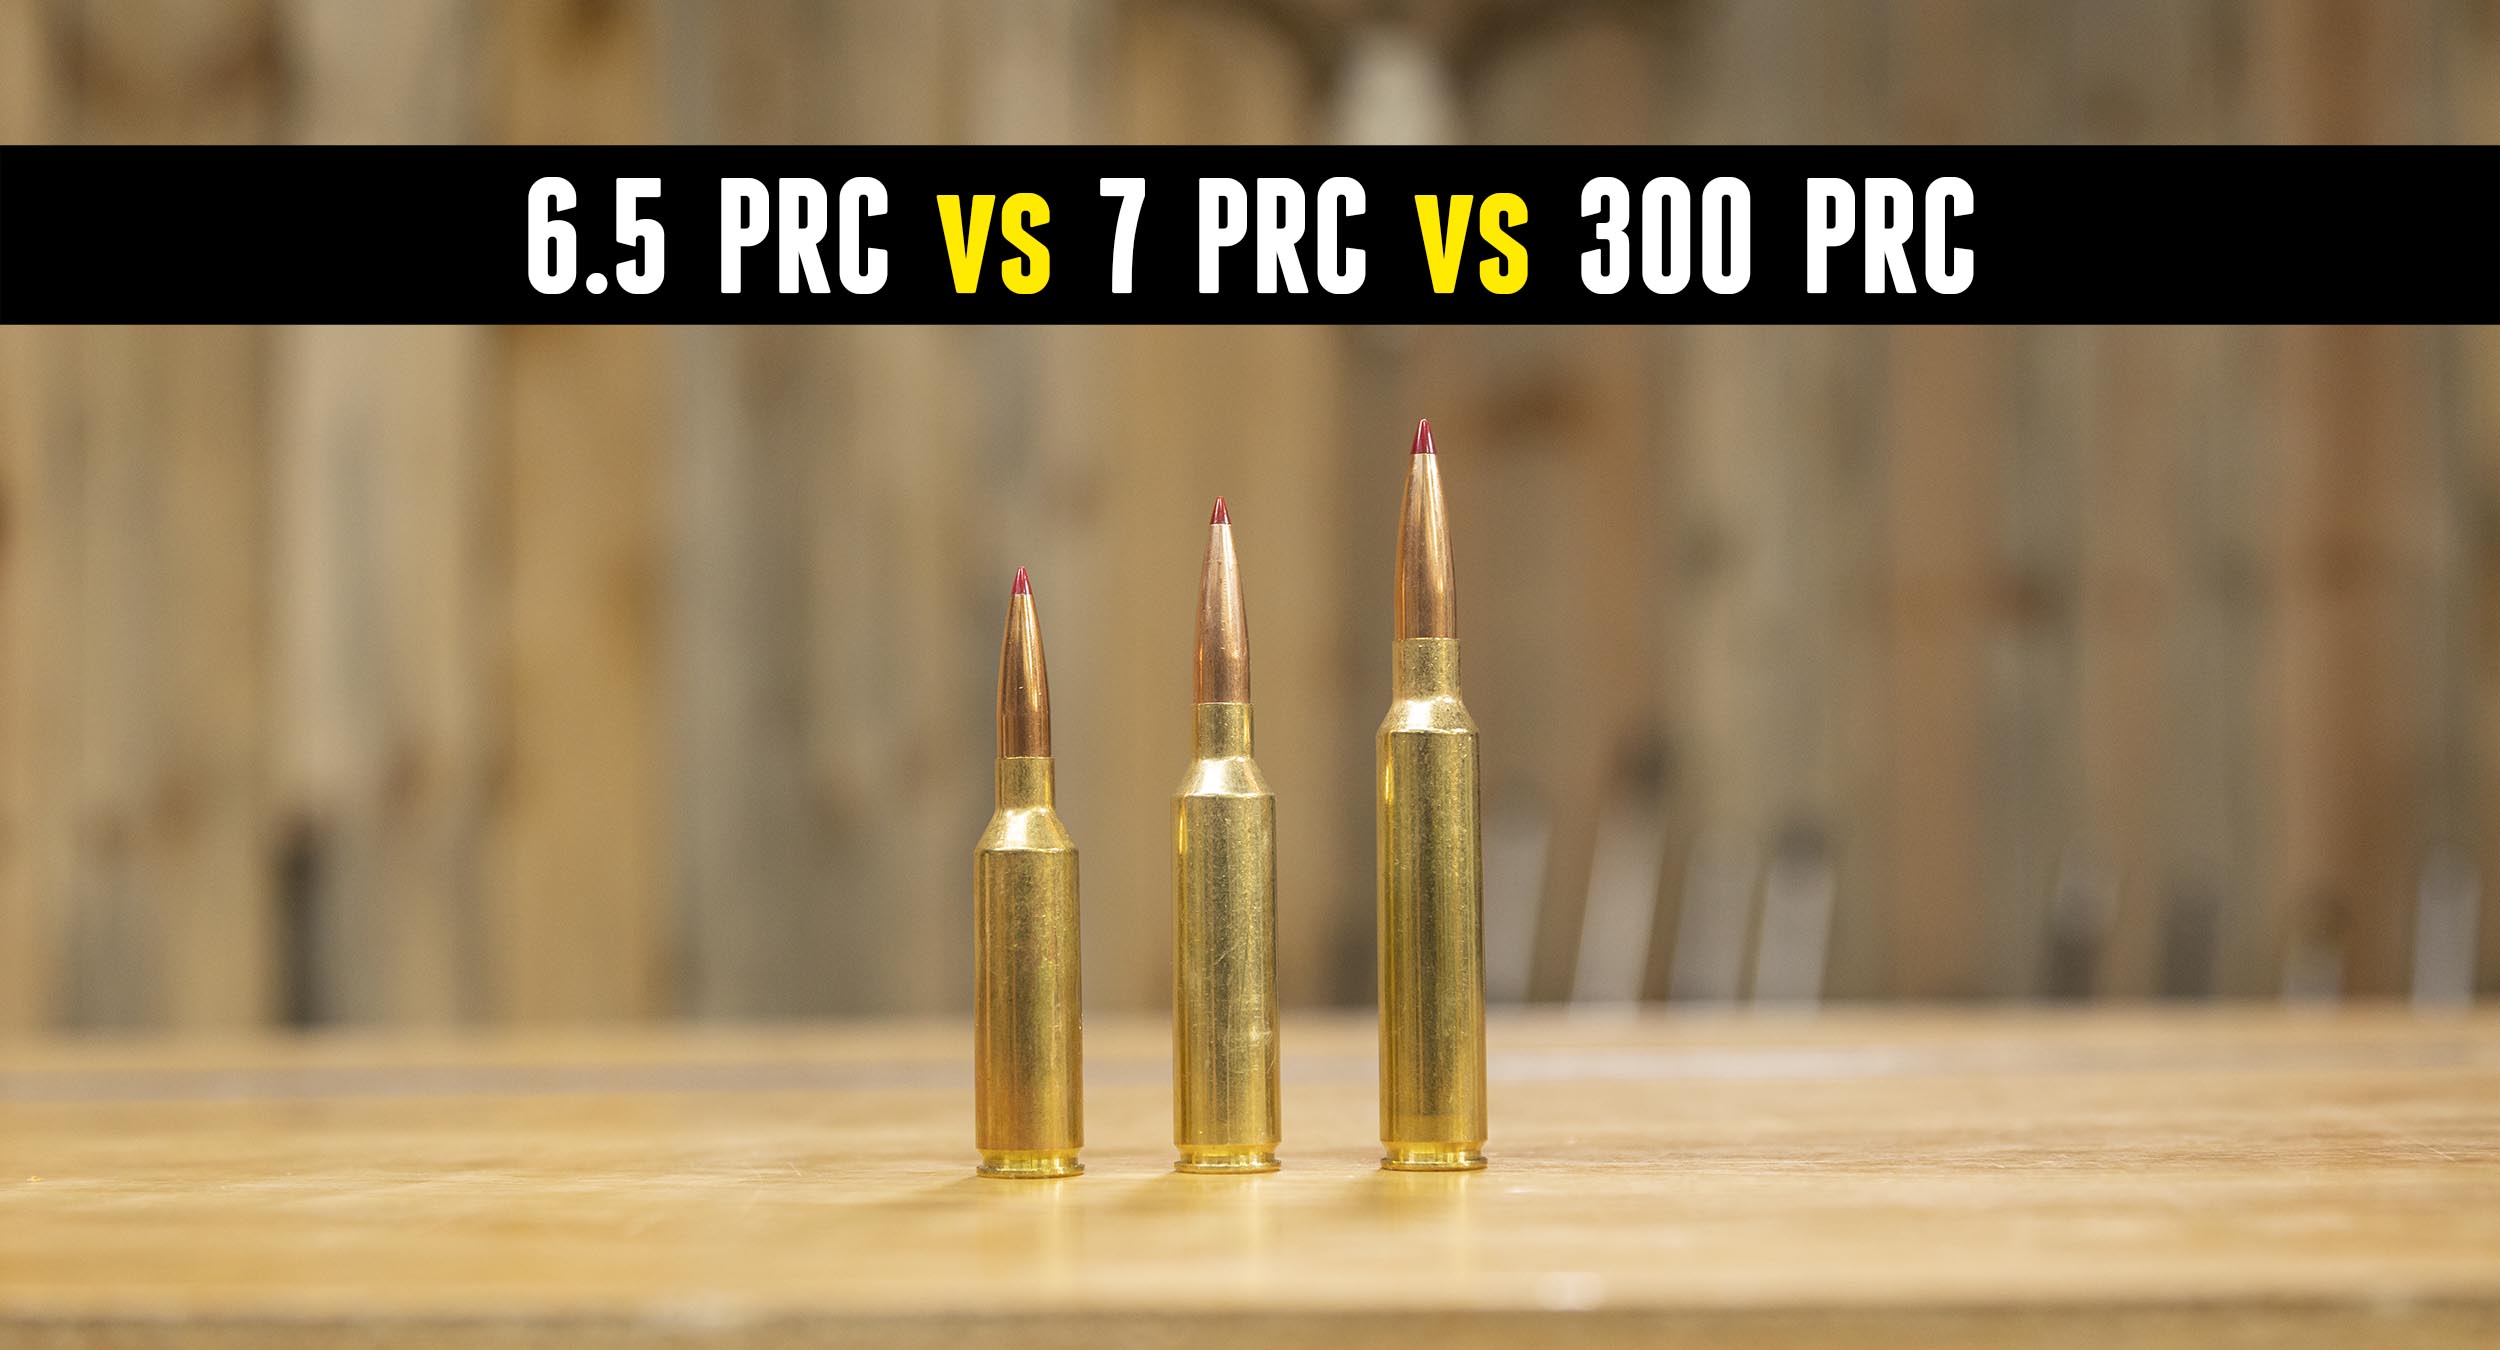
7mm PRC vs. 6.5 PRC vs. 300 PRC
With the announcement of the new 7mm PRC cartridge, we’re comparing it to 6.5 PRC and 300 PRC to see how it stacks up! Disclaimer Ultimate Reloader LLC / Making with Metal Disclaimer: (by reading this article and/or watching video content you accept these terms). The content on this website (including videos, articles, ammunition reloading […]
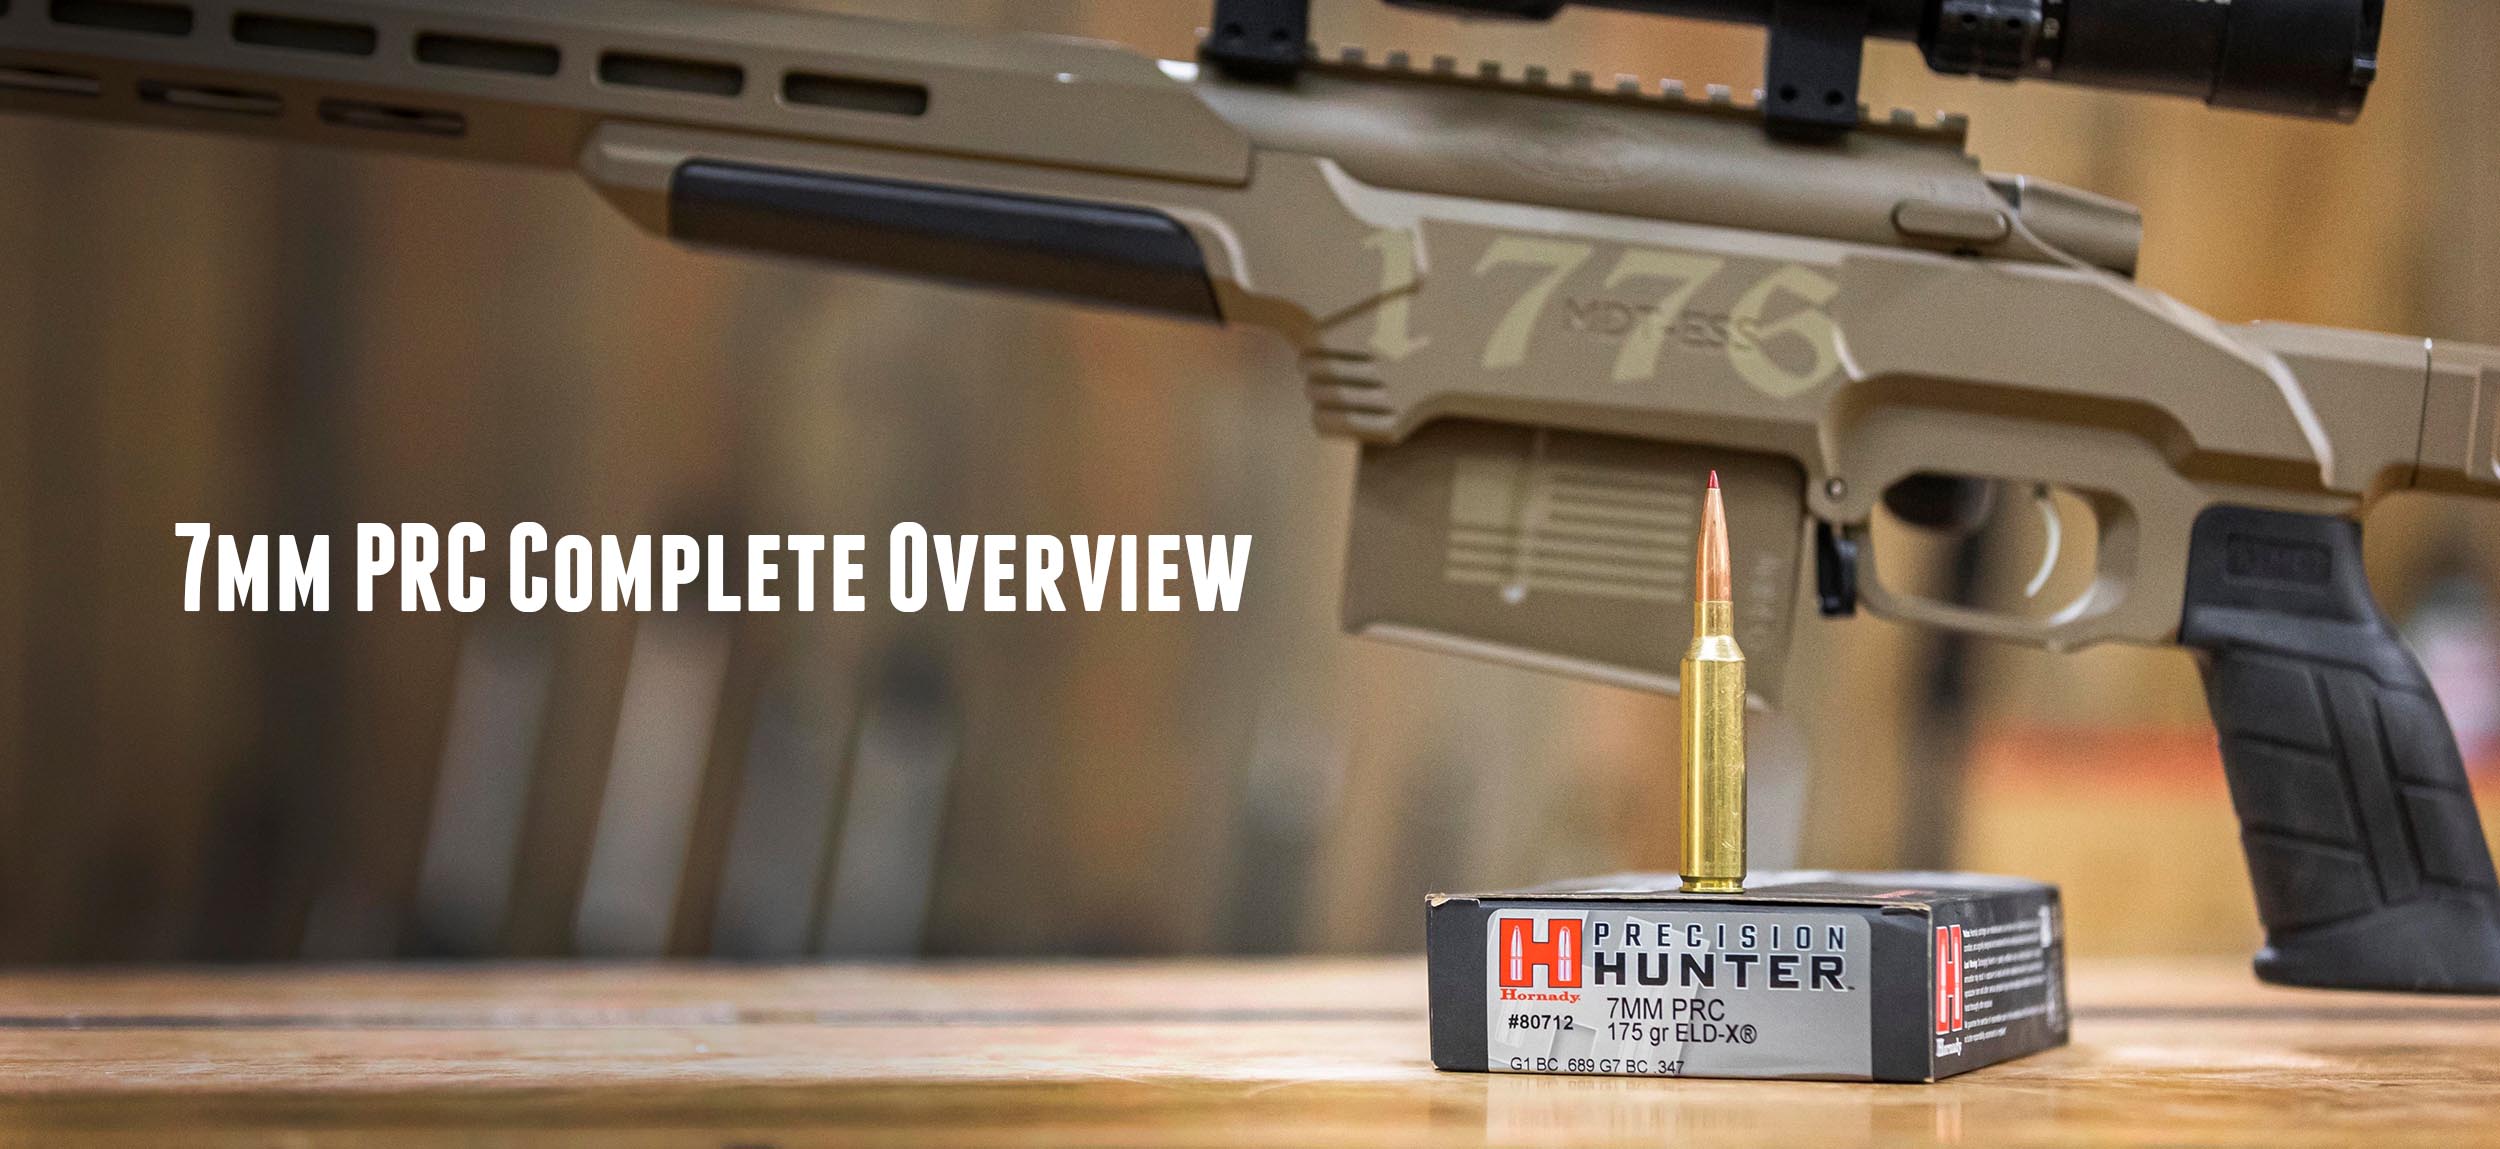
NEW 7mm PRC: Complete Overview
The 7mm PRC is HERE! In this story I’ll give a complete overview of this new cartridge including specs, a comparison with other cartridges in its class, talk 7mm PRC ballistics, and give you a preview of much more 7mm PRC content that’s coming! Disclaimer Ultimate Reloader LLC / Making with Metal Disclaimer: (by reading […]
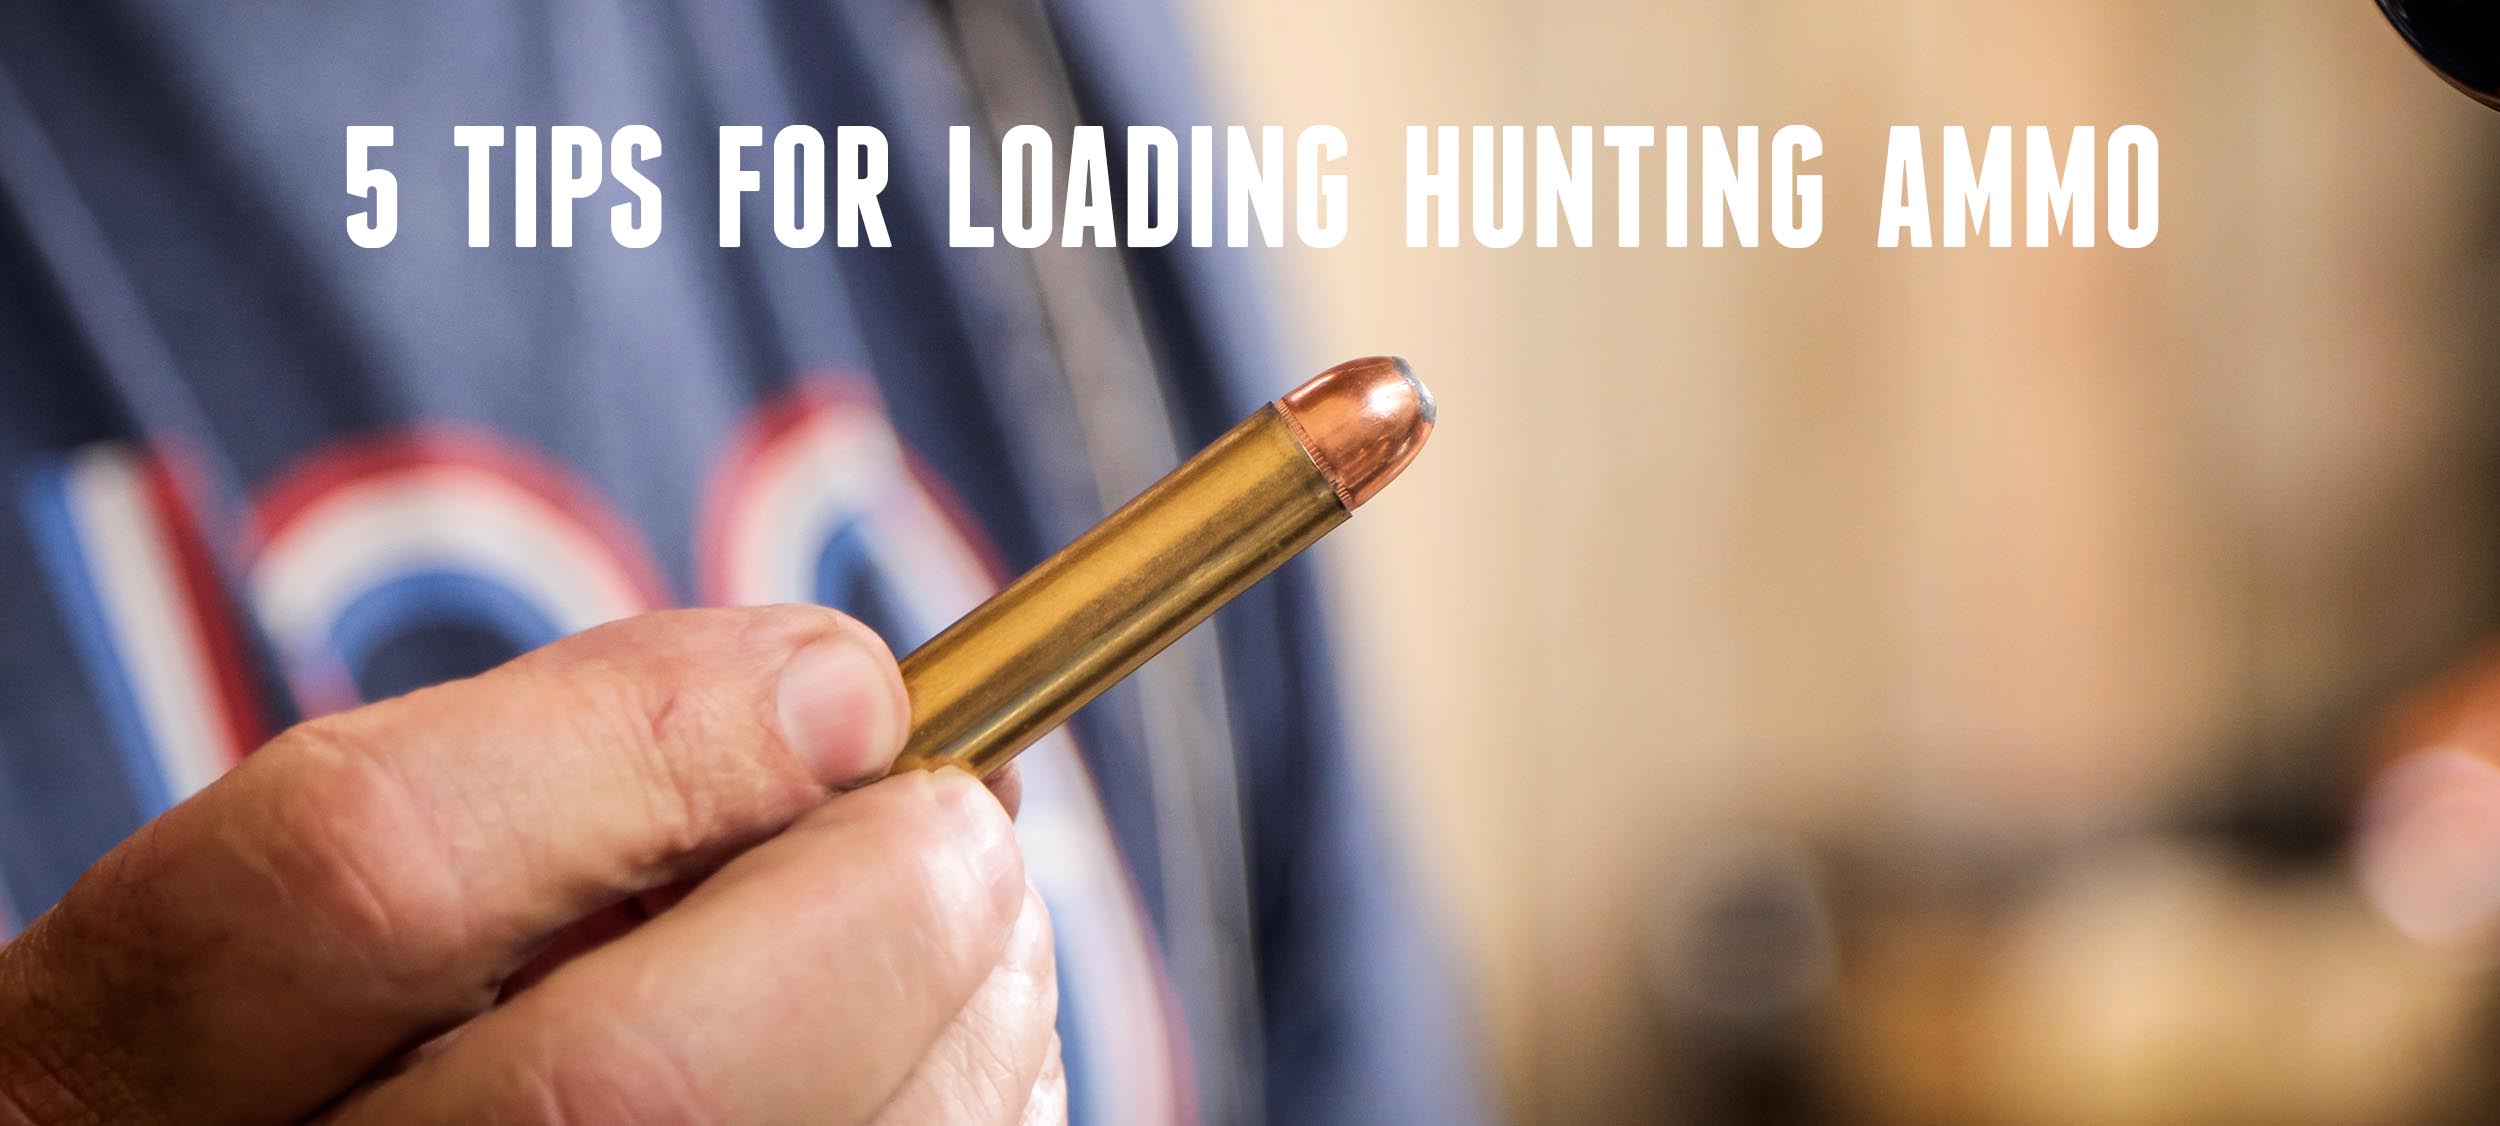
Considerations when Loading Hunting Ammo
You’ve made that careful stalk, gotten within range and selected your animal. The crosshairs are steady. You press the trigger and “click!” Ears and tails come up, hoofbeats sound, and they’re gone. Sighing in disappointment, you try to figure out what went wrong. Make sure your ammo is perfect for your hunting trip! Here are […]
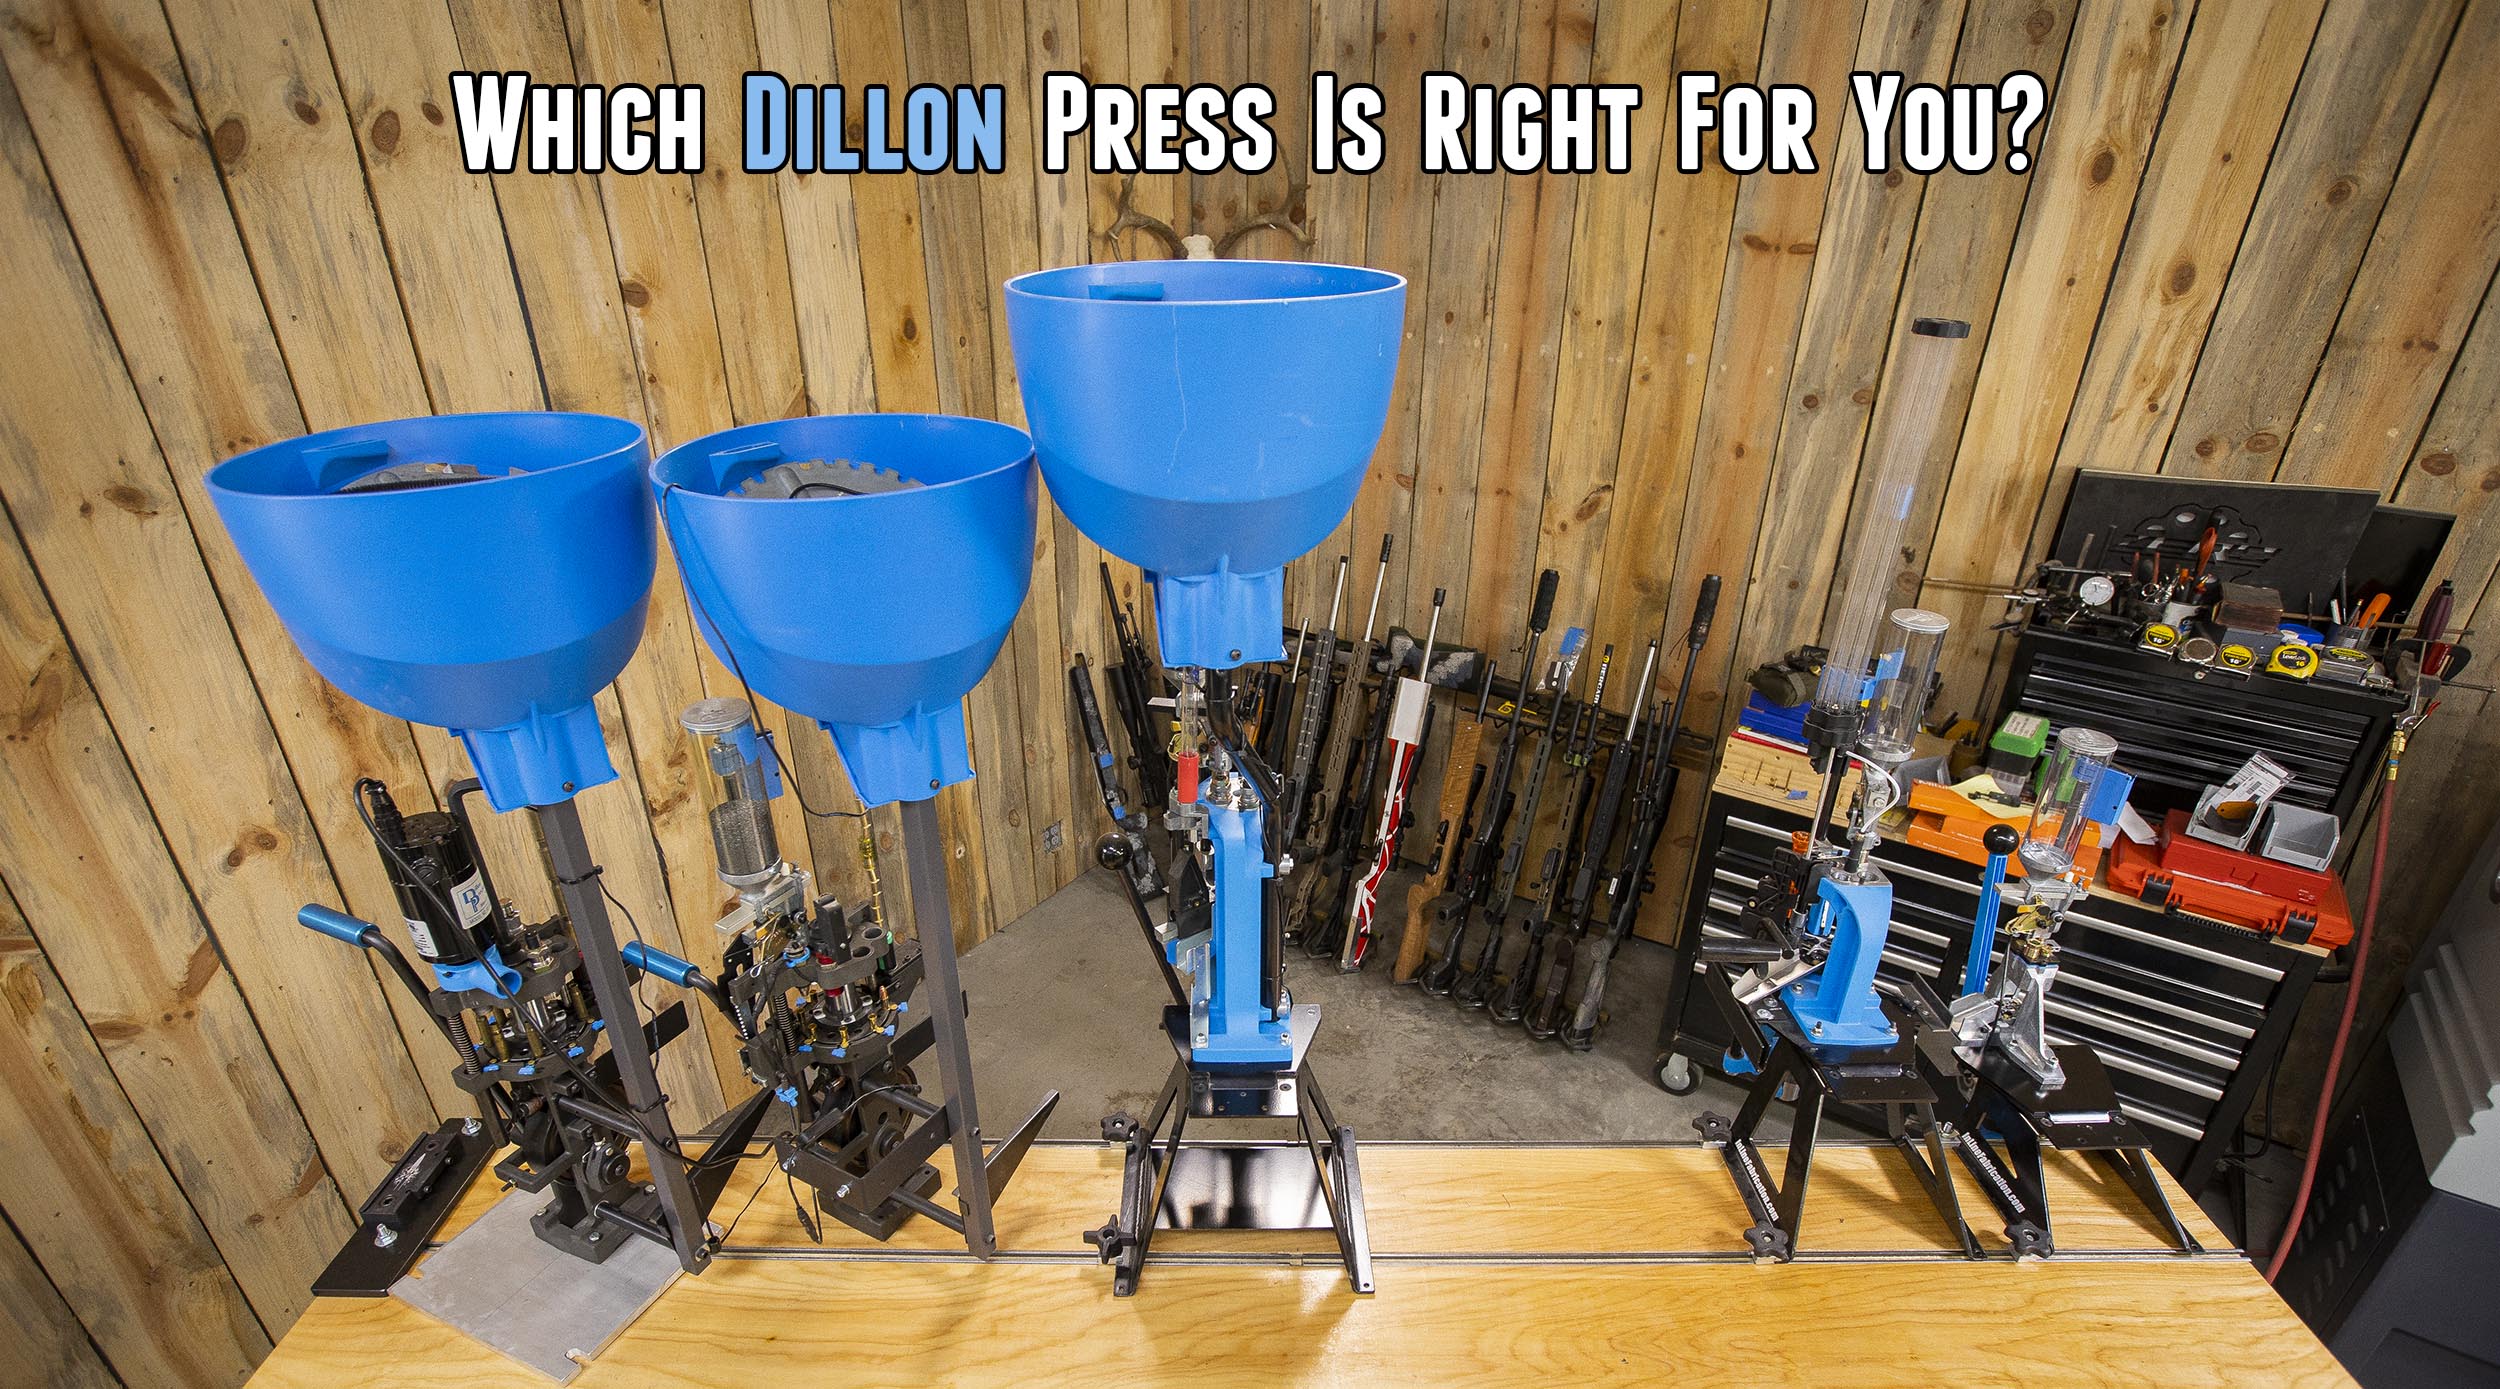
Dillon Reloading Press Buyer’s Guide
Dillon Precision has a number of presses to choose from. How do you choose? Disclaimer Ultimate Reloader LLC / Making with Metal Disclaimer: (by reading this article and/or watching video content you accept these terms). The content on this website (including videos, articles, ammunition reloading data, technical articles, gunsmithing and other information) is for demonstration […]
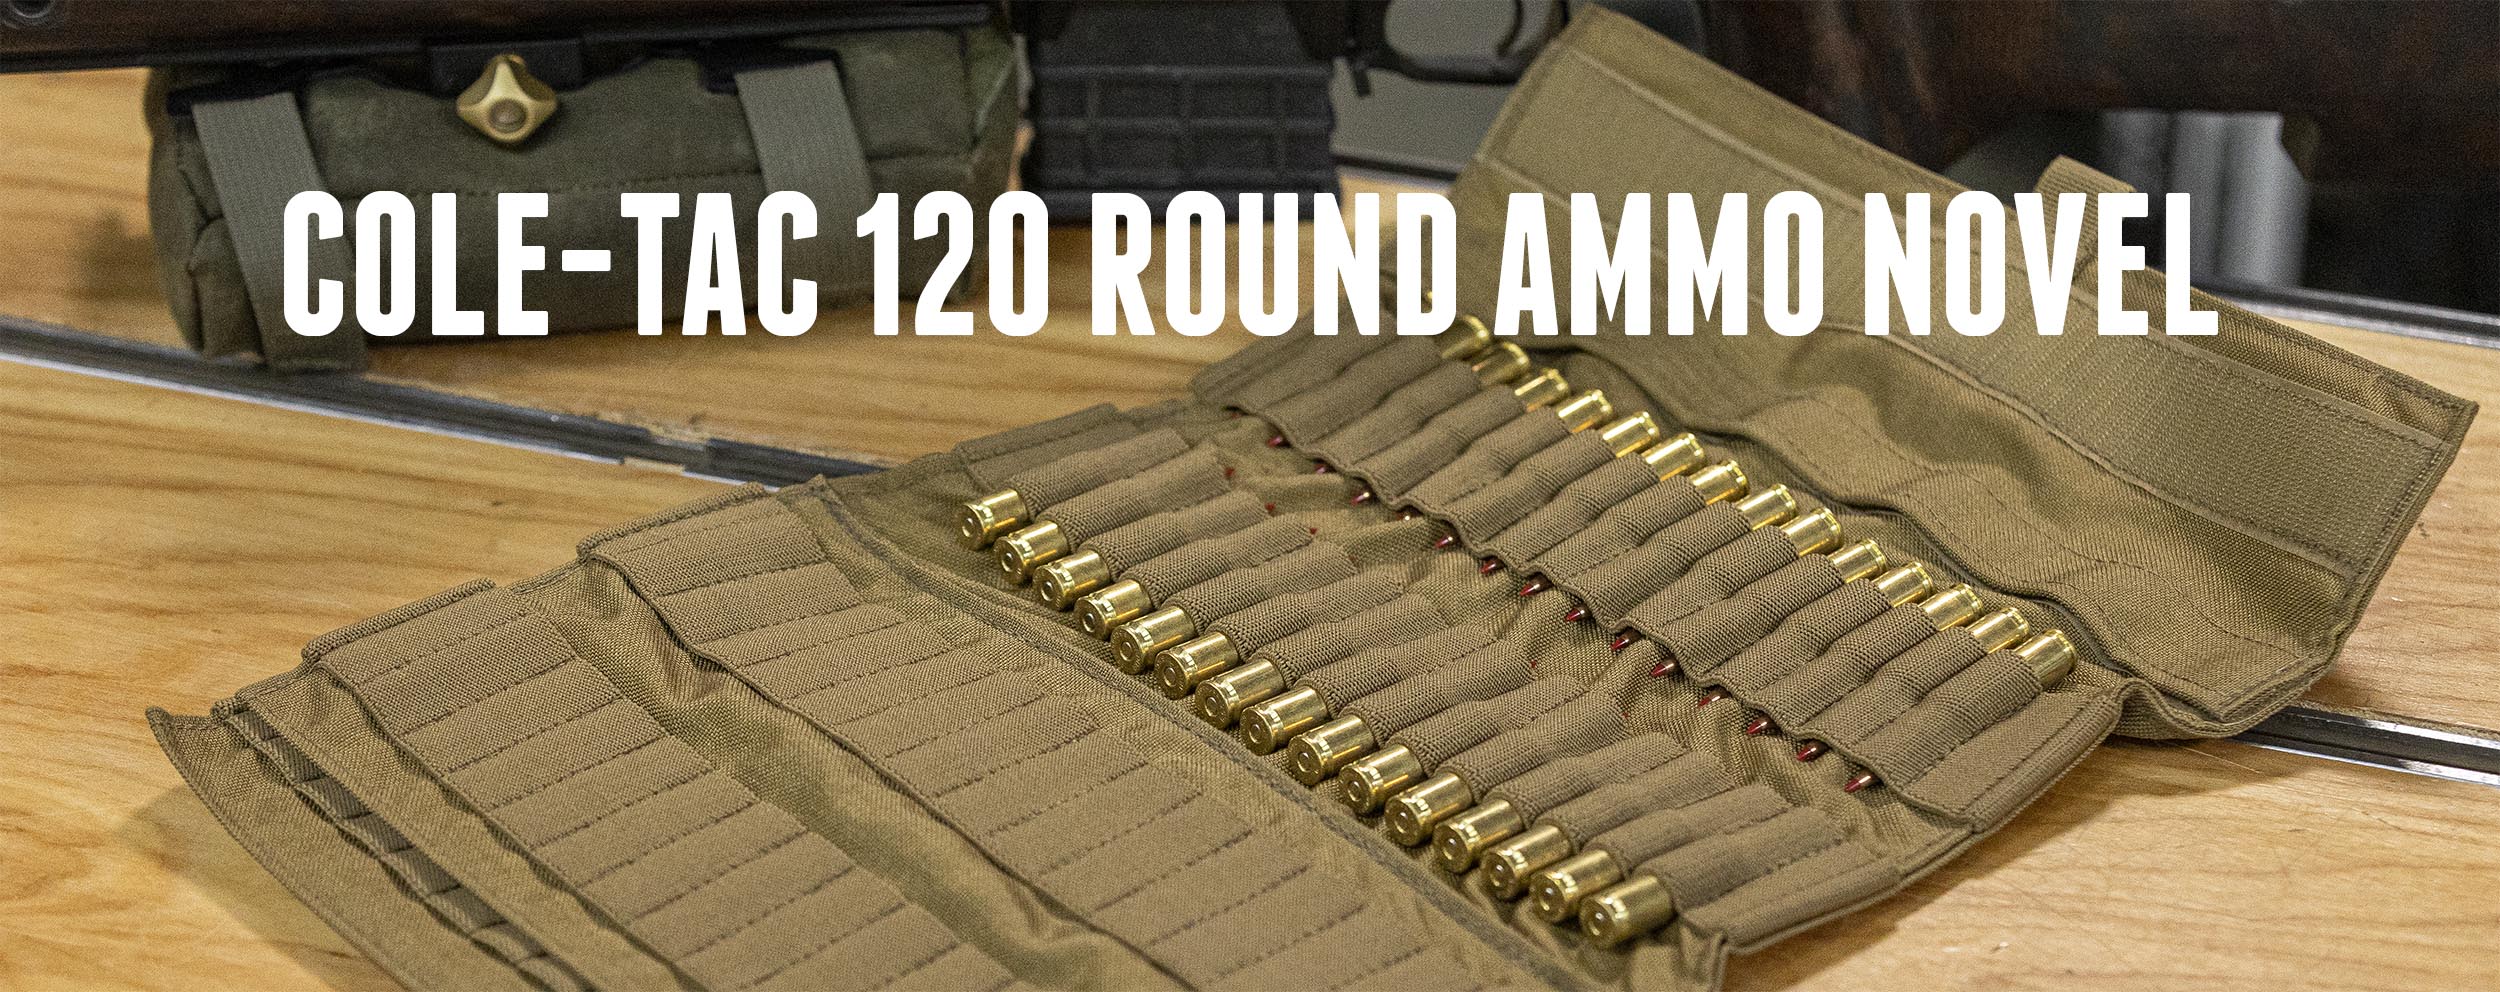
Quick Look: Cole-TAC Ammo Novel
Looking for a compact way to store your bolt-gun ammo? Check out the Ammo Novel from Cole-TAC. Disclaimer Ultimate Reloader LLC / Making with Metal Disclaimer: (by reading this article and/or watching video content you accept these terms). The content on this website (including videos, articles, ammunition reloading data, technical articles, gunsmithing and other information) […]
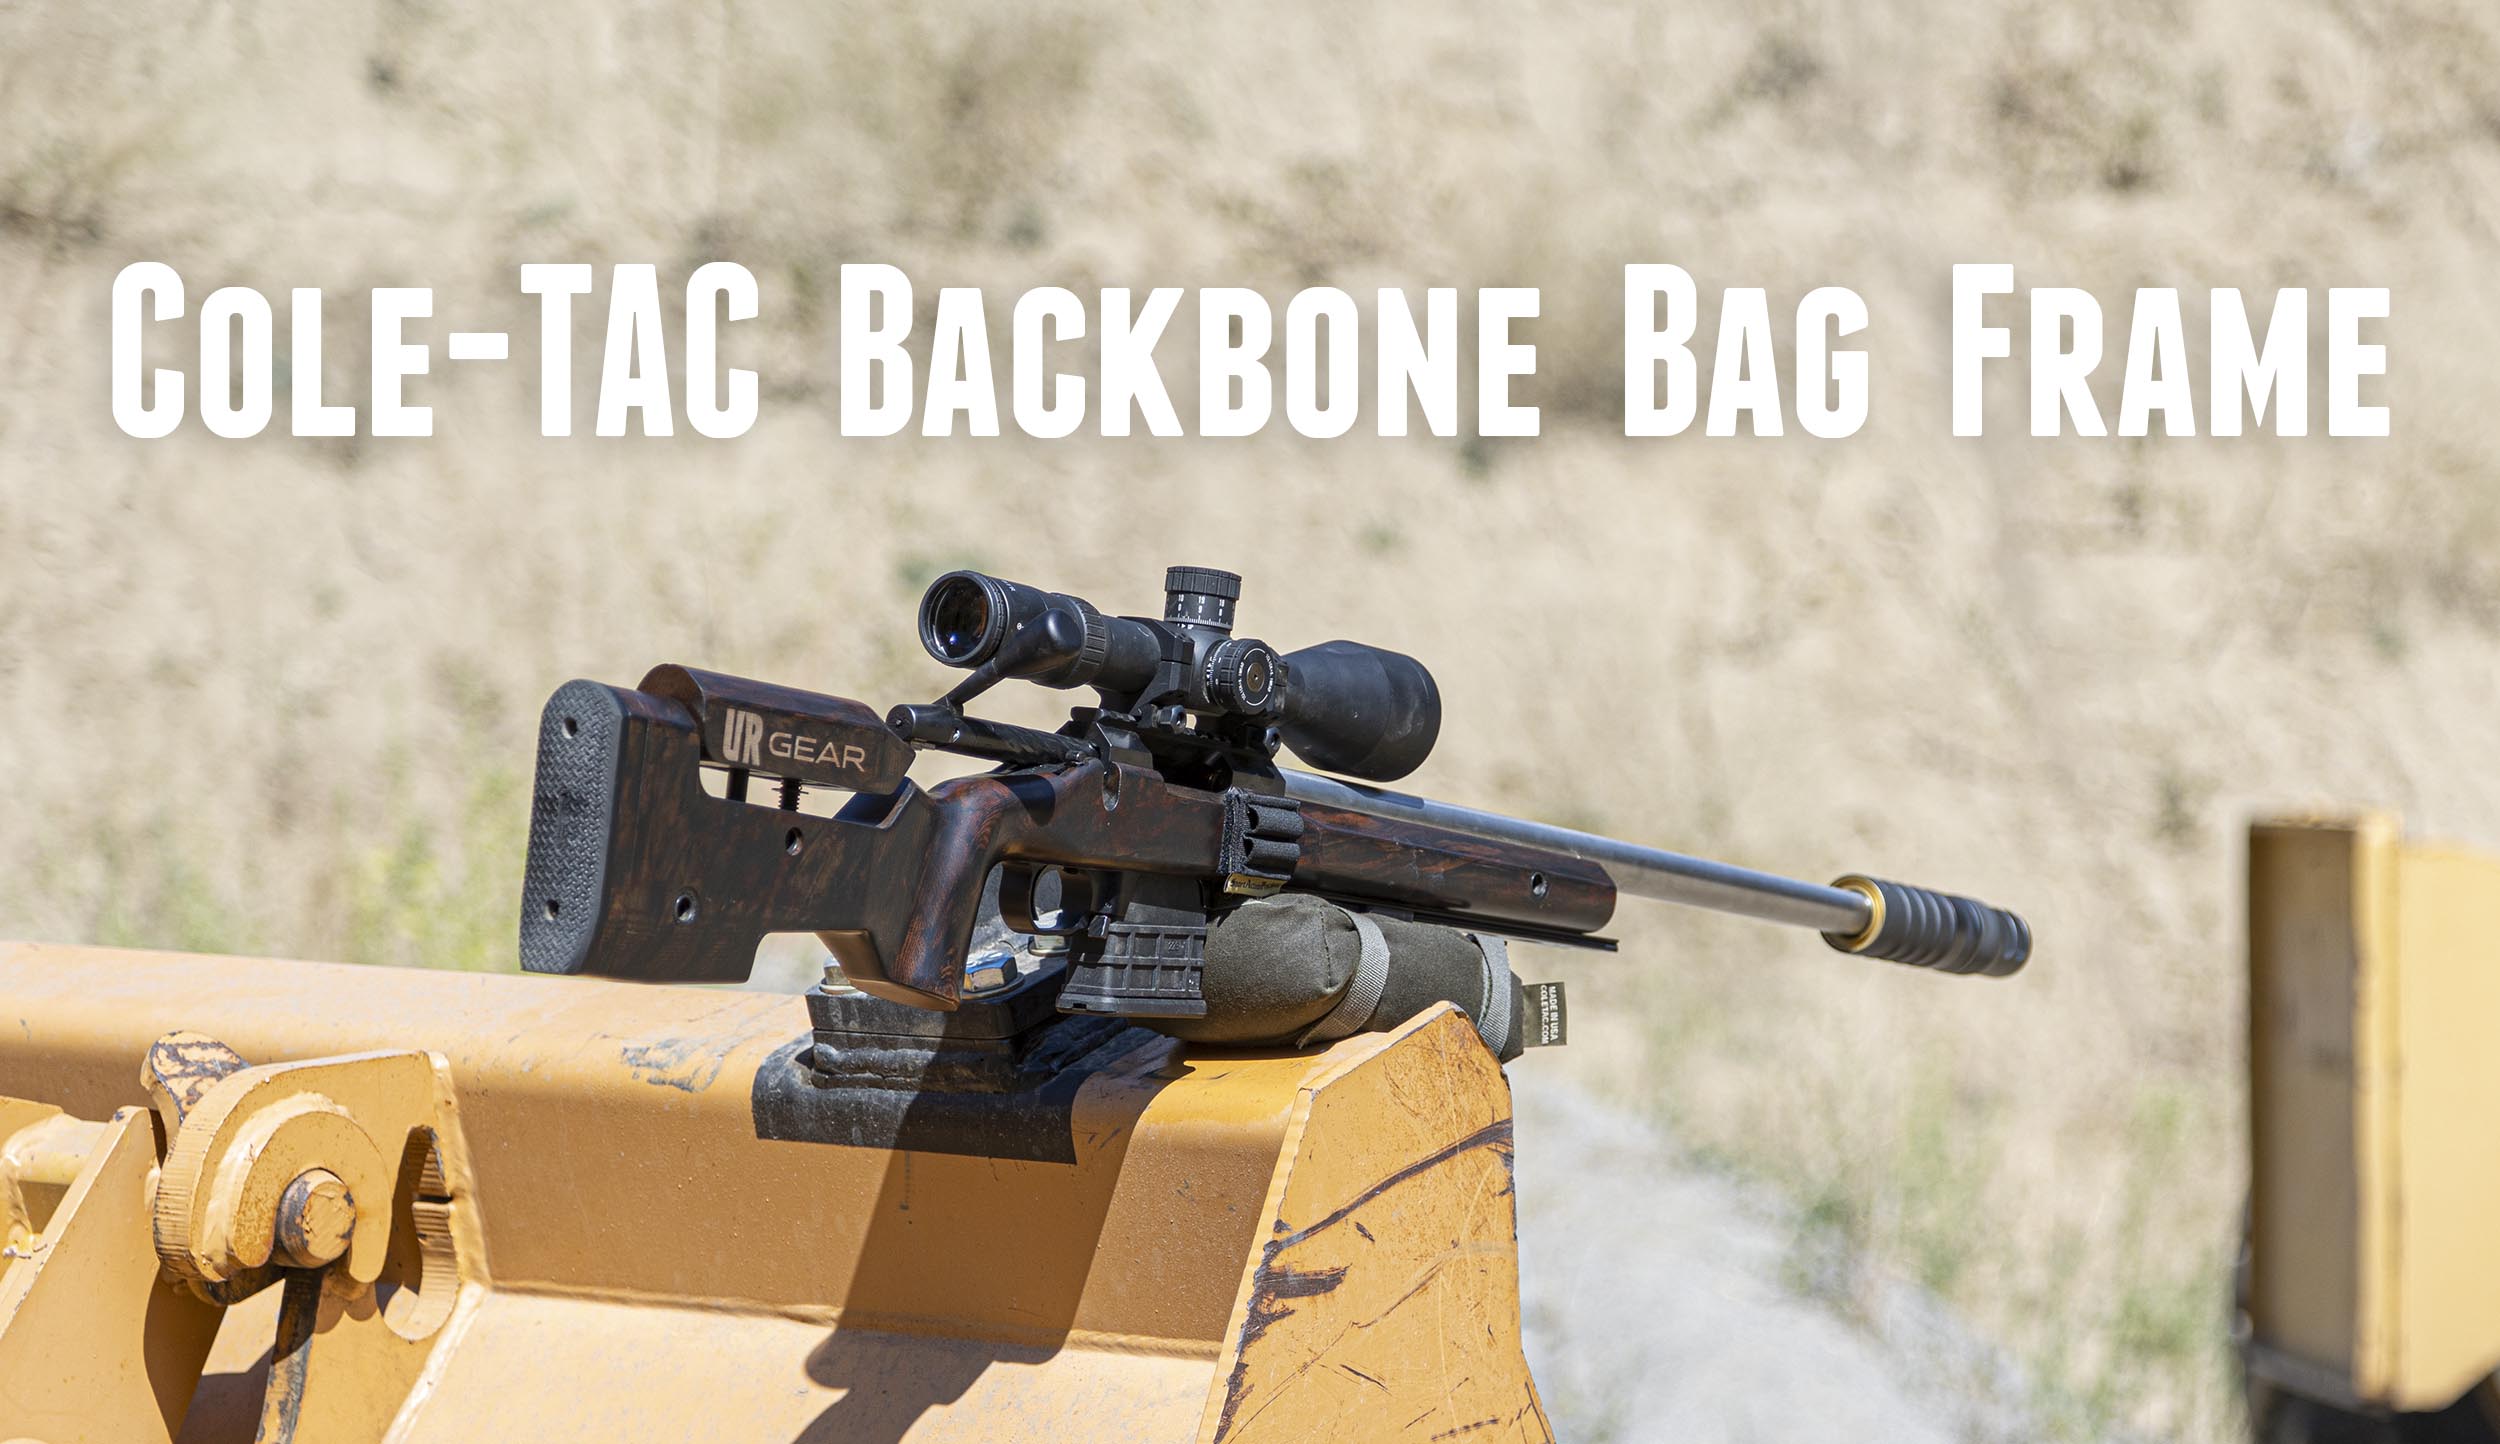
Quick Look: Cole-TAC Backbone Bag Frame & Flat Bag
When seconds count, time spent dealing with your shooting accessories should be kept to a minimum. In this story, we’ll look at Cole-TAC’s Backbone Bag Frame and Cole-TAC’s Flat Bag. This combination will help you get shots on target with less distraction! About the Backbone Bag Frame From the Cole-TAC product page: The Backbone Bag […]