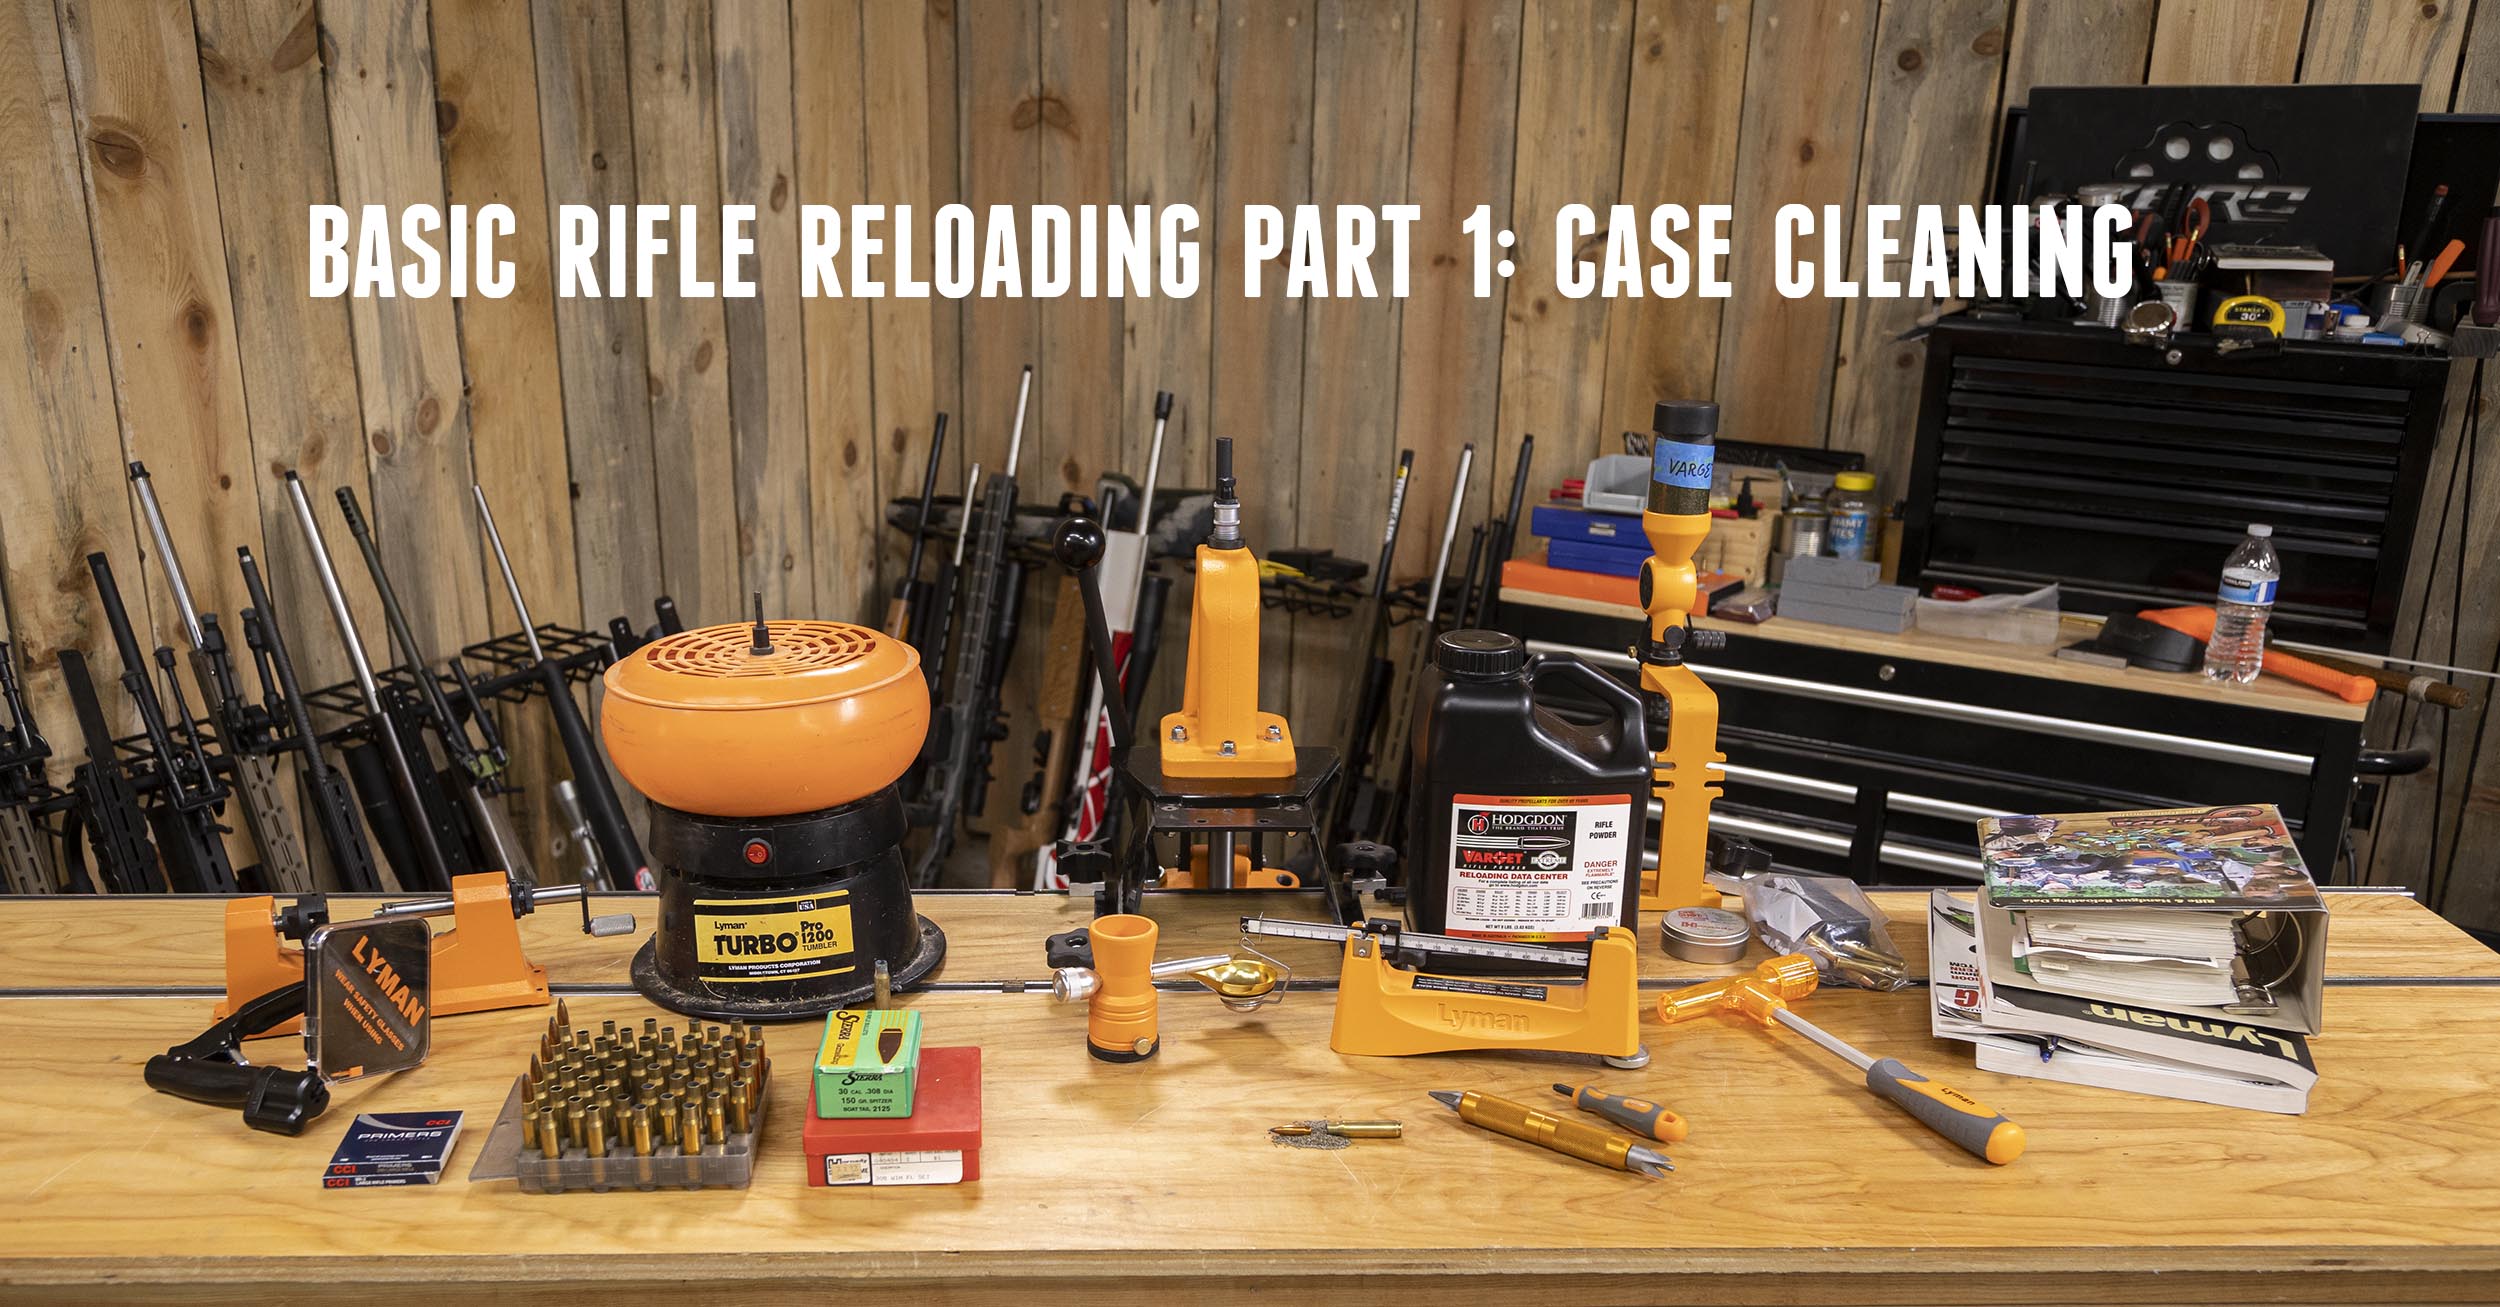
In the first video in this series, we cleaned once-fired Federal cases using Lyman’s vibratory tumbler and walnut shell media. Now it’s time to resize the cases, decap/deprime them, trim them and do any other necessary case-prep work.
Disclaimer
Ultimate Reloader LLC / Making with Metal Disclaimer: (by reading this article and/or watching video content you accept these terms). The content on this website (including videos, articles, ammunition reloading data, technical articles, gunsmithing and other information) is for demonstration purposes only. Do not attempt any of the processes or procedures shown or described on this website. All gunsmithing procedures should be carried out by a qualified and licensed gunsmith at their own risk. Do not attempt to repair or modify any firearms based on information on this website. Ultimate Reloader, LLC and Making With Metal can not be held liable for property or personal damage due to viewers/readers of this website performing activities, procedures, techniques, or practices described in whole or part on this website. By accepting these terms, you agree that you alone are solely responsible for your own safety and property as it pertains to activities, procedures, techniques, or practices described in whole or part on this website.
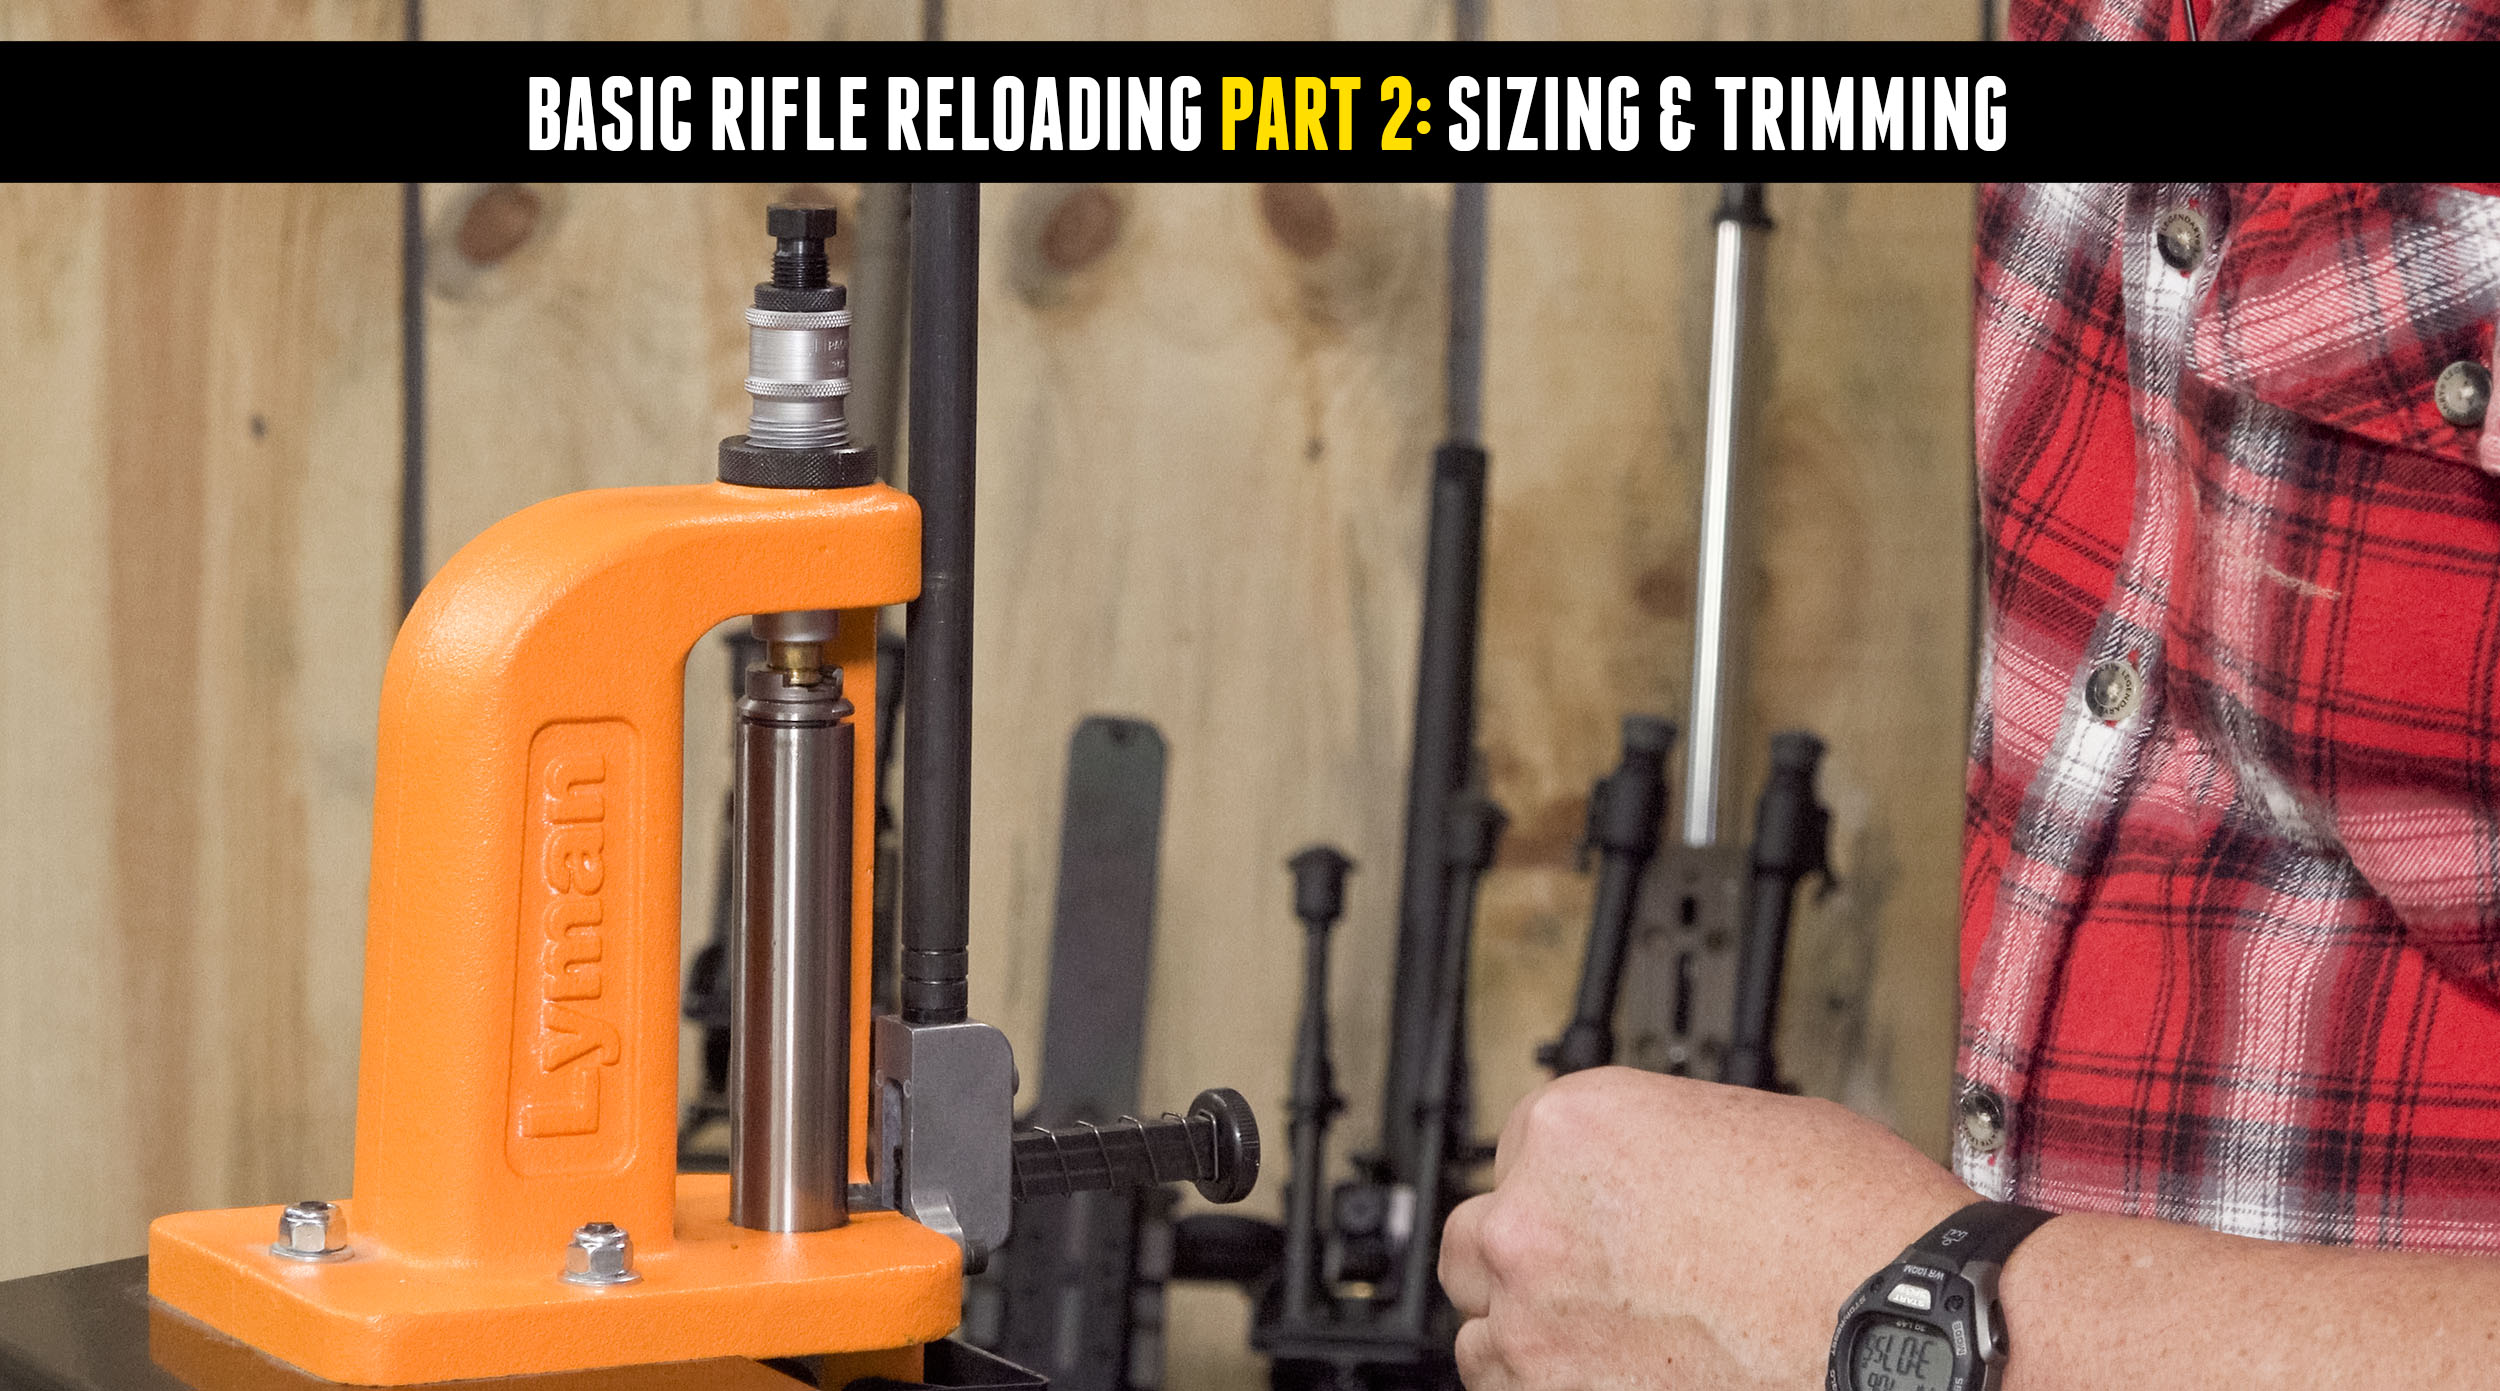
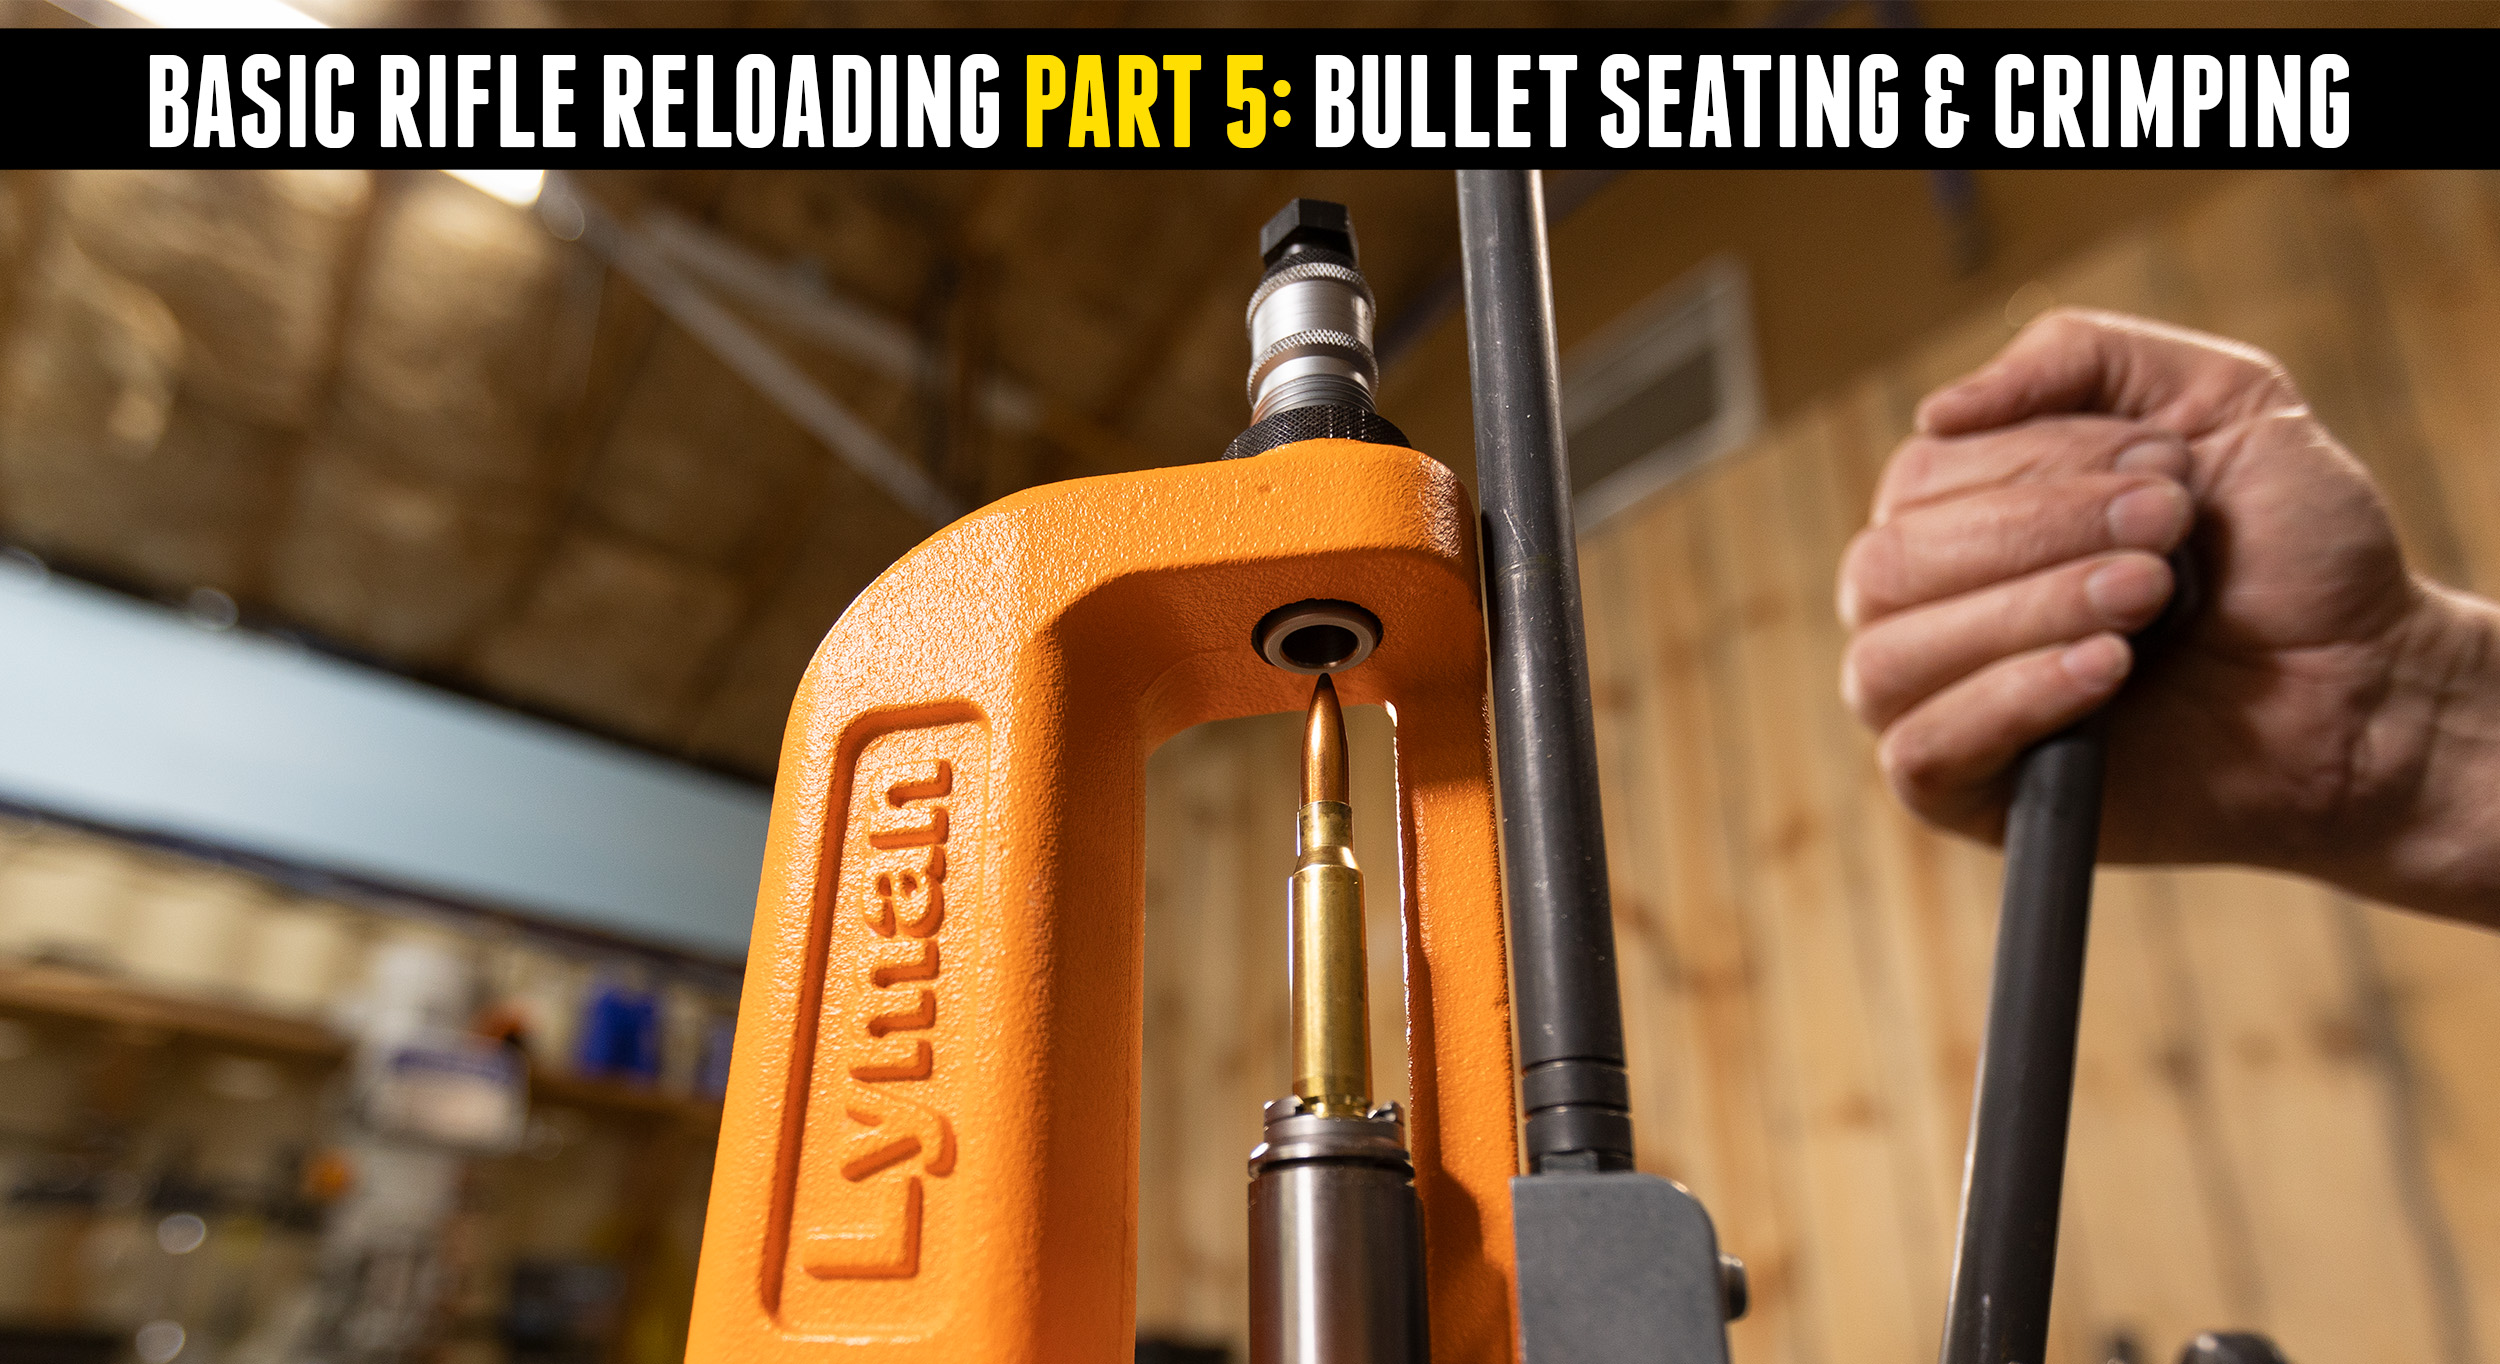
I used the single stage Lyman Victory press for this session. It’s a heavy duty “O” framed cast iron press with a large 5” opening that easily accommodates magnum sized cartridges. The press features an on-press priming system with a shield for operator safety. The press also has a long lever that can be mounted for left or right hand use. The press has excellent leverage and resizing chores are easy to accomplish. Its operation is quite smooth. Typical for Lyman, this high-quality American-made press is built to last a lifetime.
Sizing
The first step in the resizing process is setting up the resizing die. Insert the appropriate shellholder, then screw the die into the press until it makes contact with the raised ram. (In other words, when the bottom of the die touches the top of the shellholder.)
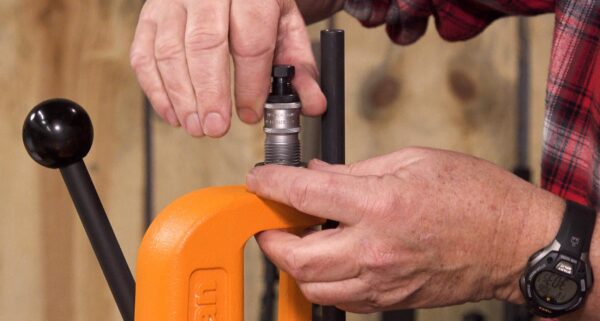
When it does, turn it just a little bit more until the press “cams over.” You can feel this change. This assures the case will be fully resized and will fit the rifle chamber. When the die is set, tighten the lock ring with an allen wrench.
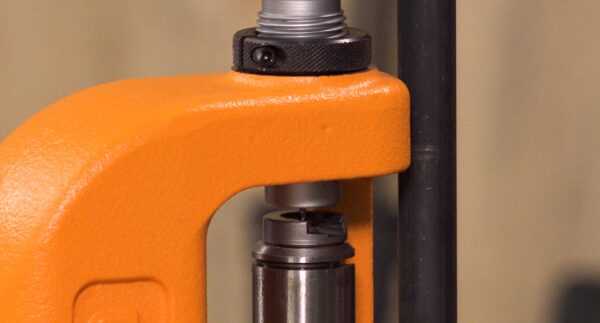
I have an ancient set of .308 Winchester Durachrome dies from Hornady. These are still in great condition. If you purchase a set of quality dies and take care of them, they will last for a long time.
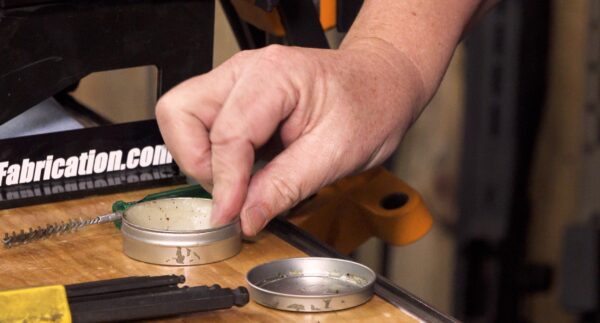
The case must be lubed before it’s inserted into the sizing die. I prefer wax-type lubes such as Imperial sizing die wax. It does a great job and isn’t as messy as some other lubes. It also wipes off easily after the case has been sized. Only a small amount is needed, just enough to make the case feel slippery. It also helps to use a nylon bristle brush to clean the inside of the case neck. This helps the expander ball pass smoothly through the case neck with less friction.
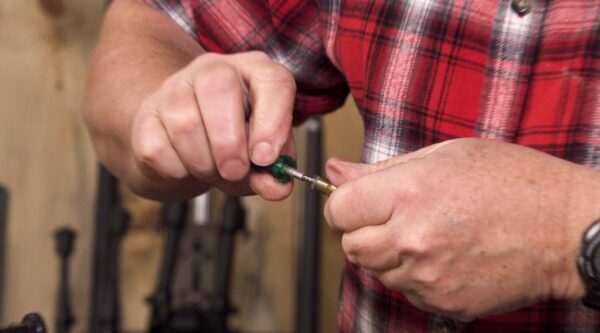
Guide the case neck into the sizing die and use the leverage of the press to move it completely up into the die and back out.
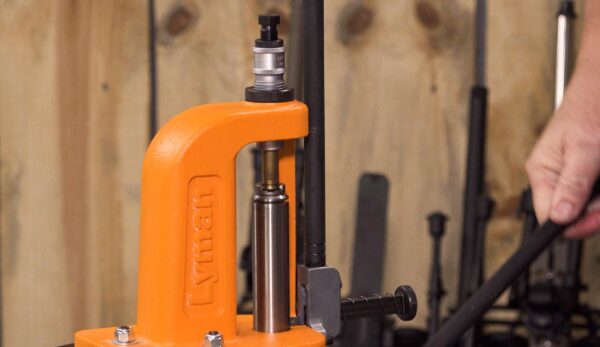
If something doesn’t feel right or the case feels really tight, you may not have used enough lube. Stop, remove the case, and add some more lube so it will not get stuck in the die. If you do stick a case, there are tools available to help you remove it. If you still cannot remove it, die manufacturers will often remove it if you send the die back.
During this process, the decapping pin should press out the spent primer, sending it into the primer catcher. Spent primers belong in the catcher, not on the floor.
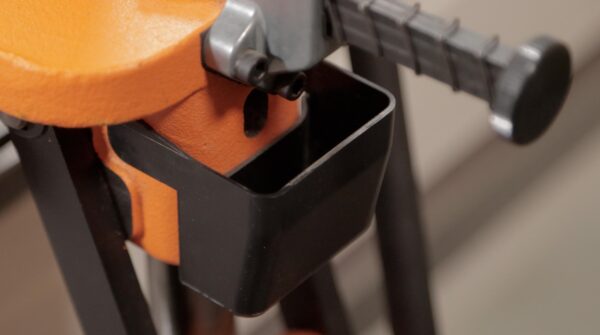
All of this case handling provides ample opportunity to inspect each case for defects such as a split neck or an enlarged primer pocket. Imperial sizing wax is easy to remove. I like to wipe off each case after resizing, but you can also throw your resized brass back into the tumbler to remove the lube as well.
Trimming
After we’ve sized the brass, it’s time to trim. Resizing always precedes trimming as the sizing process can stretch case necks. Cases stretch, some more than others. After being fired and resized a couple of times, the pieces likely need to be trimmed. How often to trim cases is up for debate. Some reloaders trim their cases after each firing. Some trim only when the cases stretch enough to exceed the length specified for the appropriate cartridge in the reloading manual.
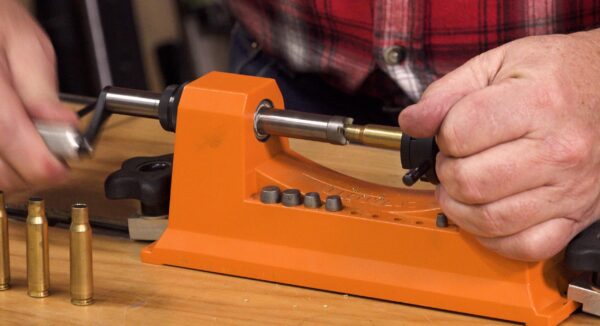
For this story, I’m using Lyman’s Universal Case Trimmer. It comes with pilots to fit the most popular cartridges. I selected the .30 caliber pilot for .308 Winchester.
First, check the length of your resized brass with some good calipers. For the .308 Winchester, a length of 2.015” is recommended. It’s okay to trim down as far as 2.00”. My pieces measured 2.03”, a bit longer than the recommended length.
To set up the trimmer, I installed the .30 caliber pilot into the cutter head and tightened the corresponding screw. This trimmer works best if the case is de-primed first. There is a ball perfectly sized to center up on the primer pocket of a de-primed case.
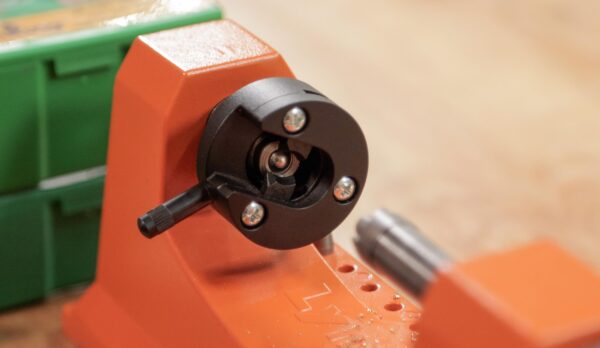
Set the case length according to the length specified in the manuals, in this case 2.015”. It helps to use a perfectly trimmed case as a gauge to set up the trimmer. Once you have the properly trimmed case on the trimmer, move the pilot into the case and tighten down the jaws around the base of the case.
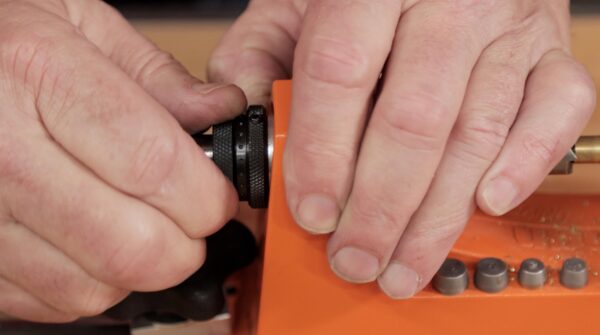
Lyman’s universal case trimmer has both a coarse and fine adjustment. Start with the coarse, then move to the fine for final adjustment, tightening the set screws on both. Mark your reference case and set it aside where it will be handy the next time it’s needed. As you secure each piece of brass into the trimmer, ensure the primer pocket is centered around the ball opposite the cutter head. Measure each trimmed case with the calipers.
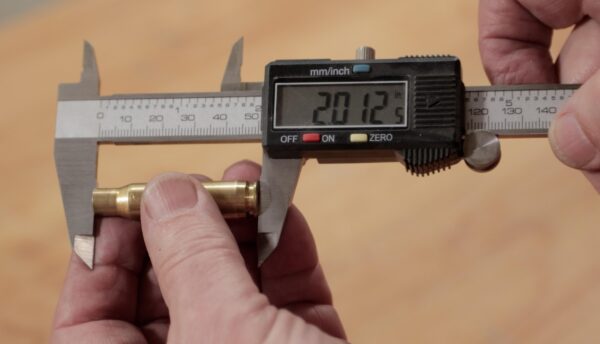
Not every case is going to end up at the exact same length. Consistency can be improved by maintaining a constant pressure on the case trimmer. If too much force is applied, the cases will be shorter. If insufficient pressure is applied, the cases will be too long.
Additional Case Prep
Once the cases are trimmed, they still require a little more attention. At a minimum, each case needs to be chamfered and deburred. Chamfering with a hand-held tool just breaks the edge and makes it a bit easier to seat a bullet.
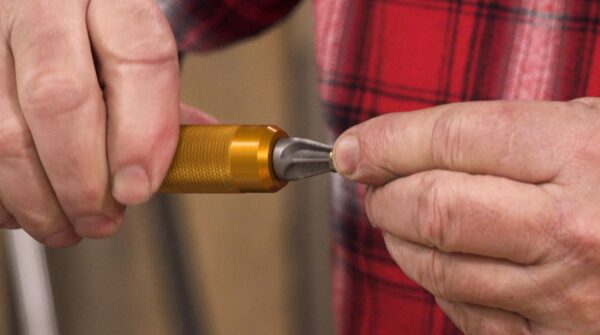
Deburring smooths out the outside after the sizing and chamfering.
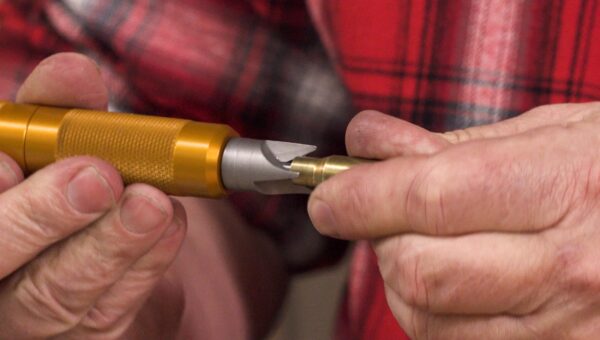
An additional step worth considering is cleaning the primer pocket. Opinions vary, but it certainly doesn’t hurt.
Lyman’s handheld case prep multi-tool is nicely made and well-designed.
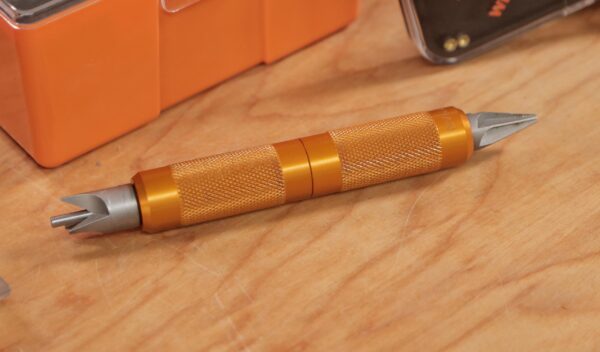
The grip is big — easy to hold and work with. On one end is the chamfering tool, with the angle set to deal with VLD (very low drag) or regular bullet bases. On the other end is the deburring tool. Inside are four small tools for cleaning and uniforming primer pockets. The goal isn’t to ream the pocket, just to clean out some of the accumulated carbon. Aside from these items, there are a number of other case preparation tasks you can do, but that aren’t generally necessary.
Conclusion
At the end of this video, our 308 cases have now been cleaned, resized, deprimed, trimmed to the proper length and have been chamfered and deburred. These are all necessary steps before priming the case, selecting a powder, charging the case, and seating the bullet. All of those steps will be covered in future videos and articles as part of our Basic Rifle Reloading series.
Get the Gear
Various reloading tools are available from Midsouth Shooters Supply!
Universal Case Trimmer Kit With 9 Pilots by Lyman
Lyman Brass Smith Victory Single Stage Press
308 Winchester Full Length Series I 2 Die Set With Zip Spindle by Hornady
Don’t miss out on Ultimate Reloader updates, make sure you’re subscribed!
Thanks,
Guy Miner
