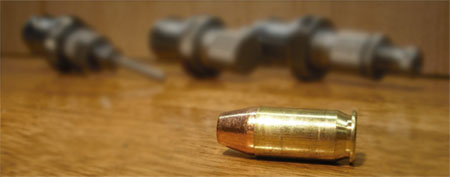
In this article, I will describe in simple terms the different stages that take place in the reloading process for pistol cartridges. Each stage corresponds to the common sequence and combination of events that occur for most turret or progressive style reloading presses with a common die setup. Note that order of these events, and even the combination of dies may vary from one process or piece of equipment to another. Reading this article will allow you to understand how this process works.
Stage 1: Sizing and Depriming
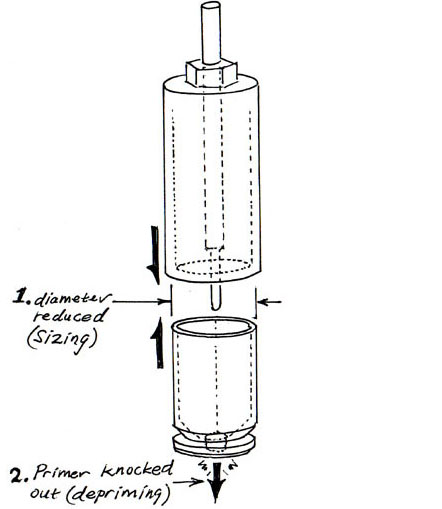
The reloading process starts with used brass that has been cleaned. The brass expanded when the cartridge was fired due to the immense pressure pushing the brass against the chamber wall. Sizing the brass reduces the outer diamter of the brass down to the proper dimension. This will ensure that rounds will properly chamber, and that bullets will have the proper press fit (called neck tension) when seated. The second part of this first stage involves a decapping pin knocking out the old primer (pin enters through the flast hole and pushes on the primer). After this stage, we have a properly sized case without the spent primer.
Diagram: Simplified view of sizing and depriming die in action
 Stage 2: Priming
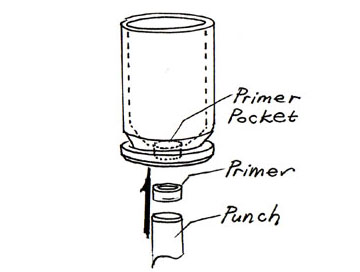
After the brass has been sized and the old primer has been removed, a new primer is inserted into the case from the bottom. Typically, this involves a feeding mechanism positioning the new primer under the brass, and a punch then pressing a new primer into place in the primer pocket. Properly seated primers should be a few thousandths of an inch recessed into the primer pocket in order to ensure they can not detonate if the round is dropped, and to ensure proper feeding (automatics) or proper cylinder closure (revolvers).
Diagram: Seating a new primer
Stage 3: Expanding
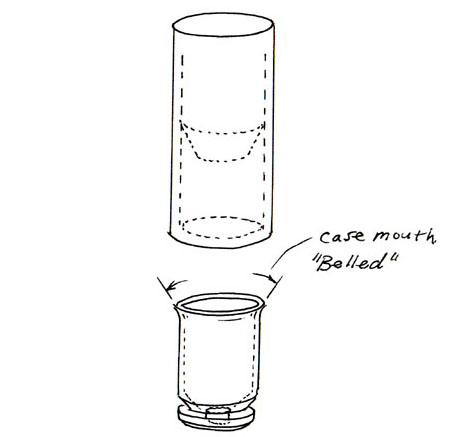
After the case is primed, the case mouth is expanded or “belled out” so that in a later stage, the bullet can be placed into the mouth of the case, and be held steady prior to seating the bullet. In the case of lead bullets, this expansion also helps prevent the lead or lube from being shaved off the bullet by the mouth of the case during seating.
Diagram: Simplified view of expanding
 Stage 4: Powder Charge
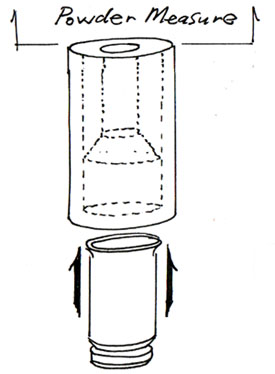
Before you place and seat the bullet, the correct powder charge must be dispensed. Typically a device called a powder measure will measure out a predetermined volume of the powder you are using, and dump that powder down a “drop tube”. On some reloading presses, this is accomplished by the case pushing up on a podwder die (station), these arrangements are called case activated powder measures. The case now contains the proper quantity of gunpowder.
Diagram: Charging the case
Stage 5: Seating the bullet, crimping the case
Once the case is charged with powder, we can place a bullet in the expanded mouth of the case. The bullet is then seated to a specific depth by the seating plug, which is lowered to an exact height. At the same time (for combo seating/crimping dies) the crimp ring roll crimps (for revolver) or taper crimps (for automatic pistol, shown here) the case.
Diagram: Seating and crimping
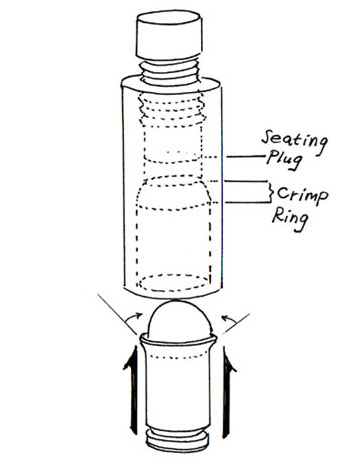
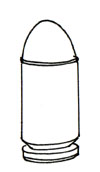
Diagram: Completed Round
The completed round is properly sized, has a new primer, a charge of powder, and a properly seated bullet. The case has also been crimped so that the bullet is properly retained, and so that rounds chamber properly.
Next: Getting Started
Originally published 01/2009


