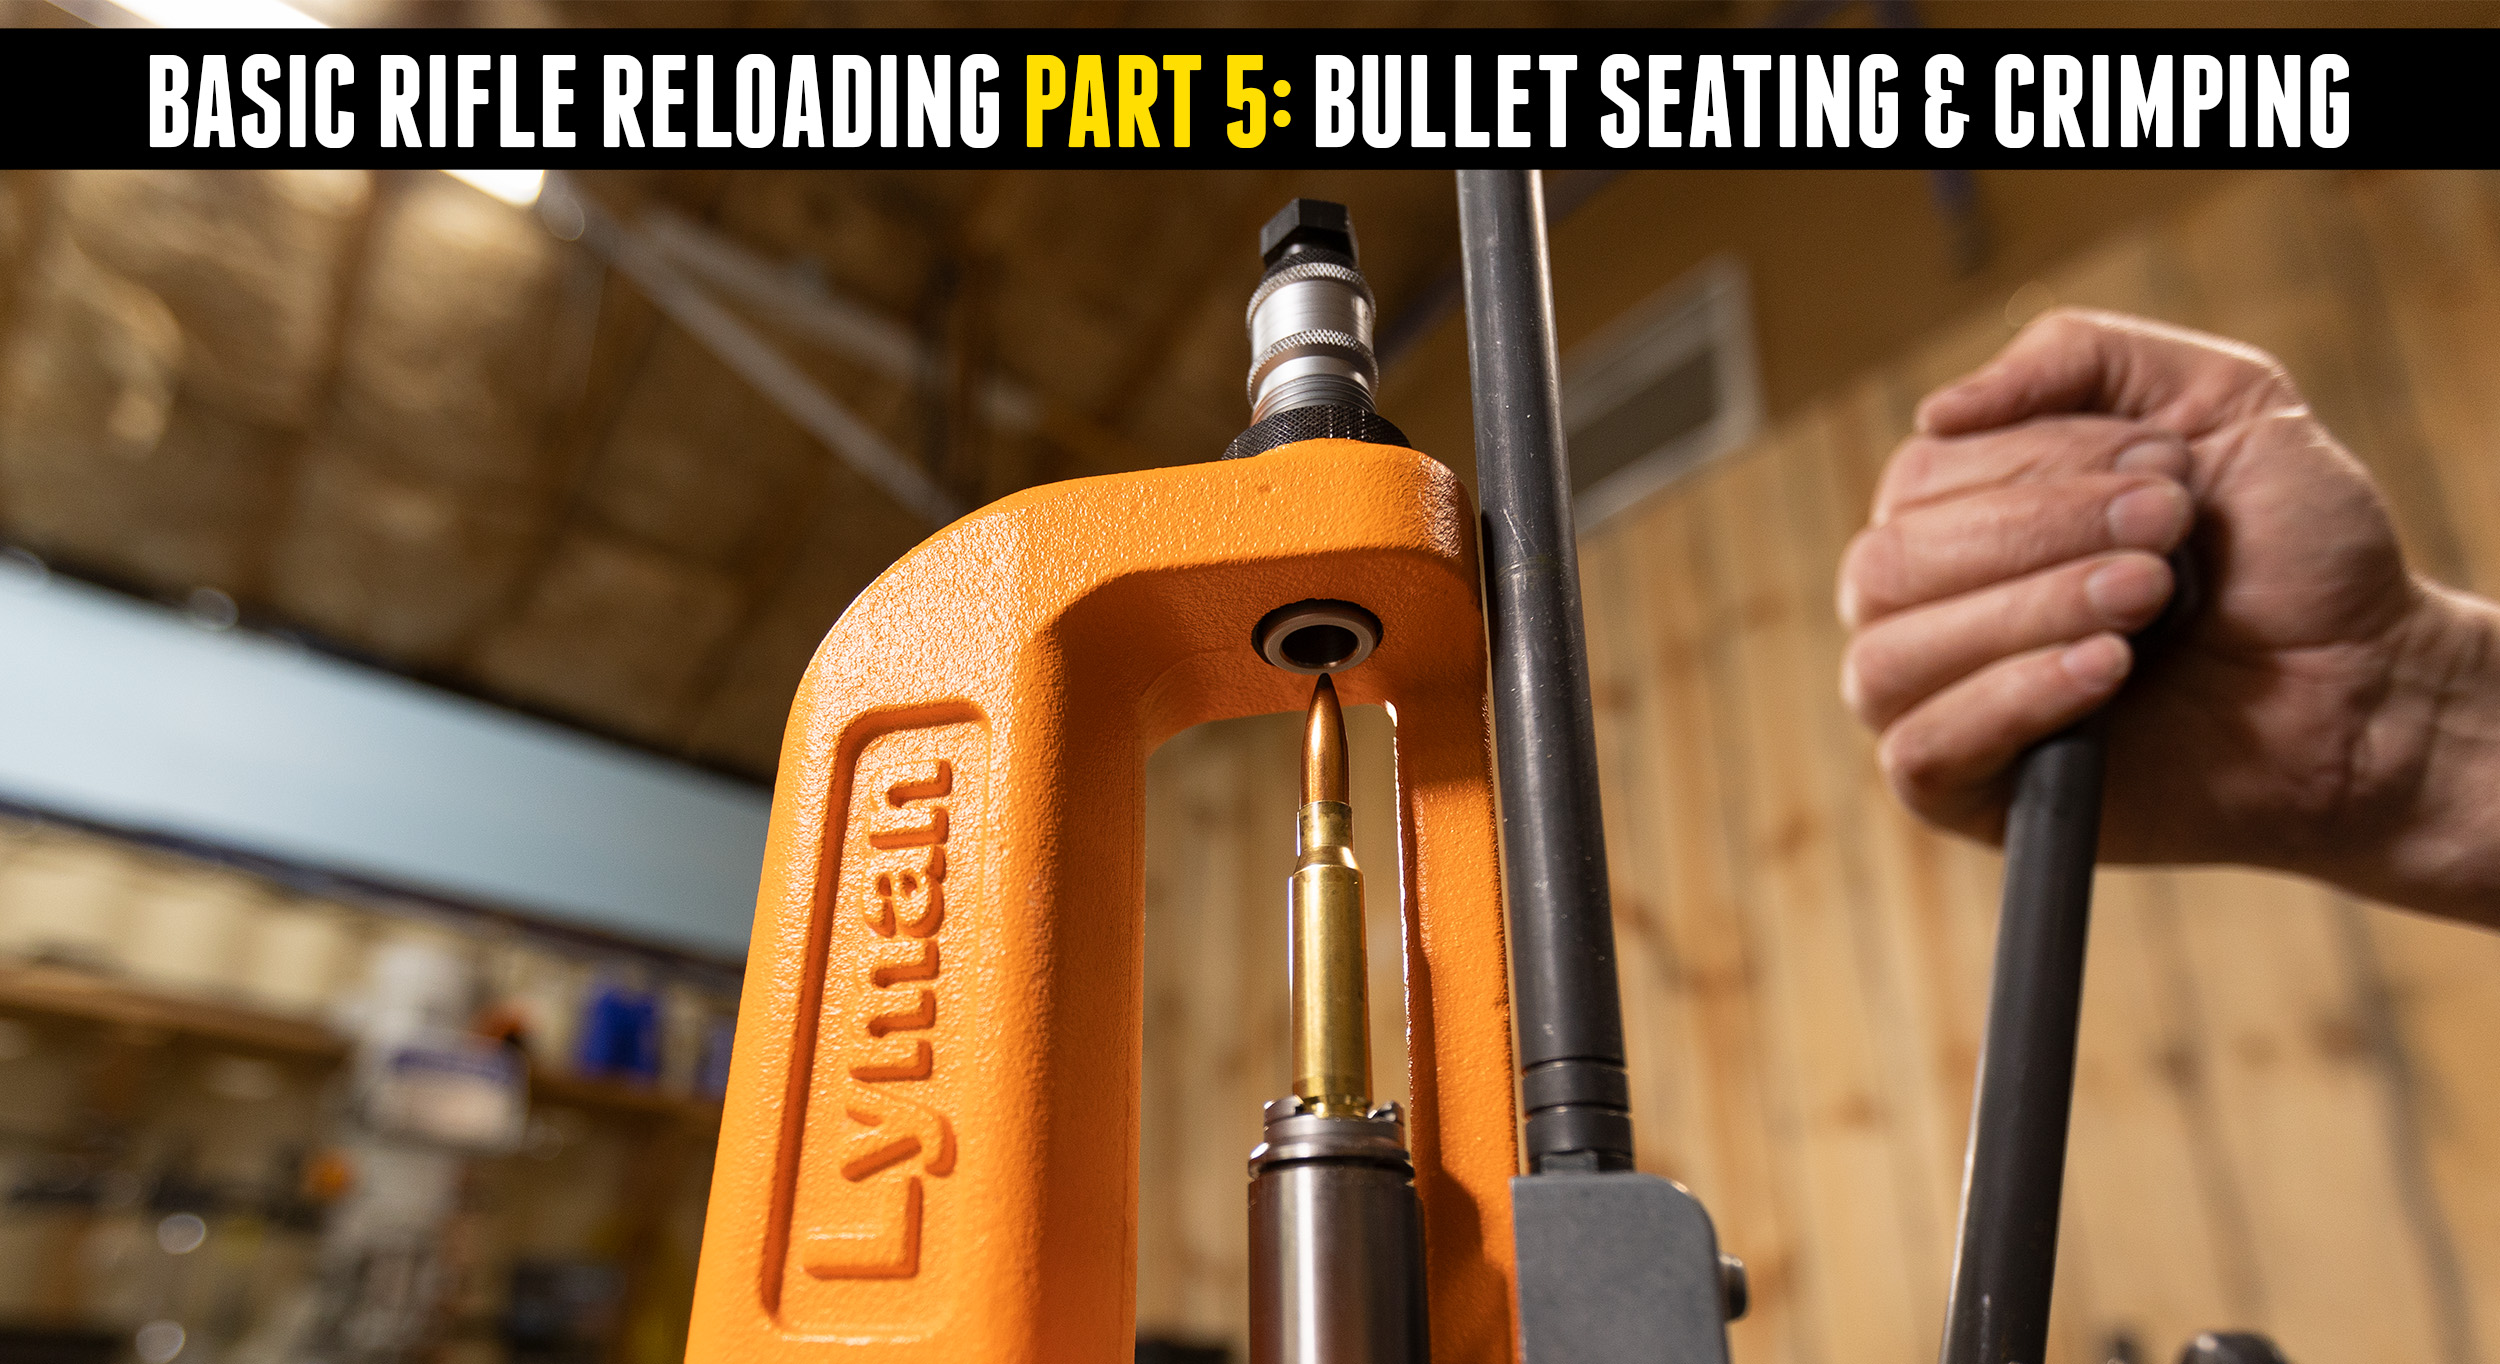
At this point we have cleaned and lubed the brass, resized it, primed it and dropped in the powder charge. It’s time to seat the bullet!
Disclaimer
Ultimate Reloader LLC / Making with Metal Disclaimer: (by reading this article and/or watching video content you accept these terms). The content on this website (including videos, articles, ammunition reloading data, technical articles, gunsmithing and other information) is for demonstration purposes only. Do not attempt any of the processes or procedures shown or described on this website. All gunsmithing procedures should be carried out by a qualified and licensed gunsmith at their own risk. Do not attempt to repair or modify any firearms based on information on this website. Ultimate Reloader, LLC and Making With Metal can not be held liable for property or personal damage due to viewers/readers of this website performing activities, procedures, techniques, or practices described in whole or part on this website. By accepting these terms, you agree that you alone are solely responsible for your own safety and property as it pertains to activities, procedures, techniques, or practices described in whole or part on this website.
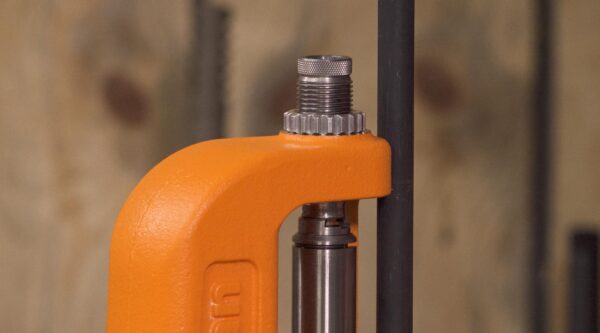
Setting Up the Seating Die
First ensure your seating die has been cleaned and degreased. This will allow the die to work properly. (New seating dies need to be degreased and dies that have been used might need a good cleaning.) With a shellholder installed and the ram fully raised, screw the die in until it contacts the top of the shellholder.
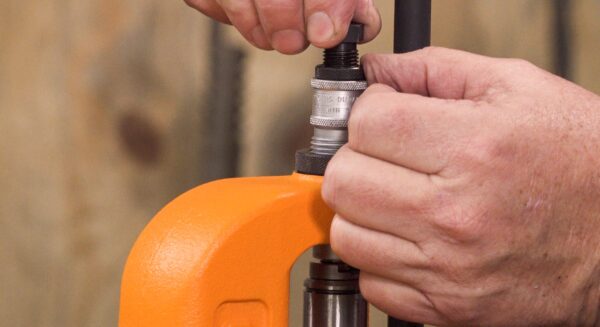
Insert a sized case into the ram and raise it all the way. With the seating stem screwed well out, use a light grip and screw the die body in until you feel a bit of resistance. This resistance is the roll crimp ring inside the die making contact with the case mouth. When you feel that, stop, and back off between half and one complete turn of the die.
A trick to setting up the die correctly is to use factory-loaded ammunition, a round you’ve already loaded in the past or even a dummy round as a reference for length. Screw the seating stem in until it contacts the tip of the bullet and won’t go any deeper and tighten it down.
If you don’t have a dummy round, you can make one, just be sure to mark it as such.
Take a sized but unprimed case and insert it into the shellholder. Place a bullet over top and gently run it up into the die. When you remove it, be sure to check the overall length with a set of calibers and compare it to the manual. For .308, recommended OAL is 2.735”. I personally use an OAL of 2.800” in my personal .308.
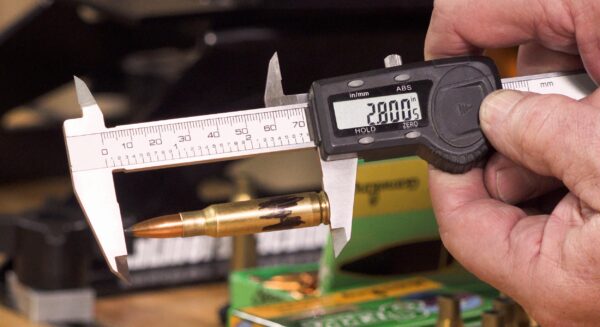
It fits in the magazine and feeds well. If I’m loading a new cartridge and want to be especially sure, sometimes I’ll load up several dummy rounds and ensure they cycle.
Select Your Seating Depth
Seating depth can affect pressures. This is more common in smaller cases like 9mm. .308 is much more forgiving, but it’s something to think about. The further you seat a bullet, the less space is left in the case. This increases pressure. Seating the bullet farther out increases the space available and decreases pressure. The powder charge may need to be adjusted to accommodate the changes in seating depth.
Some bullets react well to being seated very close to the lands and grooves of the bore. Some bullets, particularly mono-metal bullets without a lead core, react well to being “jumped” a fair bit to the rifling. Barnes has published recommendations for how far to jump their bullets for best results. Most loading manuals will provide a recommended seating depth, which is a great place to start.
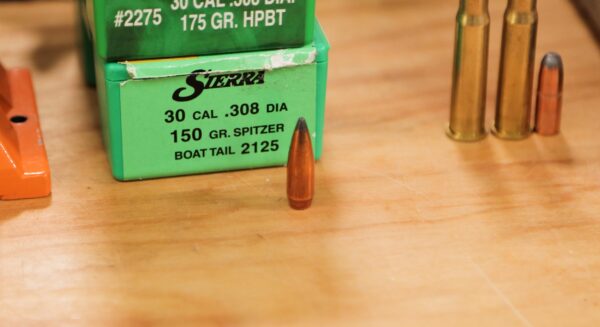
For loading .308 Winchester today, I’ve chosen a 150 grain Sierra SBT GameKing soft point bullet. (If you’re looking for a match bullet, check out Sierra’s 175 grain HPBT MatchKing bullet!) Sierra recommends a cartridge overall length (often abbreviated C.O.A.L. in manuals) of 2.750” for this combination. This will fit any .308 Winchester magazine I’ve ever used. Don’t expect every cartridge you load to measure exactly 2.750” — the bullets themselves can vary a bit, resulting in different cartridge overall length. Fine tuning the overall length is one thing a handloader can do to find the best length for a particular rifle. Seating the bullet properly is a simple thing, but I’ve seen handloads that were too long to fit in the rifle! I’ve also seen hunting bullets seated so far out they got stuck in the rifling. In this case, if an attempt is made to eject the loaded cartridge, the bullet can stick in the bore! Powder spills into the action and magazine, and the rifle is out of commission until the bullet is removed and the powder is cleaned out of the action and magazine. This could ruin an expensive hunt!
Seating the Bullet
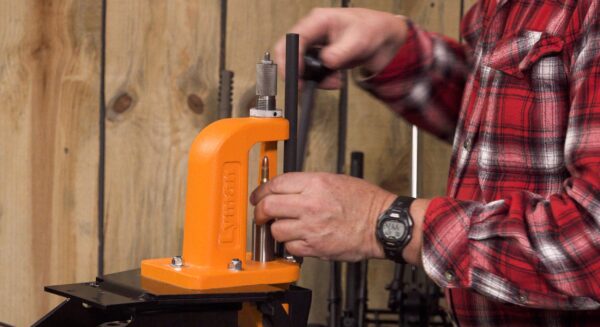
Before seating the bullet, make sure there is powder in each case. Even if you have checked before, check again. Carefully take a powder-filled case and place it in the shellholder. (I previously highlighted the powder charging process with Varget.) Place a bullet in the case mouth and guide it into the die. There is no immediacy to this process. Seat each bullet smoothly and slowly. I used the Lyman Brass Smith Victory single-stage press.
It’s relatively easy to get the case or bullet off kilter while guiding them into the die. Keeping things straight is important to producing consistently accurate ammunition. I’ve found that when I take the extra step of using a very good, match-grade sizing die, the bullets are seated straighter, and the results on target more accurate. Some reloaders swear by partially seating the bullet, then turning the cartridge 90 or 180 degrees before seating it the rest of the way. I have not noticed any gain in accuracy by doing so.
Crimping the Bullet?
Crimping is another step that can be done simultaneously with seating. If I decide to crimp, I treat it as a separate step to prevent case damage. Criming may not be necessary. Most rifle ammunition does not need the bullet to be crimped—neck tension alone is usually ample to retain the bullet.
Before deciding to crimp, take a hard look at your cartridge and rifle and see if crimping is advisable. Crimping is most common with ammunition for lever action rifles and revolver rounds and bullets that have a crimping groove or cannelure.
Traditional lever action rifles have a tubular magazine in which the cartridges rest one in front of the other. Rather than a solid magazine wall, there’s a plunger backed by a spring. Under recoil, the bullets CAN jump forward, increasing the length of the cartridge enough to keep it from functioning through the lever action. The crimp adds to the neck tension, holding the bullet firmly in place. Most bullets that are designed to accept a roll crimp have a crimp groove or cannelure and should be crimped in that groove IF you choose to crimp them. This also makes choosing a seating depth simple!
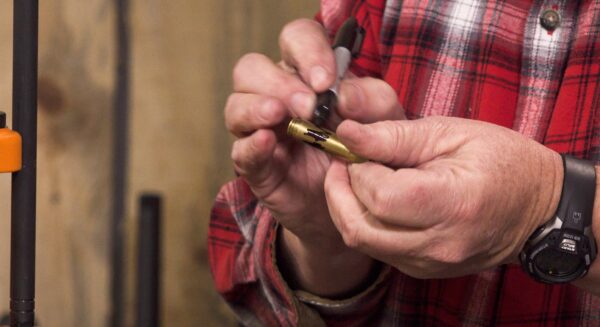
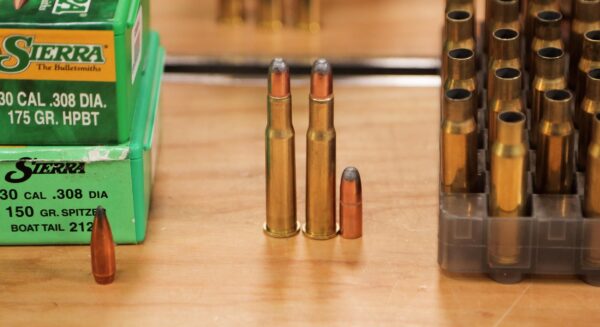
.308 Winchester does not need to be crimped, so for illustration purposes, I brought out some .30-30. After setting up my vintage RCBS seating die, I seated a very traditional 170 grain round nose Core-Lokt bullet.
This particular bullet has a cannelure, which is the desired spot to crimp. You may need to adjust the seating depth (by adjusting the die) in order to achieve this.
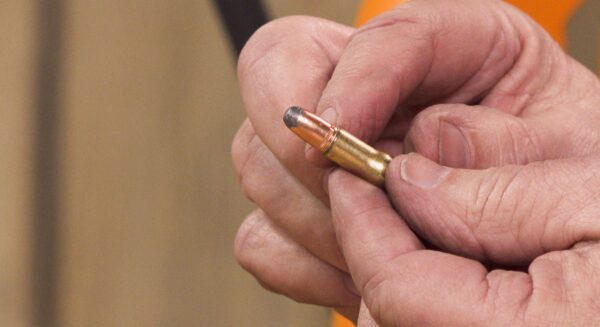
The goal is to get the cannelure even with the case mouth. (You need to set up for crimping during the seating process.)
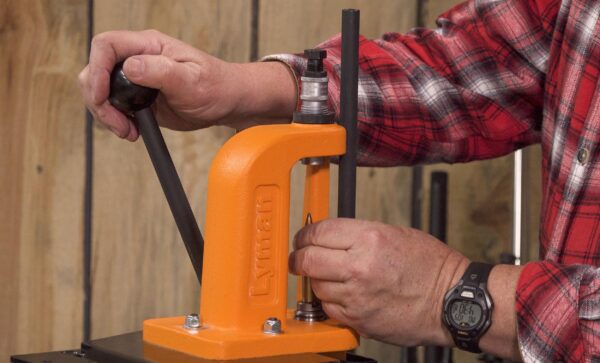
My favorite crimp die is the Lee factory crimp die. Proper adjustments are key to success. To start, run the loaded cartridge into the die with the die loose. Slightly tighten the die and run the cartridge up. Carefully repeat this process until you feel contact. It’s very easy to overcrimp. This process is really done by feel.
Types of Crimps
Factory Crimp
Lee and others offer dies which apply a “factory crimp” which uses a collet to squeeze the case mouth into the cannelure. I have become a huge fan of the factory crimp die for my .30-30 and .45-70 handloading. I use it as a separate die, immediately after seating the bullet.
Roll Crimp
Many conventional seating dies can be adjusted to apply a roll crimp. This is the traditional way of crimping revolver bullets as well as bullets intended to be used in traditional tubular magazine lever action rifles such as the .30-30 and the .45-70. Simply screw the seating die in deeper and deeper, adjusting it just a bit at a time until a firm roll crimp in the cannelure is achieved. If too much crimp is applied, the brass cartridge case can become wrinkled and useless.
Taper Crimp
Some dies are designed to provide a taper crimp. A classic use of the taper crimp is on the .45 ACP pistol cartridge. This case headspaces on the case mouth. The taper crimp is designed to apply a smooth crimp on bullets that lack a cannelure.
Series Conclusions
Safety First!
Although reloading ammunition is usually a simple and safe process, there is a certain amount of danger. This exists both during the process, with the remote possibility of creating an explosion of primers or powder, and afterwards by firing poorly-assembled ammunition. Please think through the process before starting. Look at load data, assemble the correct components, and build with care. Check every step, particularly the powder charge. Several times I’ve seen un-charged cases with just a primer push a bullet into the bore. This results in a very dangerous situation. Overcharged cases or using the wrong powder can result in disaster. Always pay attention to each step. Don’t reload when distracted. Don’t reload after drinking any alcohol. If you’re new to reloading, seek out a mentor, someone who has been handloading for a long time. I was fortunate to grow up with a grandfather and a father who were both enthusiastic handloaders, and I learned the basics from them.
Don’t make it more complex than necessary.
Here at Ultimate Reloader we often get really into the weeds of reloading. We discuss high-dollar loading tools, expensive and difficult to obtain components, and perhaps even demonstrate some advanced handloading techniques. Each of those things can provide an advantage and can lead to incredibly accurate ammunition, but sticking to the basics can produce reliable, accurate, powerful ammunition as well. In addition to this reloading video series, most large reloading companies produce comprehensive manuals which not only list various handloads, but also discuss every aspect of reloading from selecting tools and components to each step in the handloading process. Consult those manuals! There are also quality videos online, but be sure to audit your information and verify it with multiple sources.
Enjoy the process.
This is your hobby, your pastime, your way to produce ammo as good as or better than anything you can buy. I find reloading to be a relaxing process, starting with spent cases and ending up with excellent ammunition to be fired again.
Build useful ammunition.
At times I’ve loaded interesting ammo that was pretty much useless for my actual needs. For instance, I once loaded some 300 grain full metal jacket bullets for my 375 H&H. These are perfect for perforating the skull of a charging elephant, but I’ve never been to Africa and have no intention of ever shooting an elephant. I built it out of curiosity and fortunately limited myself to a few rounds. I still have the rest of that box of bullets should I ever need it.
I most often load practice ammo for my rifles and handguns—ammo that is accurate, reliable and reasonably powerful. I’ve done well in rifle matches with my own ammunition. Alternatively I load ammunition for hunting and seek the best load possible. My handloads have taken varmints, coyotes, whitetail, mule deer, pronghorn antelope, elk, black bear, grizzly and more. I’ve thoroughly enjoyed working up loads and doing well with them both on the range and afield.
Take pride in your work.
This is your chance to build something truly excellent. You control each step of the process and the final product. This means something when you put it to use. Do your best work!
Upgrade when necessary or desired.
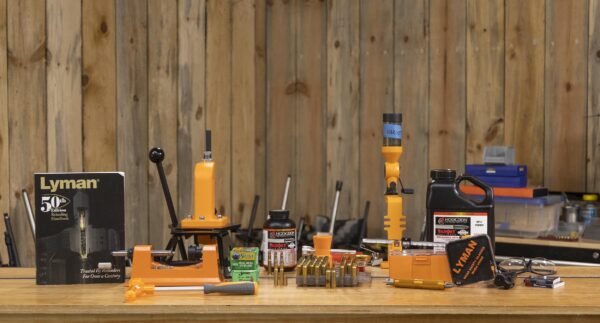
Many of us start with a very basic reloading kit or perhaps some used tools. This is a great place to start and it may well serve you for a lifetime of handloading and shooting. However, someday you may want a super-accurate varmint rifle, a long-range hunting rifle or a rifle for competition. Then you might consider match-grade dies, a better powder measure, and other higher-quality equipment. Here at Ultimate Reloader I’ve been able to use some extremely impressive handloading presses, dies, scales and very fine components. I’ve thoroughly enjoyed it and have shot the best groups of my life with those tools and components, but I also still very much enjoy loading very basic rifle and handgun ammo with basic handloading tools. It all depends on what I want to accomplish.
This is the last video and story in the Basic Rifle Reloading Series. I hope it’s been useful and that it will help you launch what could well be a lifetime activity.
Check Out the First Four Parts of Basic Rifle Reloading!
Part 1: Safety and Brass Tumbling
Get the Gear!
.308 caliber 150 grain Sierra SBT GameKing at Midsouth Shooters Supply
Find .308 caliber 175 grain HPBT MatchKing at Creedmoor Sports.
Lyman Brass Smith Victory Single Stage Press at Midsouth Shooters Supply
Lee Factory Crimp Die at Midsouth Shooters Supply
Don’t miss out on Ultimate Reloader updates, make sure you’re subscribed!
Thanks,
Guy Miner


