Before chambering my 308 Shorty build, I had to decide what length to cut the barrel to and what color to Cerakote it. I put out the poll, and you all answered! Now that the results are in, we’ll cover the end-to-end process in this story.
Disclaimer
Ultimate Reloader LLC / Making with Metal Disclaimer: (by reading this article and/or watching video content you accept these terms). The content on this website (including videos, articles, ammunition reloading data, technical articles, gunsmithing and other information) is for demonstration purposes only. Do not attempt any of the processes or procedures shown or described on this website. All gunsmithing procedures should be carried out by a qualified and licensed gunsmith at their own risk. Do not attempt to repair or modify any firearms based on information on this website. Ultimate Reloader, LLC and Making With Metal can not be held liable for property or personal damage due to viewers/readers of this website performing activities, procedures, techniques, or practices described in whole or part on this website. By accepting these terms, you agree that you alone are solely responsible for your own safety and property as it pertains to activities, procedures, techniques, or practices described in whole or part on this website.
About the Build
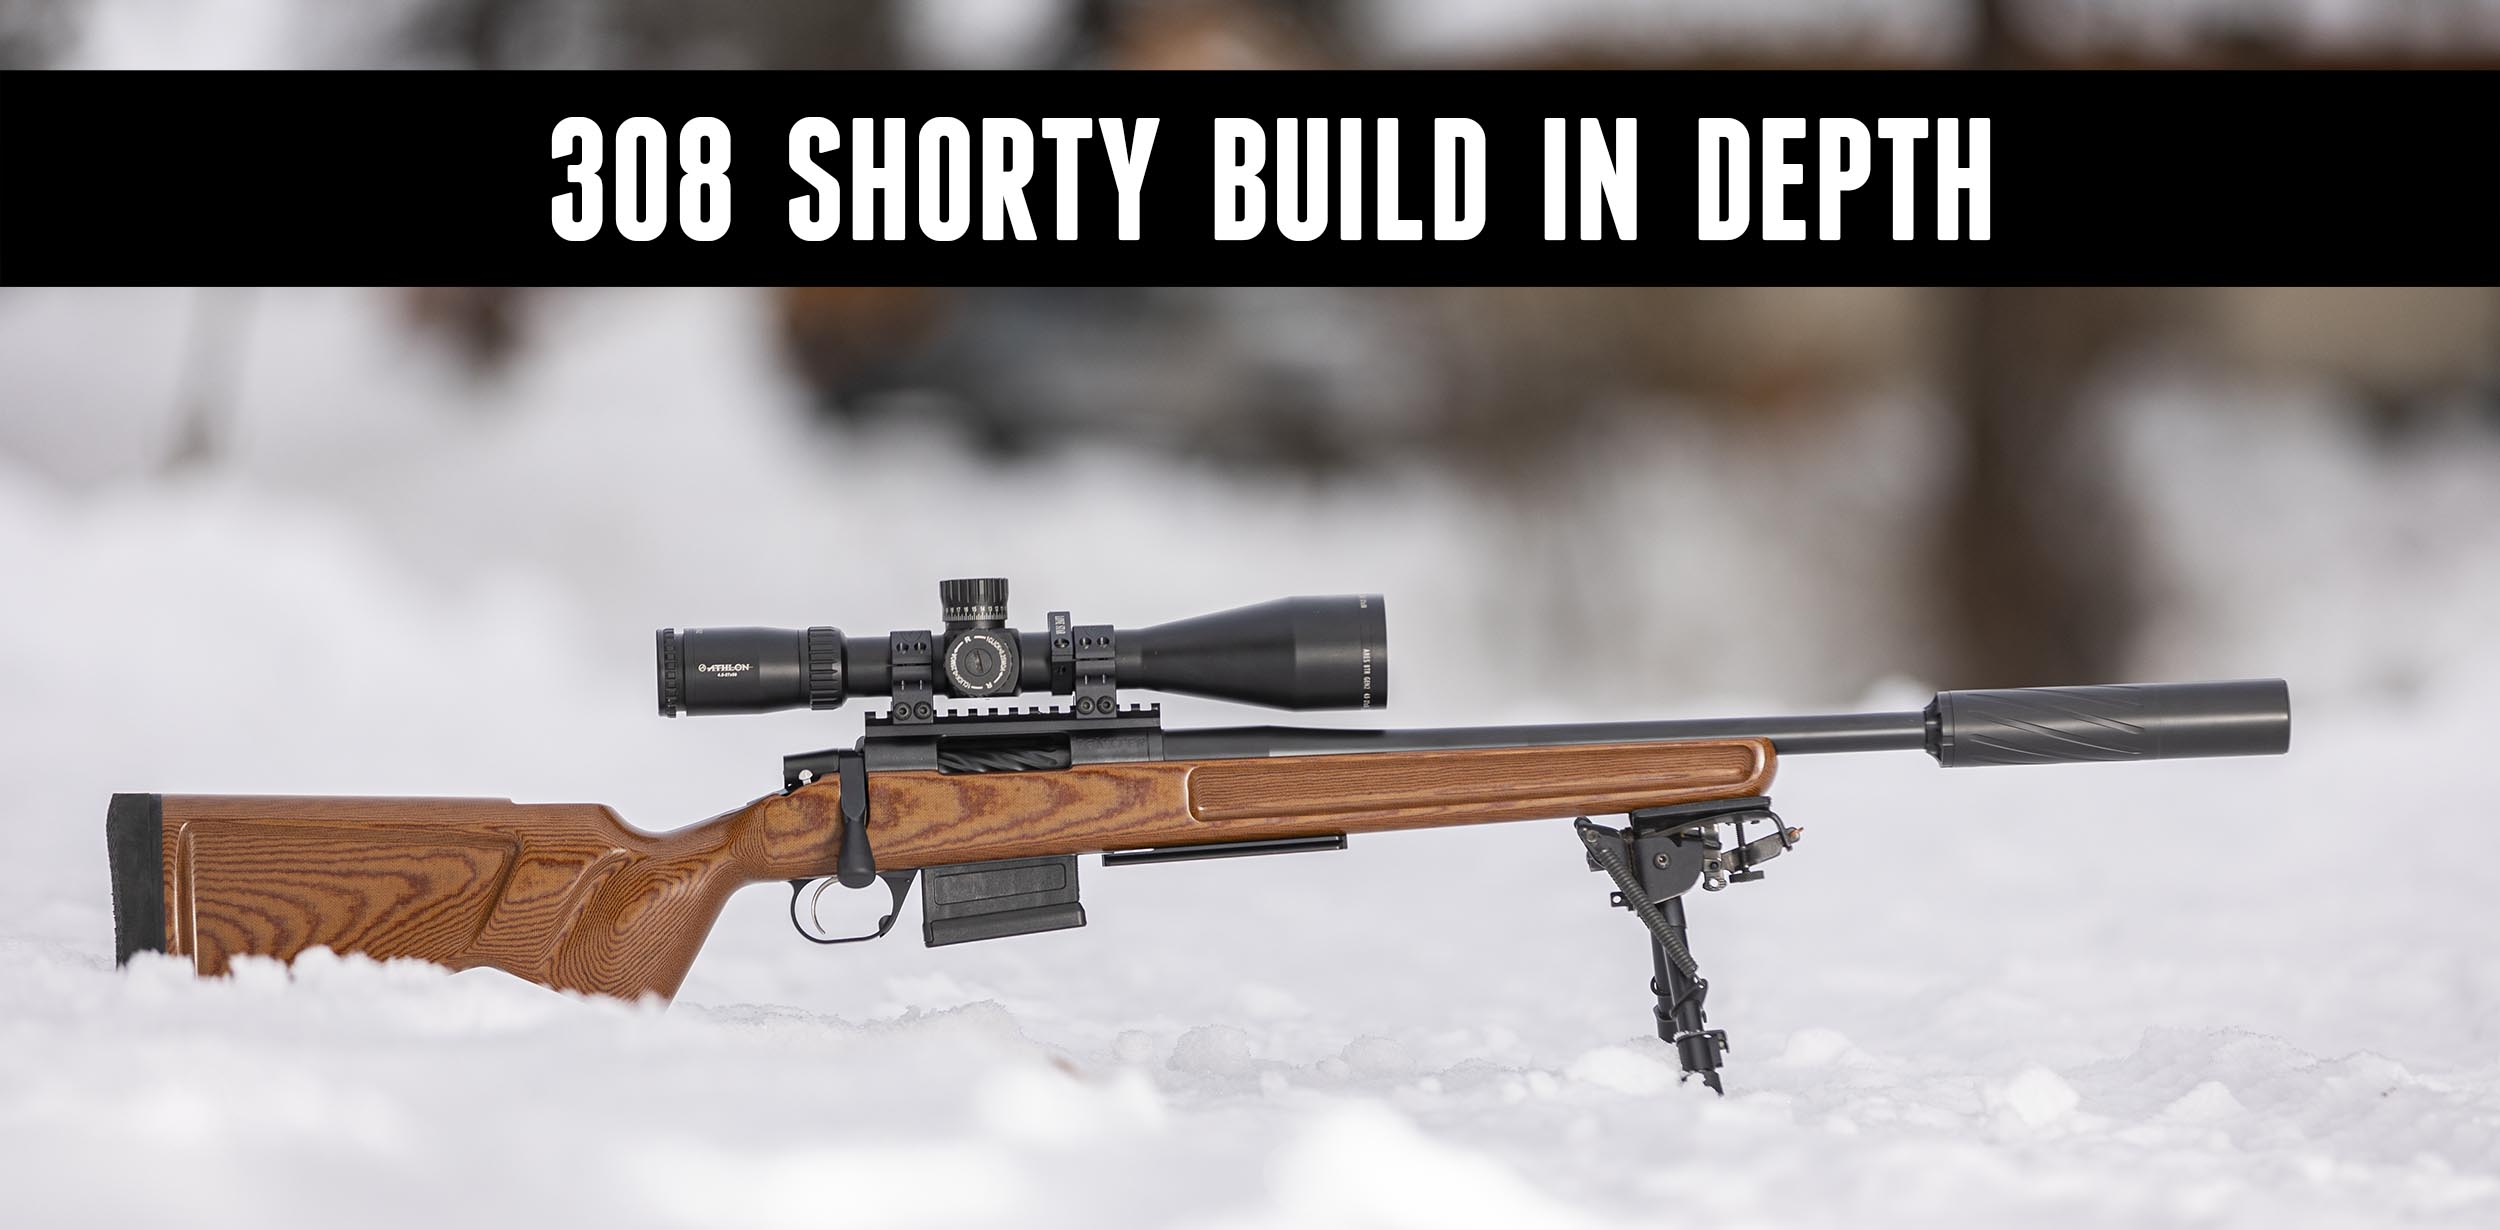
We recently asked for some help in determining the barrel length for our 308 Shorty build, 16”, 18” or 20”. With over 50% of 4,500 responses, the overwhelming winner was 16” with black Cerakote! (To be safe, before machining I cut the blank to 16.25” to ensure this is not a short-barreled rifle.) The goal of this rifle was to build something minimalistic (though not necessarily lightweight) that would be especially maneuverable and suitable for hunting.
![]()
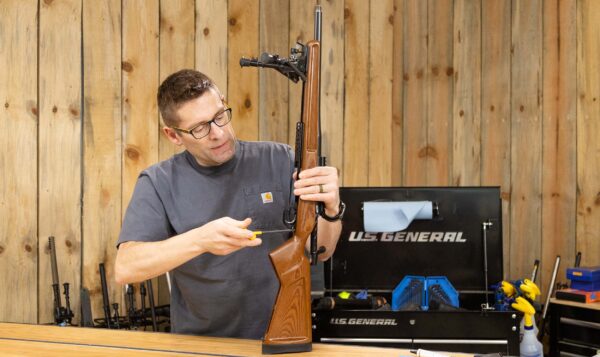
The kickoff video detailed many of the specs, but to recap, we have a BAT Igniter action in a Foundation Dominion Stock. The Benchmark .308 barrel blank has a #4 contour and is 1:8.5. We also have Hawkins Hunter DBM and magazine, a TriggerTech Special trigger, and BAT 30mm scope rings for an Athlon Ares BTR Gen 2 4.5 -27x50mm scope.
The BAT Igniter action, unlike the BAT TR action we’ve used previously, has no options. It is a value action lacking both an integral rail and removable trigger hanger. Even so, it has the same level of benchrest precision BAT is known for.

High-quality seeps into their rings as well.
Foundation’s Dominion stock is their lighter weight, hunting-oriented micarta stock.
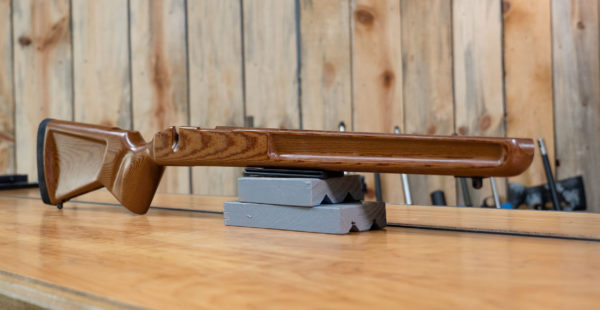
Micarta is an interesting combination of resin and denim with beautiful patterns and unique recoil-deadening qualities. You can learn more about micarta in my video covering the Foundation Genesis 2.
My Benchmark .308 1:8.5 barrel started out with a 26” finished length. We removed 10 inches from this barrel!
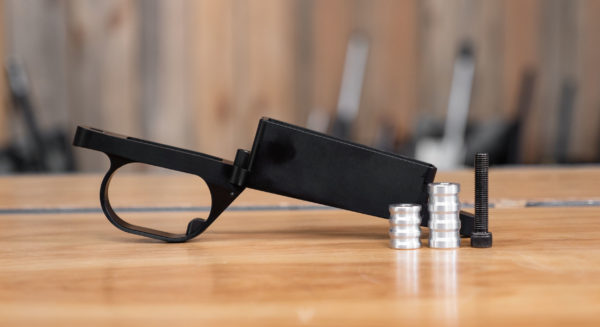
Keeping with the minimalist theme of this rifle, I opted for the compact Hunter DBM. I recently used Hawkins Precision’s Detachable Bottom Metal on my 7mm PRC full-custom Bergara build and was especially happy with it. The hunter mag hasn’t arrived yet, but this particular three-round magazine is all-metal with just enough breadth for easy manipulation.
I also installed a TriggerTech Special trigger with a 1-3.5 pound adjustment range.
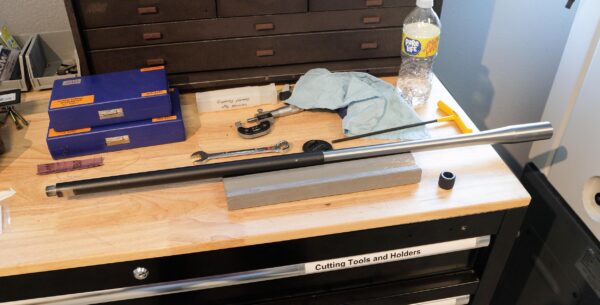
About the Tools
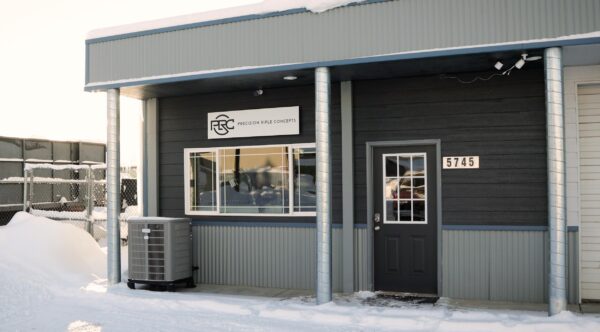
For this build, I headed to my shop, Precision Rifle Concepts, where I’ll be doing gun work for the public and have my Precision Matthews PM-1440GT Lathe.
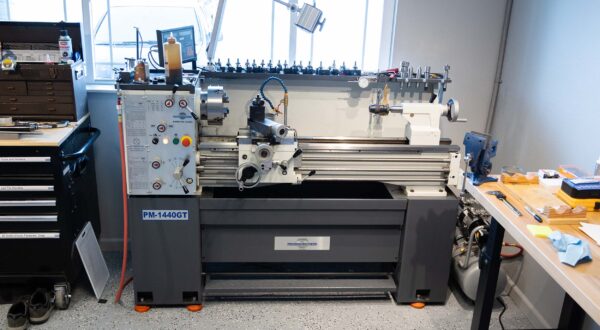
I’ve shown this lathe on the channel a number of times, but lately it’s been overshadowed by the Precision Matthews TL-1660 on the channel. Since I use both lathes a lot, I thought it was time to start showing both machines in action!
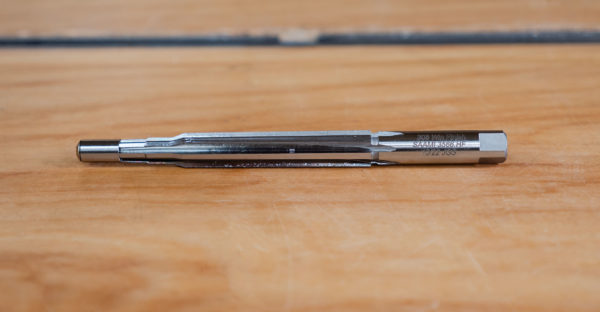
On the PM-1440GT, I’m using a 4-Jaw Chuck/Outboard Spider in place of the True-Bore alignment system and a piloted JGS 308 SAAMI-spec reamer with JGS bushings in 0.0002″ increments.
Looking for a more optimal reamer holding setup, I made a rigid reamer holder for the PM-1440GT specifically for this build, just like you’ve seen recently with the 338 Lapua build, 7mm PRC Freedom Rifle build and 7mm PRC Bergara build on the TL-1660.
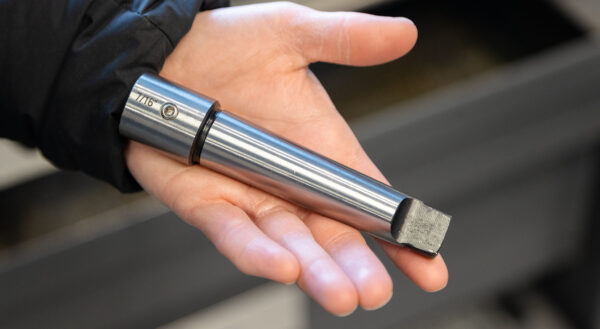
The PM-1440 GT has a Morse Taper #3 on the tail stock while the TL-1660 has a Morse Taper #4. I procured a Morse Taper #3 blank for the PM-1440GT and did the in-place machining to ensure PERFECT alignment with the headstock.
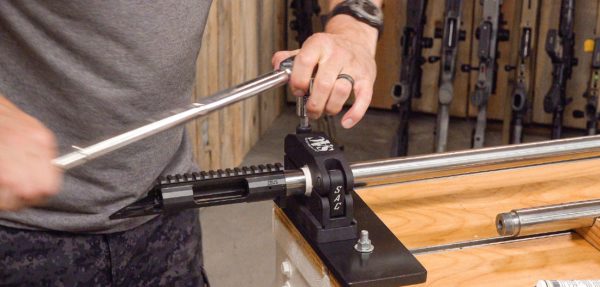
To help put it all together, we have the SAC Modular Barrel Vise. I use this all the time and have the SAC Bravo at Precision Rifle Concepts as well. For this build, I used the modular barrel vise which is conveniently located close to the Cerakote shop.
Muzzle Work
![]()
I first cut the barrel to 16.25” using the Precision Matthews PM-712G horizontal/vertical bandsaw.
My initial plan was to cut the barrel to length and thread the muzzle so that I could use a barrel extension. This barrel extension was threaded female ⅝” x 24 on one end with a pre-threaded ⅝” x 24 muzzle on the other end paired with milled wrench flats. By threading the muzzle first and using the barrel extension, I’d have something to hold with the outboard spider.
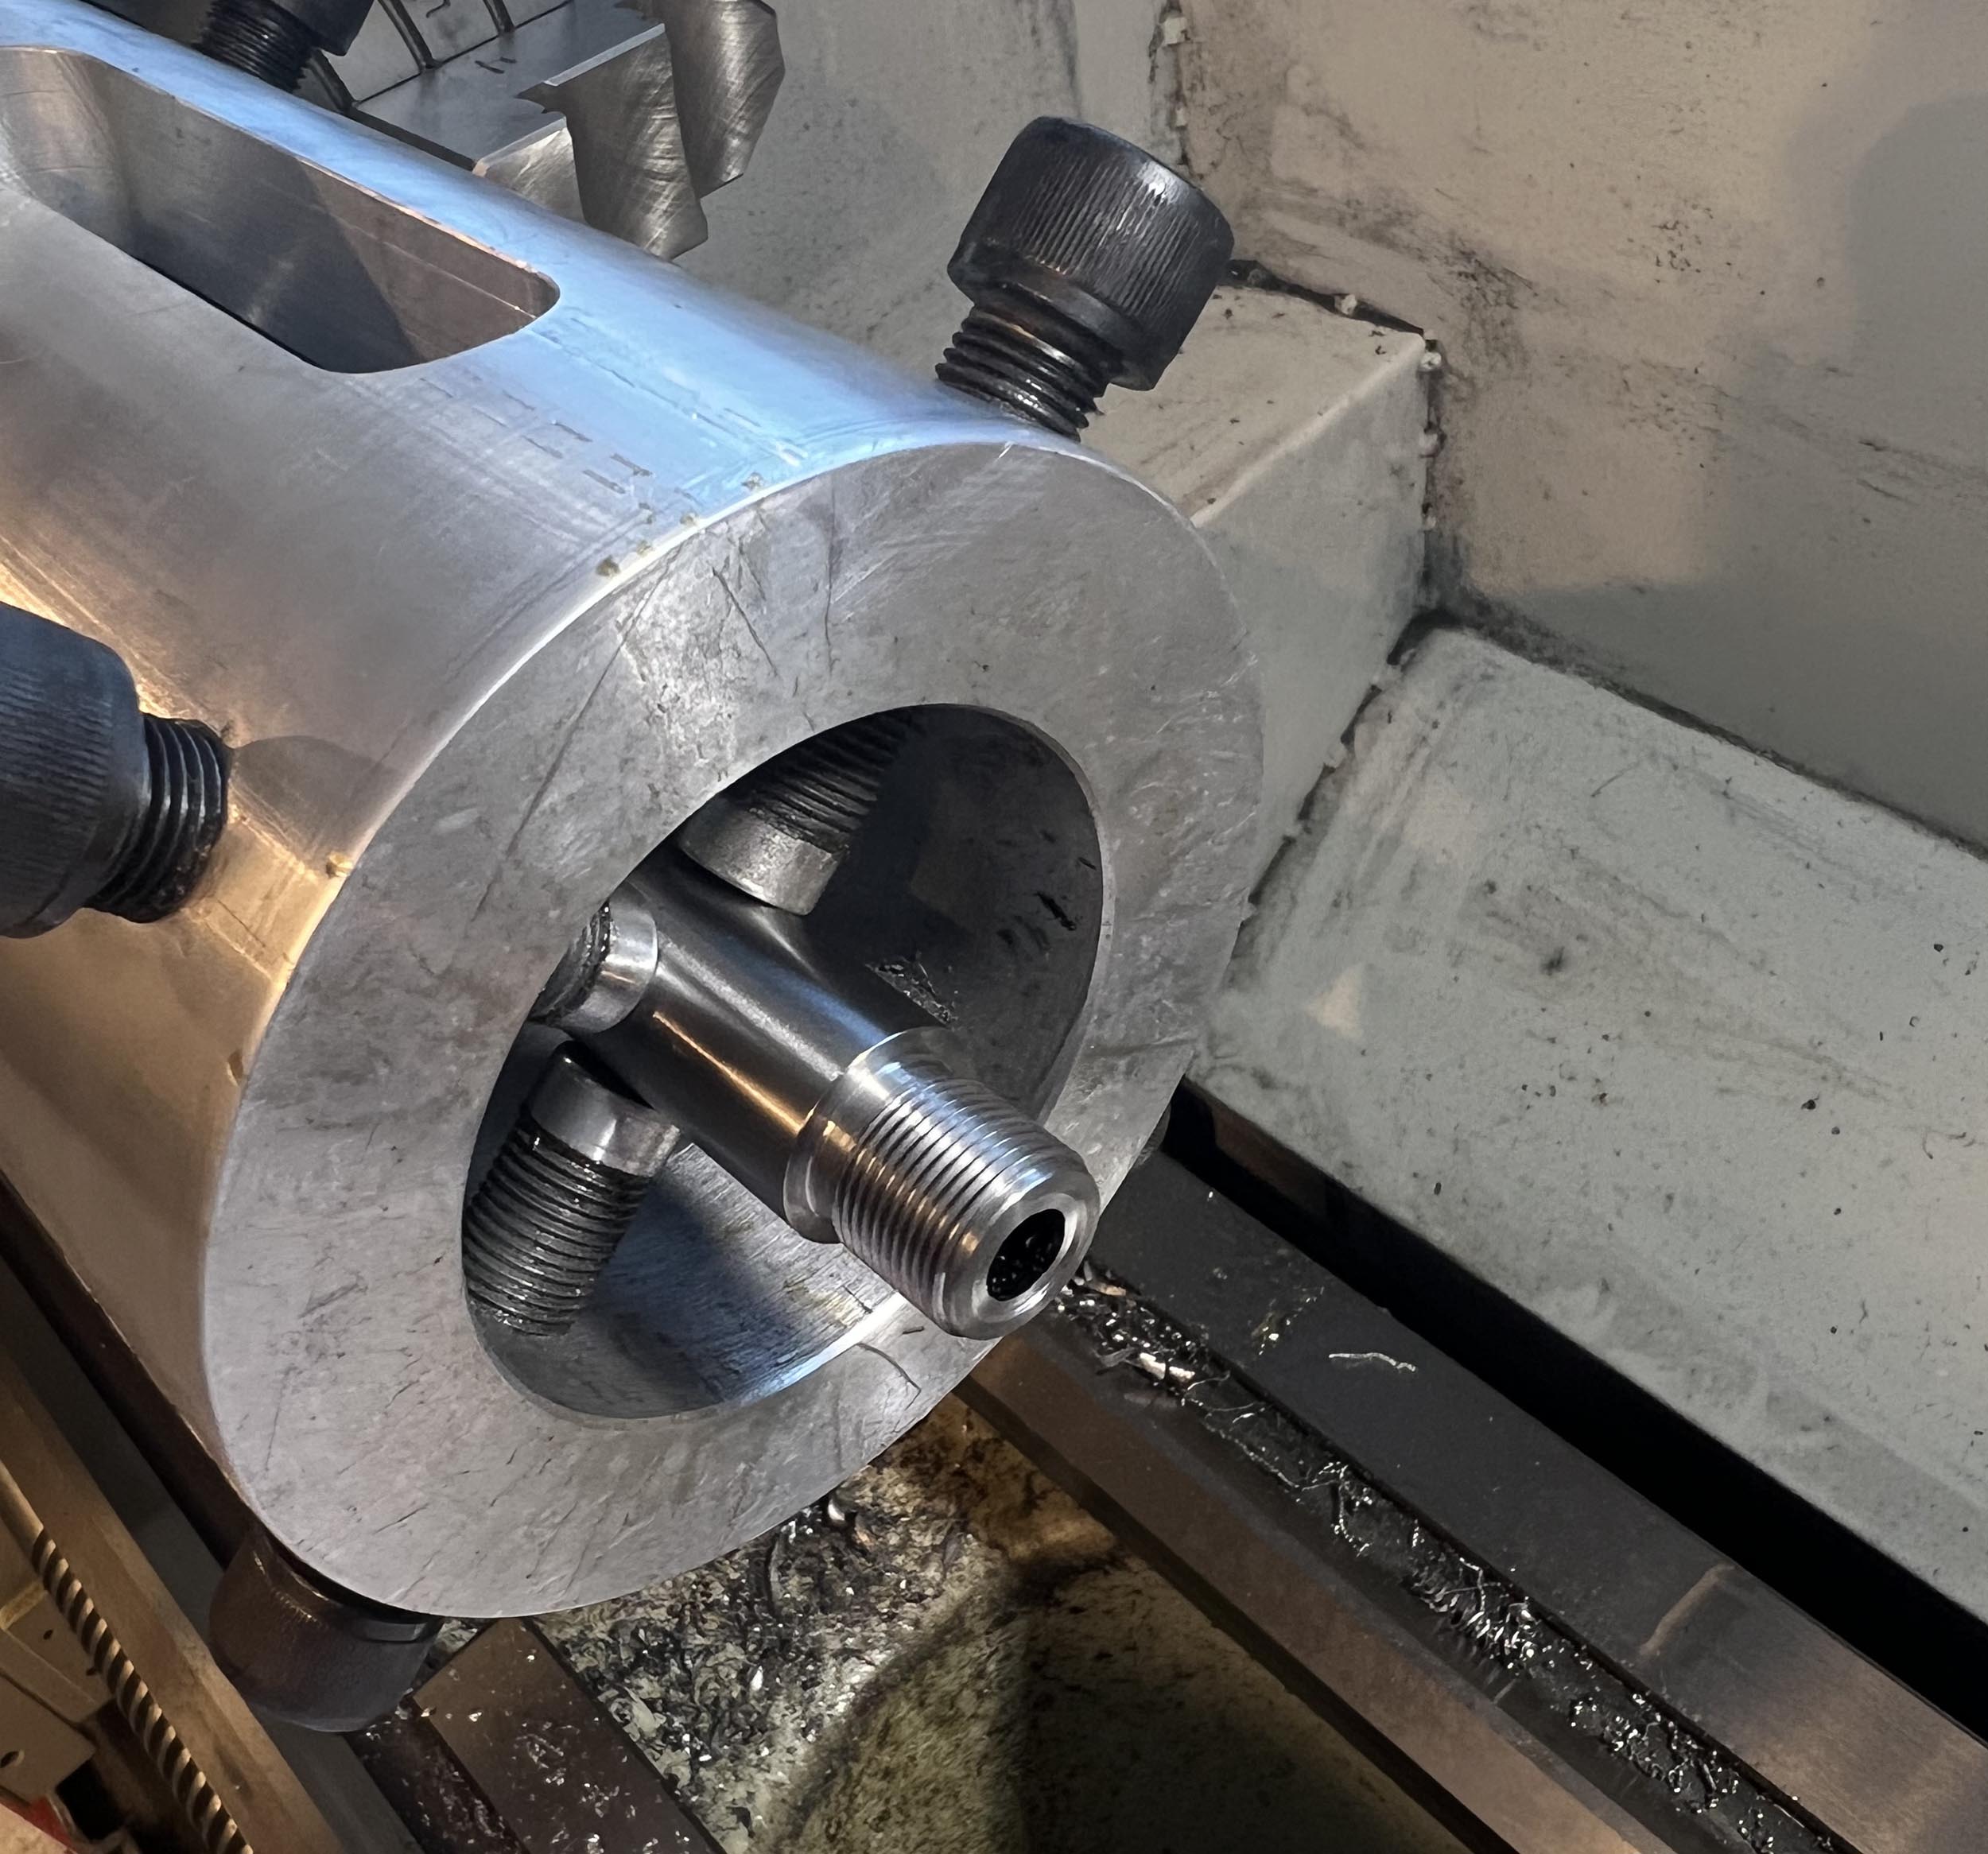
On that note, I am not used to chambering 16” barrels. Most of the barrels I chamber are in the 24” to 26” range. These lengths allow me to use a 4-jaw chuck and outboard spider on the PM-1440 GT, because it has short, optimized headstock. The 16” barrel is too short to do this with, so I had to improvise. For the muzzle work, I put my Gretan action blueprinting jig into a 4-jaw chuck and used two sets of screws to support the barrel and dial it in. This worked especially well. I was certain to read off the lands and grooves to ensure everything was reading true, keeping a close eye on the indicator needle.
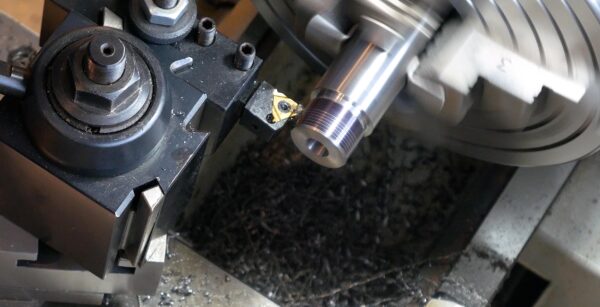
After making sure everything was trued up, I turned the end of the tenon, diameter of the tenon, cut the thread relief, threaded it ⅝” x 24 and cut the crown.
Breech End Work
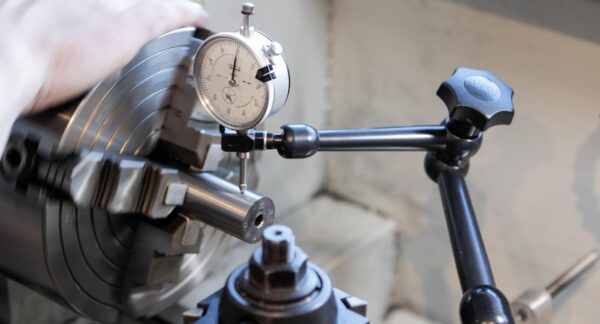
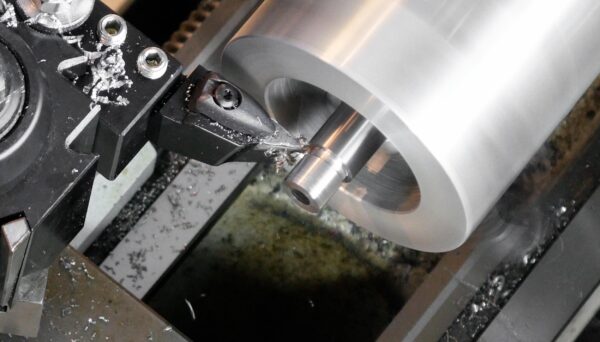
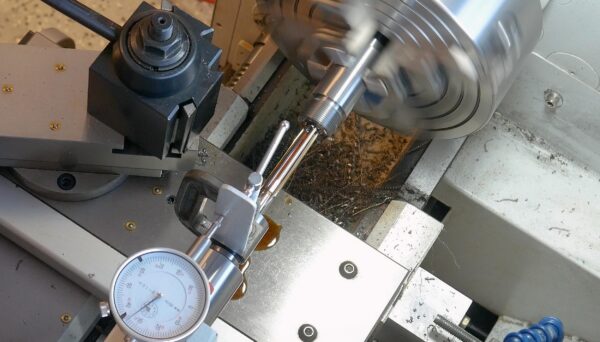
Above: Using barrel OD for pre-dial of barrel. This is followed later by final-dialing with a 0.0001″ indicator in the throat area of the bore (reading lands/grooves) before chambering.
With the barrel extension threaded on, the 16.25” barrel now measures over 30” — plenty of room to go through to the chuck jaws and the outboard spider.
I indicated the barrel to about a half thousandth to get it pre-dialed. Pre-drilling is necessary to get the tenth indicator into the appropriate area. This allows me to read off of the throat and about an inch and a half ahead of the throat to true the section.
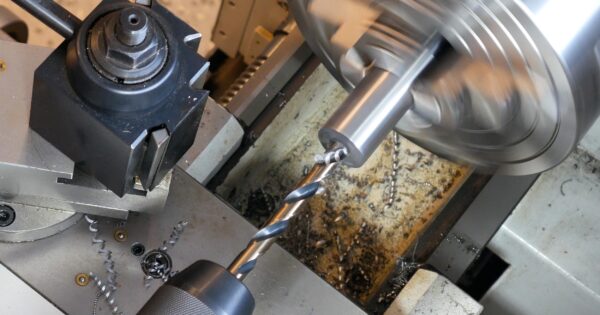
To determine how much to pre-drill, you have to know what your go-gauge stick out will be and subtract it from the base to shoulder case measurement. This will be your pre-drill, plus or minus a tenth of an inch or so. It really depends how comfortable you are getting close to the finished chamber depth.
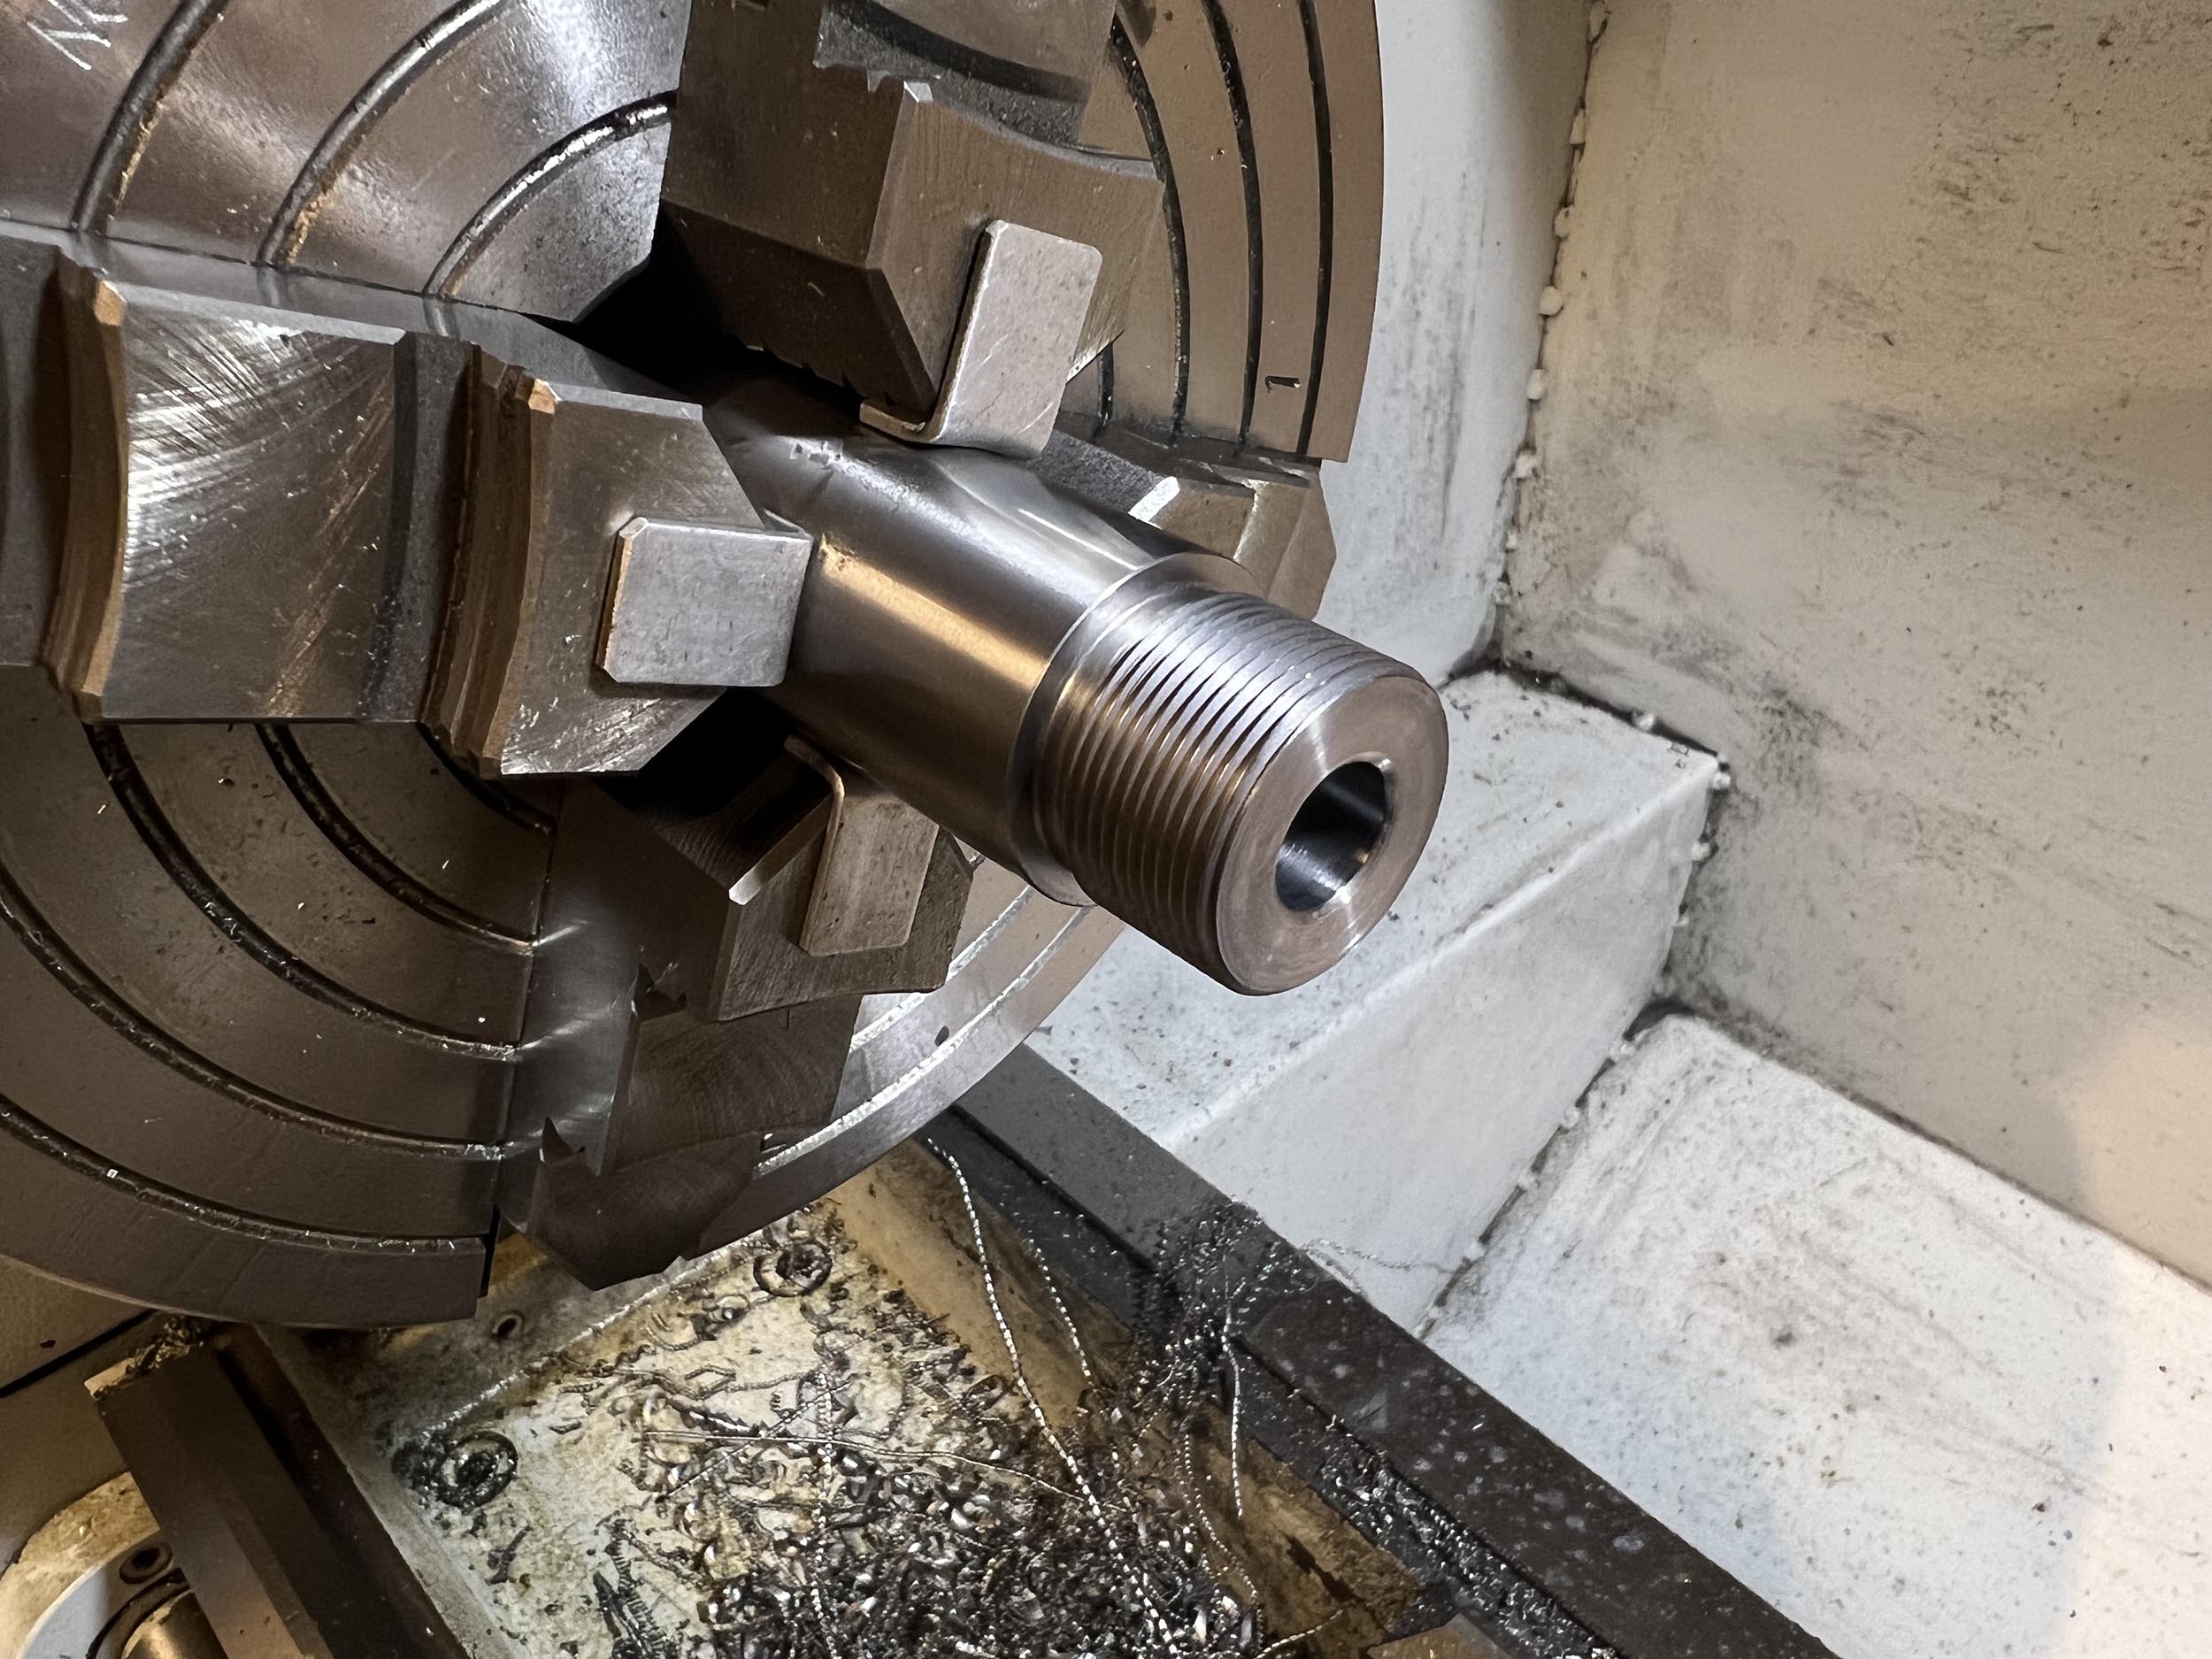
After pre-drilling the chamber (shoulder diameter minus 30 thousandths of an inch), I bored the barrel true. It’s important to ensure the reamer hits something running true rather than something that has run out. I also final indicated the area that will be throat after chambering to 0.0001” and turned and threaded the tenon (1/16” x 18).
Chambering
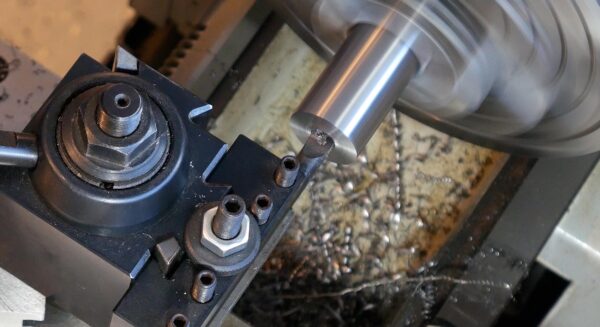
Chambering came next. For this build, I used the rigid reamer holder at the store rather than the pressure flush system at the shop. As a result, I did a 0.200″ plunge, cleaned the reamer and another 0.200″ plunge before cleaning the reamer again. I then repeated the process, but plunging 0.050″ at a time (several plunges), then 0.020″ at a time, and so on and so forth. I blew off the chips and oil and reamer and bore between each pass. I also periodically checked for runout. As I got closer to my desired measurement, I measured the stick-out using the tenon print from BAT machine and found it to be right on.
You can essentially take a BAT machine tenon print and turn a pre-fit with it, but I like to verify with the action and go-gauge on the lathe as well as take individual measurements to double check.
From Bat Machine (click on image below to load full tenon print:
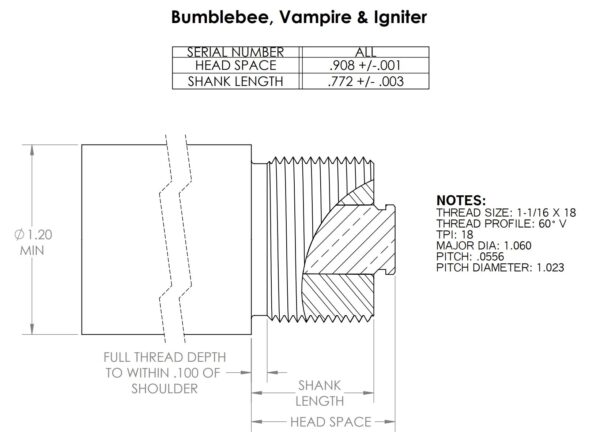
After getting the chamber to the correct depth, I chamfered the chamber entrance and polished the chamber.
This chambering job went smoothly, even without the pressure flush system, but I have some ideas for tool optimizations that can make it easier. Working on the PM-1440GT, I was happy to have a threading depth stop, something I don’t currently have on the TL-1660. This allows the cross slide to come to the same point and if you torque it to the same level, you’re within a couple tenths of the proper diameter. From this point, you supply a bit more torque to get to 0.0000 and infeed on the compound before taking another pass. This really speeds up the chambering process and helps ensure each pass is repeatable. I will be adding a depth stop to the TL-1660 in the future.
Also, based on the barrel chambering I did with Bruce Thom, I’ve incorporated VMMG inserts and related toolholders on both lathes. This is especially useful for breech work as you can face, turn the tenon, turn the thread relief and face the shoulder all with the same tool setup.
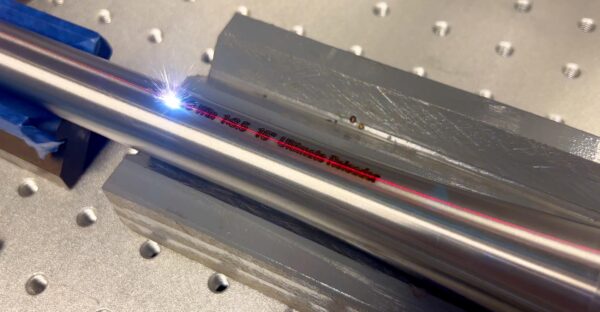
As a final touch to the barrel work, I laser engraved the caliber, twist rate, and barrel length as well as “Ultimate Reloader” for easy reference.

Cerakote
After spending lots of time practicing and putting my Cerkaote training to use, the process for Shorty was very simple and smooth. I put the barrel in acetone to degrease, then used a PVC 1/16” x 18 threaded tube to cover the tenon threads on the receiver side and a thread protector on the muzzle to protect them from blasting with 100 grit aluminum oxide. This setup is especially nice as you can simply unthread the protective devices when you’re done, blow the barrel off with compressed air, and rethread the protective devices prior to applying Cerakote.
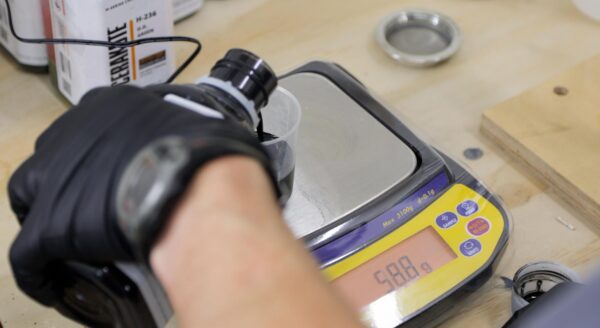
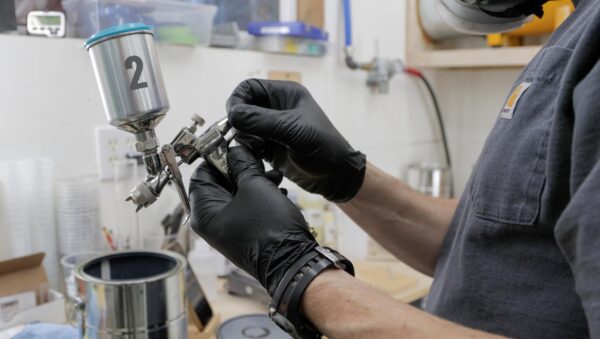
I mixed up Graphite Black Cerakote with the help of the Cambridge Environmental A&D EJ3000 Balance, set the Cerakote gun settings, and hit the barrel with two coats of Cerakote with a five minute flash time between coats.
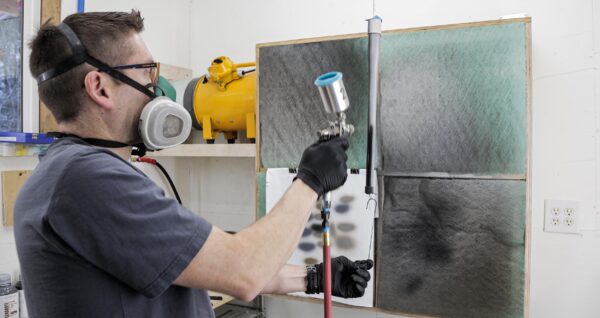
Fifteen minutes of flash time followed before placing the barrel in the oven, where it cured for two hours at 250 degrees Fahrenheit.
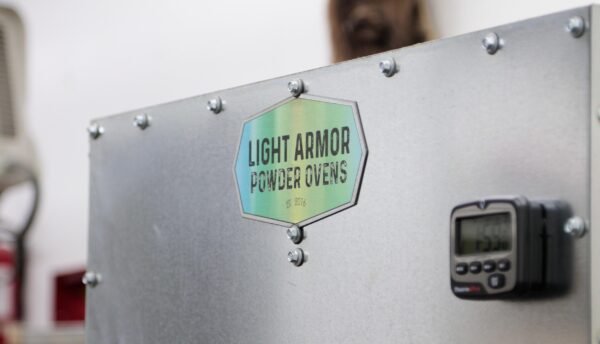
I use the Light Armor 2500B powder oven and consider it the best deal available, especially if you use the code OVEN125 for $125 off any oven with a circulating fan.
Putting It All Together
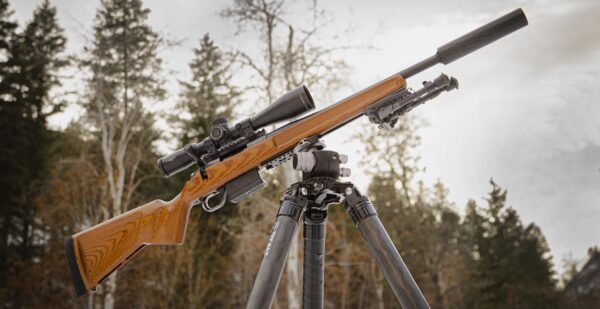
After the barrel reached room temperature, I verified headspace and torqued it on with the SAC modular barrel vise. The graphite black Cerakote matches the nitride on the BAT igniter action seamlessly. The barreled action fit in the stock perfectly. After torquing the action screws,
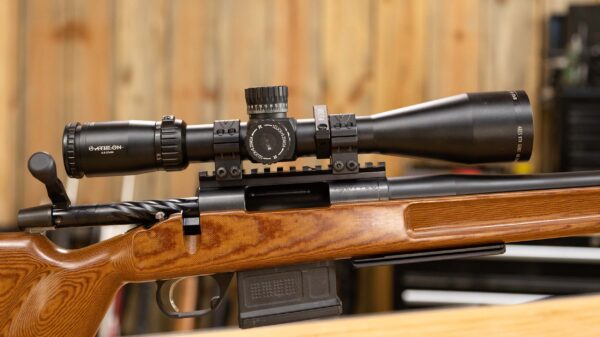
I topped off the build with an Athlon Ares BTR Gen 2 4.5 -27x50mm scope and Silencer Central BANISH 30 in its 7” configuration. We can also add an extension for a 9” configuration, which our tests revealed would result in less recoil, but for now, we want to keep “Shorty” short. In all, “Shorty” measures 42” with the suppressor, 36” without, and weighs 10.5 lbs (rifle + optic only).
Break-In
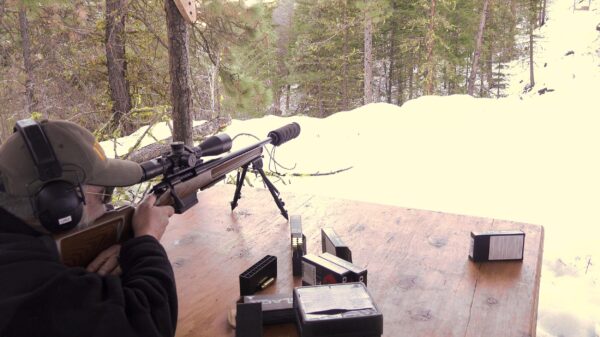
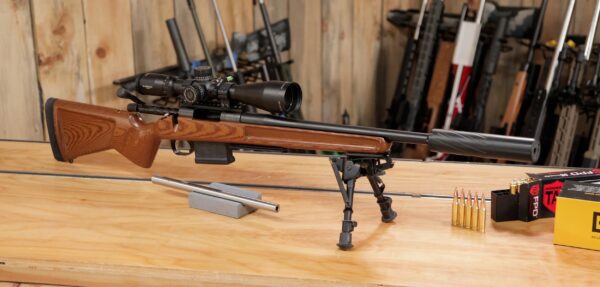
I executed a traditional 3-shot, clean, 3-shot, clean break-in process with Hornady 168 grain A-Max bulk, blemished ammo. I was excited to see multiple successive sub-half MOA groups at 100 yards.
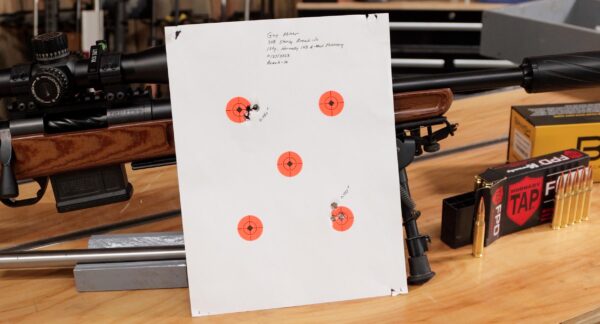
Guy’s best two 3-shot groups measured 0.460” and 0.458” at 100 yards. We also couldn’t resist shooting some steel with a reflex sight.

Conclusion

There is a lot of detail that goes into a rifle build, particularly during machining operations. I aspire for efficient yet elegant processes with high-quality results. Though “Shorty” is much shorter than the bolt guns I’m accustomed to, I really like this compact, “handy” rifle. Accuracy was extremely impressive, especially because we were using bulk, blemished factory ammunition. I’m curious to see how “Shorty” would perform with handloads and perhaps a brake instead of the suppressor. We are also considering subsonic testing, different optics, and various Dominion configurations in addition to true accuracy testing and load development.
I currently have an ARCA rail installed and a swivel stud up front, but am also thinking about adding a Salmon River Solutions rail to the forend.
Get the Gear
Components:
Foundation Dominion Short Action Stock
Hawkins Precision Hunter DBM Bottom Metal
TriggerTech Remington 700 Special Trigger
Athlon Ares BTR Gen 2 4.5 -27x50mm Scope
Hornady 168 grain A-Max bulk, blemished ammo
Tools:
Precision Matthews PM-1440GT Lathe
Precision Matthews PM-712G horizontal/vertical bandsaw
Cerakote Certified Applicator training
A&D EJ-3000 from Cambridge Environmental
Light Armor LA2500 B Customizable Curing Oven – OVEN125 saves you $125 on ovens with circulating fan
Don’t miss out on Ultimate Reloader updates, make sure you’re subscribed!
Thanks,
Gavin Gear