If you liked the 7mm PRC Freedom Rifle Build, you’re going to love this 338 follow up!
Disclaimer
Ultimate Reloader LLC / Making with Metal Disclaimer: (by reading this article and/or watching video content you accept these terms). The content on this website (including videos, articles, ammunition reloading data, technical articles, gunsmithing and other information) is for demonstration purposes only. Do not attempt any of the processes or procedures shown or described on this website. All gunsmithing procedures should be carried out by a qualified and licensed gunsmith at their own risk. Do not attempt to repair or modify any firearms based on information on this website. Ultimate Reloader, LLC and Making With Metal can not be held liable for property or personal damage due to viewers/readers of this website performing activities, procedures, techniques, or practices described in whole or part on this website. By accepting these terms, you agree that you alone are solely responsible for your own safety and property as it pertains to activities, procedures, techniques, or practices described in whole or part on this website.
7mm PRC Freedom Rifle Build
While you can watch the full video here, I’ll provide some highlights. This rifle is built on a BAT HR long action with an MDT ESS chassis system and Bartlein 7mm 5R 1:8 barrel blank (28” finished length). I used the JGS reamer rifle from the rifle builder’s kit that Hornady sent out as a preview for 7mm PRC and did a custom Cerakote job with laser engraving. This gun is a tack driver! I actually initially put this equipment package together with the intention of putting together a 338 Lapua Magnum in partnership with Triebel gun tools. It took a bit longer than expected to get the reamer and gauges, so I did the 7mm PRC build first.
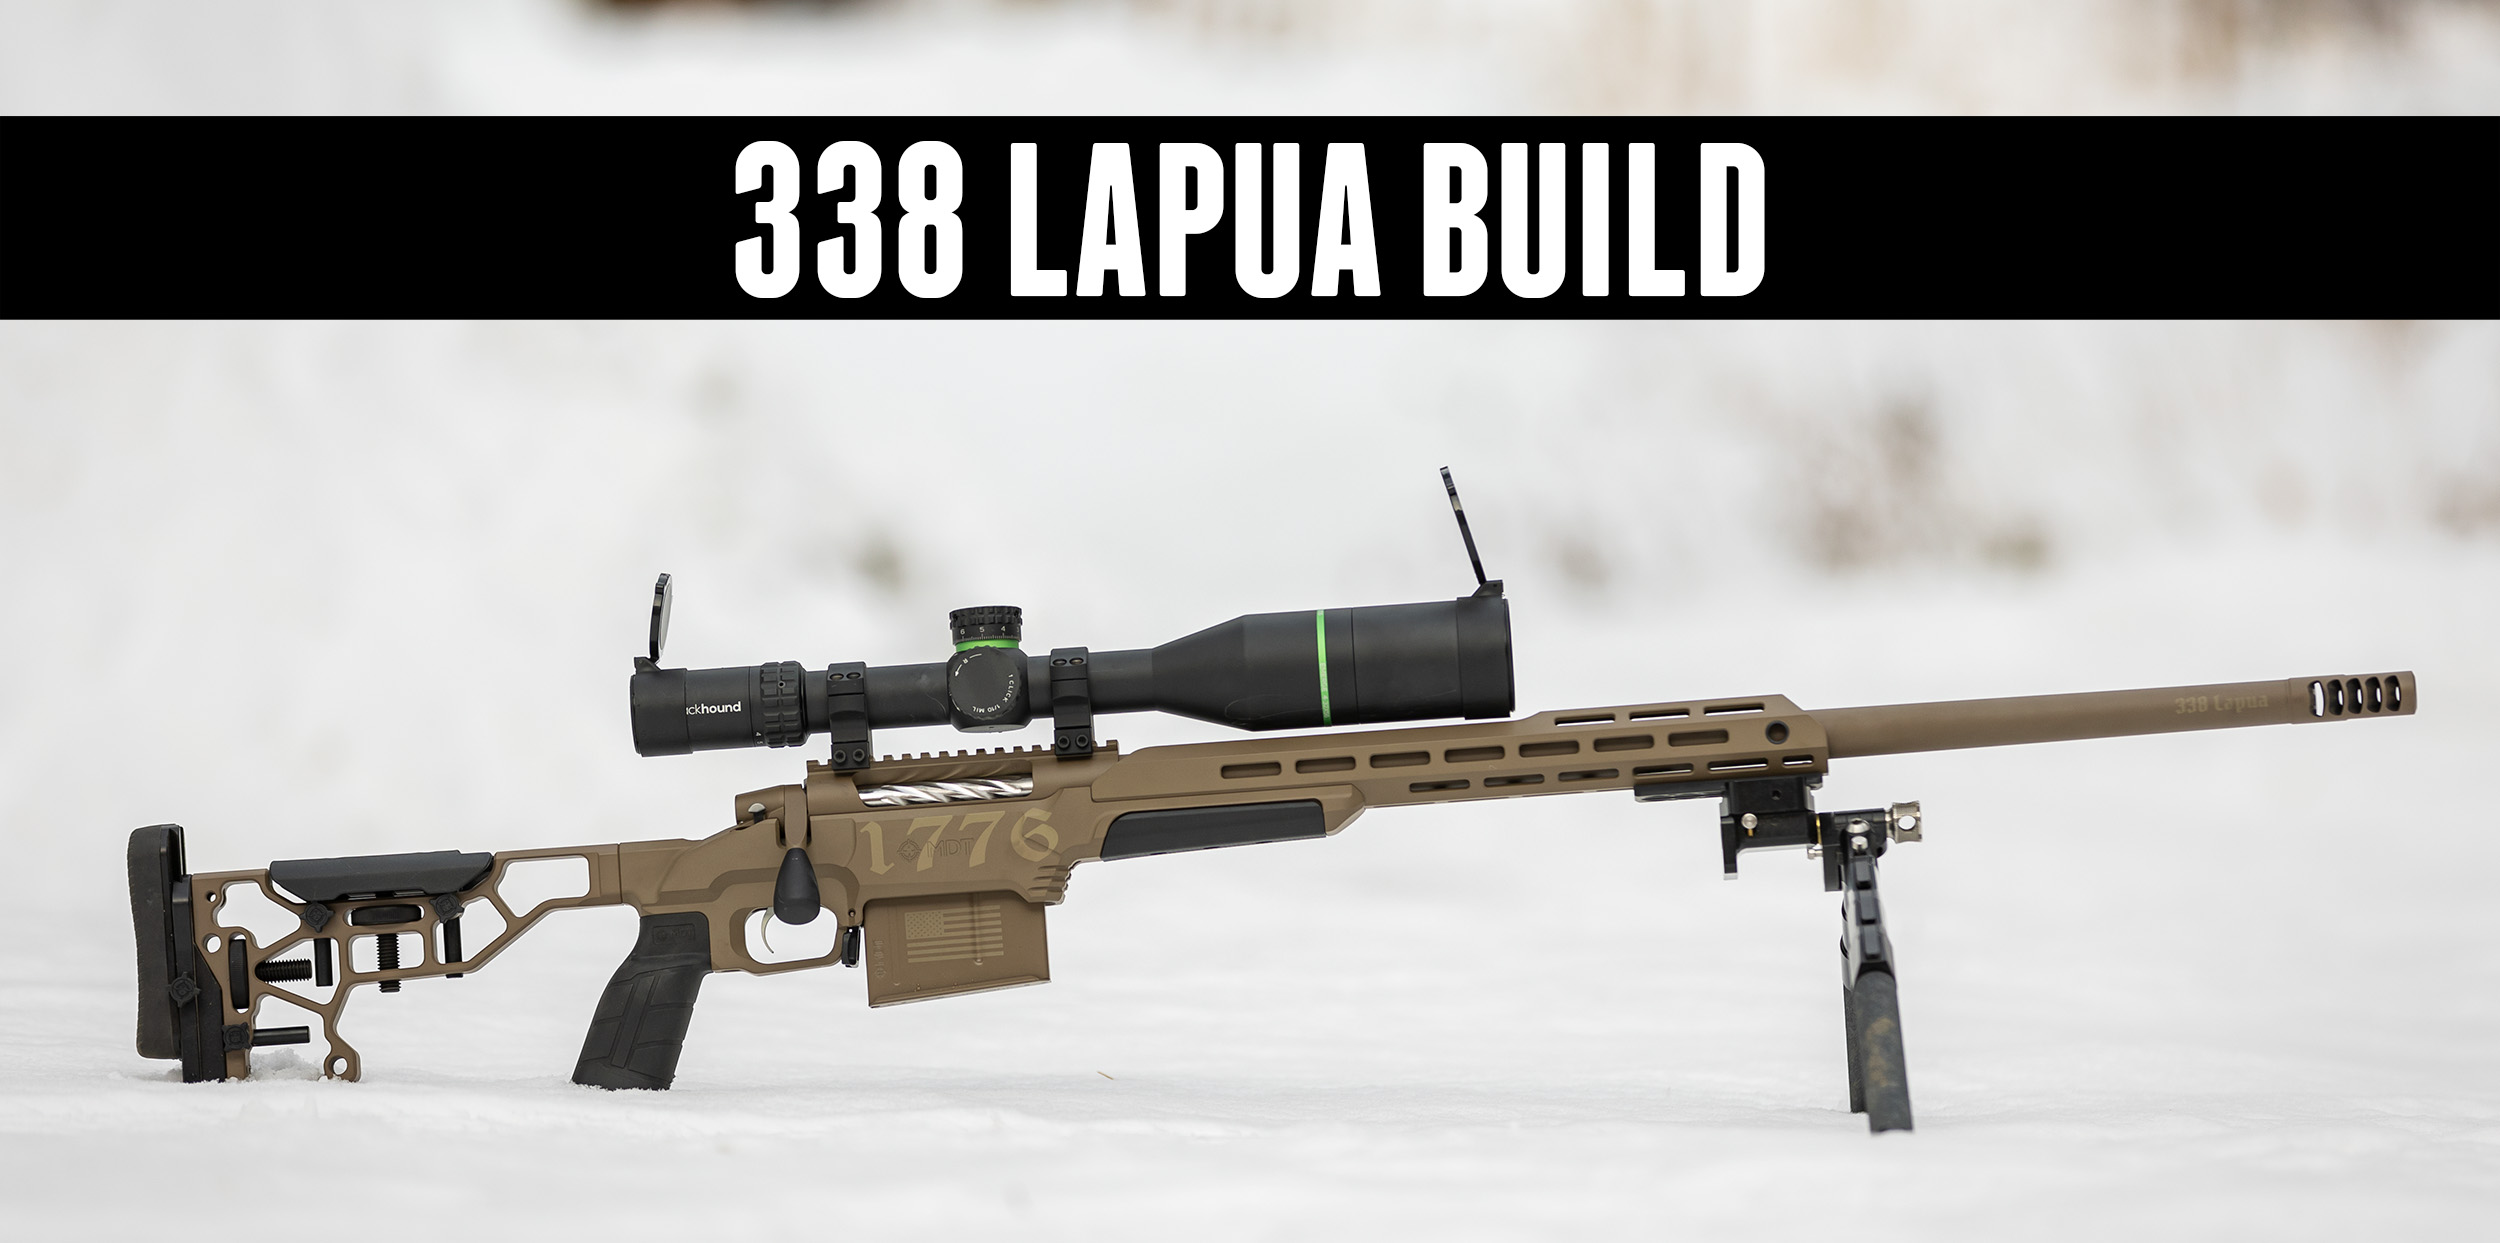
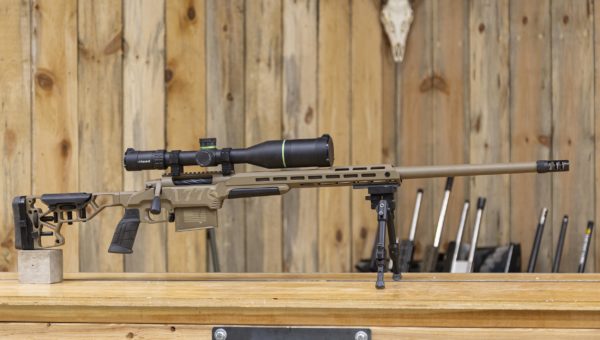
338 Lapua Magnum Rifle Build

For my first 338 build, I’m starting with a Bartlein 338 barrel that I’m going to finish to 26”. I have a magnum bolt section with a 338 bolt face. The modular bolt system in most BAT actions makes rifle builds especially versatile. We will reload for this cartridge with Triebel dies (1 ¼” threads) on an Area 419 hybrid toolhead. These high-quality dies are sold exclusively by Creedmoor Sports. In terms of the tooling package, we have a Triebel minimum finisher (as used on the 6.5 x 47 EVH build) and a separate throater die to dial in the desired freebore. The freebore depends on the components. We have OTM Tactical 300 grain .338 bullets and Lapua .338 300 grain hollow point boat tail scenar bullets to seat in Lapua cases.
Back to the free bore, we can calculate exactly where we want to be with bullet seating depth. I’ll be doing some research on this as it is my first 338. I’m open to feedback as well on data like cartridge overall length, bullet seating depth and jump.
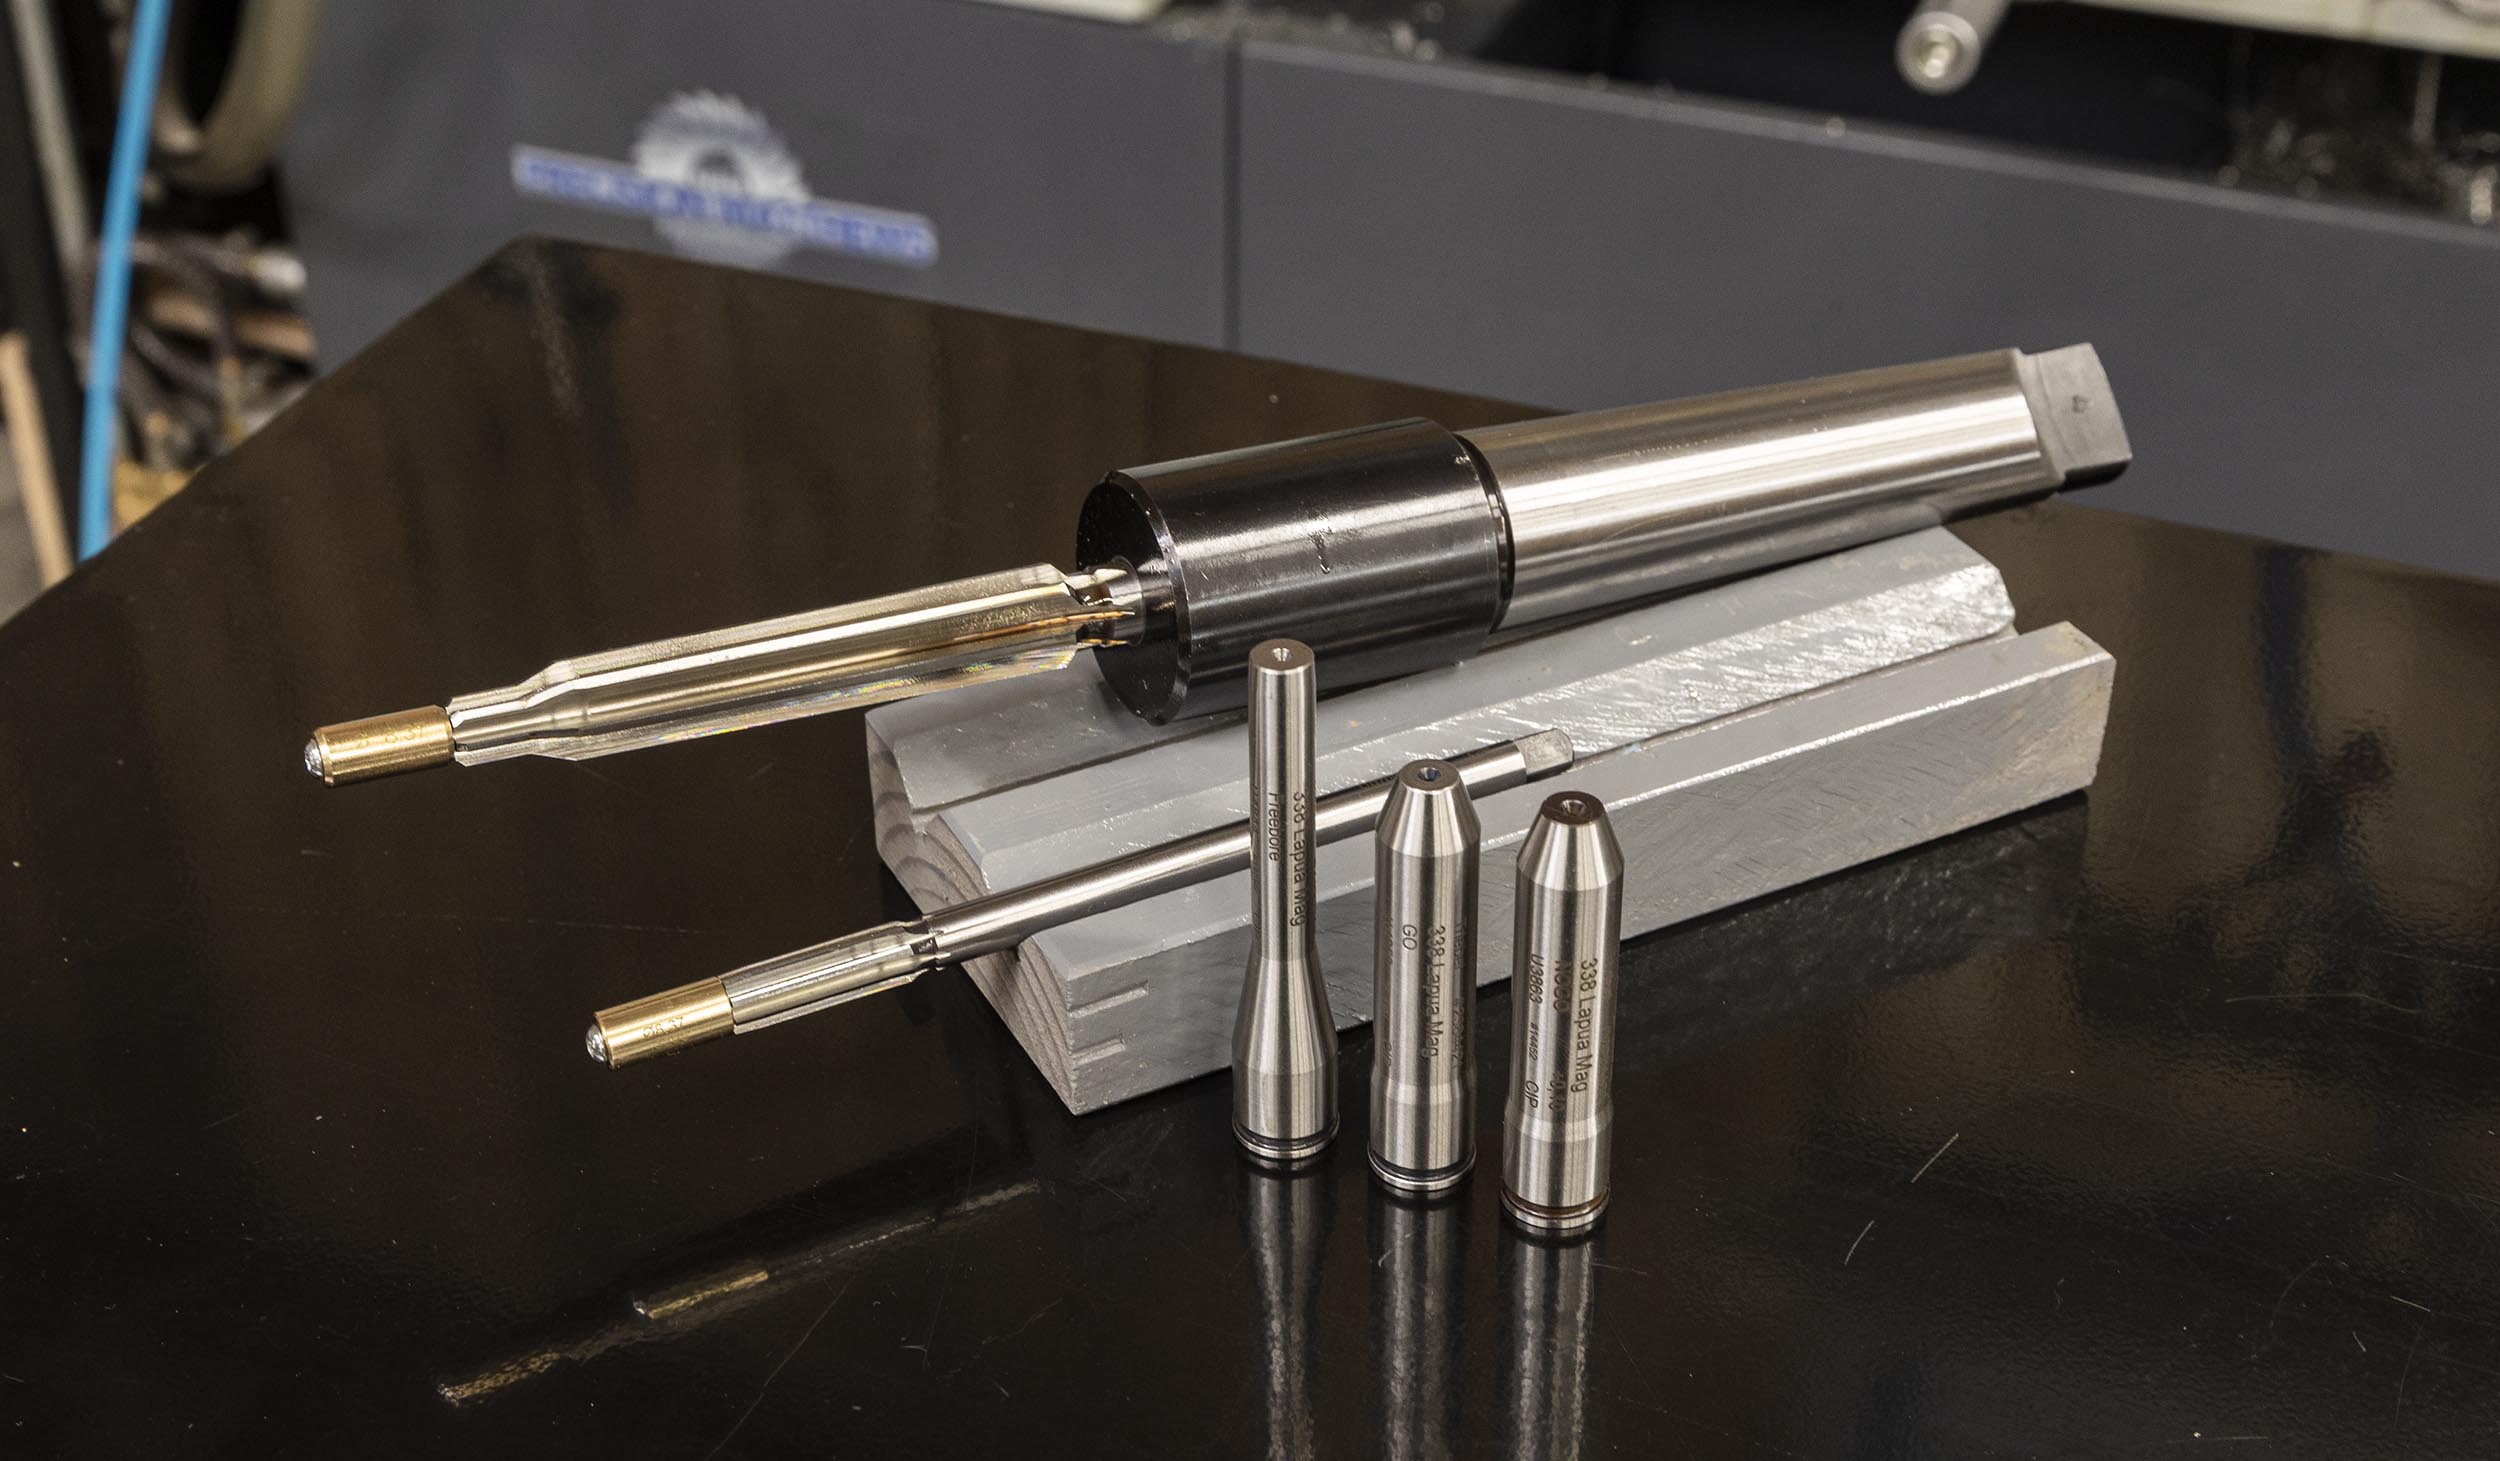
I also have Triebel go and no go gauges and a lands gauge. Close the bolt on the go gauge to check headspace and use the lands gauge to ensure you are within bounds on freebore. This gauge has a taper where the throat is, which enables us to precisely dial in where that throat is and what our corresponding free bore is. I can also check stick-out/protrusion on the gauge on the lathe and compare it with the traditional go and no go gauges. With this information, I can calculate where my free bore will be with respect to the CIP specification.
Like with the 7mm PRC build, I’ll be making a rigid reamer holder on the lathe. This is the best way to get the best hold on the reamer and ensure complete alignment. This is done using the tooling on the headstock side, putting the Morse taper #4 (in case of TL-1660 lathe) in the tail stock, drilling, then single point boring then burnishing and/or polishing in place. When you have this perfect kind of alignment, you ensure the best possible cut. I learned this trick from Bruce Thom of BAT Machine.
When this is all put together, I’ll be using ¾ x 24 muzzle threading to add a brand new BANISH 338 suppressor with a ¾ x 24 cap. Look for a separate video on this suppressor in the future!
I’ve also got the BANISH 46 suppressor with ¾ x 24 direct thread mount, so I’ve got two options with and without an adapter.
Tooling

For this project, I turned to my trusty Matthews TL-1660 lathe. This lathe has capacity, rigidity and has a host of great features for the price. I can shift between metric and English threading for example and it handles the true bore alignment system incredibly well. This is an articulating chuck that allows you angular and radial adjustment and helps you to dial in your barrels. It has the even support and clamping power of a six-jaw chuck and with that I use the SSG range rods and do a double check with an indicator in the lands and grooves.
I’ve also recently prototyped a completely standalone pressure flush system which adds considerable efficiency to the barrel chambering process.
Also in the shop is my new and improved Cerakote booth with a Light Armor LA2500 oven. If you use the code OVEN125 for any oven with a circulating fan, you’ll get $125 off.
Finally, I have the Short Action Customs modular barrel vise, which I also used on the 7mm PRC renditions.
Specifically for this build, we’ve got the Triebel .338 Lapua body and neck reamer, Triebel free bore reamer, Triebel go gauge, no go gauge, and lands gauge.
I’ve also completed the 12mm rigid reamer for the body and neck reamer used for this build. It worked phenomenally well and cut super smoothly. For this build I also used a ⅝ x 24 barrel extension I made from a cut down barrel. This allows me to hold the end of the barrel to support it as the TL-1660 has a longer spindle than the PM-1440. It also provides a way to blow compressed air through the barrel and the swivel for the pressure flush system goes right on the ⅝ x 24 muzzle. This build has ¾ x 24 threads, so I made an adapter on this lathe that goes from ¾ x 24 to ⅝ x 24, allowing me to use the same barrel extension as I’ve used on other builds.
Calculations and Specifications

In woodworking, you measure twice and you cut once. When it comes to chambering a rifle and metal work in general, you have to do analysis and calculations, measuring five times before you cut. It can be a bit overwhelming. In this particular case, you have the CIP standard for the 338 Lapua, which is native standard. You also have SAAMI documentation that gives you the US equivalent that has to be double checked and reconciled.
I also have the BAT HR tenon print, which gives me the dimensions to turn the tenon to, the threading dimensions, the tenon length dimension, even reamer protrusion that you can expect when it comes to cutting the chamber depth.
I had several choices of muzzle threads but went with ¾ x 24 because it leaves a bit more meat on the barrel and seems to be somewhat standard for 338 Lapua. I also already have the adapter/threaded end cap/direct mount adapter for the BANISH 46 suppressor. I also have the Salmon River Solutions Ti Pro 3 .338 five-port brake with ¾ x 24. I also calculate what my pre-drill needs to be for indicating the barrel prior to chambering. This removes the bulk of the material from the area that will become the chamber. Critical here is a diameter about 30 thousandths of an inch under the shoulder transition and a depth that is at least 0.1 inches back from where the shoulder transition starts in the chamber. In this case, it turned out to be exactly half an inch to pre-drill the chamber area.
Next is chamber cut depth. I cut the tenon to length, look at where the shoulder transition on the reamer is, get a close look where it starts to go in, zero the tail stock and anything in addition to that is your reference cut depth. Check this with your go gauge to make sure you’re in the right range.
I also like to create a dummy cartridge. This is easy to do by slitting the neck of a brand new case and seating the corresponding bullet. You can take a lot of measurements for cartridge overall length, base to ogive, and those sorts of things this way and confirm them with what Triebel uses with their lands gauge.
338 Lapua seems to like a lot of jump. I’ll have approximately 160 thousandths of jump with some flexibility. The first time you do a particular chambering or use a particular tooling package, it’s important to write it all down for the next time you use it.
Threading the Muzzle

Part one of the machining is threading the muzzle. This is important because we’ll need it for several things, like using the barrel extension and establishing the overall barrel length. For this build, the finished barrel length was 26”. I started by parting off an inch, turning down the tenon (¾”), cutting the thread relief groove and cutting the step down. (This is where the threaded muzzle device will self center before it begins to engage the threads.) Next is facing it to length, threading it, then cutting the recess and crown. I used a flat profile crown, but an 11 degree crown is also an option.
I have a 3D printed prototype of a bushing that is straight on the outside and tapered on the inside that we can use to evenly support the barrel in the lathe without having to use shim stock. This also protects the barrel.
Machining Part Two — The Breech End

Pre-drilling with a ½” drill bit will remove most of the chamber material. A final dial involves reading the lands and grooves with a thousandth indicator to ensure they are correct. Turning the tenon, threading the tenon and cutting the body and neck of the chamber come next. You should also take a look at the transitions, which can happen in the second step. Part two involves checking the go gauge protrusion. At this point, the action is threaded on and closed and the desired depth is established. Measure how far the go gauge protrusion for a baseline reference. If we use what Triebel recommends for free bore, we’ll have the same protrusion with the lands gauge. This can be adjusted for a shallower or deeper free bore cut. You have several decisions to make at this point in the process, but otherwise, it is pretty straightforward.
I don’t use pressure flush for free bore. I apply some Viper’s Venom cutting oil to the bore and to the reamer. We’re not removing a lot of material, so the flutes don’t even pack up that much. It’s easy to remove those chips between each successive pass.
Once we’ve established where we want to be with the action threaded and closed, we can polish the chamber and cut the chamber entrance and chamfer if we haven’t already.
This can be incredibly overwhelming if you are new to it. As you are establishing your moves with your tooling, it’s important to have reference points. I put my carriage at a particular reference location and move the tail stock up until it contacts it. I’ve got my DRO zeroed, so if I’m going too fast with the tail stock and bump the carriage a few thousandths, I can correct it. When the tail stock DRO is zeroed, I have an absolute reference. This is another trick I learned from Bruce Thom. At this point, the barrel job is complete.
Cerakote

I essentially matched the Cerakote job I did on the entire barreled action for the 7mm PRC, but this time, just did the barrel and SRS Ti Pro 3. I only Cerakote what I want Cerakote on. For example, I’m not Cerakoting the tenon threads, muzzle threads or shoulder area. To help with this, you can use the brake as a masking device for the blasting and Cerakote application. I machined a sleeve to go over the barrel tenon threads on the breech side and ran copper coated mig welding wire out the top. I masked off the crown area and the end of the muzzle and screwed the muzzle brake on to mask the shoulder area and the threads.
Before sandblasting, I dipped everything in acetone using the Cerakote complete tank and accompanying basket for half an hour, let it drip dry, then hit it with compressed air. After sandblasting, I took everything apart and blasted it with compressed air again. This is super important! I learned all these things at Cerakote training. If you are interested in Cerakote, I highly recommend taking a course!
After completing the sand blasting and clearing out all the excess media, I reassembled all of the masking and used a plug from the Cerakote plug kit on the crown and fed the wire through it to hang while I mixed the Cerakote. I used the A&D EJ3000 balance from Cambridge Environmental to do this, which is perfect for the weight range.
I also added the Harbor Freight paint shaker. It sounds funny, but this is what Cerakote runs as well as all their pros. I opted to mount it to the floor. I also added LED shop lights all the way around the booth. This is a holdover from my days doing professional auto paint jobs. I spray two coats, waiting five minutes between coats, then there’s a 50 minute flash before putting it into the LA 2500 oven. (Reminder: use code OVEN125 to get $125 off an oven with a circulating fan!) I baked for two hours at 250 degrees and let it cool overnight.
Putting It Together

After Cerakote, I used the Short Action Customs modular barrel vise and action wrench to torque it down to 90 foot pounds. I had a very particular sequence in mind when it came to this barrel work. I wanted to selectively apply Cerakote. I needed to torque the barrel down before doing the engraving. I also knew I needed to torque the barrel first before I clocked the brake because it’s not self-timing. I did cut a step down on the end of the brake where it comes up to the shoulder at the same exact diameter as the barrel and left plenty of room to cut some off to time it. I put the brake back on the lathe, using blue tape to protect the Cerakote, and turned off a few different turns progressively. The last pass was about a half thousandth of an inch to get it clocked just appropriately so it could crush down to the proper torque and be perfectly aligned.
At this point, I installed the barreled action in the MDT ESS chassis and took the gun to my gunsmithing shop, Precision Rifle Concepts, and proceeded with the laser engraving.
I ended up taking the barreled action back out of the chassis so I had some extra room to manipulate it in the laser engraver. This is a 50 watt fiber laser and a two-stage engraving job. The first was a single line of text, deep engraved – eight thousandths of an inch deep. The small text gave the twist rate, finish length, and Ultimate Reloader name. I also wanted larger text engraving, tone on tone, to show which barrel is installed. I added 338 Lapua on both sides of the barrel for easy reference.
Test Firing
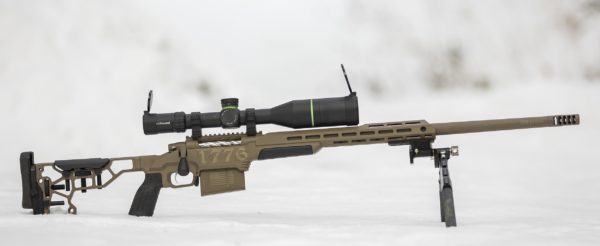
I did some quick test firing, but haven’t done any load development yet. I used a load a bit under max using a Berger 250 grain OTM with brand new Lapua brass just to ensure the rifle works. While I didn’t do any accuracy testing in the snowstorm, I can confirm the Ti Pro 3 works incredibly well. Shooting the 338 Lapua with the brake felt like less recoil than the 7mm PRC.
Conclusion

Next up is load development for this rifle. I won’t do a significantly deep dive on this as I want to get to long range shooting as soon as possible. This rifle isn’t a benchrest gun. It’s intended for shooting out to a mile. Here at Ultimate Reloader, we can shoot out to 1,000 yards on steel. I also have the BANISH 46 suppressor to try!
Get the Gear!
- Bat HR Action (Long Action) with magnum bolt face bolt
- Bartlein 338 Barrel Blank
- MDT ESS Chassis System
- Blackhound Emerge 4-32×56 FFP MIL Rifle Scope Illuminated Reticle, Zero Stop and Parallax
- Precision Matthews TL-1660
- Triebel Gauges and Reamers
- Triebel Dies
- Lapua .338 300 grain Bullets
- Lapua .338 Lapua Mag Brass
- Berger .338 300 Grain Hybrid OTM Tactical Rifle Bullets
- SSG True Bore Alignment System (TBAS)
- SSG Range Rod (see bottom of page HERE)
- Light Armor LA2500B Oven (OVEN125 code saves you $125 for ovens with circulating fan!)
- H-Series FDE Cerakote, H-265
- Cerakote Certified Applicator Training
- SAC Modular Barrel Vise and SAC Modular Action Wrench
Don’t miss out on Ultimate Reloader updates, make sure you’re subscribed!
Thanks,
Gavin Gear


