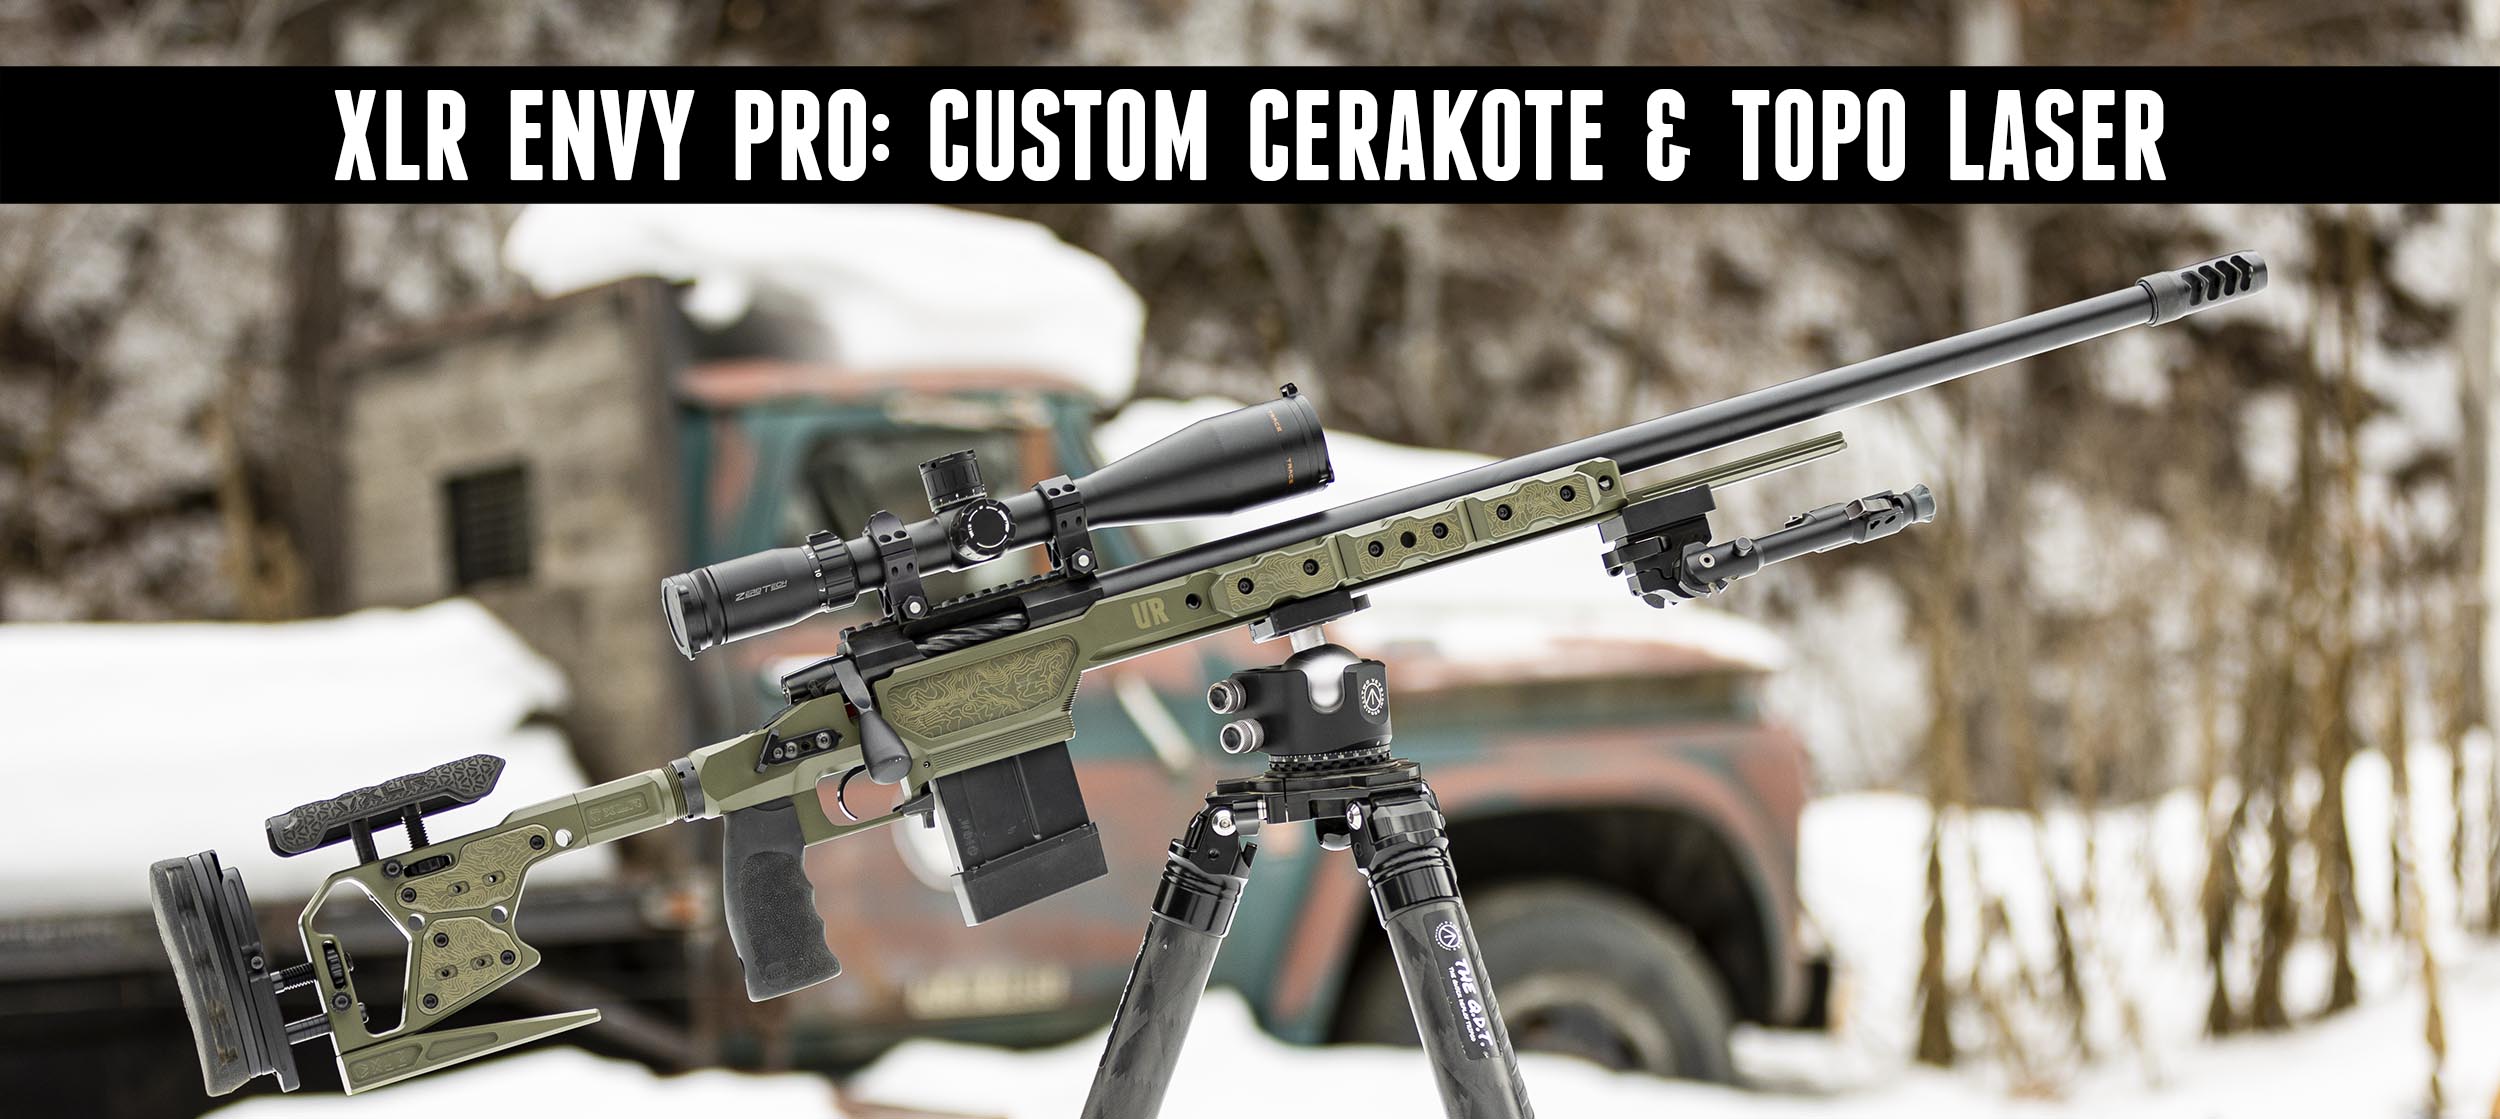
Ever watch a vision come to life? I meticulously planned my Cerakote job on an XLR Envy Pro chassis, complete with laser imaging, and the results are astounding- let me show you how I did it!
Disclaimer
Ultimate Reloader LLC / Making with Metal Disclaimer: (by reading this article and/or watching video content you accept these terms). The content on this website (including videos, articles, ammunition reloading data, technical articles, gunsmithing and other information) is for demonstration purposes only. Do not attempt any of the processes or procedures shown or described on this website. All gunsmithing procedures should be carried out by a qualified and licensed gunsmith at their own risk. Do not attempt to repair or modify any firearms based on information on this website. Ultimate Reloader, LLC and Making With Metal can not be held liable for property or personal damage due to viewers/readers of this website performing activities, procedures, techniques, or practices described in whole or part on this website. By accepting these terms, you agree that you alone are solely responsible for your own safety and property as it pertains to activities, procedures, techniques, or practices described in whole or part on this website.
The Project
I’ve long been interested in professional painting, starting with automotive paint and precision spraying. It felt natural to take the Certified Applicator Training at Cerakote. ( I cannot stress enough how important it is to take the Certified Applicator Training if you want to do Cerakote correctly.) I then built my own Cerakote facility and for this project, experimented with laser-over-Cerakote.
Laser imaging over Cerakote opens up worlds of opportunity. It’s very quick and detailed, but without any need for masking. Our 7mm PRC Freedom Rifle build is a great example of this, showing how laser imaging also provides a nice color without extra Cerakote. This same MDT chassis was used in our 338 build, with a flag on the magazine and 1776 on the side. That project really got me thinking. It was then I decided I wanted to tackle topographic laser imaging over Cerakote.
The Build
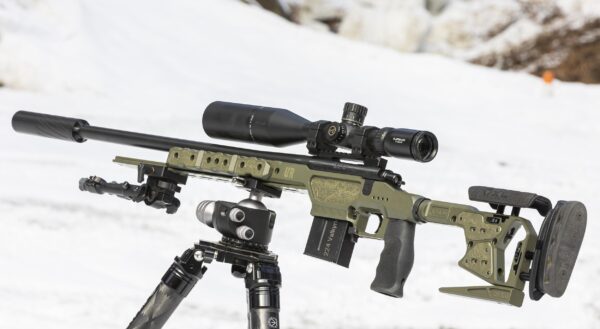
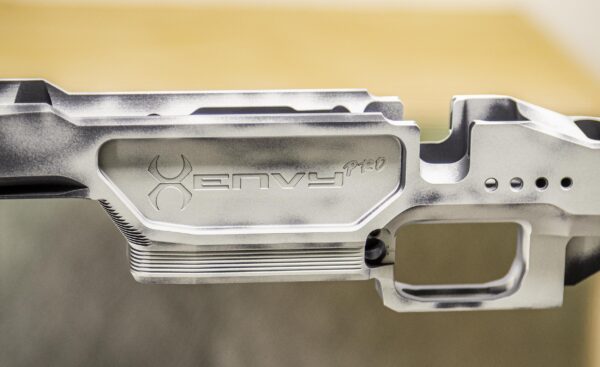
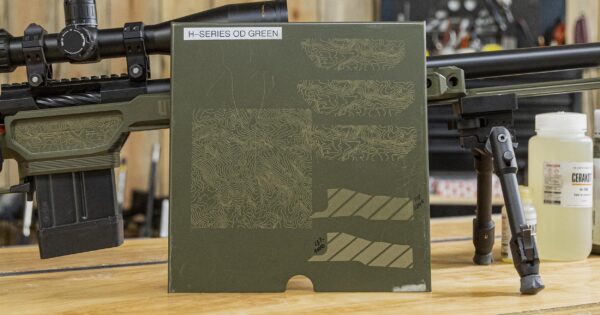
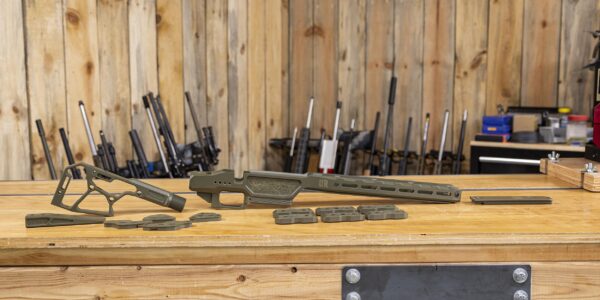
This build is a reincarnation of my 6GT build, which featured a BAT action and polished stainless barrel. To complement and emphasize the OD Green Cerakote on the XLR Envy Pro Chassis, I Cerakoted the barrel H-146 Graphite Black.
Prep Work
This complete Cerakote job was actually a bit of a challenge. The entire chassis used to be matte anodized black and was featured in a number of stories including an overview and weight kit video.
I particularly like this chassis. The C-6 buttstock has tension knobs and dials for great versatility, but you can also use the Envy Pro with other buttstocks that have AR-15 threading. It also has an integrated bubble level and an adjustable height mag catch. This buttstock had to be removed and disassembled prior to Cerakote, along with all weights, accessories, the grip, mag catch assembly and the bubble level assembly.
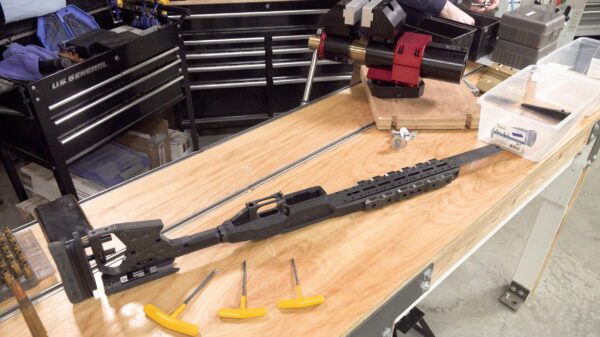
The C-6 buttstock disassembly was a little bit tricky. It has detent balls for adjustment clickers that had to be punched through to the back side before removal. Several of these parts I decided to leave uncoated, including the wheels and rods for the cheek riser and length of pull. Keeping with this contrast, I also kept the black grip. The adjustable mag catch assembly also required a bit of extra work, but it was pretty straightforward.
Blasting and masking came next. The parts had to be pre-cleaned (water and compressed air), dipped in acetone (30 minutes) and masked. I take a different approach to Cerakote than many others do. I only apply Cerakote to the places I want to apply Cerakote to. An exception is small tapped holes. I did mask off the interior threads in the chassis that receive the buttstock as well as the bore where the drum for the adjustable height mag catch goes.
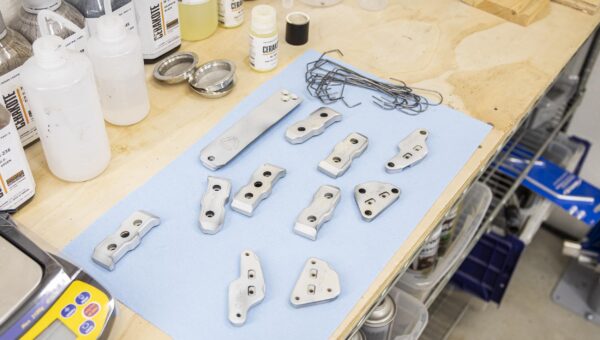
All surfaces requiring coating, including the weights, had to be blasted. This is imperative as it creates an interface between the Cerakote and the part to prevent separation and peeling. This chassis was anodized, so after blasting it showed silver in some places and the black taken to a further matte in others.
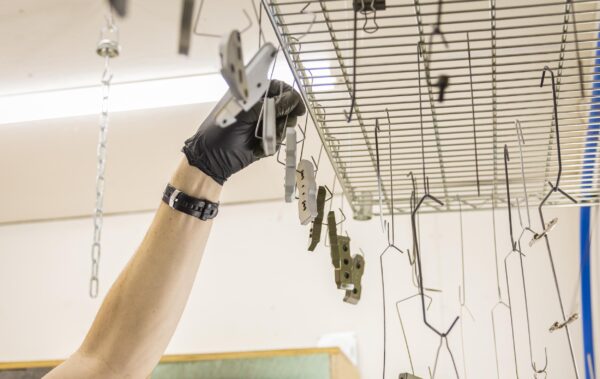
Unmasking followed along with blowing off any remaining blasting media. I use my fume evacuation fan to help pull the blasting media away from the area. In preparation for Cerakote, I cleaned the plugs I used as masks, then remasked the parts I didn’t want coated and hung them up.
Cerakote Application
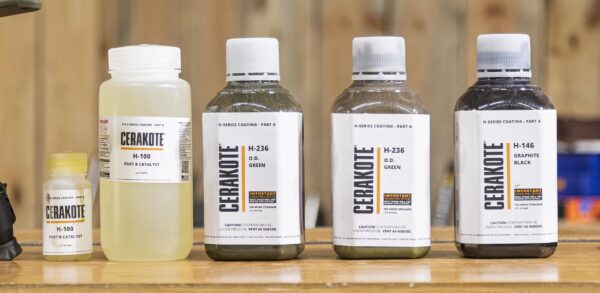
We have H-100 catalyst, H-236 O.D. Green and H-146 Graphite Black for the barrel. (I’ve used the graphite black Cerakote several times, including on the .224 Valkyrie Boyd’s Stock upgrade.)
The first step is to shake the Cerakote for 20 minutes on the pneumatic shaker to ensure complete mixing. When it was thoroughly shaken, I used the Cerakote app and A&D EJ-3000 balance to measure and mix the catalyst with the proper amount of Cerakote. (I’m using a 1:18 ratio.)
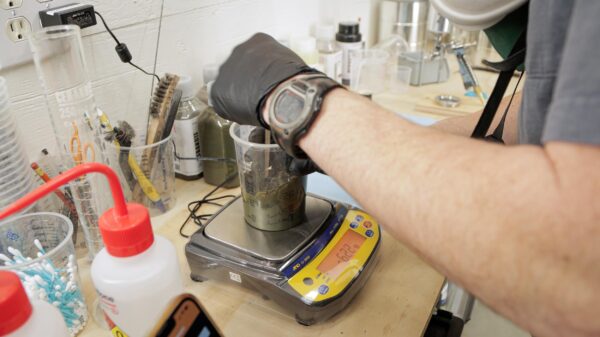
After some more mixing, I used a 150 mesh strainer (specified on the Cerakote bottle) overtop the paint gun cup. The test pattern comes next. As you do more and more Cerakote, it becomes easier to hear what the proper setting sounds like.
There are a few important things to remember when applying Cerakote.
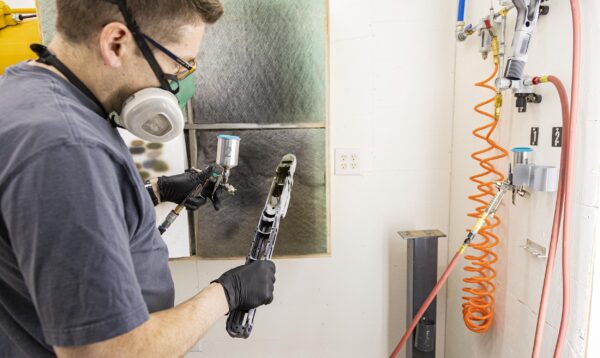
- Use the correct alternating pattern. With the fan going horizontally, it’s important to tilt the paint gun up on the pass down, turn the part ⅛ turn, then tilt the paint gun up for the next pass. Continue this process to ensure complete and even coating.
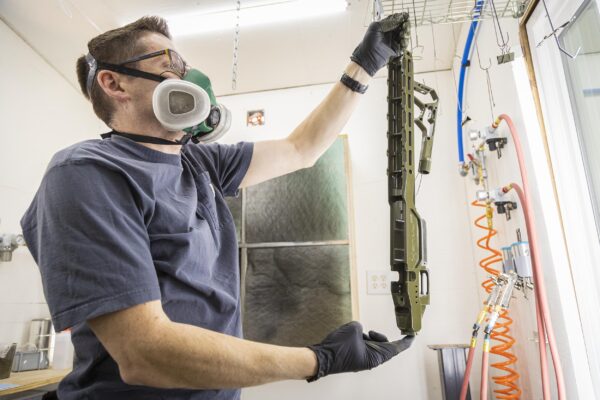
- Lighting is key. Ensure you can clearly see all of your part. When Cerakoting this chassis, I actually started with a circular pattern with lower air pressure to get into the nooks and crannies before moving into the typical pattern.
- Do not touch or bump the part during the flash period!
Between each coat I had a five minute flash period. (I did two coats.) After the second coat, I did a 15 minute flash before baking the parts for two hours at 250°F in my Light Armor Powder Oven (use code OVEN 125 for $125 off). I completed this entire process for each part, including every weight. This can take a little bit of time, but once you find a rhythm and have a repeatable racking system, it goes quickly.
After everything cooled, I carefully wrapped all of the parts and took them to Precision Rifle Concepts, our shop.
Laser Imaging
I have a 50 Watt Chinese-made fiber laser. All brands are about the same. We frequently engrave barrel details on stainless, but laser imaging over Cerakote is a new direction for us. It starts with prepping artwork. I found some free topographical line artwork online and imported the vector file into Adobe Illustrator. It was a process to navigate. Each line goes from a set of points with a value for a width to two different lines that completely outline each topographic shape. When everything was flattened, scaled, and adjusted to my liking, I exported the completed work to a vector file, then imported it into our laser burning software, EZCAD 2.0.
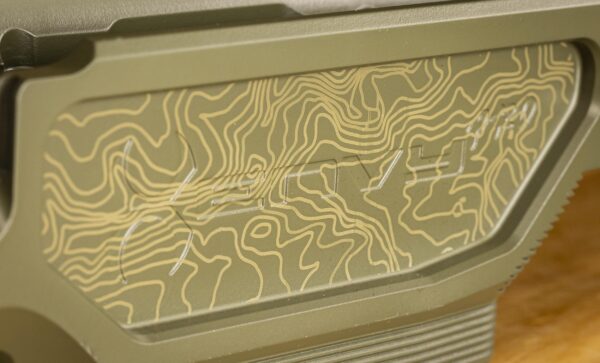
At this point we have outlines. To get solid lines, we had to hatch all of the artwork. This is either crosshatch or a single angled set of lines that represents the path of the laser. This laser travels approximately 2500 mm/second at a low power level to discolor and burn the Cerakote. There are a number of shades you can work with. I did a lot of experimentation with different power settings, speeds, line widths, and frequencies on a Cerakote test sheet to determine what I wanted the final product to look like.
I also took photos of the side of the chassis and traced the profiles of anywhere I wanted the artwork to be. I then had to scale the artwork so it would fit the panels exactly how I wanted it. These varied in size from the weights to the depressed area of the chassis to the buttstock.
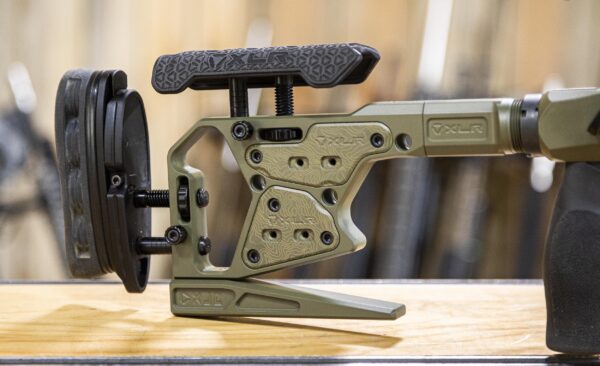
To triple check, it’s important to “light the path” before burning. During this process, a red, non-burning laser will trace the artwork to show you where it will be. This gave me an opportunity to move the chassis until everything was lined up perfectly. Hitting the “mark” button sets the laser to work. Just like with Cerakote, proper ventilation during this process is very important. Laser imaging Cerakote releases toxic fumes. I also added some Ultimate Reloader logos in addition to the topography lines.
Reassembly
Assembling the gun was the reverse of the earlier process.
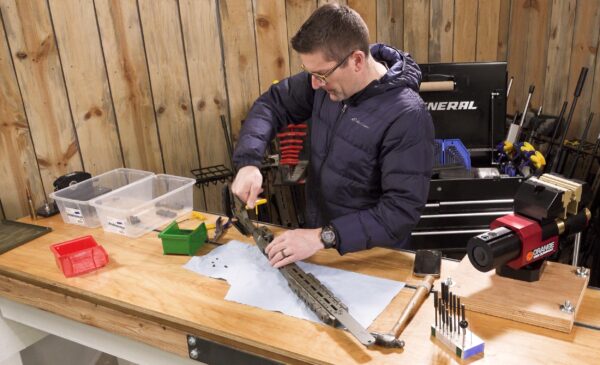
I was sure to take photos when I took the mag catch assembly and other pieces apart as a reference.
Conclusion
I am thrilled with how this project turned out. It was very rewarding and quite a learning experience to produce a custom piece of artwork. The possibilities are almost endless.
![]()
While these were random topographical lines, they could be replaced with something more meaningful, like someone’s hunting property. Looking towards the future, I’m considering using Micro Slick, a low-friction Cerakote, for certain areas as well as 3D printing certain masks for a streamlined process. Stay tuned for another Cerakote job with my coming 50 BMG build!
Get the Gear
You’ll find the XLR Envy Pro on the XLR Website.
If you’re interested in taking the Cerakote Certified Applicator training, I would suggest enrolling ASAP as there’s a bit of a waitlist. If you’ve taken the class, please drop a comment to share your experiences.

If you purchase a Light Armor oven with a circulating fan and use code OVEN125, you’ll get $125 off.
Don’t miss out on Ultimate Reloader updates, make sure you’re subscribed!
Thanks,
Gavin Gear


