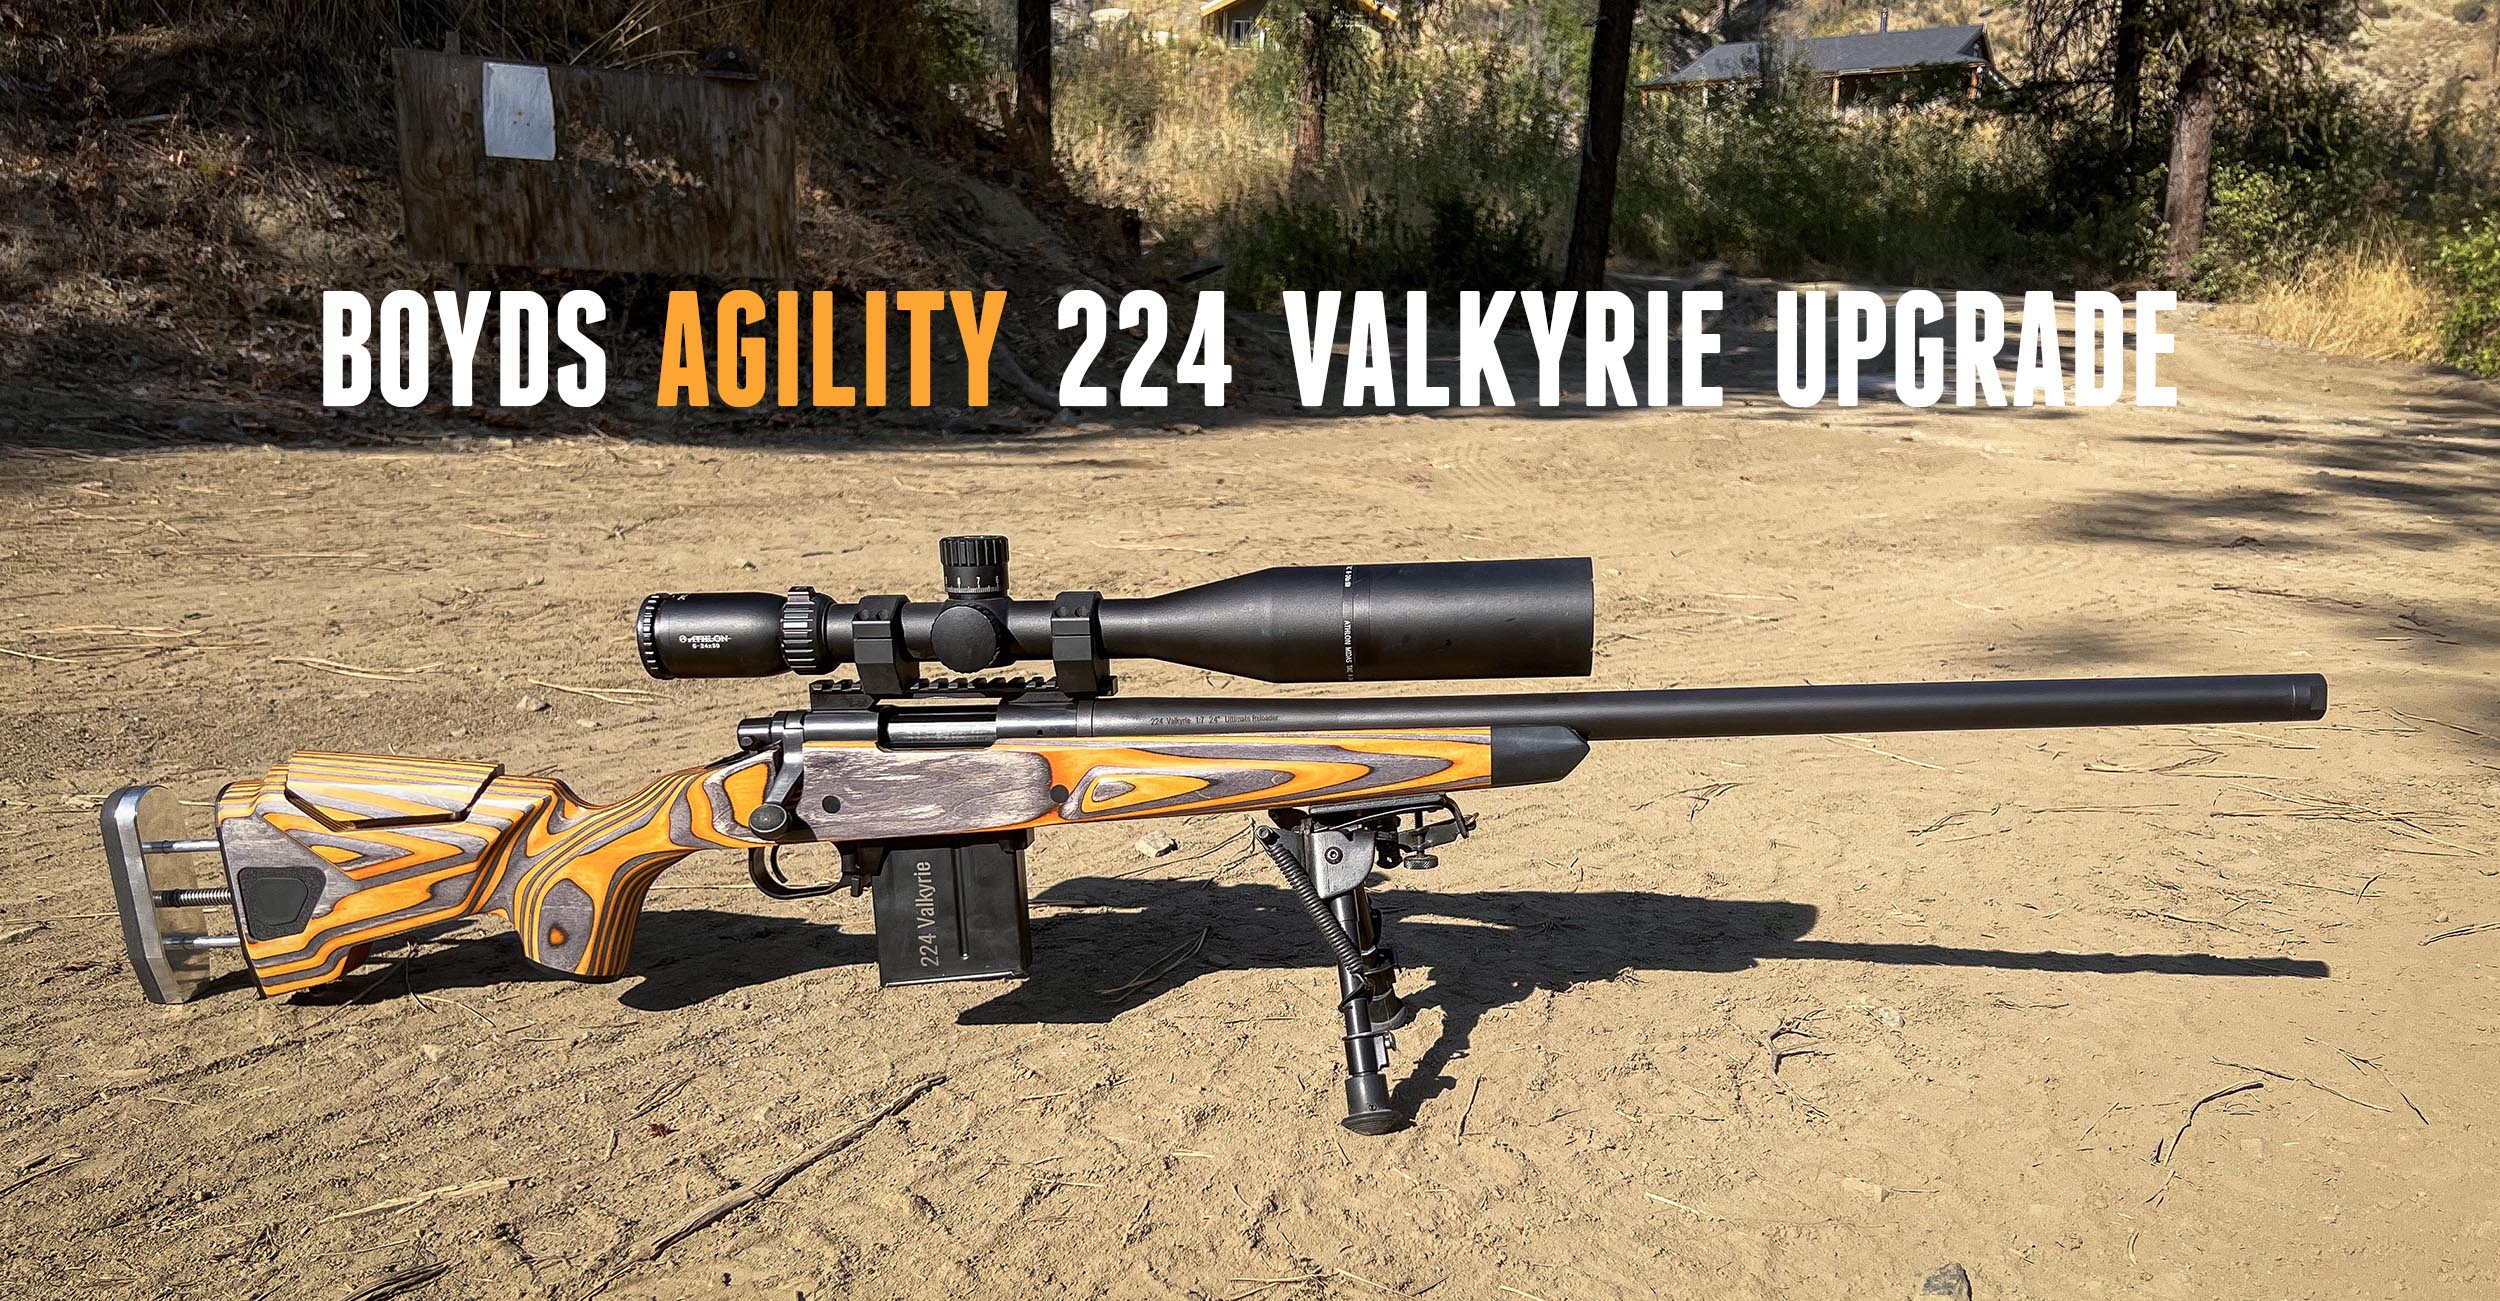
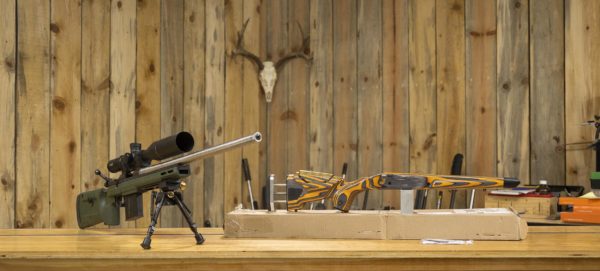
I saw the new Boyd’s Agility gunstock, and thought to myself: “I need one of those”. In this story, I’ll document my process upgrading my 224 Valkyrie Remington 700 with a Boyd’s Agility stock including pillar bedding job from A-Z!
Disclaimer
Ultimate Reloader LLC / Making with Metal Disclaimer: (by reading this article and/or watching video content you accept these terms). The content on this website (including videos, articles, ammunition reloading data, technical articles, gunsmithing and other information) is for demonstration purposes only. Do not attempt any of the processes or procedures shown or described on this website. All gunsmithing procedures should be carried out by a qualified and licensed gunsmith at their own risk. Do not attempt to repair or modify any firearms based on information on this website. Ultimate Reloader, LLC and Making With Metal can not be held liable for property or personal damage due to viewers/readers of this website performing activities, procedures, techniques, or practices described in whole or part on this website. By accepting these terms, you agree that you alone are solely responsible for your own safety and property as it pertains to activities, procedures, techniques, or practices described in whole or part on this website.
About the Stock
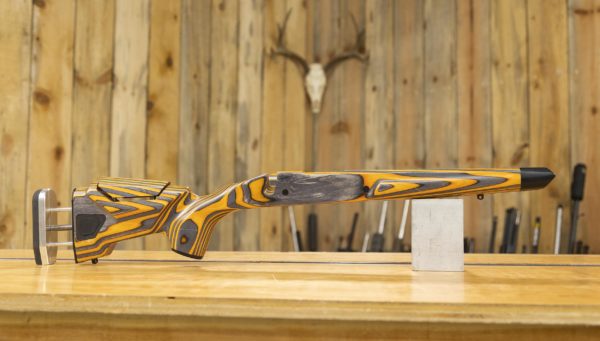
The Boyd’s Agility Stock was released early this year, about the time of SHOT Show. This stock takes the traditional hardwood gunstock to the next level. The shape and lines of the laminated hardwood coupled with the integrity of Boyd’s traditional construction speak to its craftsmanship and functionality.
From The Boyds Hardwood Gunstocks Website
WHY HARDWOOD
HARDWOOD OUTPERFORMS ORDINARY COMPOSITE STOCKS
Whether you order a Boyd’s solid wood stock or one of our laminate stocks, the wood we use is always top-grade hardwood to ensure the best possible performance for your gun.
HARDWOOD ONLY At Boyd’s we use only top-grade hardwoods, because a hardwood stock performs! Every stock is dried to exacting specifications to ensure rigidity and stability, then sealed with chemical-resistant finishes for long-lasting durability and performance in all weather conditions.
ENHANCED ACCURACY
Boyd’s stocks are engineered to perfectly fit the gun. They’re tight where they need to be tight, loose where they need to be loose for superior performance and improved accuracy you can measure.
SINCE 1981
Our engineers have continued to perfect manufacturing methods since 1981. That’s why you get far more gunstock for the money.
Features:
-
- Adjustable Length of Pull, Button operated
- Optional Cheek Riser
- Hybrid Grip – Off Hand & Prone Shooting
- Semi BeaverTail Forend
- Swivel Stud for Bipod or Sling
Background on The 224 Valkyrie Rifle
About the Original Rifle
You’ve seen the original 224 Valkyrie bolt-action rifle on the channel several times! You can peruse that content series by starting at the very beginning (see list of links in this article).
Here’s the quick facts for the original build:
- Standard Remington 700 Short Action
- Bolt face opened up by benchmark barrels
- Oversized Recoil Lug
- Benchmark Barrel Blank 1:7 twist 24″ overall length
- Standard AICS Magazine with Primal Rights Conversions Kit for 224 Valkyrie
The New Build
My game plan was focused on performing a top-notch treatment for this new gunstock including:
- Modifying inletting based on my non-standard Remington 700 specs (oversized recoil lug, heavy contour barrel)
- Making and installing aluminum pillars
- Epoxy bedding the barreled action to the stock
- Applying Cerakote to the barrel and recoil lug for a clean black barreled action
Hawkins M5 DBM
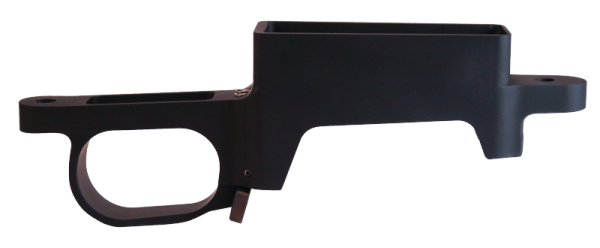
The Hawkins M5 DBM is the Ultimate Reloader “Standard bottom metal” for these kinds of builds (see full story here).
Highlights:
- Fits Remington 700 Pattern actions.
- Fits M5 inlets.
- Short-action version will work with AW magazines if your action is cut accordingly/Select AW Latch at Check-Out
- Comes with action screws and bedding pillars.
- *XM Bottom Metal is for Defiance only. Contact Lone Peak Arms directly for XM Lone Peak actions.
Precision Matthews PM-949TV Mill
Before we get into the mill work for this stock upgrade, let’s talk about the mill itself!

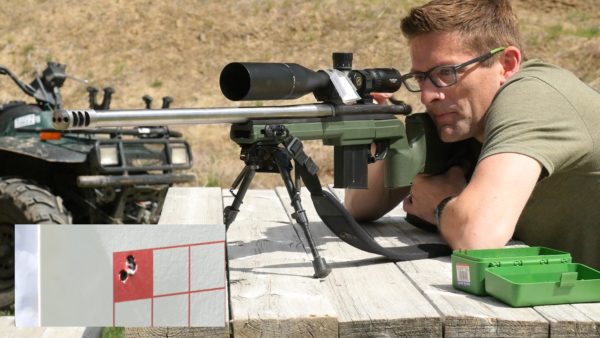
Above: Stock work on the PM-949TV, Look at that GAME FACE!
For this story, I’m using a Precision Matthews PM-949TV milling machine (see my full review HERE) which is exceptional for this kind of work!
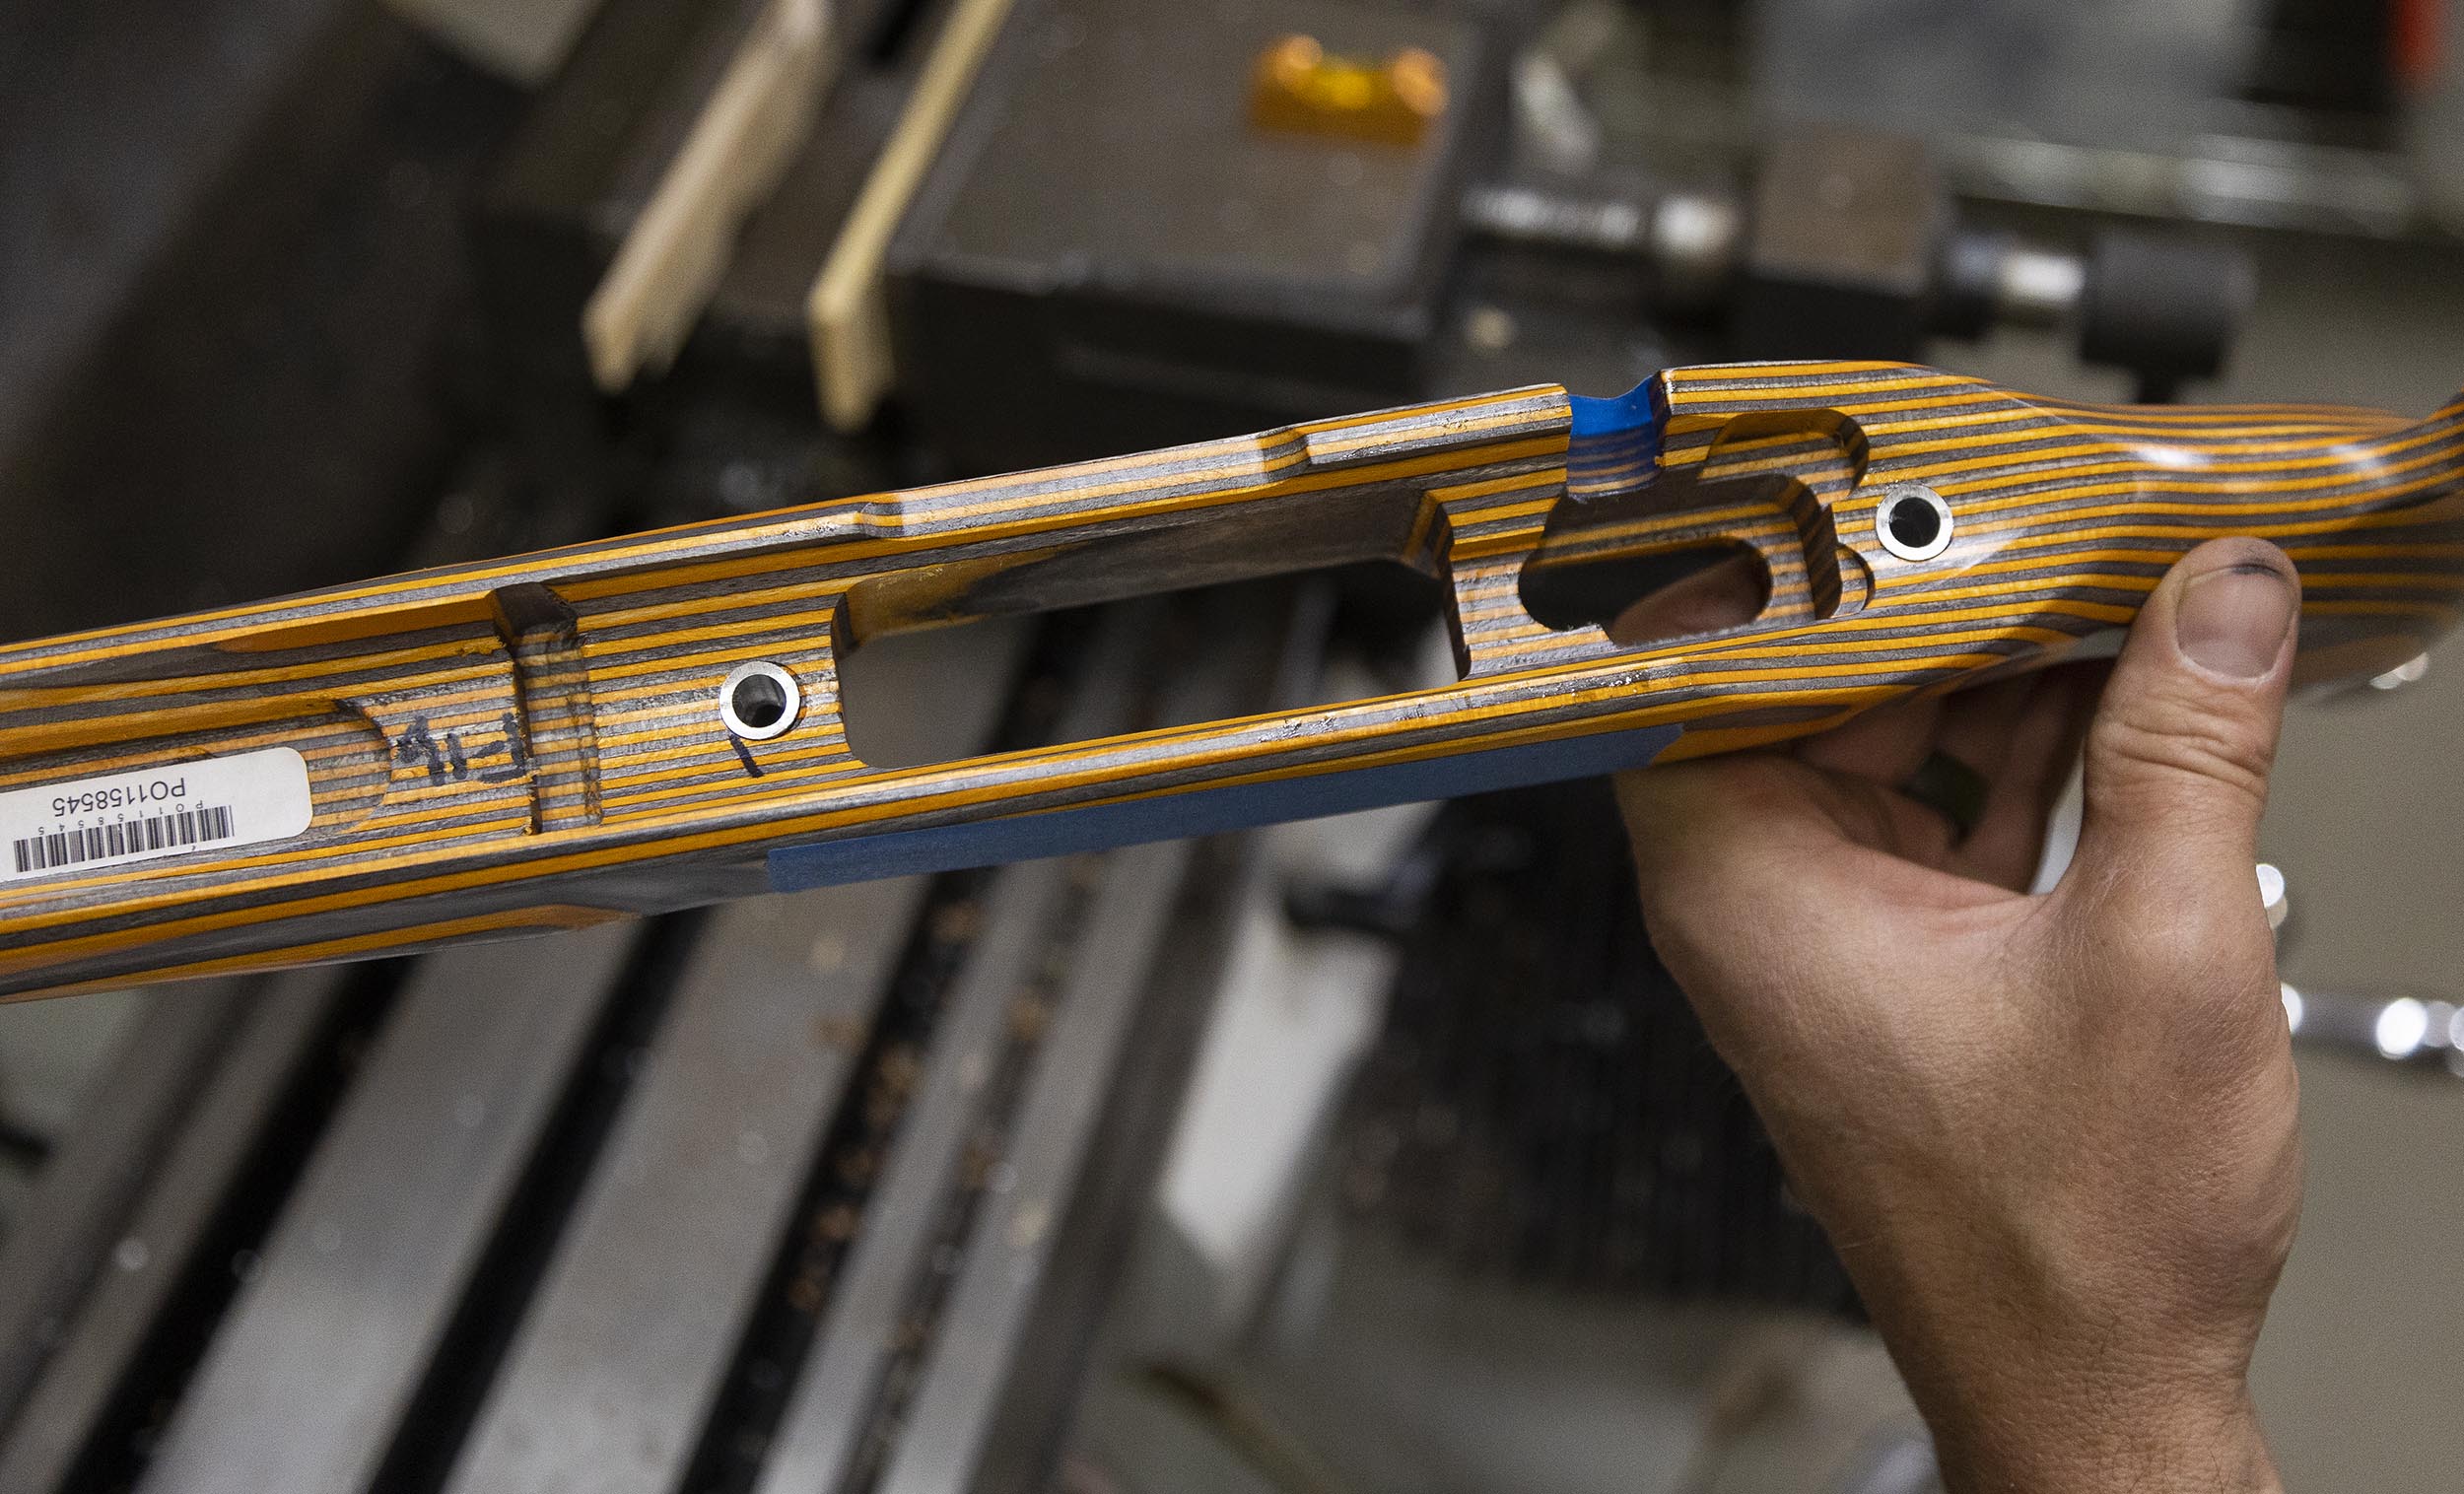
Inletting and Barrel Channel Adjustment
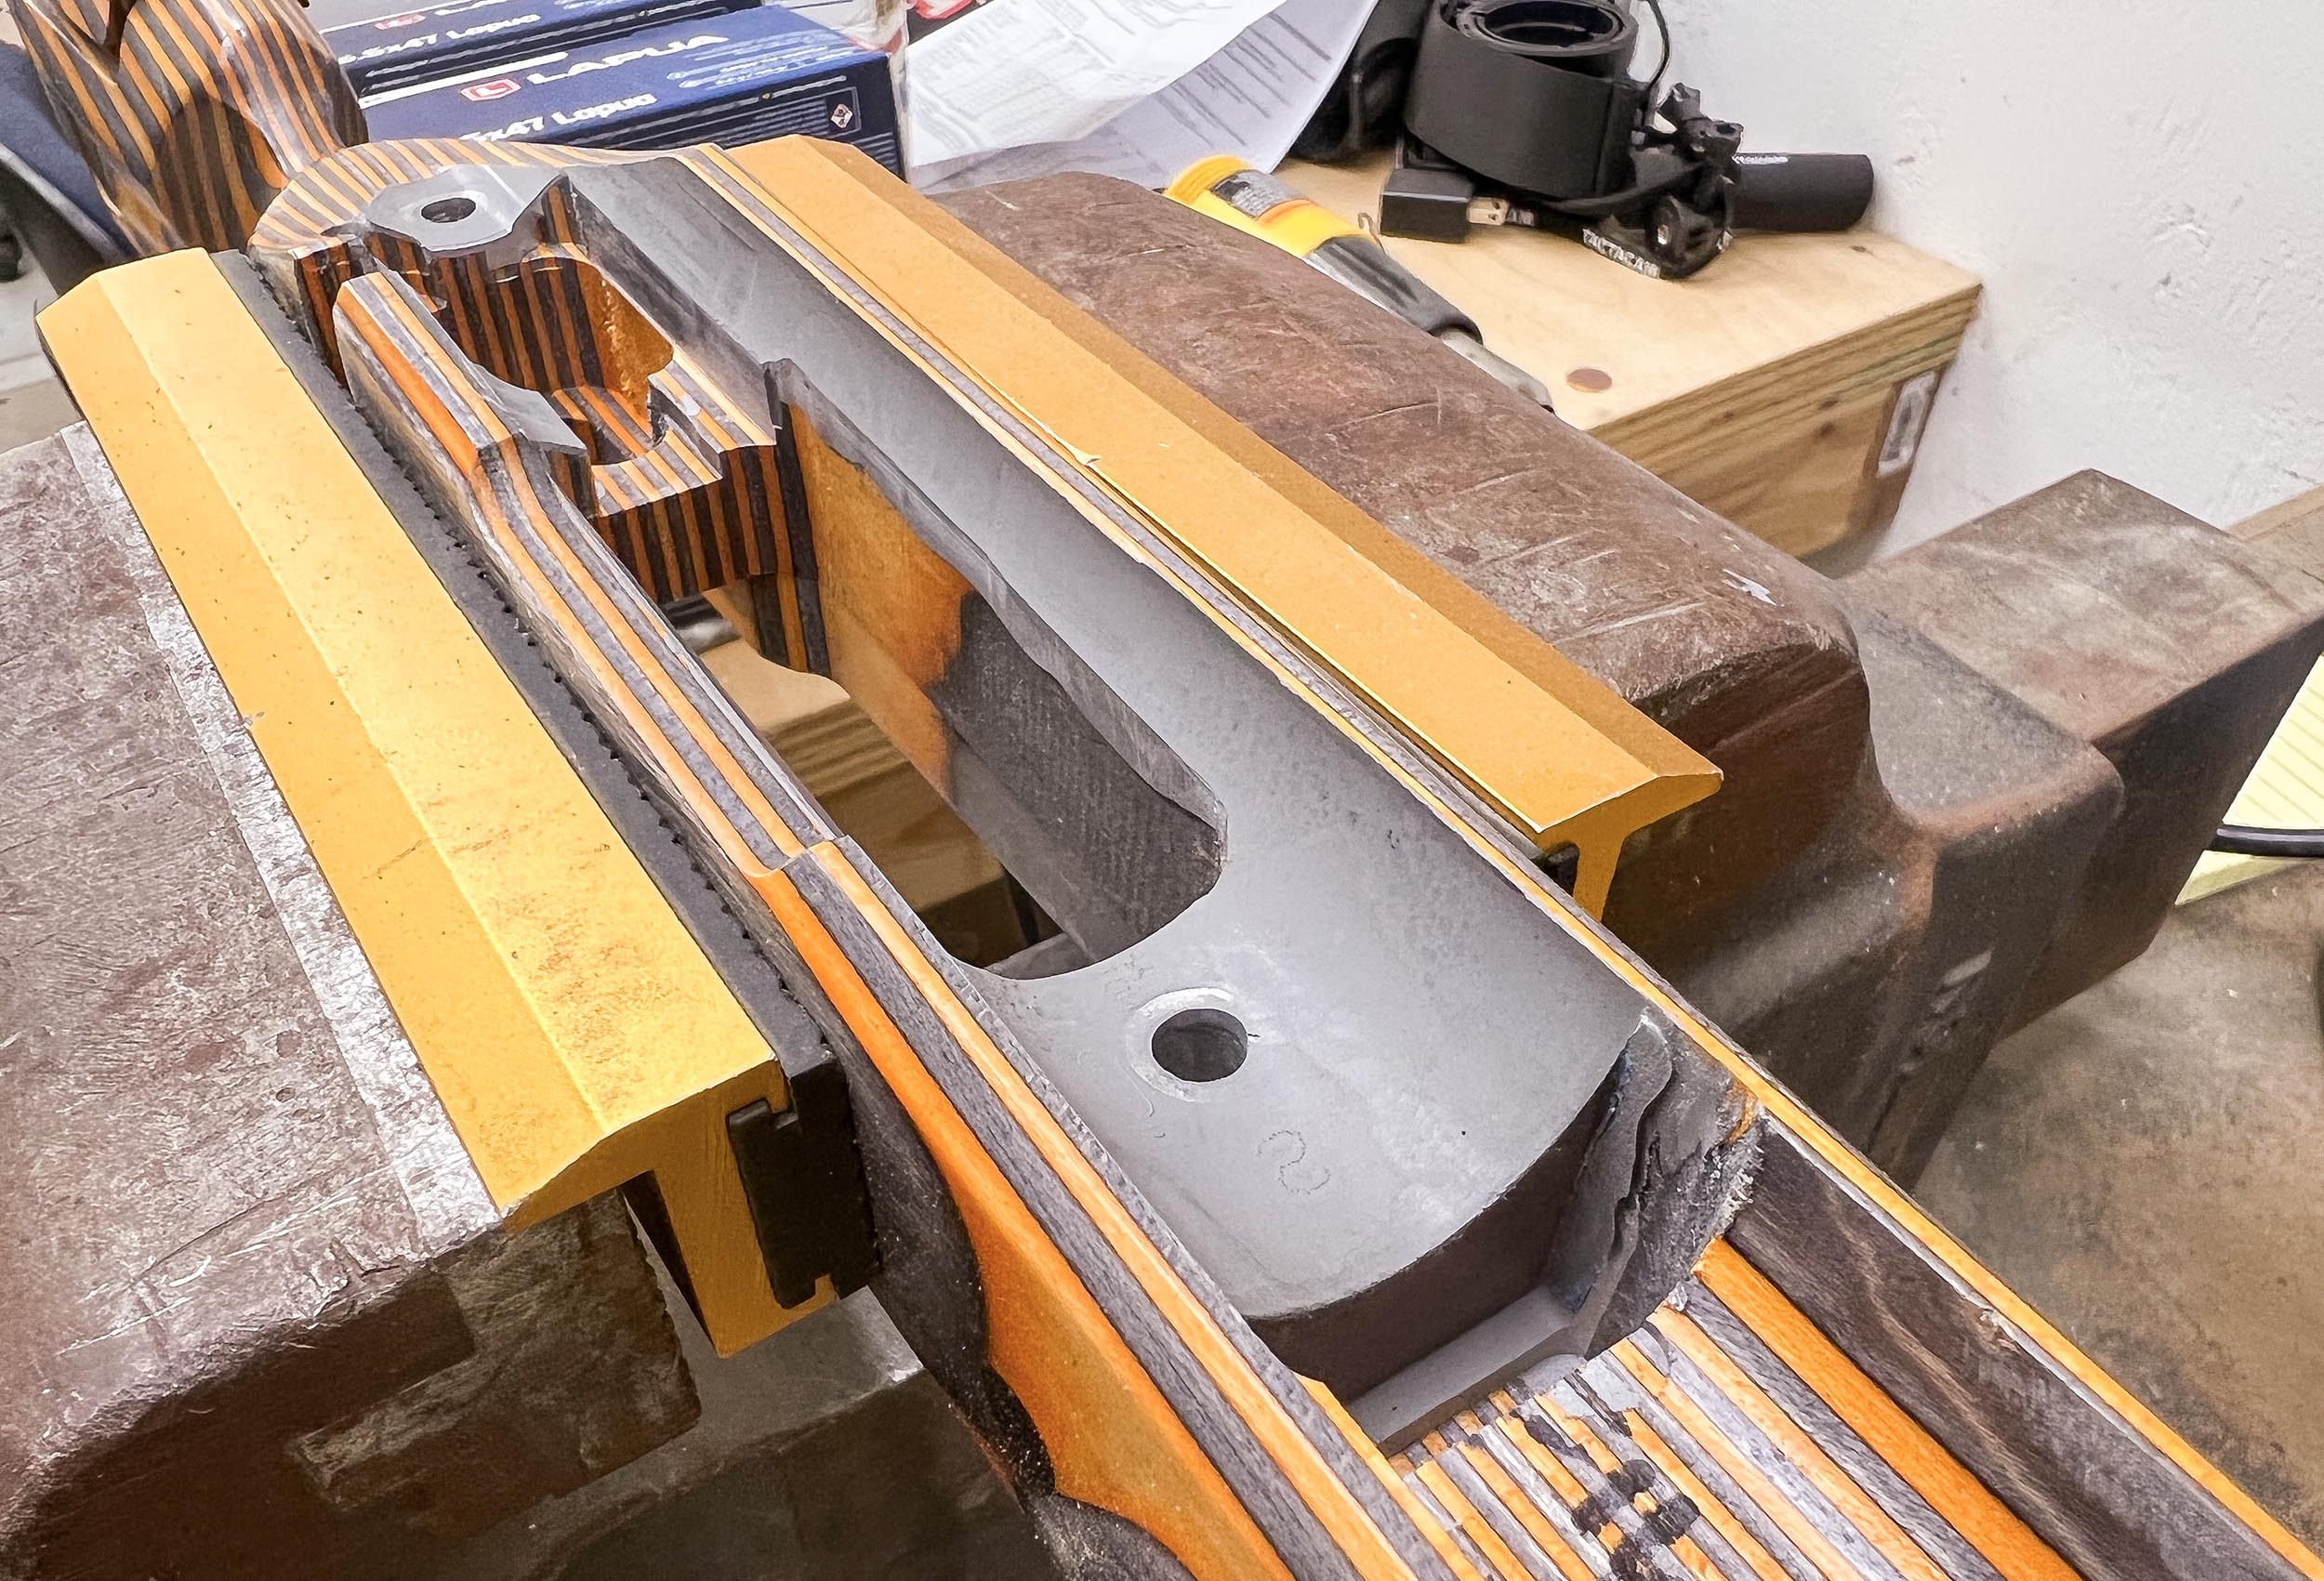
To start with, I both widened and added depth to the existing recoil lug pocket which is intended for factory Remington 700 actions:

I’ll note here that I widened the pocket mostly on the “forward” (towards muzzle side) of the pocket, but also cut the pocket “back” about 0.015″ to allow for a layer of epoxy between the wood and recoil lug after bedding was completed. Following this, I widened the barrel channel with two different drum sanders (two diameters) to accommodate my oversize barrel:
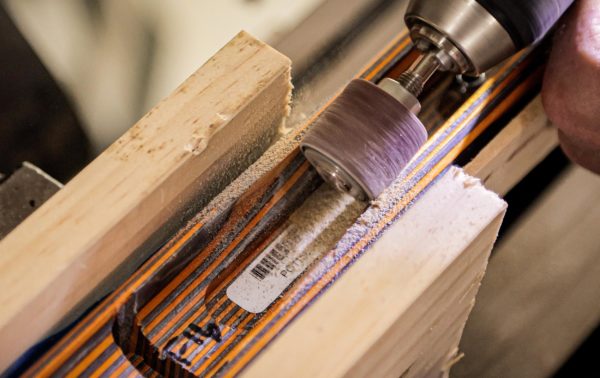
An interesting property of these Boyd’s stocks is the fact that dye is impregnated all the way through each laminated layer. That means you won’t have to worry about touching up “stain” for things to match. Depending on the finish you select (matte or gloss) from Boyd’s, you may need to apply some sort of polyurethane or similar if the surface you’re modifying is external (visible with barreled action installed).
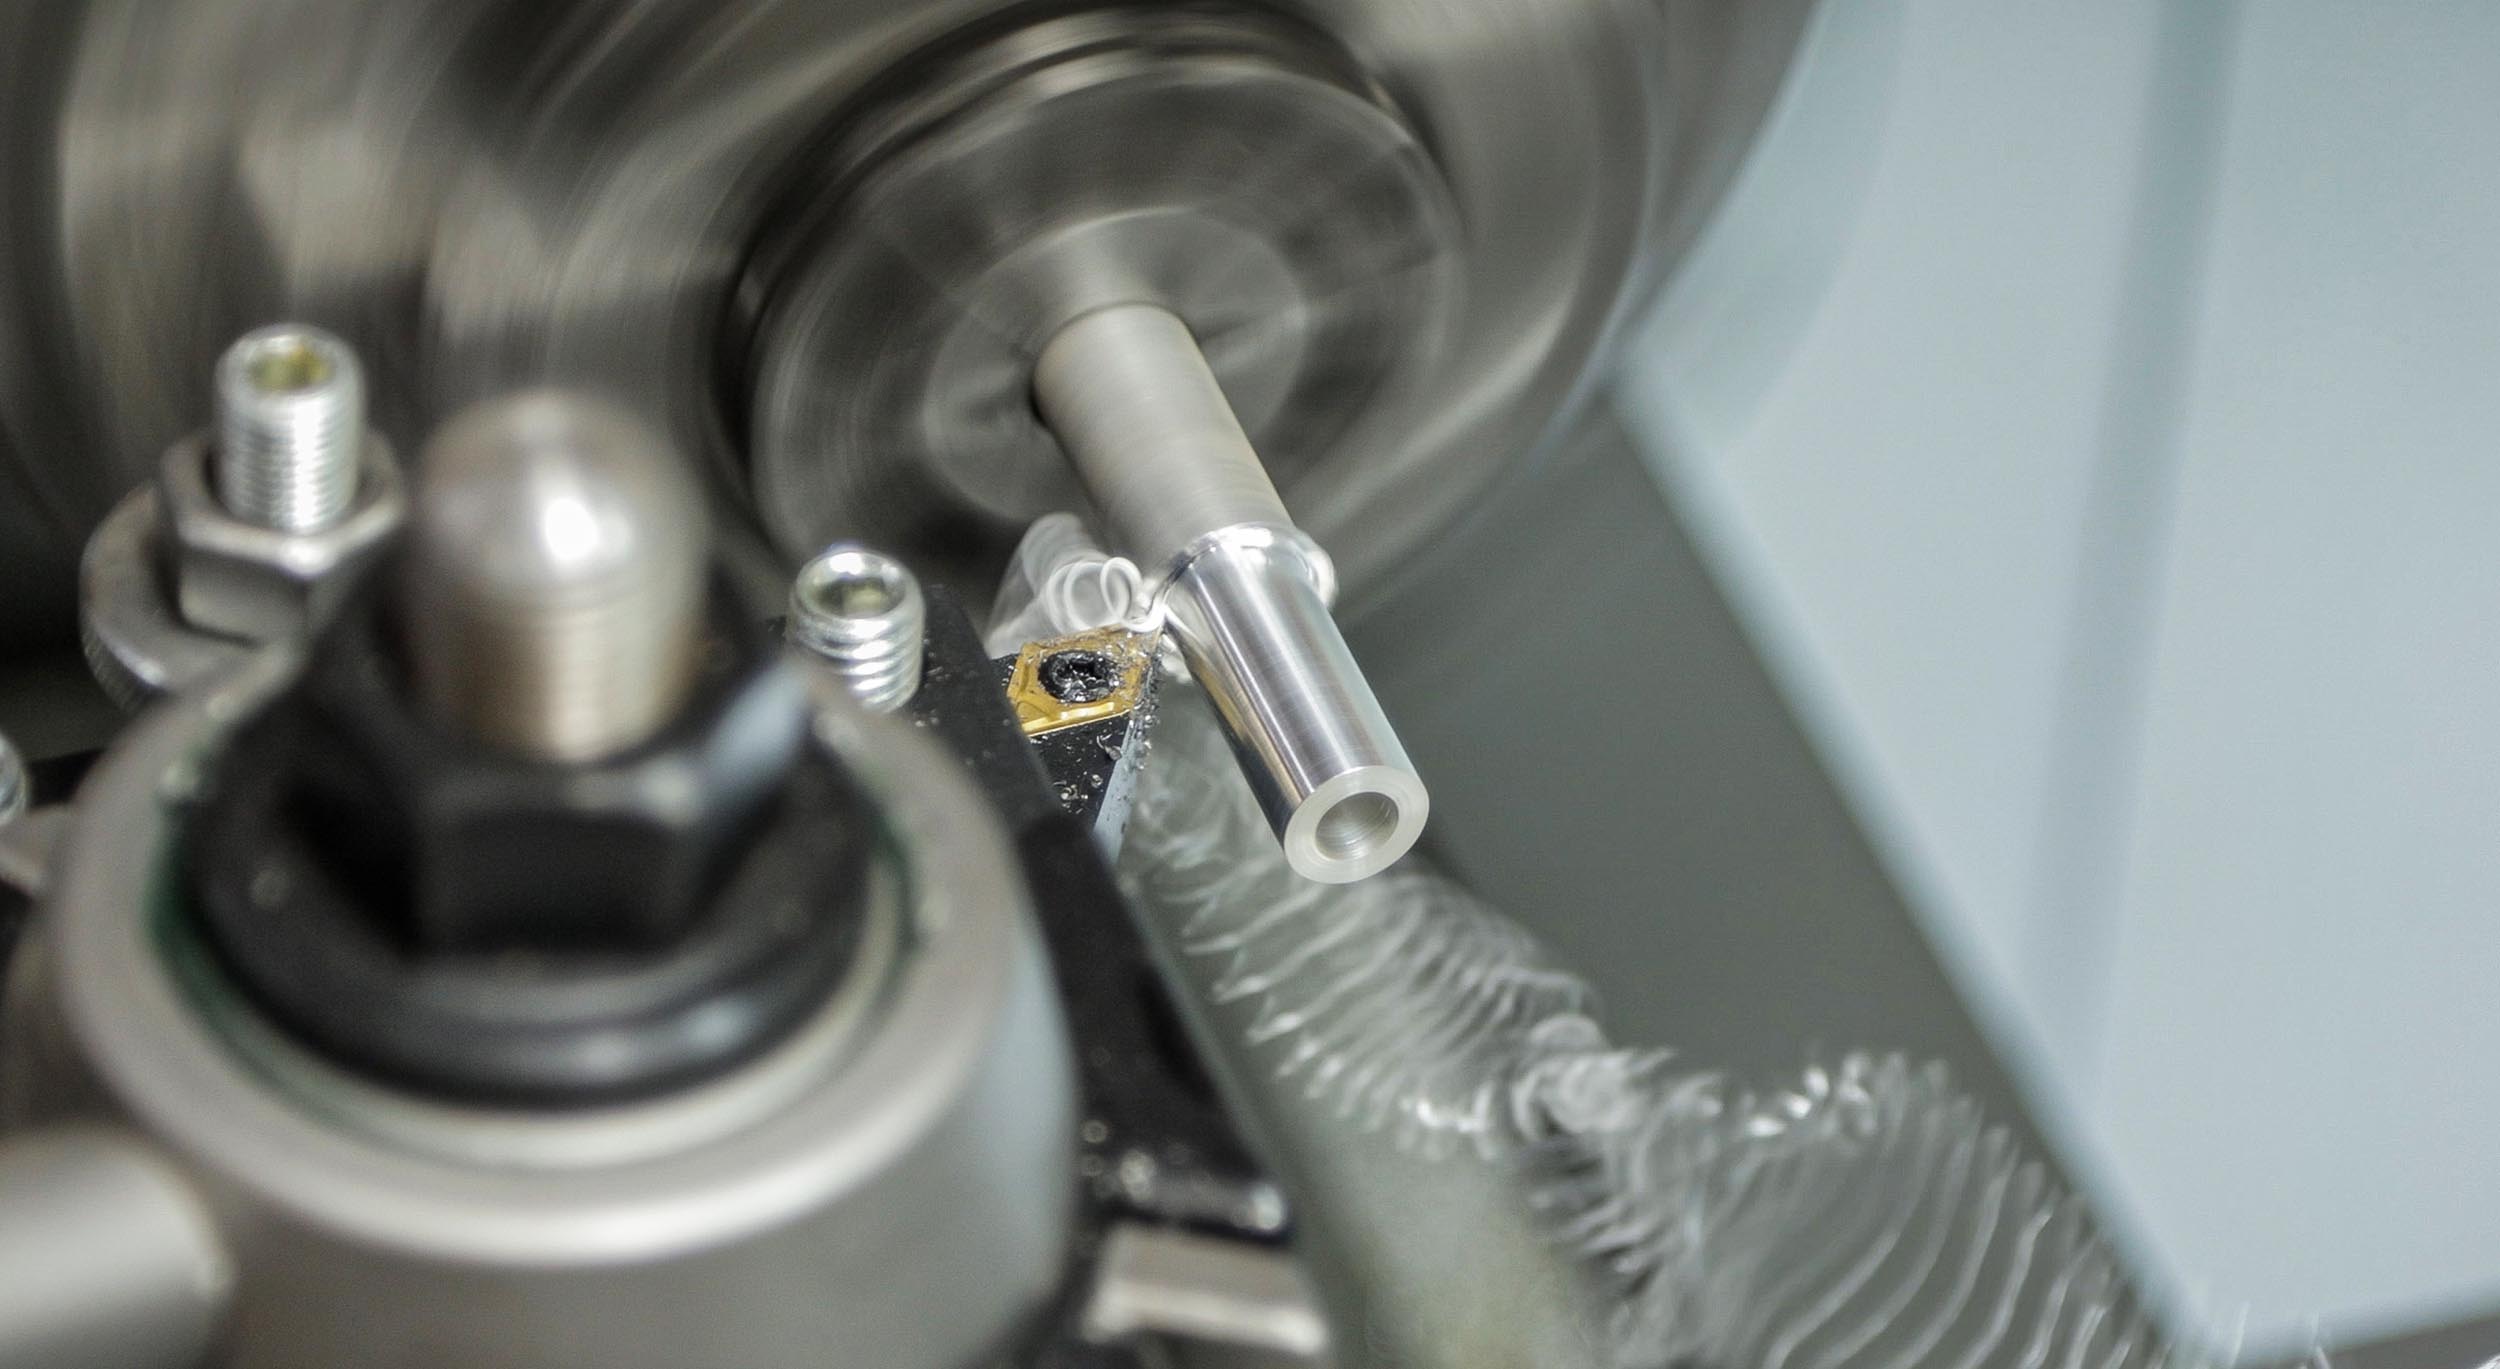
Precision Matthews TL-1660 Ultra-Precision Lathe
Again I’m using my preferred manual lathe for this pillar work, the Precision Matthews TL-1660!

This lathe is a beast! You’ll see it in a lot of my chambering stories!
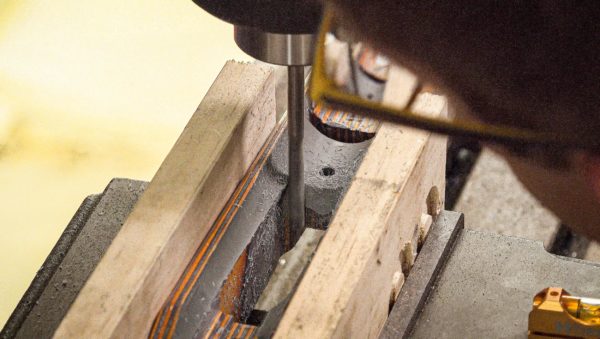
Pillar Work
Using the TL-1660, I turned two pillars measuring 7/16″ OD (about 0.050″ long compared to what I measured would be needed).
I then contoured the pillars (the surface that will contact the bottom of the receiver body) to form a perfect “cradle” using a boring head on the PM-949TV mill. After this, I over-drilled the action screw holes to 7/16″.
The pillars were then secured in place with 5 minute epoxy standing about 0.020″ high (to allow a layer of epoxy to flow around wood receiver inlet area).
I then flipped the stock over, put it back in mill, and trimmed the bottom of the pillars (recall, I cut these about 0.050″ long) down to where they protruded about 0.005″ taller than the surrounding wood. This will ensure all clamping force is between the bottom metal, the pillars, and the receiver- not any of the wood!
For extra credit, one could epoxy bed the bottom metal into the bottom metal inlet area. For an over of that process, see my Eddie Van Halen tribute build project (stock work episode).
Before bedding, I did a dry fit assembly and ensured cartridges would feed from my custom 224 Valkyrie magazine. All good!
Epoxy Bedding
Epoxy bedding is a process that’s exacting, painstaking, and can be “exciting” in both good and bad ways.
Prep consisted of:
- Test fitting barreled action in stock, checking all clearances and fit areas
- Masking the recoil lug sides and front with blue tape
- Masking trigger area of receiver and top of bottom metal with clear packing tape
- Spraying barreled action (areas that contact the epoxy) and action screws with Hornady One Shot reloading case lube (two coats) – this acts as a release agent. Let flash dry for 10 minutes
Then it’s time to mix and apply the epoxy! Here I’m using Devcon F2 powdered aluminum epoxy (2 part). This epoxy is mixed on a scale (20 grams total weight), and then gently warmed with a heat gun while tapping the surface of the epoxy with a popsicle stick (this causes air bubbles to float to the top and pop).
At this point you can apply the epoxy to the areas to be bedded:
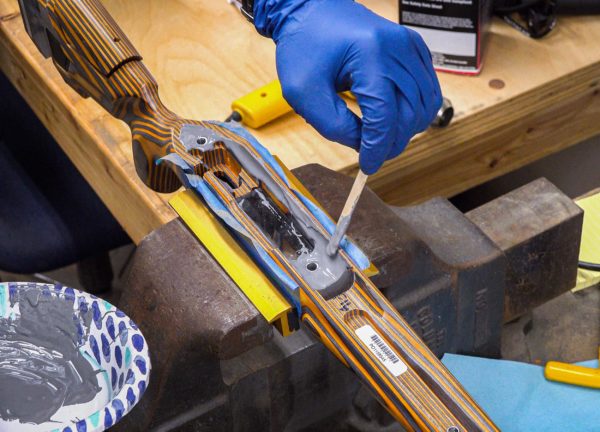
You MUST use enough epoxy- and you’ll know you have enough if it squishes out around the perimeter of the bedding area after placing the barreled action in place!
The barreled action is set in place and secured. You can gently clamp it in place, use bungee cords wrapped around the stock and barreled action, or like I did in this case- use the action screws. NOTE: The action screws were NOT torqued at all! You don’t want to impart stress into the action while it’s being bedded!
After waiting 8+ hours, remove the action screws or clamps/cords from the stock and barreled action, and pop the barreled action free from the stock:
You should hear a “pop”, and just know, it may take some force!
My bedding job turned out perfect- this is what I saw before any cleanup:

The stock is then put back in the mill, and the entire inside perimeter is cleaned up with an endmill:
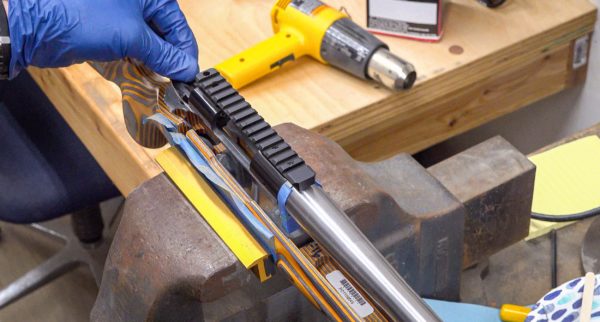
Here’s the finished product:
If desired, I could do more cleanup on the sides of the recoil lug area, but this is not necessary! The rifle was again assembled at this point, and feeding from a magazine checked a second time. All good!
Graphite Black Cerakote
After much preparation, and many purchases, my Ultimate Reloader Cerakote paint booth is open! You may recall that I went to Cerakote headquarters for Cerakote Certified Applicator Training, and it’s time to put those skills to the test! As a part of this work, I’ve added an addition to my shop, put in an air dryer, plumbed air, filtration and dual outputs with regulators to the booth, added a sand blaster, and built out a booth including filtration for incoming air and a custom exhaust extraction setup with explosion-proof fan. I will have some dedicated content covering this huge project in the near future.
Since the action was already black, I decided to only apply Cerakote only to the recoil lug, the outside of the barrel, and the custom thread protector I made for this rifle.
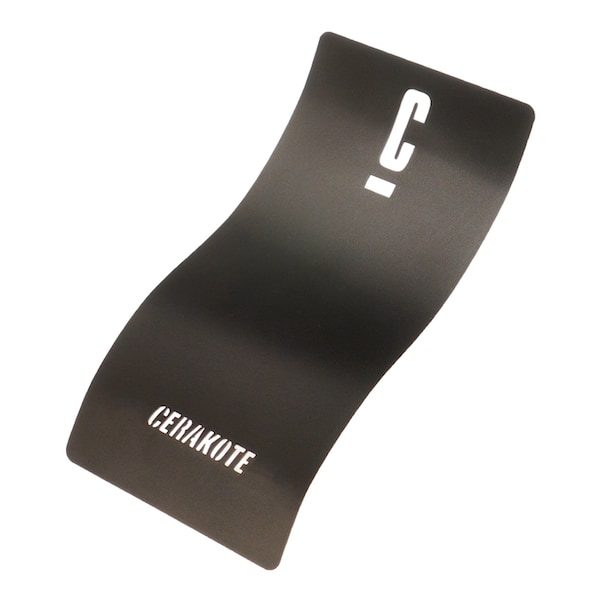
I chose H-Series Cerakote for this job, and I thought Graphite Black (H-146) would look awesome.
With the barreled action prepped, it was game time!
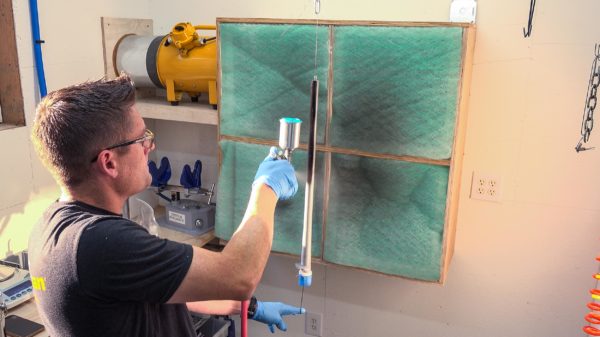
Above: First application of Cerakote on gun parts in my new booth
Here’s a breakdown of the process: (More content is planned, make sure you’re subscribed)
- Put together hanging setup (I made a PVC cap to hold the barrel and recoil lug together- I will be upgrading to Aluminum because of oven heat!
- Degrease parts with acetone
- Sand blast at 90 PSI with 100 grit aluminum oxide
- Hang and blow off parts with compressed air
- Mix Cerakote (I use the Cerakote app to calculate weights/ratios)
- Apply 3 coats of Cerakote
- Let air flash dry for 15min
- Bake in oven at 250 F for 2 hours
Highlight: Light Armor LA-2500 Oven
If you’re looking for a Cerakote Oven that’s not going to break the bank, check out this story I recently published where I take a look at the Light Armor LA2500B! Plus, using the UR100 code at checkout will save you $100.00!

Here’s a quick look at this oven:
Barrel Vise
For all of my rifle builds and related barrel install/removal work, I’m using my new Short Action Customs Modular Barrel Vise. I have an article where I cover this tool in-depth, and here’s the video from that story:
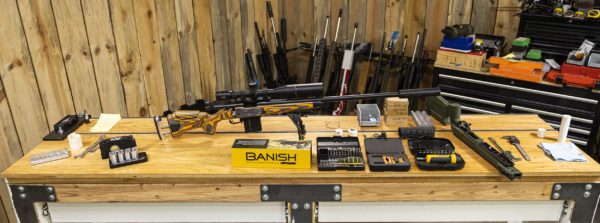
The Finished Product
The finished rifle looks great and shoots great! I’m really happy with the appearance and functionality of the Boyd’s Agility- everyone that has seen it has commented on the appearance!

The Finished Product
The finished product came together nicely!
- Boyd’s Agility Stock, Bedded
- Remington 700 Custom Barreled Action
- Hawkins Precision M5 Bottom Metal
- Custom AICS Magazines (Primal Rights Kit)
- Harris S-BRM Swivel Stud Bipod (6-9″ notched)
- Banish 30 Suppressor from Silencer Central
Here’s my video covering the Banish 30 in-depth:
This build was a lot of fun. If you can relate and are interested in doing this type of work, check out SDI where they have a degree and certificate option.

What a fun project this was!
The Tools
- SAC Barrel Vice and Bushings
- Precision Matthews PM-949TV milling machine
- Precision Matthews TL-1660 16×60 Ultra-Precision Metal Lathe
- Action Screw Split Bushing (custom made)
- Wheeler Fat Wrench
- Wheeler 55-Piece Driver and Bit Set
- Wheeler Professional Scope Reticle Leveling System
- Light Armor LA-2500 Cerakote Oven [UR100 saves you $100]
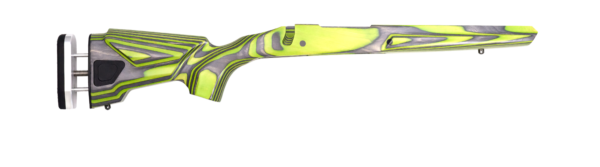
By the way, I’ve got another rifle build in an agility stock, in a different color scheme coming up soon!
Don’t miss out on Ultimate Reloader updates, make sure you’re subscribed!
Thanks,
Gavin Gear


