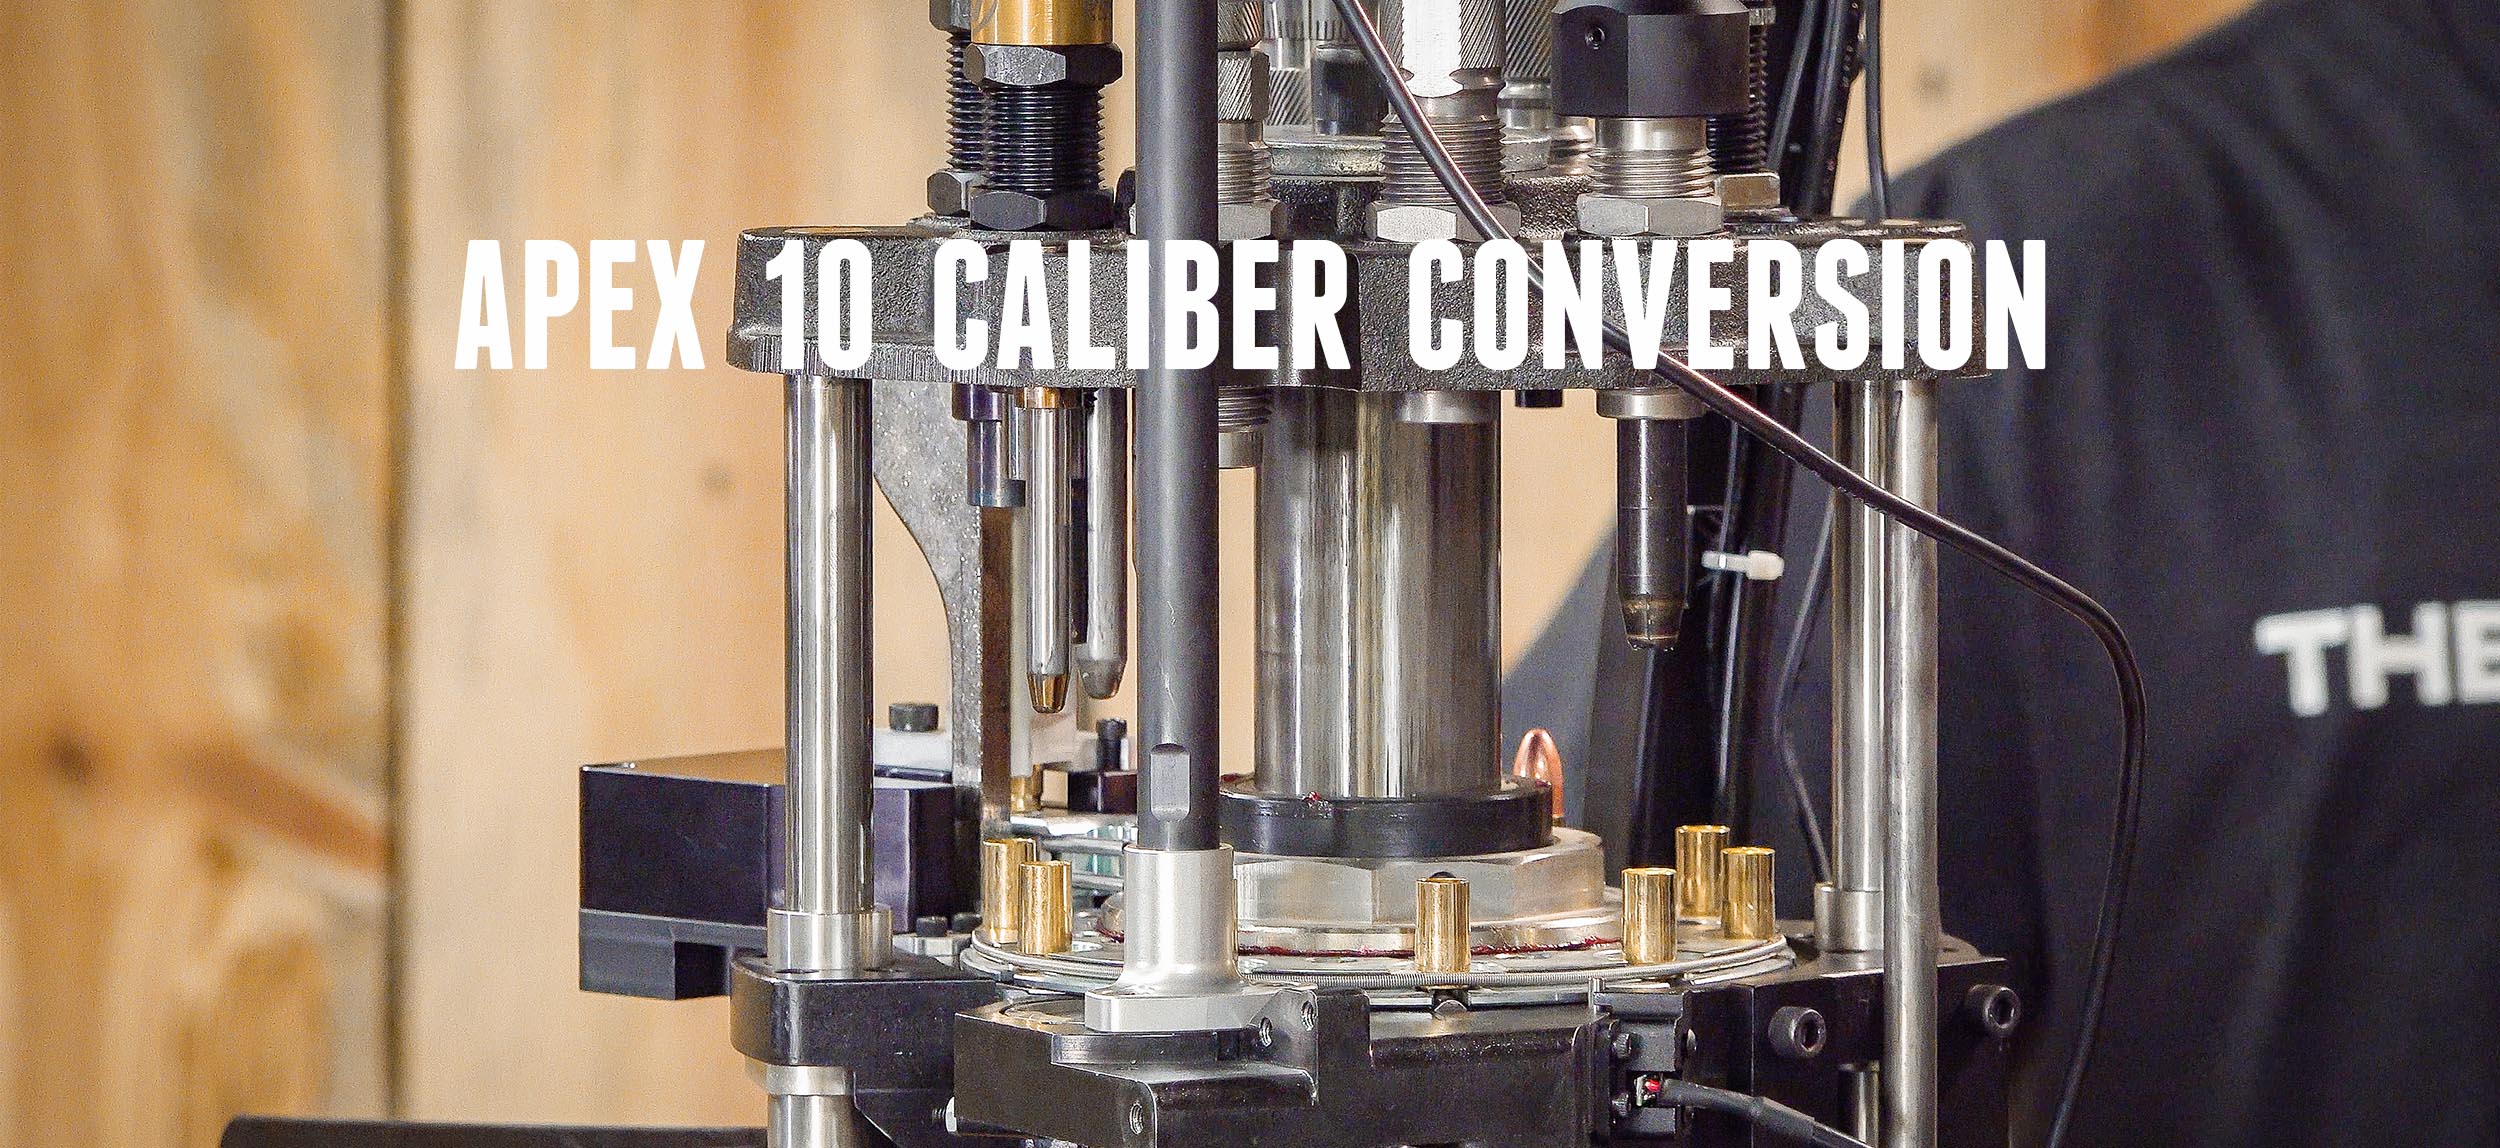
Continuing our series of videos on the Mark 7 Apex 10, we have John Vlieger, a master tech from Mark 7 showing us caliber conversion techniques.
Disclaimer
Ultimate Reloader LLC / Making with Metal Disclaimer: (by reading this article and/or watching video content you accept these terms). The content on this website (including videos, articles, ammunition reloading data, technical articles, gunsmithing and other information) is for demonstration purposes only. Do not attempt any of the processes or procedures shown or described on this website. All gunsmithing procedures should be carried out by a qualified and licensed gunsmith at their own risk. Do not attempt to repair or modify any firearms based on information on this website. Ultimate Reloader, LLC and Making With Metal can not be held liable for property or personal damage due to viewers/readers of this website performing activities, procedures, techniques, or practices described in whole or part on this website. By accepting these terms, you agree that you alone are solely responsible for your own safety and property as it pertains to activities, procedures, techniques, or practices described in whole or part on this website.
Caliber Conversion Needs
As a master tech for Mark 7, John has seen the good, the bad and the ugly when it comes to processes, practices, and issues. We’ve already done lots of work with the Mark 7 Apex 10 and the Autodrive, including powder measure and priming adjustments. I also showed a complete caliber conversion on the Mark 7 Evolution (previous model).
As a refresher, here’s our APEX 10 setup video:
And here’s our Autodrive unboxing and setup video:
John says the first question he always gets from users is “what do I need?” The answer depends on what you are converting from and to. The Apex 10 come with caliber conversion hardware for large and small primers, so no matter what caliber you order the machine in, you will have those pieces on hand. On-board swaging also comes standard with every Apex 10 with rods for large and small rifle primers.
To convert the press, you need to change out the shell plate, case feed adapter, case feed ram and dies. We opted to swap out the entire tool head as we were swapping all dies for a new set of Lyman Pro dies in 9mm. The powder measure will stay the same as it’s a pistol powder measure. We’ll change the case feed plate, caliber conversion on the bullet feeder and the dies.
To recap, you will need to change:
- Shell Plate
- Case Feed Adapter/Plate
- Case Feed Ram
- Dies
- Powder Measure (if applicable)
- Caliber Conversion on Bullet Feeder
This time we’re swapping Lyman Pro dies in .45 ACP for Lyman Pro dies in 9mm. John chose to use FW Arms Swage Foot and decapper, dies Mark 7 also sells.
Conversion Process – Takedown
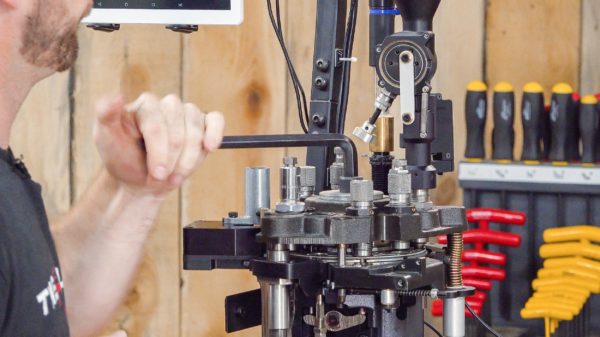
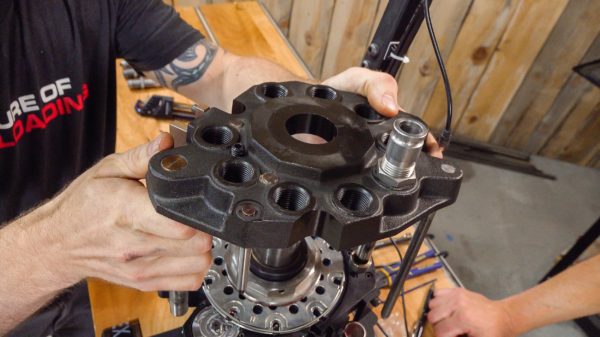
In order to switch the caliber, we needed to take the machine apart. There is no special order in which you need to remove parts unless physics dictates. In example, you need to remove the tool plate on the press to access the shellplate. The case feed and bullet feed are independent.
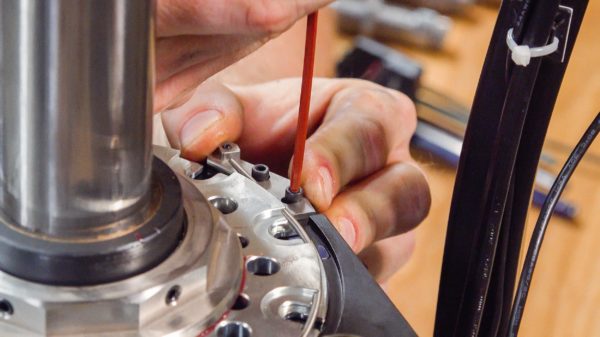
The first step was to run out the components and make sure we had nothing leftover in the press before running the ram all the way down so the tool head is at the bottom of the stroke. Side note: anytime you are loosening or tightening the tool head, make sure it is at the bottom of the stroke. This keeps it aligned and prevents things from getting torqued the wrong way. Raise the toolhead, unthread it the rest of the way and remove it. I removed the dies and other accessories while John was working on this. We also swapped out the inner tube on the primer tube, from large rifle to small primer. This involved unthreading the cap, popping the old tube out and reversing the process with the new tube.
The next step is to remove the case feed assembly. You don’t necessarily need to remove the assembly, but it makes it easier to remove the shell plate. We needed to remove the case feed ram anyways, so it made more sense to open the area. Crack the retainer stations loose to allow the shellplate to tilt up and out. Loosening the shellplate nut allows you to remove the entire shellplate and expose the entire priming system.

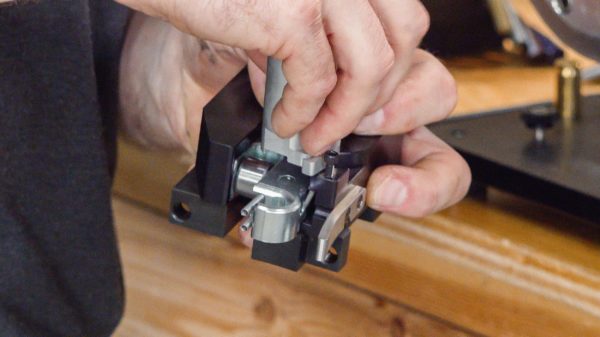
Setting the load plate is extremely important. Make sure the gap is consistent across the arc, and get it as close as you can to the disk. Like many of the parts of the Apex 10, it’s easier to remove the priming system for better access. This is done by removing three bolts.
Change out the bushing and punch. We used the same spring, but changed the disk from large to small and reset the load plate.
Conversion Process – Reassembly
There is some maintenance between disassembly and reassembly. Stay tuned for a separate video on this.
The reassembly is essentially the reverse of the disassembly.
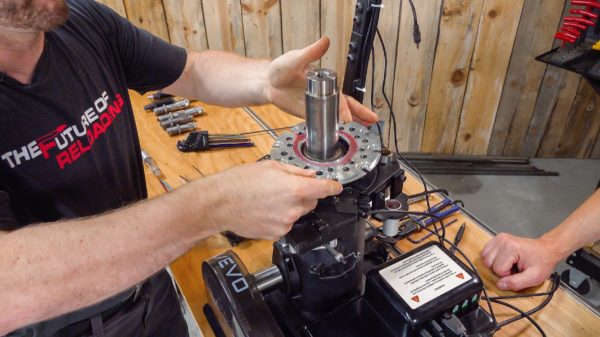
One of the first things we did was reinstall the shellplate. On the user level, shellplate tension is critical. This helps keep primer seating depth and OAL’s consistent. Tighten the shellplate nut as tight as you can with two hands. DO NOT USE WRENCHES. If it stops indexing, you’ve gone too far. Just back it off a bit.
To ensure you have the tension correct, keep an eye on the machine and watch out for a “shudder” indicating the nut is too tight.
The retainer station on the eject chute has a variety of adjustments – most aren’t critical. If you are too close to the shellpate, it can bind on a rim. If it’s too far away, the retainer station is not controlling the case as the crimp die comes down. John shared that he likes to push each piece of brass up against the shellplate, back it off an eighth of an inch, then lock it down. The next test is to put another casing there and see if it gets bound up when you try to wiggle it.
One thing I noted when evaluating Autodrive do’s and don’ts is that you don’t really need spring tension. It’s there in the channel but it doesn’t need to be extended. Rifle cases especially want to tilt inward if there is excessive spring tension. This is something you won’t typically see or notice with short pistol cases.
John said his rule of thumb is to always take the slack out of the shell plate, lock it down, and adjust as needed.
Retaining stations are next, then the tool head. Remember to lower the ram and tighten the tool head at the bottom of the stroke. We already converted the case feed platform, so it was ready to mount with two bolts. A bit of upward pressure while you tighten it down helps give the cases a nice ramp to go down. They aren’t fighting uphill.
As we reattached the primer tube, John pointed out a holder built into the primer sensor that holds the follower rod when not in use. Attaching the low primer sensor to the autodrive ensures the machine will shut off when out of primers. Don’t forget that sensor or the replacement drop tube.
Surveying the parts we had left, John made some special notes about the large spring used for manual operation. This spring comes standard on the Apex 10 and is to keep the tool head up if you let go of the handle. When you automate, the ram is being held in place by the autodrive. If you turn the power off and remove the spring, the tool head will sag, but the machine is not in use. You will have to recalibrate the machine anyways when you turn it back on.
Removing the spring during autodrive allows you to run at a potentially lower clutch setting. This makes the machine run and sound smoother. John recommends removing the spring, though you won’t hurt anything by keeping it in.
I’ve previously shown videos on die setup as well as other fine adjustments, so we made those adjustments off screen and proceeded to the loading process.
Conclusion
When setting up a machine, John keeps a mental checklist as he loads ammo.
John breaks the output into the initial set and final set. The initial set won’t tell you the full story, but it will give you a good idea. Look at the bullet feeder and make sure that any bullets facing the wrong direction get corrected. He likes to keep dummy rounds handy to properly set OAL and crimp. Make sure dies are locked down. Using quality components always helps. If you notice OAL variance past the tolerance you’re expecting, look at the seating stem and make sure all is good. John noted that the main things he worries about are the powder measure and primer. Other features of the case can be adjusted after loading if need be, but not the primer and powder.
Past the initial set, you won’t notice any issues until after 50 or so rounds during a high volume loading session. Look for bullets toppling, which would indicate a problem with expansion. Also keep an eye for powder sloshing. This indicates you need to modify the index setting on the tablet. John also recommends pulling a few cases during the process and checking the powder charge.
Other checks include ensuring all parts work correctly. Verify sensors and the powder check. You can do many of these things without loading the shellplate.
Always be sure to do your due diligence to make sure your equipment is set correctly!
Get the Gear!
The FW Arms Auto Center Swage Station Foot and Auto-Case Centering Decapper/Deprimer are both available from Mark 7 for $59.99 each.
The Mark 7 Apex 10 is available directly from Mark 7 as well as from the Double Alpha Academy!
Don’t miss out on Ultimate Reloader updates, make sure you’re subscribed!Thanks,
Gavin Gear


