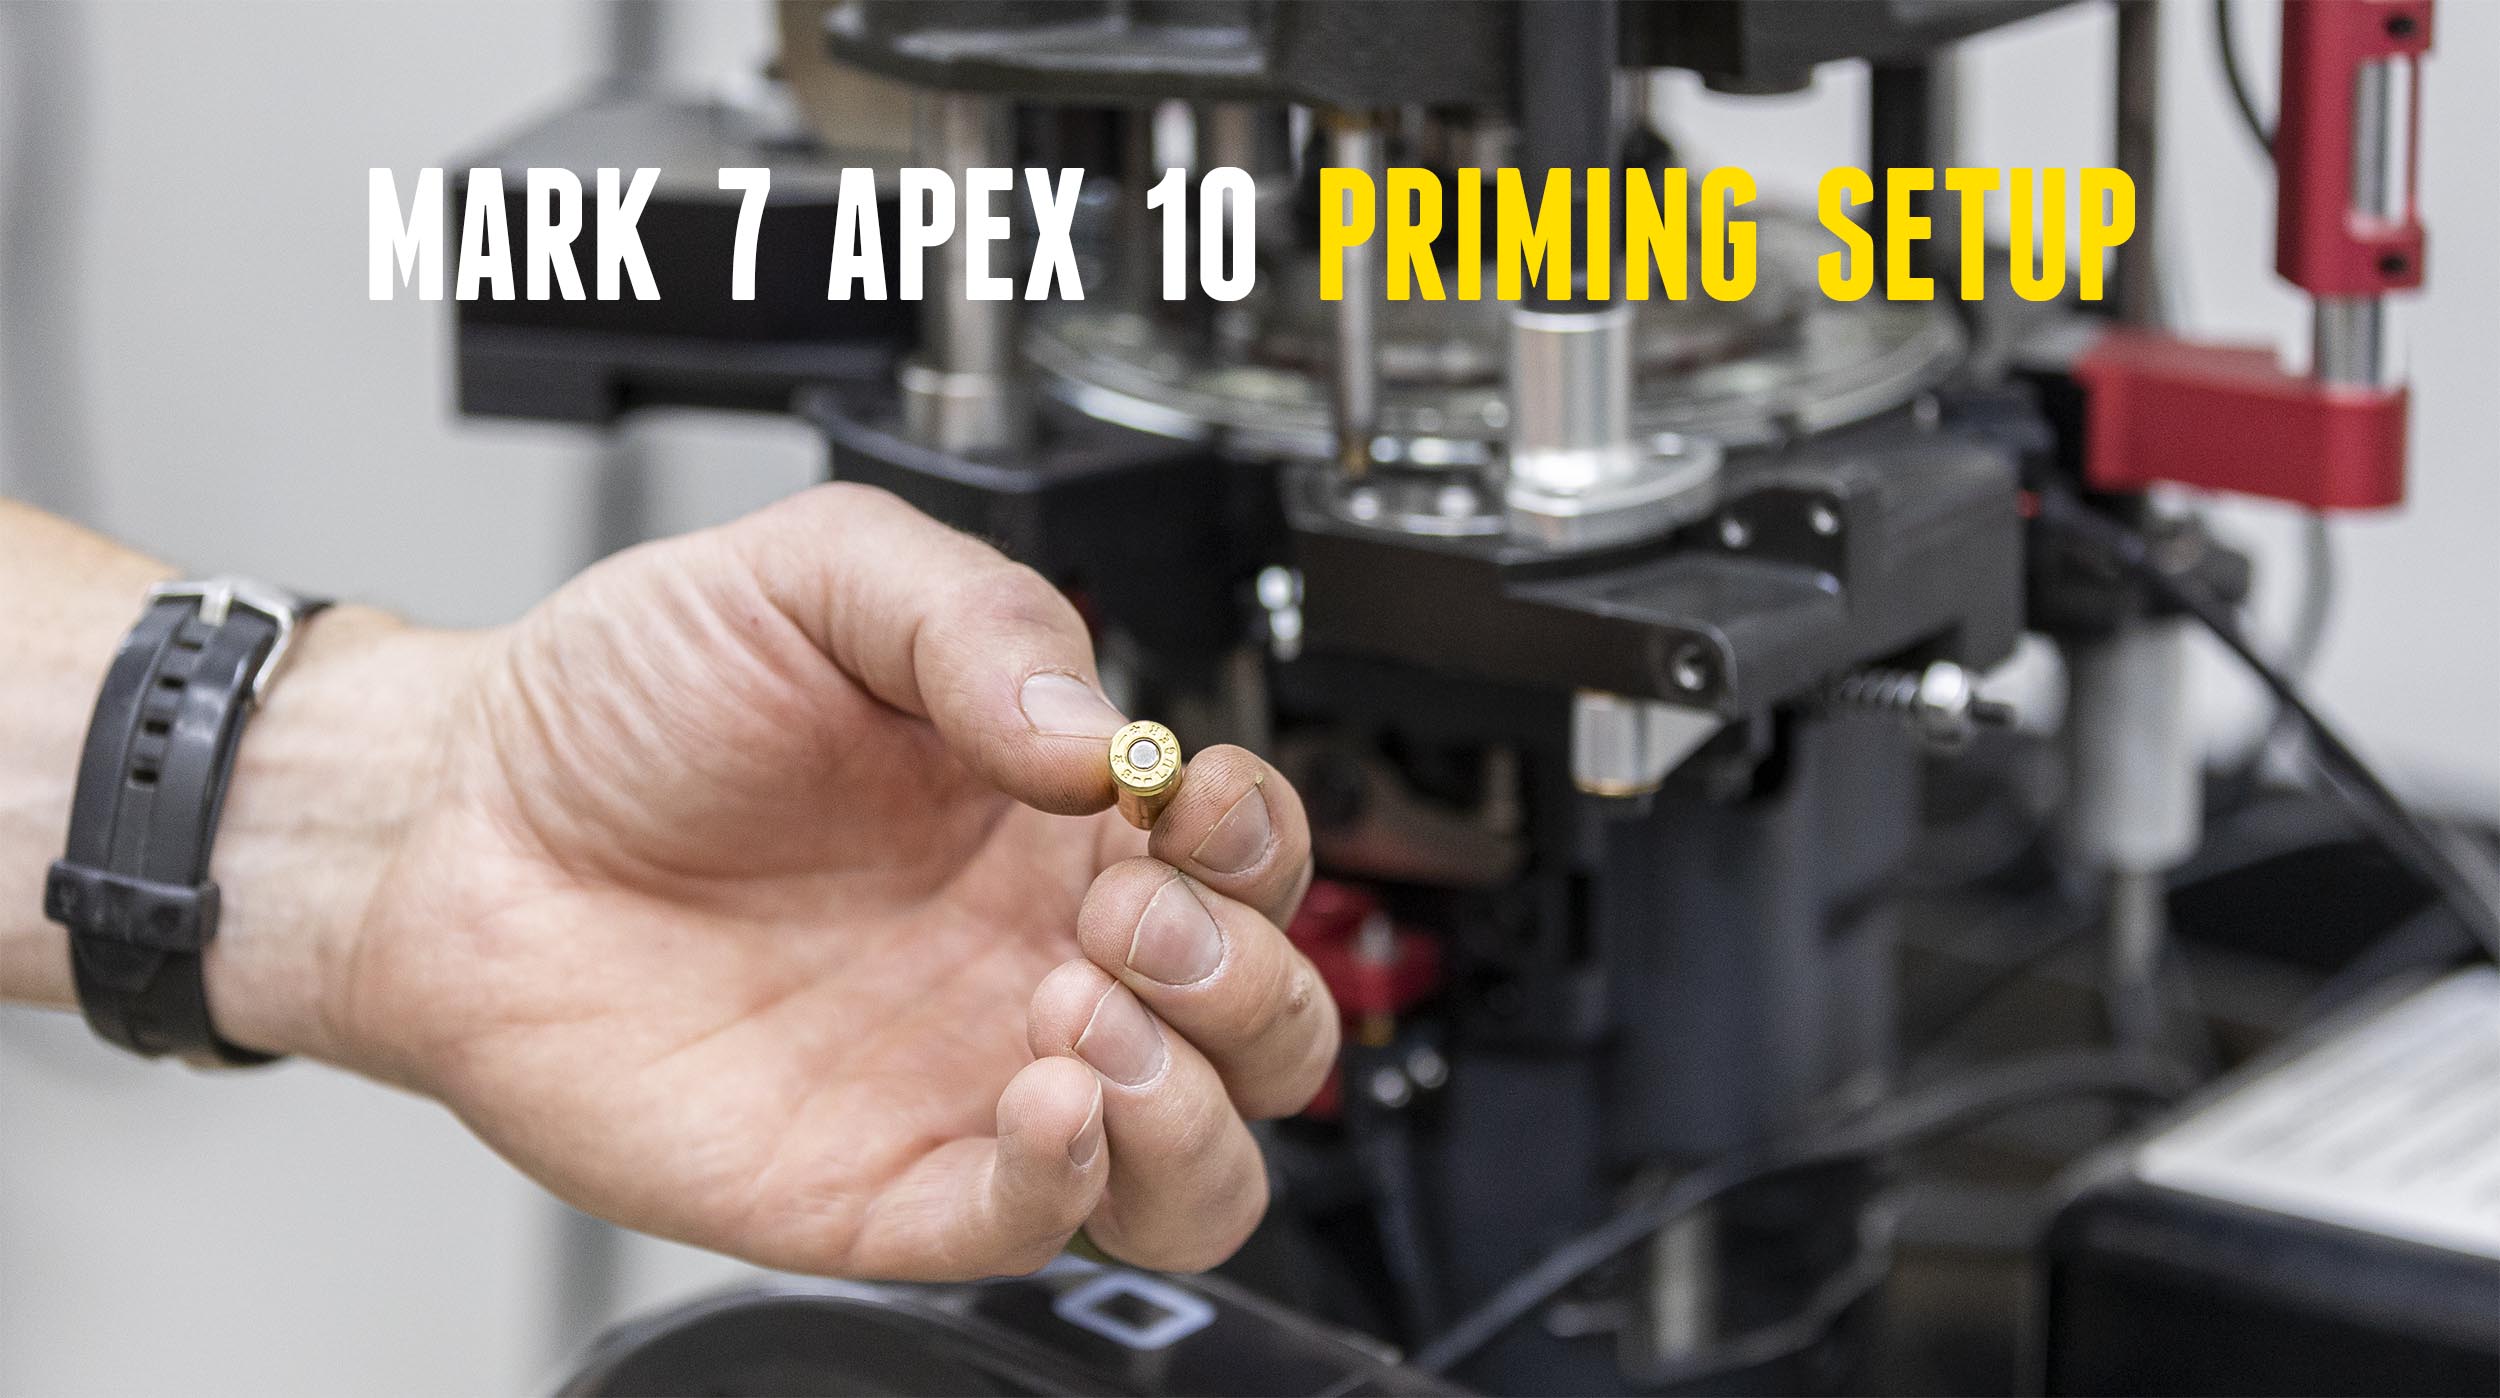
Wondering how to set up the priming system for the Mark 7 Apex 10? John Vlieger of Mark 7 shows us how.
Disclaimer
Ultimate Reloader LLC / Making with Metal Disclaimer: (by reading this article and/or watching video content you accept these terms). The content on this website (including videos, articles, ammunition reloading data, technical articles, gunsmithing and other information) is for demonstration purposes only. Do not attempt any of the processes or procedures shown or described on this website. All gunsmithing procedures should be carried out by a qualified and licensed gunsmith at their own risk. Do not attempt to repair or modify any firearms based on information on this website. Ultimate Reloader, LLC and Making With Metal can not be held liable for property or personal damage due to viewers/readers of this website performing activities, procedures, techniques, or practices described in whole or part on this website. By accepting these terms, you agree that you alone are solely responsible for your own safety and property as it pertains to activities, procedures, techniques, or practices described in whole or part on this website.
Setting up Priming
John Vlieger troubleshoots and sets up Mark 7 machines on a daily basis. We already have the major components installed with a caliber set up and ready to run in our Apex 10.
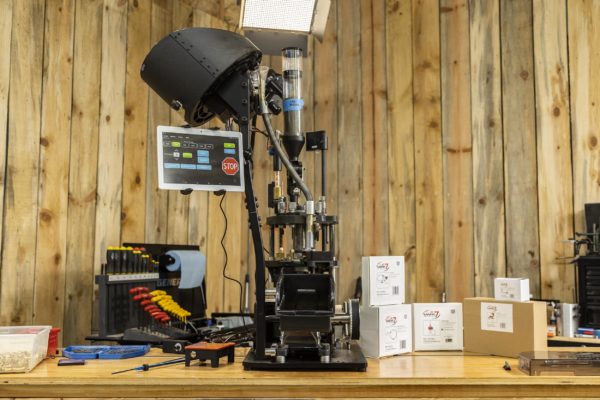
John recommends a sizing die over the priming station to center and support the case. Having the case in the same spot every time results in more consistent priming. This applies to rifle and pistol cartridges. As a caveat with rifle cartridges, you aren’t trying to full-length resize, only to provide support. Run the die down until you feel resistance on the sidewalls of the case.
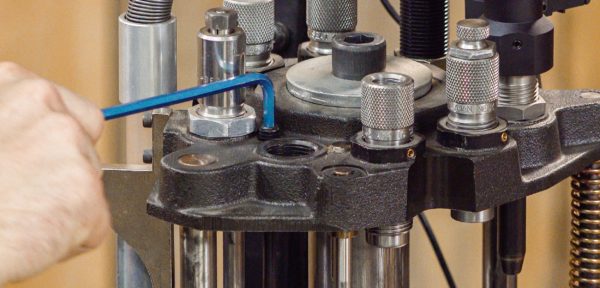
When you’re setting primer seating depth on the station, you are concerned with the die and primer seating depth pin (3/16 Allen). Be careful making any adjustments to the pin as a little goes a long way.
The first step is to set the sizing die. If running automated, select “move to bottom” on the screen. Run the sizing die down until it touches the shellplate. It will touch the spring and make the spring move.
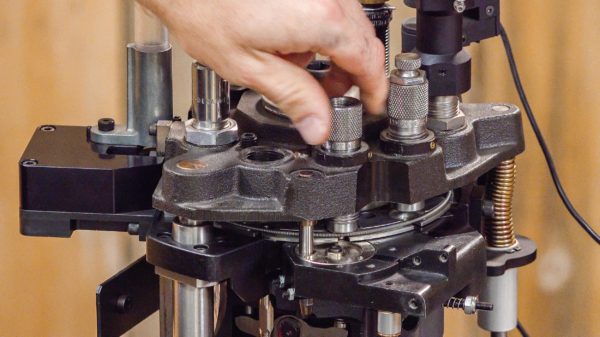
The machine is already calibrated, so this establishes where it will stop — where the tool head will come to and rest. If you’re running hand operated, run the handle down until you feel it make contact with the stop internally.
Once you’ve made contact with the shellplate, back it off one quarter turn (about 5 thousandths) to provide enough clearance and lock the die in place.
As a side note, you can use a hold down or no die at all if you choose.
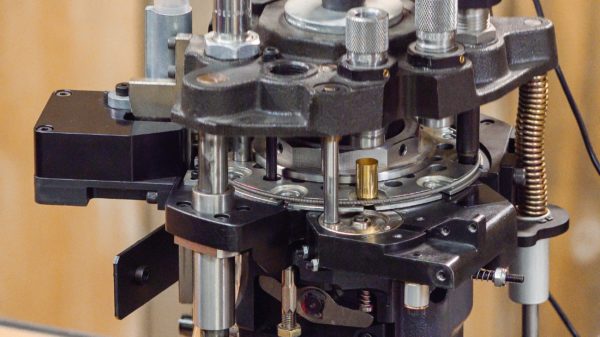
Next is adjusting the primer seating pin using a brand new case. With a primer in the station and a brand new case, John selected “move to bottom.” You can always seat the primer deeper, but not the opposite direction. To check to see if the primer is proud, put it on the baseplate and rock it back and forth. If you feel it rocking in the center, you’re about flush.
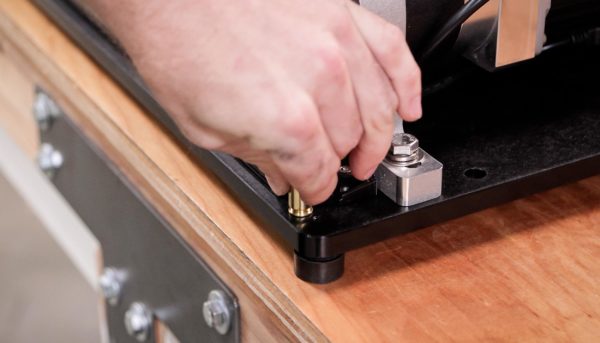
John decided to run the pin down a little further, about a half turn. The pin is attached to the tool head, the pin comes through the shell plate and hits the rocker. The rocker rocks and pushes the primer punch up which seats the primer. It’s important not to go too far so you don’t destroy the primer or cause the rocker to bottom out on the extrusion.
After running the pin down a little further, we put the primed case back in and ran the cycle. From there we adjusted incrementally. John typically seats them flush to 5 thou. SAAMI spec is flush to about 8 thou.
Also be certain to examine the condition of the primer. If the primer is marked up or looks flattened by the primer punch, back the pin up.
Get Yours!
The Mark 7 APEX 10 is also available from the Double Alpha Academy!
Don’t miss out on Ultimate Reloader updates, make sure you’re subscribed!
Thanks,
Gavin Gear
