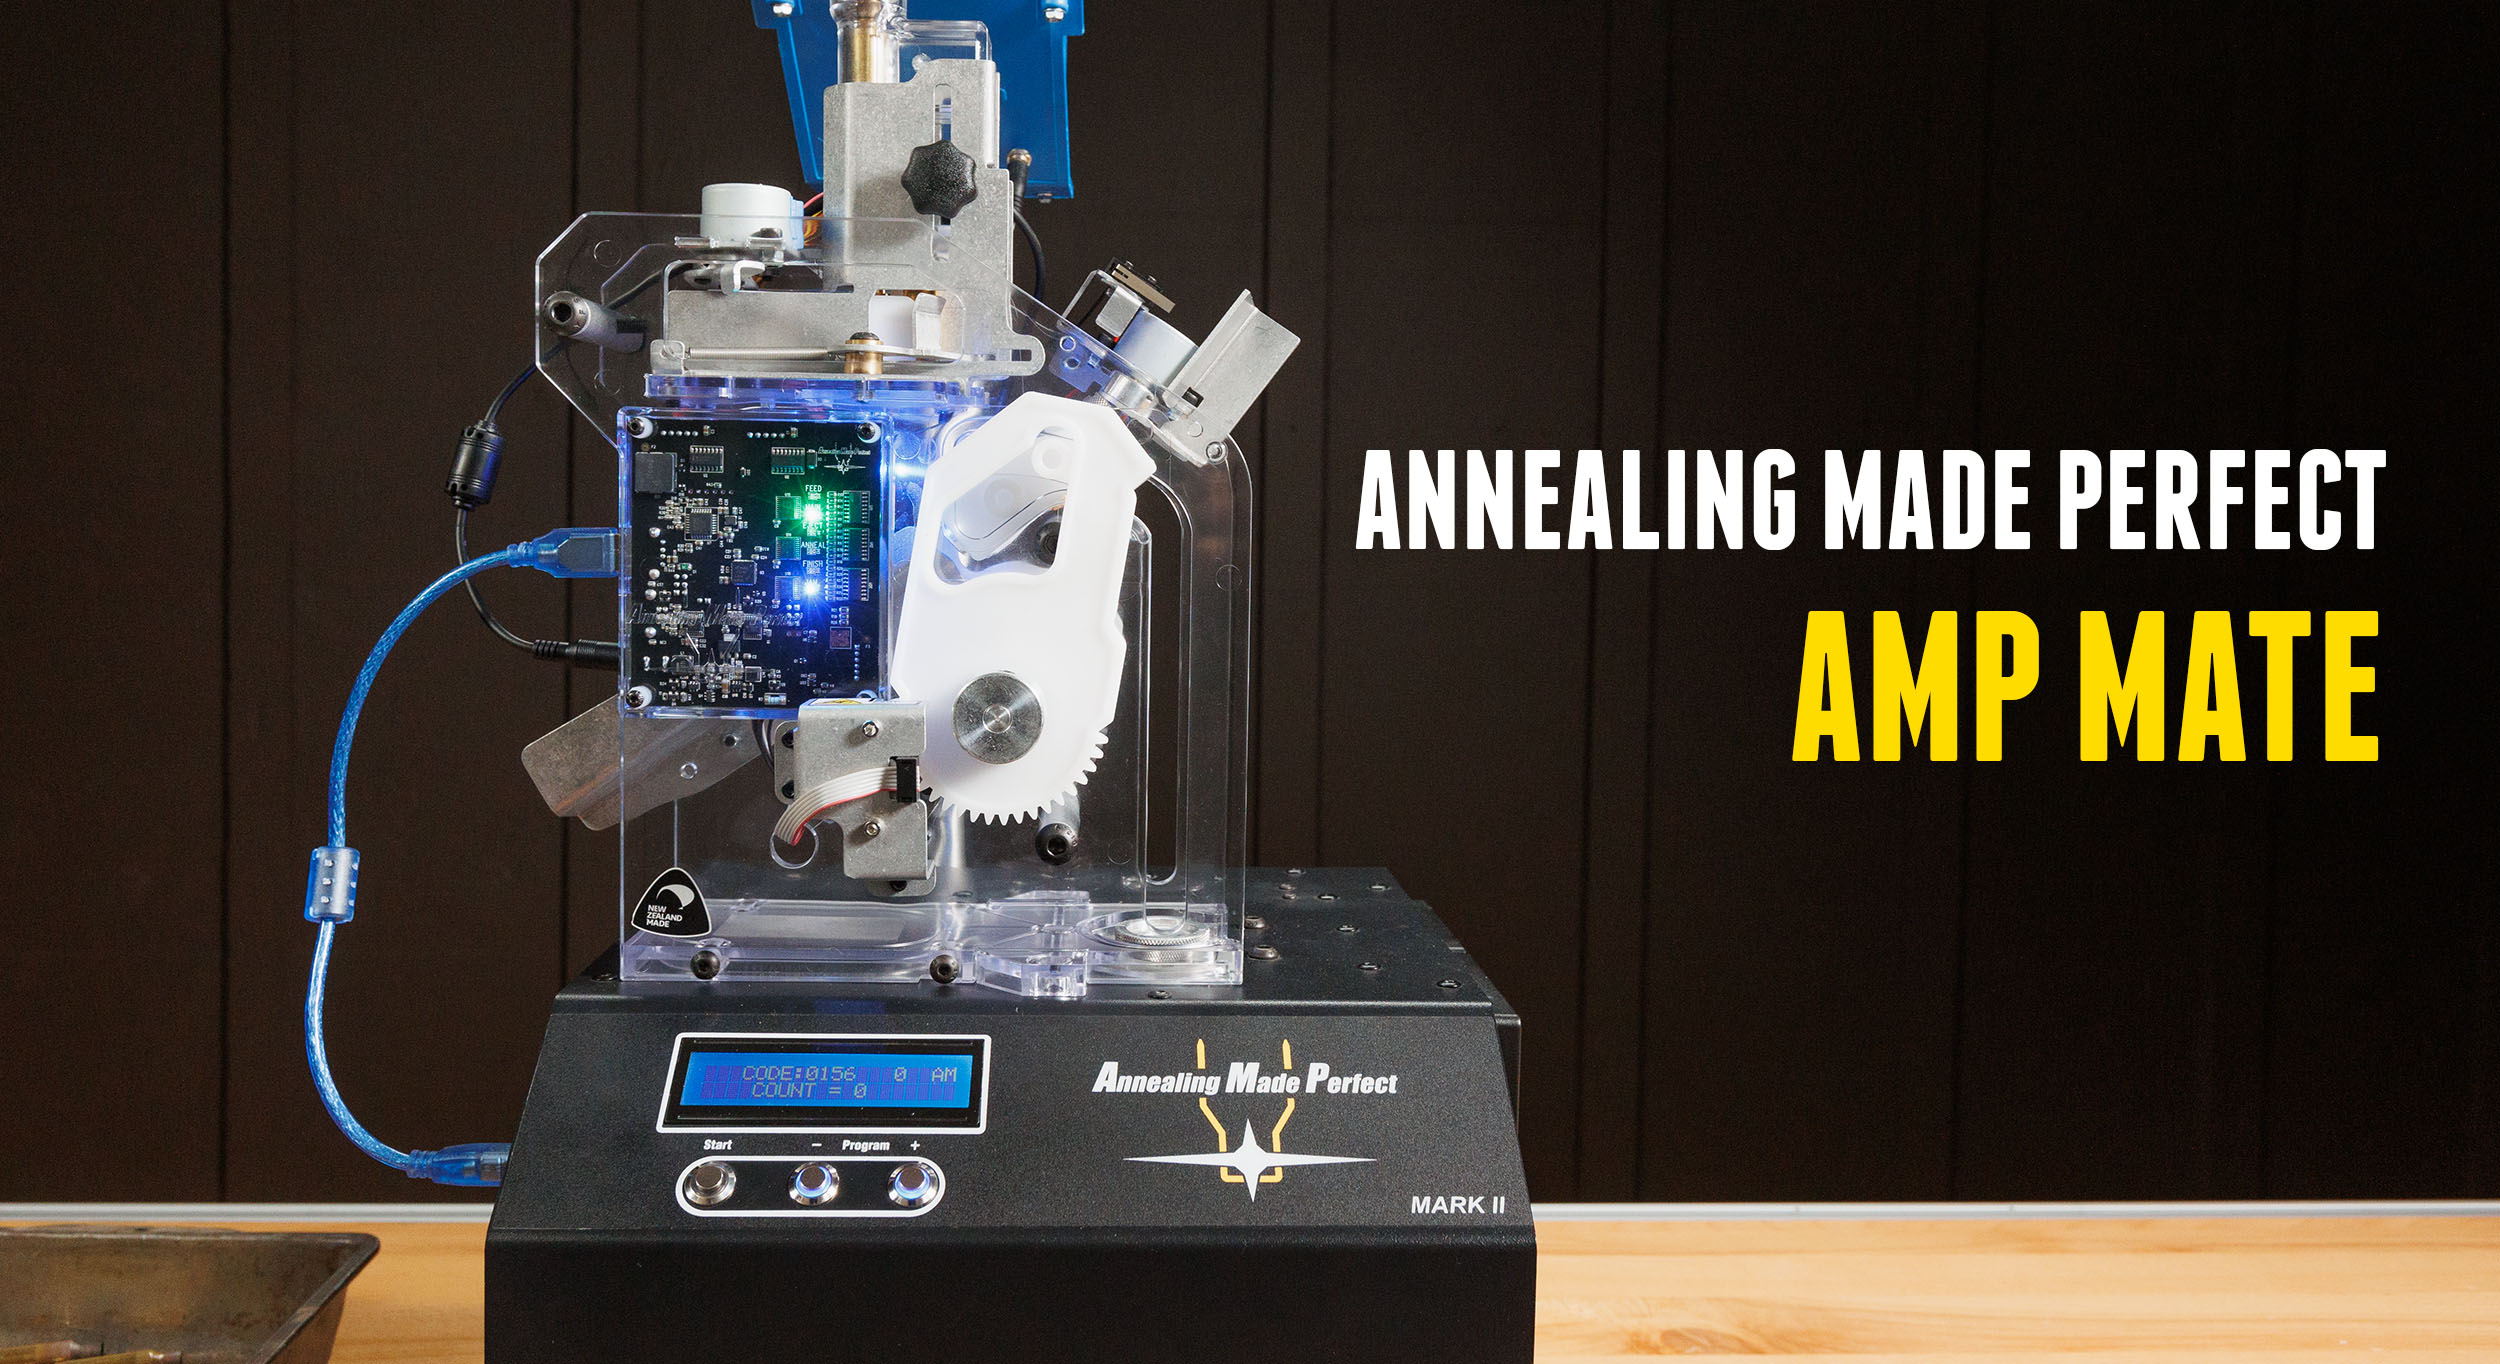
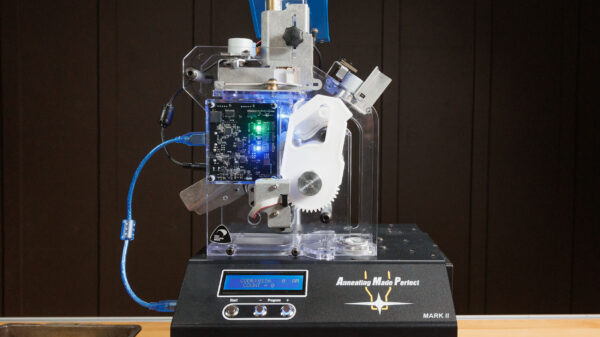
Annealing Made Perfect’s AMP Mark II revolutionized the way reloaders process brass. It ensures greater consistency, longer brass life, and more systematic resizing, but the process takes a while. The AMP Mate now automates the entire process!
Disclaimer
Ultimate Reloader LLC / Making with Metal Disclaimer: (by reading this article and/or watching video content you accept these terms). The content on this website (including videos, articles, ammunition reloading data, technical articles, gunsmithing and other information) is for demonstration purposes only. Do not attempt any of the processes or procedures shown or described on this website. All gunsmithing procedures should be carried out by a qualified and licensed gunsmith at their own risk. Do not attempt to repair or modify any firearms based on information on this website. Ultimate Reloader, LLC and Making With Metal can not be held liable for property or personal damage due to viewers/readers of this website performing activities, procedures, techniques, or practices described in whole or part on this website. By accepting these terms, you agree that you alone are solely responsible for your own safety and property as it pertains to activities, procedures, techniques, or practices described in whole or part on this website.
About the AMP Mate
Rather than feeding cases one by one into the Mark II, the AMP Mate automates the process, feeding the cases and kicking them out.
From Annealing Made Perfect:
The AMP MATE allows for hands free operation of both the MARK I and MARK II annealers and can feed any case from 300 Blackout (Shortest) up to 338 Lapua Magnum (Longest and widest).
We have made many changes since the first model which are designed to improve performance and prevent jams both mechanical and electrical. You can read about those changes here
Note: We recommend using Redding EZ Feed shellholders with the AMP Mate as they have a flat base which can prevent cases tipping forward when being fed into them.
AMP MATE Features:
-
- No Assembly required.
- Capable of handling cases sizing from 300 Blackout (shortest) to 338 Lapua Magnum. (Note: When annealing 6BR/BRA cases with the AMP Mate, use Pilot #64 and, with that pilot inserted, for 6BR use ANALYSE code 010D and 6BRA use code 010C)
- USB Port for software updates.
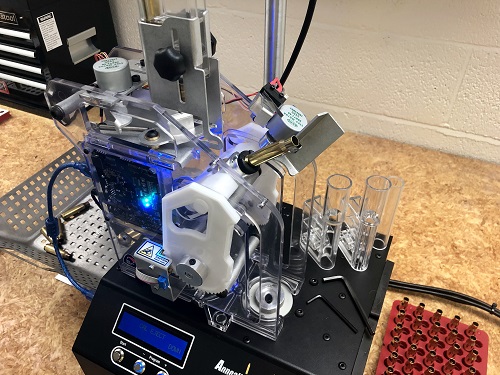
- Able to interface with Dillon and Hornady case feeders with a suitable stand
- Quick to set up and to change out.
- User accessible for future parts upgrades and spares.
- Built to last, our units have performed hundreds of thousands of cycles without needing to have parts replaced.
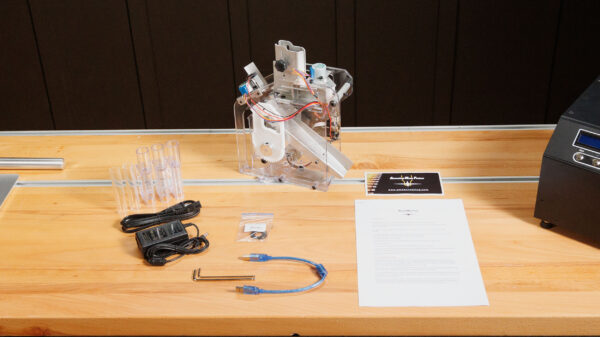
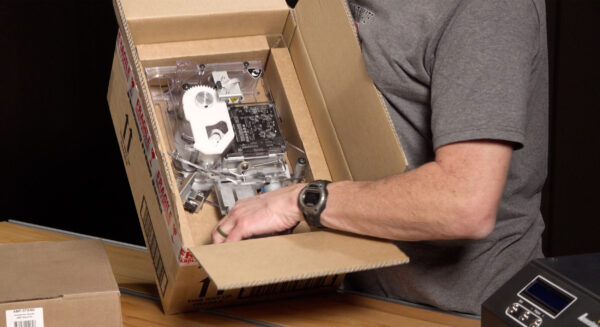
What’s in the Box
The AMP Mate comes fully assembled and comes with a power supply, case feed adapters and guides, Allen keys, data USB cable, MP press retainer, instructions and a sticker.
About the Creedmoor Sports AMP Stand
To make everything even easier, we decided to pair the AMP Mate with the Creedmoor Sports AMP Stand.
From Creedmoor Sports:
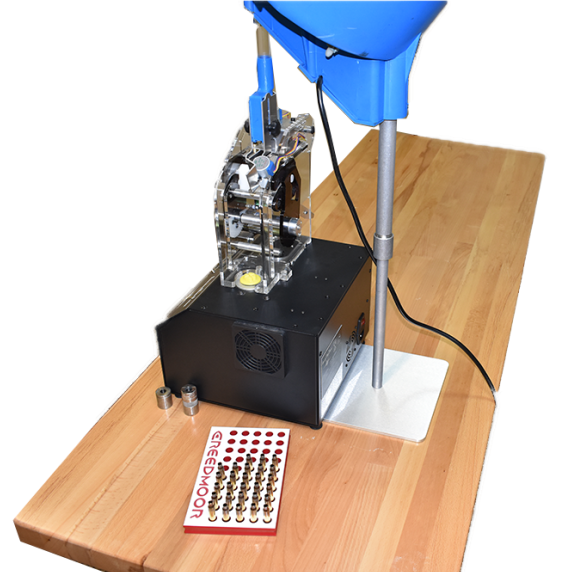
If you have the Annealing Made Perfect Machine and the Mate AutoFeed, this stand is the perfect addition to your annealing system. The 1″ pole is designed to support the Dillon Casefeed so that you can sit back and be mesmerized while your brass is being annealed.
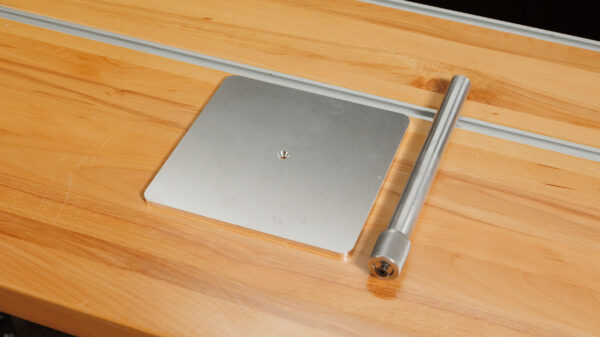
The base is 8.8″x8.8″
Made from 6061-T651 aluminum.
Set-Up
Setting up the AMP Mate isn’t intuitive. I watched the official instruction video twice before starting.
I also had to prepare the Mark II for automation. I ensured I had the most recent firmware installed, correct cartridge selected and appropriate pilot inserted. For this exercise, I used pilot #17 for 6.5 Creedmoor. I analyzed the case, stored the output code (156), and readied a Redding E-Z Feed Shellholder. (AMP specifically recommends this shellholder.)

With the Mark II plugged in and powered on, I removed the pilot and set the AMP Mate assembly over top. Depressions on the bottom of the AMP Mate fit directly over the dome screws in the Mark II for proper orientation.
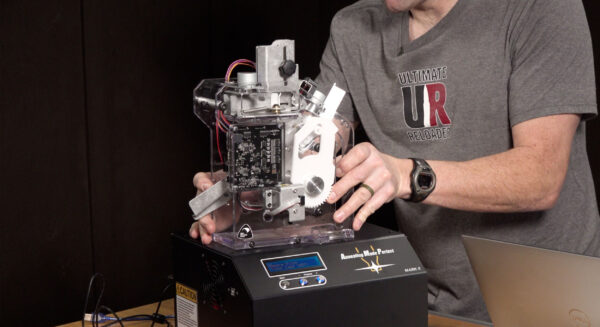
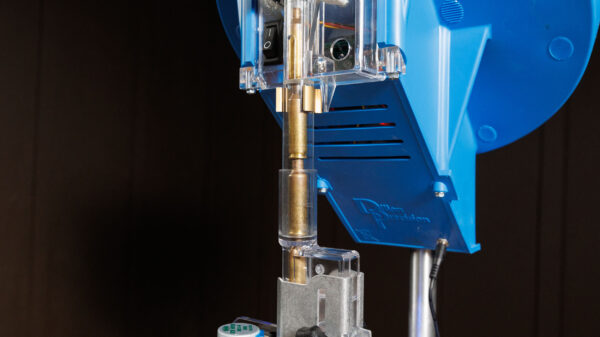
Next comes connecting the power to the AMP Mate and the data cable between the AMP Mate and Mark II. Pressing “on” on the AMP Mate sends the unit through a dry-run operating cycle/sequence. Together this combo unit can accommodate cases from .300 Blackout to .338 Lapua Magnum. The cartridge you are working with determines what feed guide (small/medium/large) and feed tube (small/large) you use. Choose the smallest diameter your selected case will freely pass through. I used the medium feed guide and small feed tube for 6.5 Creedmoor.
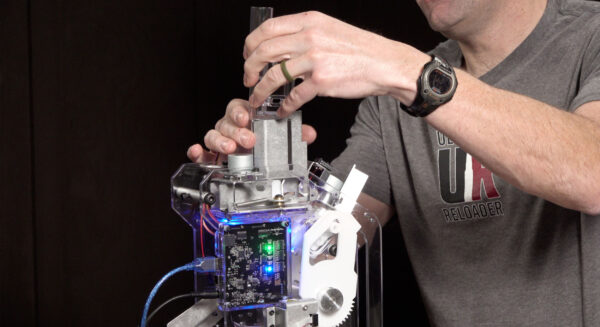
Unscrew the stud from the cap on the housing, drop in the feed guide, and reattach the screw. (This screw allows you to adjust the height of the feed guide. It should be lowered until the guide is one mm above your chosen case.) At this point, I also moved the feed control stop to the forward position to keep it out of the way.
I grabbed a step stool for some height and looked straight down into the feed guide, applying some pressure to the side lever to access the rear depth stop screw. Tighten and loosen this screw until you can just barely see the v-block pusher guide. With this step completed, it’s time to readjust the feed control stop I moved earlier. I placed a case in the feed guide and moved the feed control stop until the bar just touched the case, then moved it a bit more forward, leaving a slight gap between the tab and the case base. Lastly, drop in the appropriate feed tube with the chamfer facing up.

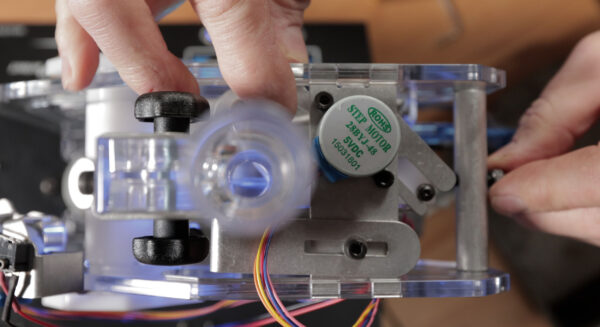
To install the E-Z shellholder, I had to interact with the Mark II interface. Pressing start allowed the machine to begin its sequence and expose the location for the shellholder. The grub screw in the center of the shellholder takes a 5mm hex key. Ensure the mouth of the shellholder is facing the feeding area, then back out the grub screw until it tightens against the shellholder.
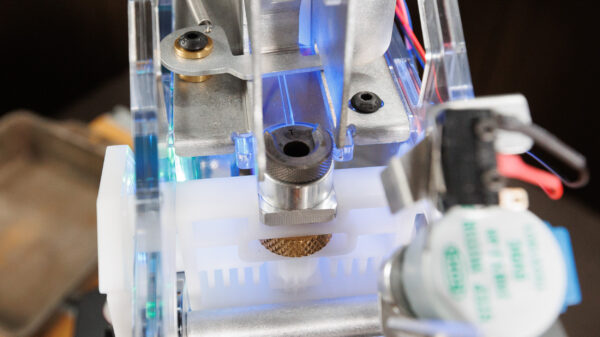
Move the carriage to the “load” position by going to Mark II menu and selecting “shellholder” then “<<”. Now it’s time to set the shellholder height using the integral brass knurled nut. It should be just barely under the feed ramp. Let the machine do a dry-run and tighten it when satisfied. Lastly, I reinstalled the pilot I removed earlier.
Case Feed and AMP Stand
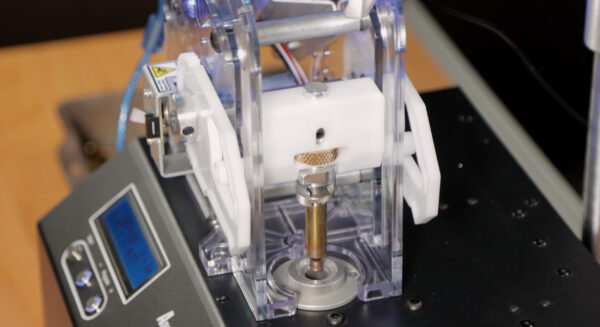
With all the adjustments I made, I ran the machine through a few trial sessions before adding the Dillon case feed. (A Hornady case feed works too.) I started with the Creedmoor AMP stand.
This simple but sturdy unit is held together by a screw through the base with a clamp for height adjustability. Snap the drop tube on the case feed bowl into place. The tube will then slide into position when you add the bowl. Power is the final step.
Full Automation
Watching the AMP Mate at work was nothing short of impressive, neatly tossing cases into a metal bin I set to the side.
Conclusion
I’m a big fan of multitasking and efficiency — the AMP Mate allows me to maximize my time, letting annealing happen in the background while I focus on something like powder charging.
Get the Gear
Purchase the AMP Mate directly from Annealing Made Perfect.
Find the AMP Stand, Redding E-Z Feed Shell Holders, and Dillon Casefeeder at Creedmoor Sports!
Don’t miss out on Ultimate Reloader updates, make sure you’re subscribed!
Thanks,
Gavin Gear


