In this story, I’ll pick up where we left off with barrel work. This time I’ll show barrel channel and receiver inletting, machining custom pillars, bedding, trigger guard installation, and profiling.
Disclaimer
Ultimate Reloader LLC / Making with Metal Disclaimer: (by reading this article and/or watching video content you accept these terms)
- The content on this website (including videos, articles, ammunition reloading data, technical articles, gunsmithing and other information) is for demonstration purposes only.
- Do not attempt any of the processes or procedures shown or described on this website.
- All gunsmithing procedures should be carried out by a qualified and licensed gunsmith at their own risk.
- Do not attempt to repair or modify any firearms based on information on this website
- Ultimate Reloader, LLC and Making With Metal can not be held liable for property or personal damage due to viewers/readers of this website performing activities, procedures, techniques, or practices described in whole or part on this website.
- By accepting these terms, you agree that you alone are solely responsible for your own safety and property as it pertains to activities, procedures, techniques, or practices described in whole or part on this website.
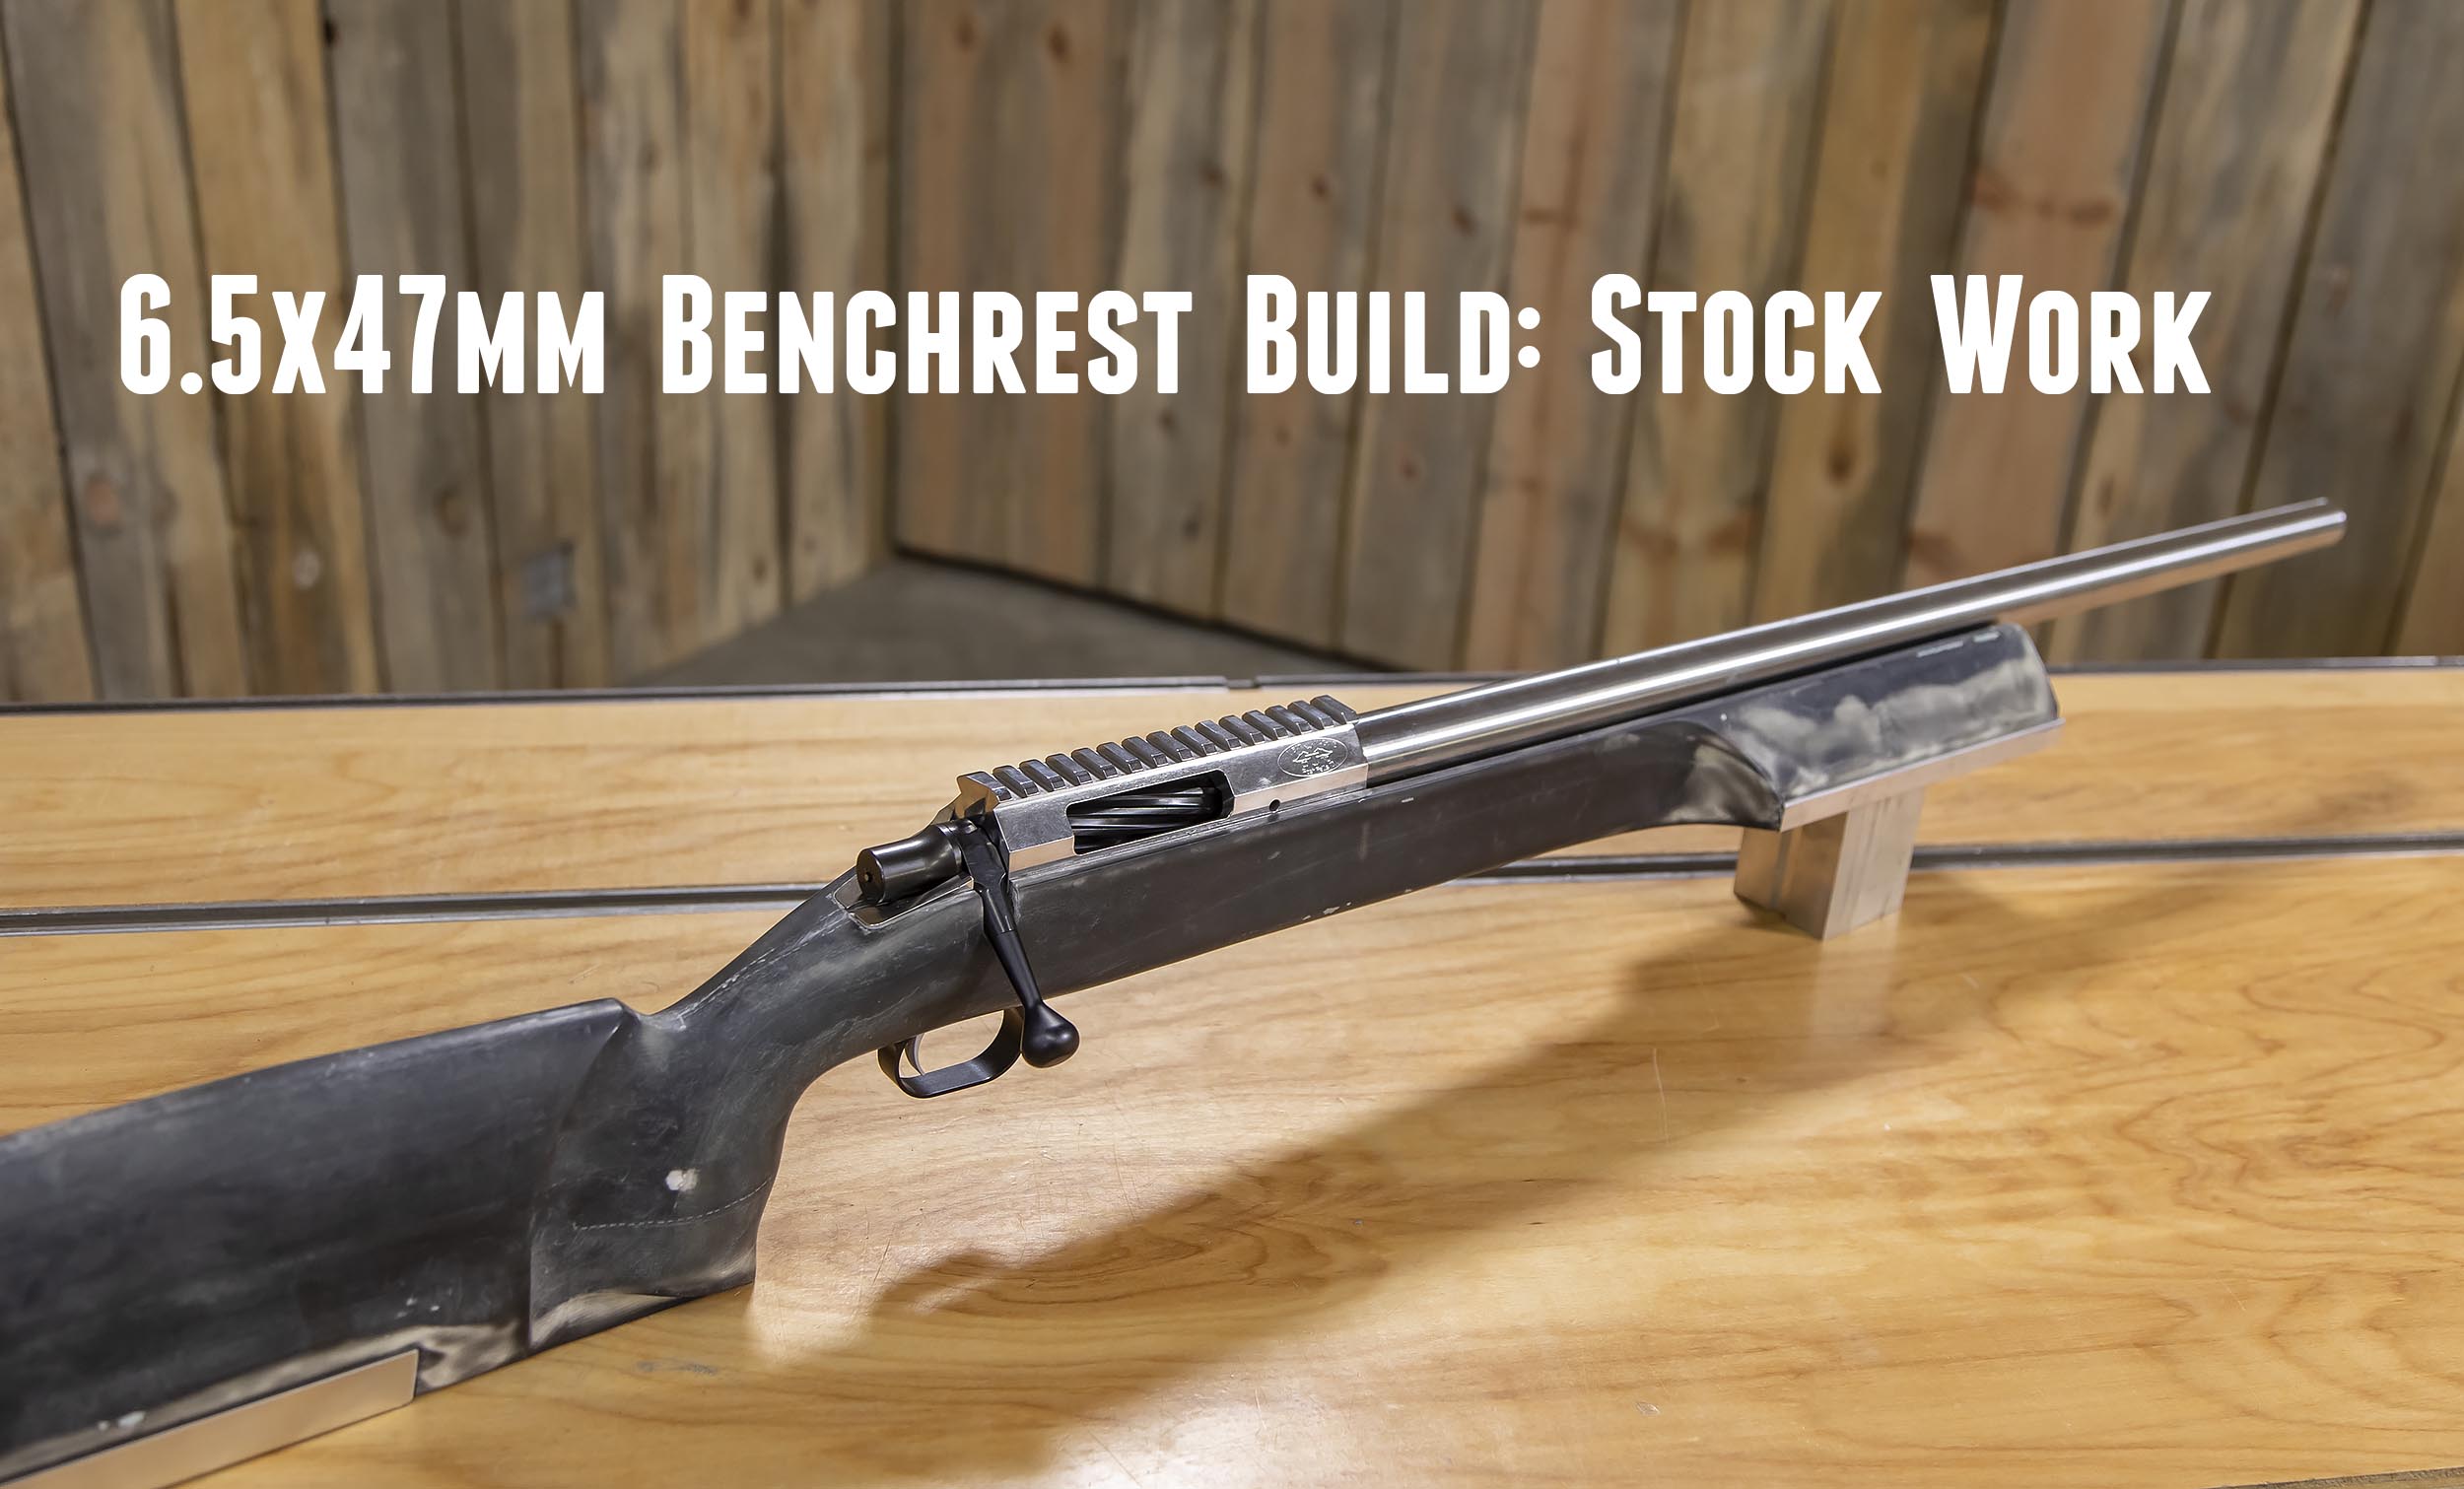
Wheeler LRB Stock

From the Wheeler Accuracy Product Page:
This stock is the product of input from some of the best long range Benchrest shooters in the game. This stock tracks exceptionally well due to the adjustable rudder system and 4″ forend. It is designed to shoot free recoil or with a hold. Aluminum rails in the front prevent rocking on the front bag as well as form small trenches to aid tracking. The adjustable rudder in the rear allows you to fine tune the bag riding surfaces until exactly parallel. The 4″ wide 1/2″ tall fore end is legal in Benchrest and helps control torquing in the bag. The 4″ width can be accommodated by most rests with a simple bag change. I can order this stock as light or heavy as needed, as stiff or flexible as desired, fiberglass or carbon fiber, and any color combo desired. Every stock comes with a rudder, rails, and butt plate installed. Mcmillan gelcoat requires no finish, but can be painted or polished. Many of the stocks on this page have paint jobs that are done by myself and the local body shop, they are not available on stock blanks. Painting is the last step after inletting and bedding.
Complete Gear List

This build is top notch from start to finish!
Components:
- Bat Model B action, 308 Bolt Face (modular), Octagonal profile, integral recoil lug
- Bat 34mm scope rings (high, black finish)
- Bix’n Andy Remington 700 Competition Trigger (from Bullet Central)
- Wheeler Engineering LRB stock with 4″ forend and steerable buttstock rudder
Tools: (See Triebel tooling details further down in article)
- Triebel Guntools 6.5x47mm body/neck finisher reamer
- Triebel Guntools 6.5x47mm throater reamer
- Triebel Guntools Go and No-Go gages
- 1 3/8″ Core Box cutter
- 3/8″ compression router bit (dual-direction)
Planning the Stock Work
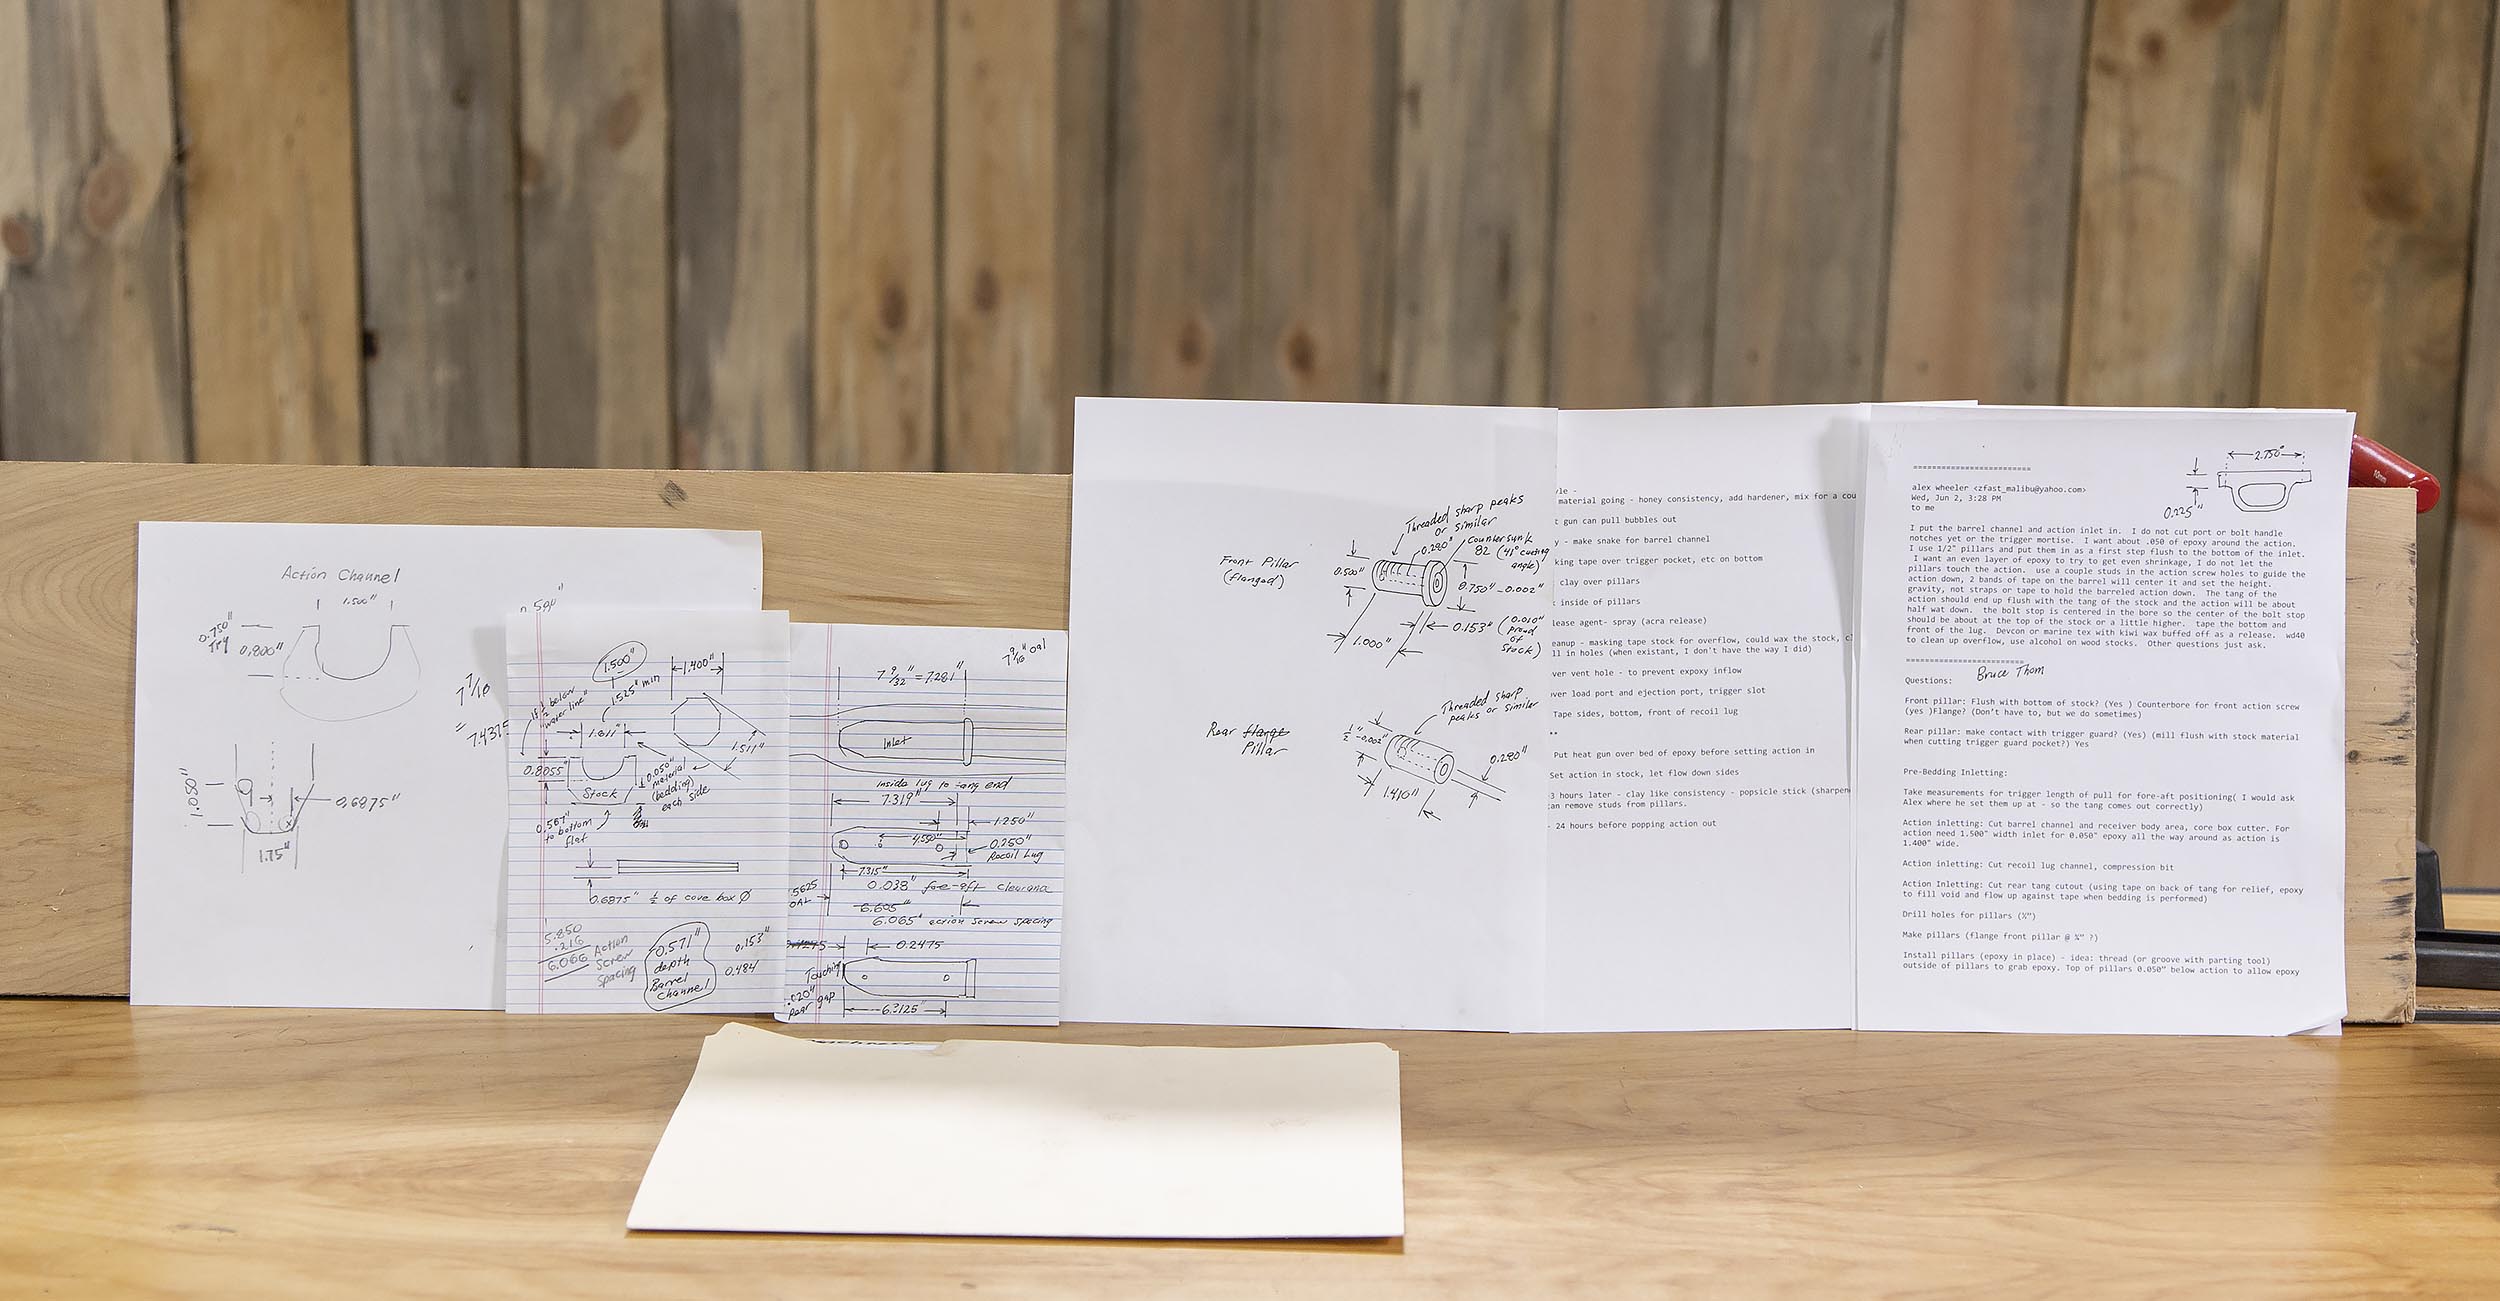
Planning is paramount when you’re inletting a stock from scratch! There are two key parameters/dimensions you’ll need to start with:

In the above image, we have: (both dimensions can be relative to different stock/action features)
- D1: Fore-aft positioning of rifle in stock, length of pull (not shown here) will dictate this dimension
- D2: Vertical positioning of action in stock
Here’s the guidance I followed for these parameters from Alex Wheeler of Wheeler Accuracy:
Assuming you have a Bat Model B, measure from the back of the stock (not including the butt plate) 11 3/4″ and mark the stock on the tang. That is where the back of the action will be. The trigger is about .950″ from the back of the action. This will give you a little over a 13″ Length Of Pull (LOP) with the butt plate installed. We like a shorter LOP for free recoil bench shooting. Sink the action until the top of the tang is flush with the top of the stock. You will want to leave it about .020″ proud of the stock to allow for paint thickness in your case, same goes for all your other cuts like the trigger guard and bolt handle, ext.
Following that guidance, I took measurements for all relevant parts and features, and drew up some notes (See paper notes picture above). Measure five times and cut once! Game plan in hand, I was ready.
Precision Matthews Lathe and Mill
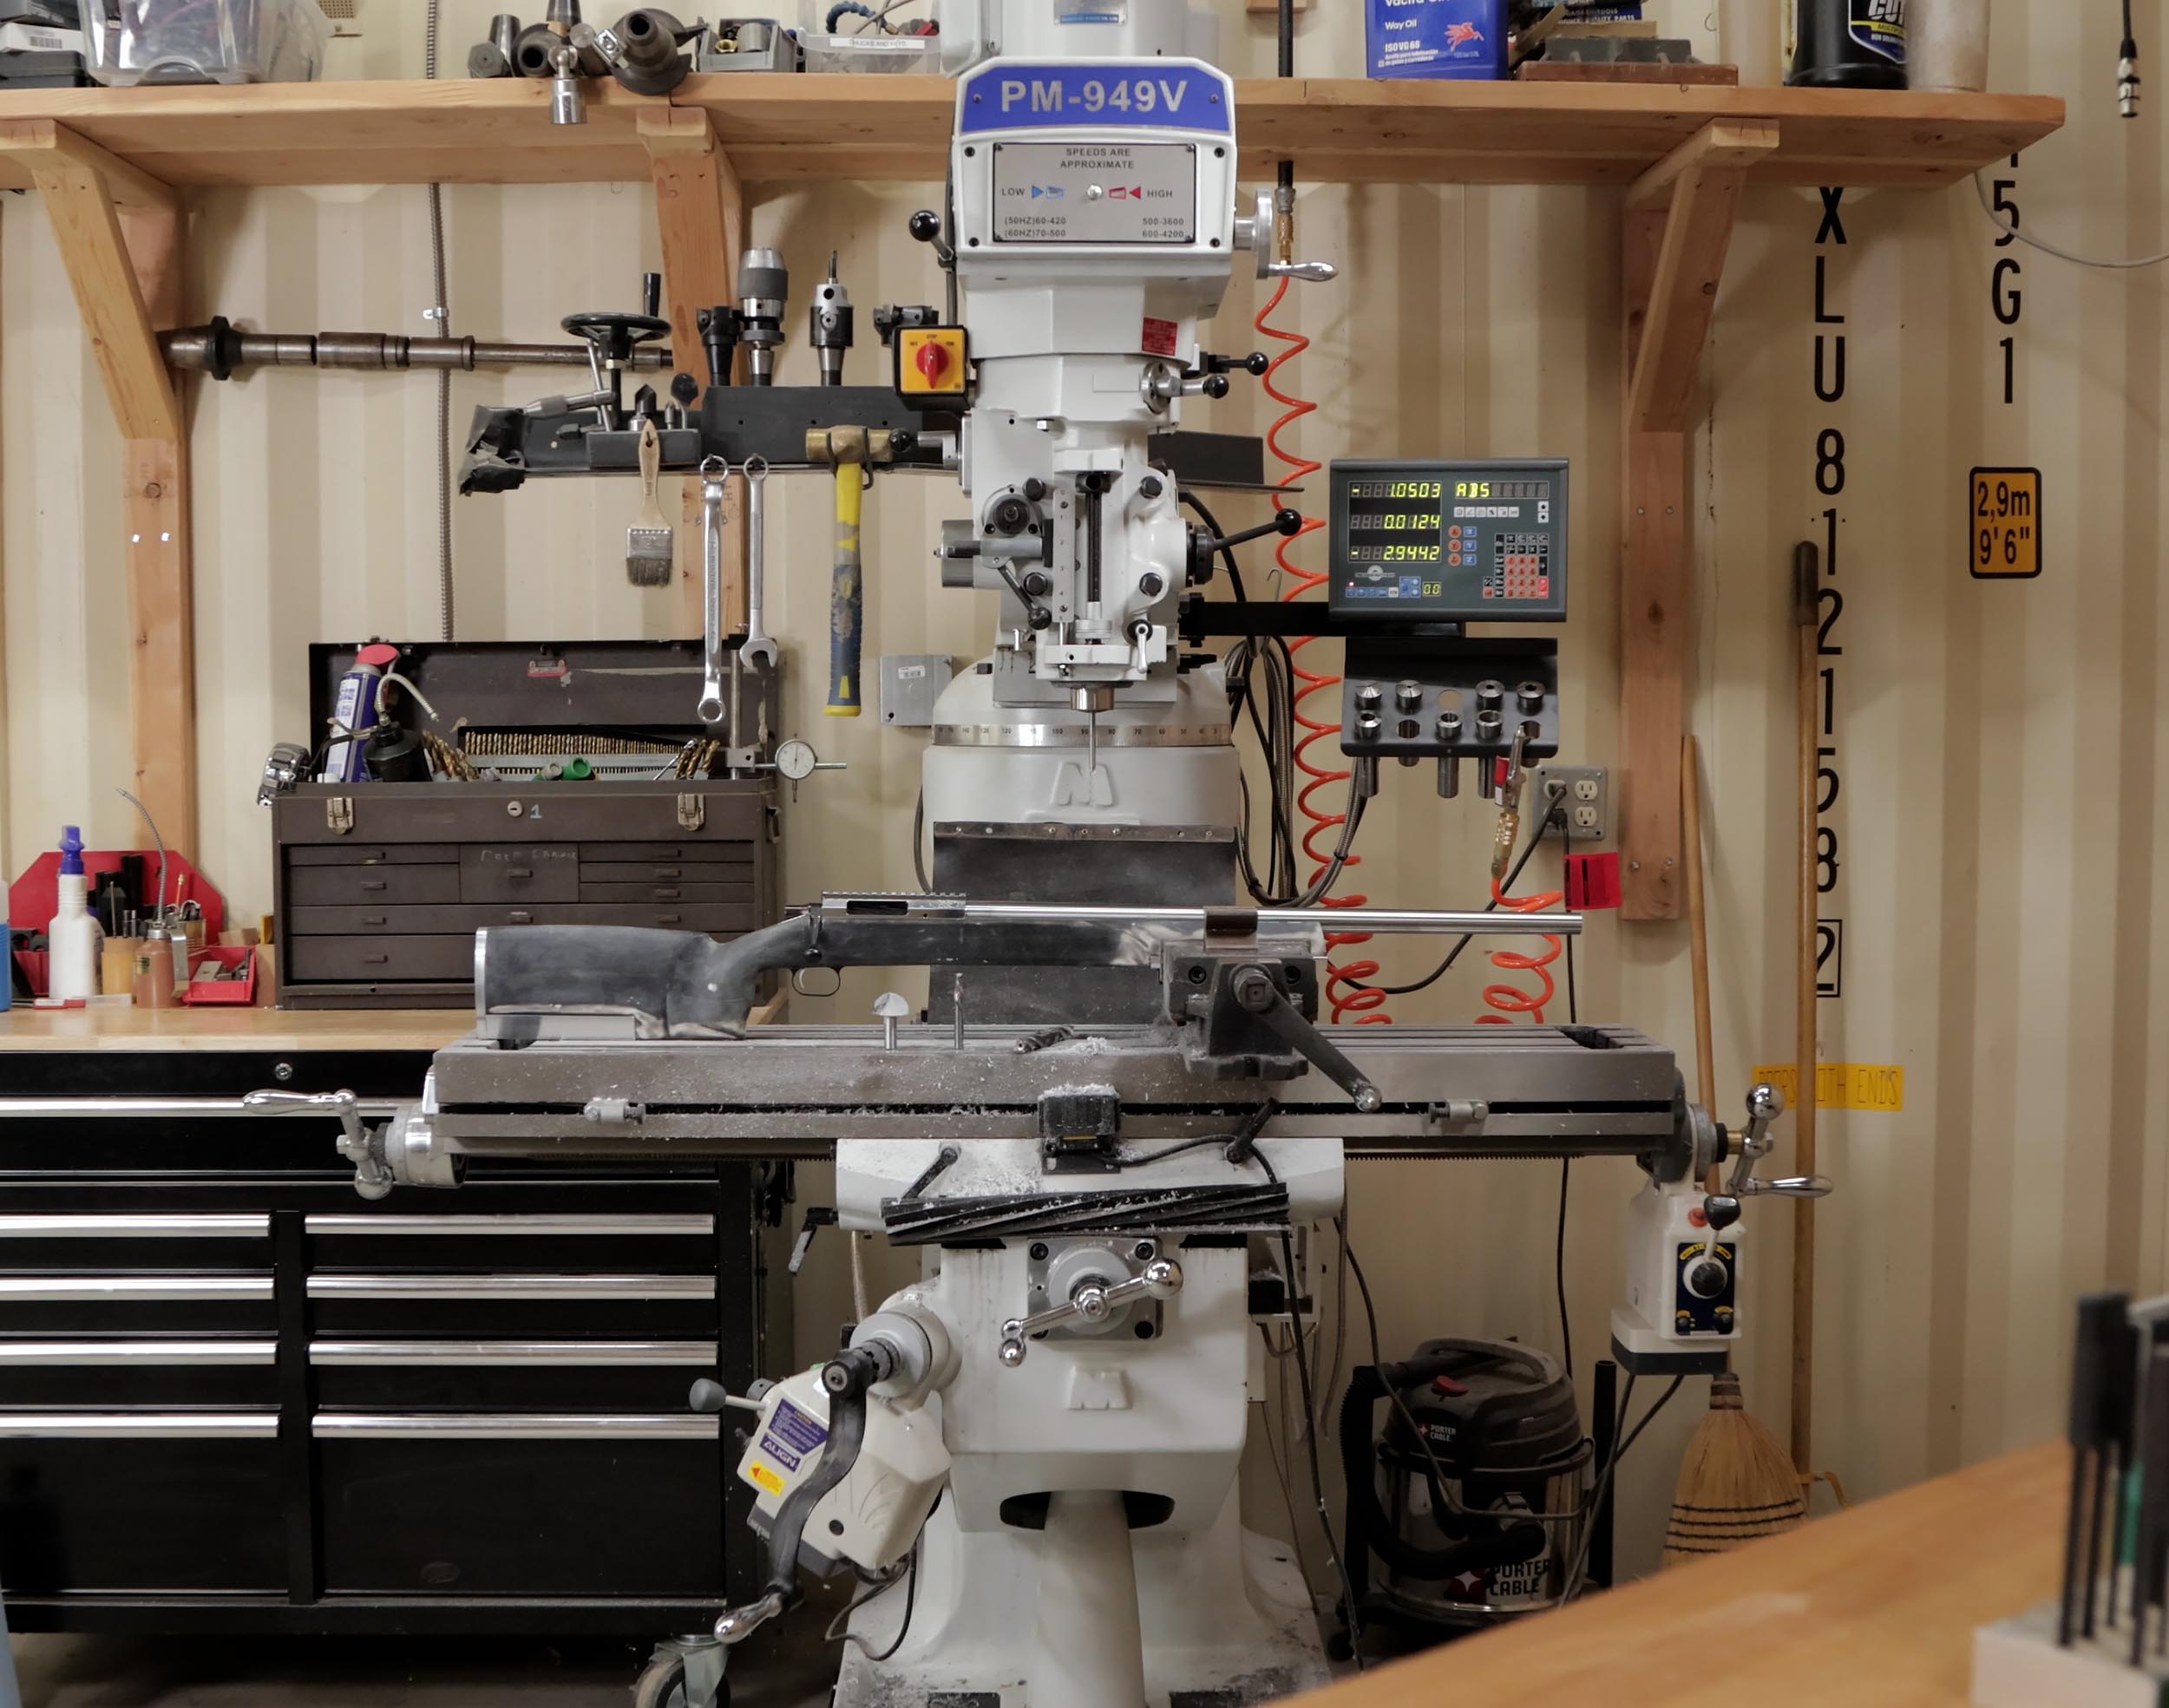
For the primary stock work in this story, I’m using a Precision Matthews PM-949TV milling machine which is exceptional for this kind of work!
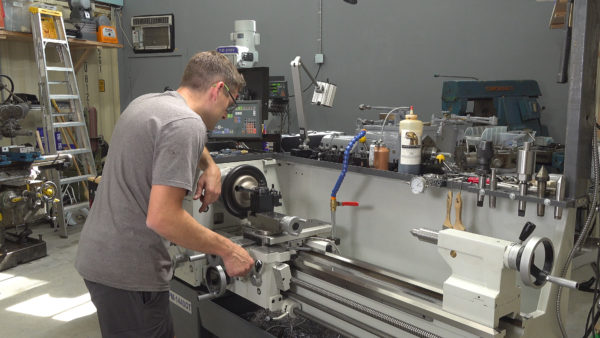
For the pillars portion of this story, I’m using a Precision Matthews PM-1440GT. I believe this is the best gunsmithing lathe you can by new in the USA (Taiwanese made, not chinese, 2″ through-spindle capacity, Japanese high-precision spindle bearings, etc):
I also built a custom outboard spider that I built- you’ll want to check out that story.
Cutting the Barrel Channel
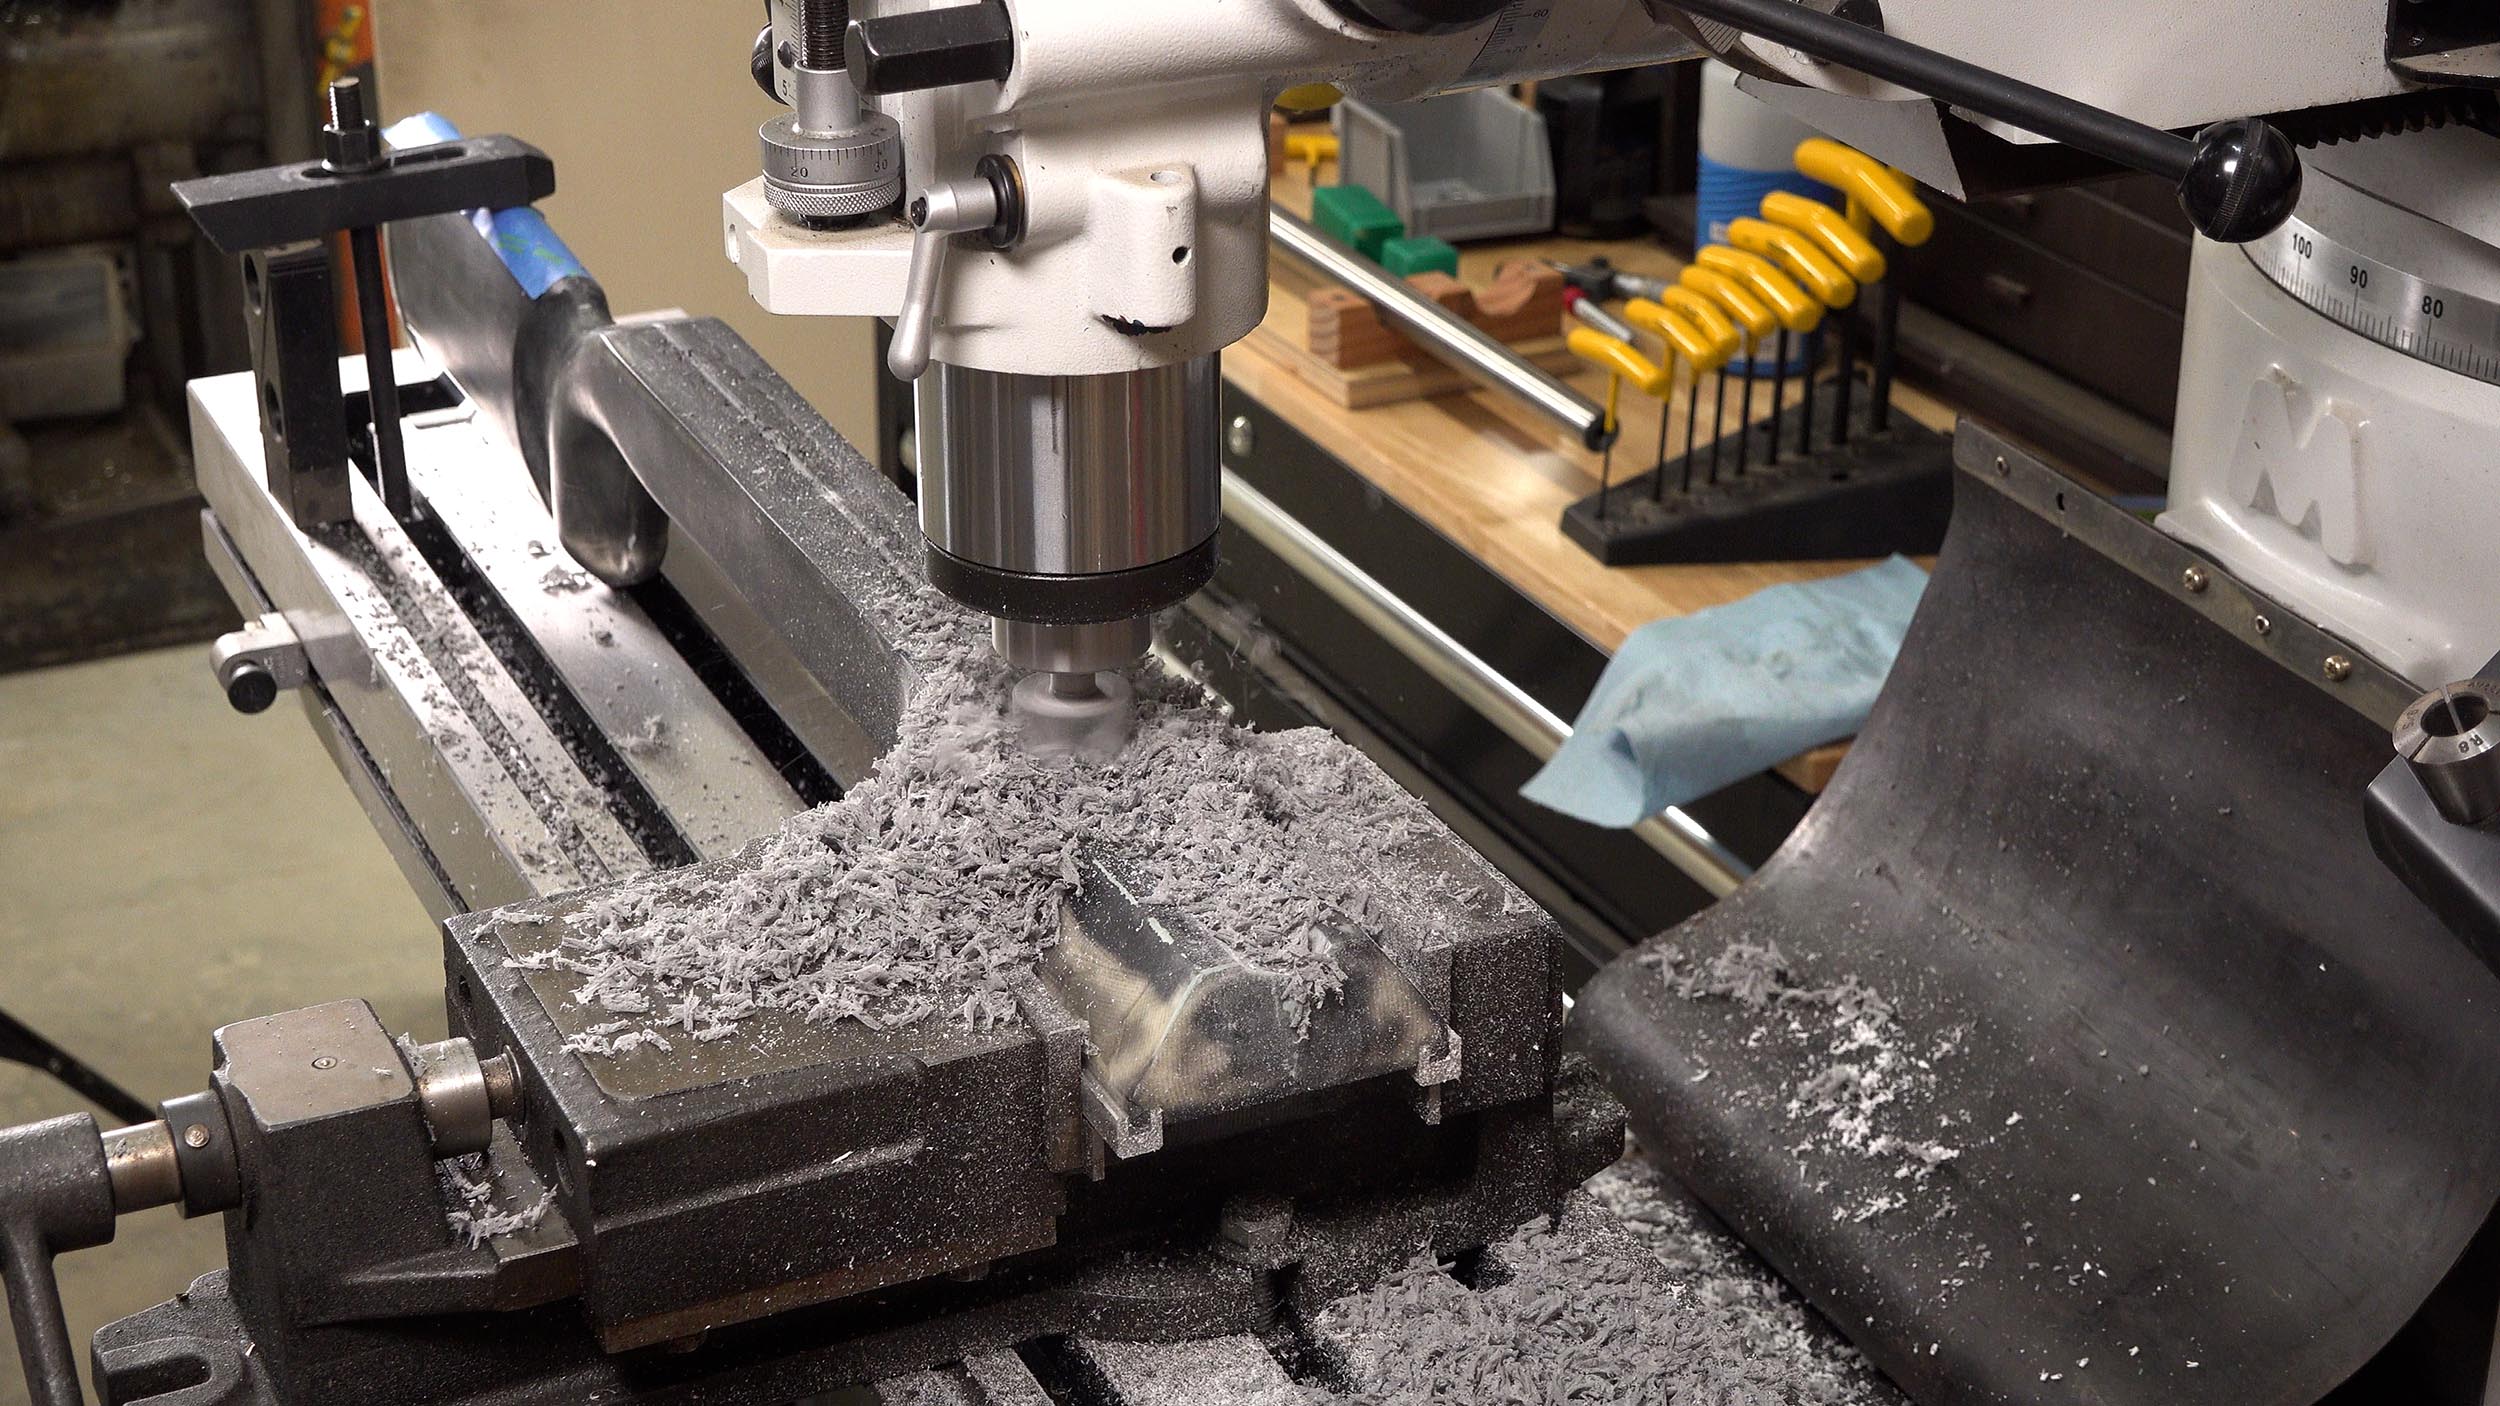
My notes for this portion of the build:
- This rifle: multi-purpose test bed, hence straight-profile channel with generous air gap
- Setup stock in mill. I used vice for forend, hold-down clamp for buttstock. Ensure perfectly straight alignment in mill (in all directions)
- Cut back to and including most of receiver inlet area
- Cut to depth down to where adequate / even gap exists around barrel at shank – it can be deepened later if needed
Inletting the Receiver Area

From my notes:
- Decide on bedding material allowance, I used 0.050” which is generous
- Cut inlet to desired profile to leave appropriate bedding allowance
- Rear tang pocket milled to allow bedding with air gap on rear (tape)
- Cut recoil lug pocket leaving room for epoxy
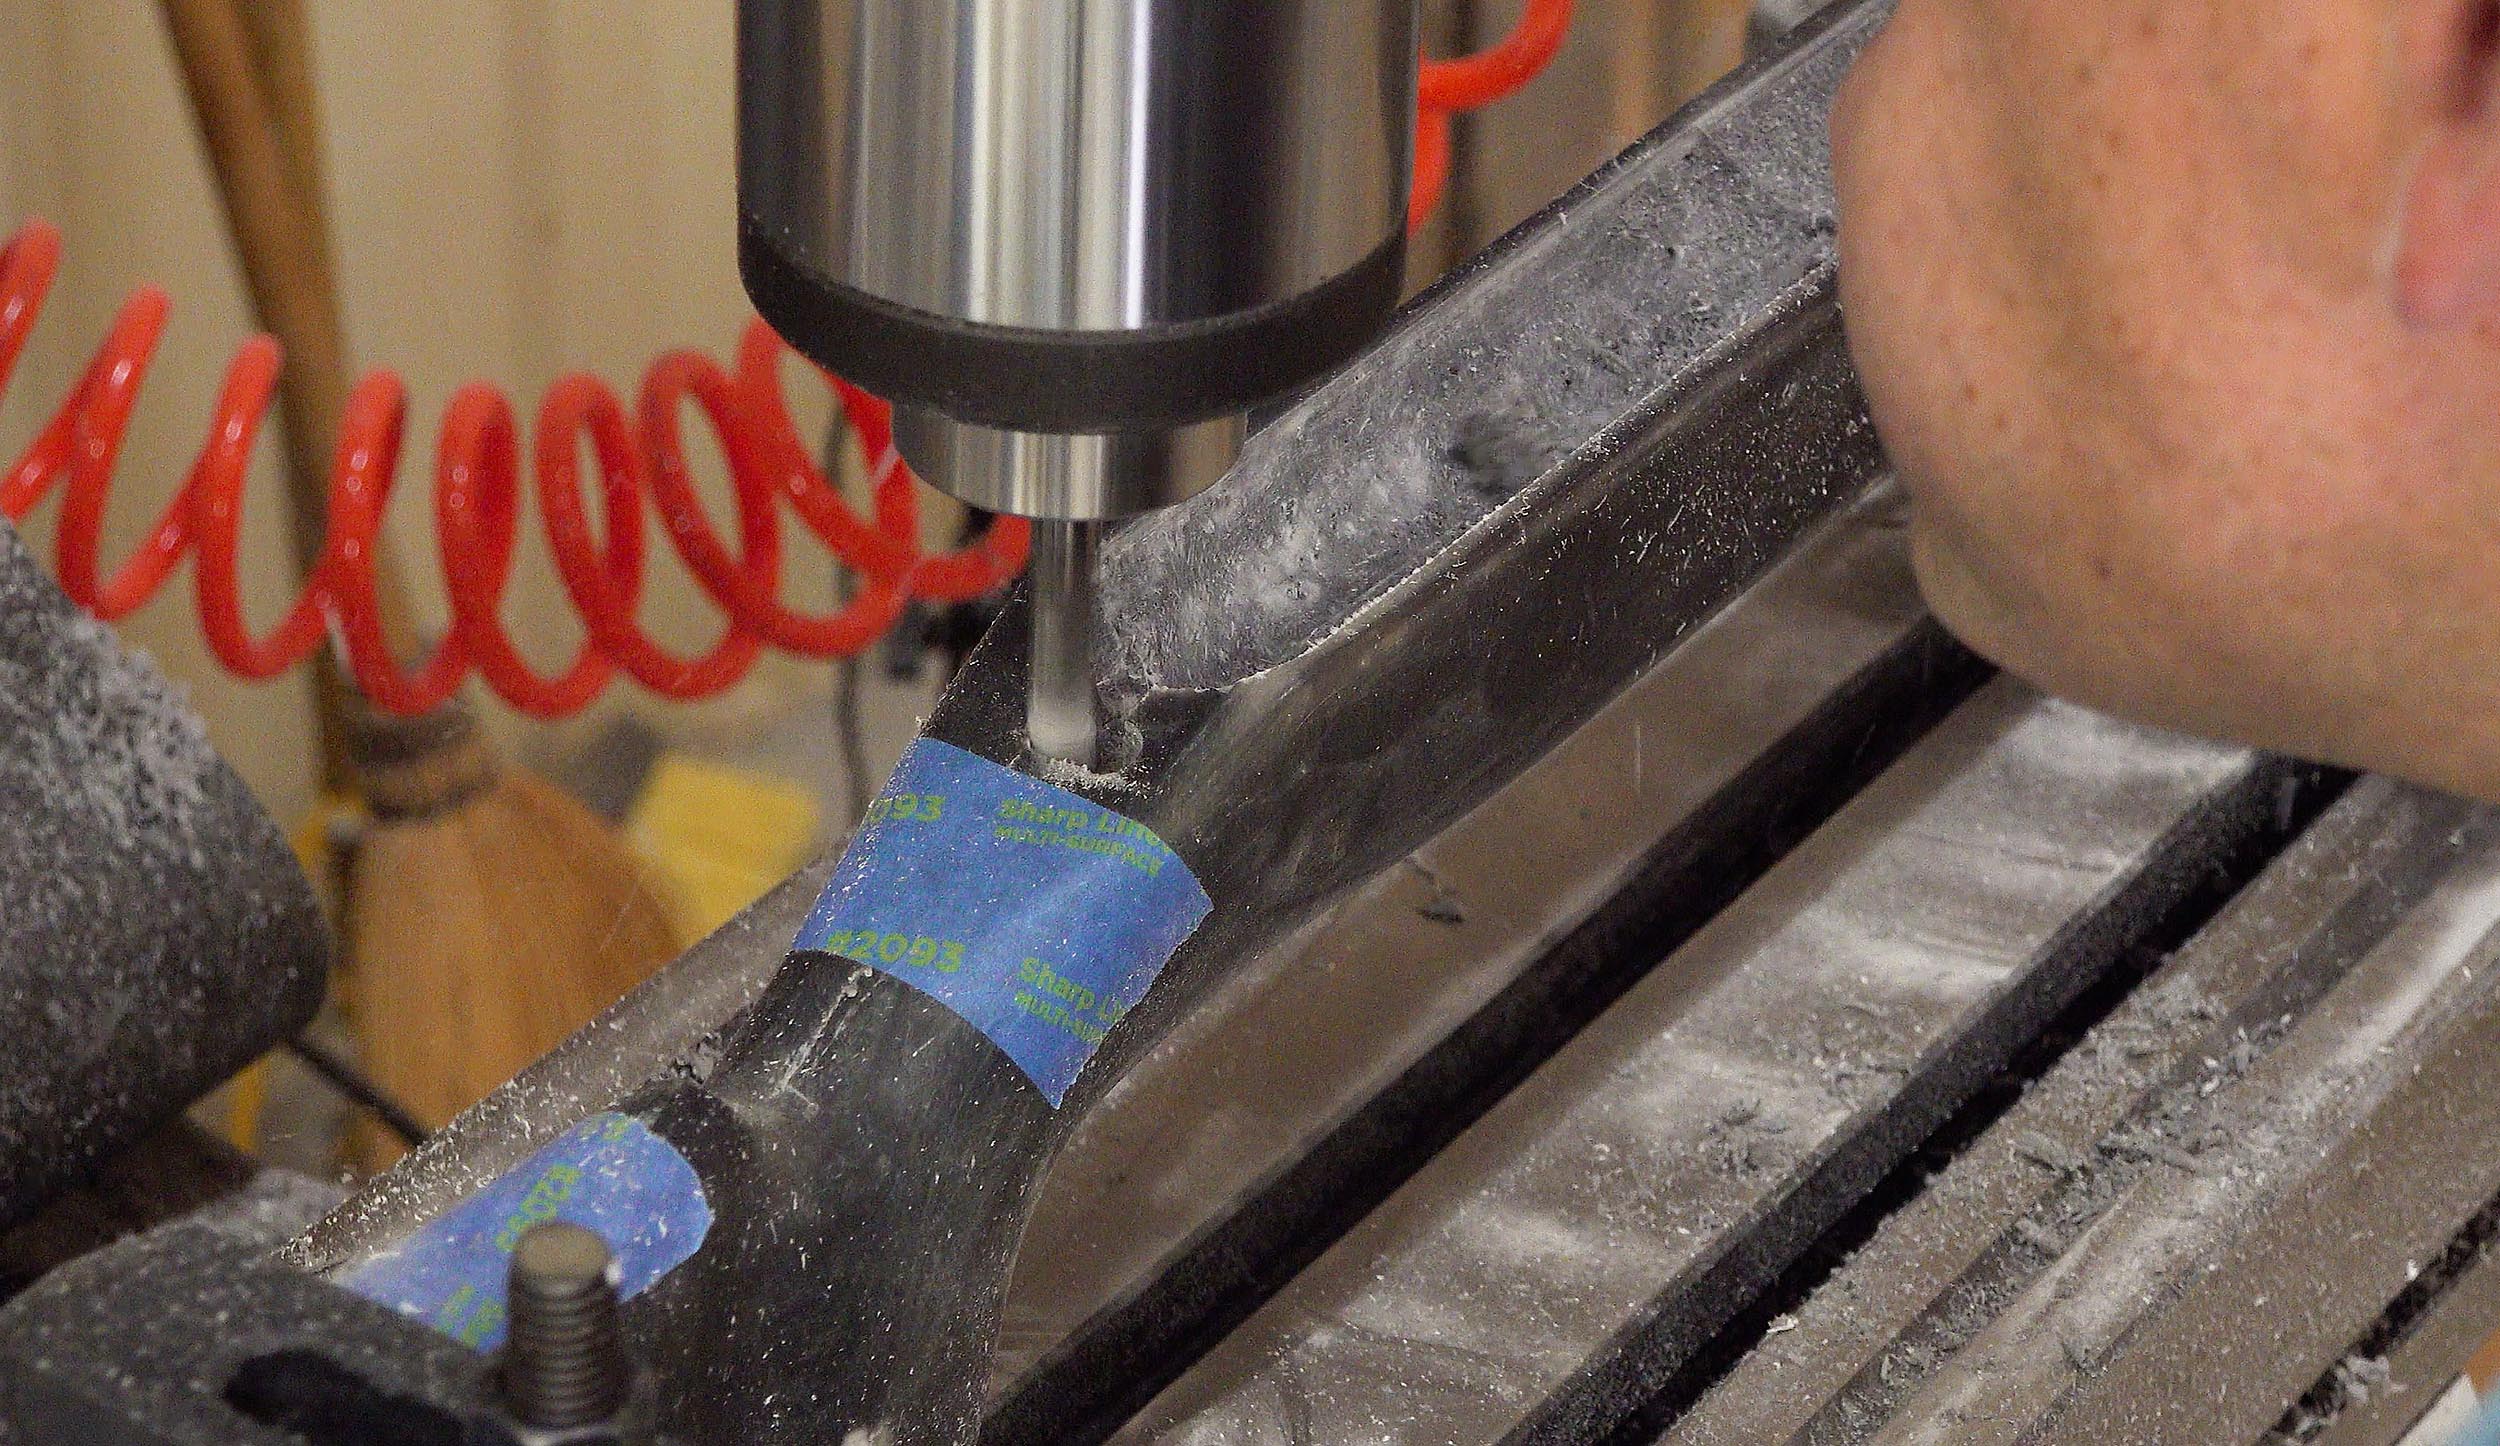
Above: Milling rear tang area. After establishing the rear profile area, I added blue tap to mark the taper on each side that I would proceed to cut in successive passes, each time milling until I barely hit the tape.
Making and Installing Pillars
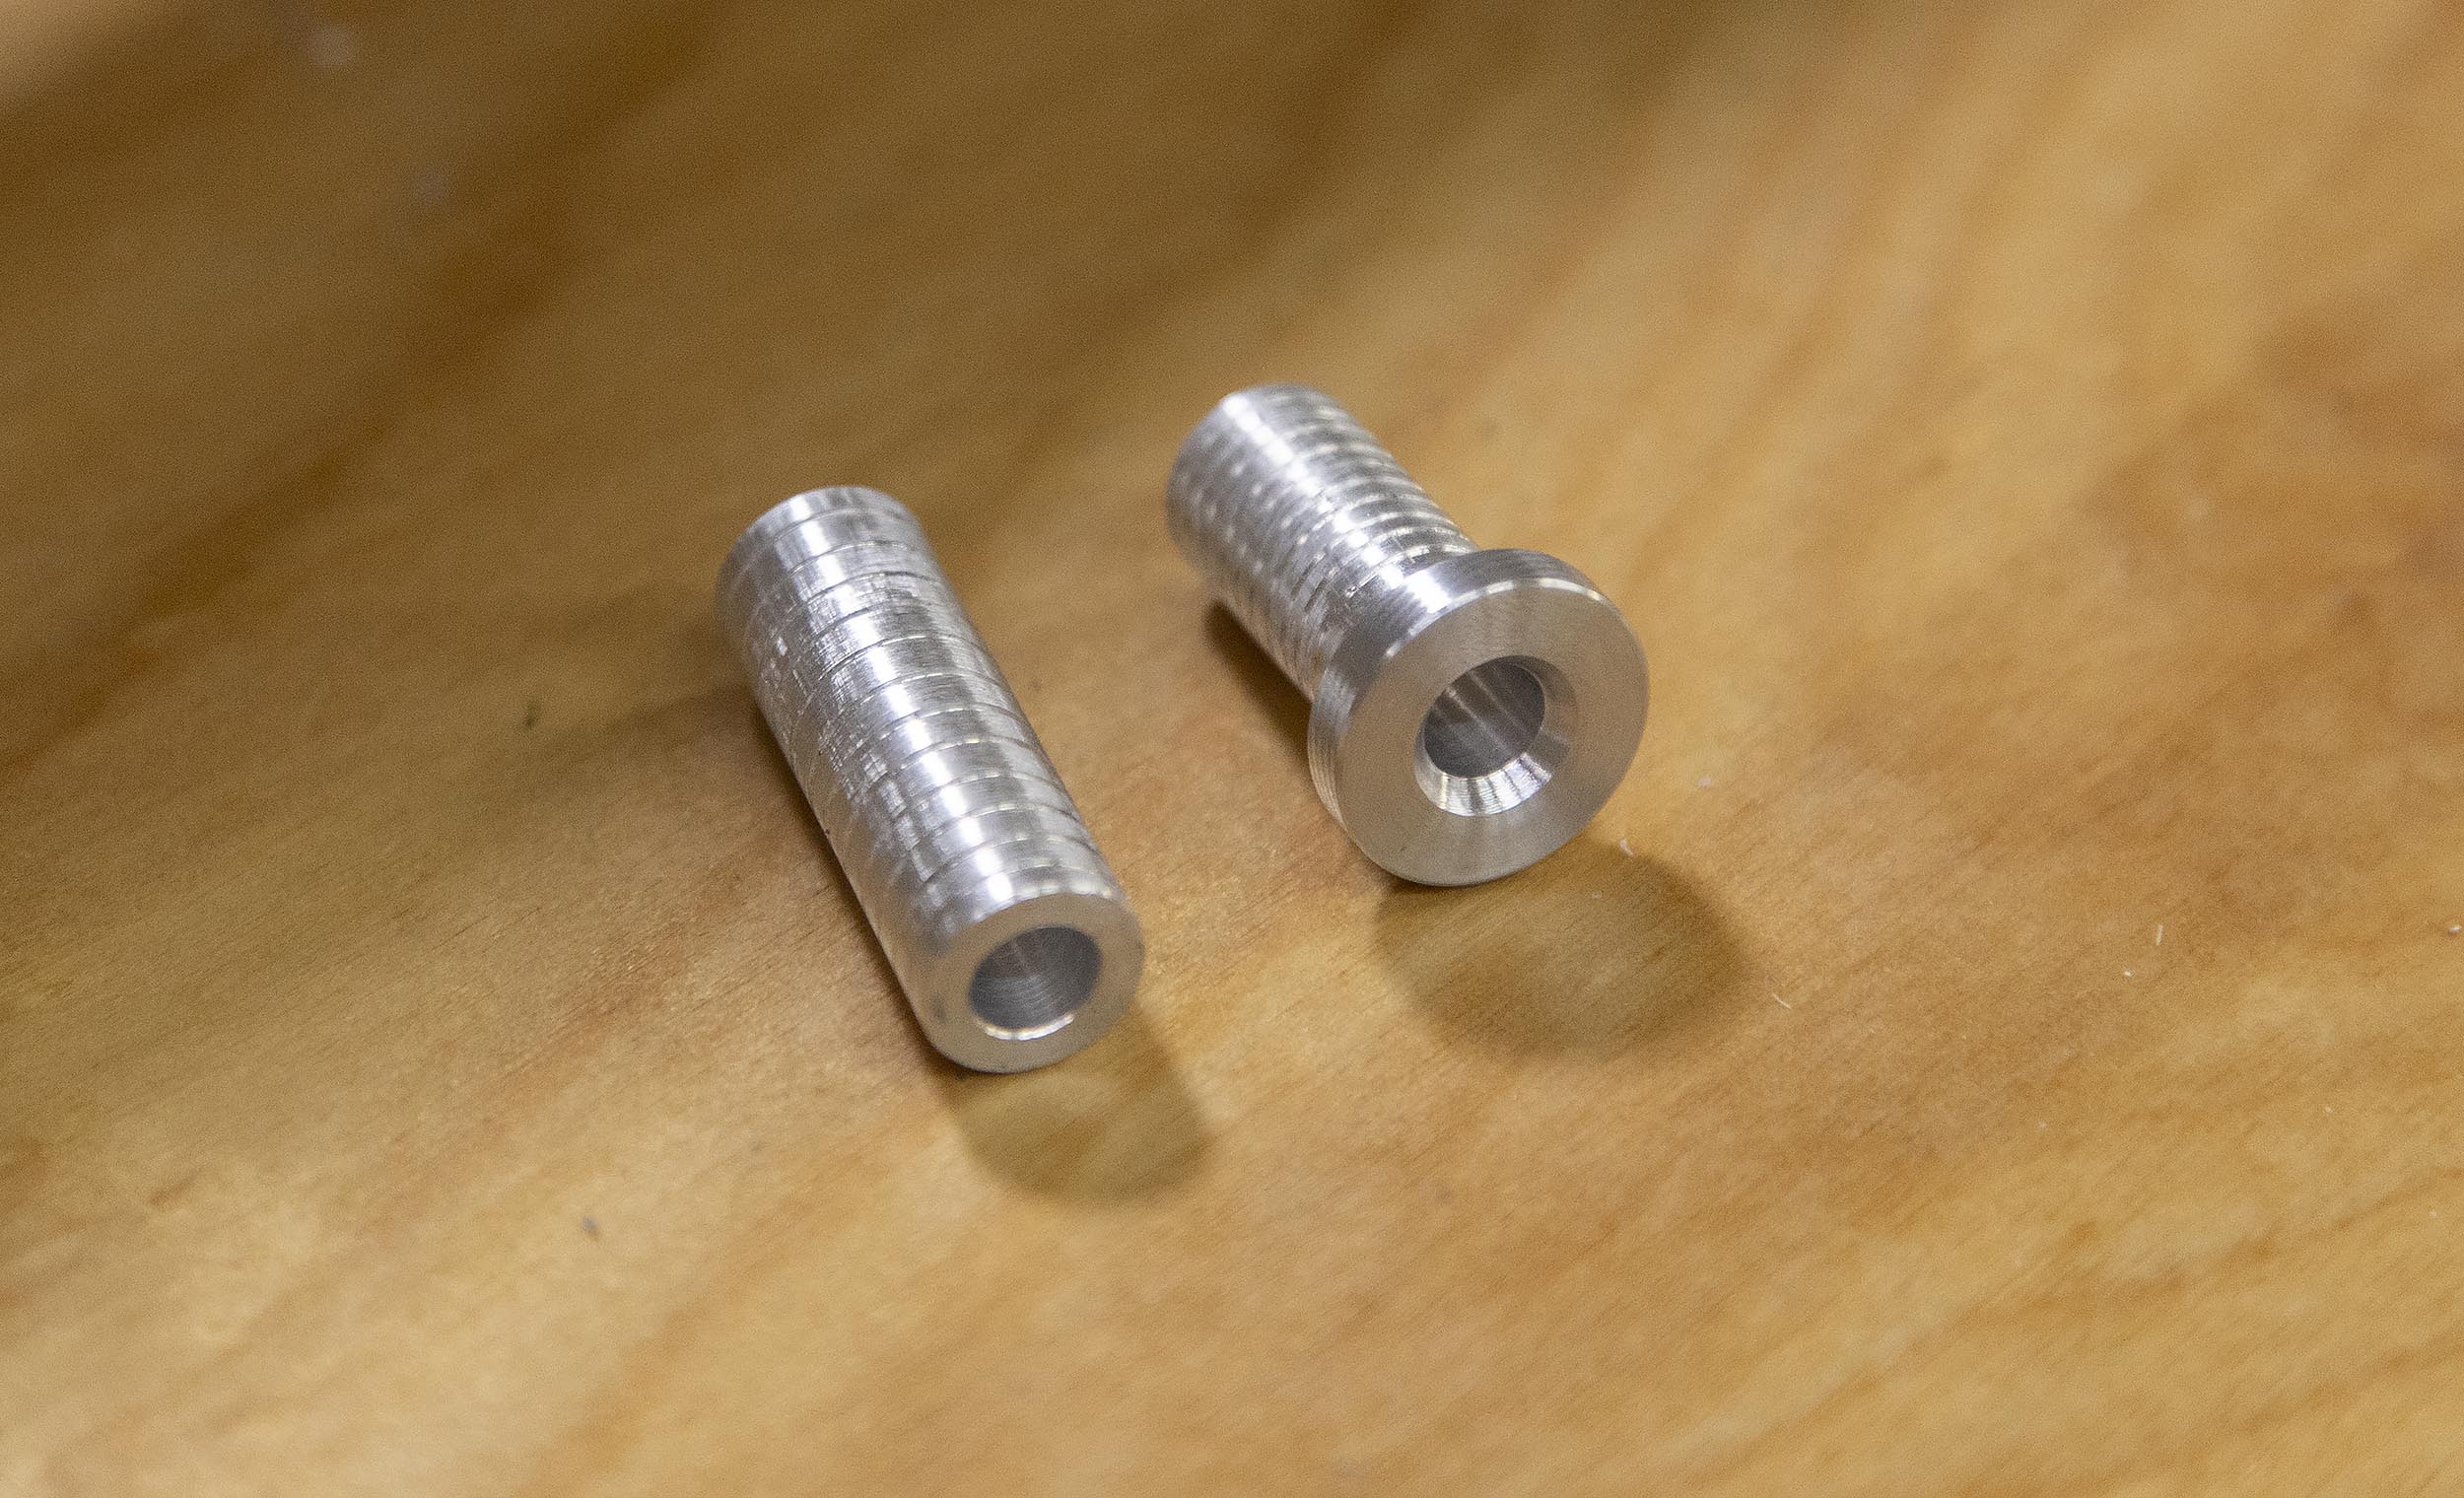
From my notes:
- ½” aluminum pillars used, ½” holes drilled where action screws go
- Front pillar was made with flange and glue grooves (front made from 3/4″ round bar, rear made with 1/2″ round bar)
- Rear pillar made to support rear of action while bedding, protrude below, trimmed later when cutting recess for trigger guard
- Pillars glued in with 5 minute epoxy
Bedding the Action

Above you can see the stock inletting work complete, and things setup for bedding.
Notes I took for this portion of the build:
- Support barrel in channel with split sleeve plastic pipe – check for level
- Make ¼ x 28 studs to install and help guide the action in during bedding
- Tape off stock and action, clay in action screw holes
- Spray action with release agent, Hornady one-shot used here
- Mix Devcon [my scale took a DIVE!]
- Fill receiver inlet with epoxy
- Use heat gun to raise and pop bubbles
- Push action down into inlet, ensure that epoxy flows from “waterline” around action, drips down into trash can [emergency! I didn’t put in enough epoxy, removed action, added more]
- Wait 3 hours and scrape excess
- Let sit for 24 hours
- Pop barreled action out of stock [Moment of truth]
- Cleanup edges, remove excess putty, tape, etc.
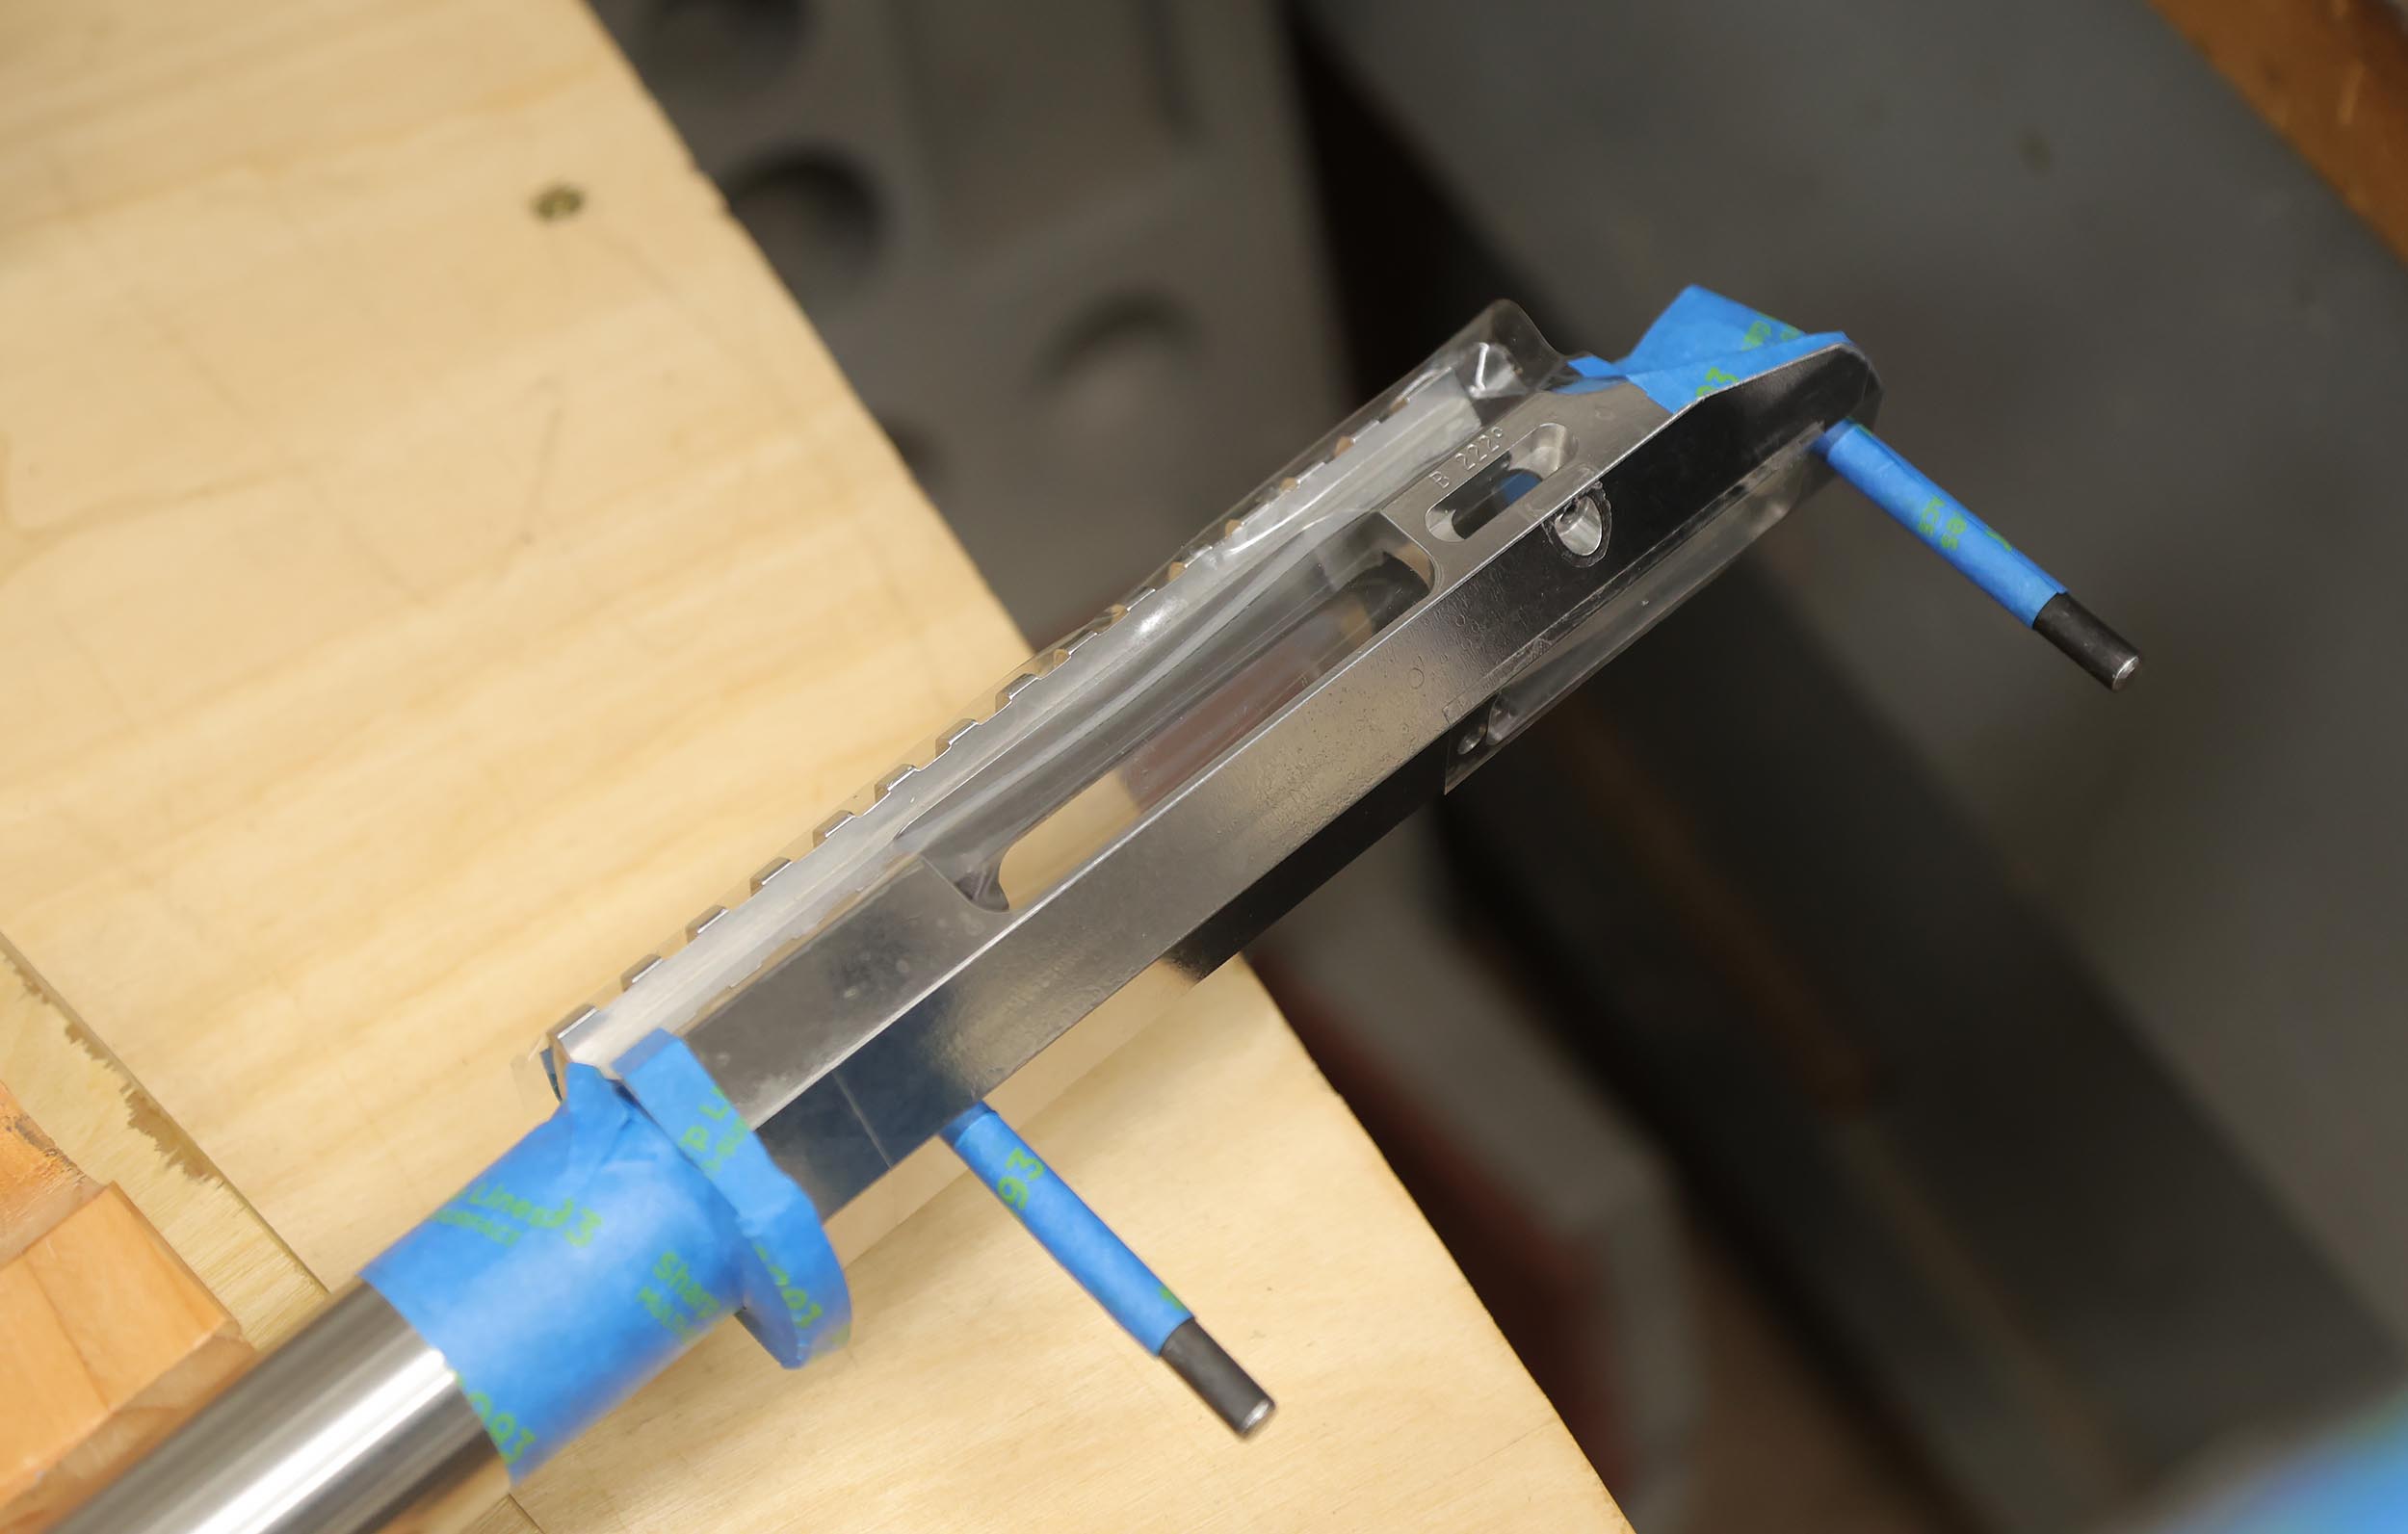
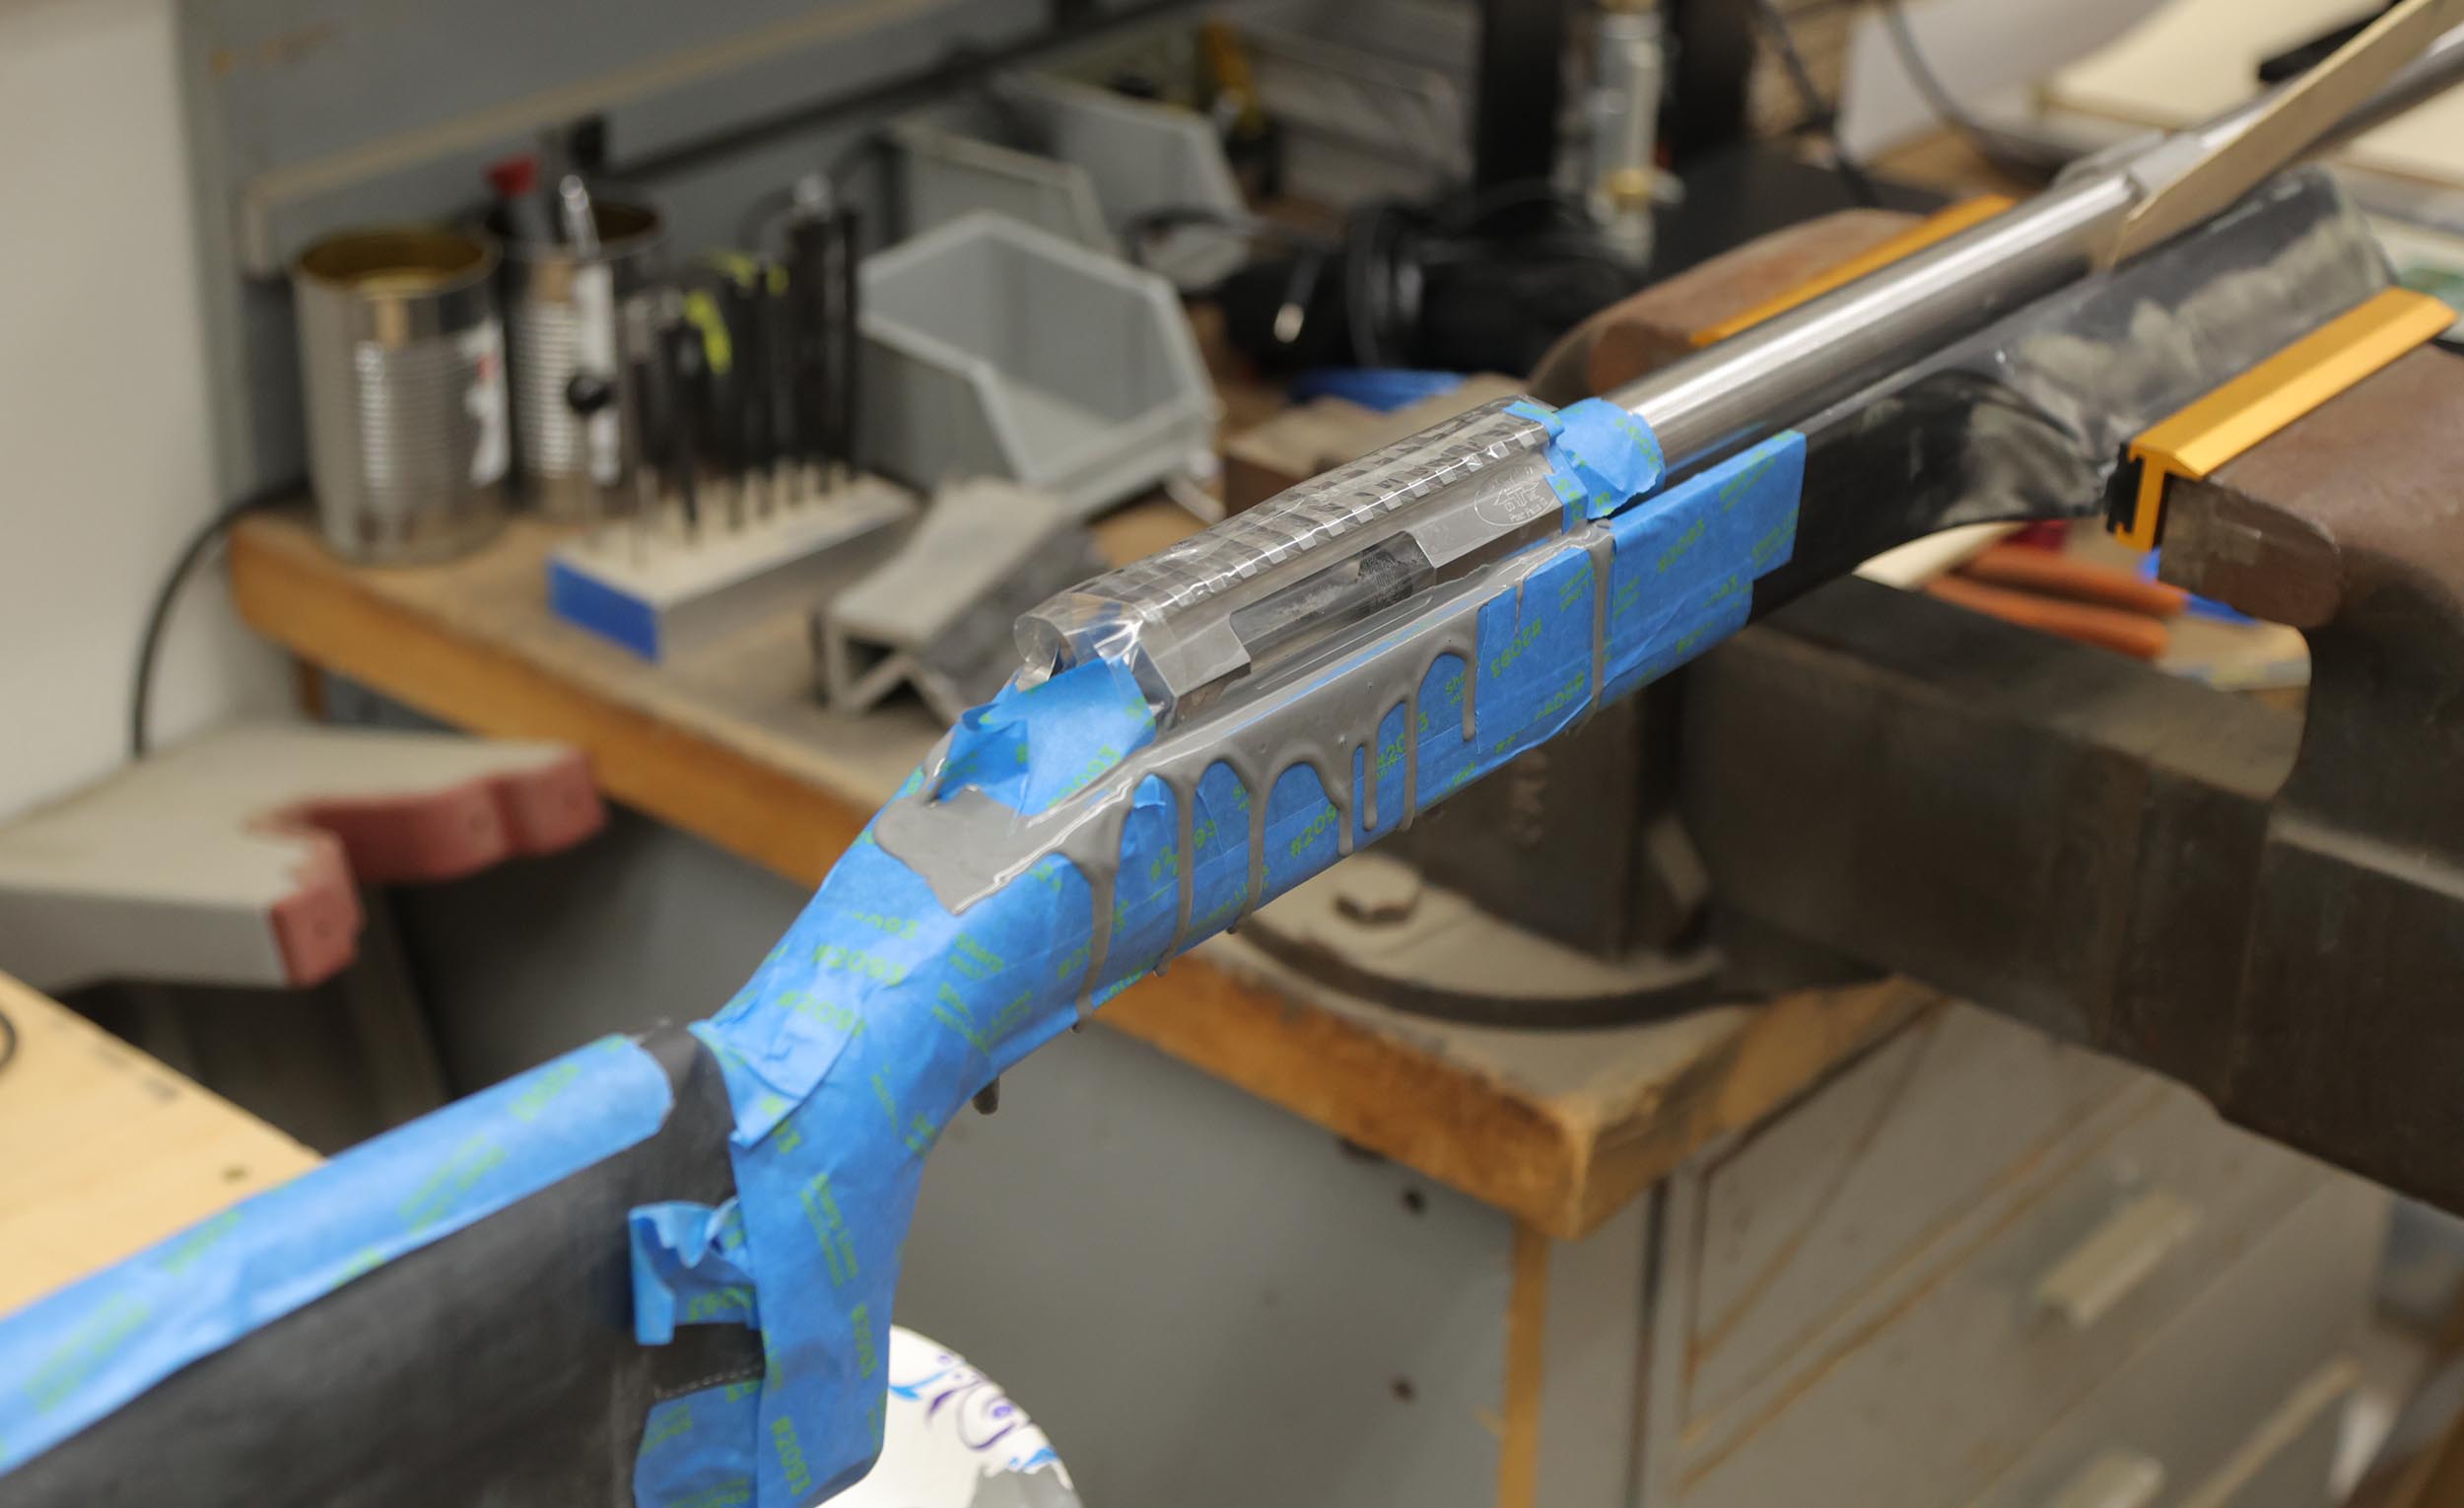
Above, the barreled action ready for bedding. Note packing tape covering side ports (and vertical sides of action), taped studs for centering in pillar holes, taped tang and front/sides of recoil lug. Action was sprayed with Hornady On-Shot lube (used as release agent).
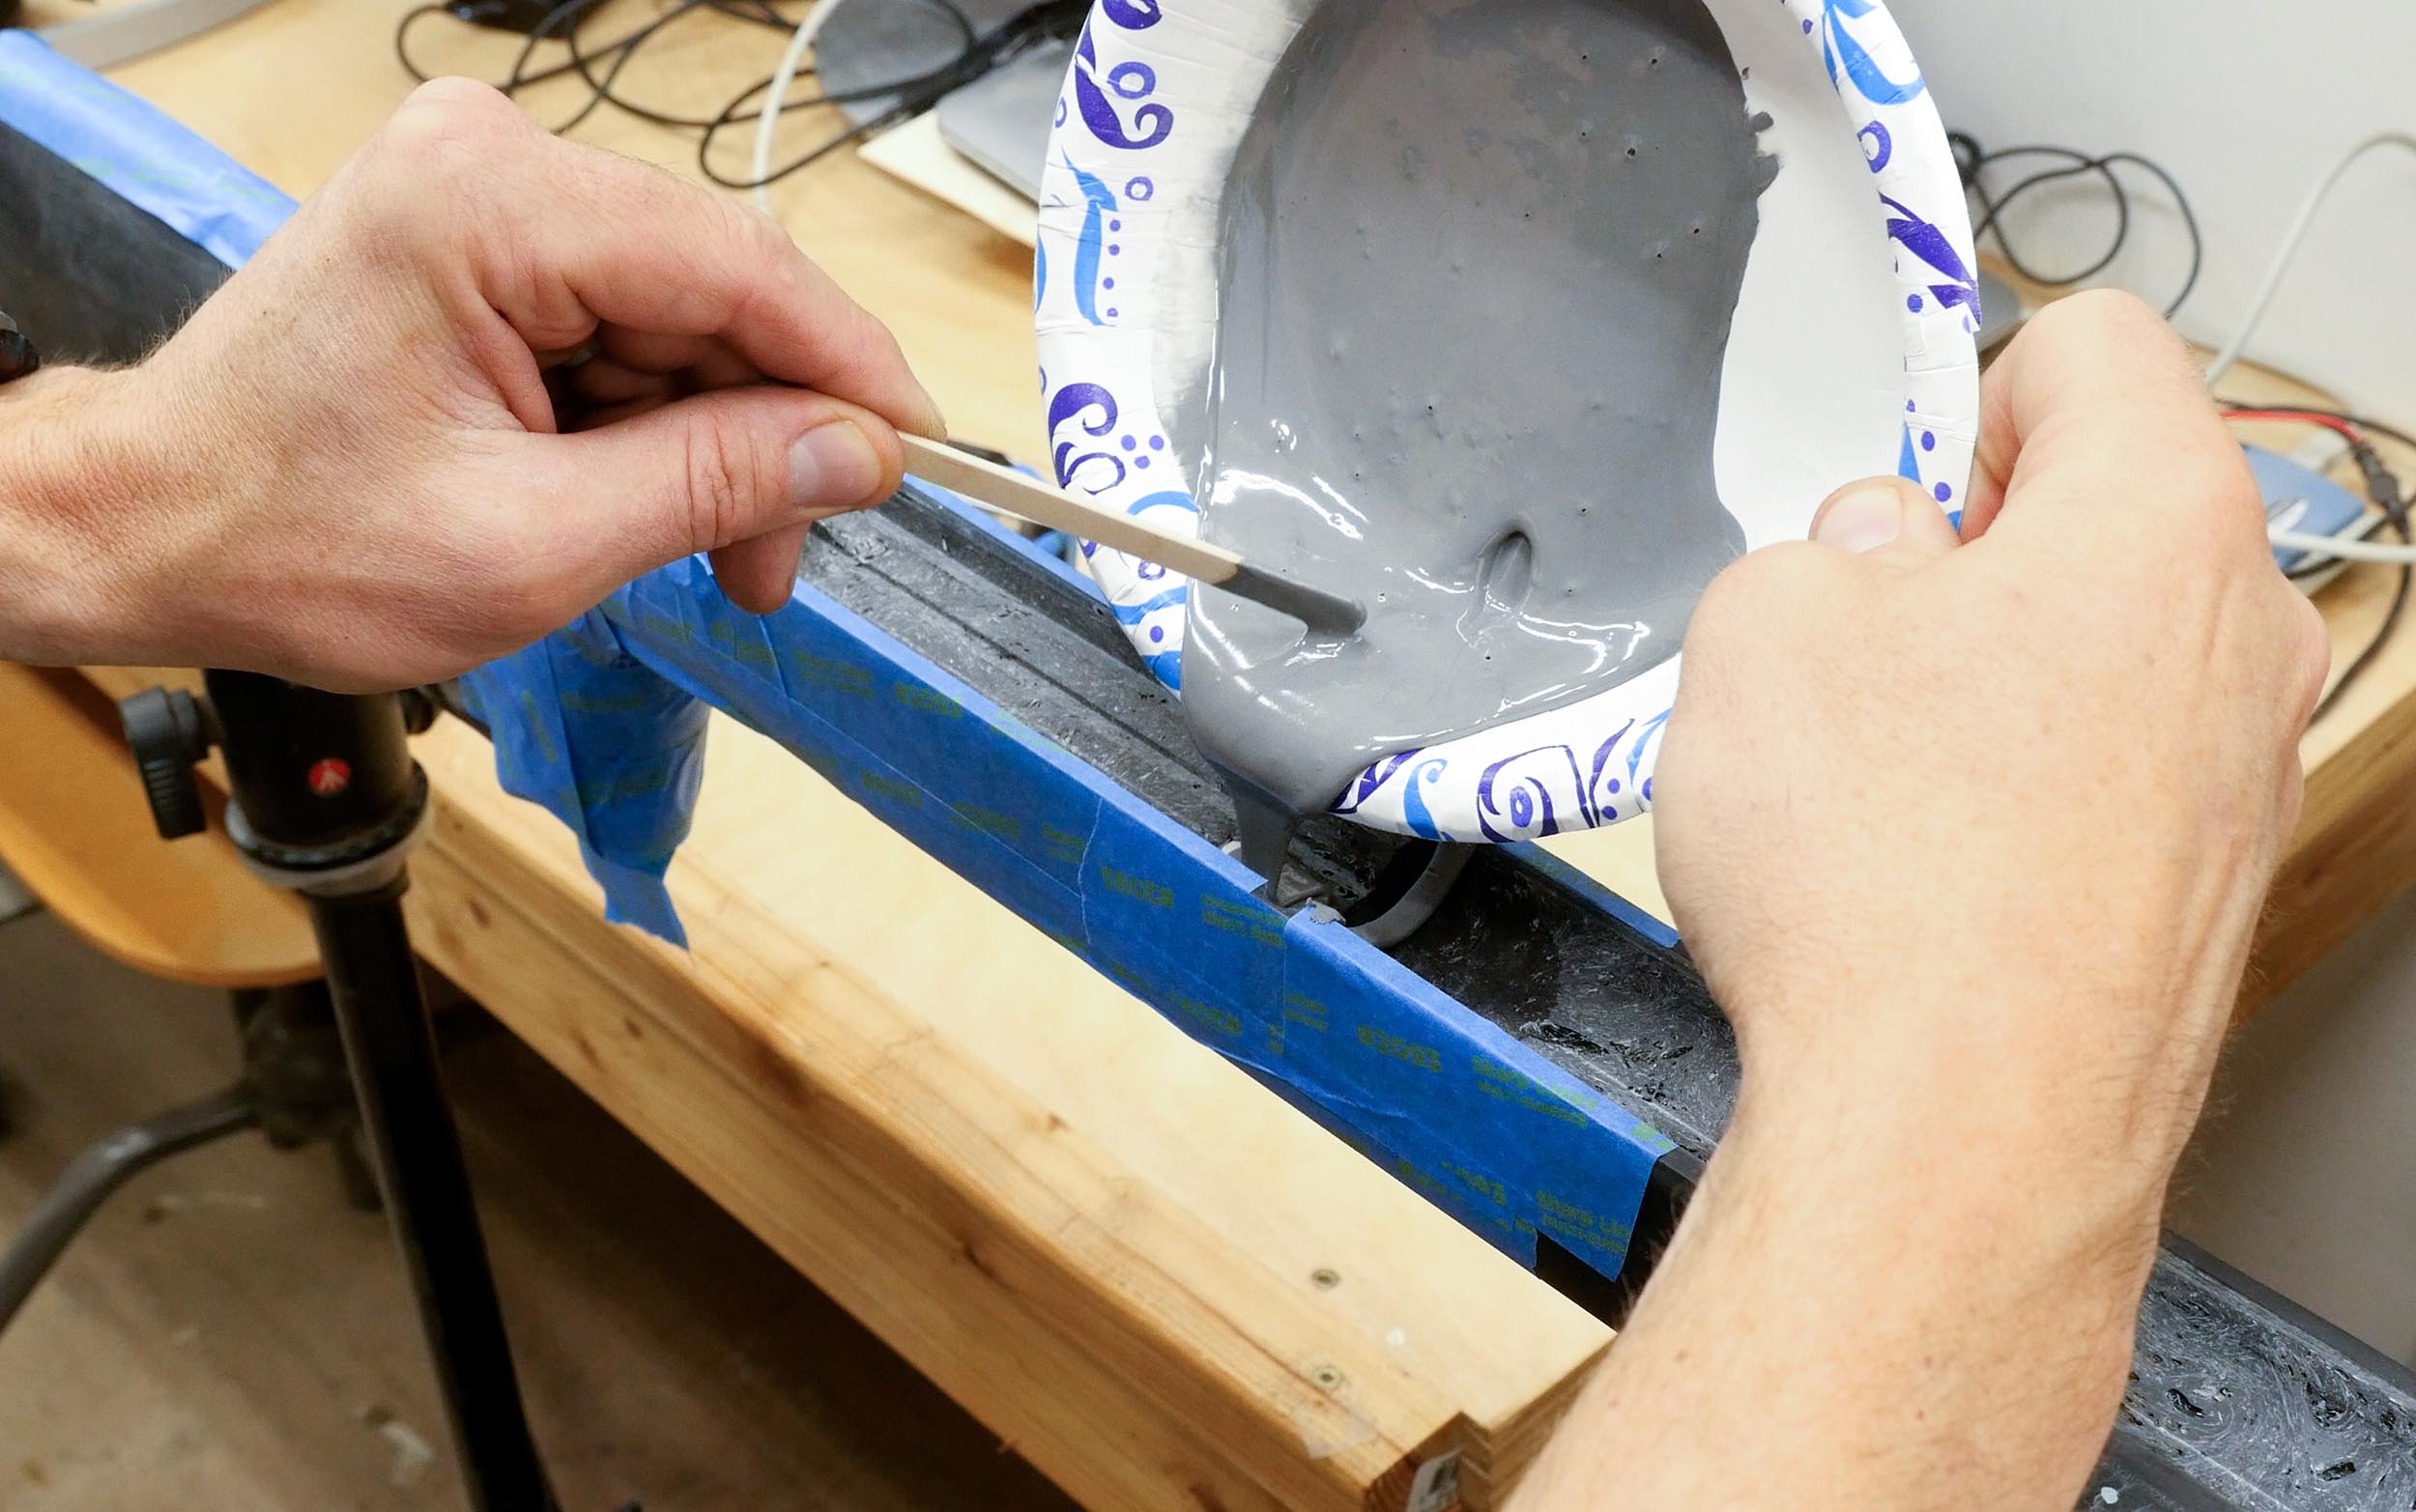
Here I’m using DEVCON F-2 Liquid Powdered Aluminum Epoxy for bedding. This was suggested by Bat Machine due to its ability to flow well, and it’s lack of shrinkage while curing.
Above: after adding more epoxy into the receiver inlet, things flowed as they should!
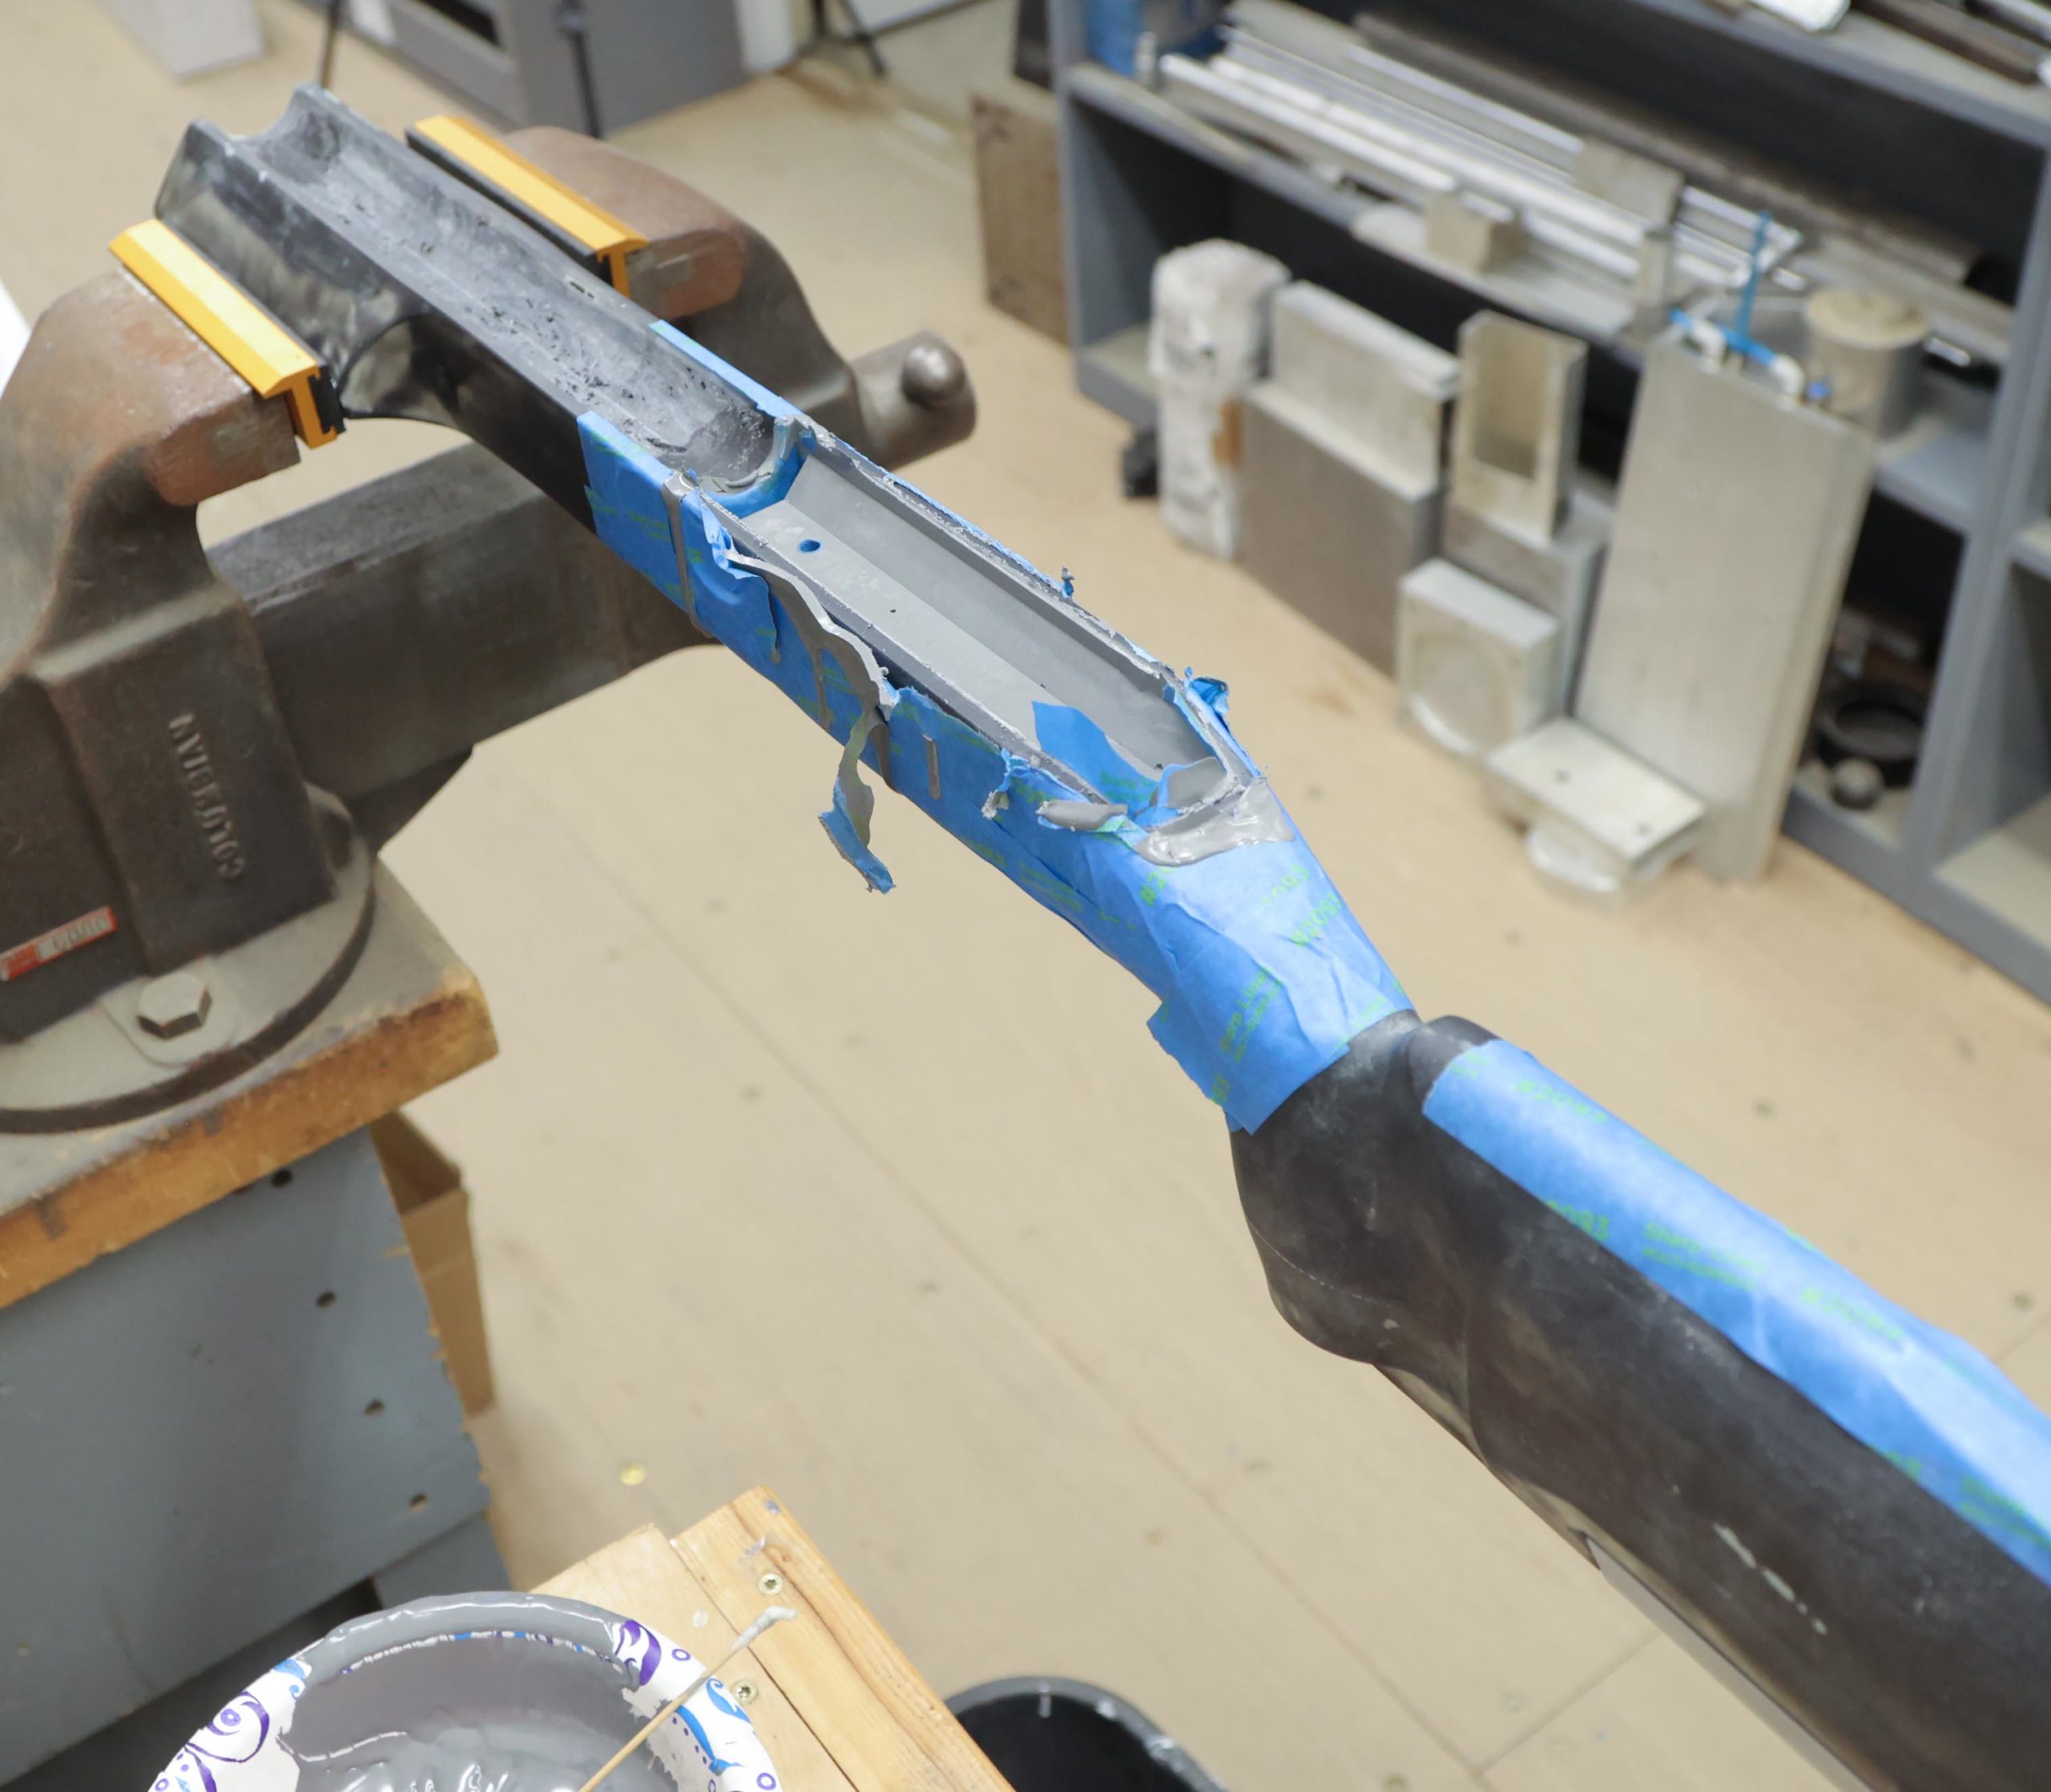
Below: Bedding job after pulling out action, but before cleanup:
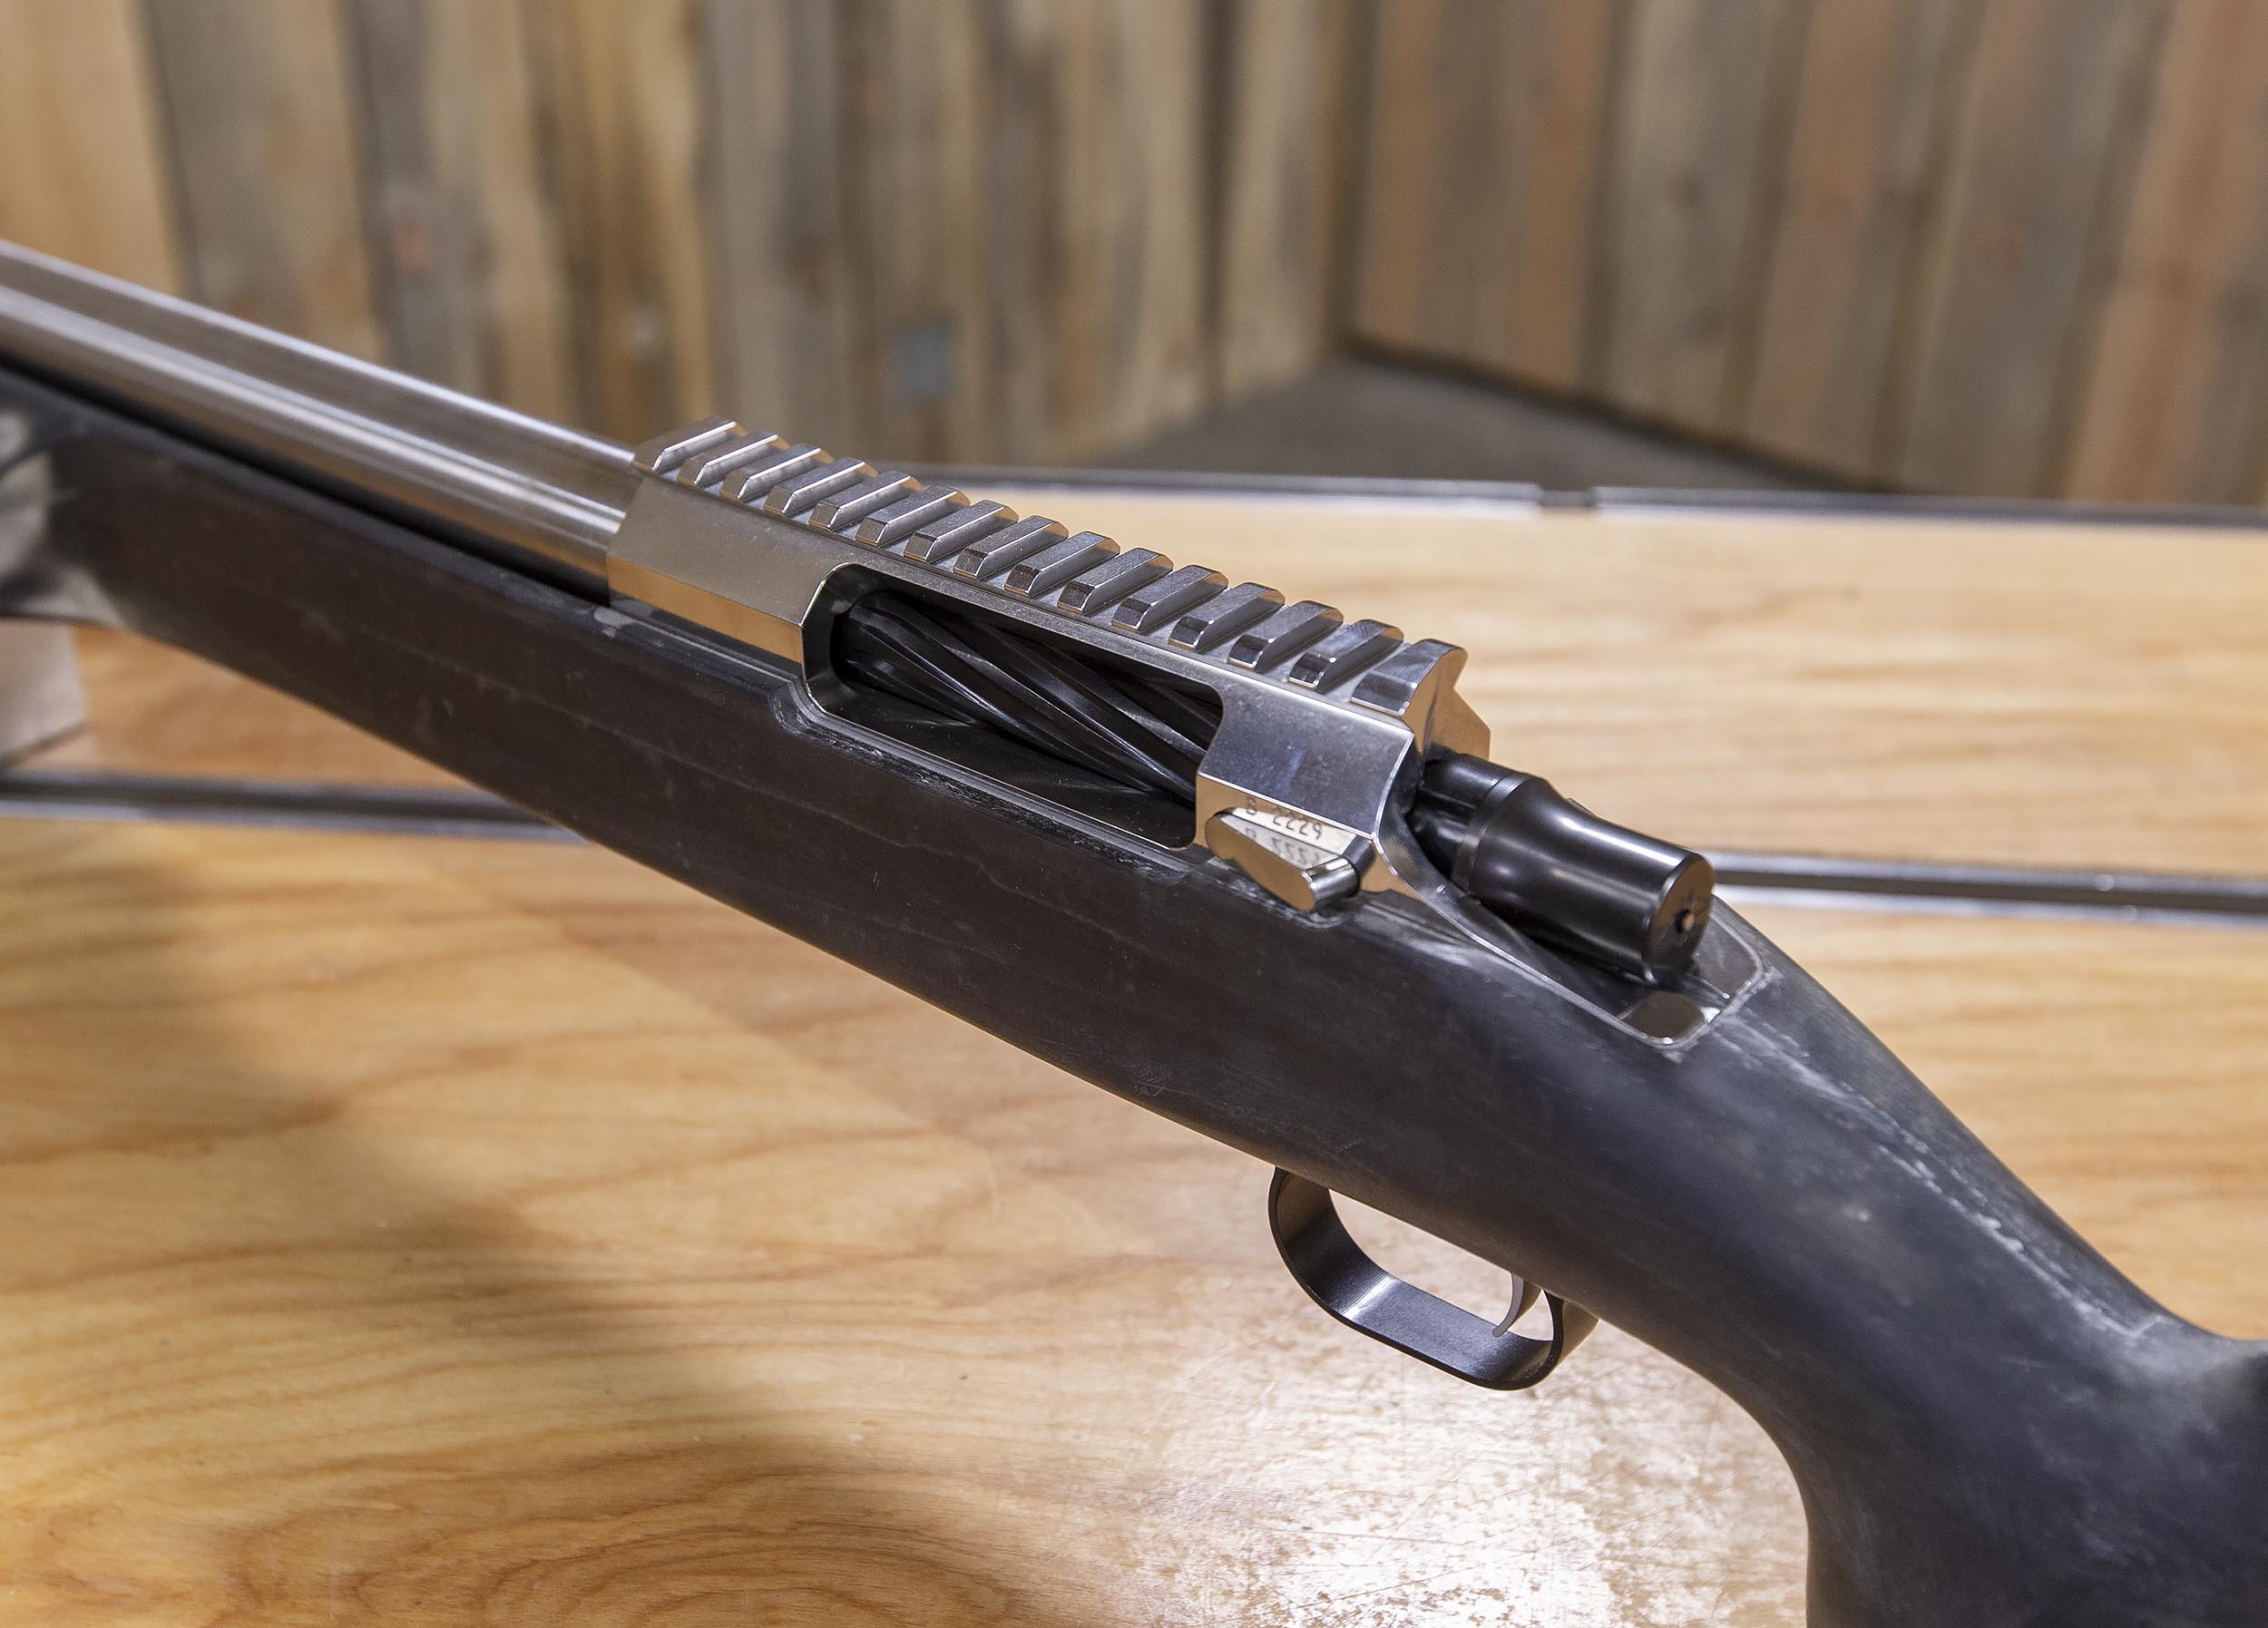
Profiling Around Receiver Features
After the bedding job was cleaned up, it was time to make cuts for various features including the load port flare, bolt stop flare, and bolt handle notch.

Above: flaring for the load port
Installing the Trigger Guard

Above: Trigger gurad slot after bedding but before drilling.
From my notes:
- Cut trigger guard slot so flush with bottom of stock
- Optional: epoxy bed trigger guard into stock (I did this to fix flush with bottom of stock)
- Drill front trigger guard screw hole
Final Touches
There are only a few things left at this point!
- Re-assemble action, install trigger
- Test fit action in stock, check action screw and trigger guard screw length
- Shorten screws if needed
- Install barreled action with trigger guard, check fit
That’s it! The stock work including bedding is DONE. That means we’re ready for paint, and that’s what I’ll cover in Part 3!
Don’t miss out on Ultimate Reloader updates, make sure you’re subscribed!
Thanks,
Gavin


