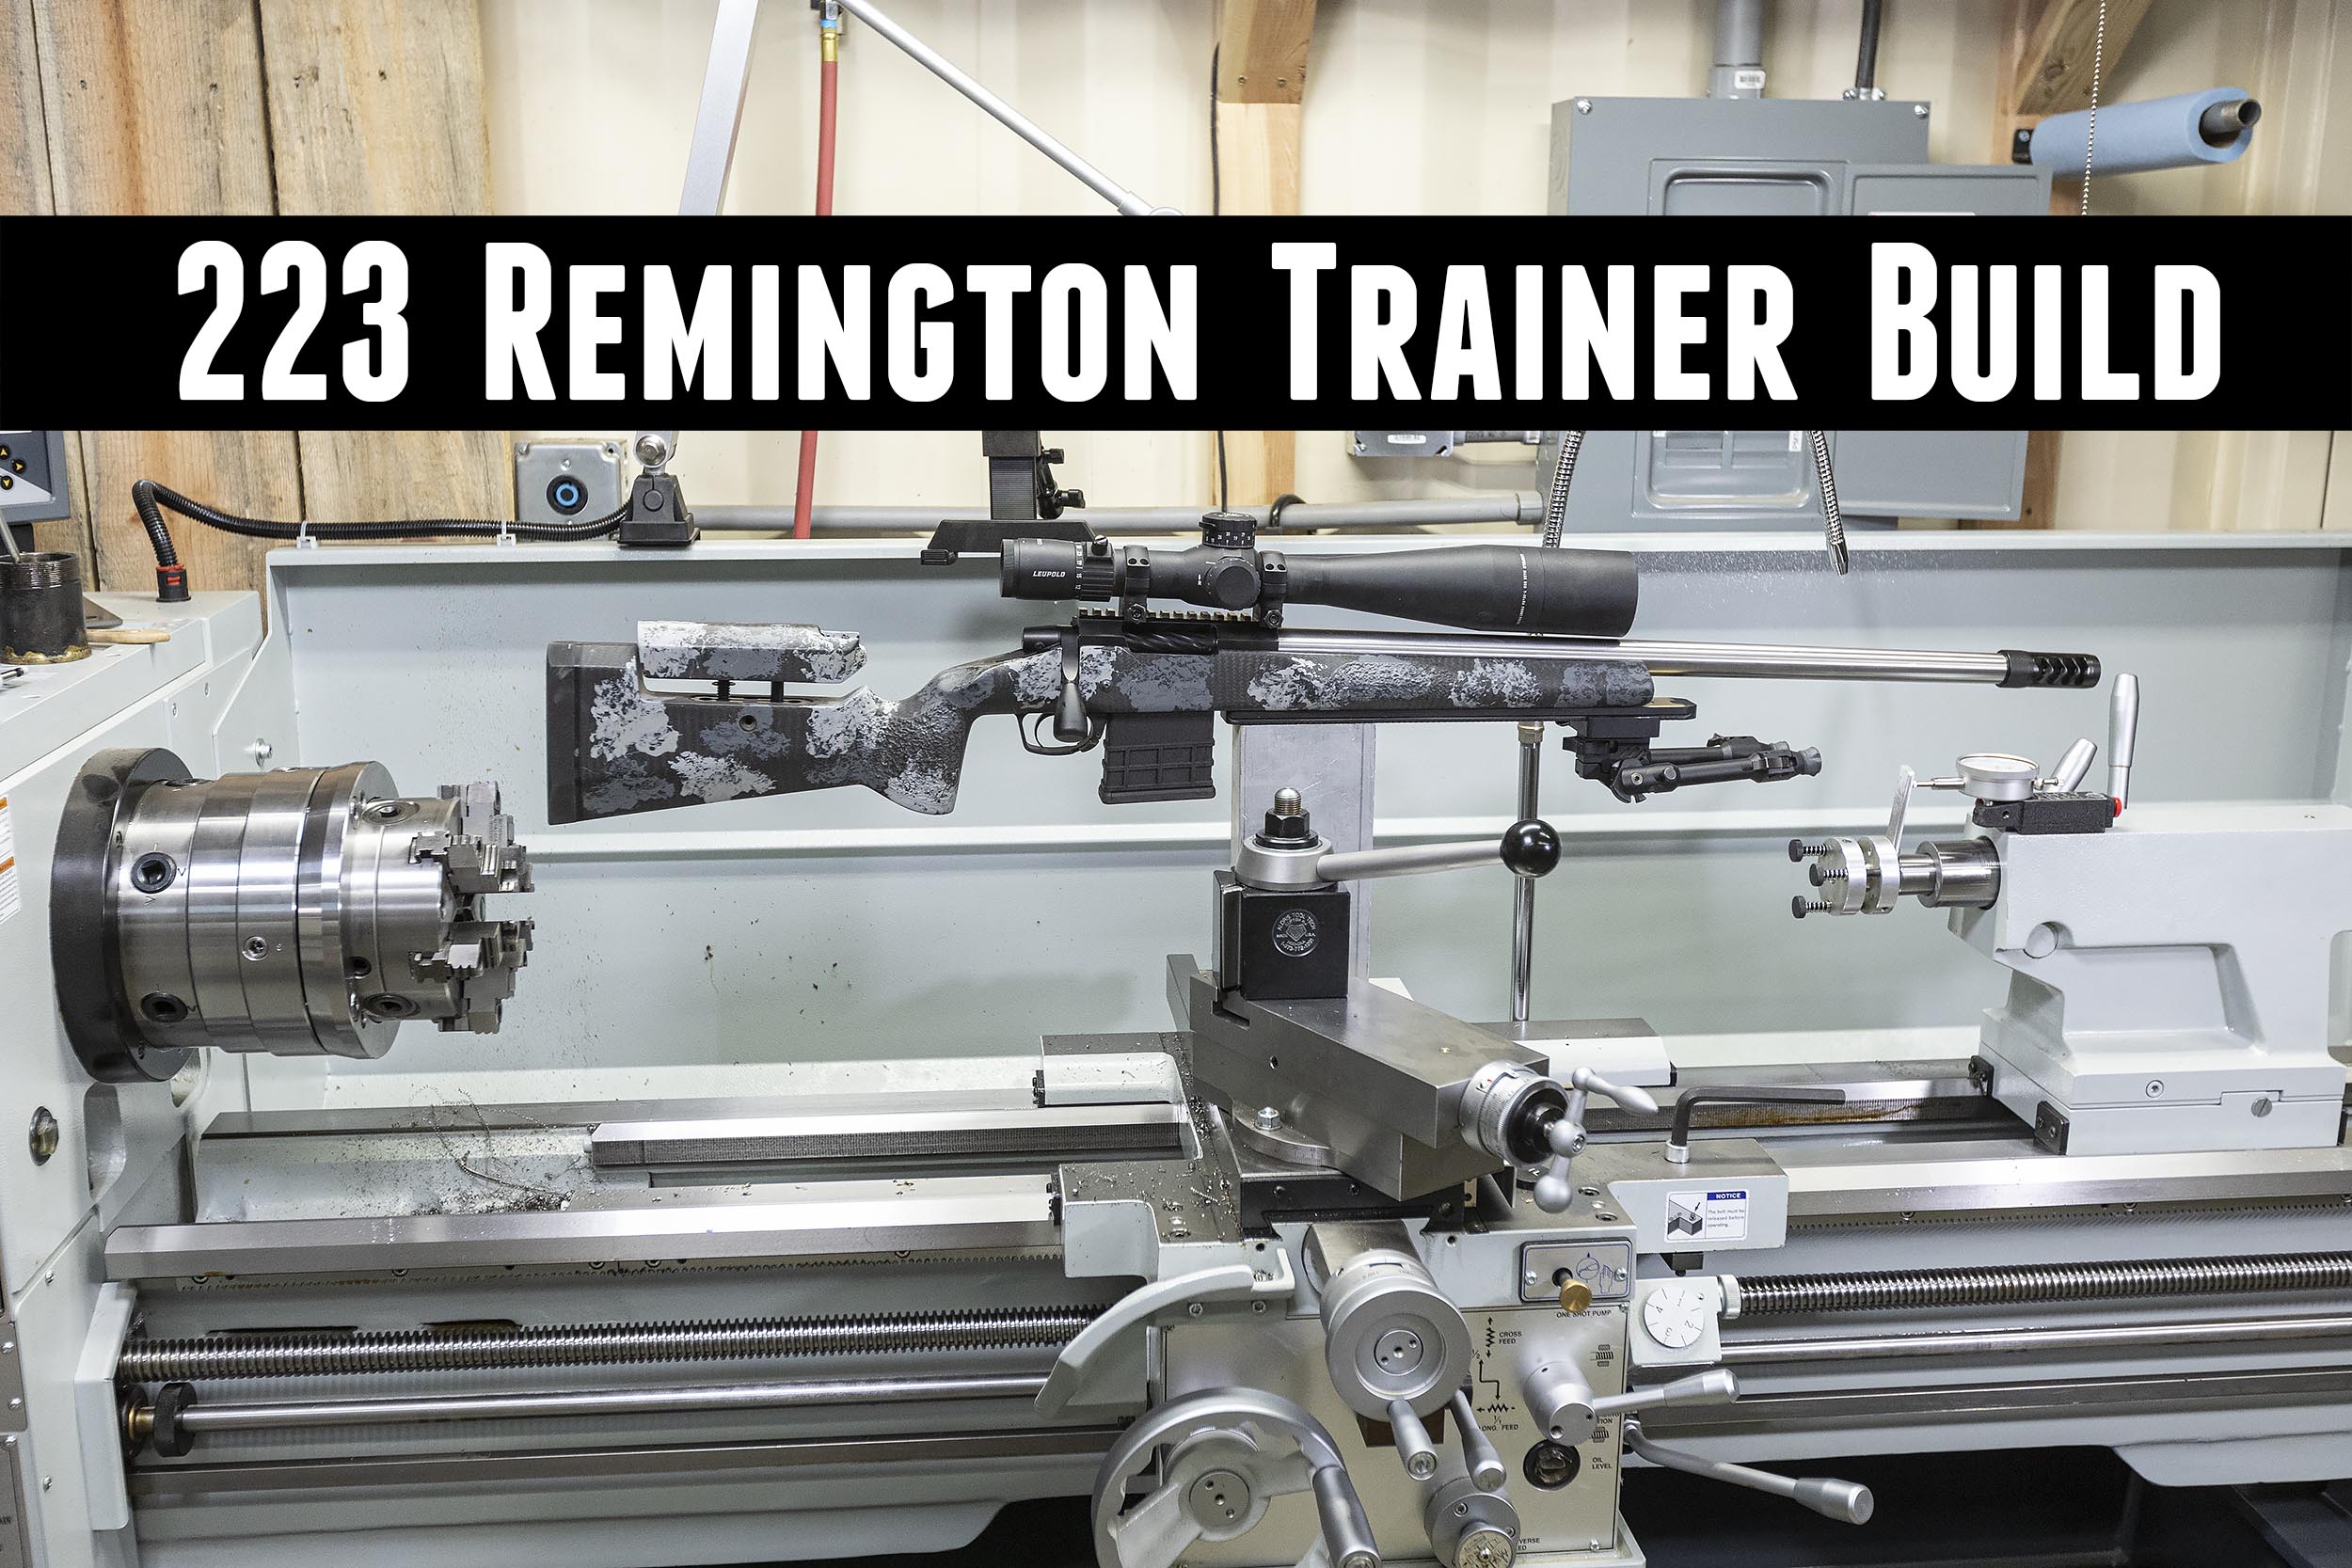
Few things are as rewarding as shooting the rifle you just built on your lathe. This satisfaction is compounded when your rifle’s performance exceeds your expectations! And that is what this story is about: my long-awaited 223 trainer build.
For background, this rifle is based on the 6 Dasher PRS rifle I built here on Ultimate Reloader. Here are links for the related stories:
ULTIMATE 6 Dasher PRS Rifle Build Start To Finish
5 Shots, One Hole: 6 Dasher Load Development Initial Results
Disclaimer
Ultimate Reloader LLC / Making with Metal Disclaimer: (by reading this article and/or watching video content you accept these terms)
- The content on this website (including videos, articles, ammunition reloading data, technical articles, gunsmithing and other information) is for demonstration purposes only.
- Do not attempt any of the processes or procedures shown or described on this website.
- All gunsmithing procedures should be carried out by a qualified and licensed gunsmith at their own risk.
- Do not attempt to repair or modify any firearms based on information on this website
- Ultimate Reloader, LLC and Making With Metal can not be held liable for property or personal damage due to viewers/readers of this website performing activities, procedures, techniques, or practices described in whole or part on this website.
- By accepting these terms, you agree that you alone are solely responsible for your own safety and property as it pertains to activities, procedures, techniques, or practices described in whole or part on this website.
Build Components
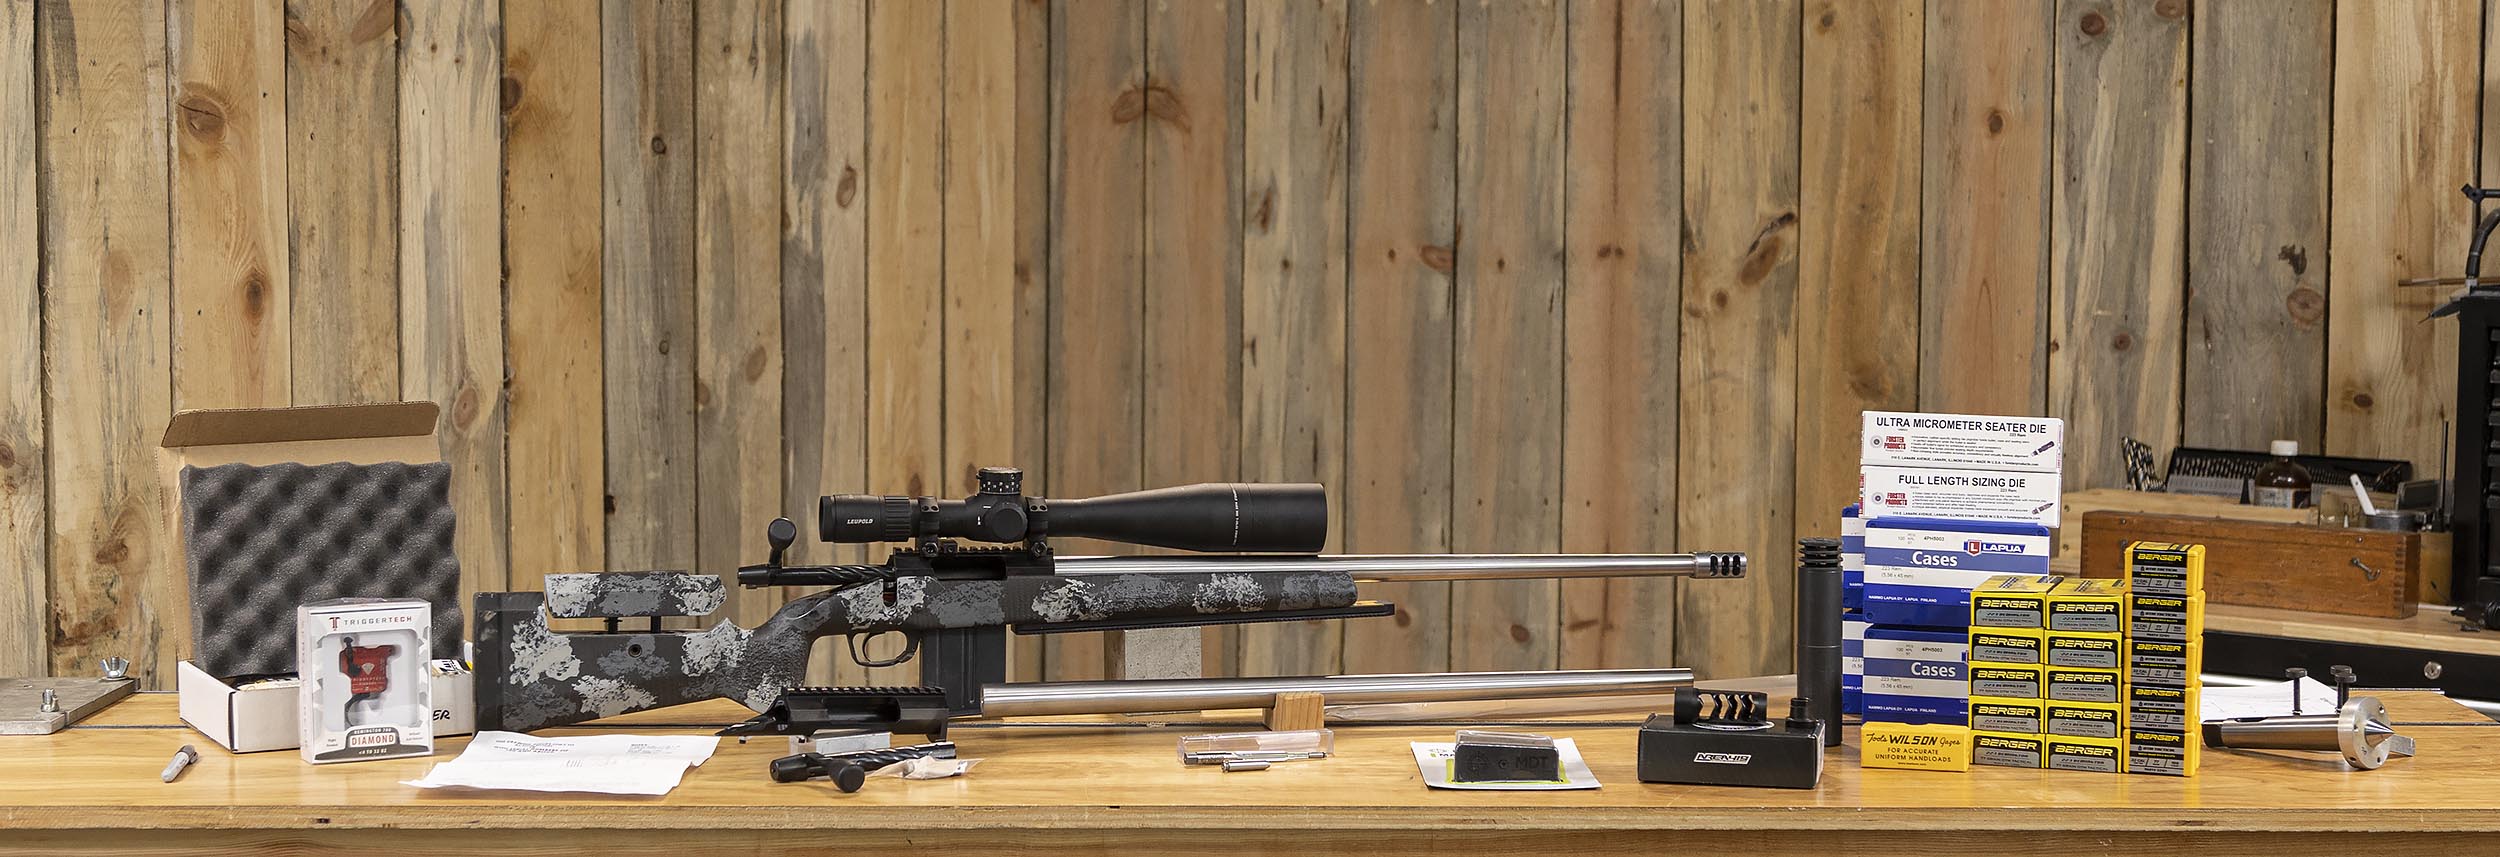
Above: The 6 Dasher rifle this build is based on, gear for the 223 trainer build, components for reloading.
Here’s a breakdown of what will be used for this build:
- Bat Machine TR Tactical action with 223 bolt (see info below)
- Benchmark Barrels cut rifled barrel, M24 profile, 5 groove, 1:8 twist, 24″ finished length
- Manners MCS T2A-GAP stock
- Area 419 weight tunable ARCALOCK rail setup
- Leupold Mark 5 HD 7-35x56mm Scope
- TriggerTech Diamond Remington 700 Trigger
You can also see here the Forster honed full-length sizer die, and the Forster Ultra-Micrometer Seater Die I’ll be using for reloading. Can’t wait for that!
Bat TR Action
Bat Machine is well known in Benchrest circles and for good reason: they make top-quality gear. So for this build, I thought their TR action (Tactical Repeater) would be perfect! Here’s my overview video for the TR action:
Here’s the quick facts for the BAT TR:
- Remington 700 footprint semi-clone
- 2-lug 90° throw
- Short action only
- 1 1/16” x 18 TPI tenon/receiver threading
- Compatible with most Remington 700 stocks and accessories
- 8.08” long and 1.35 inches in diameter, 33.4 oz in weight
- Optimal for use with 1.200” and larger barrel shanks
More info HERE.
Tooling
Precision Matthews TL-1660 Ultra-Precision Lathe

This lathe is a beast! Here are some of the specs for the Precision Matthews TL-1660:
- Ultra Precision, made in Taiwan
- 16″ swing, 60″ between centers capacity
- D1-6 high precision spindle
- English and Metric threading without gear changes
- One shot lube on the carriage
- 3-Phase 5hp motor
Here’s a video I posted recently detailing the arrival and setup:
*Note: for most gunsmiths, the TL-1640 would be a great choice. You likely won’t need 60″ between centers like the TL-1660 offers. The TL-1640 can save both space, and significant money on freight! I opted for the larger lathe because I wanted to have a lathe on hand with extended capacity between centers.
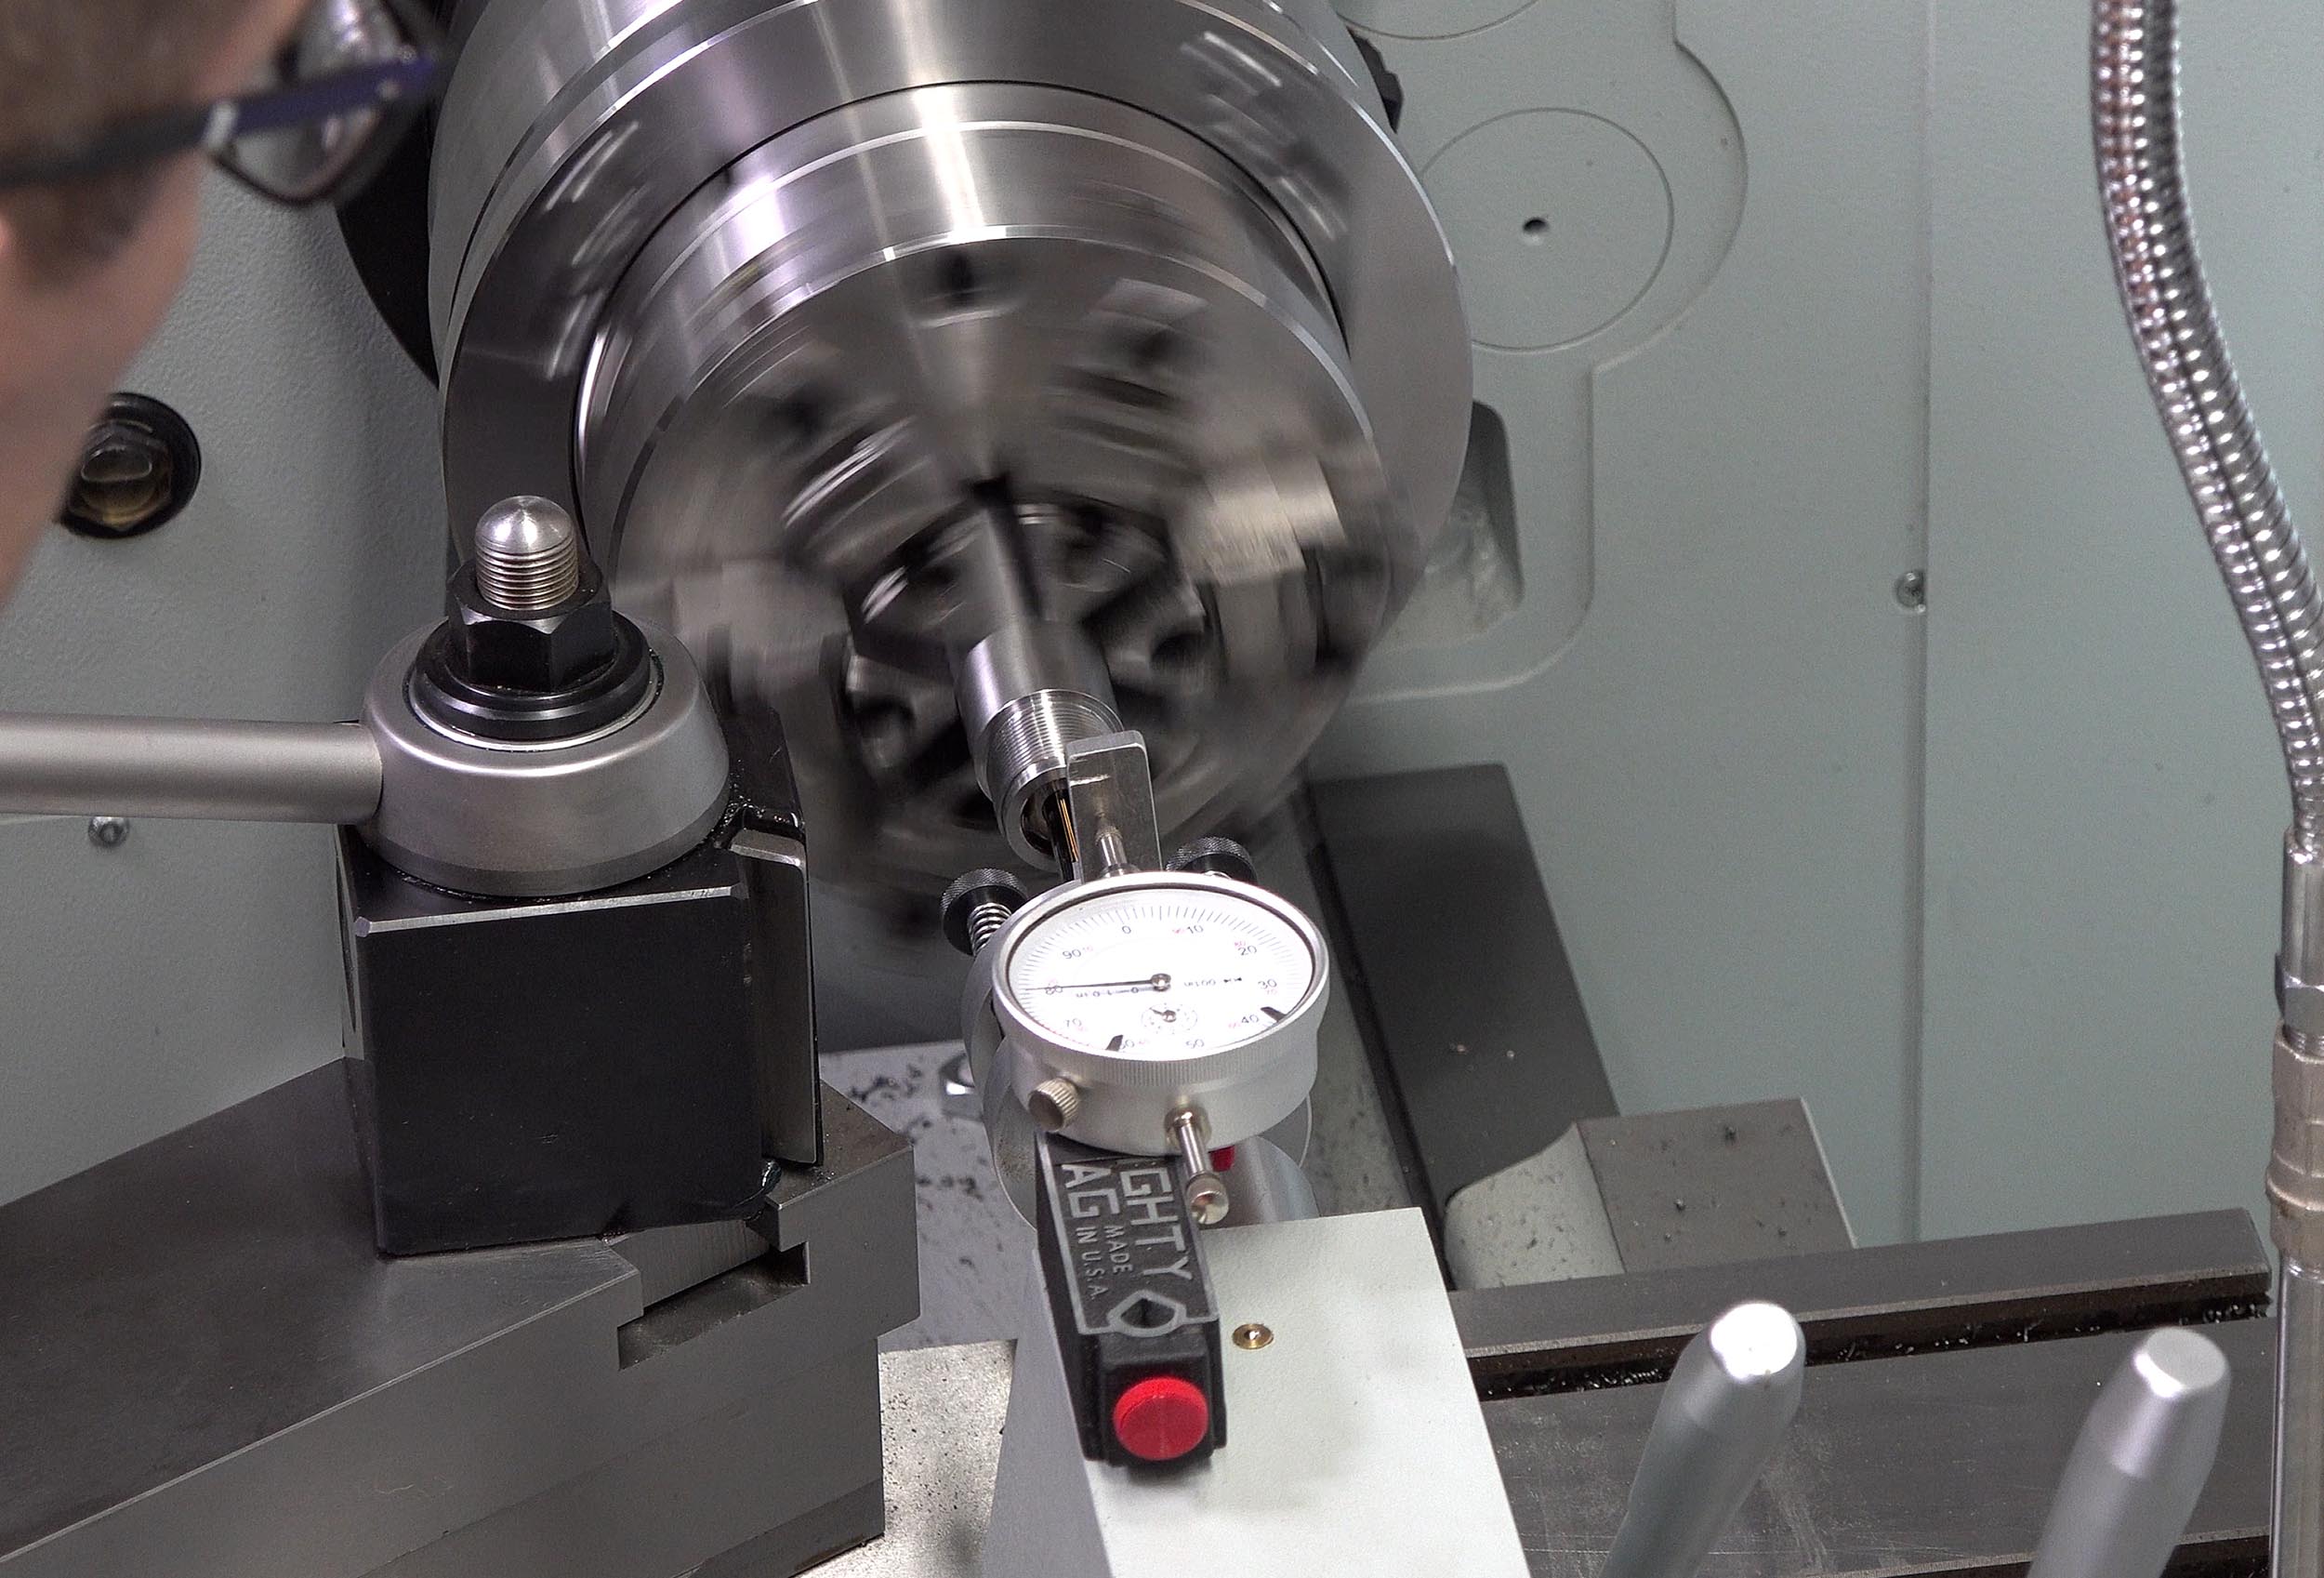
Straight Shot Gunsmithing “True Bore Alignment System” and Range Rod
Recently I’ve become a huge fan of the SSG True Bore Alignment System (TBAS). This unique articulating chuck system allows you to dial in your barrel with both radial and axial adjustments.
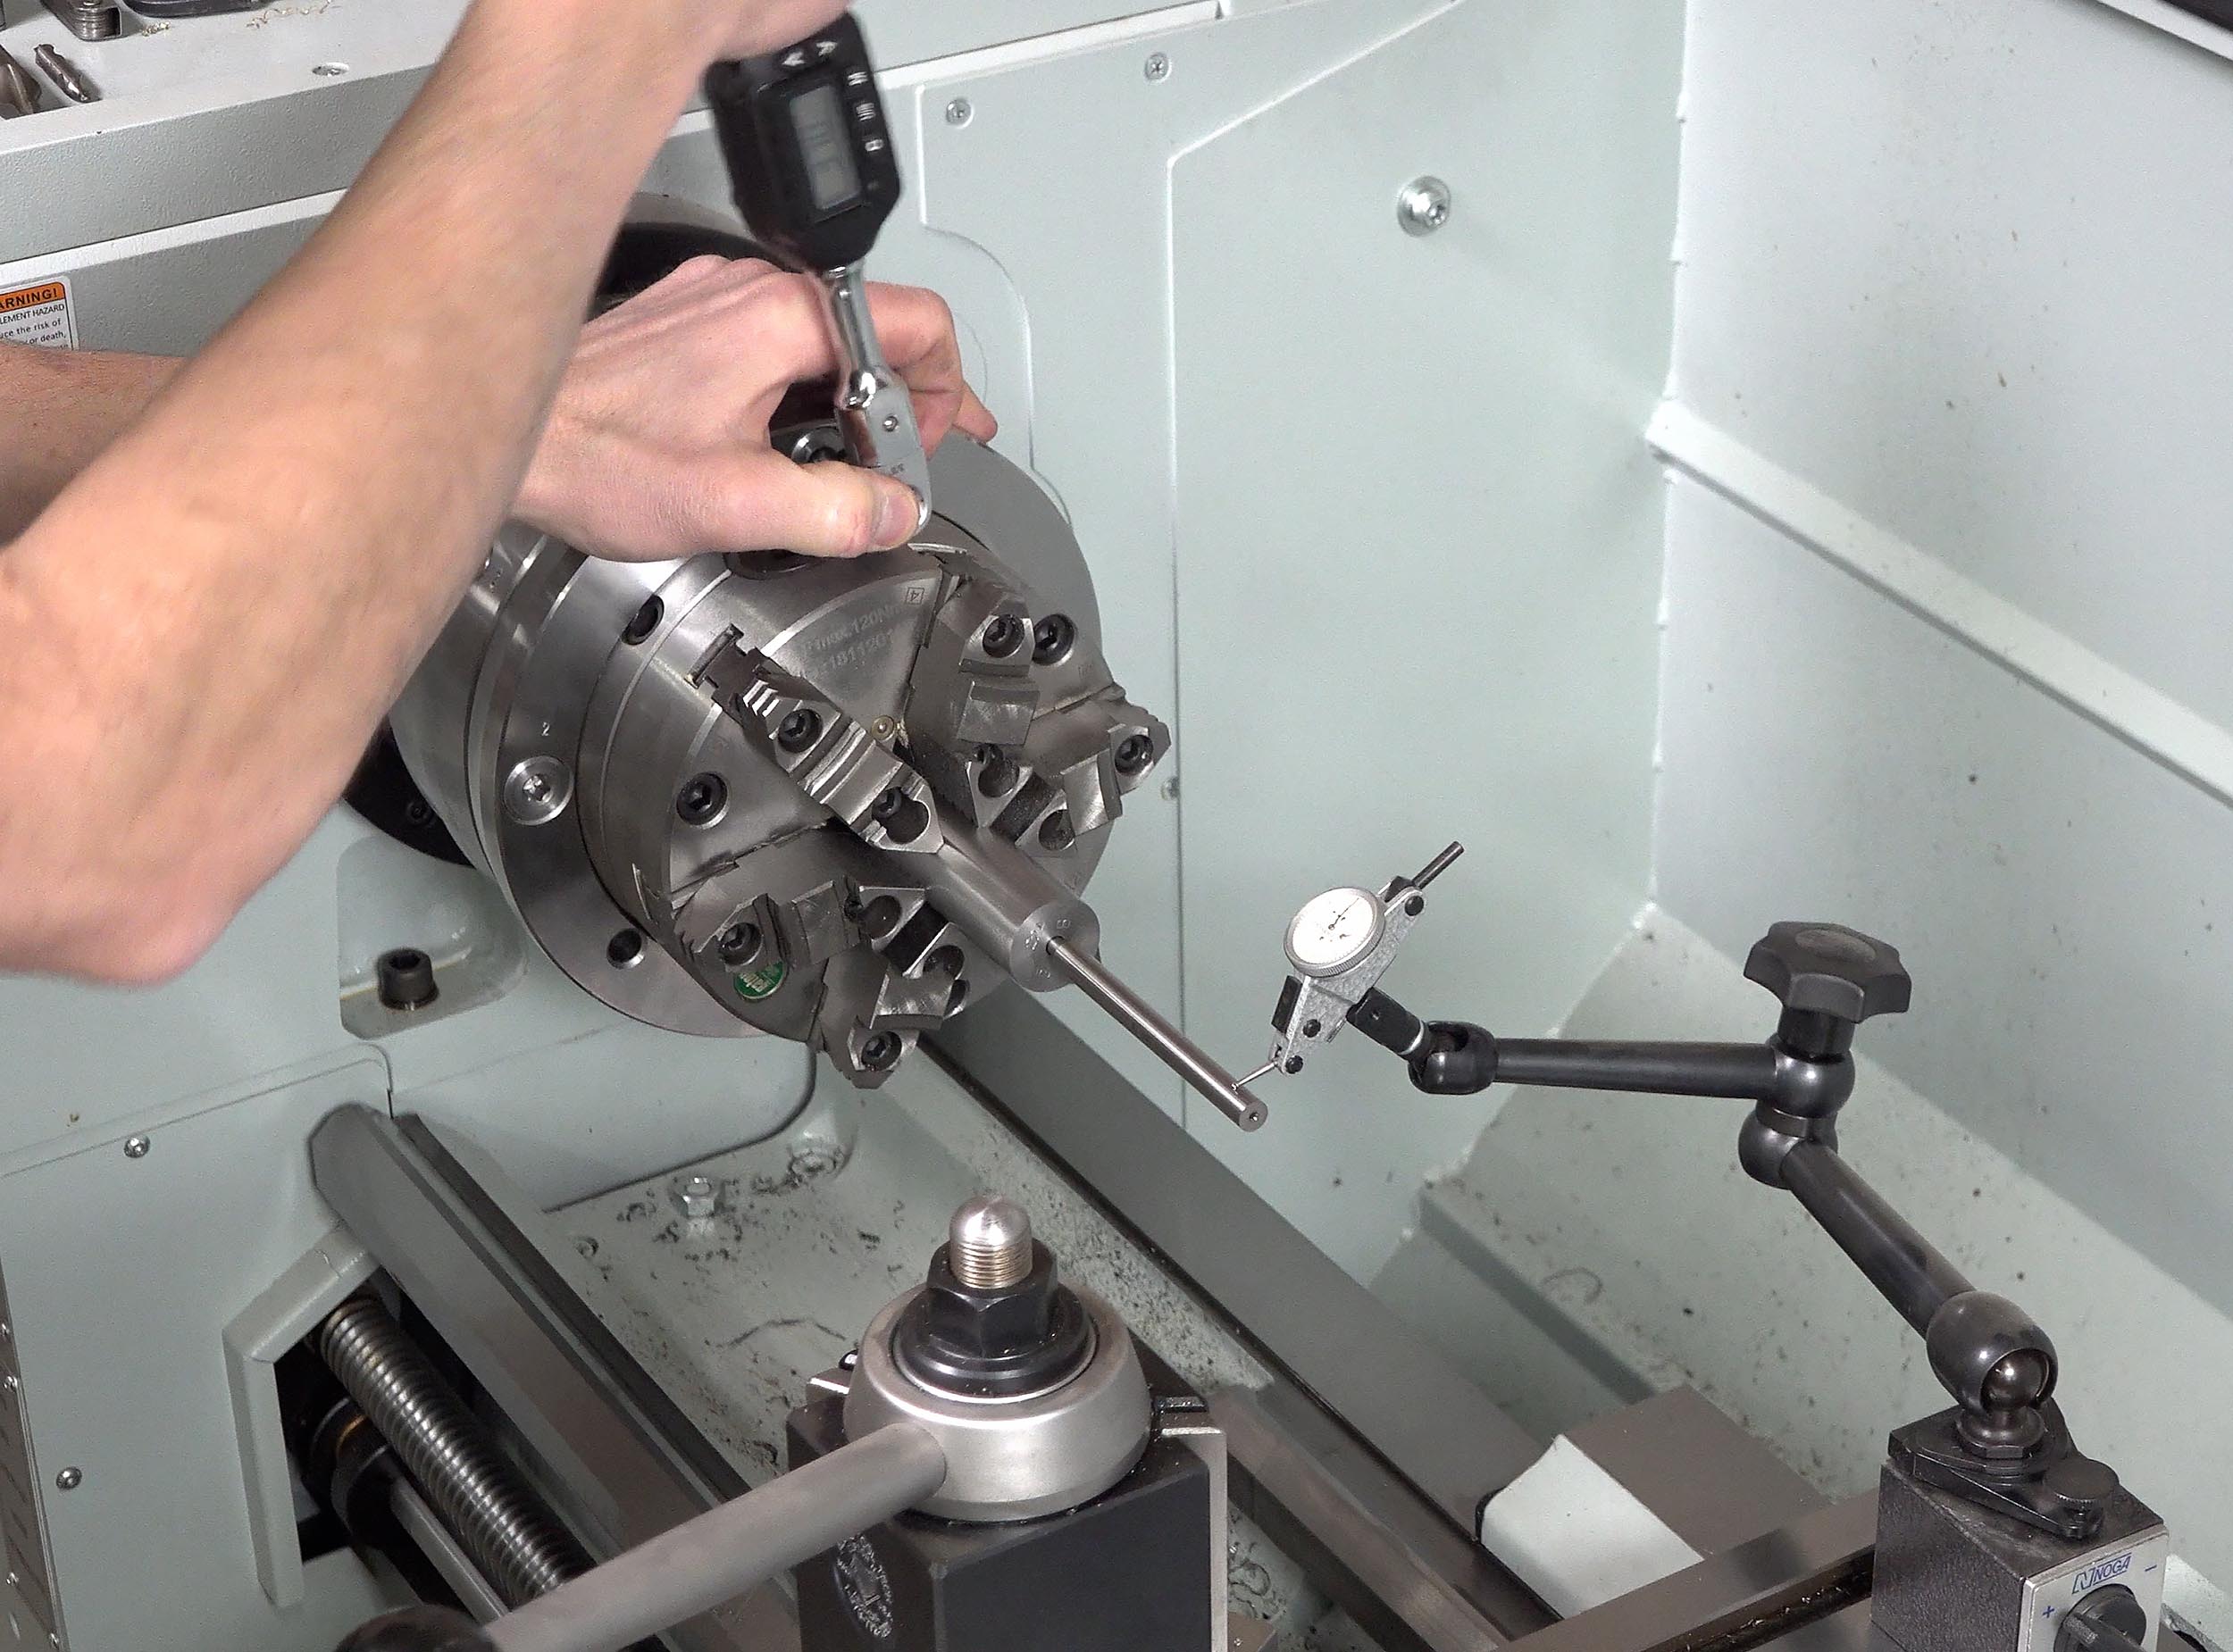
Above you can also see the SSG Range Rod (see bottom of page HERE) which is used in conjunction with the TBAS system to indicate barrels (I used this on both the breech and and the muzzle end of the barrel.
Dave Manson 223 Remington T15 Full Bore Reamer and Gauge
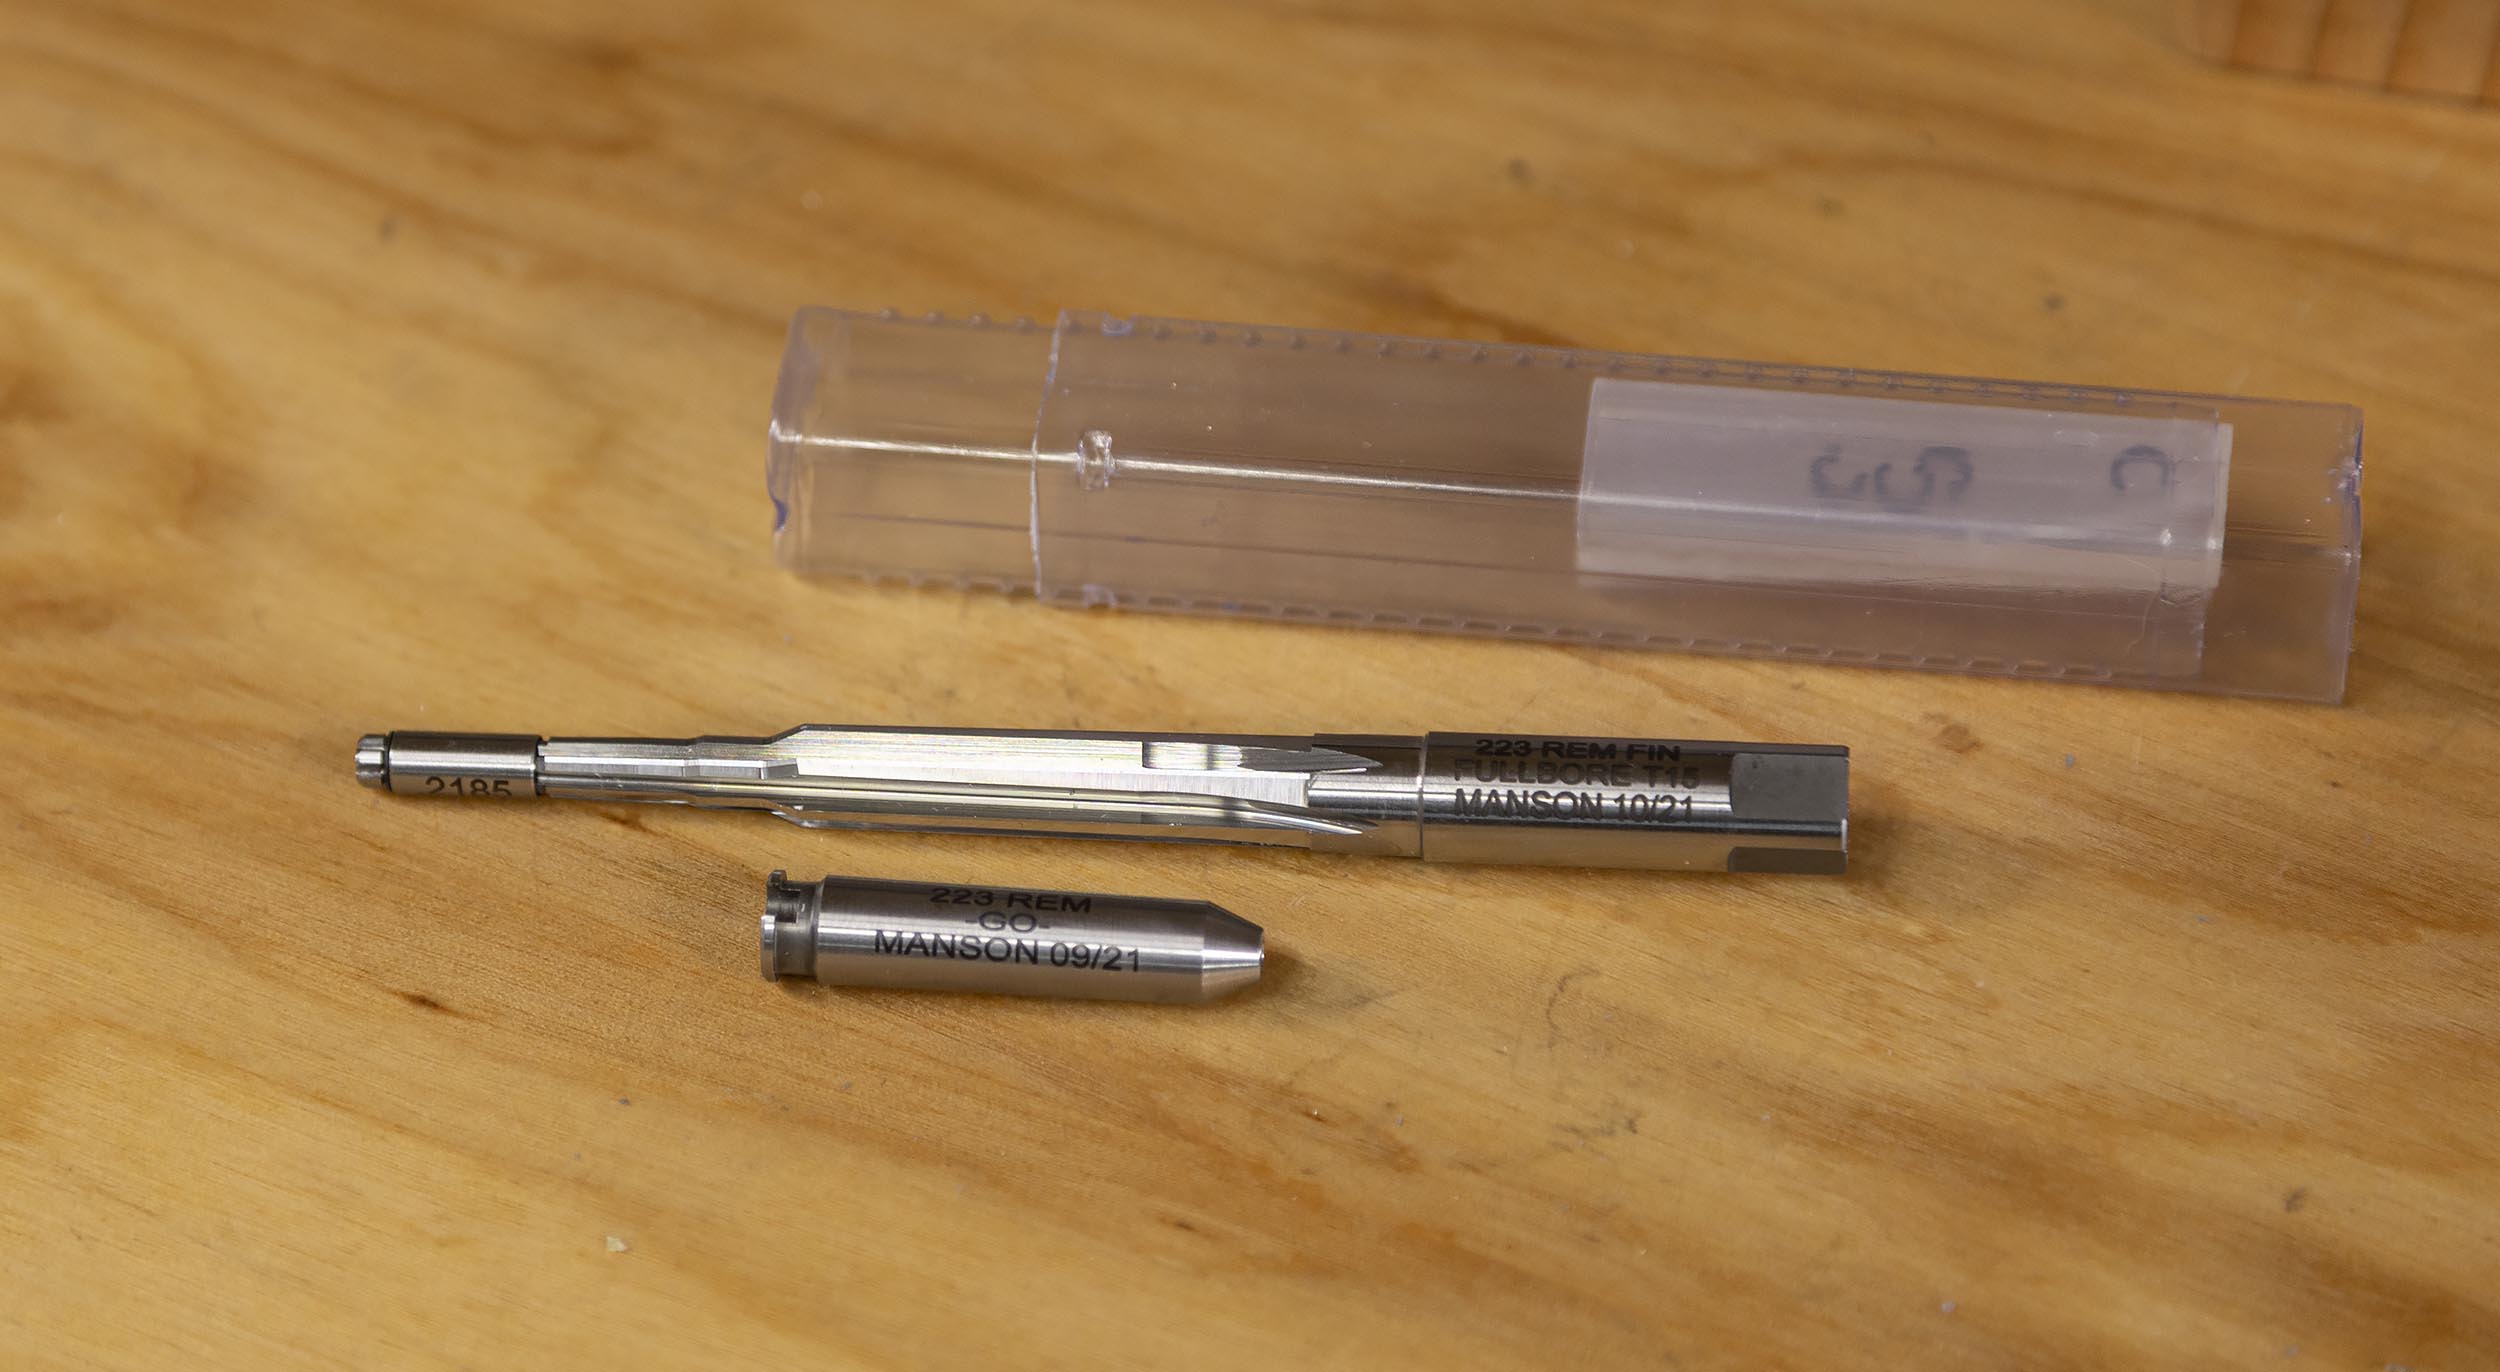
In talking over my intended load for this 223 trainer, Dave Manson suggested his “Full Bore” reamer with geometry as shown here:
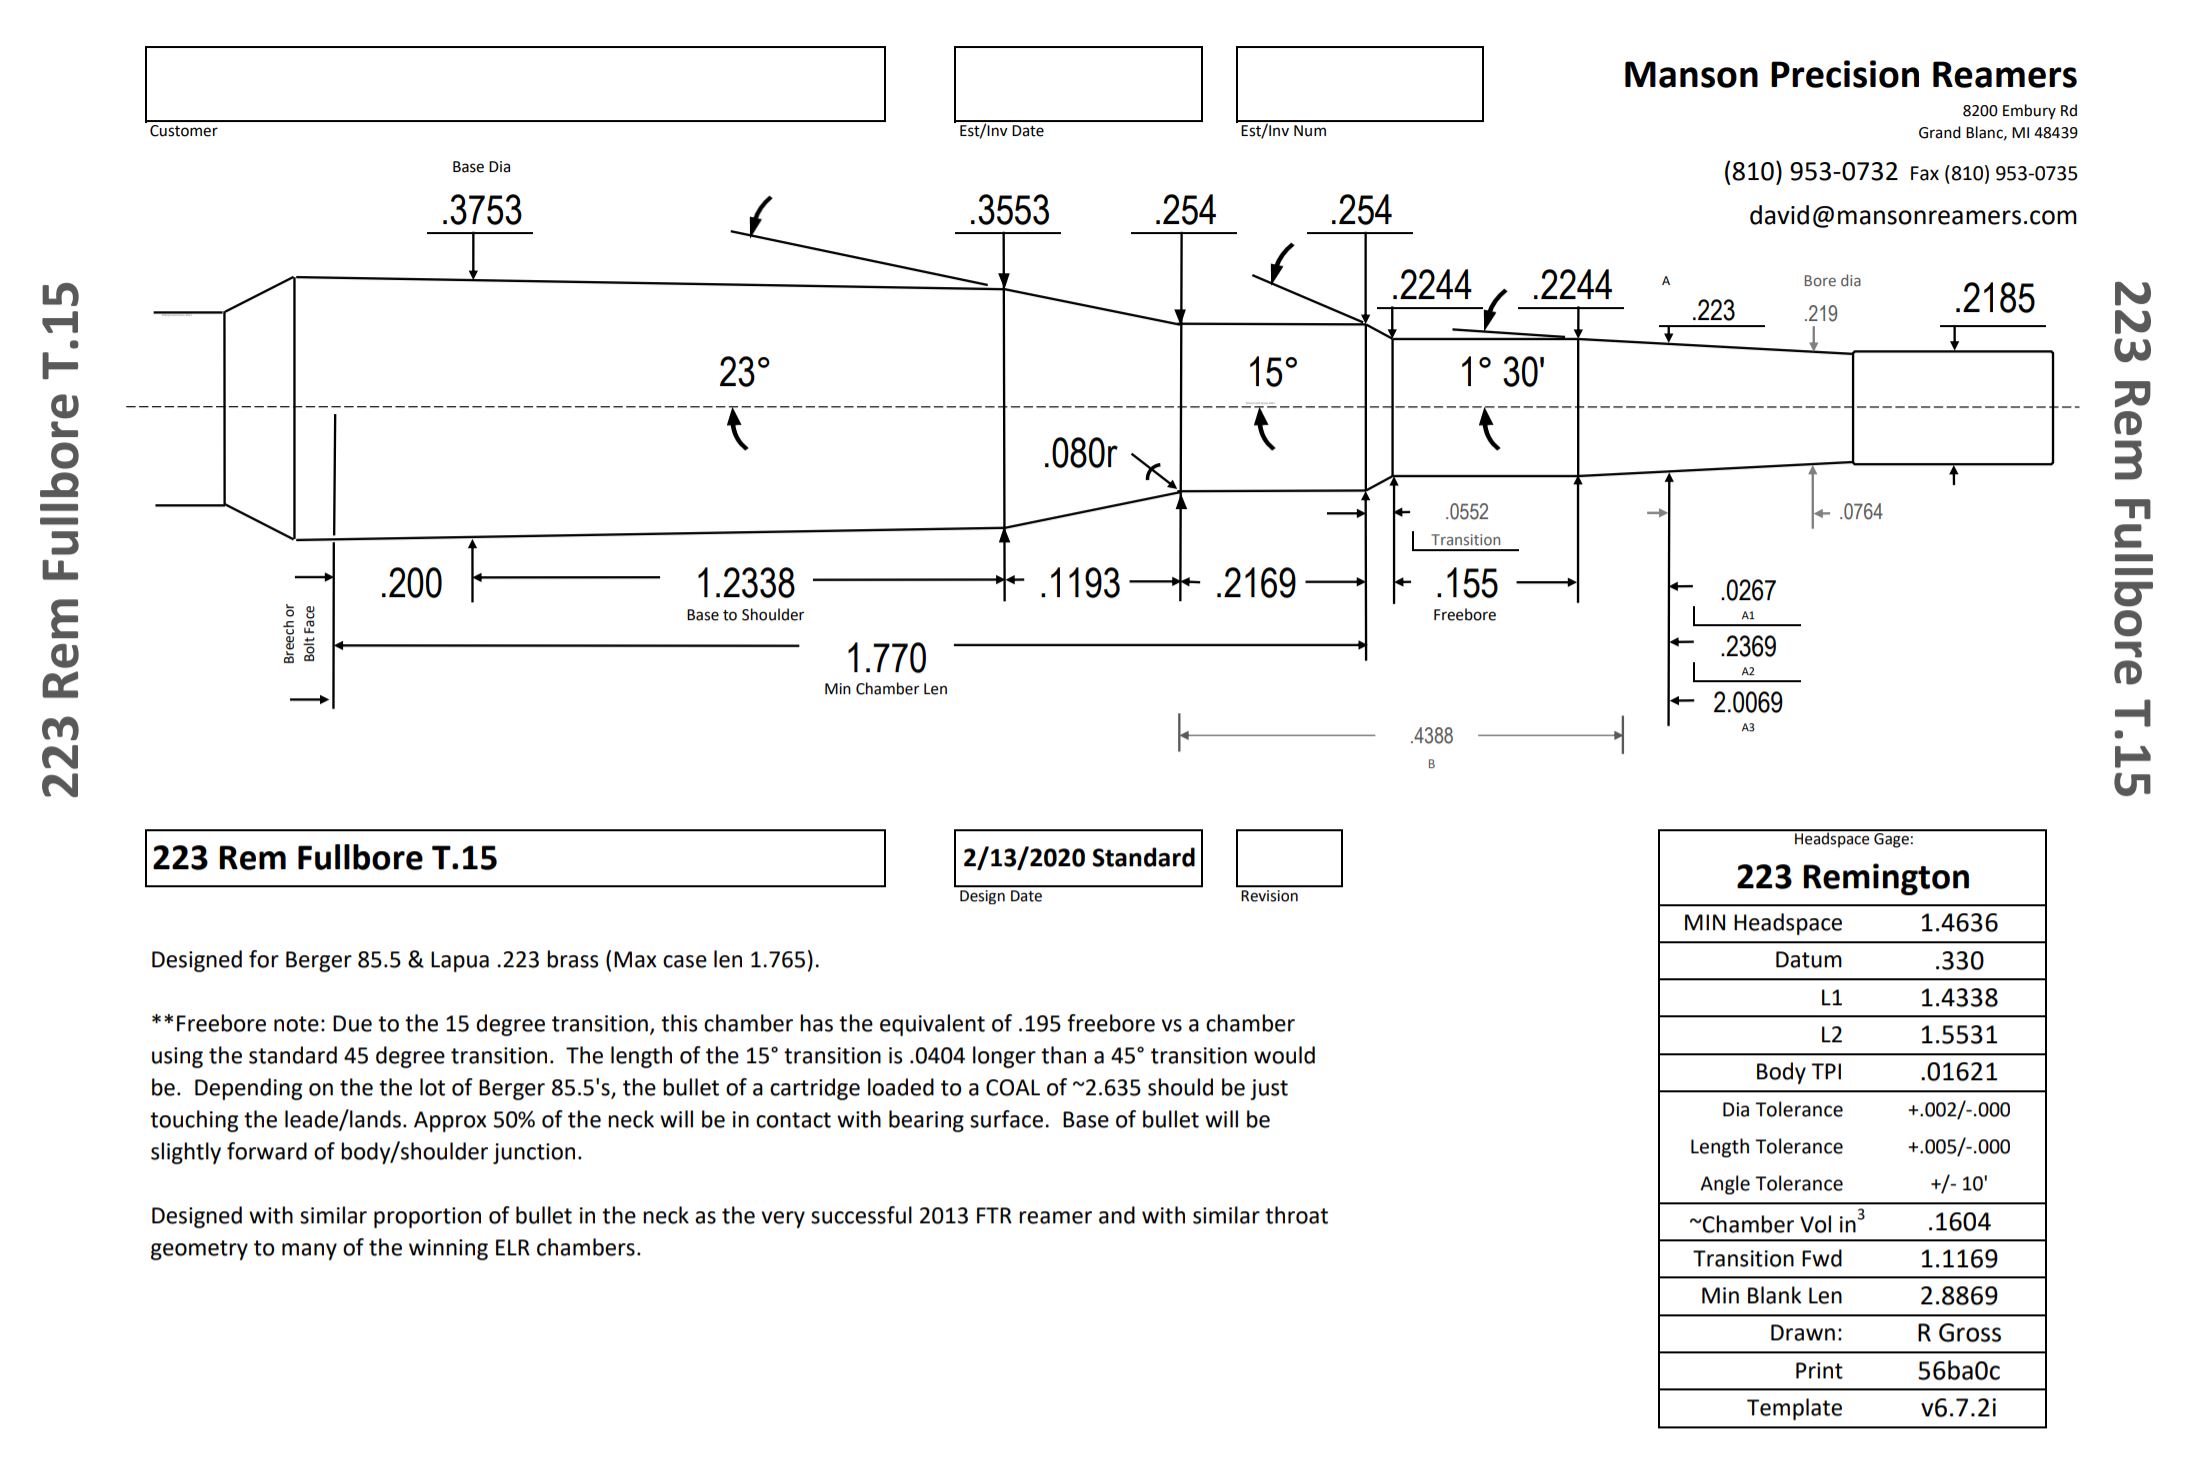
At the end of this story, you’ll see that Dave was very “right” about this reamer geometry for this application!
The Build
Before the build starts, a “build sheet” is created. Critical measurements are taken, and clearances/tolerances are calculated. These values are written down on a “build sheet” and compared with the tenon print from the rifle manufacturer. Here’s a snapshot of my build sheet for this 223 trainer build:

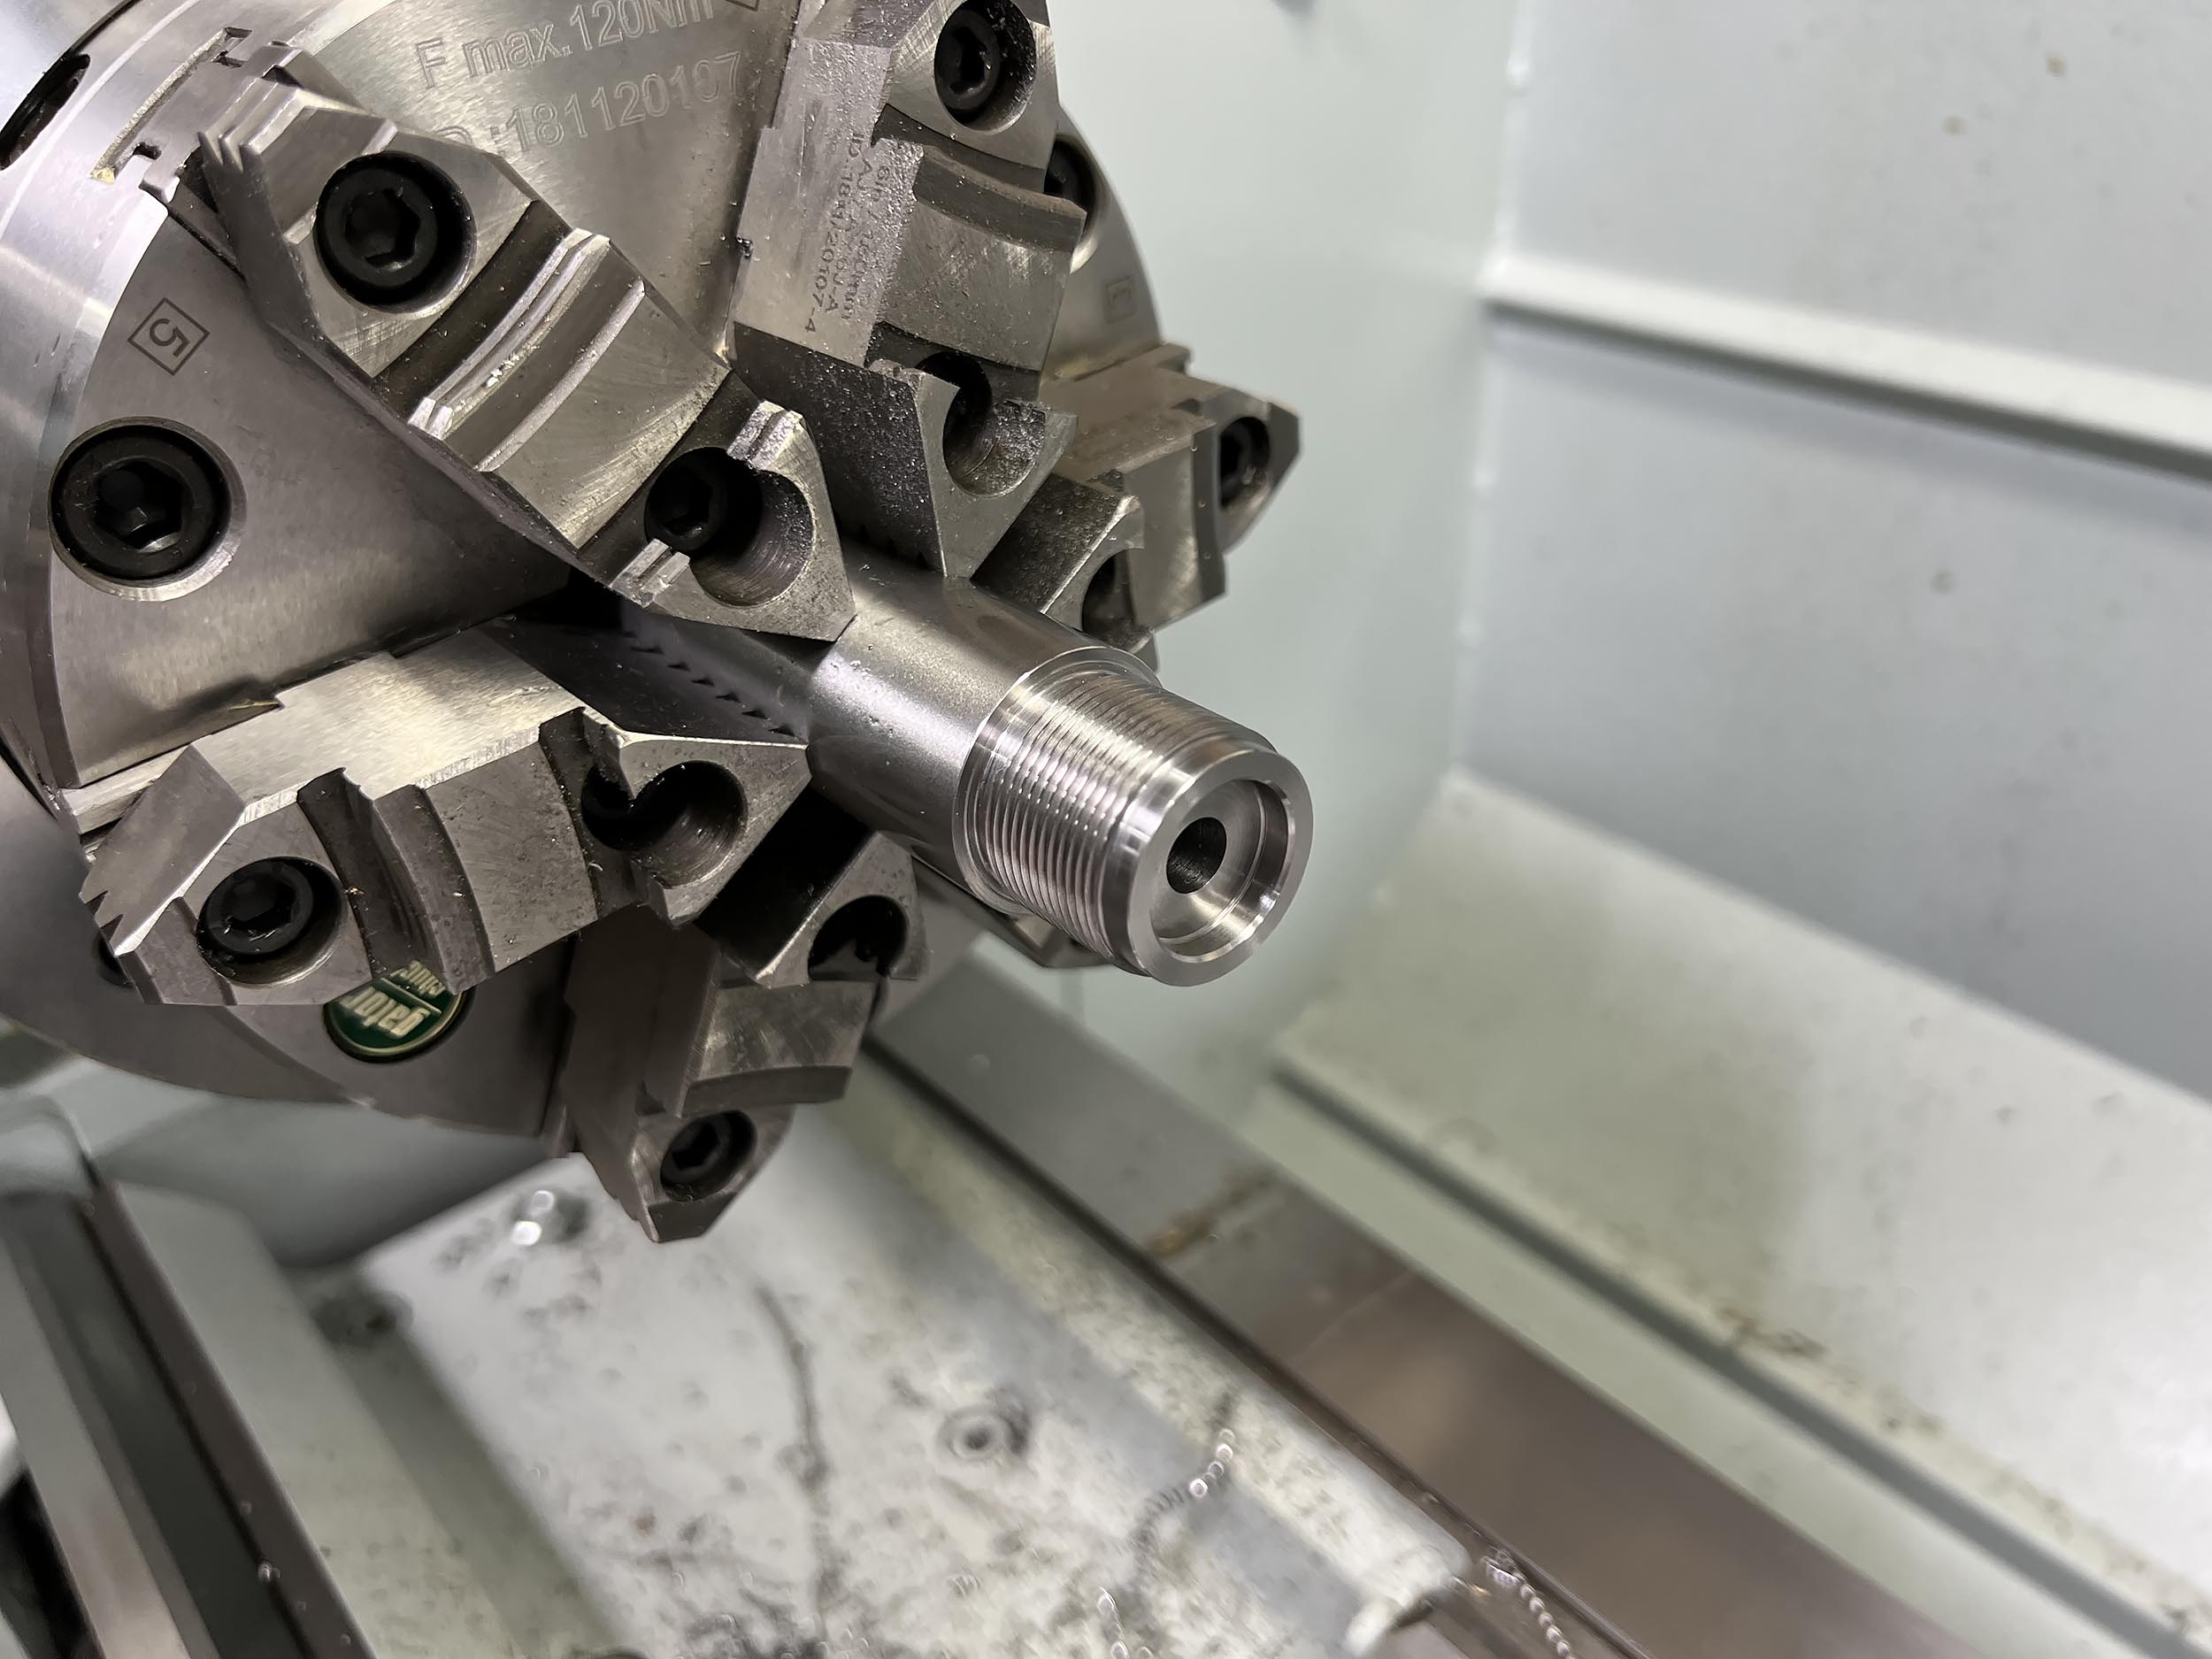
The barrel was dialed in using the TBAS and SSG Range Rod. The chamber was then pre-drilled and bored true. Then, it’s time to machine the tenon per our build sheet! The result is as follows:

The features shown above are as follows:
- Area to be threaded
- Face: establishes tenon overall length
- Counterbore: cut to depth and diameter for correct clearances
- Thread relief
- Shoulder and thread relief
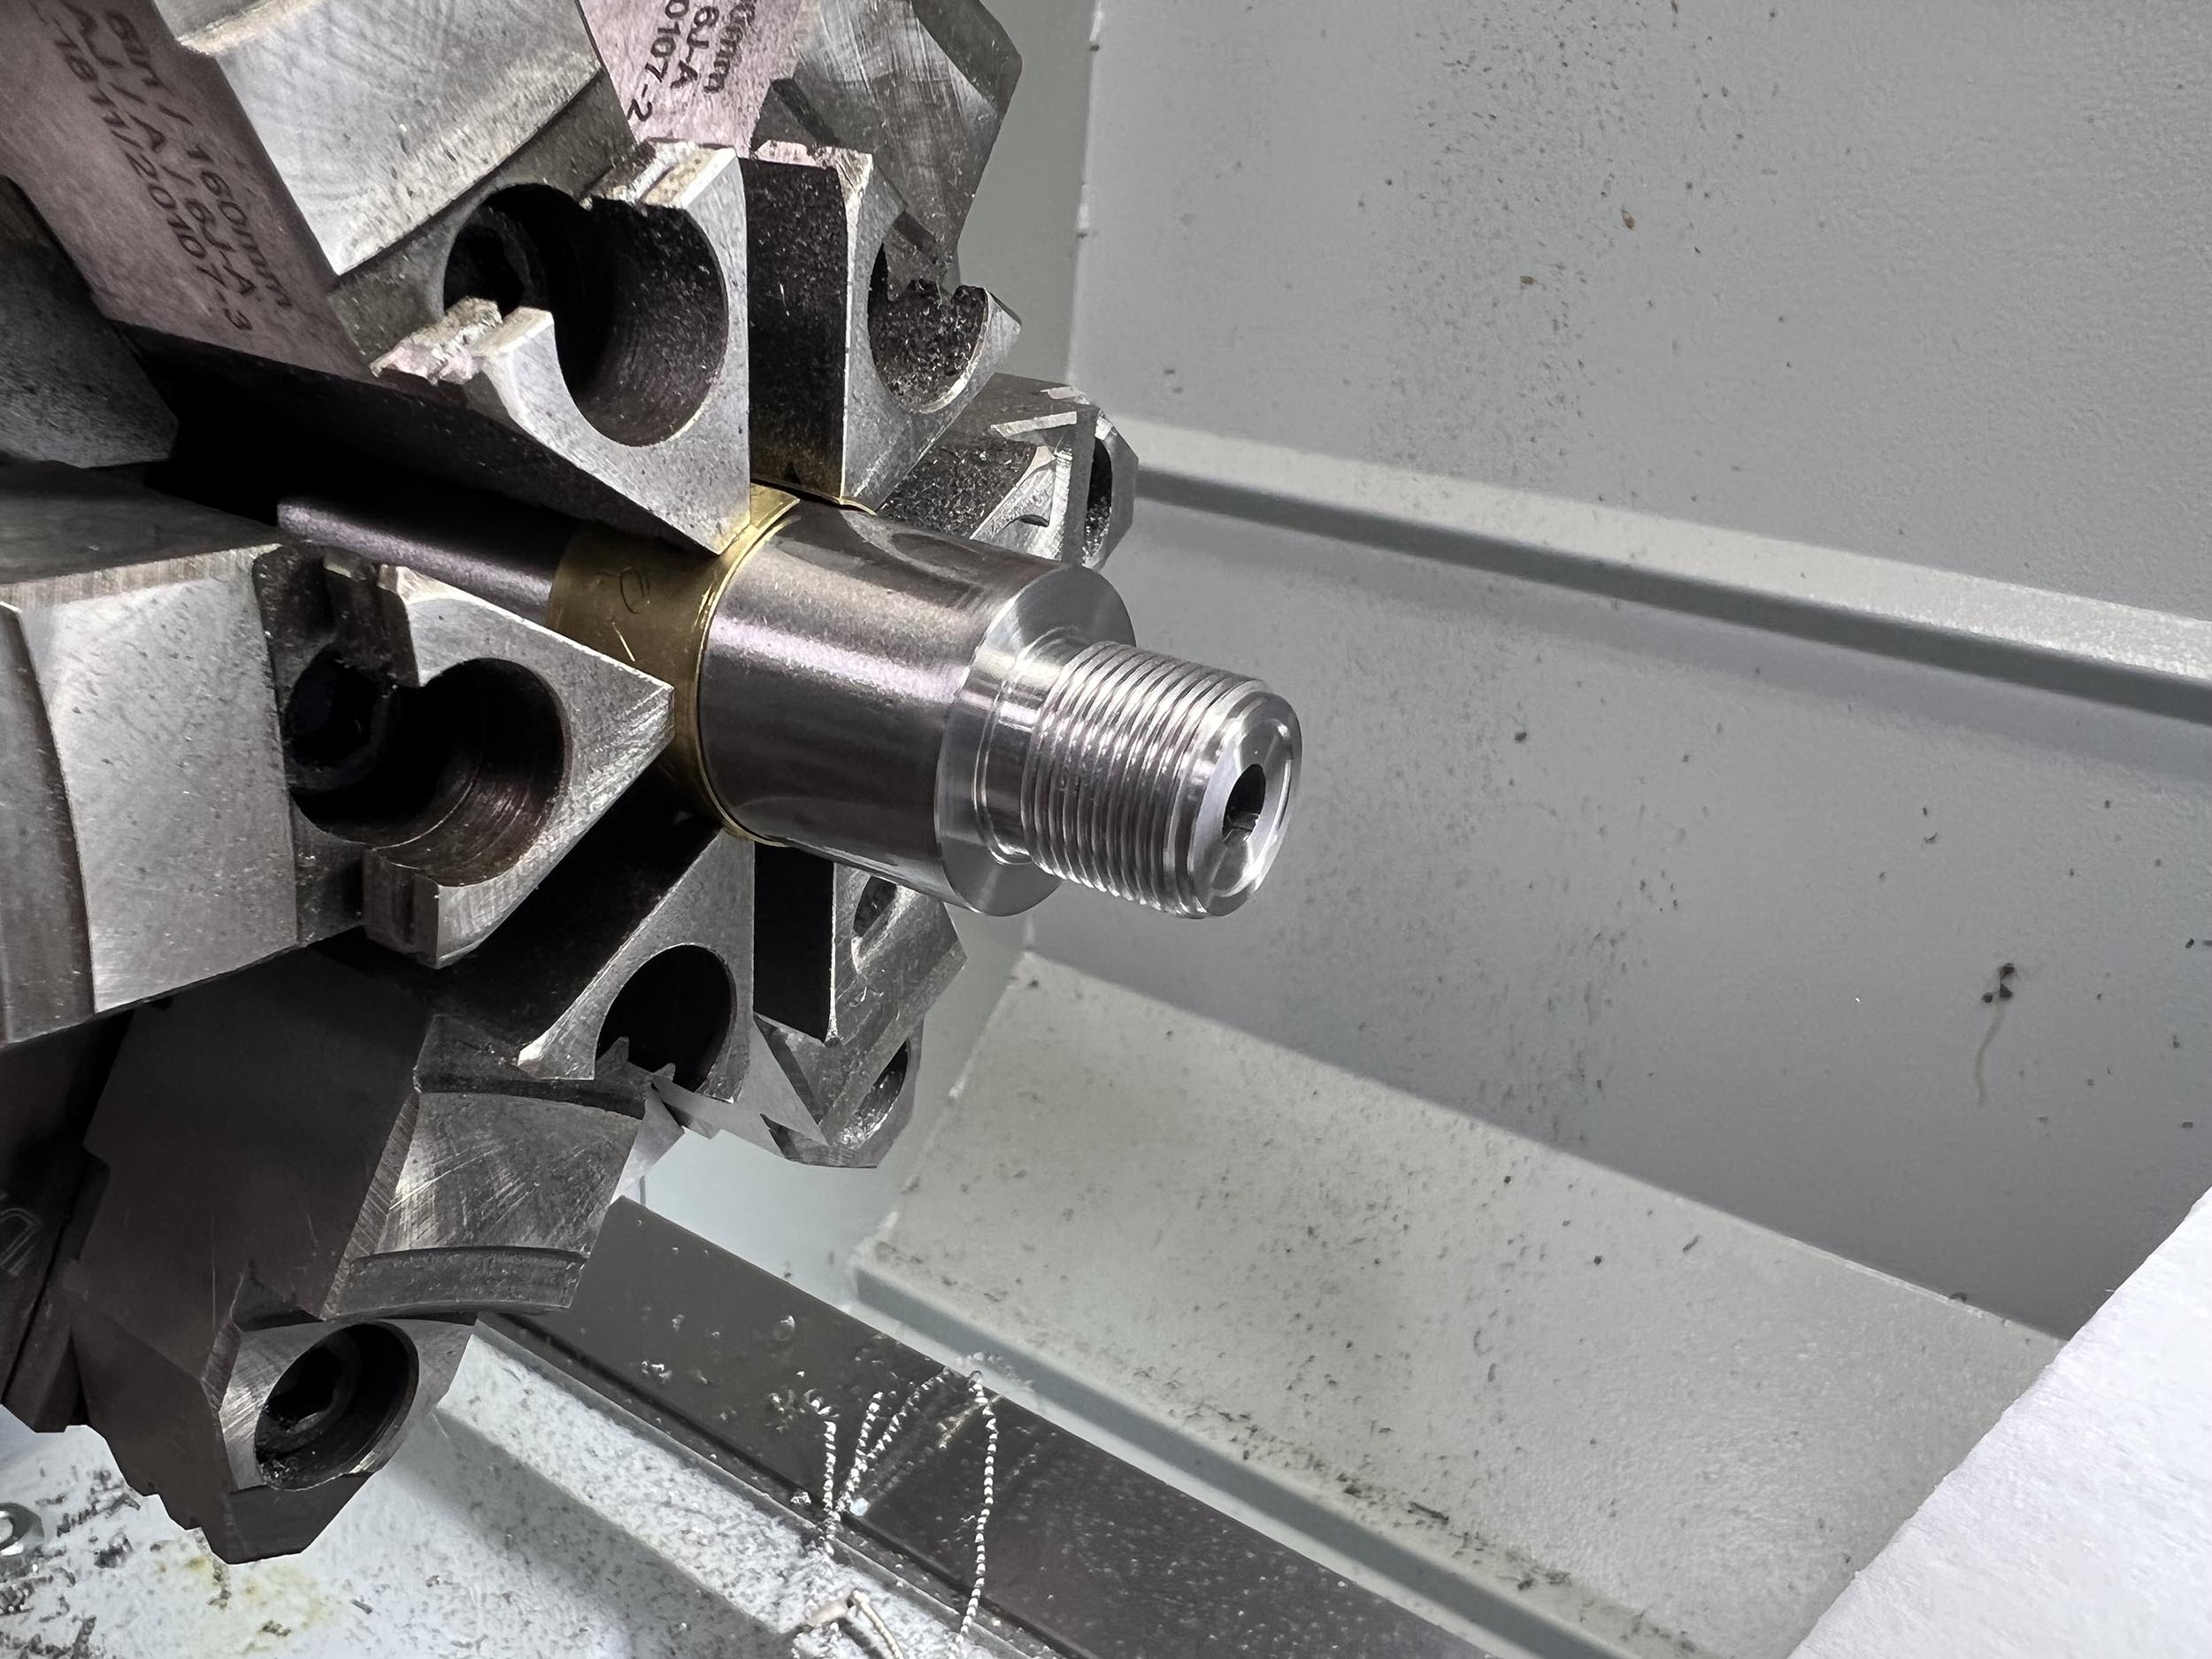
The threads are then cut, 18 threads per inch in this case:
With the correct fit between the rifle action and tenon threads established, it was time to move on to cutting the chamber!
New Capability: On-Lathe TESLONG Borescope
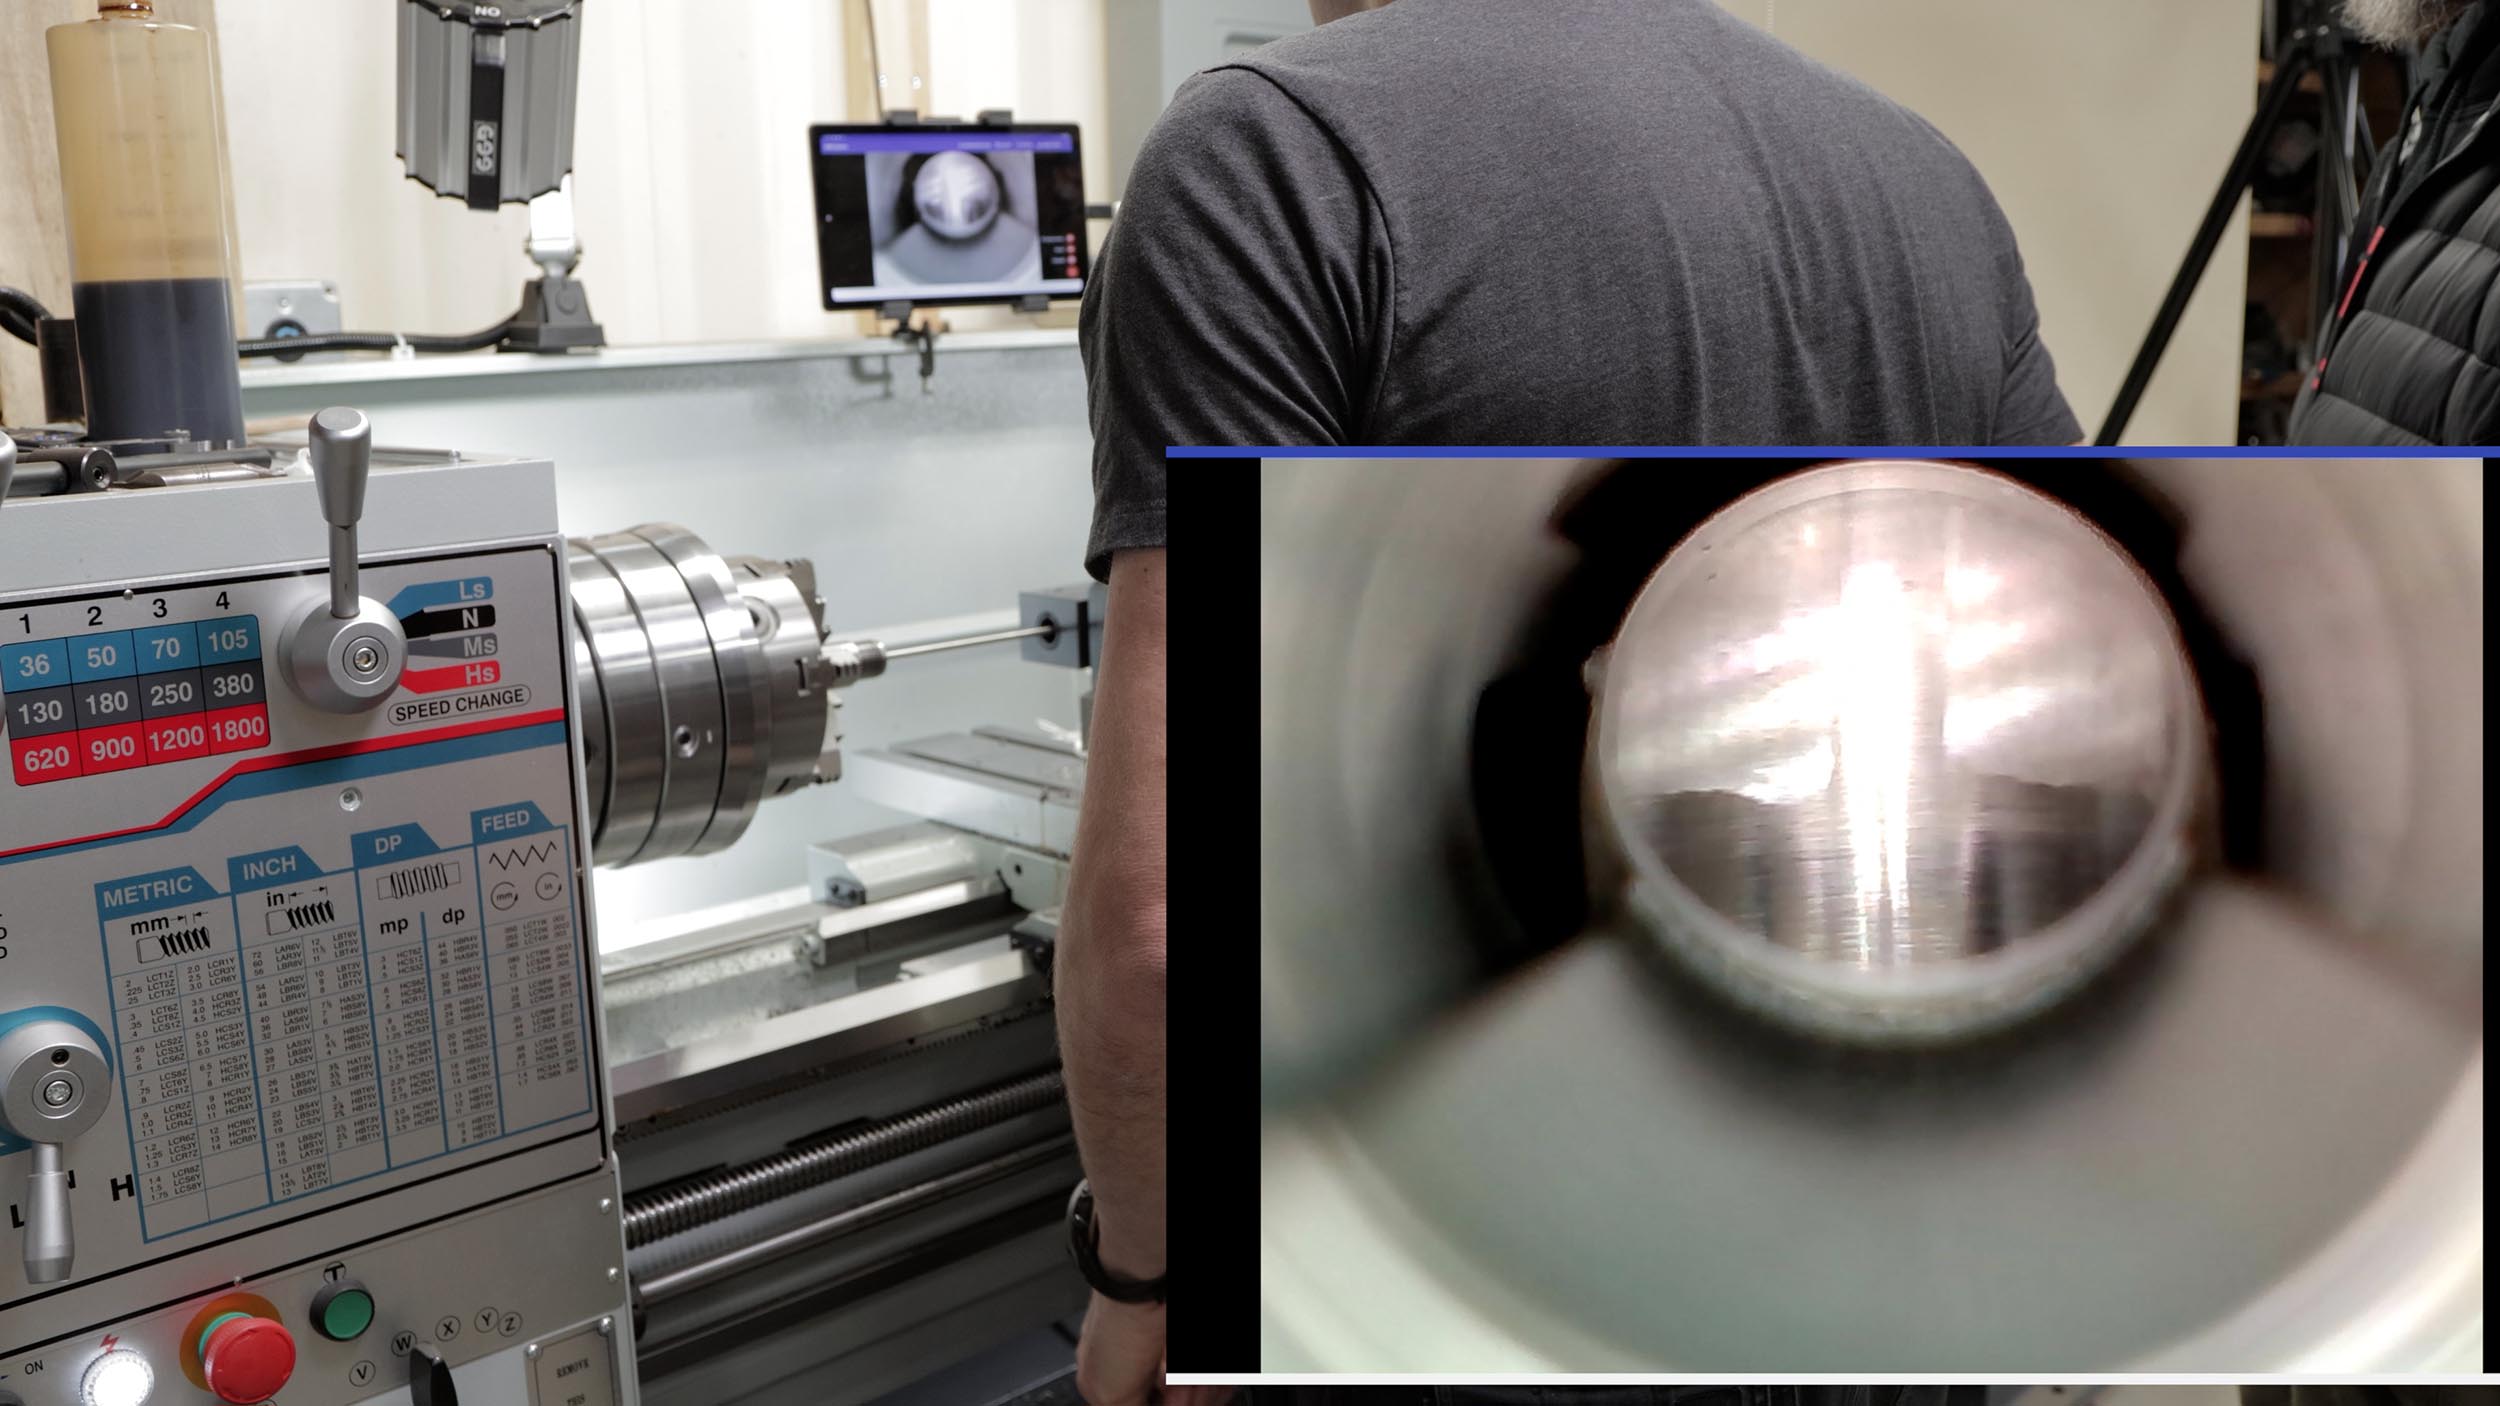
As seen in the video, for this chambering job I tried out a new setup on the TL-1660- a TESLONG NGT-100P pistol borescope mounted to a quick change toolholder. With this setup, I can send the borescope down the bore, and perform a complete inspection (including critical throat transition) while the barrel is in the lathe. This is a GREAT way to inspect your work while chambering.
Here’s the completed breech end barrel work:
After the chamber was cut, entrance to chamber chamfered, and chamber walls textured, it was time to thread the muzzle!
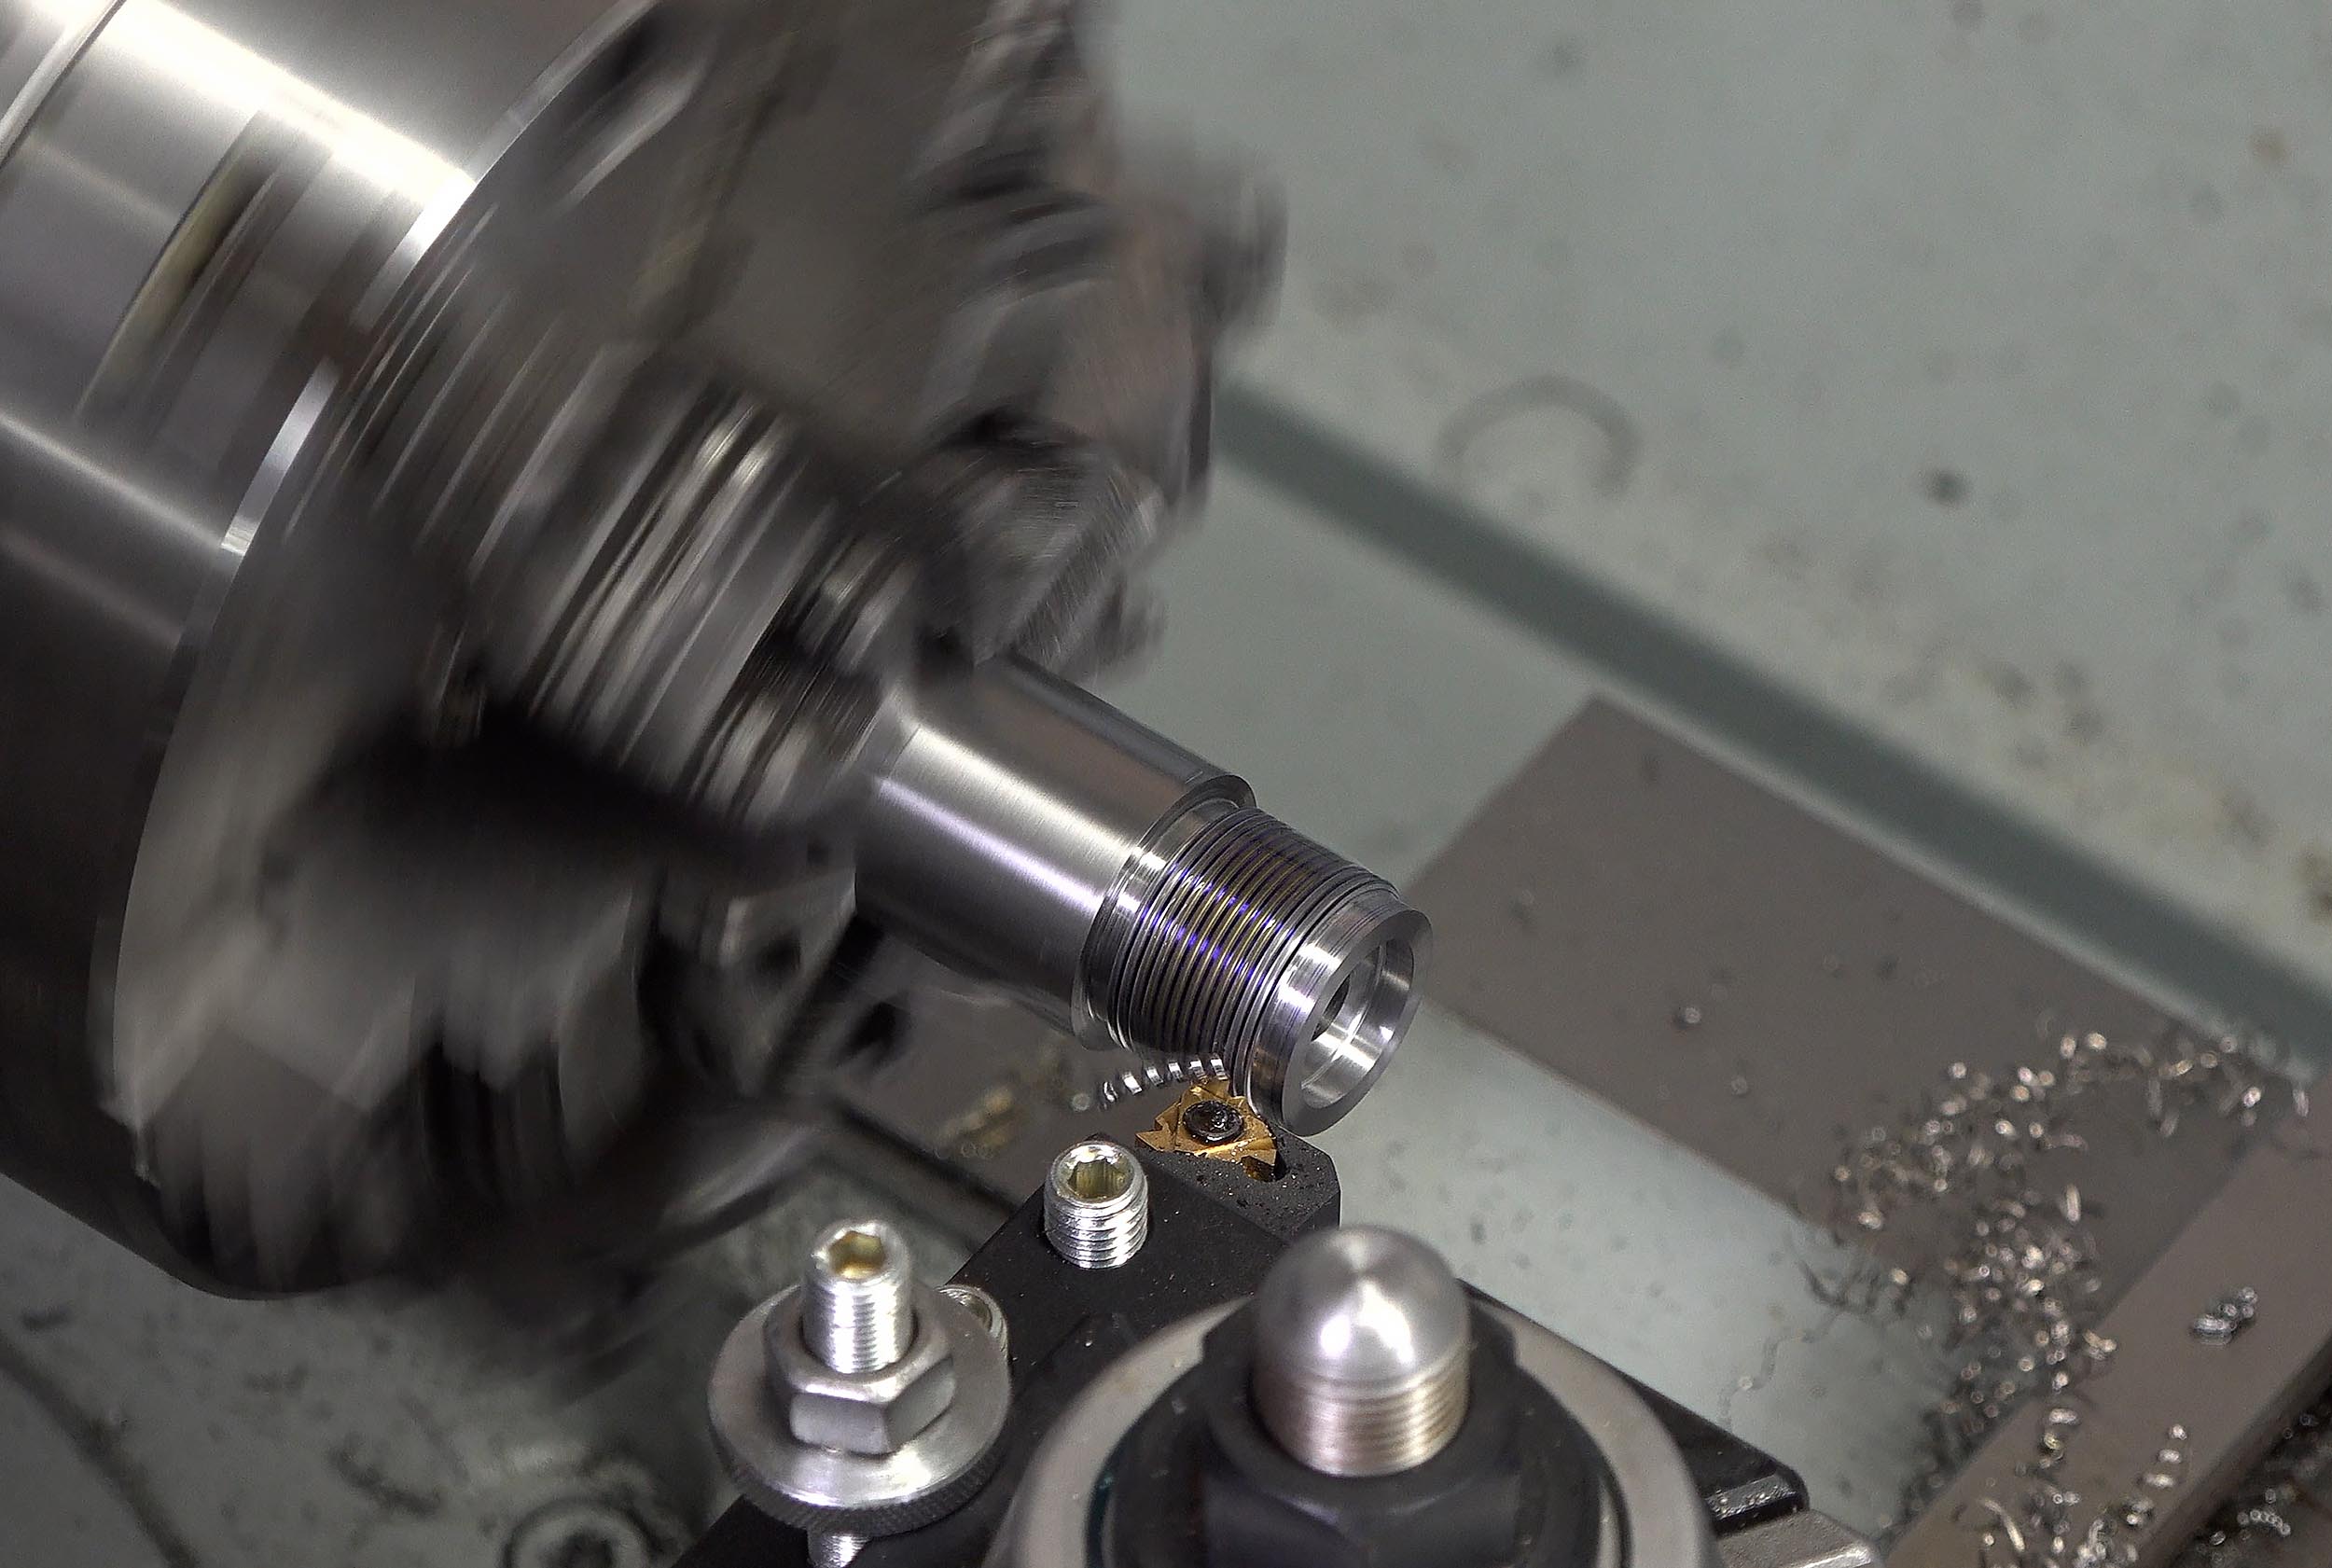
Threading the Muzzle

The muzzle end of the barrel was parted to length, turned down to diameter and length for threading, thread reliefs were cut, and 5/8 x 24 threading was performed.
Perfection:
Breaking in the Rifle (100 yards)
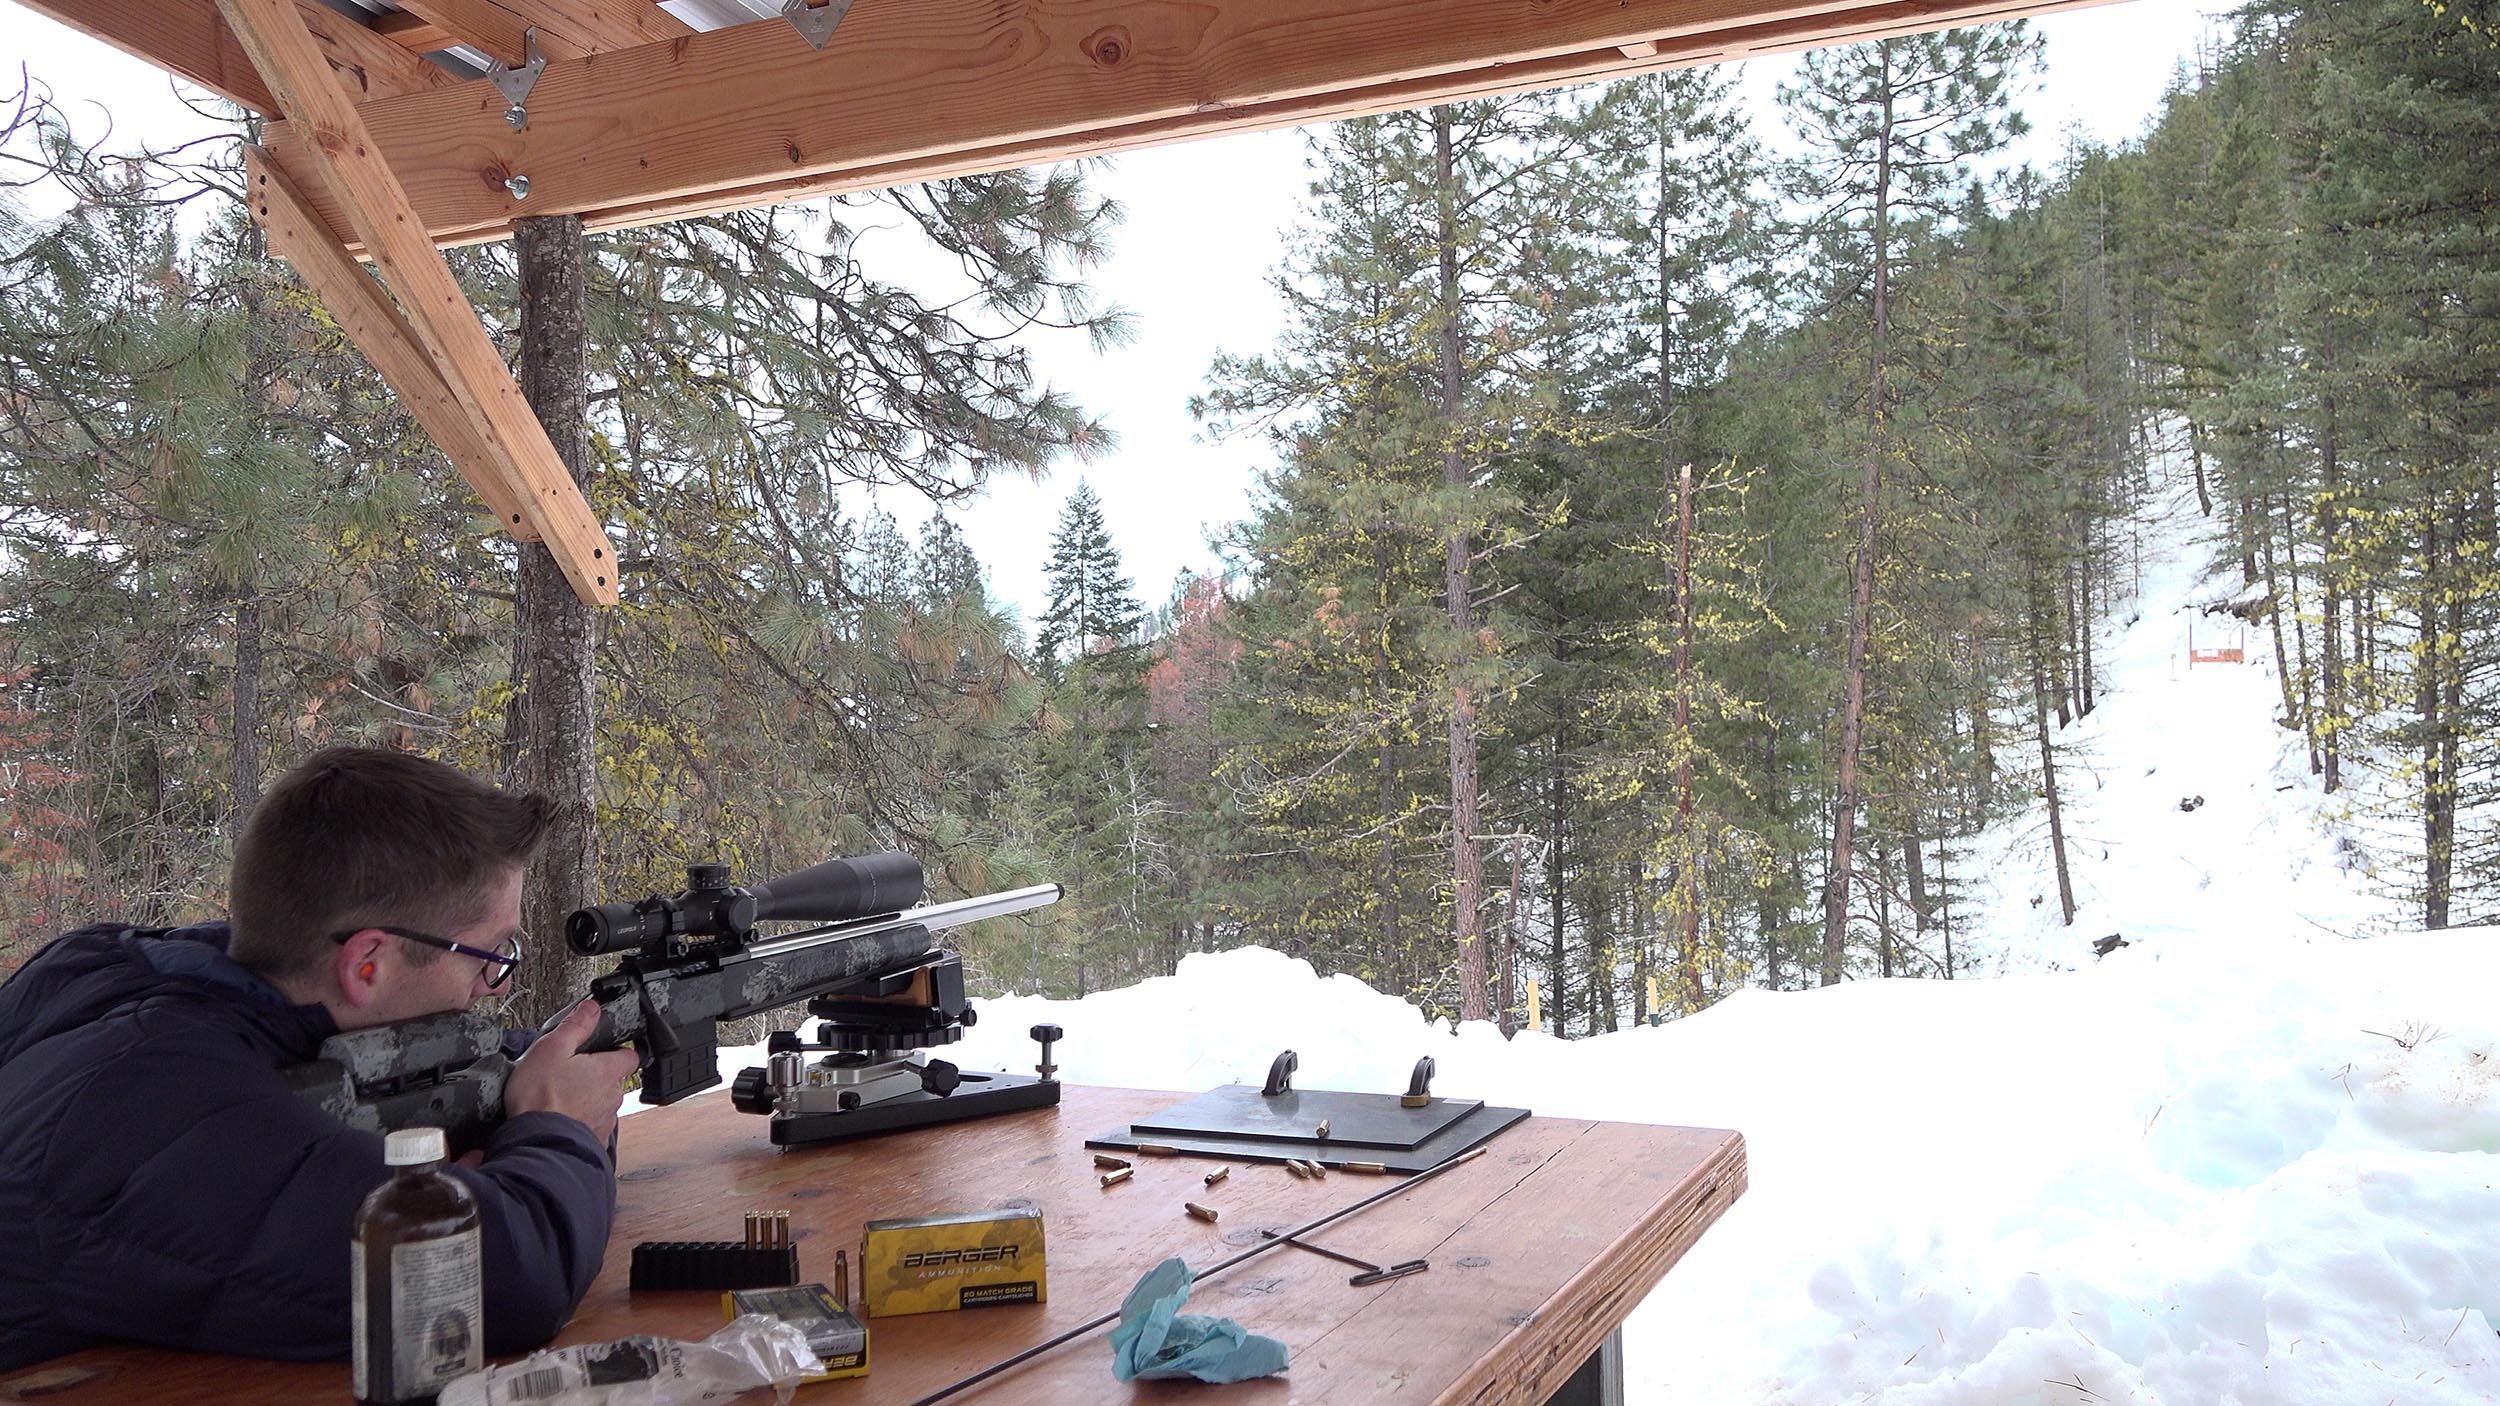
This rifle break-in involved more work than most, but was well worth it. Since I couldn’t drive up to our L1 shooting range, I had to pack the rifle, shooting, and camera gear up the hill on my back. Still, with three 100 yard ranges on my own property I can HARDLY complain. 🙂
Here’s my finitial break-in routine for this rifle:
- Fire 1 shot, clean
- Fire 1 shot, clean
- Fire 1 shot, clean (3 shot group 1)
- Fire 3 shots, clean (3 shot group 2)
- Fire 3 shots, clean (3 shot group 3)
- Fire 3 shots, clean (3 shot group 4)
- Fire 5 shots, clean (1st 5 shot group)
The results were AMAZING.
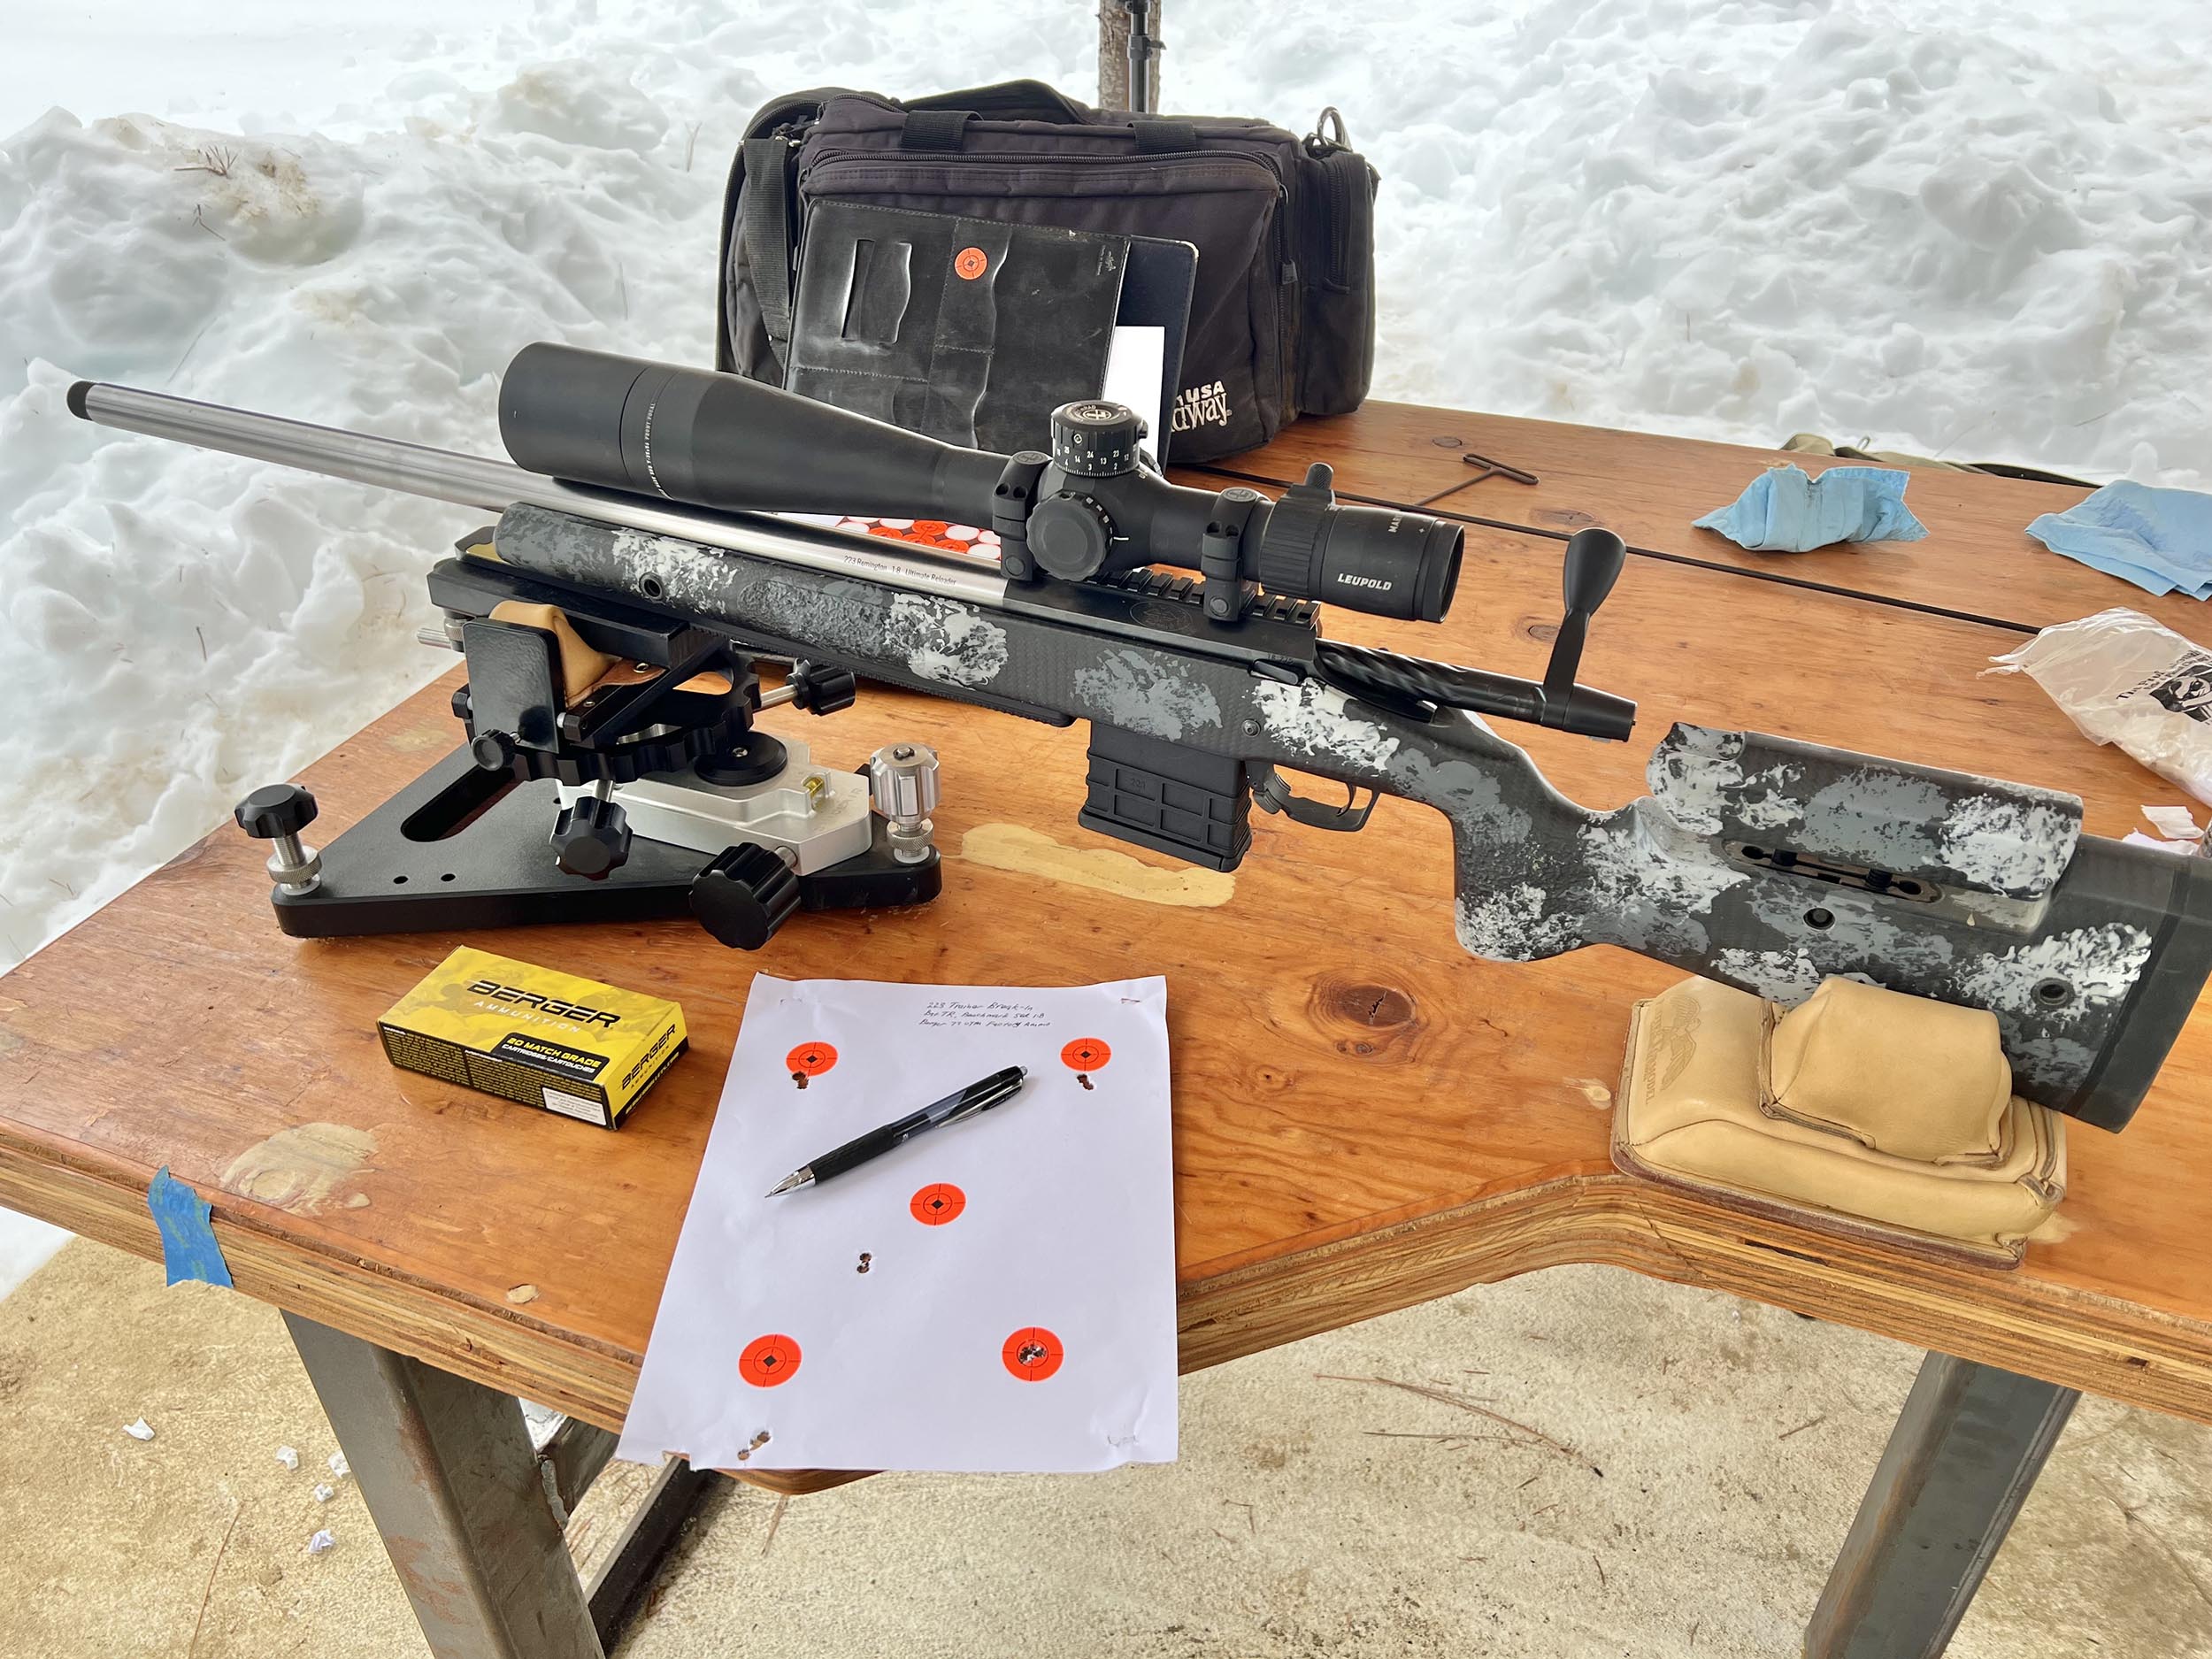
Break-in was conducted using Berger 77 grain OTM 223 Remington Match ammunition which performed amazingly well for factory ammunition!
The first 5-shot group measured just 0.222″ – WOW!
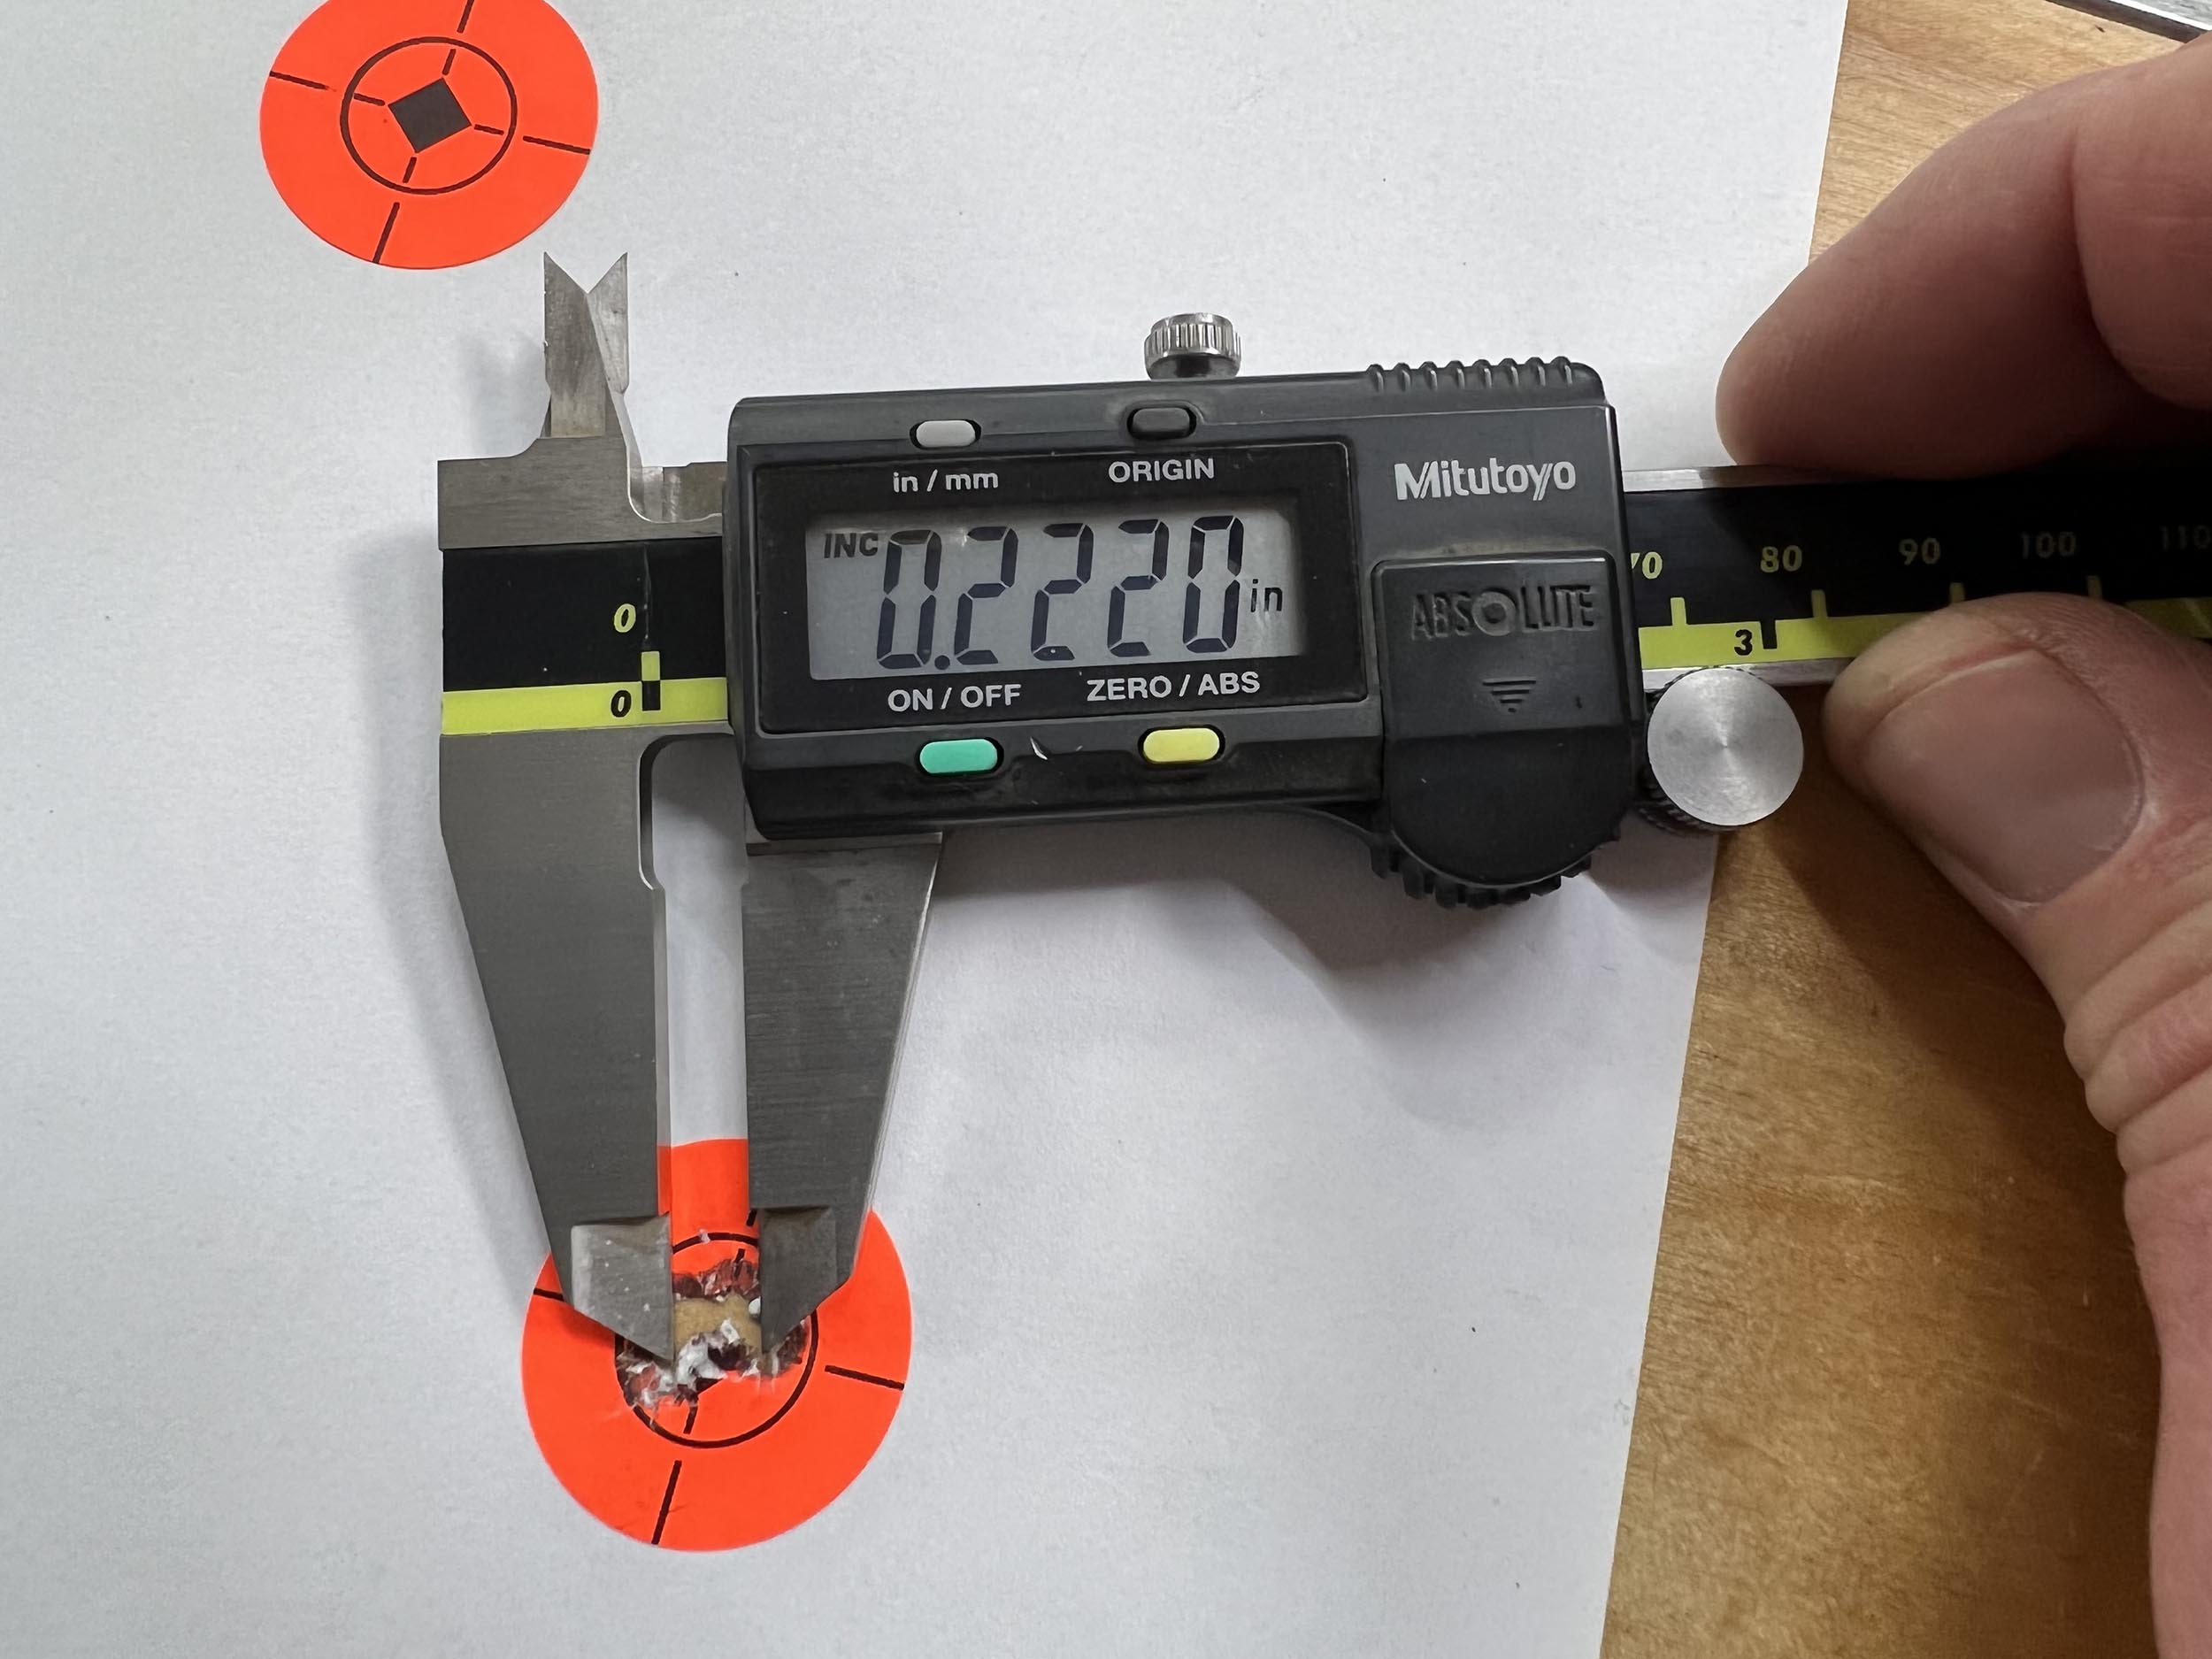
For the record, this group was both accurate *and* precise. Sight-in done!
What’s Next
Next, I’ll be:
- Testing velocity with this factory ammunition
- Handloading with Berger 77 grain OTM bullets
- Testing muzzle brakes and suppressors
- Fine tuning ballistics for long-range shooting, ringing some steel at distance!
I absolutely LOVE this rifle: in 6 Dasher form, and in 223 Remington form. All I can say now is: Mission Accomplished!
Don’t miss out on Ultimate Reloader updates, make sure you’re subscribed!
Thanks,
Gavin


