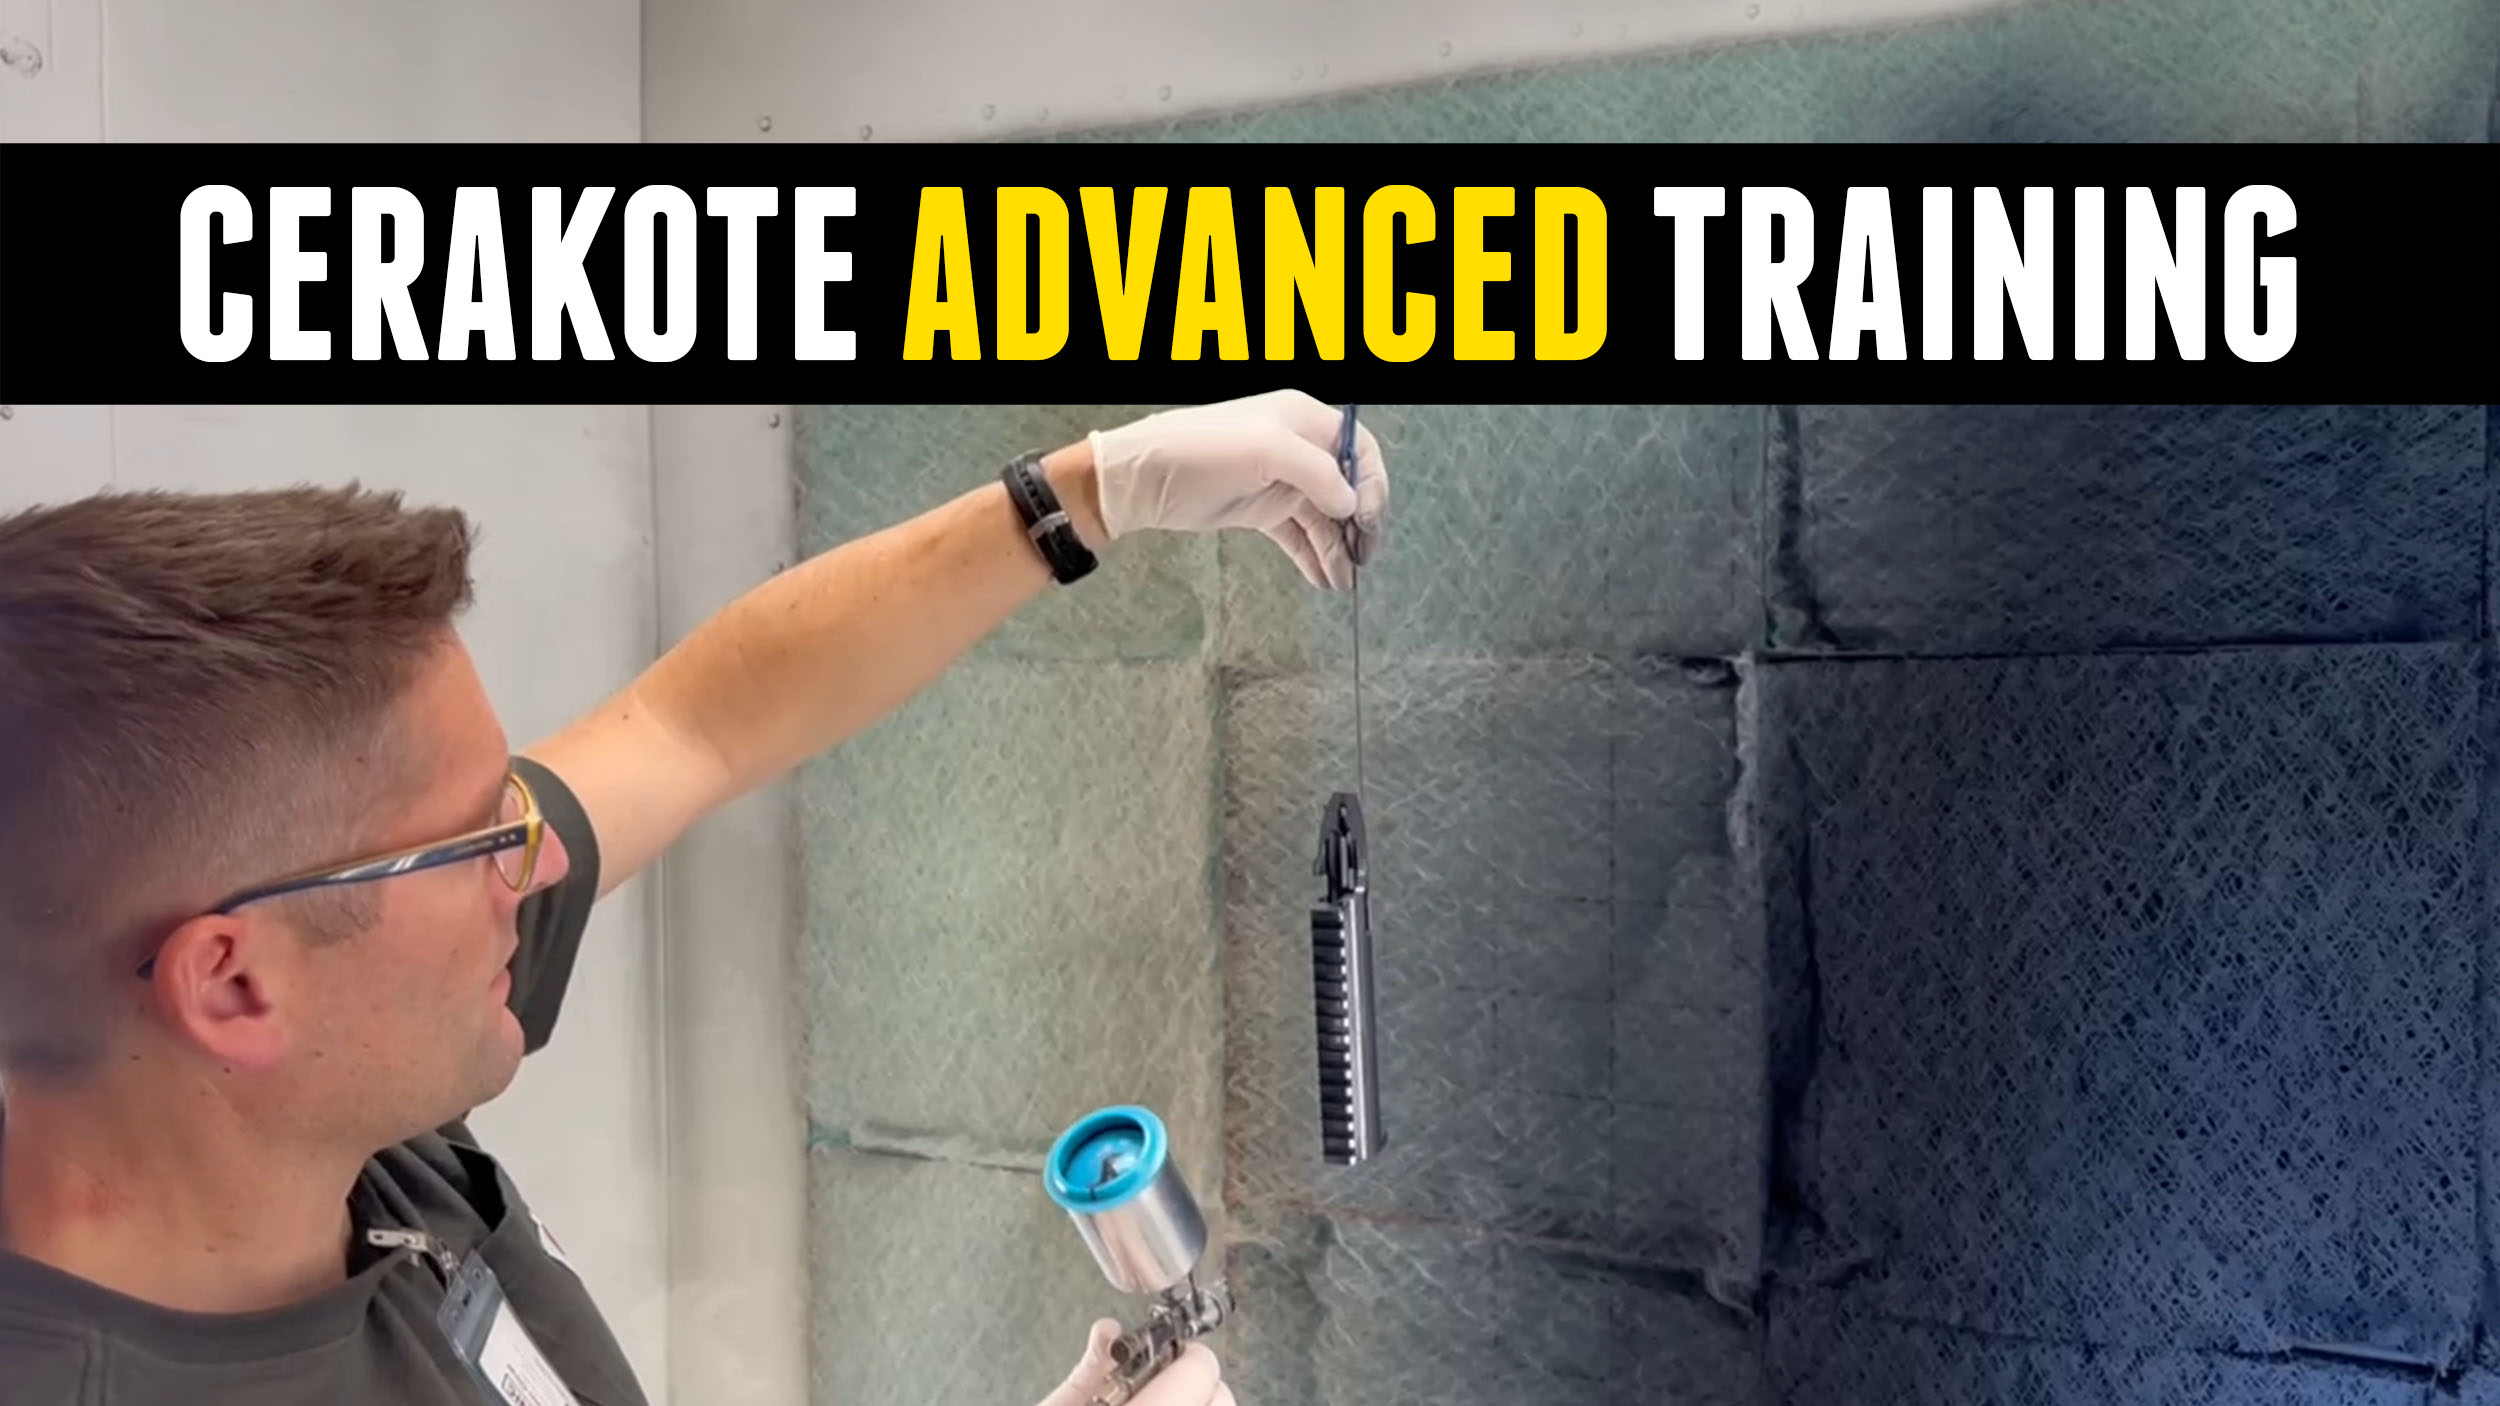
Following my Cerakote Certified Applicator Training, I built my own Cerakote booth and have done a number of Cerakote jobs including laser imaging over Cerakote. I recently returned to Cerakote for more advanced training!
Disclaimer
Ultimate Reloader LLC / Making with Metal Disclaimer: (by reading this article and/or watching video content you accept these terms). The content on this website (including videos, articles, ammunition reloading data, technical articles, gunsmithing and other information) is for demonstration purposes only. Do not attempt any of the processes or procedures shown or described on this website. All gunsmithing procedures should be carried out by a qualified and licensed gunsmith at their own risk. Do not attempt to repair or modify any firearms based on information on this website. Ultimate Reloader, LLC and Making With Metal can not be held liable for property or personal damage due to viewers/readers of this website performing activities, procedures, techniques, or practices described in whole or part on this website. By accepting these terms, you agree that you alone are solely responsible for your own safety and property as it pertains to activities, procedures, techniques, or practices described in whole or part on this website.
About the Advanced Course
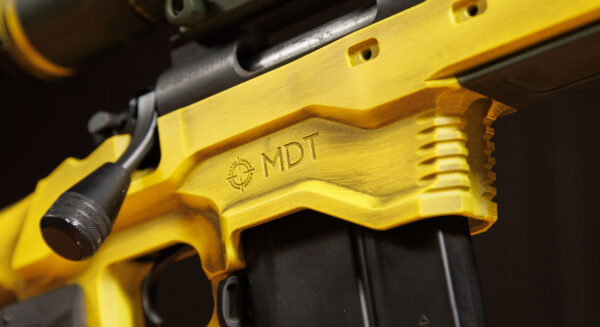
After my initial training, I was hooked. I’ve explored a number of different projects, but wanted to learn more. During the advanced course, I had the opportunity to work with the Cerakote Elite Series and Micro Slick, giving my MDT ACC chassis new life.
This chassis was part of my 6GT build and started out in FDE.
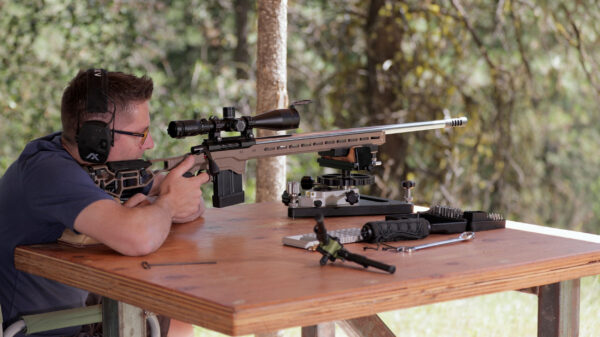
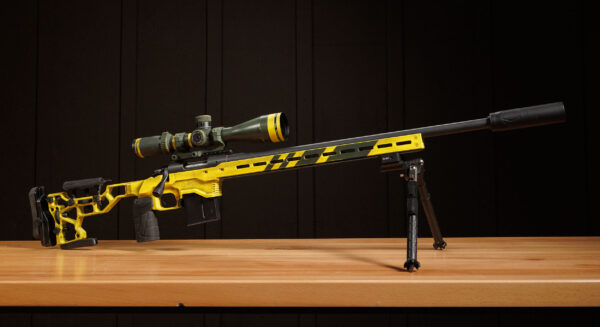
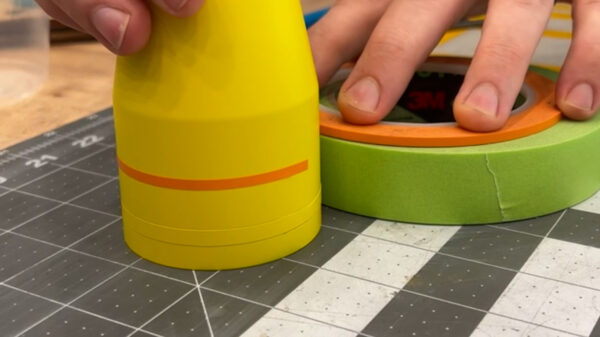
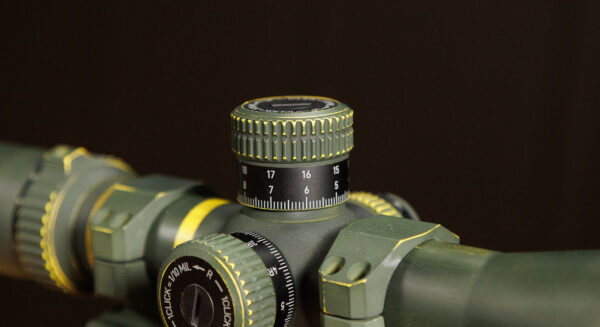
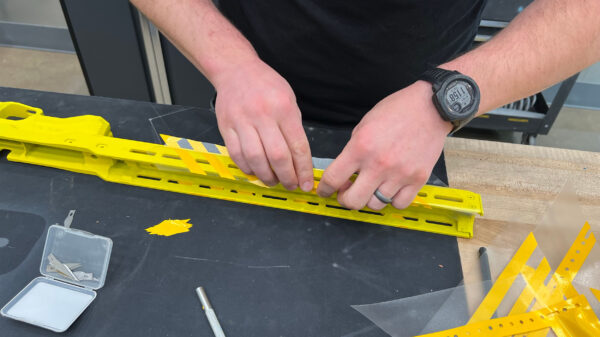
I decided to give it a distressed Cerakote look, along with an Athlon Helos BTR Gen 2 6-24×56 in a cantilever mount. I wouldn’t typically use a cantilever mount with a bolt action rifle, but it was what I had laying around. Preparing and masking the optic was quite the learning experience. My trainer cut some vinyl circles using a vinyl cutter to cover the lenses. Striping required some stand offs and rotating tape of the desired thickness.
It’s also important to consider adhesion as you can’t blast an optic as you can a metal part. My trainer taught me to use Scotch-Brite pads to rough up the anodized aluminum and to use a lower curing temperature. We cured the optic for two hours at 150 degrees Fahrenheit.
The chassis didn’t require any special considerations. I took it apart, then blasted the chassis until the FDE Cerakote was gone and only aluminum remained.
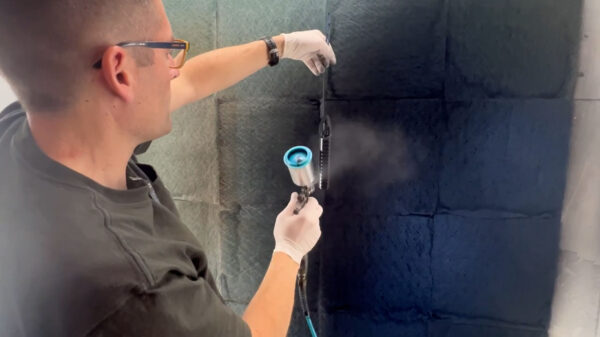
I used three different colors on this project—yellow, green, and graphite black. The yellow is a bit different to apply with lower coverage, so I needed to do 4 to 6 base coats instead of 2 to 3. After applying the yellow to the chassis and optic, I put them in the oven for 20 minutes for a flash cure. A flash cure works well when you need to be able to touch a piece and not get fingerprints on it, but you aren’t completely finished Cerakoting. Next came applying green Cerakote to the remainder of the optic and making green stripes on the chassis by masking.
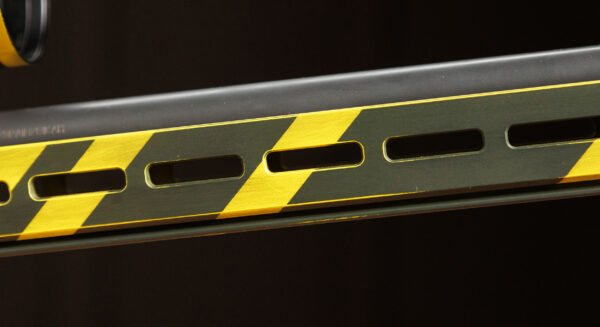
Another flash cure followed before I fogged some graphite black over the build. This is only a partial coat, but gives it a unique look.
I am a bit disappointed in how opaque the green Cerakote was. I was hoping to see some of the yellow base coat shine through, but I’m still happy with how this project turned out.
Conclusion
While I had gone to Cerakote training before, there was a lot to take in. This time I focused on optimal surface application and tried some new techniques.
If you’re interested in taking the Cerakote Certified Applicator training, I would suggest enrolling ASAP as there’s a bit of a waitlist. If you’ve taken the class, consider the advanced course!
![]()
If you want to go even further than Cerakote, check out the Colorado School of Trades!
Don’t miss out on Ultimate Reloader updates, make sure you’re subscribed!
Thanks,
Gavin Gear


