300 PRC is a precision long-range cartridge and shooting platform. And when precision counts, the reloading process and capability becomes super-important. Match-grade loads can make the difference between a hit and a miss when you’re stretching out to 1000 or even 2000+ yards. In this article I’ll give you a complete walk-through of my current reloading process for 300 PRC!
Cleaning, Annealing, and Lubing
Since I’m still in load development, I’ve been shooting small batches of ammo and reloading while my barrel cools down. So for these OCW test loads, I’ve been wiping the case necks and bodies before reloading (benchrest shooters will do this at the range). For bulk reloading I’ll typically dry tumble or wet tumble. Then on to annealing!
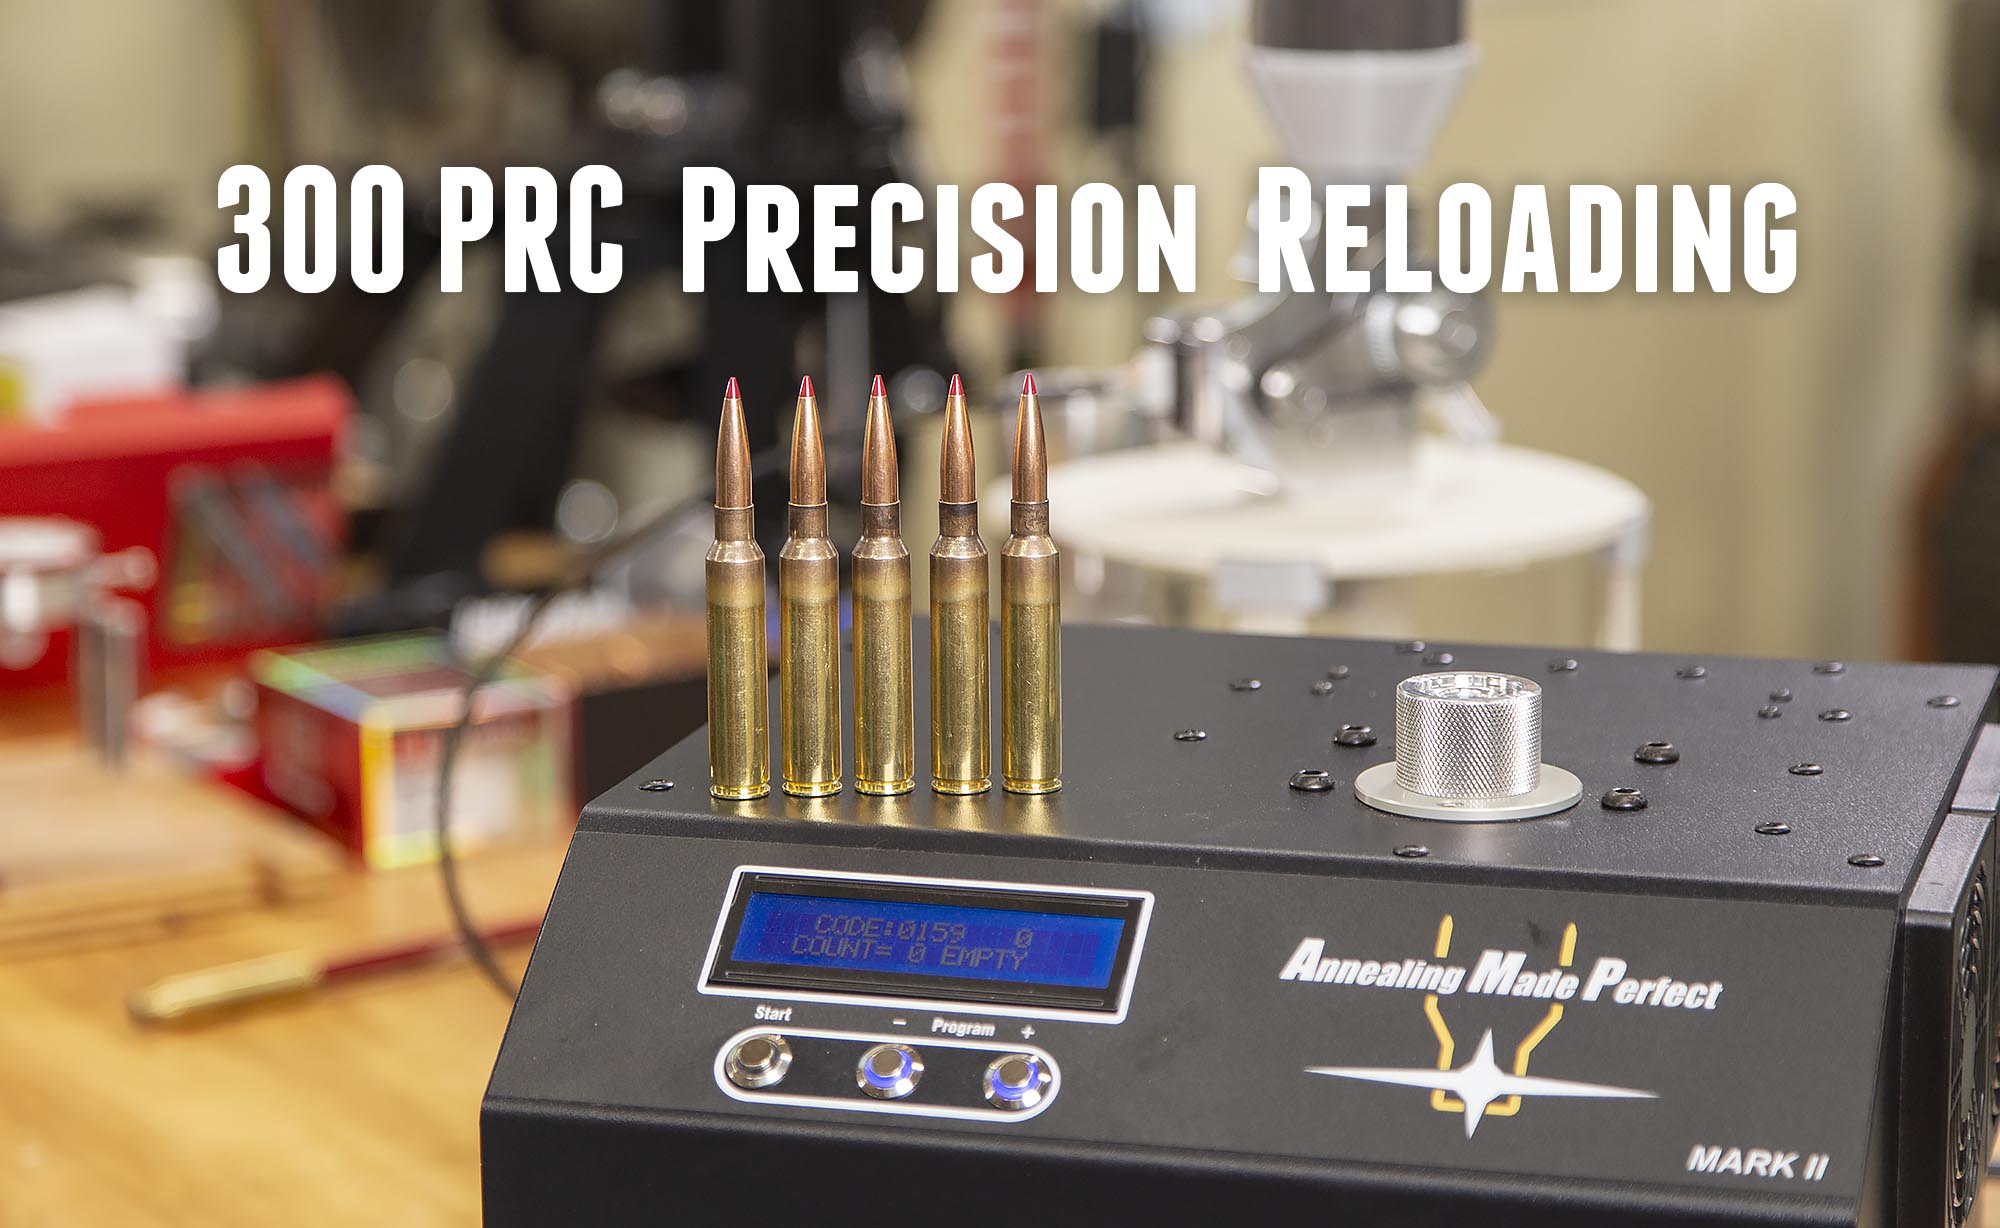
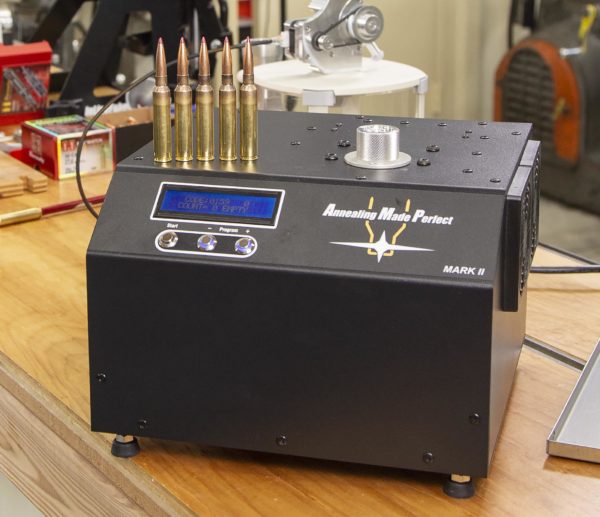
Above: the Annealing Made Perfect (AMP) Mark II annealer with 300 PRC cartridges. With the AMP Mark II, the process is simple:
- Install the appropriate pilot (a metal bushing) – for 300 PRC, this is a #31.
- Run an “Analyze” pass (machine brings case neck/shoulder to melting point to determine heating properties) on a case. This is only necessary if you don’t have a code generated for the exact cases you’ll be annealing.
- Anneal cases using the generated code.
For more information about the AMP annealer, check out my full article on the subject.
For lubrication, I typically use my “house label” lanolin spray lube. For just a few cartridges at a time, I’ll just wipe on some Imperial Case Sizing Wax. When using wax, I’ll use a Q-Tip to apply lube to the insides of the case necks.
Sizing
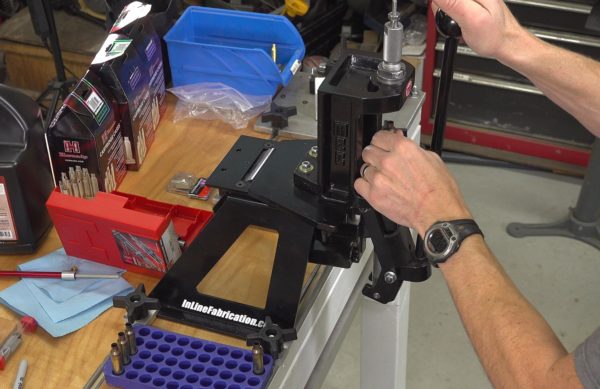
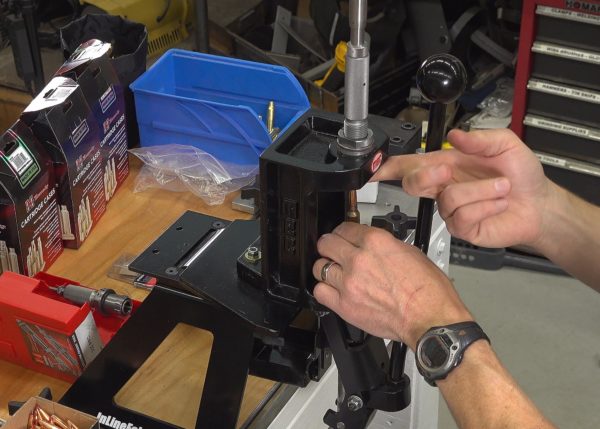
On to the reloading press! For these loads, I’m using the MEC Marksman. I chose this press because of the long cartridge length for 300 PRC (3.700″ max COL, and I will go beyond that in testing!). The MEC Marksman has a usable frame opening of 3.900″ (see full details of my testing HERE). That makes the Marksman well suited for this class of reloading (longer than 30-06, but shorter than 50 BMG).
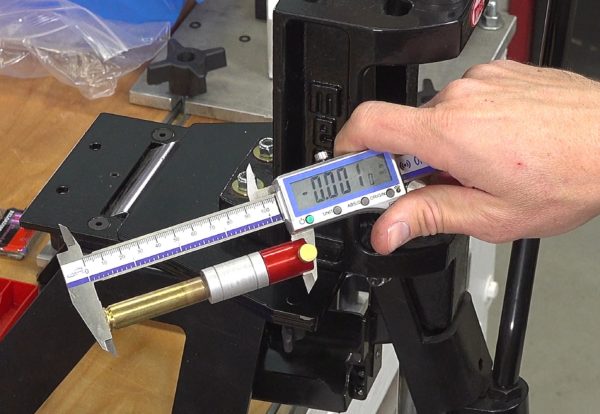
When setting up the sizing die, I used the Hornady Headspace Comparator tool to check shoulder bump. Below you can see the result- 0.001″ push back on the shoulder- PERFECT.
Once the die is set, the sizing goes very fast and smooth.
Priming Cases
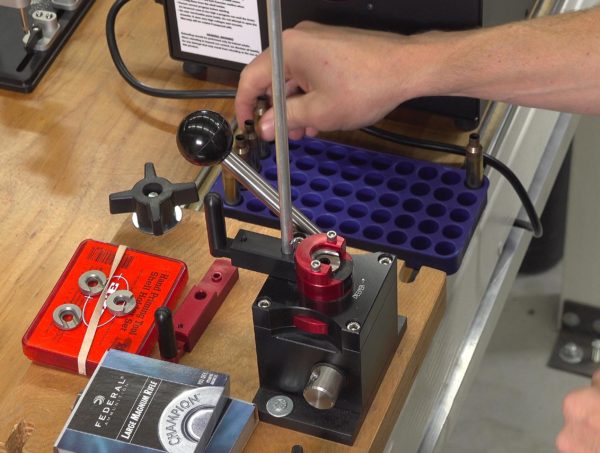
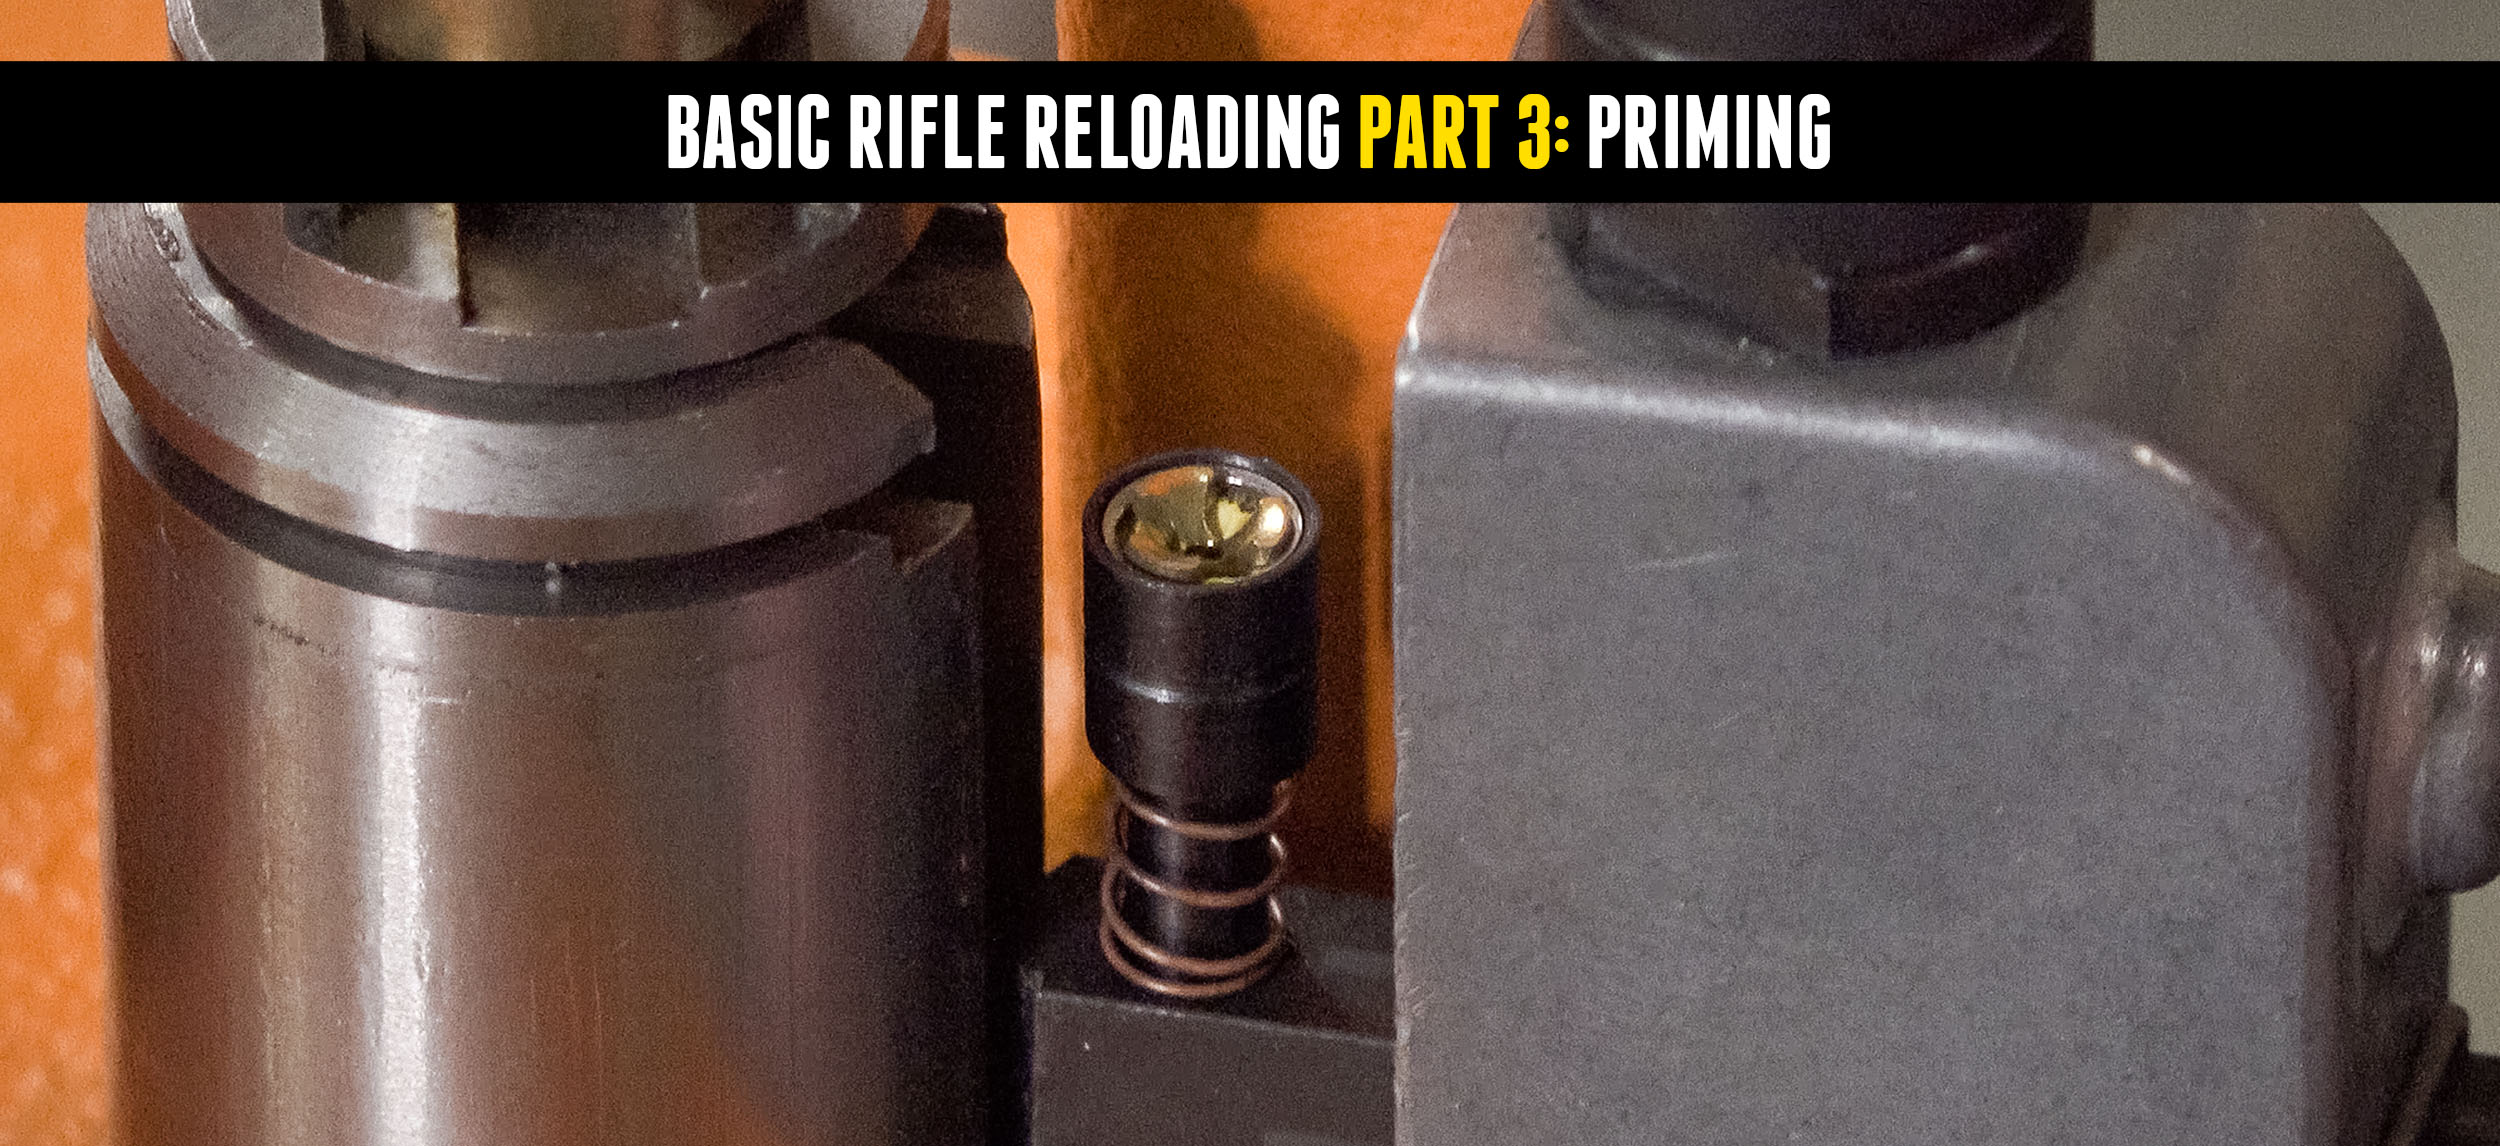
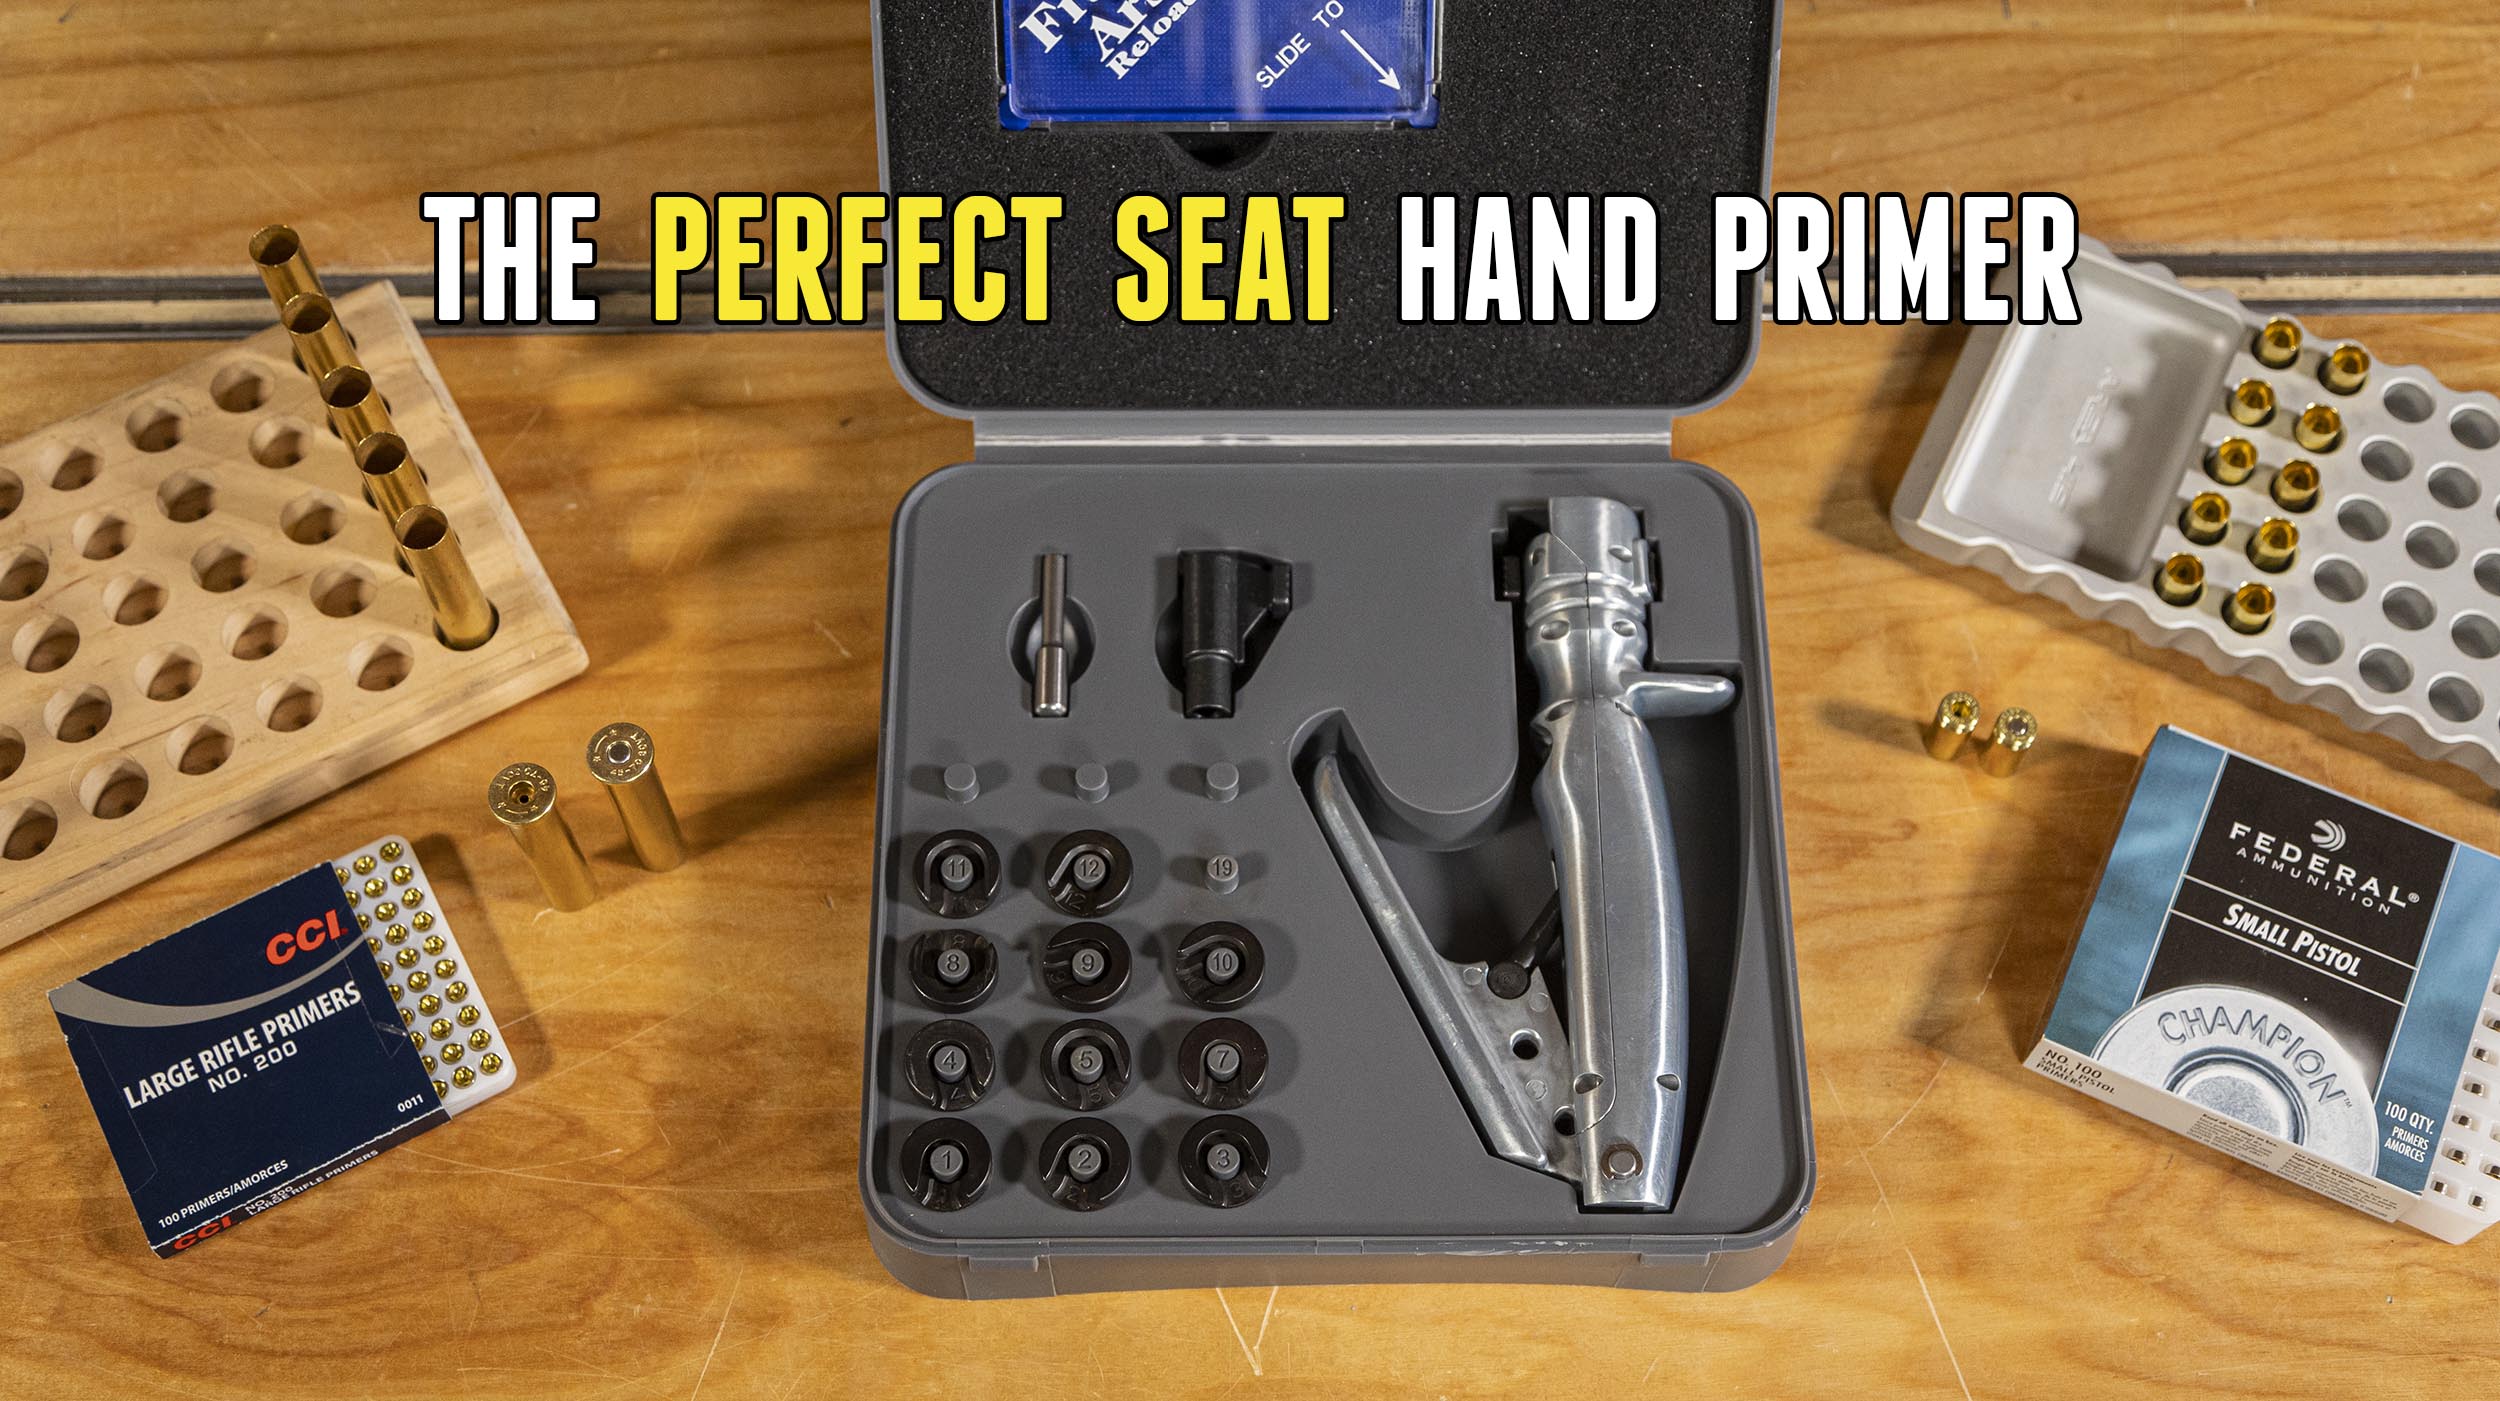
One thing I’ve noticed about Hornady rifle cases is how tight the primer pockets can be. And that’s actually a good thing when it comes to brass longevity- all else being equal, the cases should last longer. But it can be difficult to prime these cases with “light duty” priming tools. Enter the Primal Rights Competition Primer Seater (CPS). This tool has a tube feed system (100 primers at a time!), lots of leverage, and depth adjustment in 0.001″ increments. It’s second to none for priming match-grade ammo.
Powder Charging
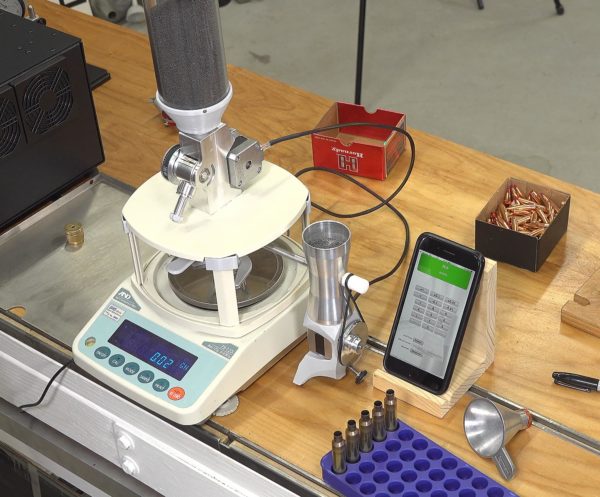
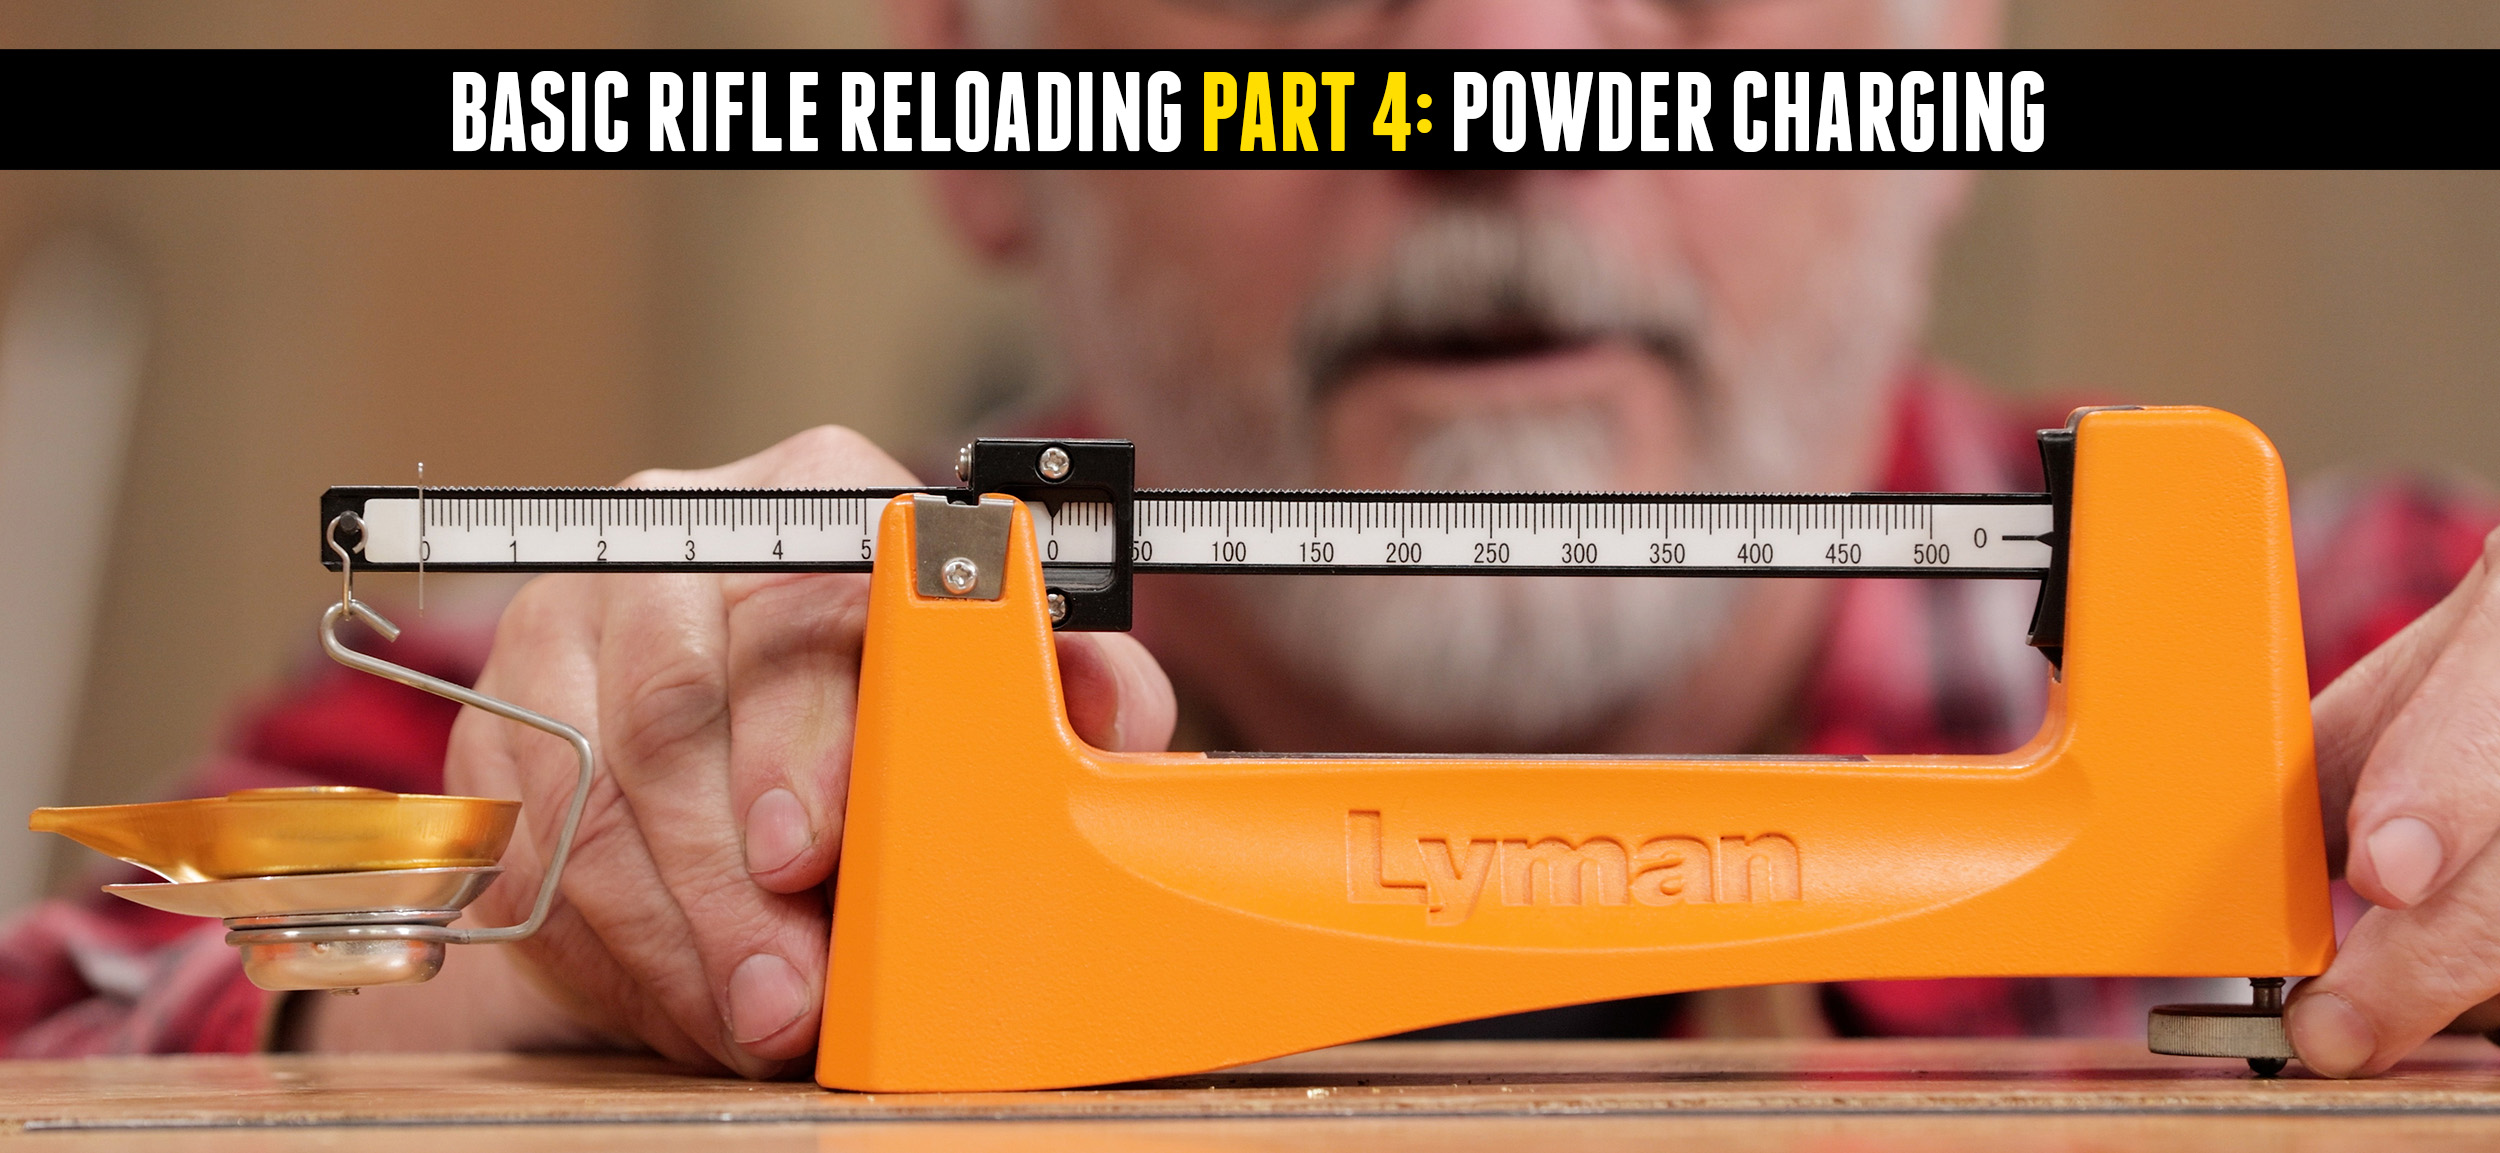
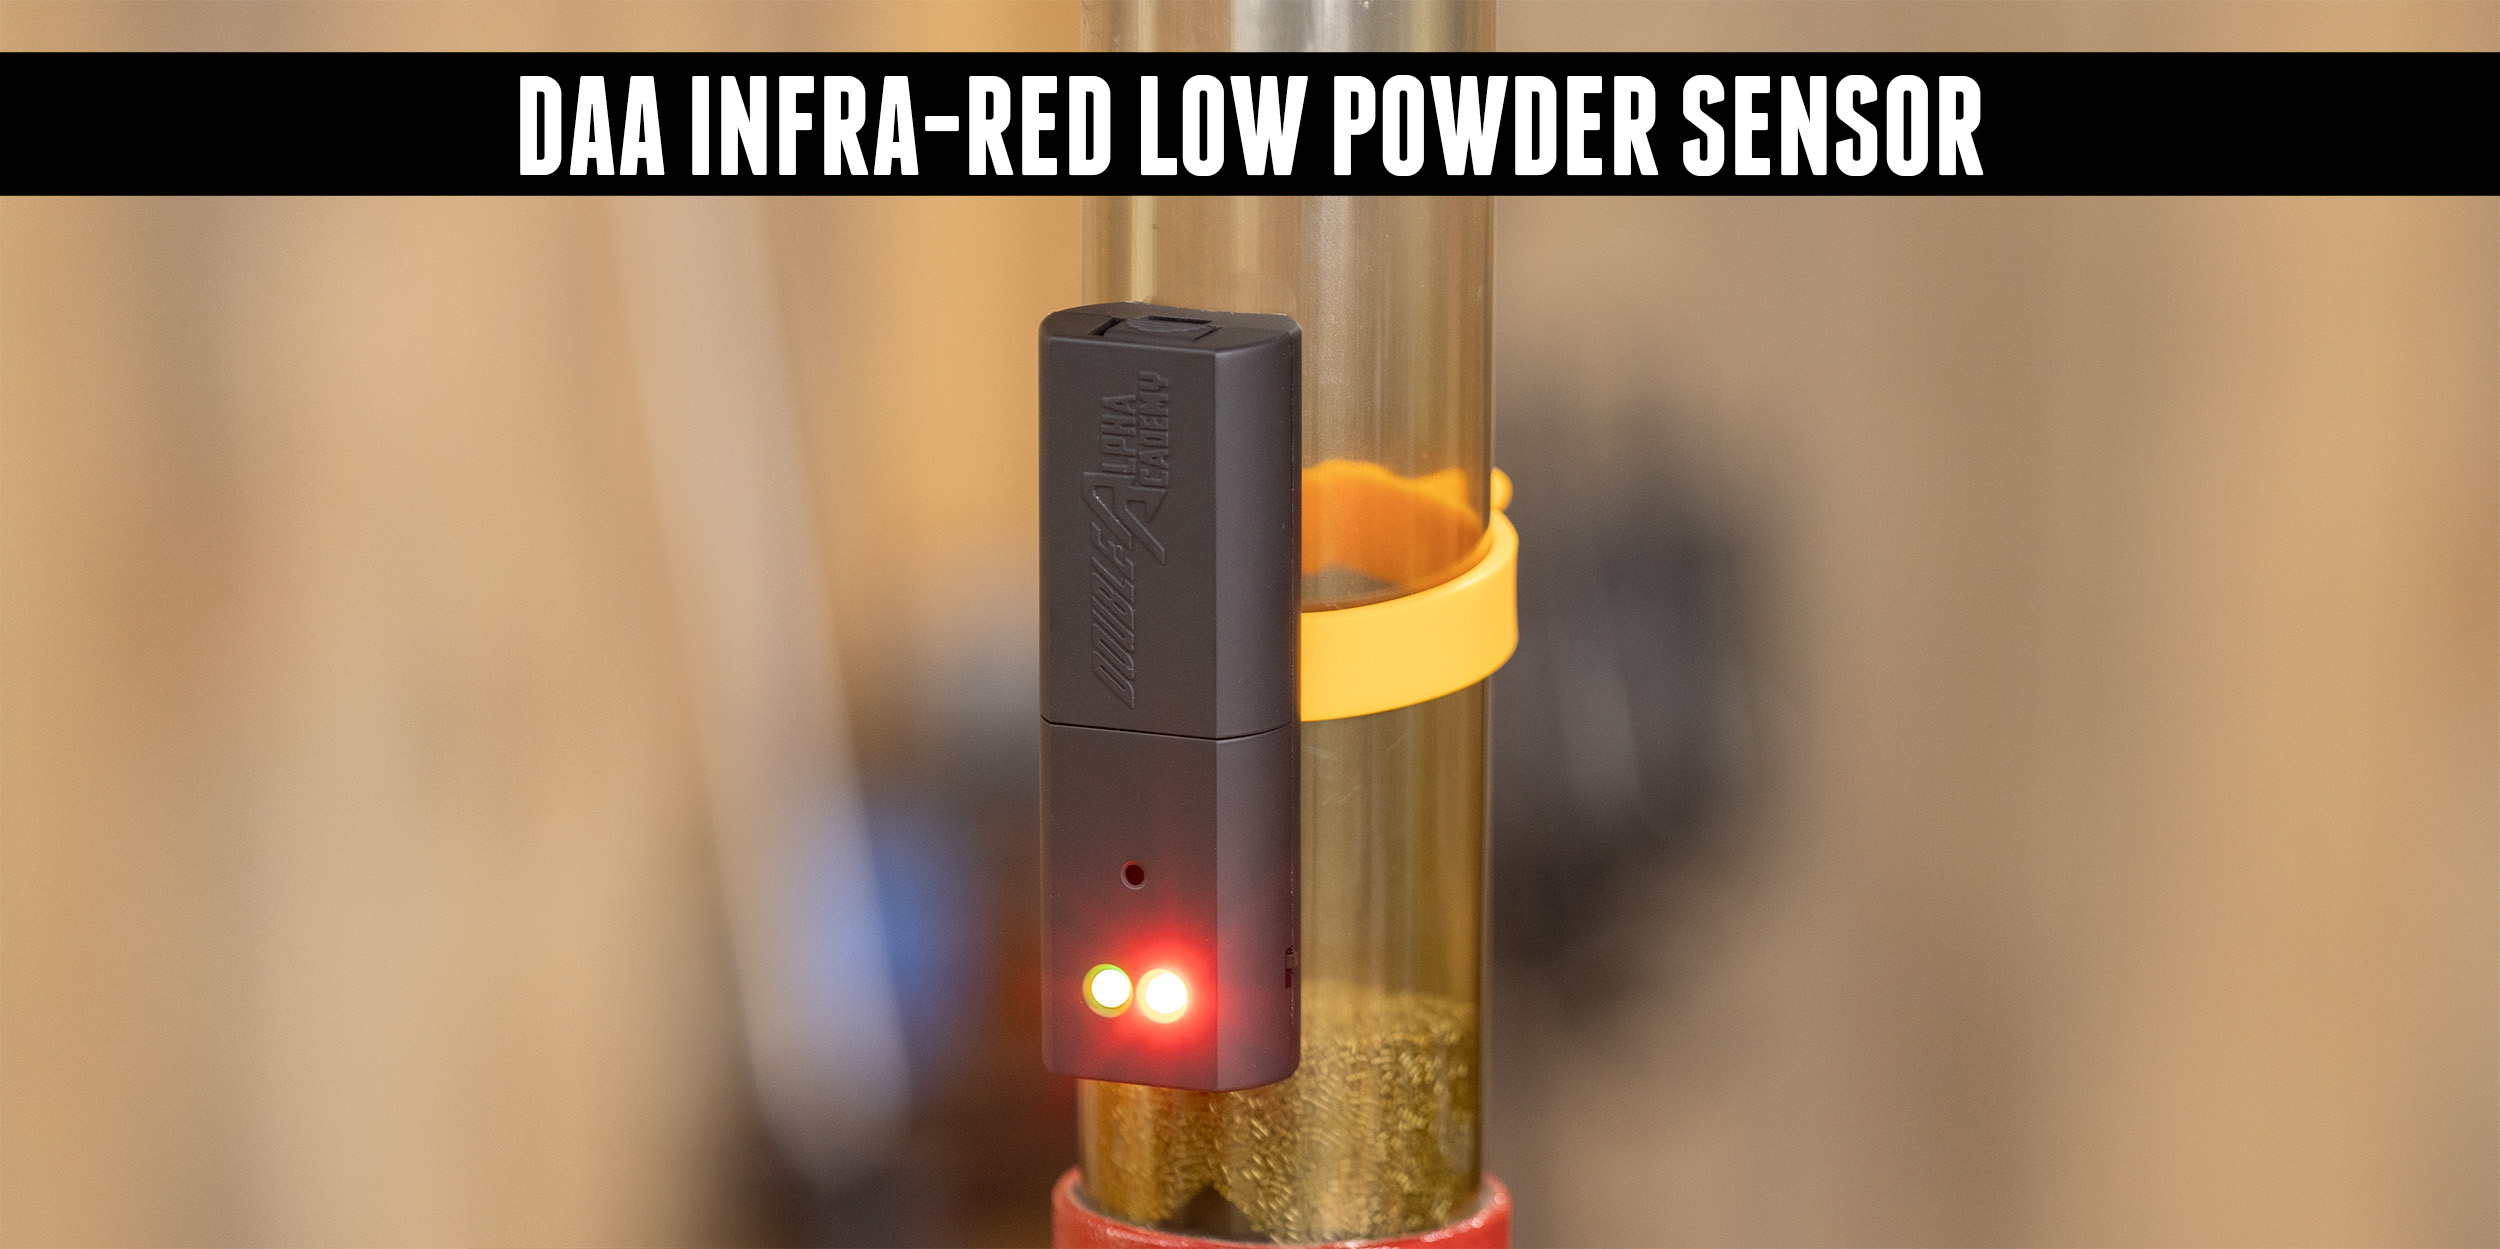
For precision ammunition, one of the most important factors is consistency for your powder charges. And for that task, I’m using the Autotrickler V3 system. I can get a powder charge accurate to 0.02 grains in about 10 seconds- about the same time it takes me to seat a bullet! So when I’m loading match ammo, there’s no downtime for charging and seating- a smooth operation!
Bullet Seating
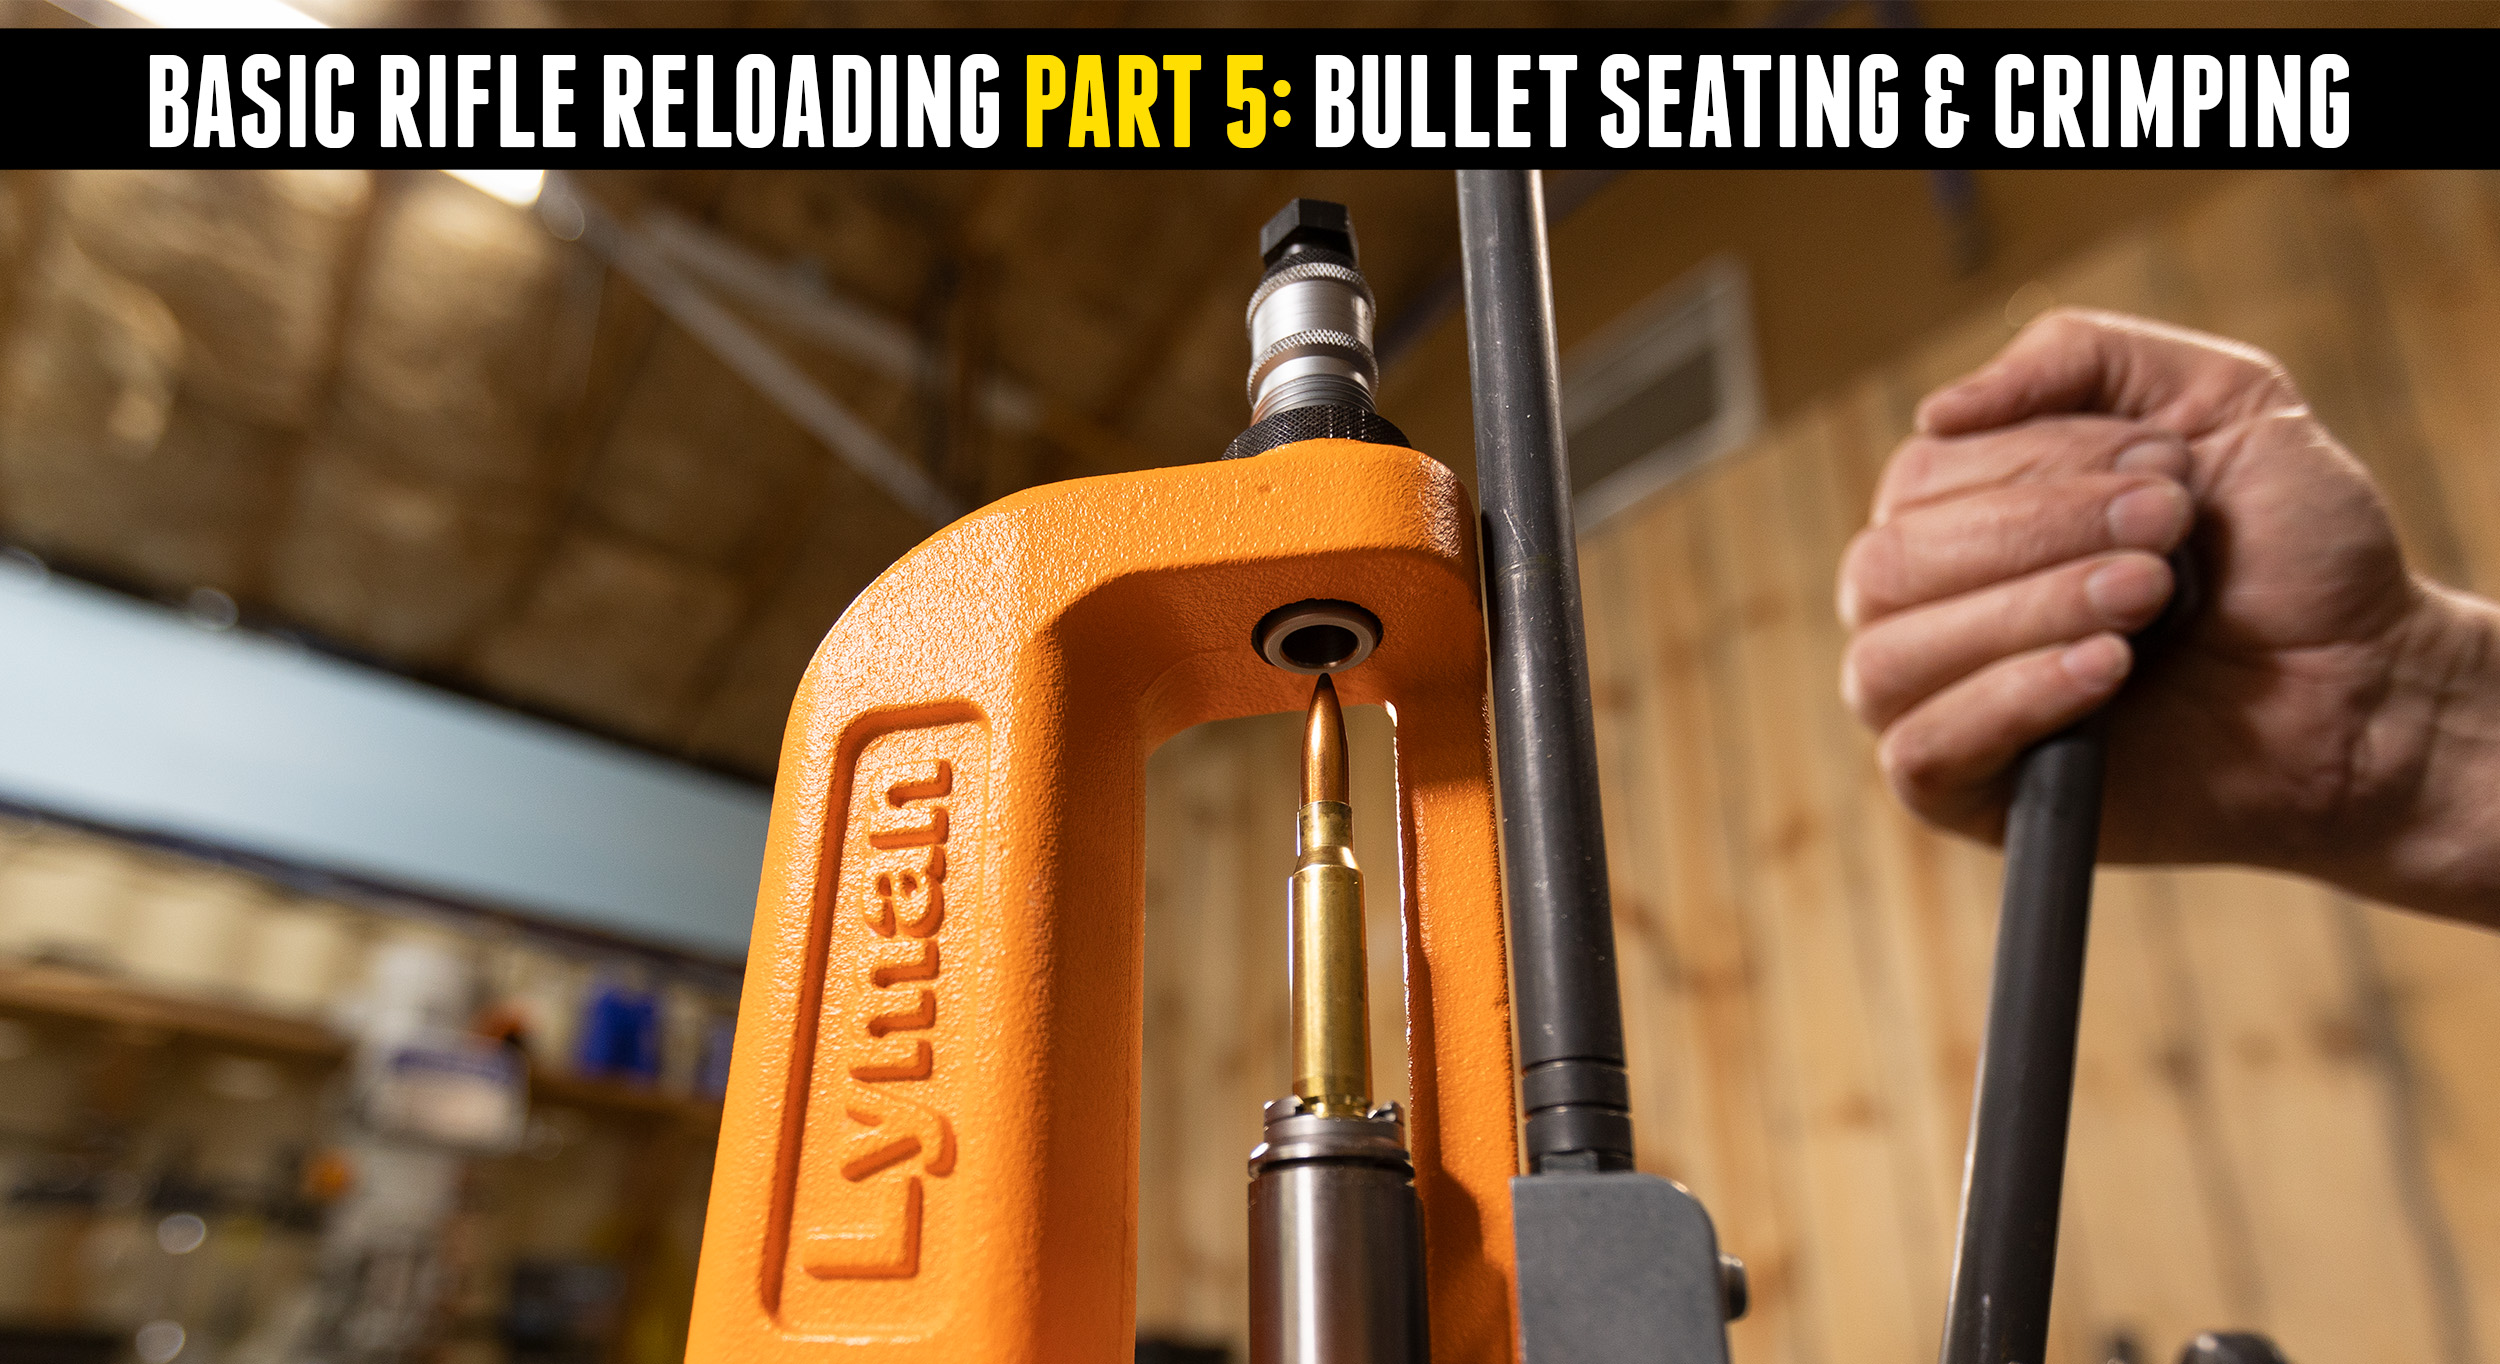
For precision ammunition- bullet seating depth consistency and bullet-to-case concentricity are both very important factors. So it’s critical that you pay attention to both your seating depth, and your equipment setup to ensure both of these factors (seating depth and bullet runout) are optimized.
Using the MEC marksman and a Hornady 300 PRC seating die, I have gotten good consistency on bullet seating depth. I also measured bullet runout and found about 0.002″ TIR near the tip. That’s good for a setup like this!
There you have it, my precision reloading setup for 300 PRC. I’ll be experimenting with different “tweaks” to this setup- so stay tuned! Don’t miss out on Ultimate Reloader updates, make sure you’re subscribed!
Thanks,
Gavin
