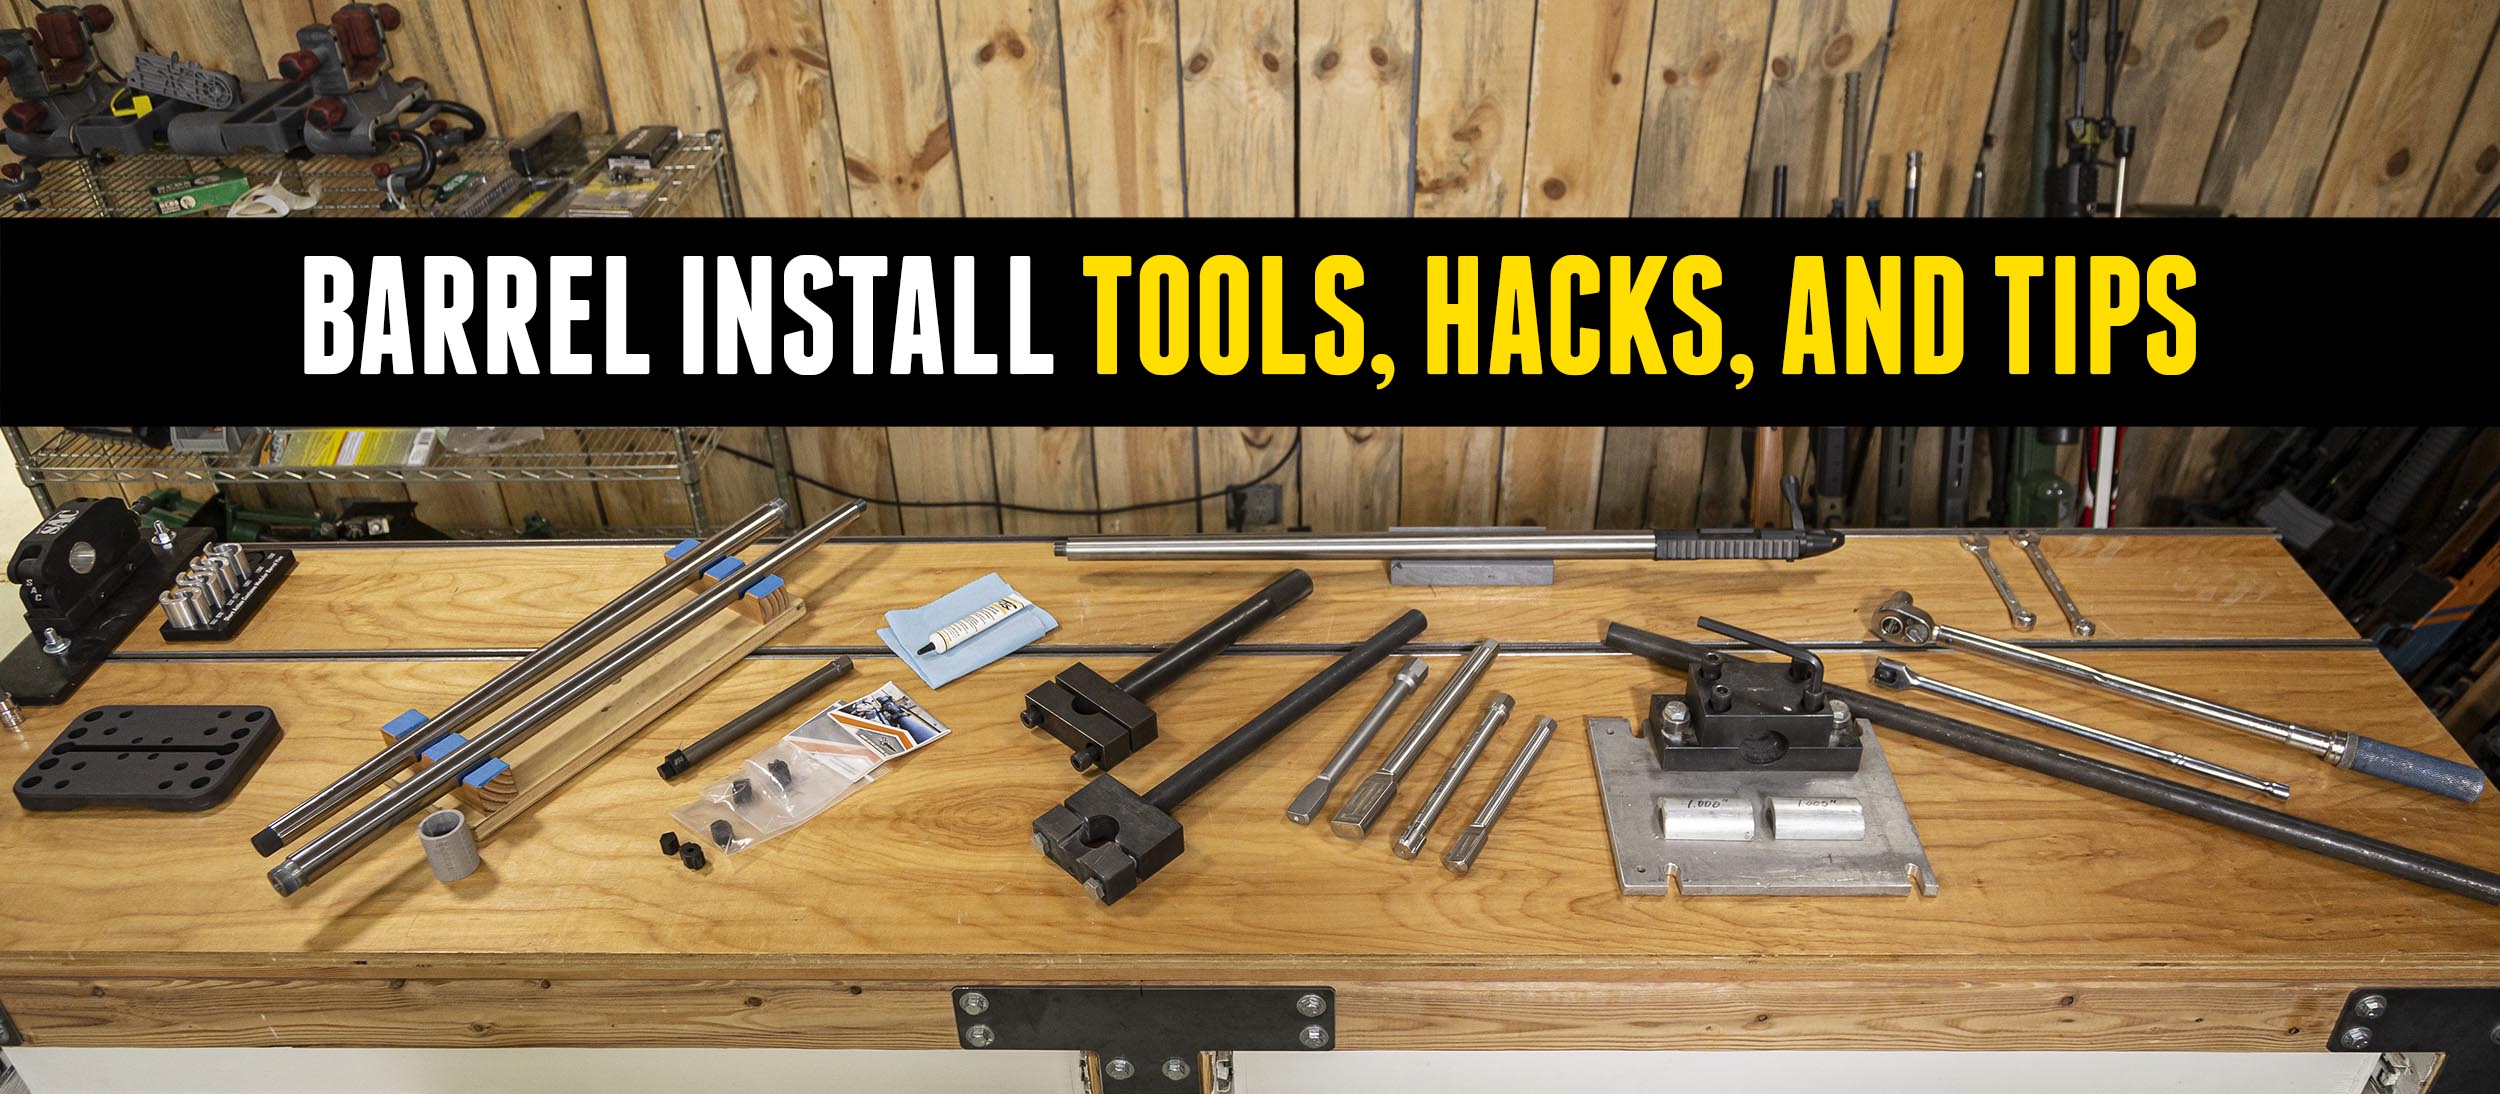
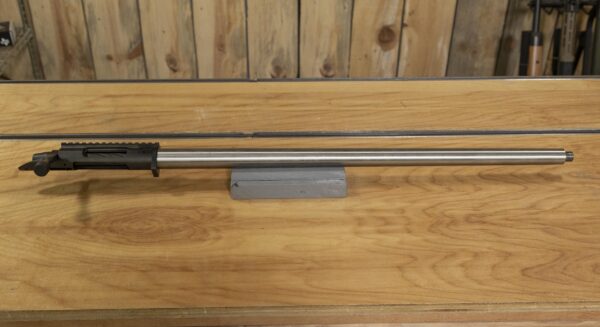
I’ve installed a number of barrels on actions over the years. Today I’m highlighting some of the tools, processes, and tips and tricks.
Disclaimer
Ultimate Reloader LLC / Making with Metal Disclaimer: (by reading this article and/or watching video content you accept these terms). The content on this website (including videos, articles, ammunition reloading data, technical articles, gunsmithing and other information) is for demonstration purposes only. Do not attempt any of the processes or procedures shown or described on this website. All gunsmithing procedures should be carried out by a qualified and licensed gunsmith at their own risk. Do not attempt to repair or modify any firearms based on information on this website. Ultimate Reloader, LLC and Making With Metal can not be held liable for property or personal damage due to viewers/readers of this website performing activities, procedures, techniques, or practices described in whole or part on this website. By accepting these terms, you agree that you alone are solely responsible for your own safety and property as it pertains to activities, procedures, techniques, or practices described in whole or part on this website.
The Basic Process
To start, you have the action/receiver and the barrel. With the barrel held in a barrel vise, you screw on the receiver. Once it is hand tight, you need to use an action wrench to tighten the receiver onto the barrel to 90 ft-lbs. This is enough torque to prevent the barrel and receiver from unscrewing from one another but not so much that it’s extremely difficult to remove the barrel.
Needed Equipment
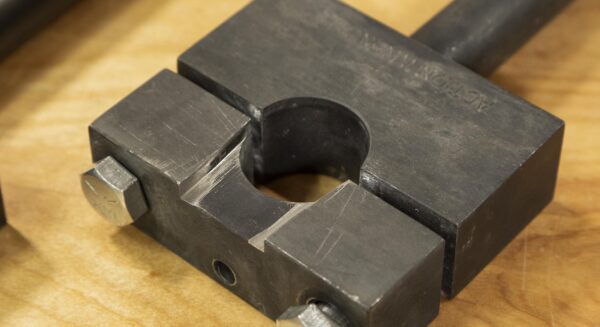
You need a barrel vise or some sort of clamping method to install or remove a barrel. My very first set-up was a Brownells barrel vise with four bolts, a heavy duty clamp and bushings.
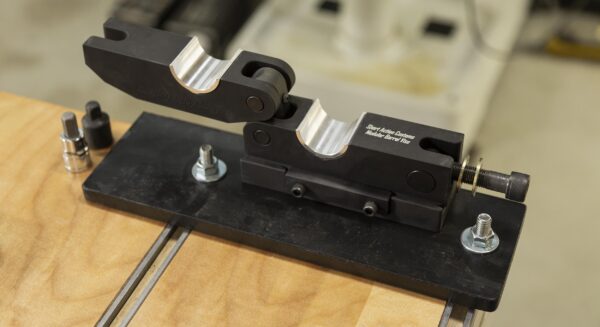
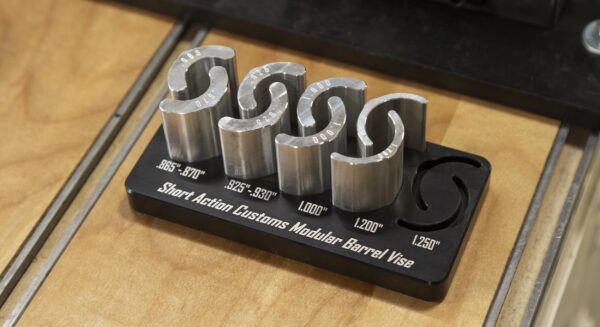
While this is no longer my primary vise, I did use it for my 50 BMG build. I more frequently use the bravo barrel vise and the modular barrel vise from Short Action Customs. Both use clearly marked bushing sets and are faster and lighter than the Brownells. My favorite is the modular barrel vise as it is the quickest to use.
I currently have this vise set up in the shop and the bravo at Precision Rifle Concepts. (If you do choose to use a more traditional barrel vise, Gordy Gritters taught me that you can use a cheater bar to help tighten the hex screws.)
Here’s my overview of the Bravo and Modular barrel vises from SAC:
Once you decide on a barrel vise, you need an action wrench. There are two main styles of action wrenches: external and internal. External action wrenches are ideal for removing barrels requiring lots of torque, particularly factory guns.
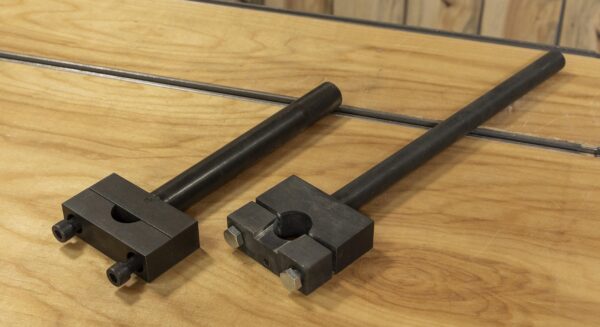
External action wrenches also present opportunities for customization. I custom fit my action wrench for a particular recoil lug and used the wrench to properly clock the recoil lug.
On the con side, these wrenches are often larger and take up more space, are slower to use, and may scratch the barrel.
Internal action wrenches are incredibly simple to use and lock into specific actions.
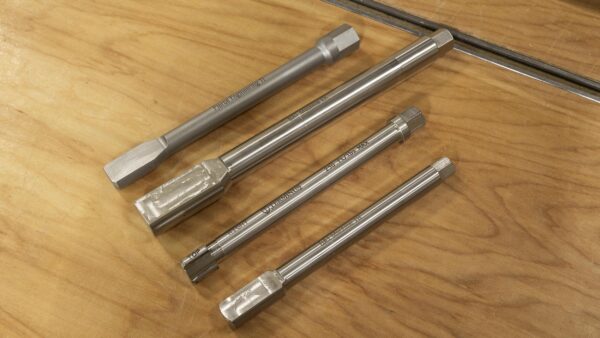
This means you need a wrench for every different action type you have which takes up space.
SAC Modular Action Wrench
The Short Action Customs modular action wrench comes in handy when you want a more flexible solution that takes up less space!. This tool has compact replaceable heads for different action types.
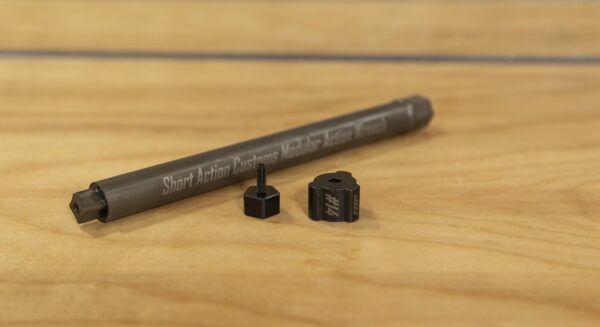
Here’s our video showing this action wrench in action:
Available action heads include:
- Model 1: Remington 700 actions, Defiance Deviant/Ruckus/Rebel actions (does not fit Defiance Elite), Impact 737 actions, Bergara B14, Lone Peak Fuzion.
- Model 2: Winchester M70, FN SPR actions, Springfield 1903 ***
- Model 3: American Rifle Company Mausingfield actions ***
- Model 4: BAT Machine TR and similar actions
- Model 5: Tikka T3 actions
- Model 6: Howa 1500 actions ***, Borden actions, Kelbly’s actions
- Model 7: Bighorn TL, SR, and Origin actions, ejector must be removed. Gunwerks GLR Left and Right, Savage Small Shank.
- Model 8: American Rifle Company Nucleus/Archimedes actions
- Model 9: Curtis Custom actions only, will no work with Terminus actions
- Model 10: Defiance Elite, Pierce actions, Tuebor Raider
- Model 11: Defiance .750″ diameter bolts, Surgeon XL
- Model 12: Sako A7
- Model 13: Surgeon 591
- Model 14: Terminus actions, will work with Curtis Customs
- Model 15: Sako TRG actions
- Model 20: McMillan TAC50 actions
Ultimate Reloader Process
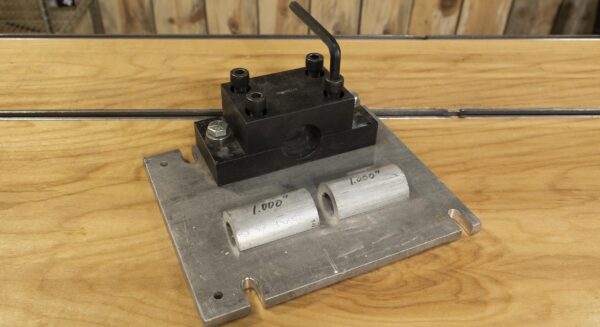
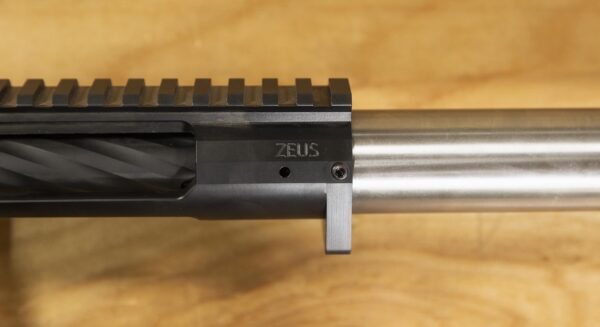
The first thing I do when installing a barrel is check the barrel shank diameter next to where it’s threaded on the tenon. For my 6.5 Creedmoor barrel, it is 1.230”. I opted to use the 1.250” bushings with drywall tape.
Once there is tape wrapped around the shank and the barrel securely in the vise, I tighten it down and torque it. I do this by feel, so I use a T-wrench, but a traditional torque wrench is a good idea too. I put some TW-25B grease on the barrel threads and with the bolt removed, screwed the receiver on. If I’m checking headspace, I’ll sometimes keep the vise loose and clock things so the ejection port is facing up. Next is selecting the correct action wrench head and torquing it to 90 ft-lbs.
To reverse the process, I use a breaker bar, not a torque wrench to loosen the receiver.
When using bushings, you always want to have a way to take up extra space. I use drywall tape or powdered rosin. These also protect surfaces and prevent slippage.
Using a Lathe
You can also use a lathe to install a barrel! I’ve only recently started using this method for large form work and ELR guns. The six-jaw chuck applies even pressure and works like a barrel vise. The rest of the process is the same. This technique allows me to check headspace with the receiver torqued onto the barrel.
*NOTE OF CAUTION: Much care must be used with this technique to avoid slipping. Larger diameter ELR barrels are less prone to this slippage due to their larger diameter (1.75″ – 2.00″ range shank).
Conclusion
I keep a variety of tools on hand, including all of the Short Action Customs modular action wrench heads, as I never know what guns will come into PRC. If you are interested in learning hands-on gunsmithing, check out the Colorado School of Trades.
Get the Gear
All of these products are available directly from Short Action Customs:
Don’t miss out on Ultimate Reloader updates, make sure you’re subscribed!
Thanks,
Gavin Gear


