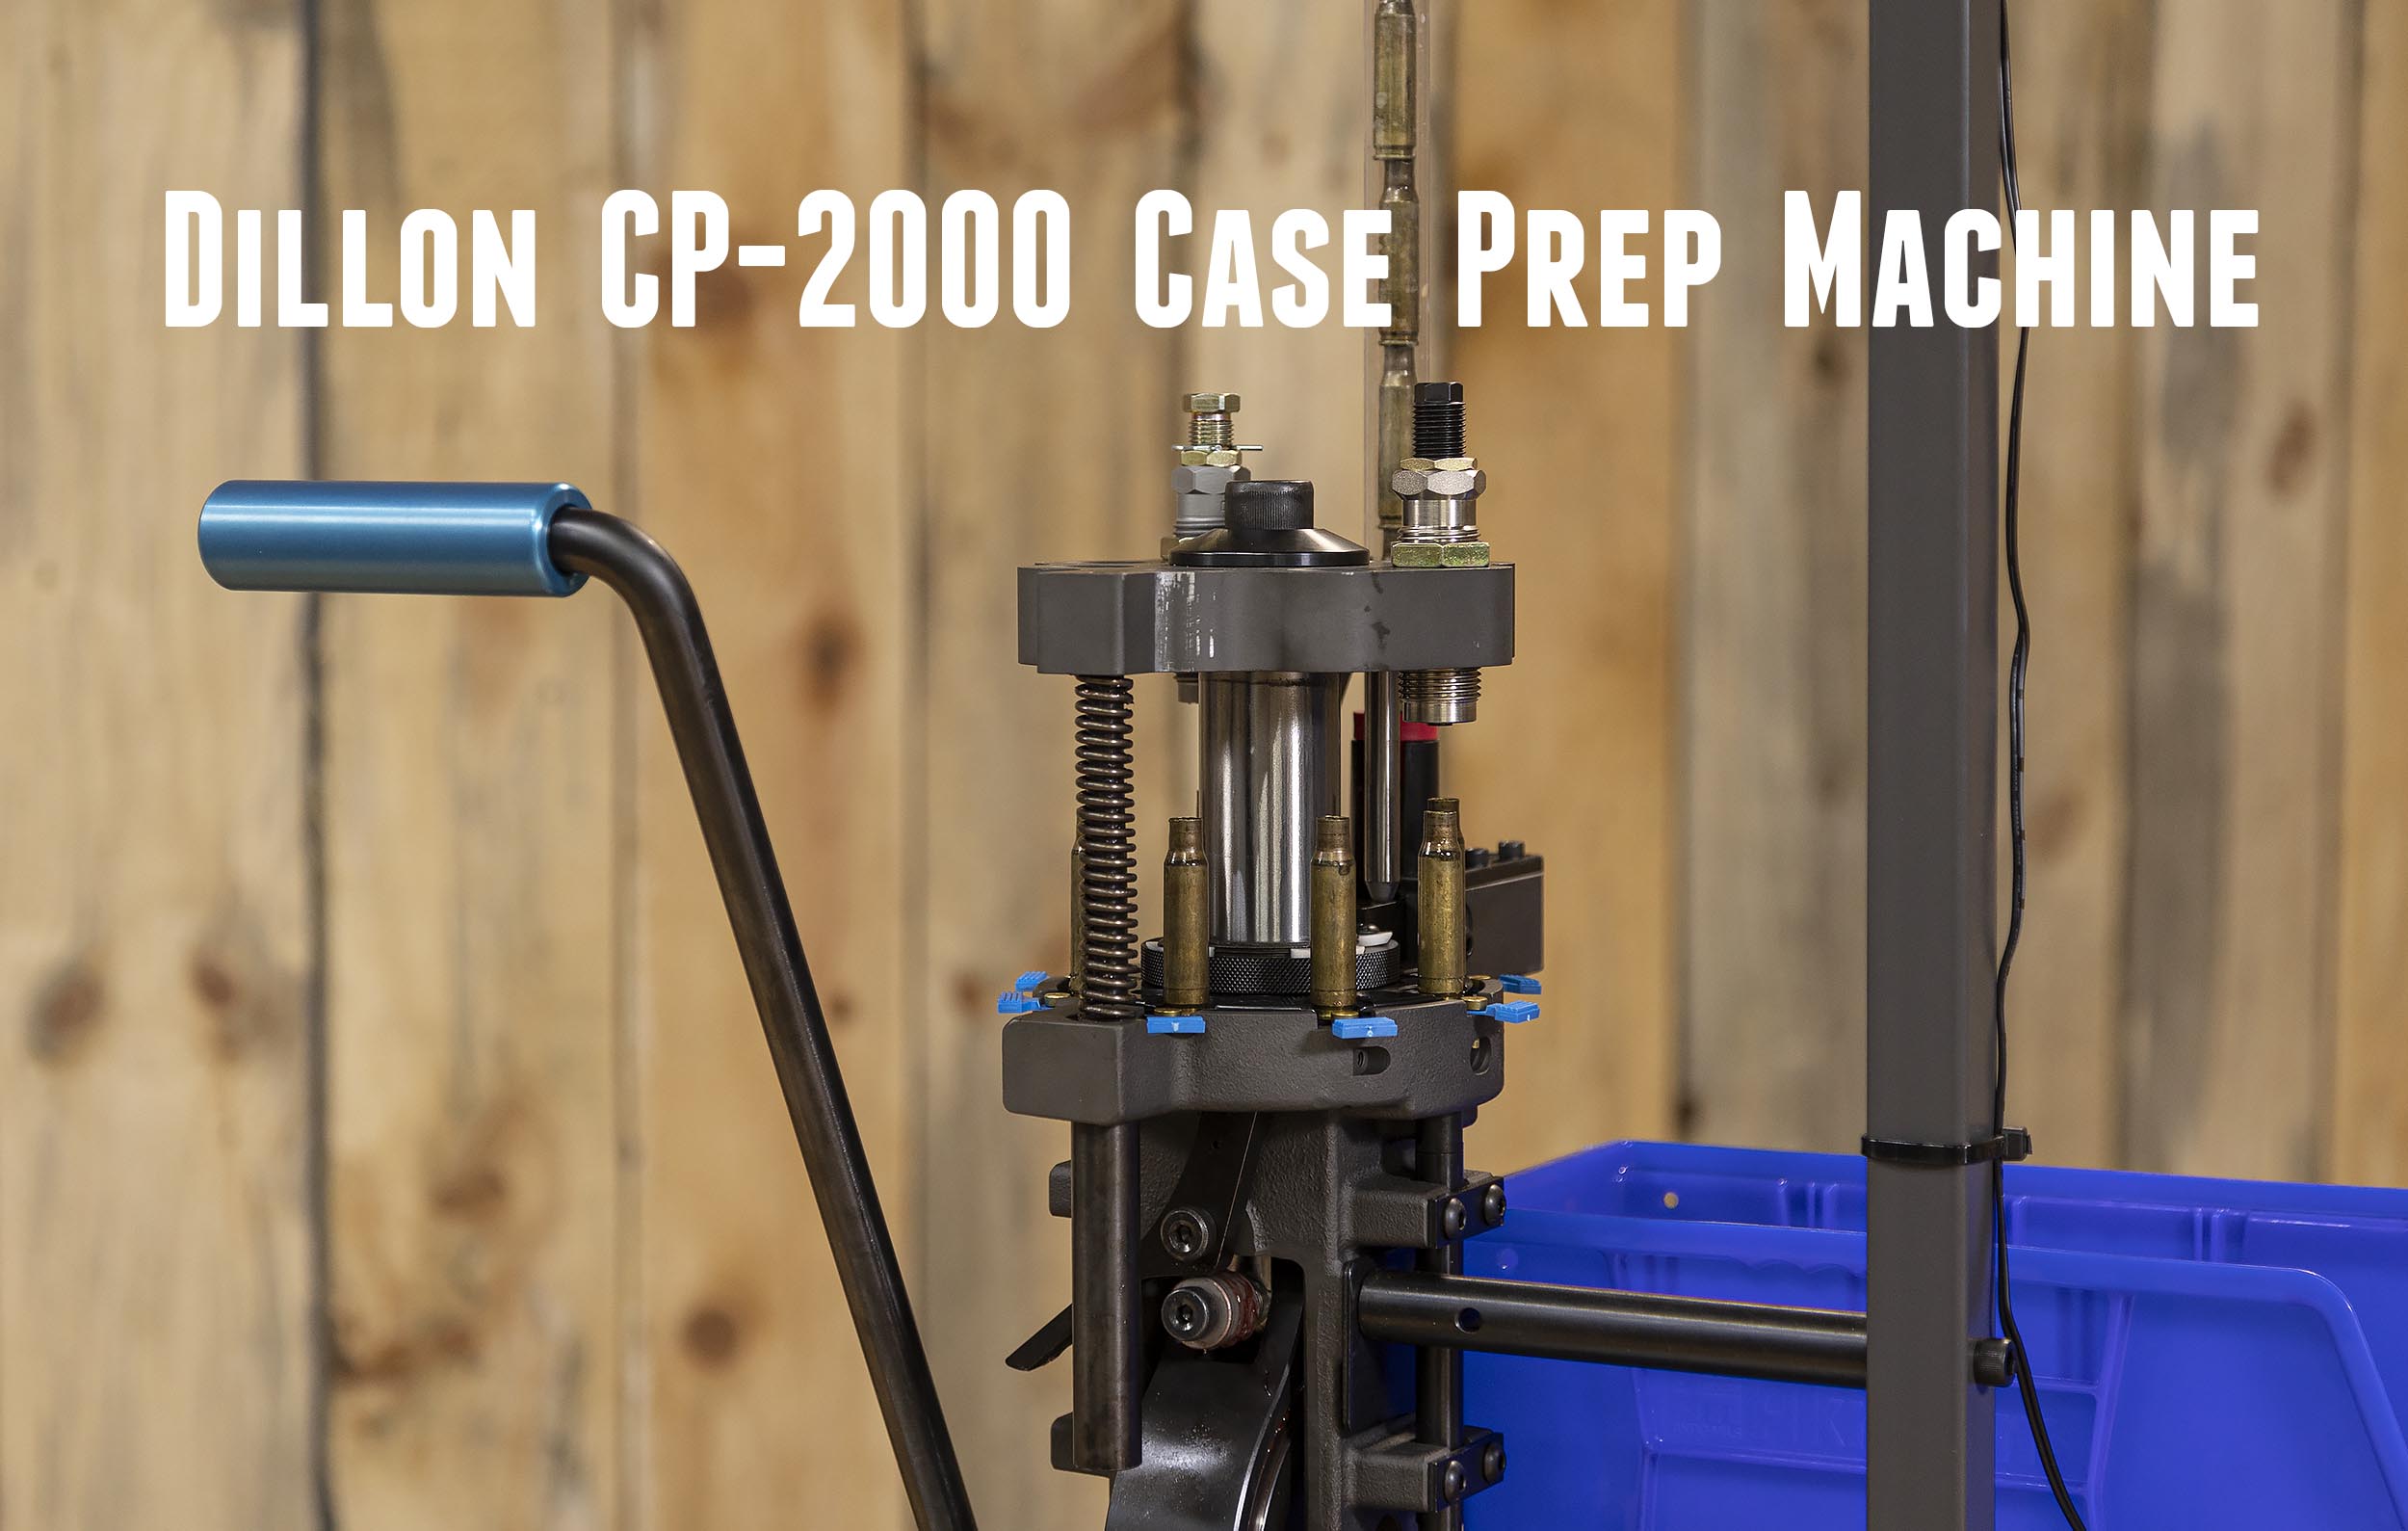
A lot of people use progressive reloading presses for case prep. But what if you want a dedicated machine for case prep, and don’t want to pay for a priming system, powder measure, and other parts that aren’t needed for case prep? Dillon has risen to this challenge with the CP-2000 case prep machine, the topic of this story!
Disclaimer
Ultimate Reloader LLC / Making with Metal Disclaimer: (by reading this article and/or watching video content you accept these terms)
- The content on this website (including videos, articles, ammunition reloading data, technical articles, gunsmithing and other information) is for demonstration purposes only.
- Do not attempt any of the processes or procedures shown or described on this website.
- All gunsmithing procedures should be carried out by a qualified and licensed gunsmith at their own risk.
- Do not attempt to repair or modify any firearms based on information on this website
- Ultimate Reloader, LLC and Making With Metal can not be held liable for property or personal damage due to viewers/readers of this website performing activities, procedures, techniques, or practices described in whole or part on this website.
- By accepting these terms, you agree that you alone are solely responsible for your own safety and property as it pertains to activities, procedures, techniques, or practices described in whole or part on this website.
About the CP-2000
From the Dillon Product Page:
Stock Number: CP2000
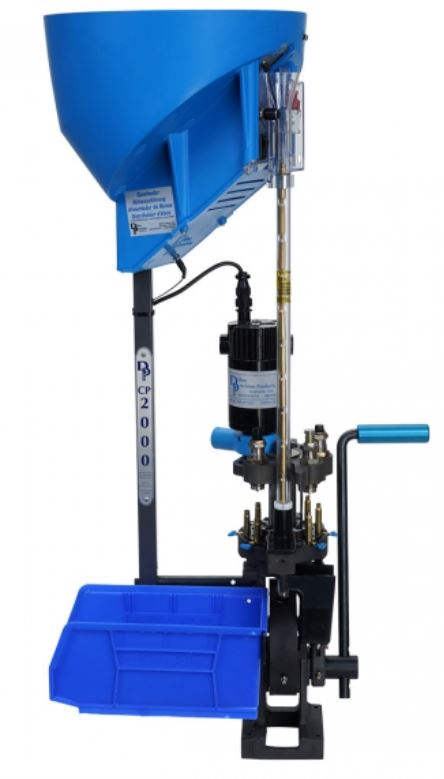
Designed to complement our RL1100 and Super 1050 reloaders, the CP 2000 offers higher speed, greater versatility and added case processing capability… all at a much lower cost than dedicating a RELOADING machine to prep brass!
If you’re loading mass quantities of ammo, the CP 2000 will make your task much easier.
The CP2000 comes with a two year limited warranty against manufacturing defects.
Note : this machine is to be used in conjunction with a reloader to speed up the reloading process. Traditionally in the past, another reloader was used for case processing, we now offer this dedicated machine to serve that purpose.
Note: No caliber conversion kit is included with the CP2000. No Case Feed Plate is included with the CP2000.
Machine is shown (above) with the following options:
-
- Caliber Conversion Kit
- Casefeed Plate
- RT1500 Case Trimmer & Trim Die
- CP2000 Short Trim Die Toolhead (Standard Toolhead included)
- 300 Blackout Conversion Kit
- Universal Depriming Die
- Backup Expander die
What’s In the Box
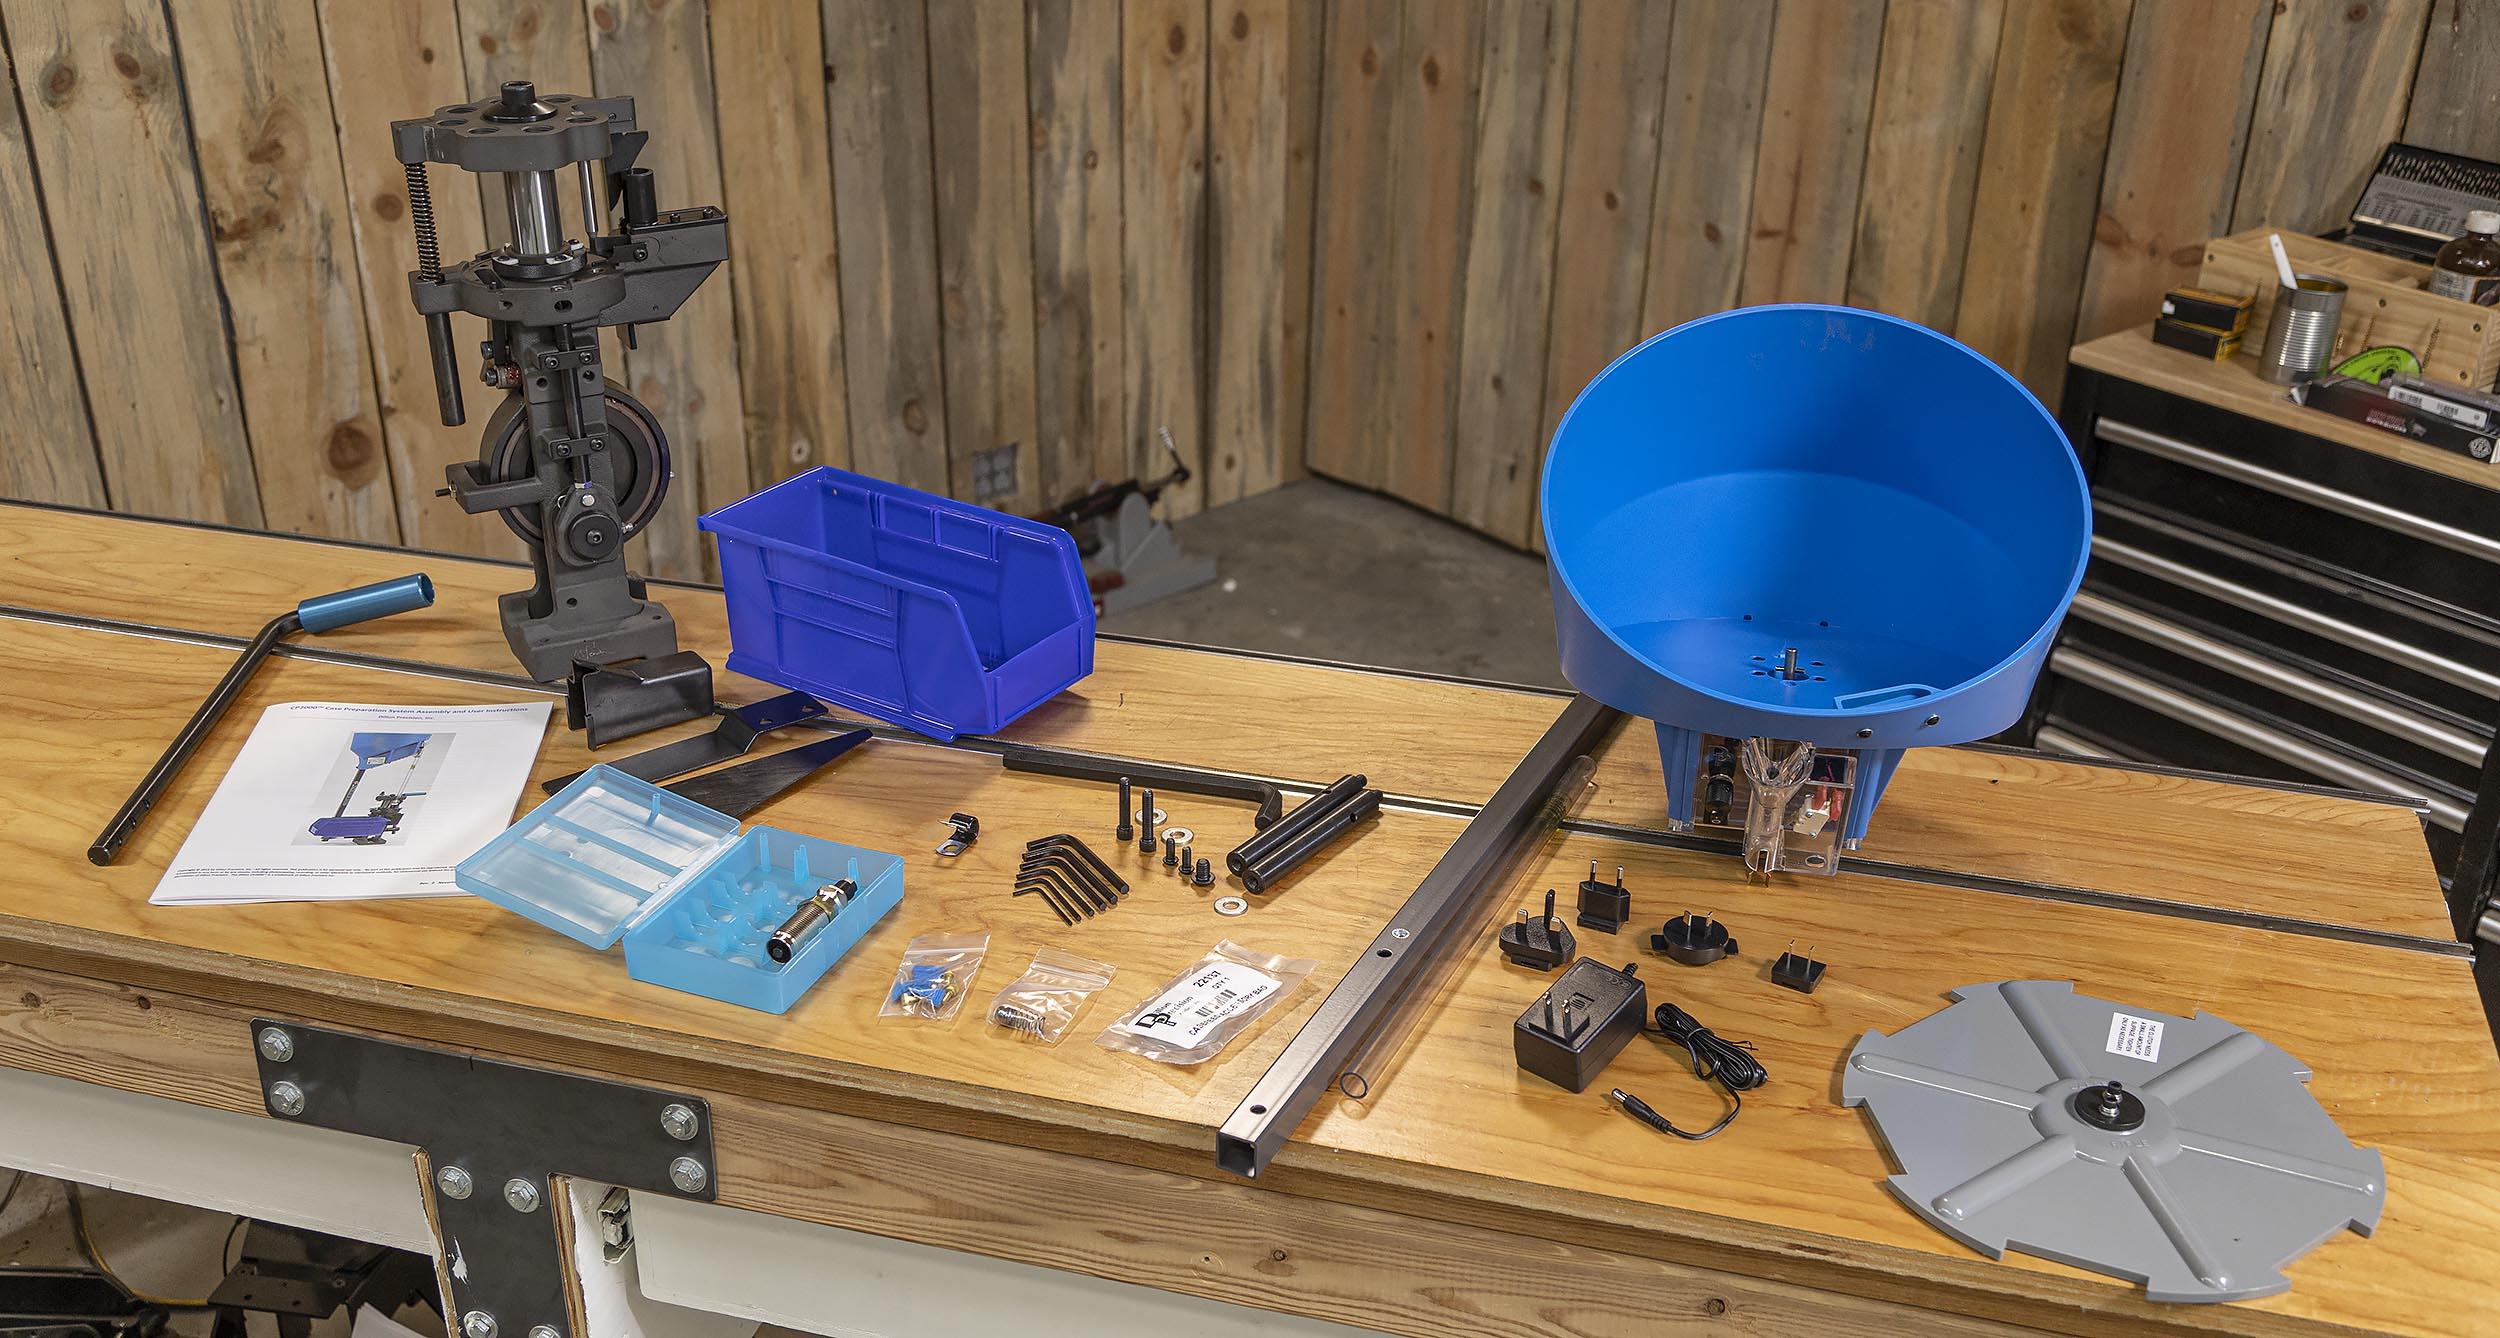
The Dillon CP-2000 comes with the following as shown above:
- CP-2000 8-station case prep press assembly
- Roller handle
- Owner’s manual
- Case bin and brackets
- Swage hold-down die
- Case retention buttons and tabs
- Complete set of allen keys
- Motorized case feeder with five plug adapters (case feed plate shown is not included)
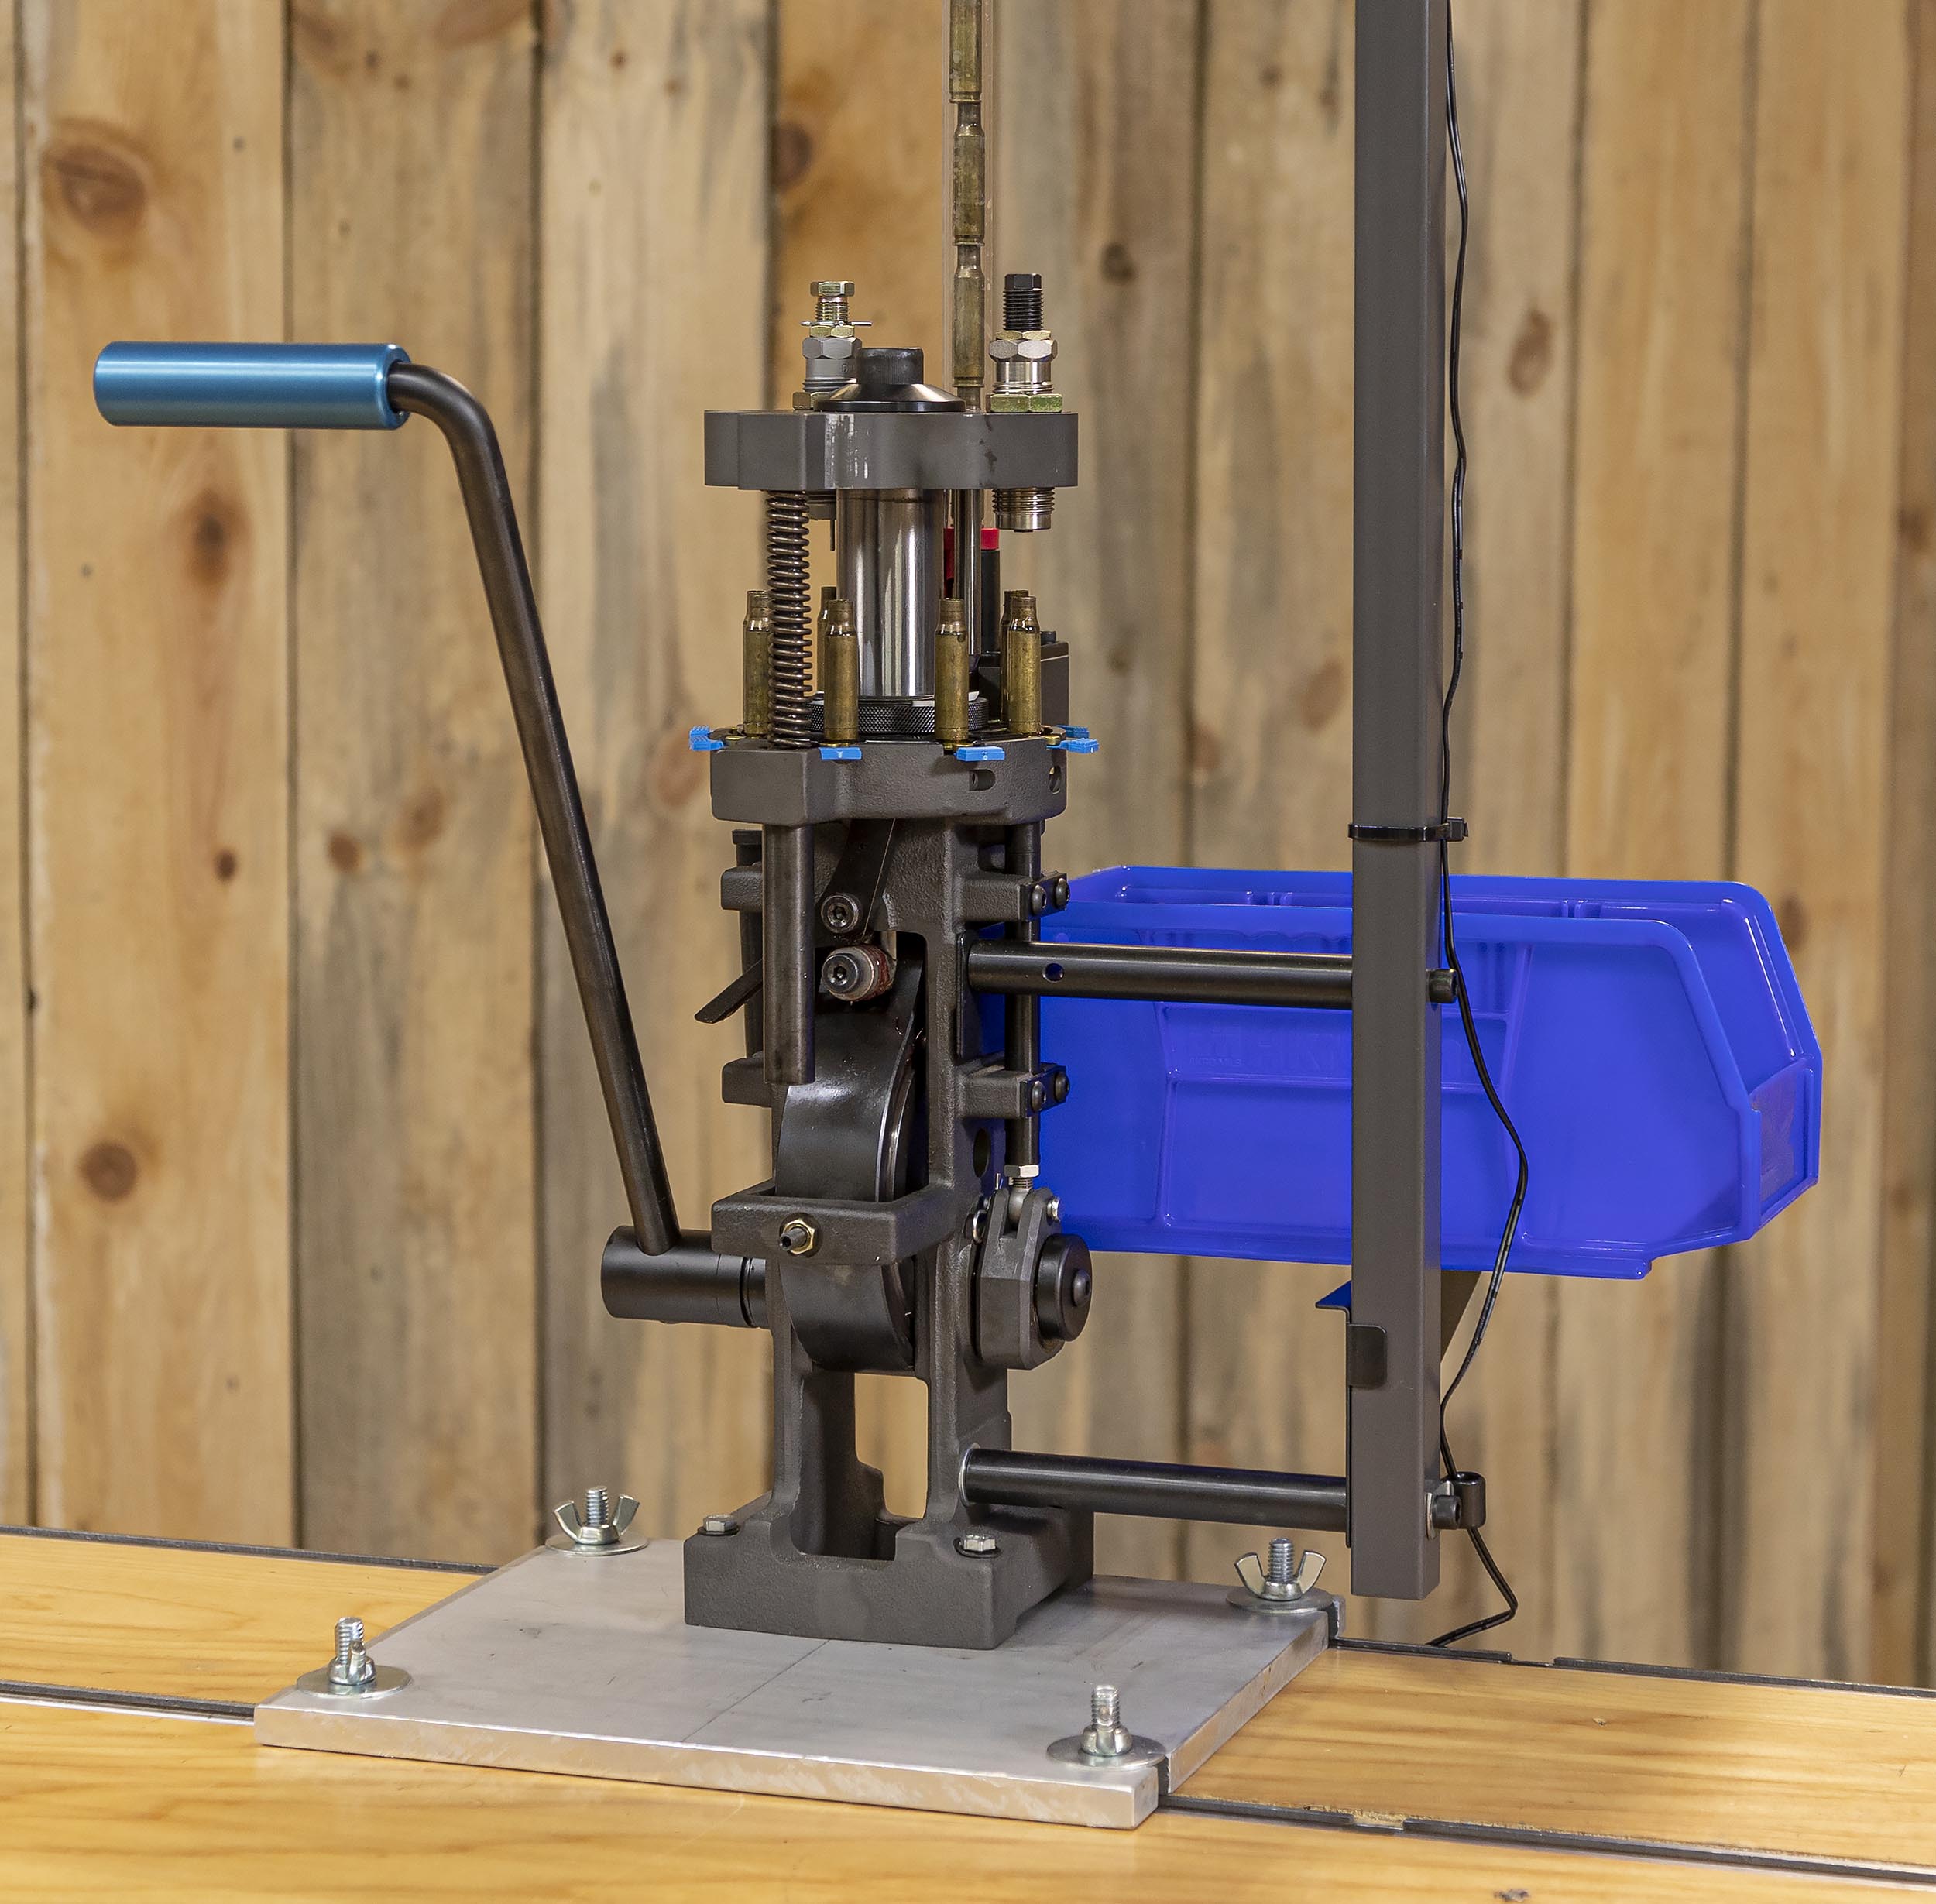
Setting up the CP-2000
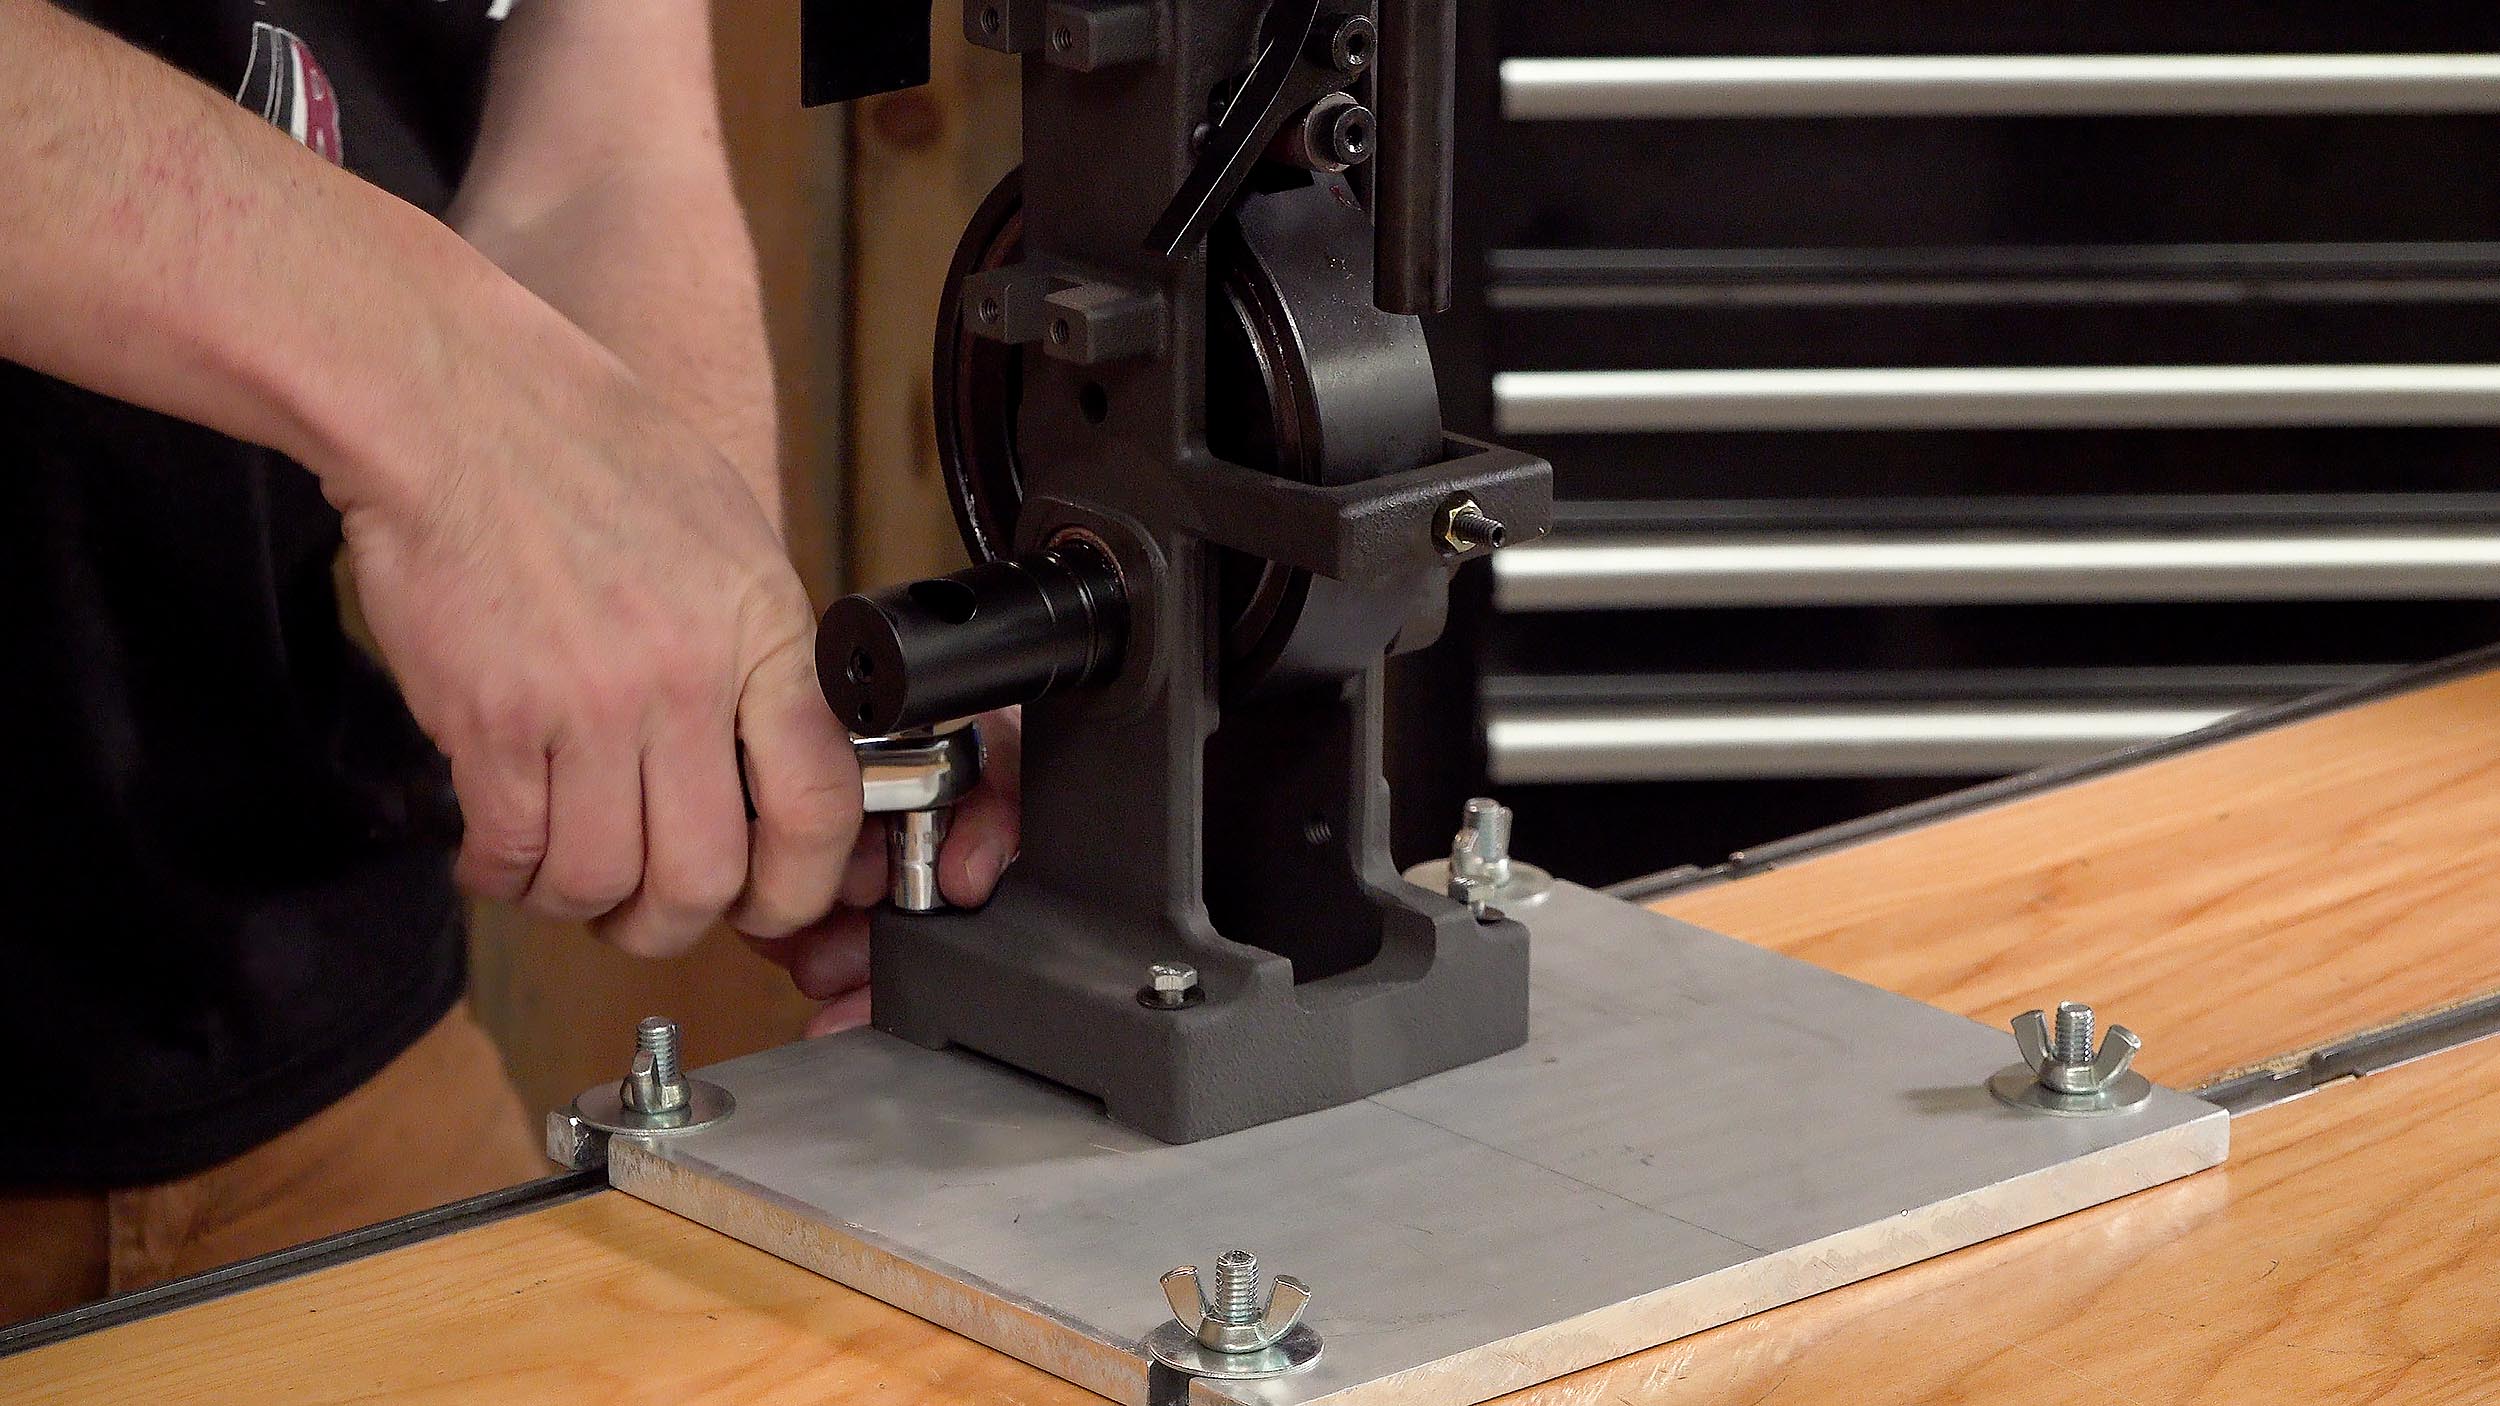
Setting up the CP-2000 starts with mounting it to your bench! I used the same custom bench plate that I used when I mounted the RL 1100 press since the hole pattern is the same.
Following the mounting of the press you’ll do the following:
- Install the press handle (single allen screw) – there are three positions (length) for the handle
- Cut the zip tie holding the toolhead in the down position, raise the toolhead and cycle the press
- Install the case feeder (brackets, standoffs, pole)
Next it’s on to the caliber-specific setup steps!
CP-2000 Caliber Conversion Kit
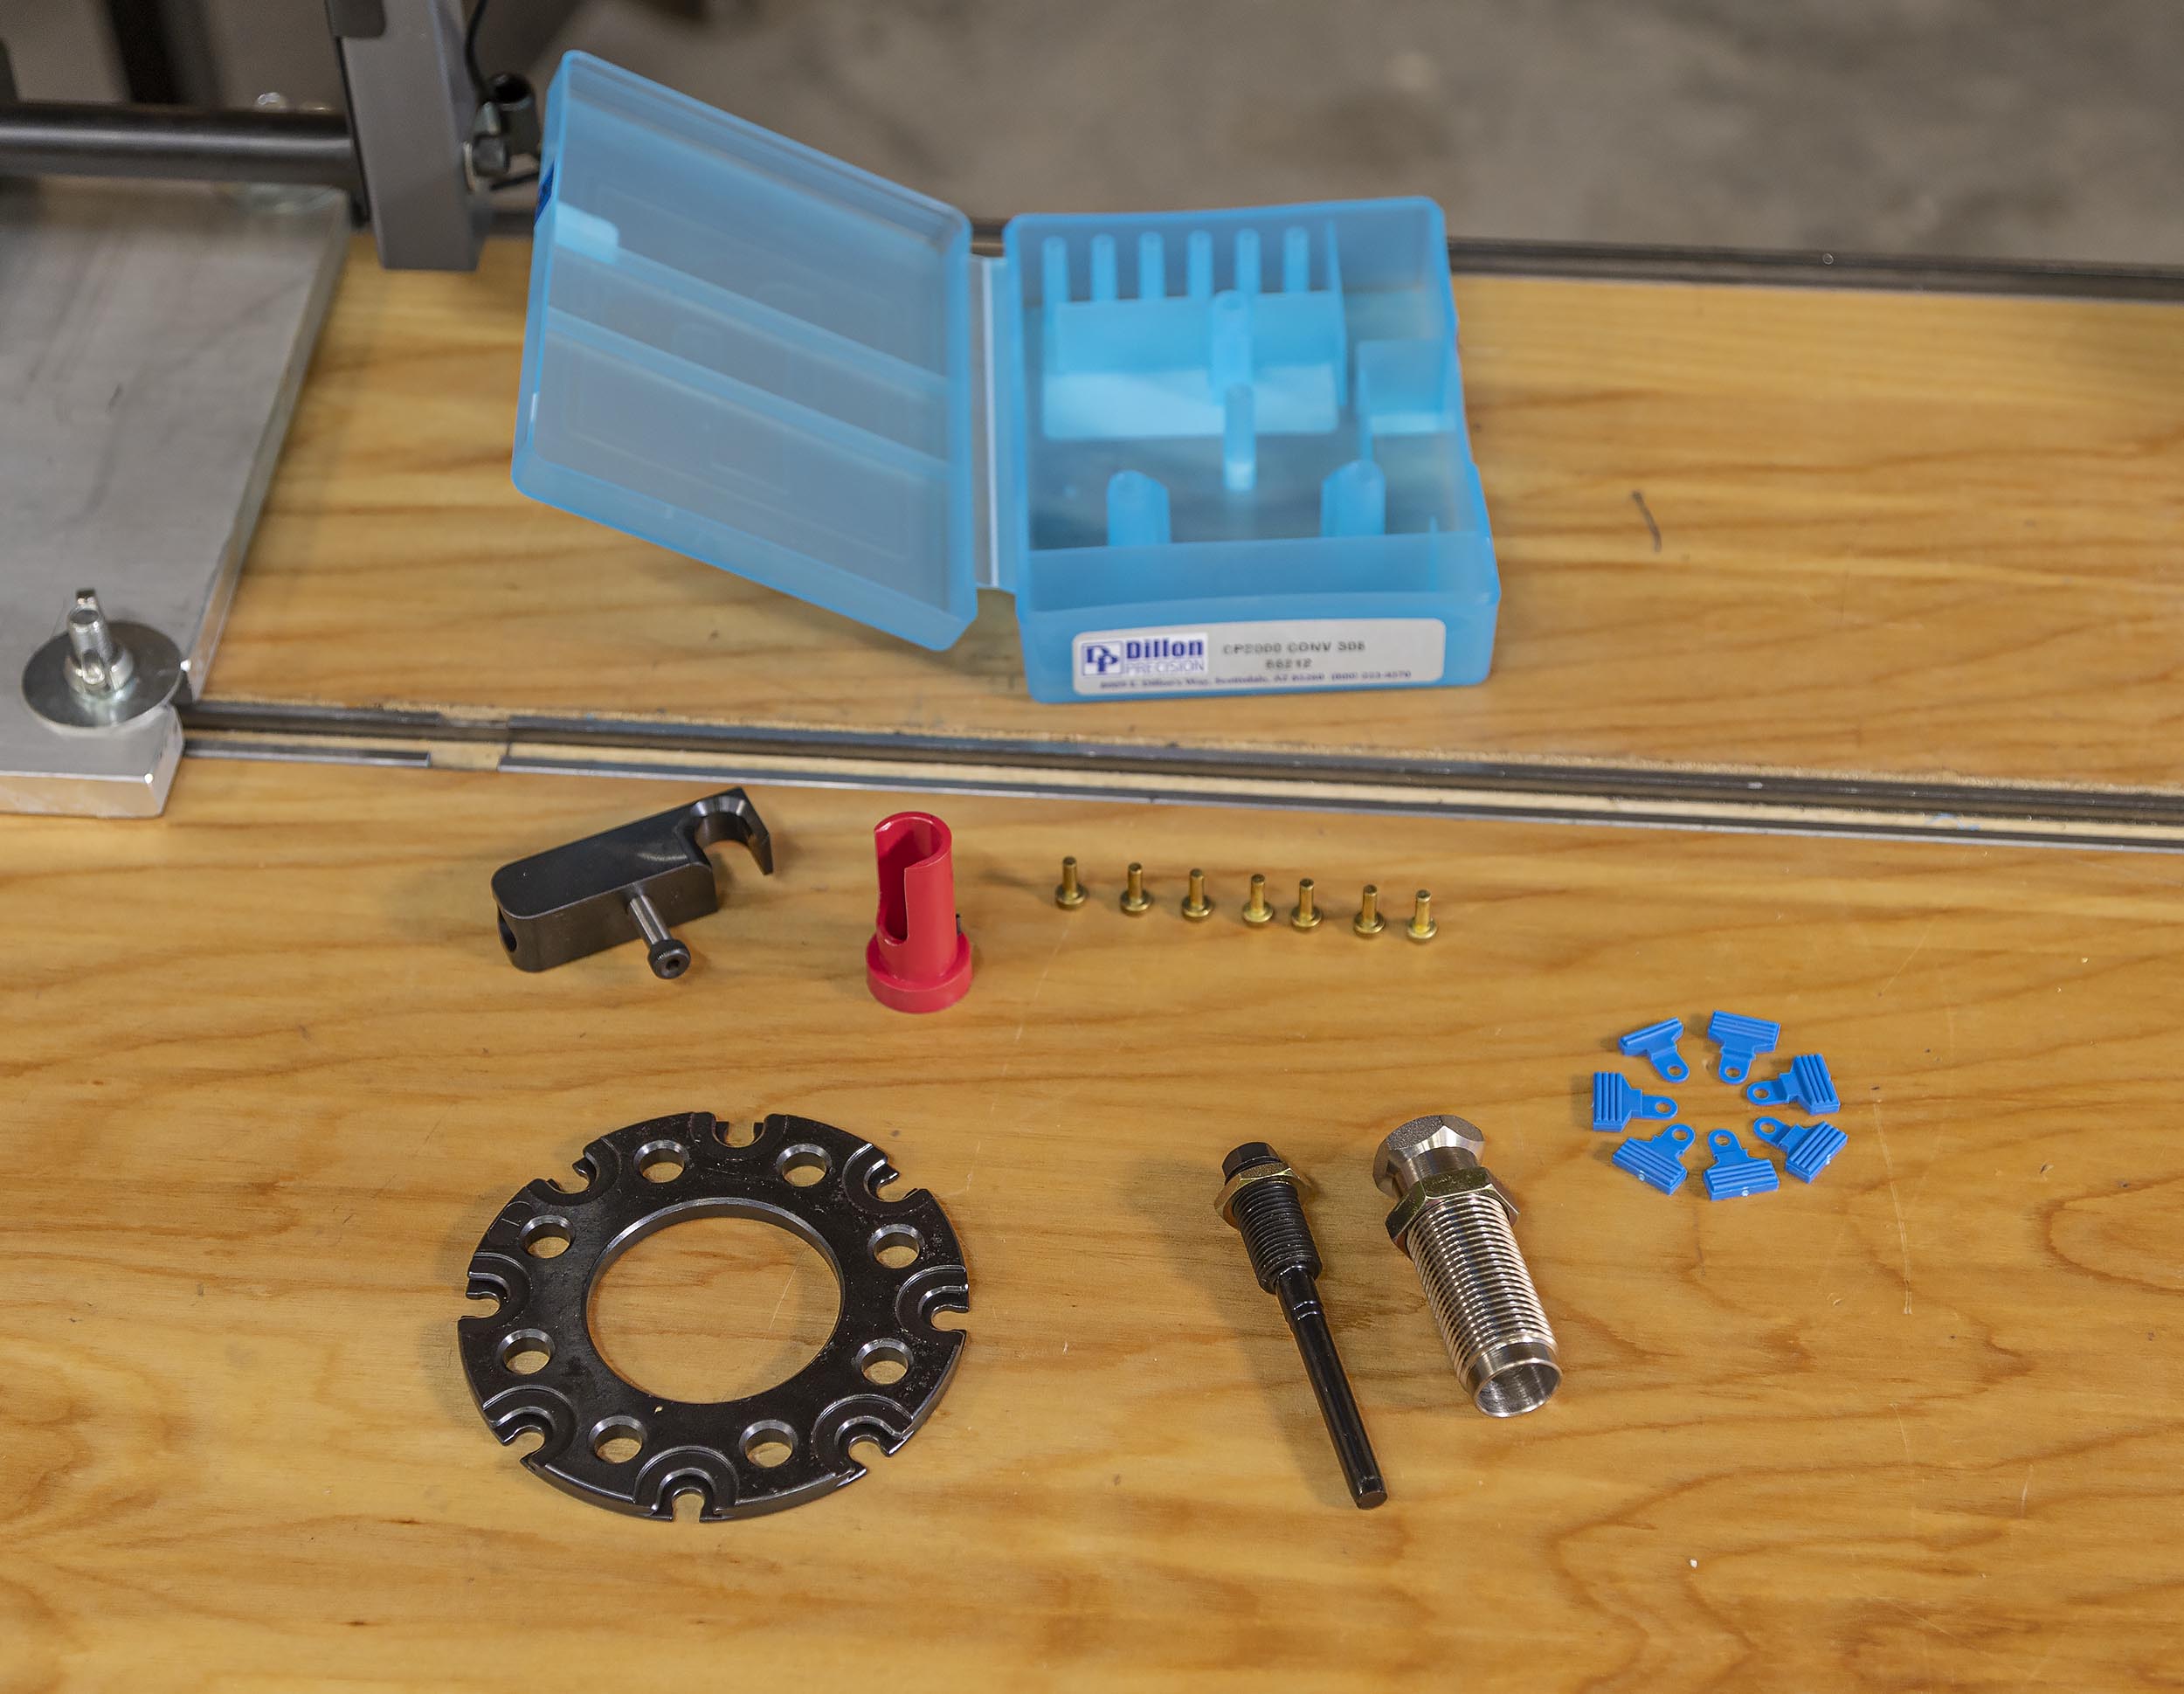
Above you can see the contents of a CP-2000 caliber conversion kit, for 308 Winchester in this case:
- Casefeed Adapter
- Swage Backup Die
- Shellplate
- Case Feed Plunger
- Locator Pins
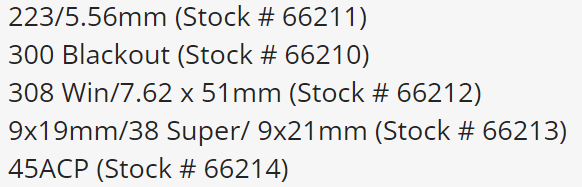
Here are the caliber conversion kits that are offered by Dillon:
Installing the caliber conversion kit consists of the following steps:
- Remove toolhead
- Install shellplate
- Reinstall toolhead
- Install buttons and tabs
- Setup swage hold-down die and swage rod
- Install case feed plunger
- Install case feed tube adapter, snap tube in place
- Install appropriate case feed plate (sold separately from caliber conversion kit)
Here’s a picture of the swaging setup in action:

Here are some specific steps for setup:
- Screw in hold-down die without rod
- Place brass (cutaway if possible) in swaging station and lower the toolhead
- Screw rod into hold-down die until the rod contacts the web of the case (can add additional 1/8 turn or so for additional pressure)
- Adjust swaging rod height until proper swaging results are observed
If you are changing brands or types of brass, you should check the swaging setup as you may need to make fine adjustments to account for the web thickness, etc.
Final Setup
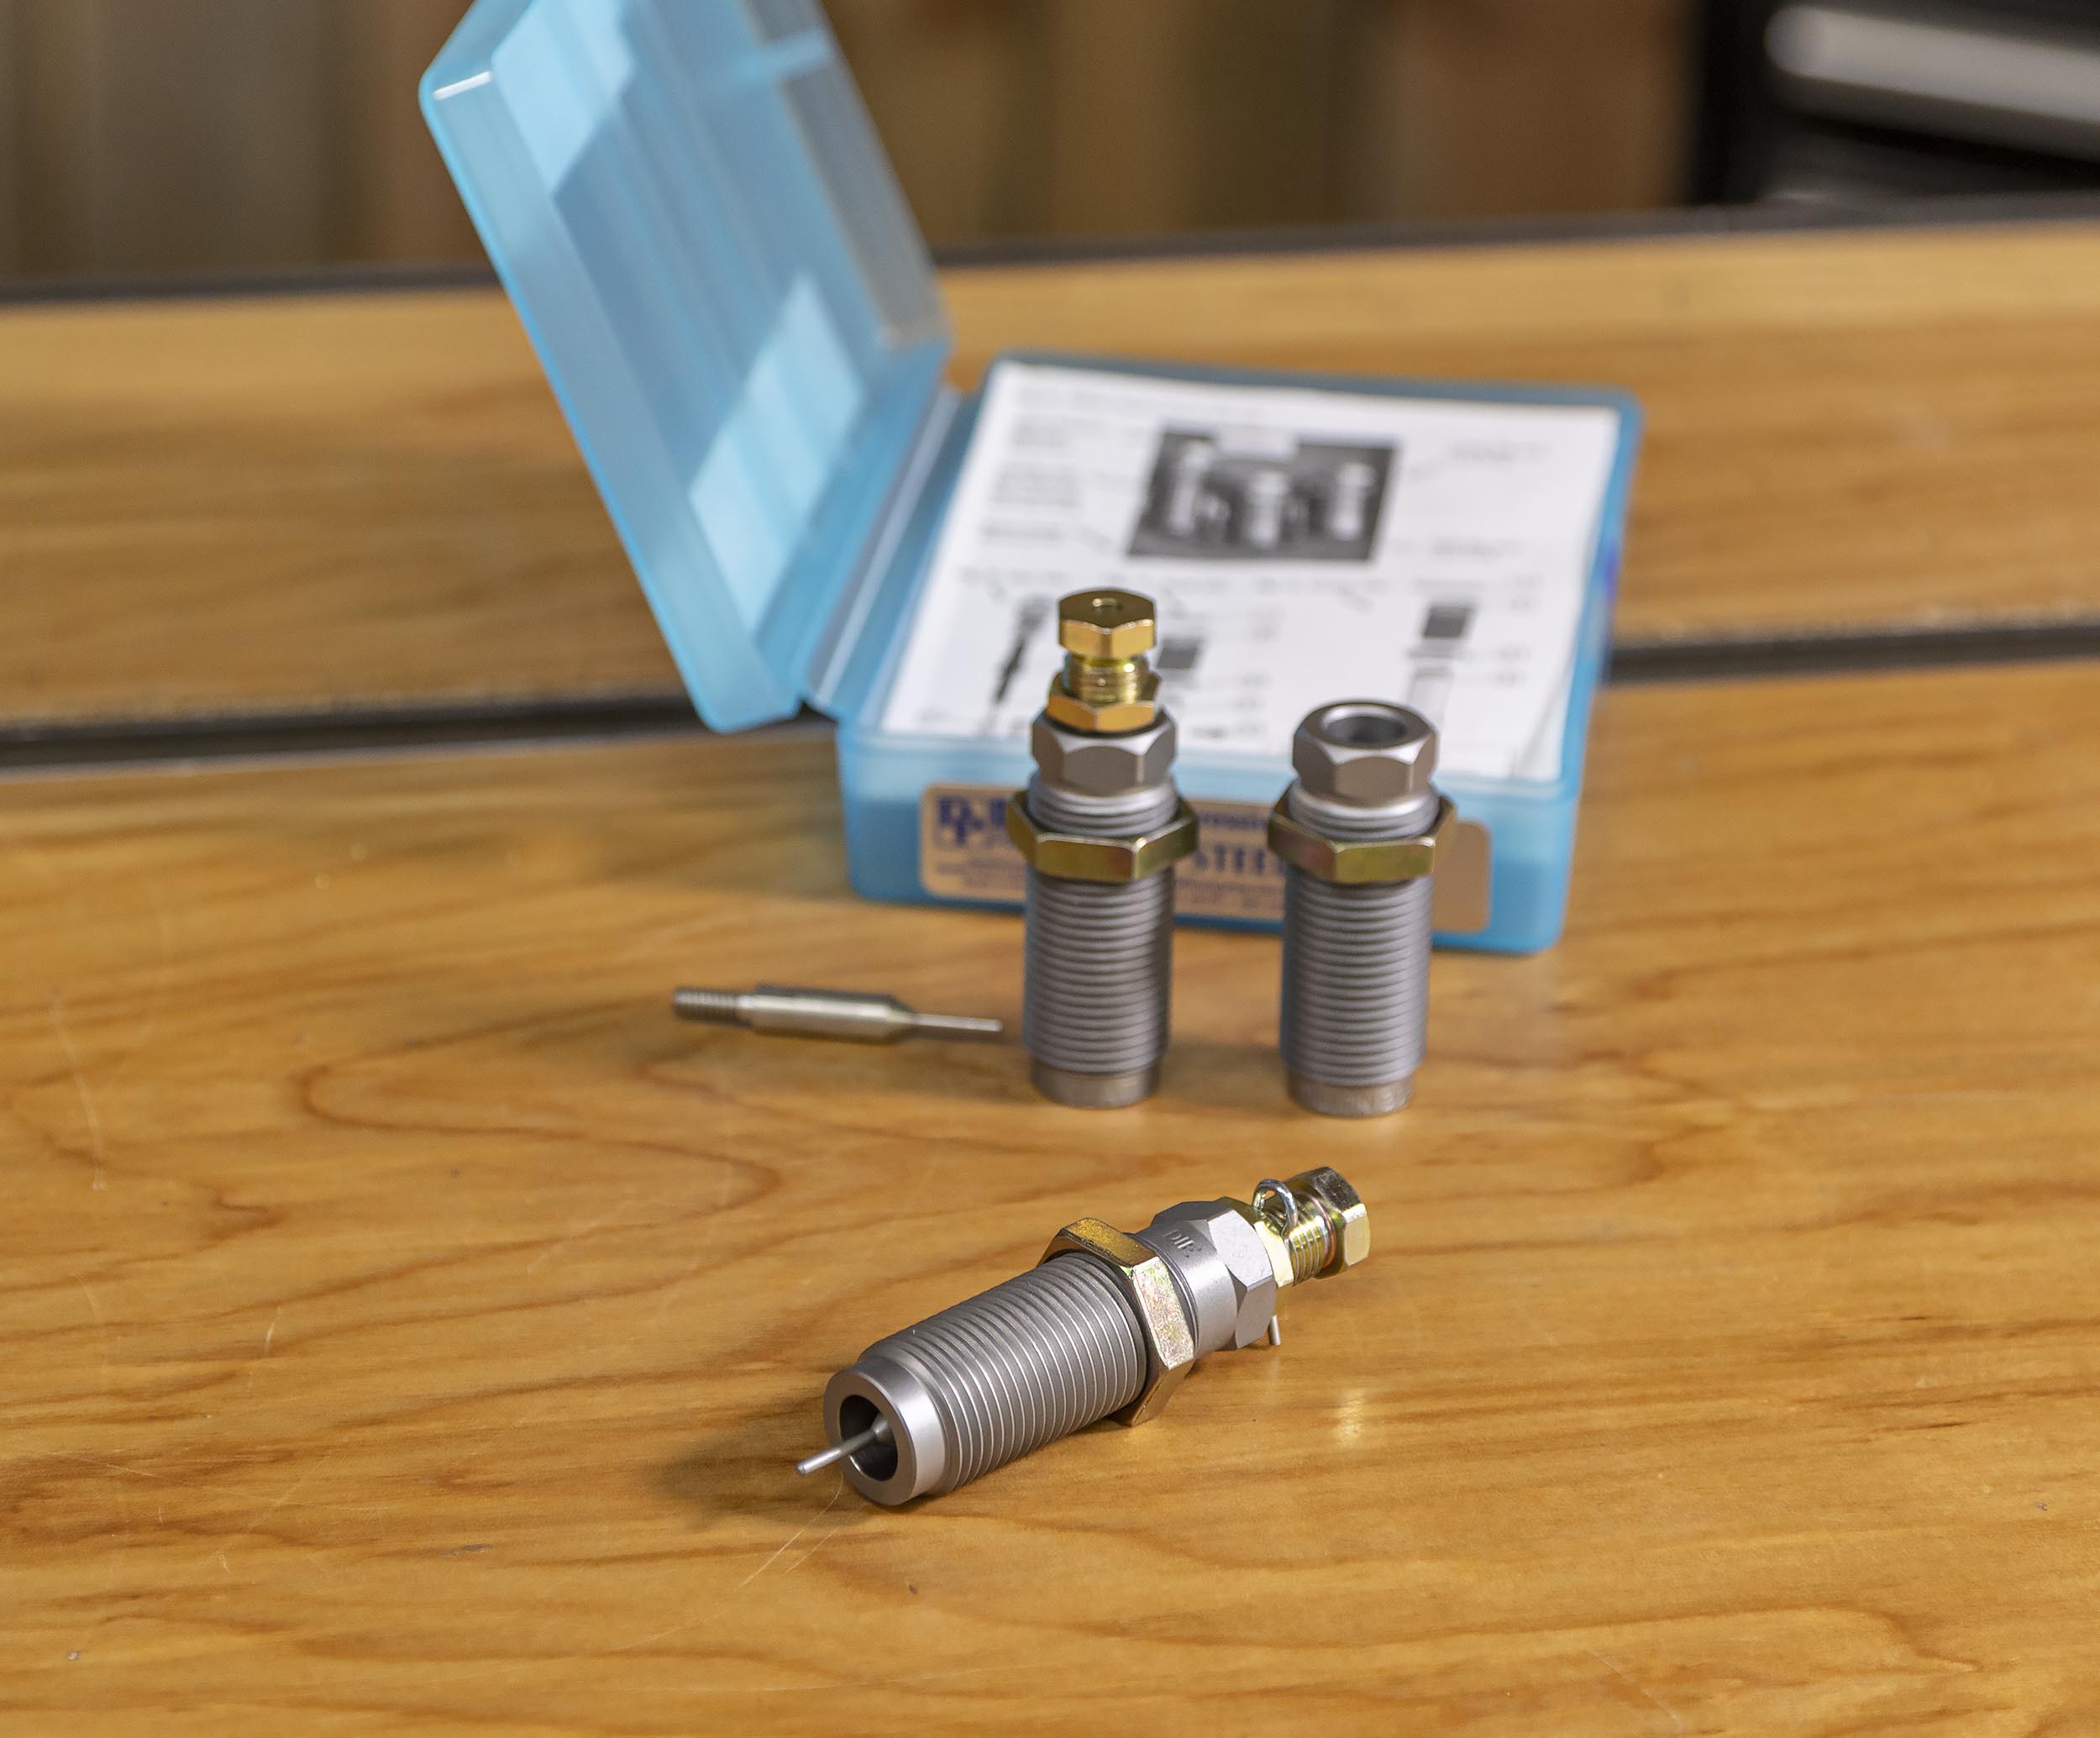
Before I could start my 308 case prep, I still needed to install my sizing/de-priming die. Keeping in mind the fact that I’m going to setup the RT-1500 in the next story, I setup my Dillon 308 Winchester sizer die “backed off two turns” from contacting the shellpate. This results in a decapping + partial full-length sizing operation (I used station #2). Another possible setup would be to use a dedicated de-capping die and then a separate full-length sizer depending on what your needs are.
The following operations and stations were utilized for this setup:
- Station 1: Case insertion
- Station 2: De-prime + partial full-length size
- Station 7: Swaging
After this you can lube your brass, fill up and turn on the case feeder, and “go to town” with case prep! It’s fast and effective. But we’re not done with the setup quite yet…
What’s Next

Next, I’ll be adding Dillon’s RT-1500 Case Trimmer which will finish-size the brass and trim the brass to length at the same time! BAM!
Get the Gear
Here’s the list of gear used in this story:
- Dillon CP-2000 Case Prep Machine
- Dillon RT-1500 Case Trimmer (shown in next story)
- CP-2000 caliber conversion kit
- Dillon 308 Winchester sizer die
Don’t miss out on Ultimate Reloader updates, make sure you’re subscribed!
Thanks,
Gavin


