
Here it is! My first all-out benchrest build! I’m excited to build this rifle which will serve as a test bed for the evaluation of different cartridges and components. In this multi-part series, I’ll walk through the end-to-end process of building this rifle including the barrel work (this post), stock inletting, stock bedding, and some paint work that will be “a little different”. Let’s get to it!
Disclaimer
Ultimate Reloader LLC / Making with Metal Disclaimer: (by reading this article and/or watching video content you accept these terms)
- The content on this website (including videos, articles, ammunition reloading data, technical articles, gunsmithing and other information) is for demonstration purposes only.
- Do not attempt any of the processes or procedures shown or described on this website.
- All gunsmithing procedures should be carried out by a qualified and licensed gunsmith at their own risk.
- Do not attempt to repair or modify any firearms based on information on this website
- Ultimate Reloader, LLC and Making With Metal can not be held liable for property or personal damage due to viewers/readers of this website performing activities, procedures, techniques, or practices described in whole or part on this website.
- By accepting these terms, you agree that you alone are solely responsible for your own safety and property as it pertains to activities, procedures, techniques, or practices described in whole or part on this website.
Build Components
Rifle Action: Bat Model B

This is a top-shelf build! And at the heart of it all is a Bat Model B octagonal receiver.
From the Bat product page:
Our model B is one inch longer then the model S to allow for larger cartridge length and more bedding surface. This action is 7.565” long and has several exterior shape options. Starting weight is 33 oz and varies with options chosen. Load port length is 3.00 inches and barrel tenon is 1.062 x 18 tpi.
These actions have set world records, including this insane 600 yard 5-shot group chronicled on accurateshooter.com:

From that article:
Equipment: BAT Model B action (RBLP Rt Eject), Brux HV-contour barrel (29″), Jewell trigger, March 10-60x52mm (Tactical knobs, Burris Rings), Shehane ST1000 fiberglass Tracker stock.
Congrats Rodney! I’m looking forward to doing some amazing shooting with my Model B rifle…
Complete Gear List

This build is top notch from start to finish, including what’s pictured above, and further down (barrel blank).
Components:
- Bat Model B action, 308 Bolt Face (modular), Octagonal profile, integral recoil lug
- Bat 34mm scope rings (high, black finish)
- Bix’n Andy Remington 700 Competition Trigger (from Bullet Central)
- Wheeler Engineering LRB stock with 4″ forend and steerable buttstock rudder
Tools: (See Triebel tooling details further down in article)
- Triebel Guntools 6.5x47mm body/neck finisher reamer
- Triebel Guntools 6.5x47mm throater reamer
- Triebel Guntools Go and No-Go gages
- 1 3/8″ Core Box cutter
- 3/8″ compression router bit (dual-direction)
Krieger barrel blank:
![]()
Here are the specs for this blank: (more options on the Krieger Barrels website)
- 27″ overall length (blank)
- 4 groove
- 1:8 twist
- M24 profile
- 1.200″ shank
Barrel Work: Tenon, Chamber, Muzzle
If you haven’t already watched/read my previous 6.5x47mm build story, you can check that out HERE. Here’s the video from that story:
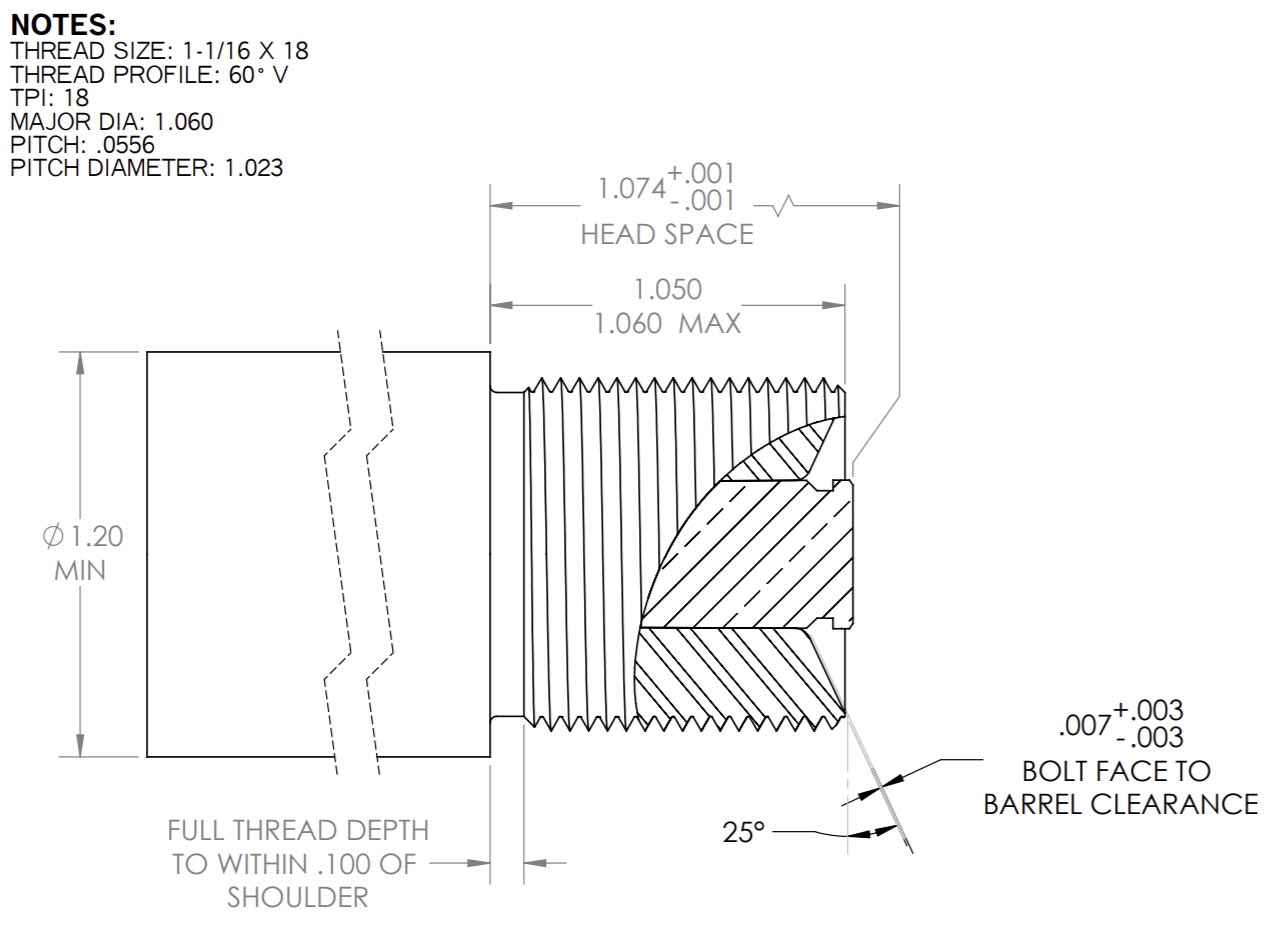
For this build, I started by looking at the tenon print for the Bat Model B action (see PDF document here from Bat Machine with all notes and considerations, models covered). This was my first cone breech tenon job, so I was looking forward to it!
Here’s the main details from the print:
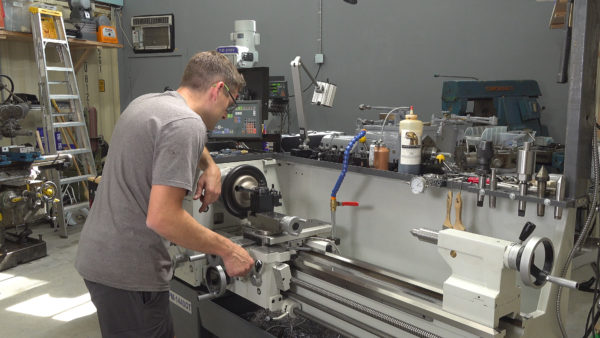
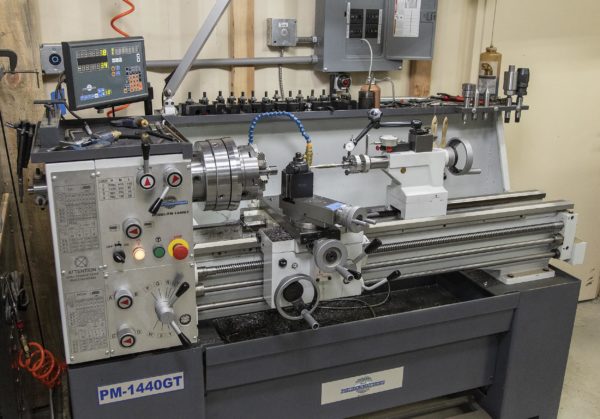
My Lathe
For this story, I’m using a Precision Matthews PM-1440GT. I believe this is the best gunsmithing lathe you can by new in the USA (Taiwanese made, not chinese, 2″ through-spindle capacity, Japanese high-precision spindle bearings, etc):
I also built a custom outboard spider that I built- you’ll want to check out that story.
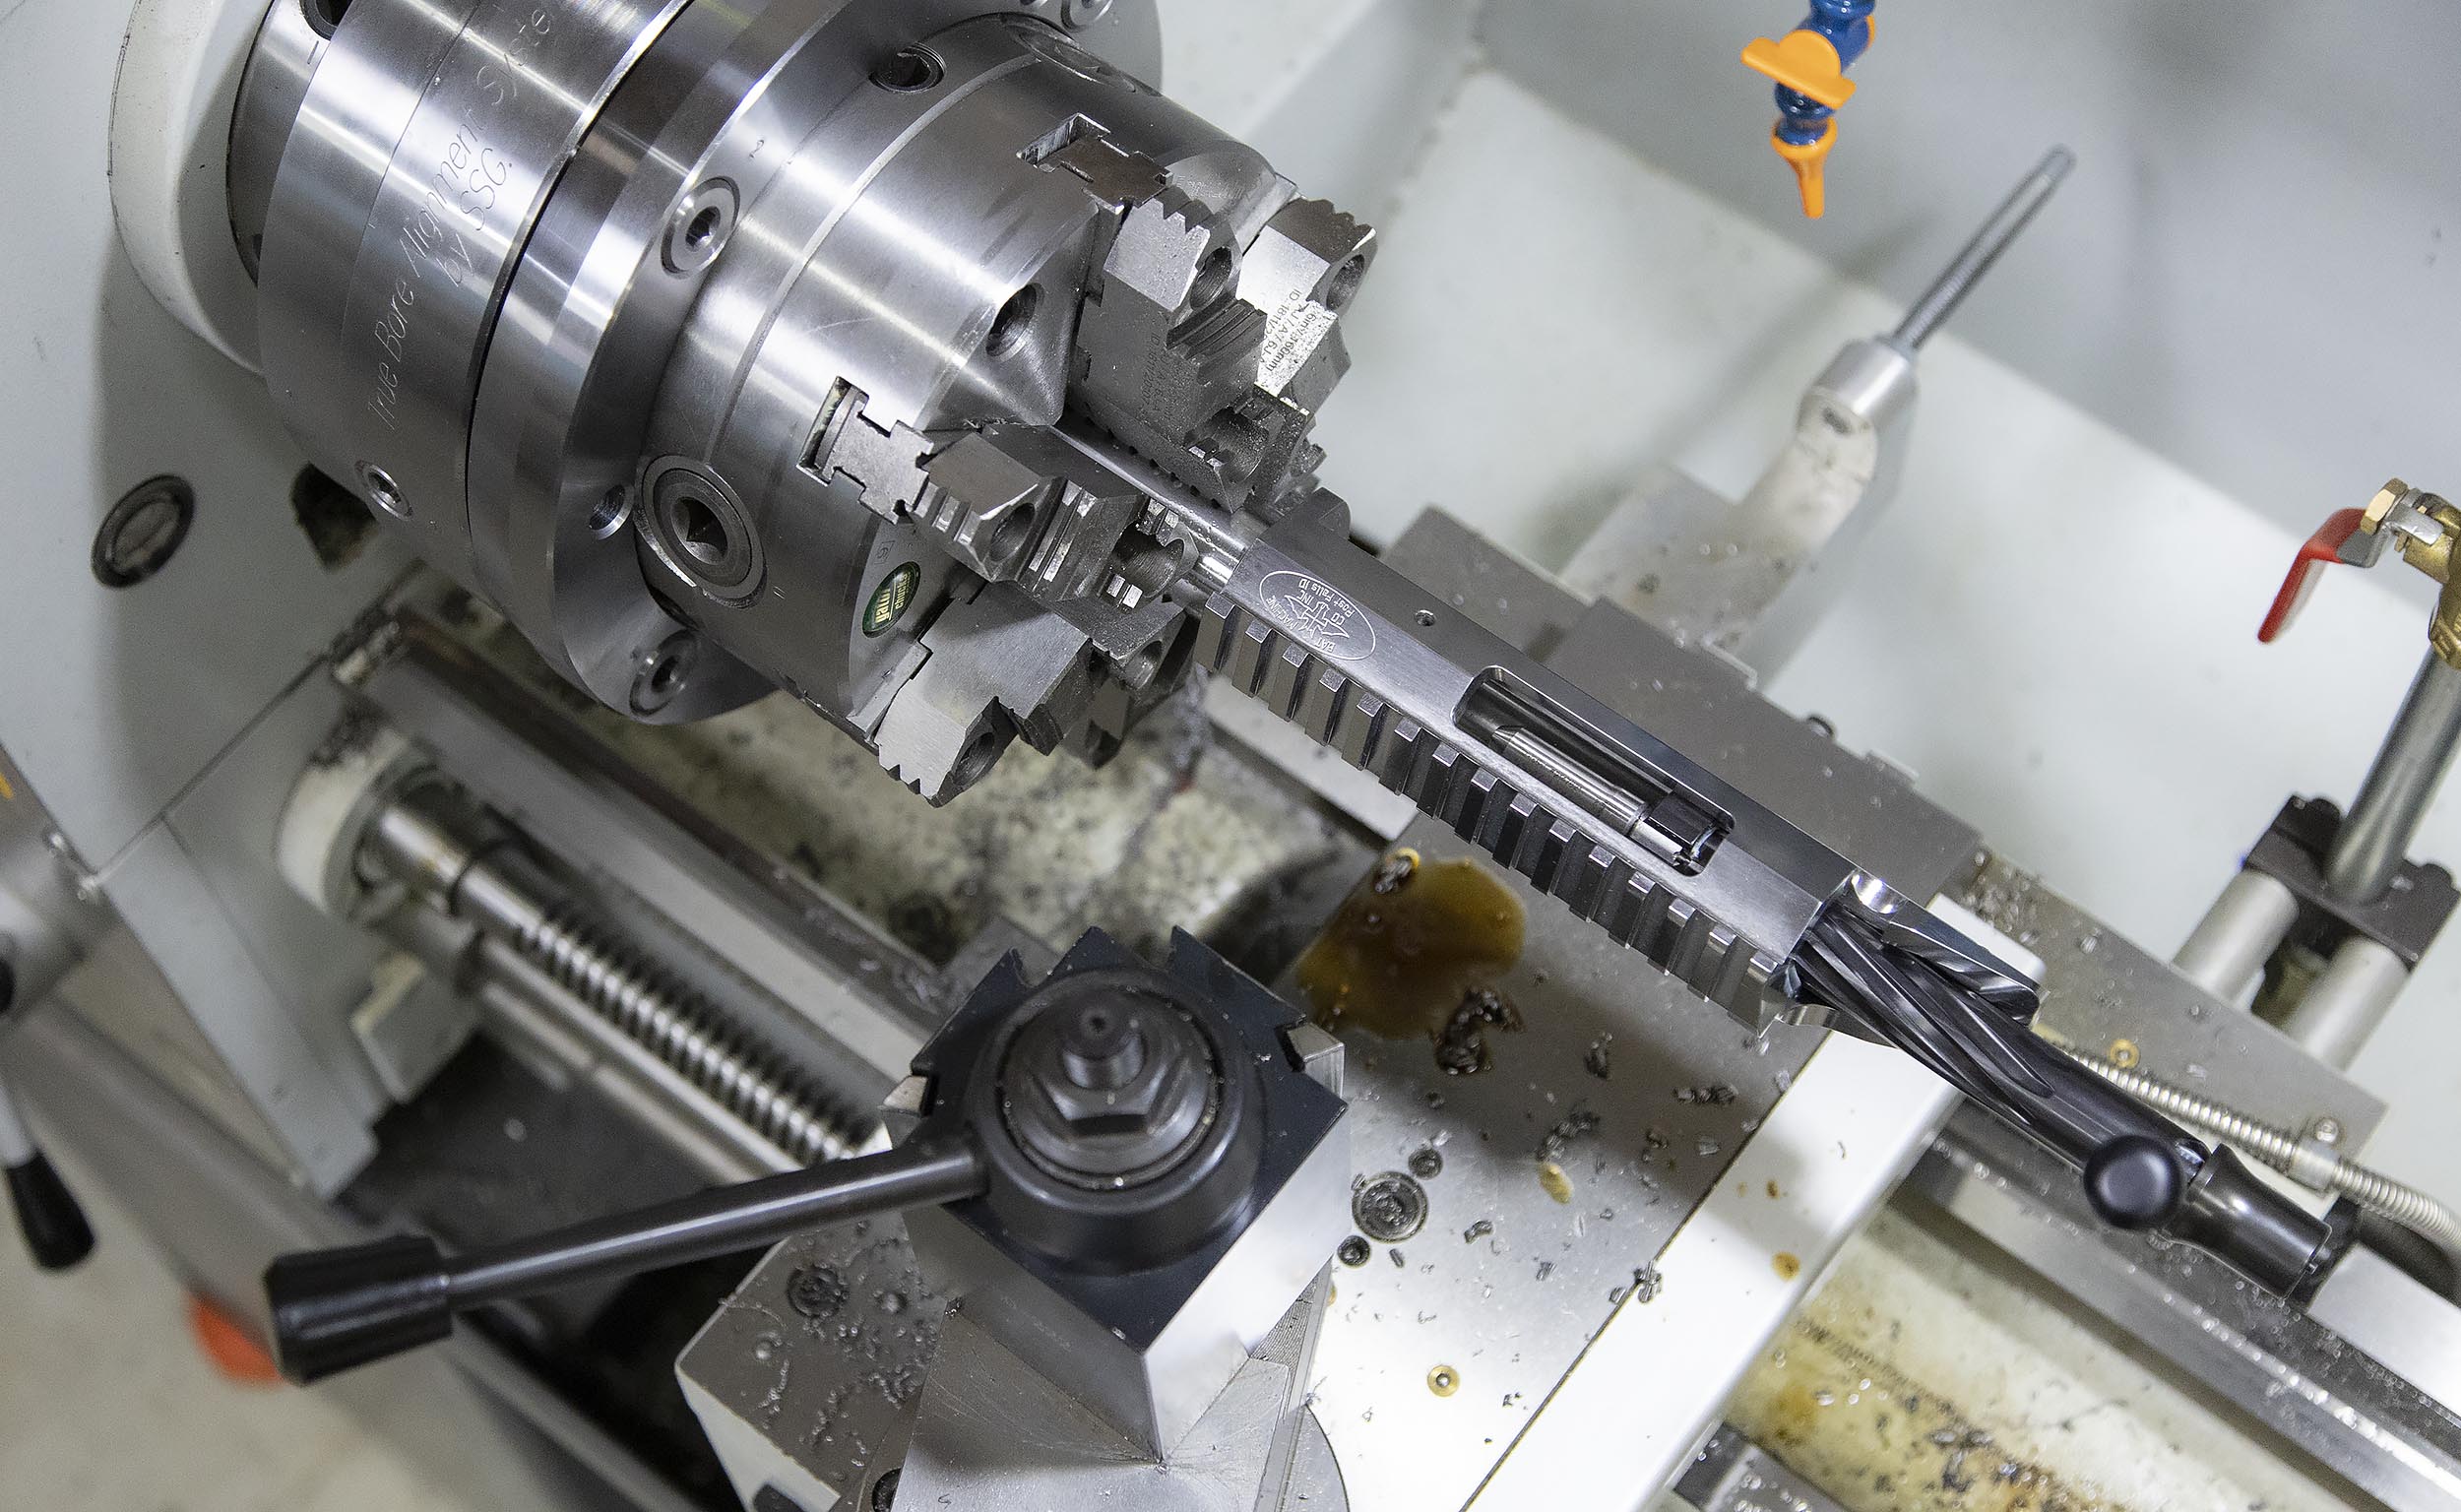
True Bore Alignment System
For this barrel work, I used the True Bore Alignment System from Straight Shot Gunsmithing. This system allows the use of a 6 jaw chuck for better barrel support, and also the ability to dial in a barrel using axial and radial adjustments. See the full story I published HERE.
Precision Reamers and Gages from Triebel Gun Tools
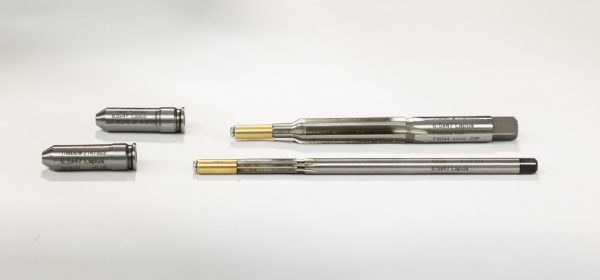
As mentioned previously in this article: for this build (and in the last 6.5x47mm build), I used some tools from Triebel Gun Tools (from Germany, a new Ultimate Reloader partner).
Here’s the tools from Triebel I used for this build:
- Finisher reamer minimal (tight chamber) 6.5×47 Lapua
- Freebore reamer minimal 6.5×47 Lapua
- Pilot Busings (brass)
ø: 6.46 mm
ø: 6.47 mm
ø: 6.48 mm - Headspace Gauge GO 6.5×47 Lapua
- Headspace Gauge NO GO 6.5×47 Lapua
These tools are top quality in every way! I love to try new tools and processes, and these were great to use for this build.
I machined a reamer shank adapter (for my last Triebel build) to go from the Triebel 12mm shank diameter to the common US 7/16″ shank diameter supported by my reamer holder systems.
These tools worked VERY WELL on my last 6.5x47mm Lapua build, and they did on this build too!
Breech End Work
The breech end work (prior to chambering) for this build consisted of the following (see video for more details):
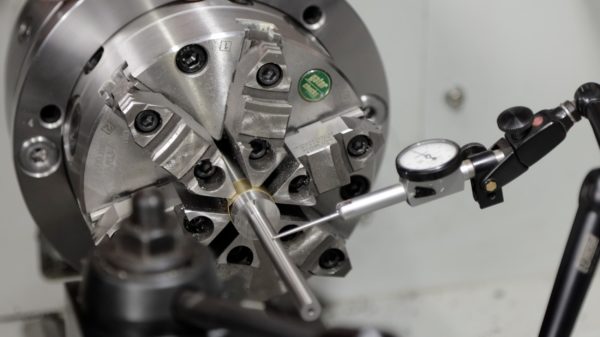
- Barrel was rough-dialed in to 0.001″ on both ends
- Barrel was pre-drilled (chamber area) 0.040″ under shoulder diameter, 0.200″ short of shoulder area
- Barrel was precision dialed to +/- ~0.0001″ (throat area and 1″ further towards muzzle)
- Pre drill hole was bored true with boring bar
- Tenon was turned down to diameter (1.060″)
- Thread relief was cut using grooving tool (0.070″ under tenon diameter)
- Tenon was threaded 18TPI for precision fit with receiver threads
- Shoulder was turned back to clock barrel
- Cone breech was cut
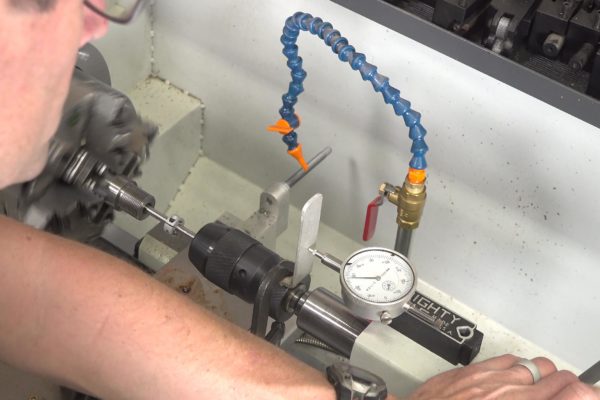
Chambering was performed in two steps, first the body and neck area was cut with the Triebel reamer:
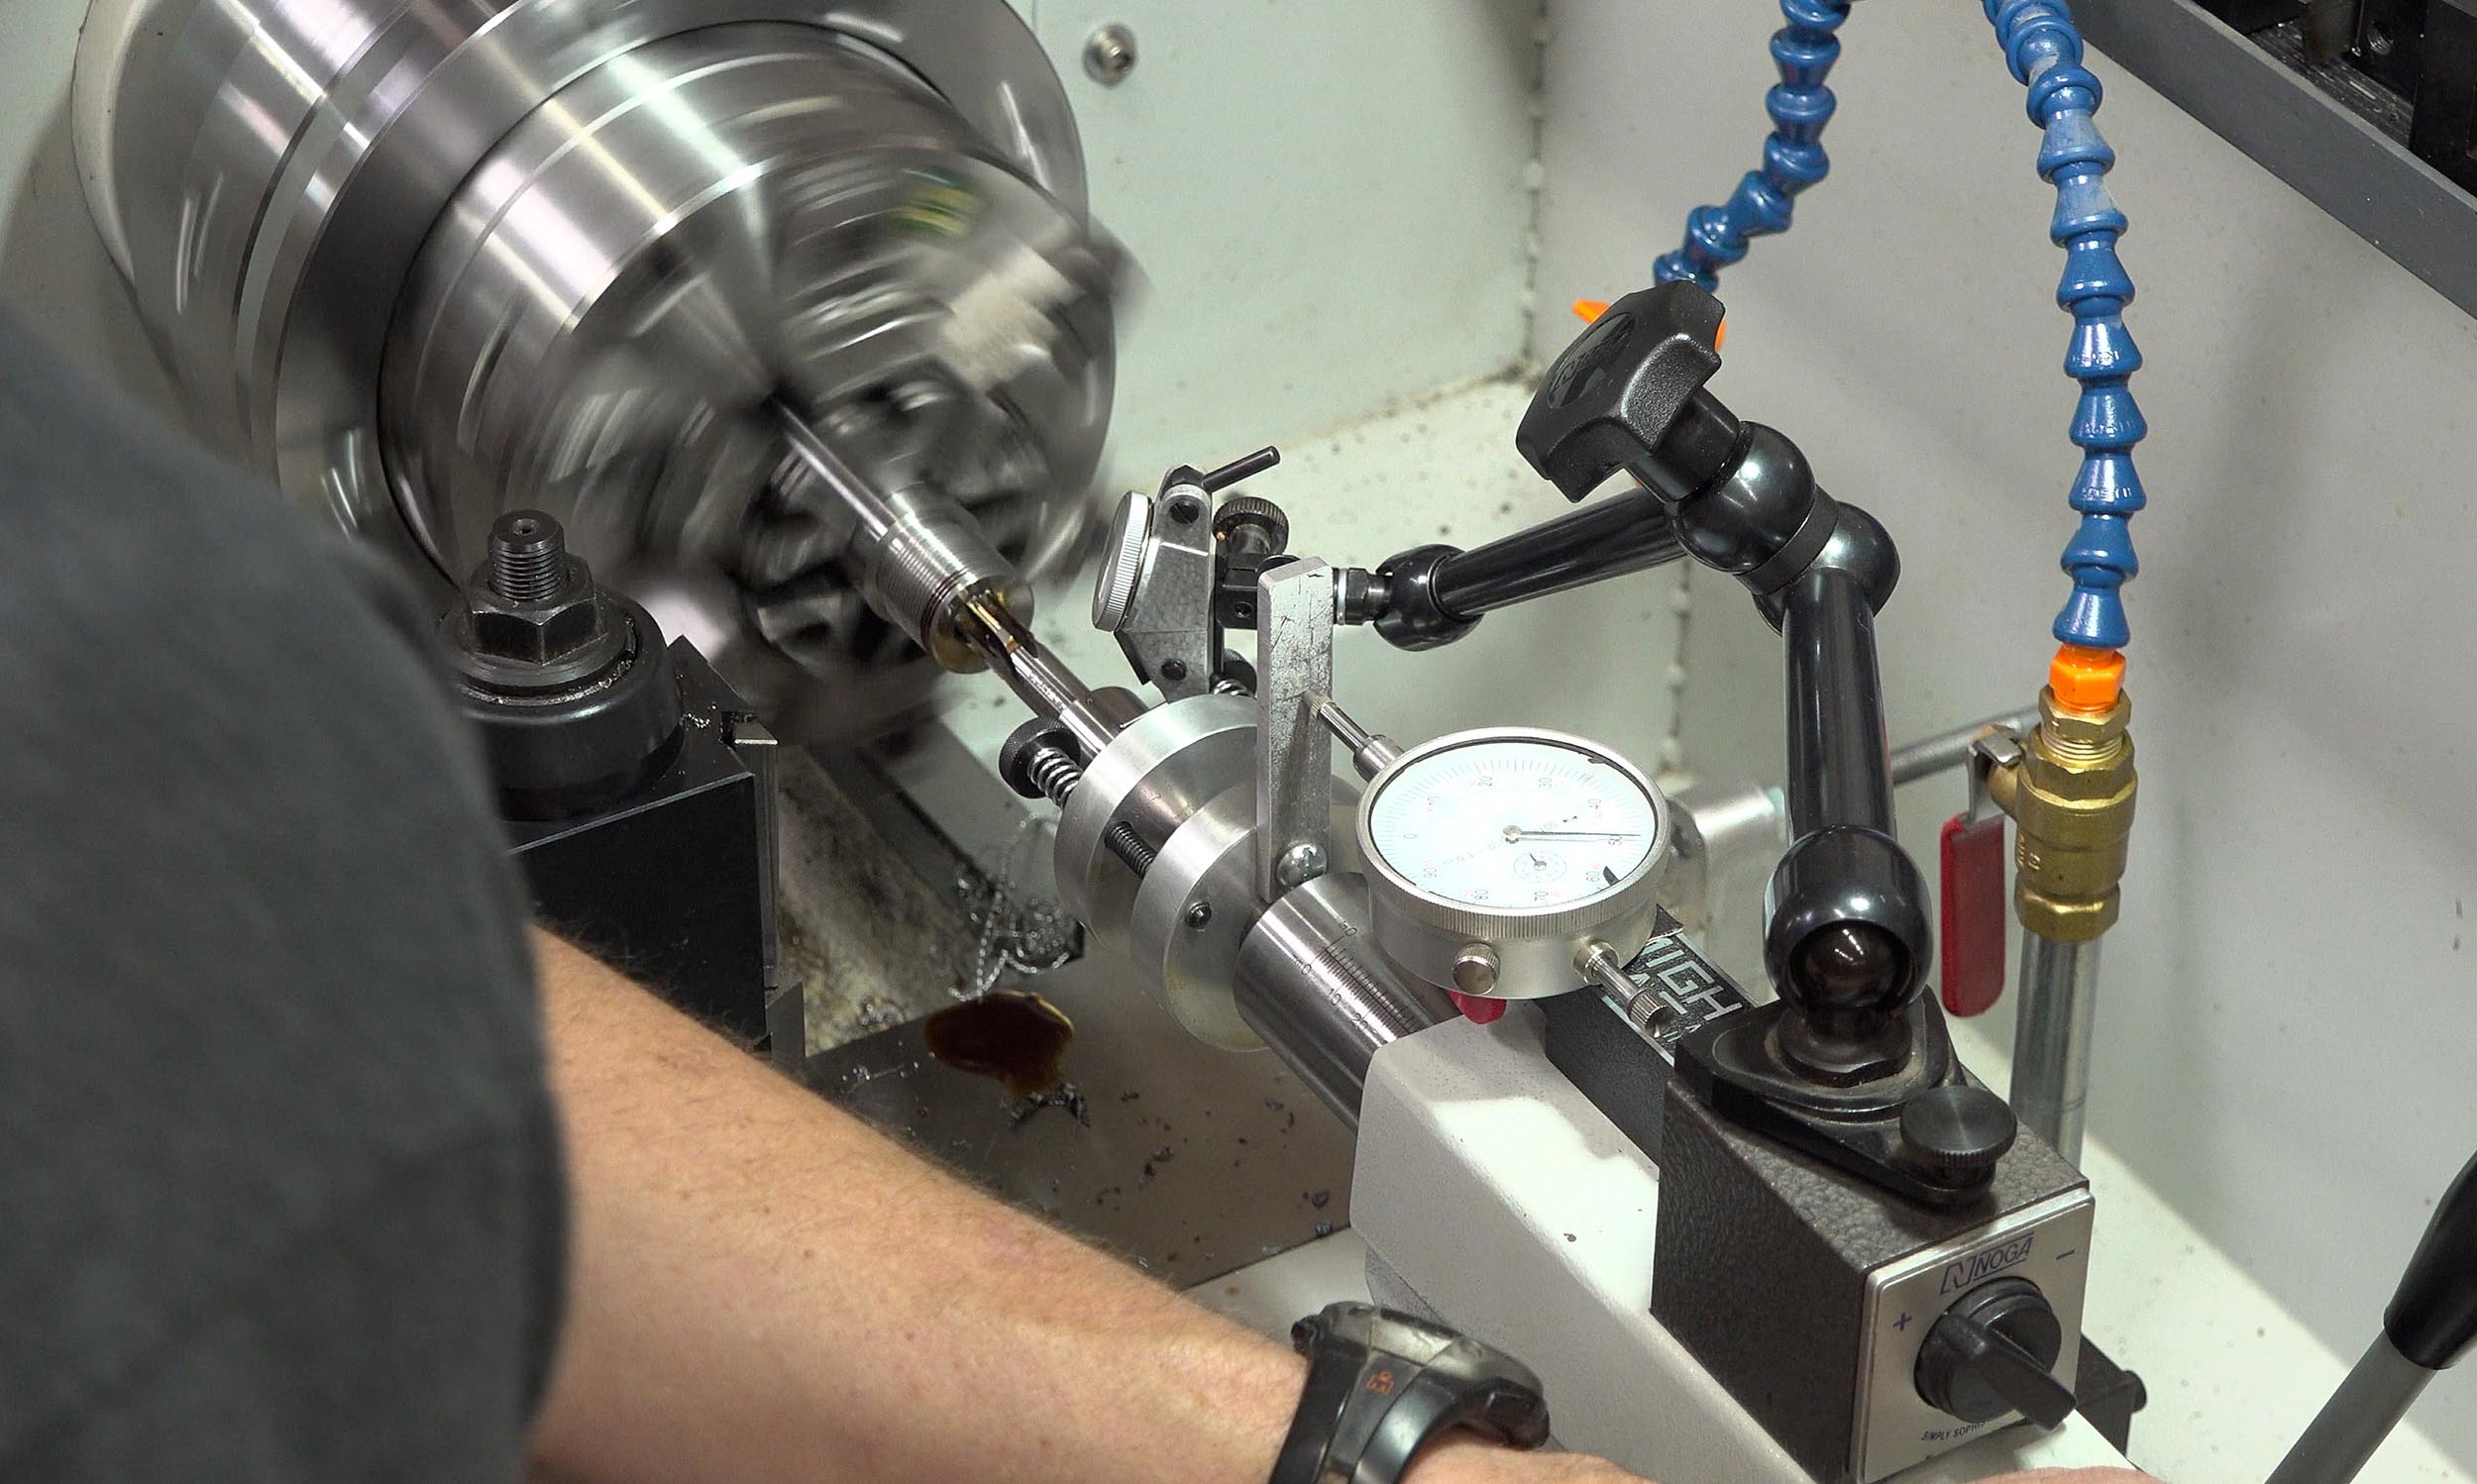
Here, I used the action and go gauge to determine how much chamber depth was left to cut as things got close to the desired depth:
Because I’m using a custom action with ultra-tight tolerances, I chose a minimal value of 0.001″ for the “crush” when tightening the action onto the barrel. I therefore cut the chamber 0.001″ deeper than the “zero” value for the go gage.
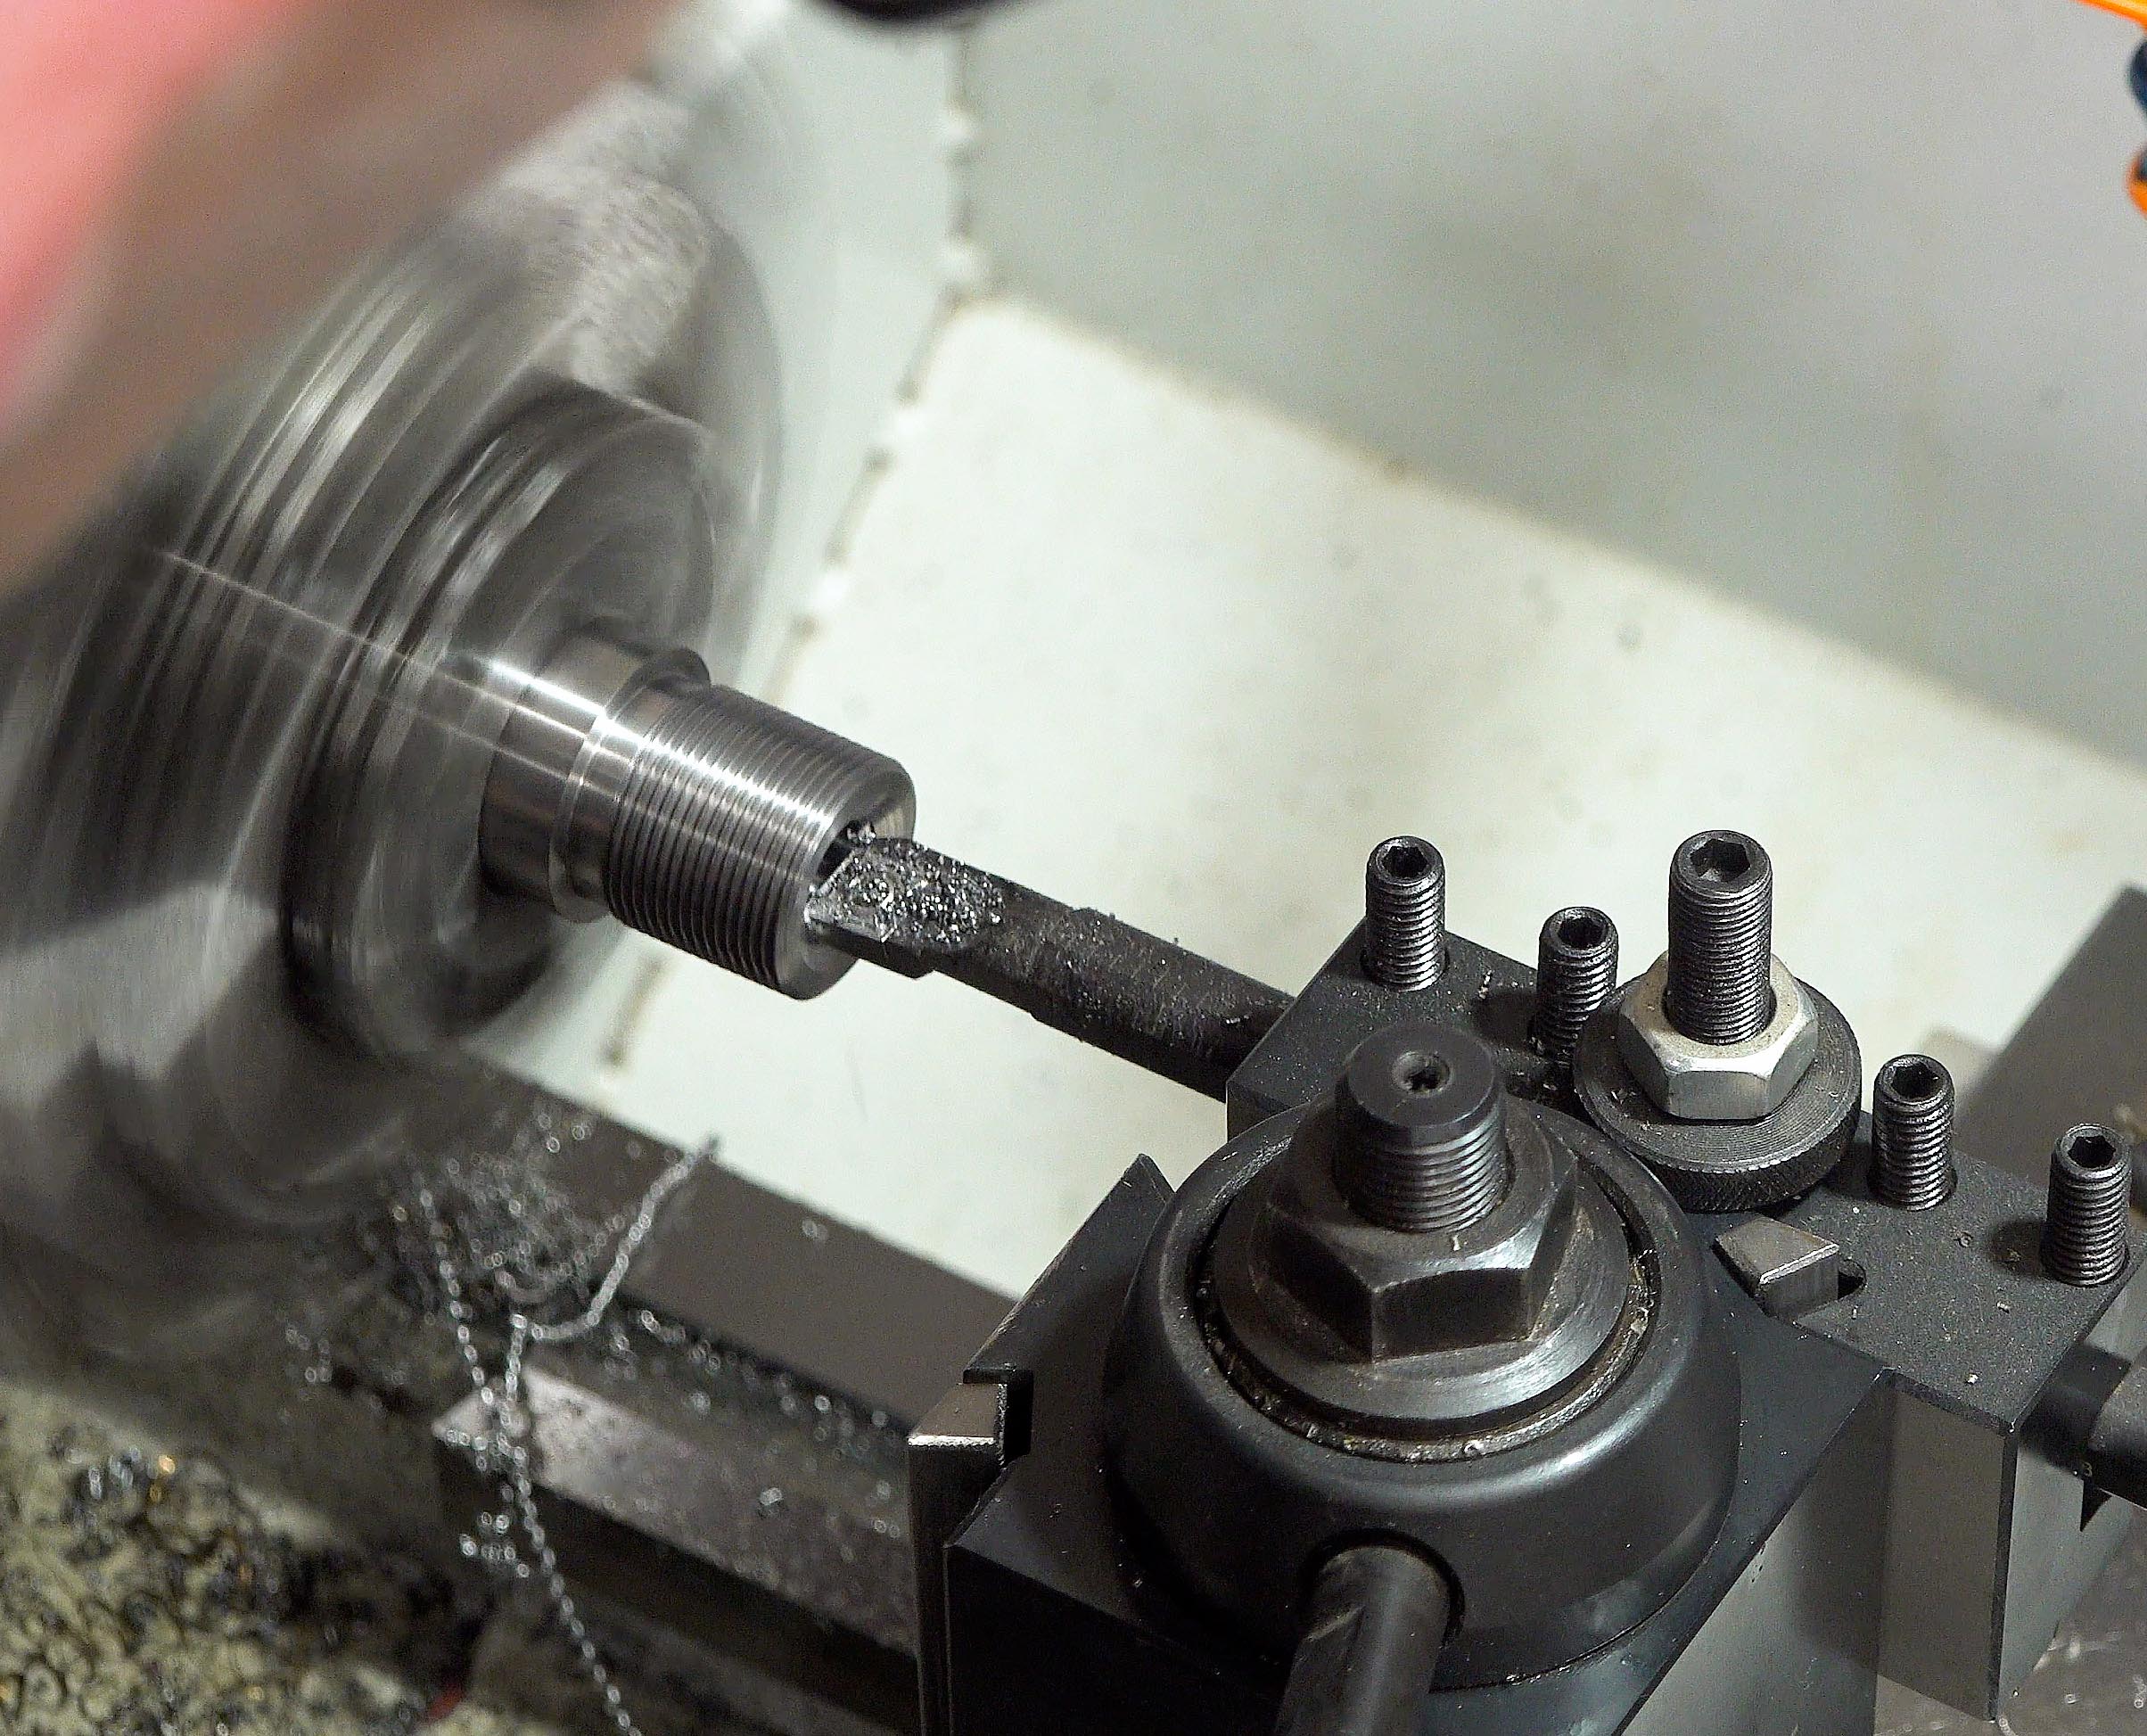
I then used the Triebel throater reamer to cut the throat, using the same method as was used last time:
In the picture above you can see the modified drill depth stop that I used to precisely monitor cutting depth (measuring gap between the drill stop and the end of the tenon).
I stopped reaming when a dummy cartridge seated to the optimal length was fully seated in chamber.
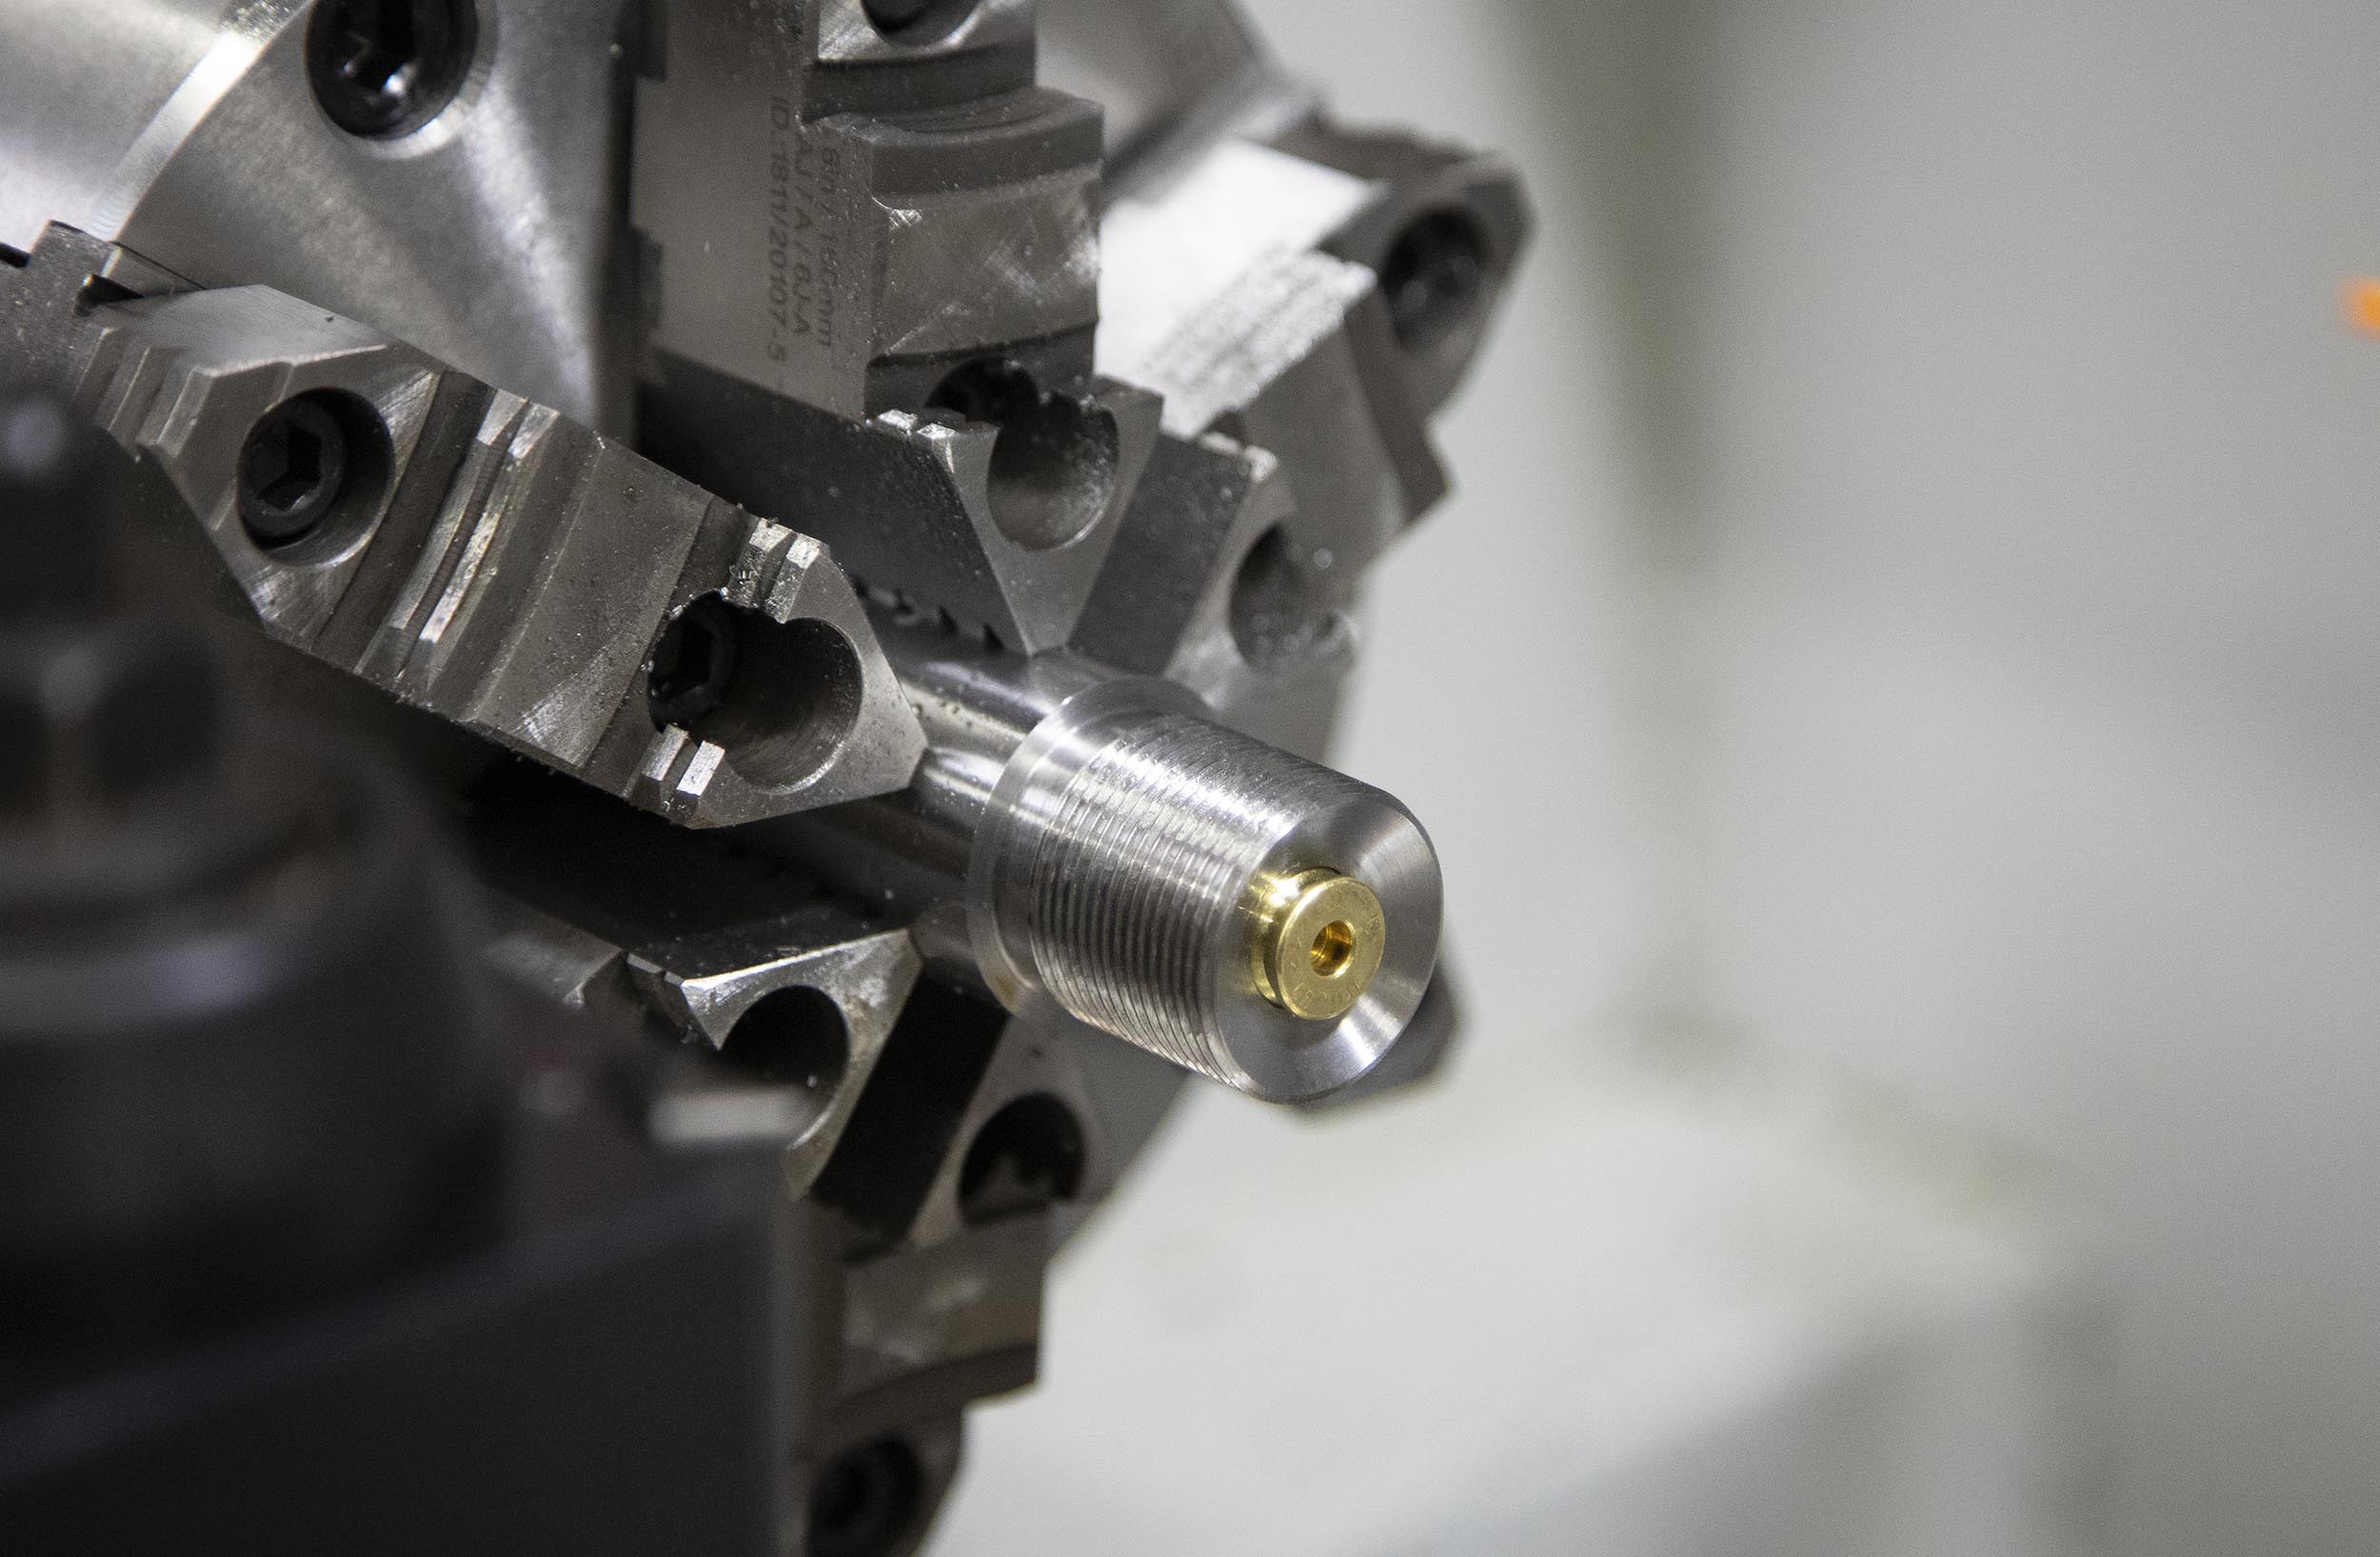
This protrusion was compared with the protrusion measured with a piece of virgin brass (without bullet). When the protrusion values were equal, I knew I was at my target depth. I went “just beyond” this value to allow some bullet jump.
Muzzle Work
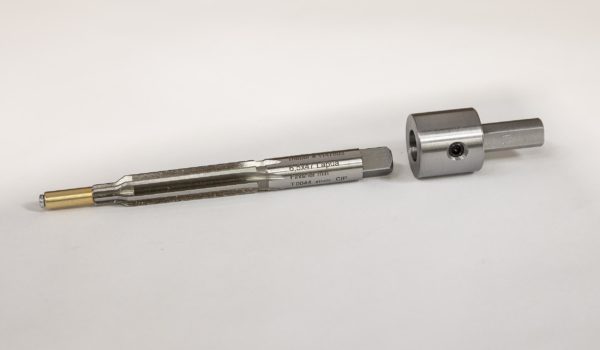
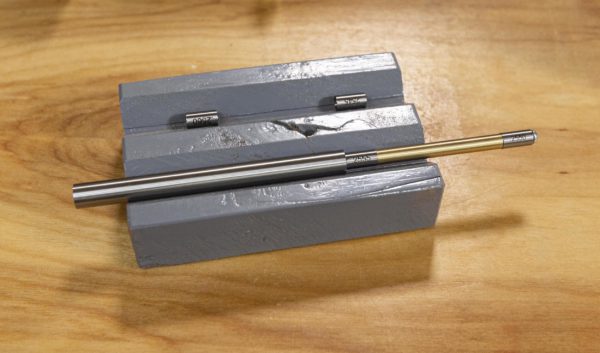
For the muzzle end, I again used the True Bore Alignment System. Above you can see the SSG Range Rod I used which features two tight-fitting bushings that ride on the barrel lands. This makes for quick barrel dial-in! I then cut an 11° target crown, as recommended by Gordy Gritters. This finished off the barrel work!
Here’s what the SSG Range Rod looks like
Installing Barrel and Checking Headspace

I installed the barrel in the barrel vice, threaded on the action and proceeded to check headspace with a “Go + 0.002” gage: no bolt close! Good. I then checked with the Go Gage, and the bolt did close. Mission accomplished!
What’s Next
Now that the barreled action is done, I’m going to start work on the next stories in this series:
- Stock inletting and barrel channel, bedding the action in the stock
- Painting the stock, assembling the rifle
- Break-in and load development
I can’t wait!
Don’t miss out on Ultimate Reloader updates, make sure you’re subscribed!
Thanks,
Gavin


