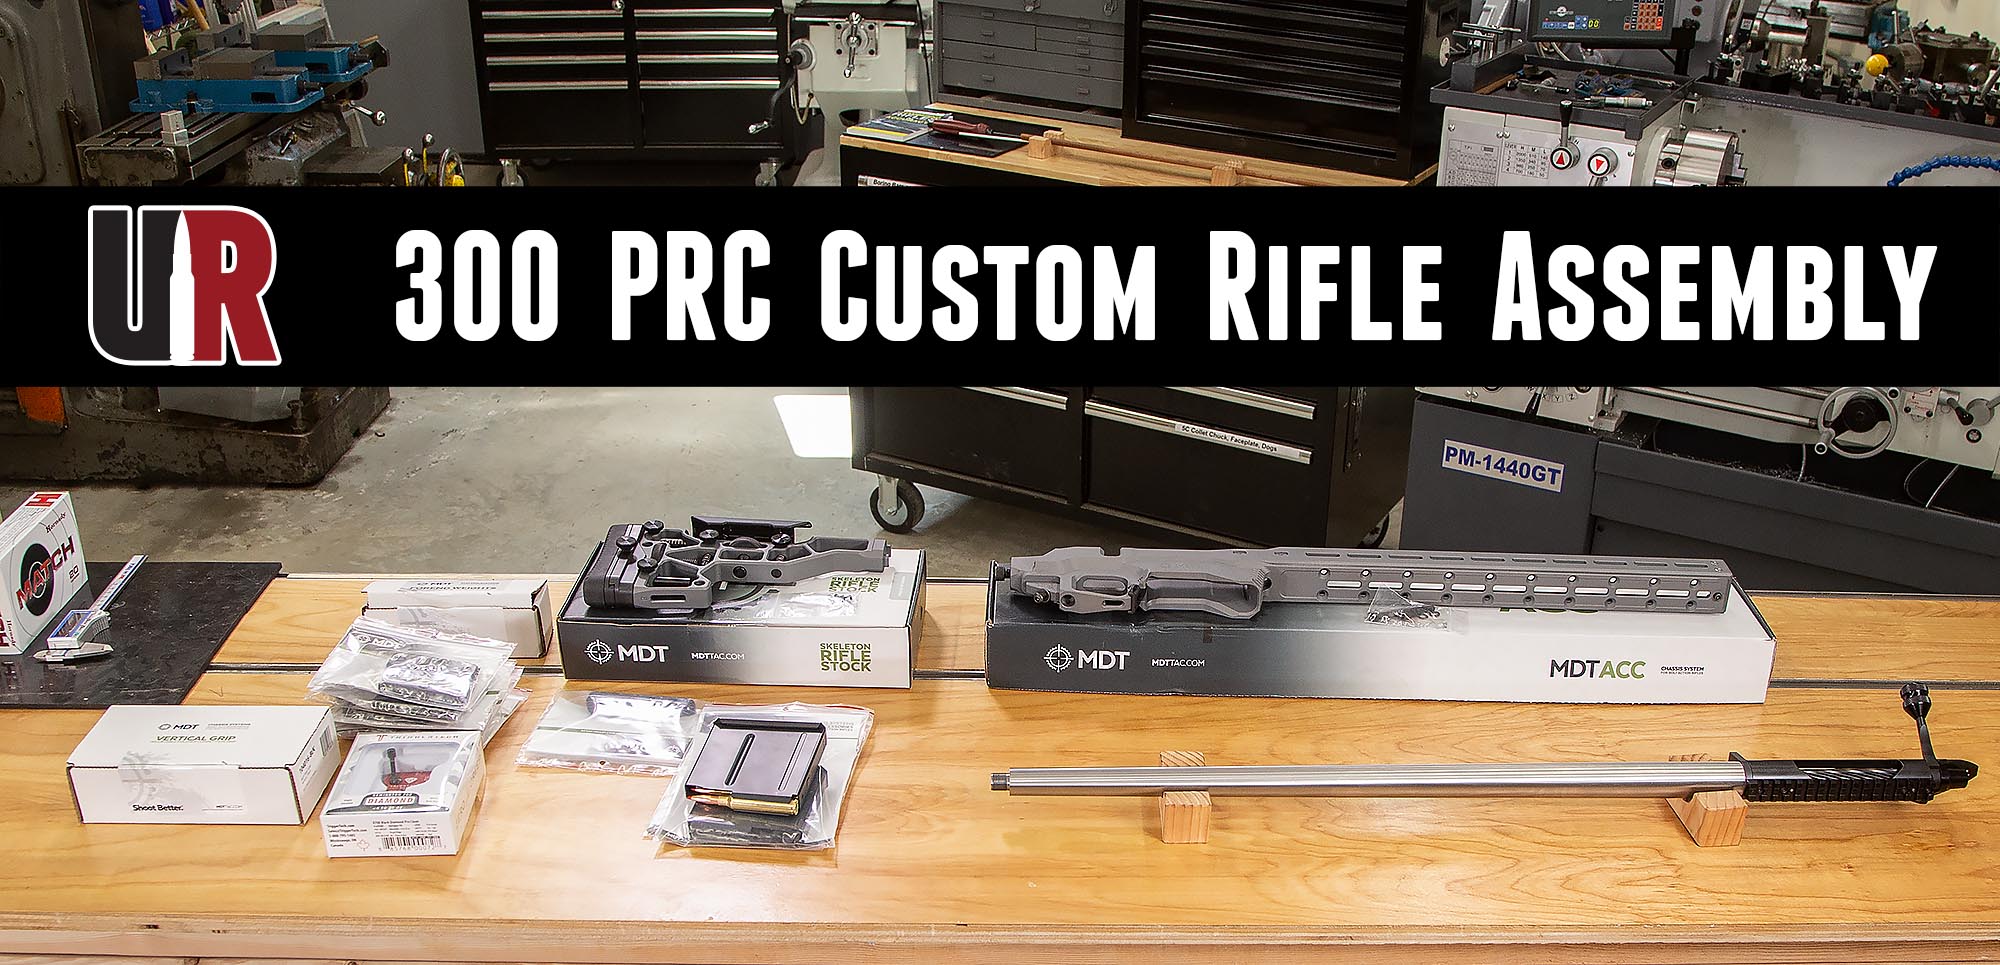
This full-custom 300 PRC build has been a long road. I’ve spent hours on planning, research, building, and now assembly. The anticipation to see this rifle come together has been thick. And now it’s time to assemble the complete rifle! In this article I’ll cover trigger installation, assembling the MDT ACC Chassis, and putting the barreled action together with the chassis. I can’t wait to show you how things turned out!
Here are the stories form the series so far:
- In-Depth PRC Series: 6.5 PRC, 300 PRC End-To-End (Kick-Off)
- 300 PRC Custom Build Overview
- 300 PRC Custom Build: Chambering and Machining the Barrel
Disclaimer
Ultimate Reloader LLC / Making with Metal Disclaimer: (by reading this article and/or watching video content you accept these terms)
- The content on this website (including videos, articles, ammunition reloading data, technical articles, gunsmithing and other information) is for demonstration purposes only.
- Do not attempt any of the processes or procedures shown or described on this website.
- All gunsmithing procedures should be carried out by a qualified and licensed gunsmith at their own risk.
- Do not attempt to repair or modify any firearms based on information on this website
- Ultimate Reloader, LLC and Making With Metal can not be held liable for property or personal damage due to viewers/readers of this website performing activities, procedures, techniques, or practices described in whole or part on this website.
- By accepting these terms, you agree that you alone are solely responsible for your own safety and property as it pertains to activities, procedures, techniques, or practices described in whole or part on this website.
On with the rifle assembly!
TriggerTech Diamond + Kelbly’s Atlas Tactical Action = GOOD
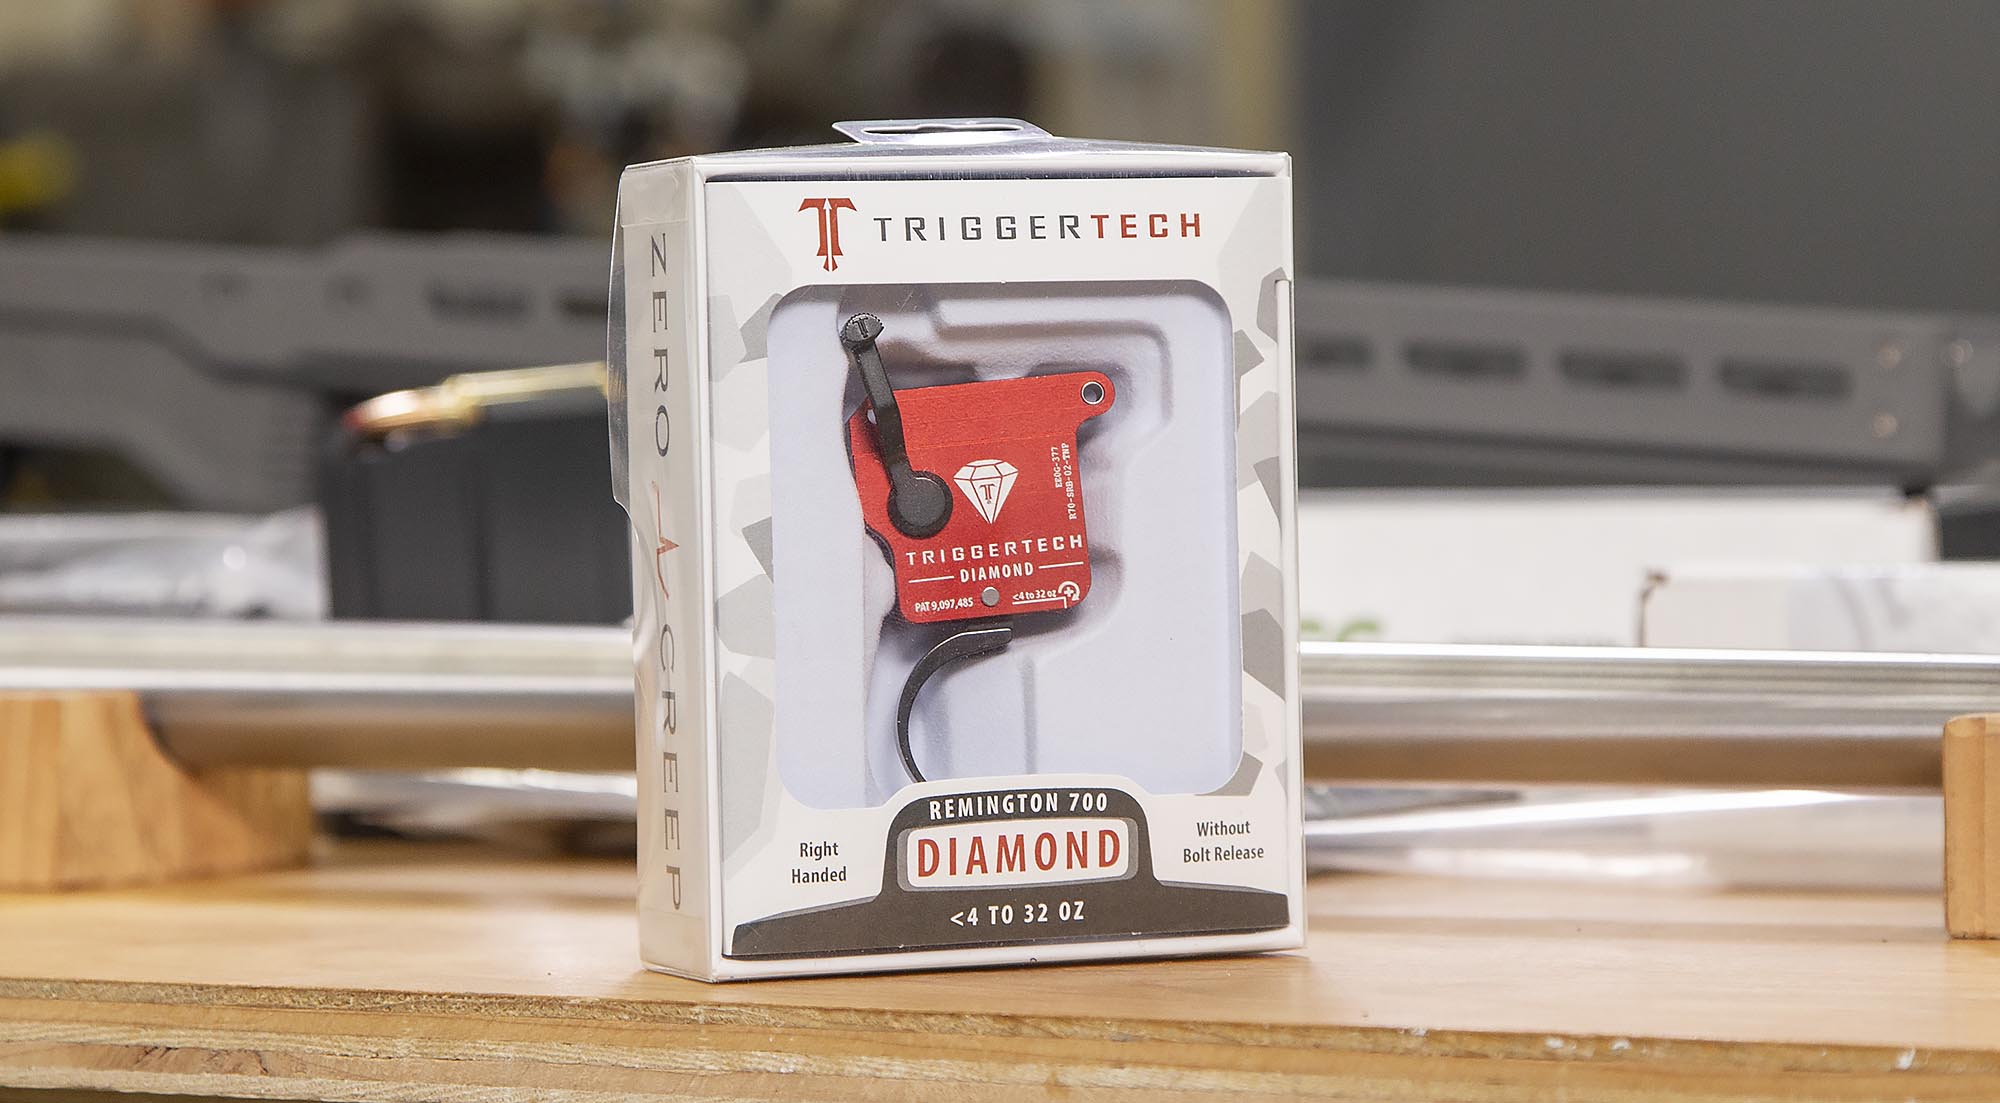
TriggerTech triggers have served me well so far- the Remington 700 Special for my 224 Valkyrie Remington 700 Build has been AWESOME! Now it’s time to take things to the next level with the TriggerTech Diamond for Remington 700!
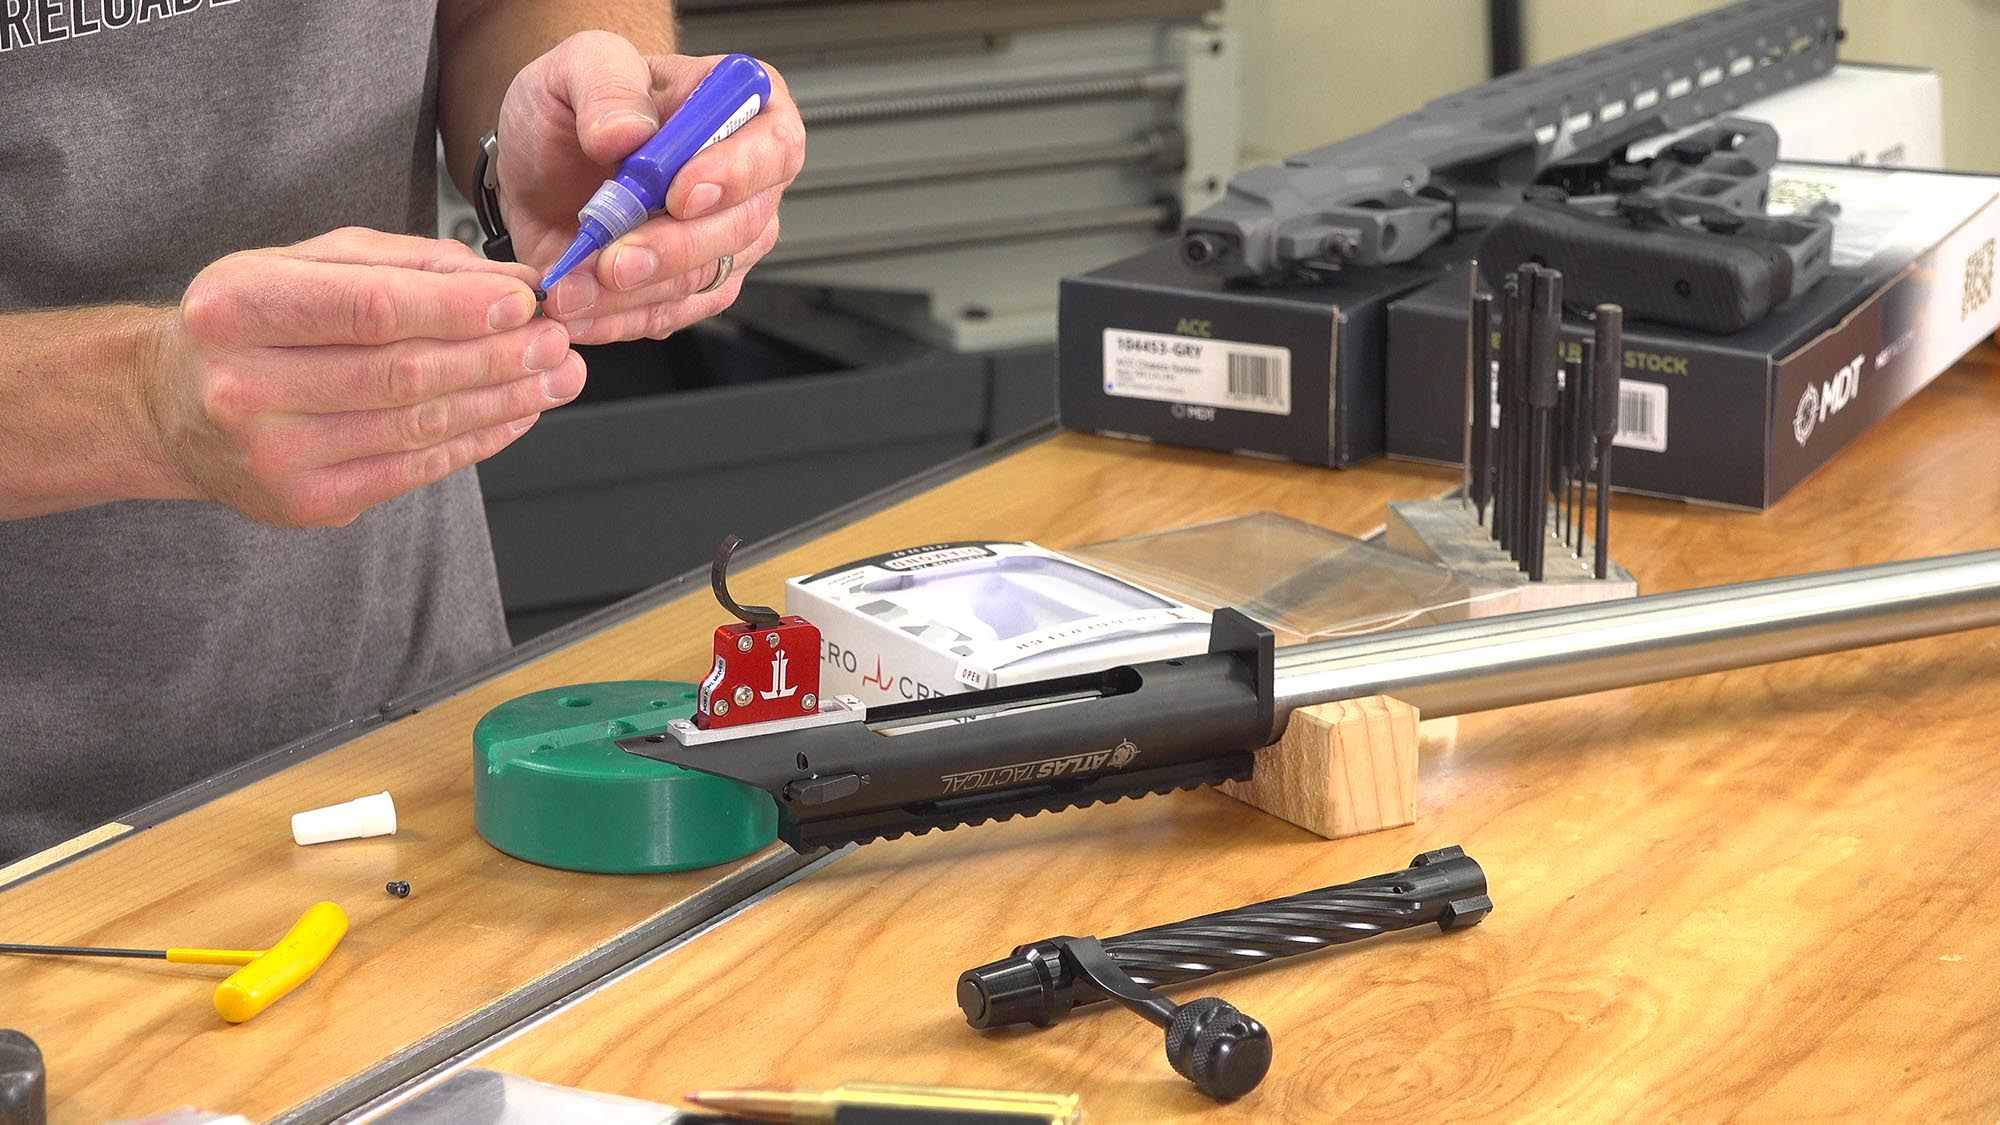
This was the most straightforward and painless Remington 700 trigger install EVER. Why? Because the Kelbly’s Atlas Tactical Action has a trigger hanger that’s easily removed with two screws! Oh, and this action also has an external integrated bolt stop/release, so there’s no linkage or spring to deal with! And that’s GREAT.
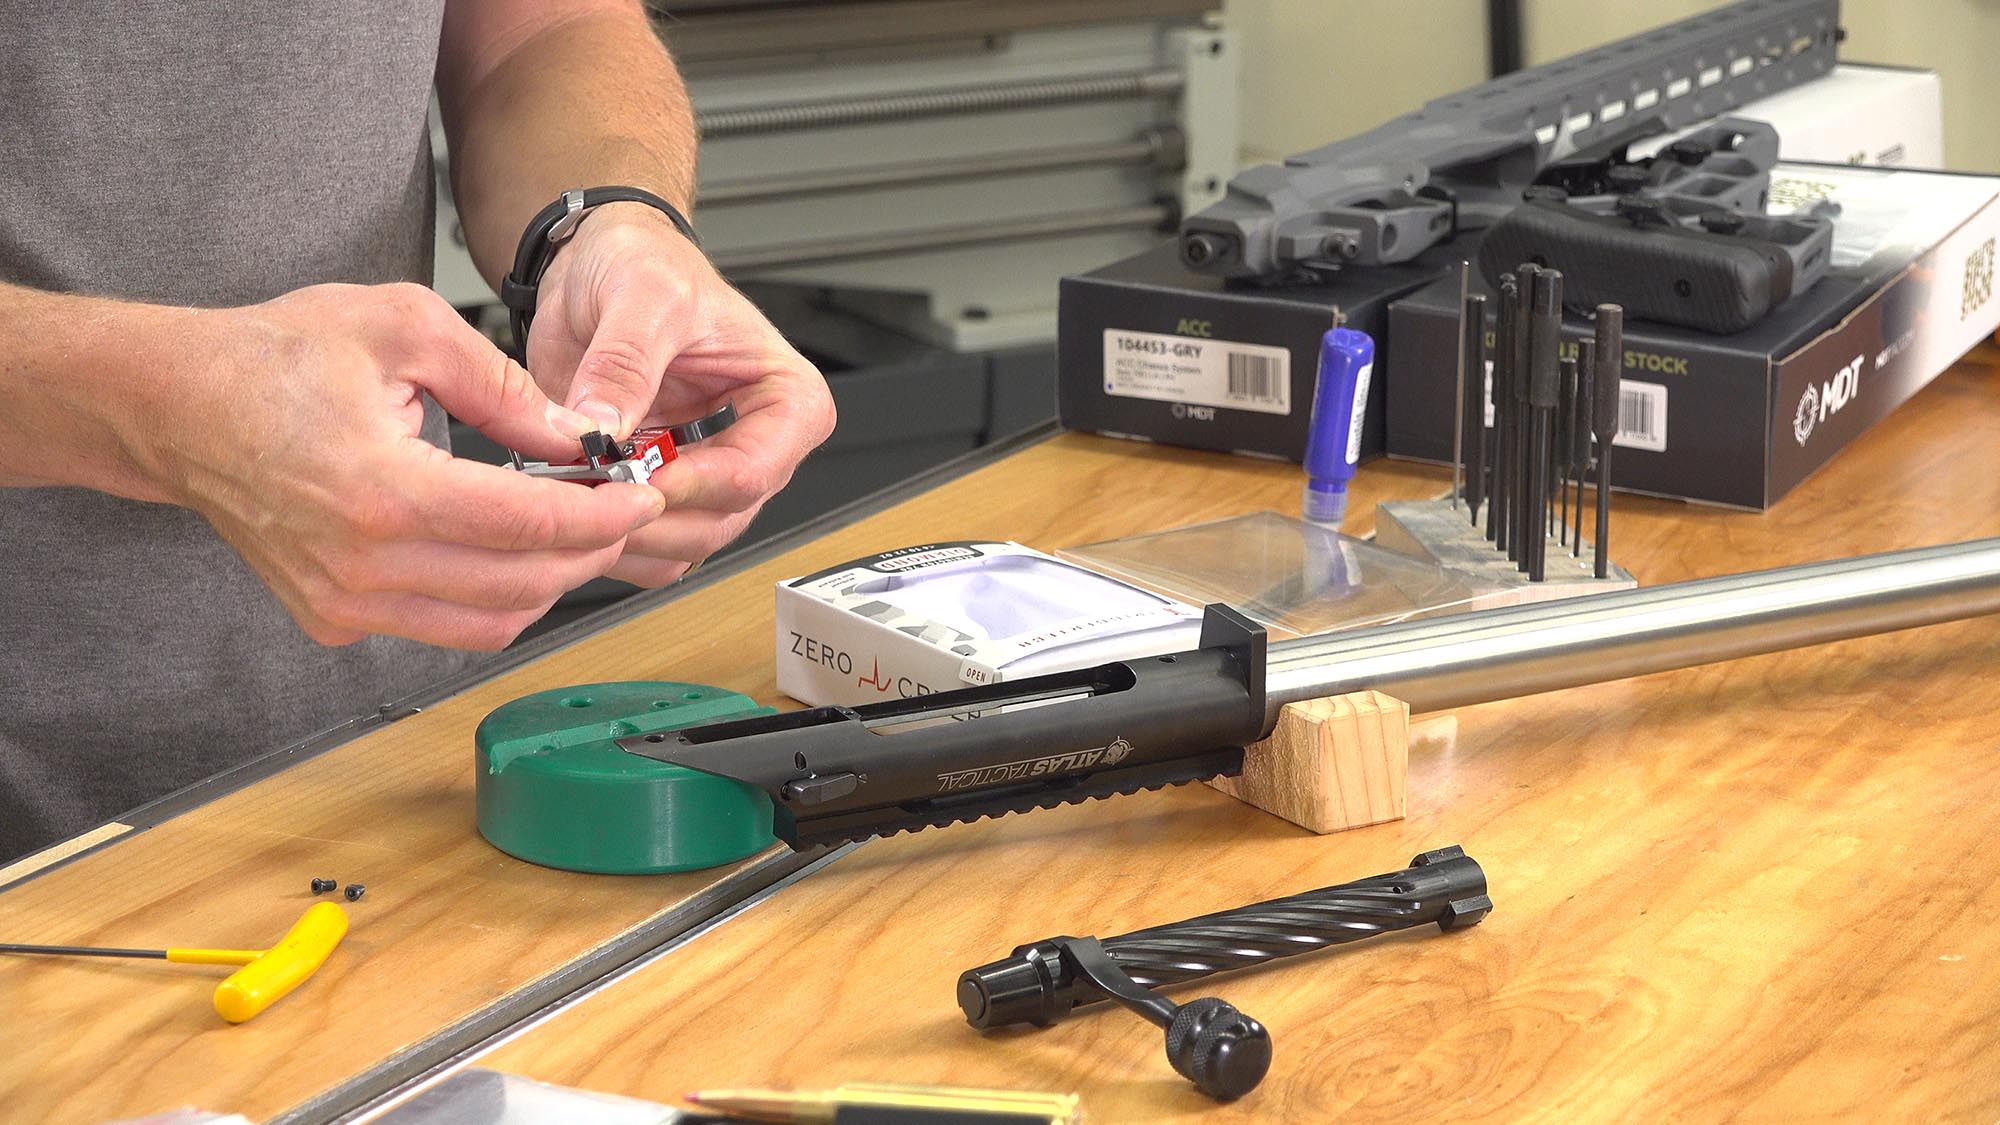
With this hanger and external bolt stop/release, the install is simplified to:
- Remove trigger hanger from action (two screws)
- Punch pins to one side in hanger (you can do this by hand with a 1/8″ punch, or using light taps with a hammer and punch)
- Drop in trigger
- Push or tap pins into place
- Install hanger back on action with the two screws (I used blue locktite on these screws)
If you do this install once, the second install will only take about 5 minutes total, very easy! I’ll have more info on the TriggerTech Diamond for Remington 700 coming up soon!
MDT ACC: Modular, Beautiful, and Functional
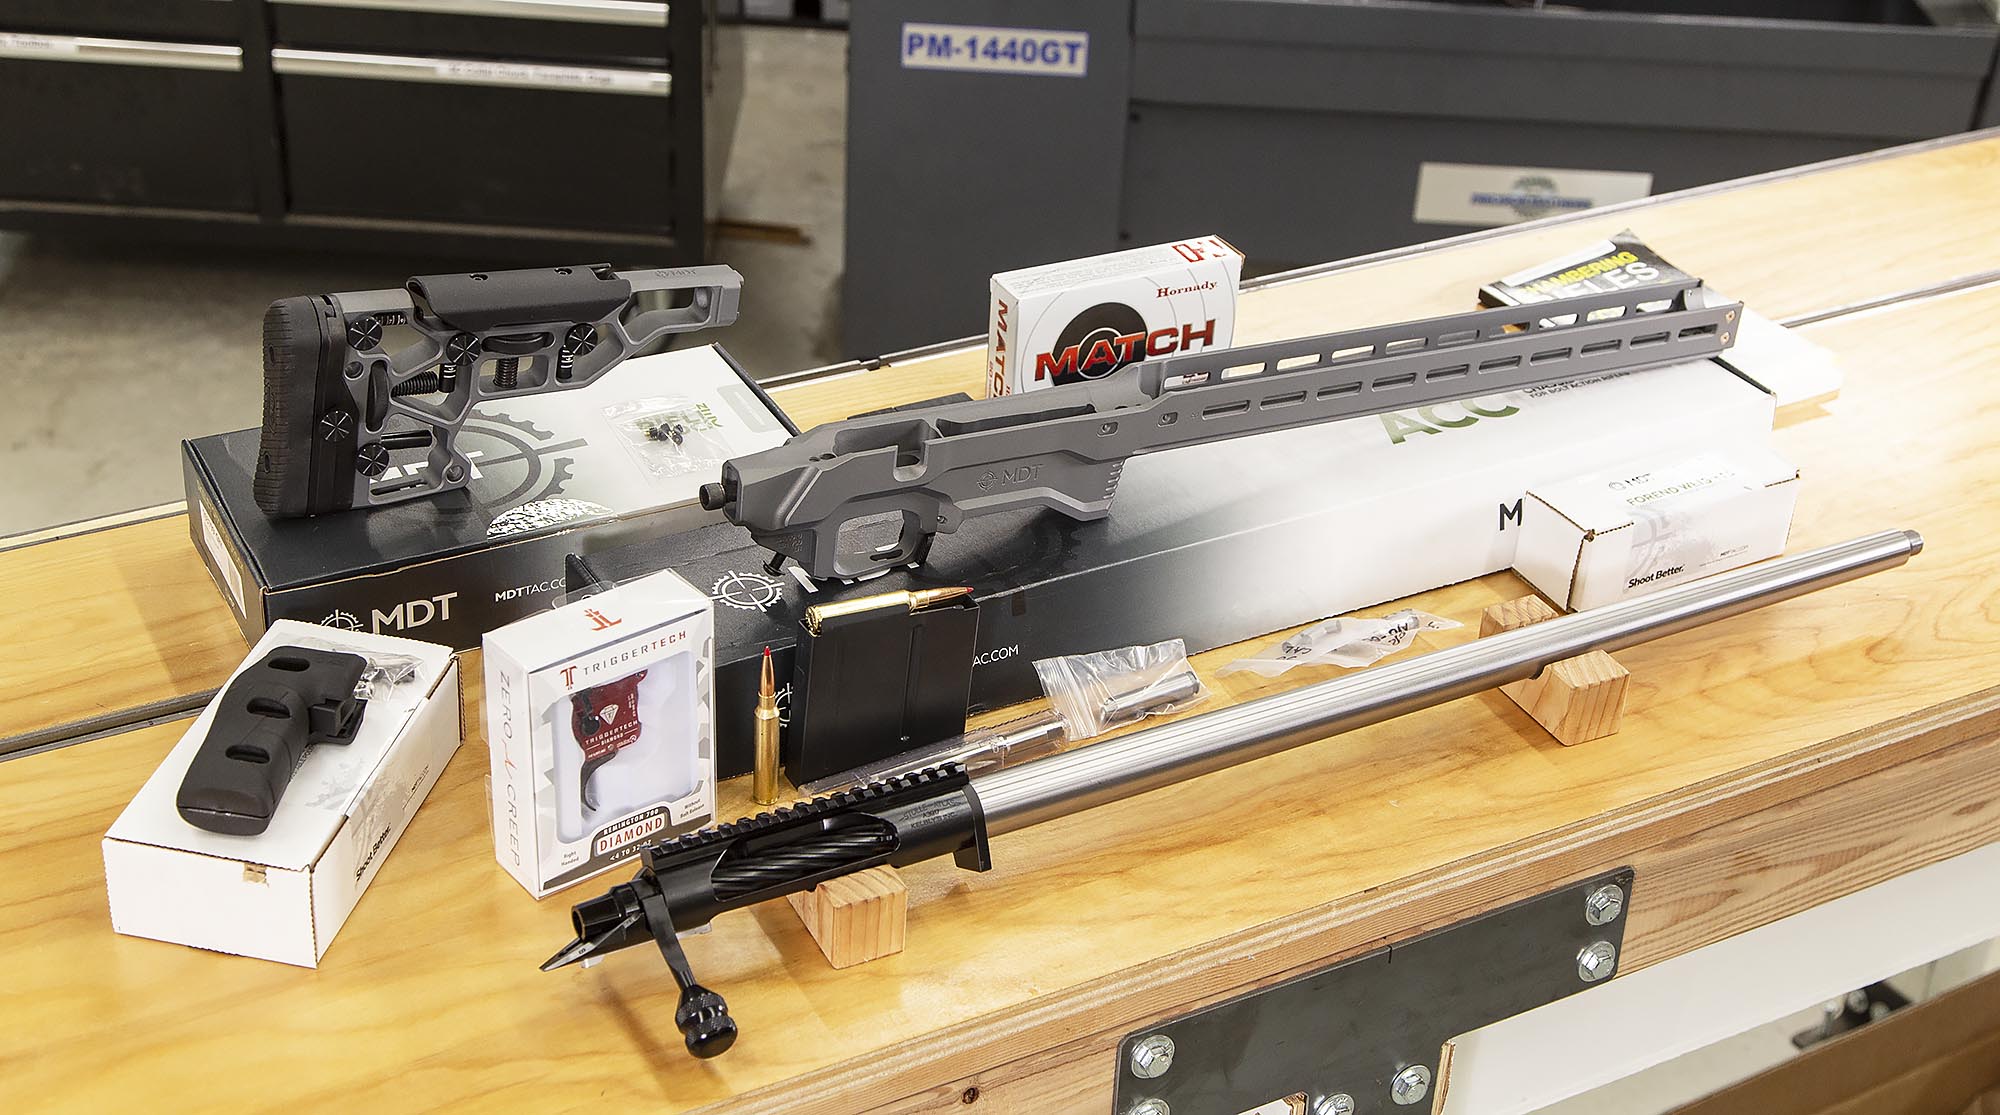
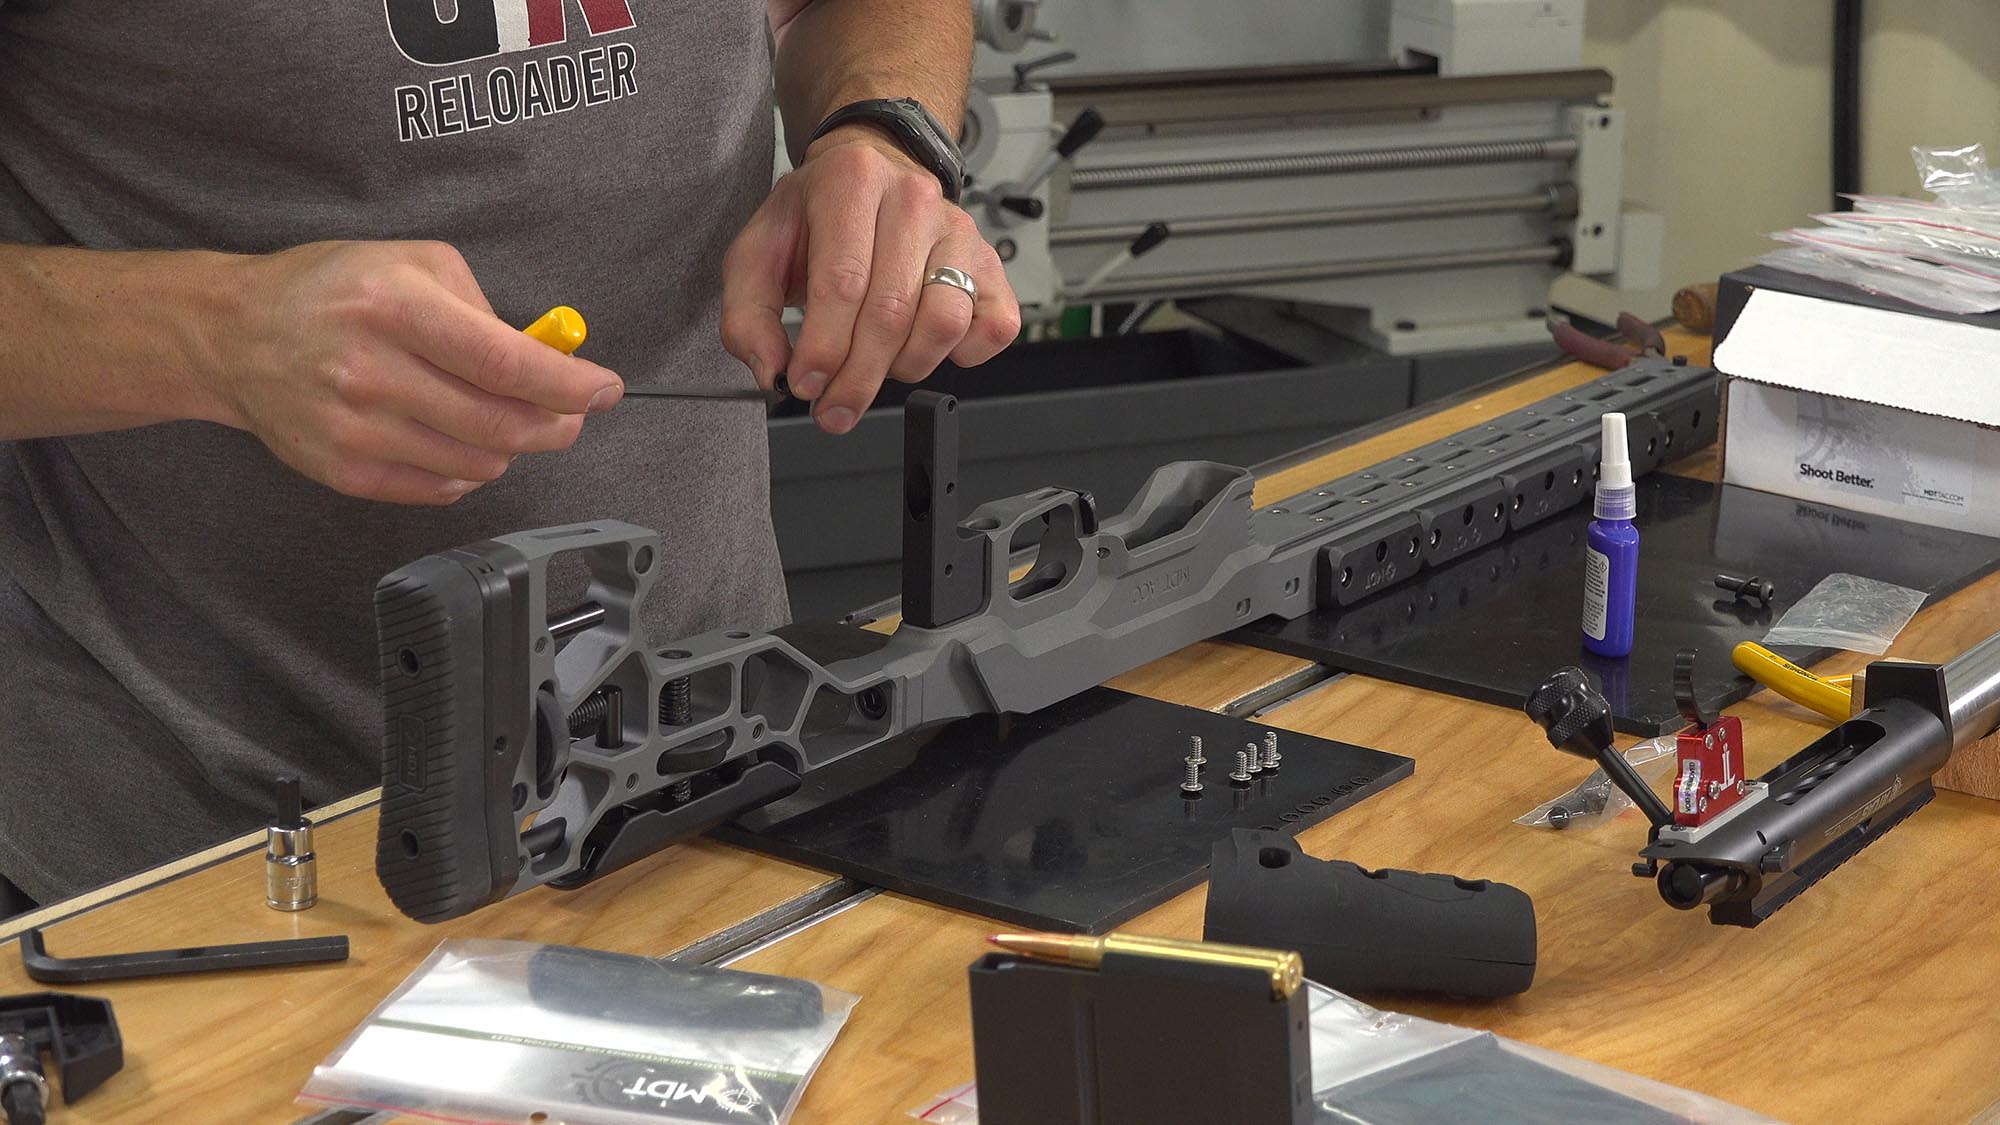
The MDT ACC Chassis (see THIS POST for more info) is the perfect stock system for this build because it’s very configurable- including the ability to add up to 9lb of steel weights. This is exactly what I was looking for: an extremely heavy chassis to isolate recoil from both the shooting experience, and the accuracy testing results. Before I put things together, I set everything out neatly on my bench and took inventory: (click/tap to enlarge)
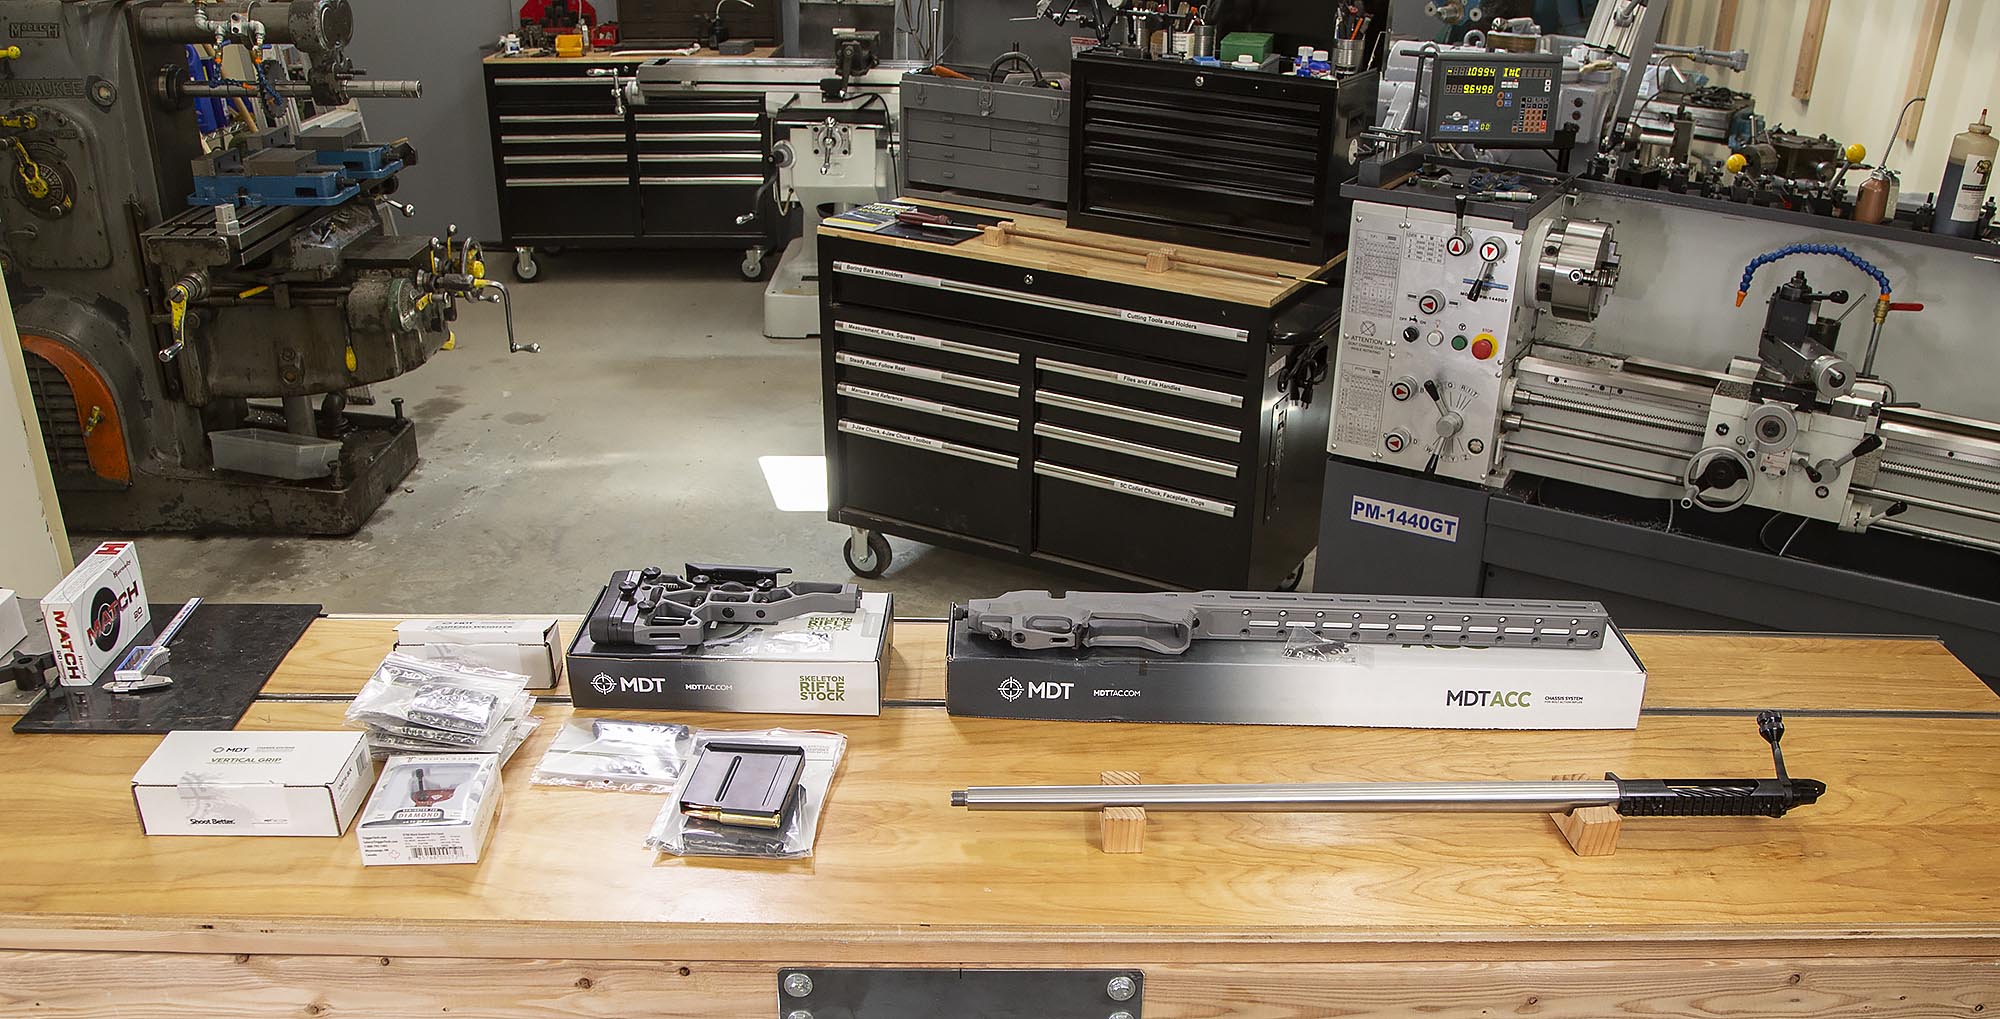
Above we have:
- MDT ACC Chassis Backbone (forend)
- MDT Skeletonized Buttstock
- MDT Single-Stack Long-Action AICS magazines (3.850″ max length)
- MDT Interior Forend Weights
- MDT Exterior Forend Weights
- MDT Vertical Grip
I started by installing the Interior Forend Weights:
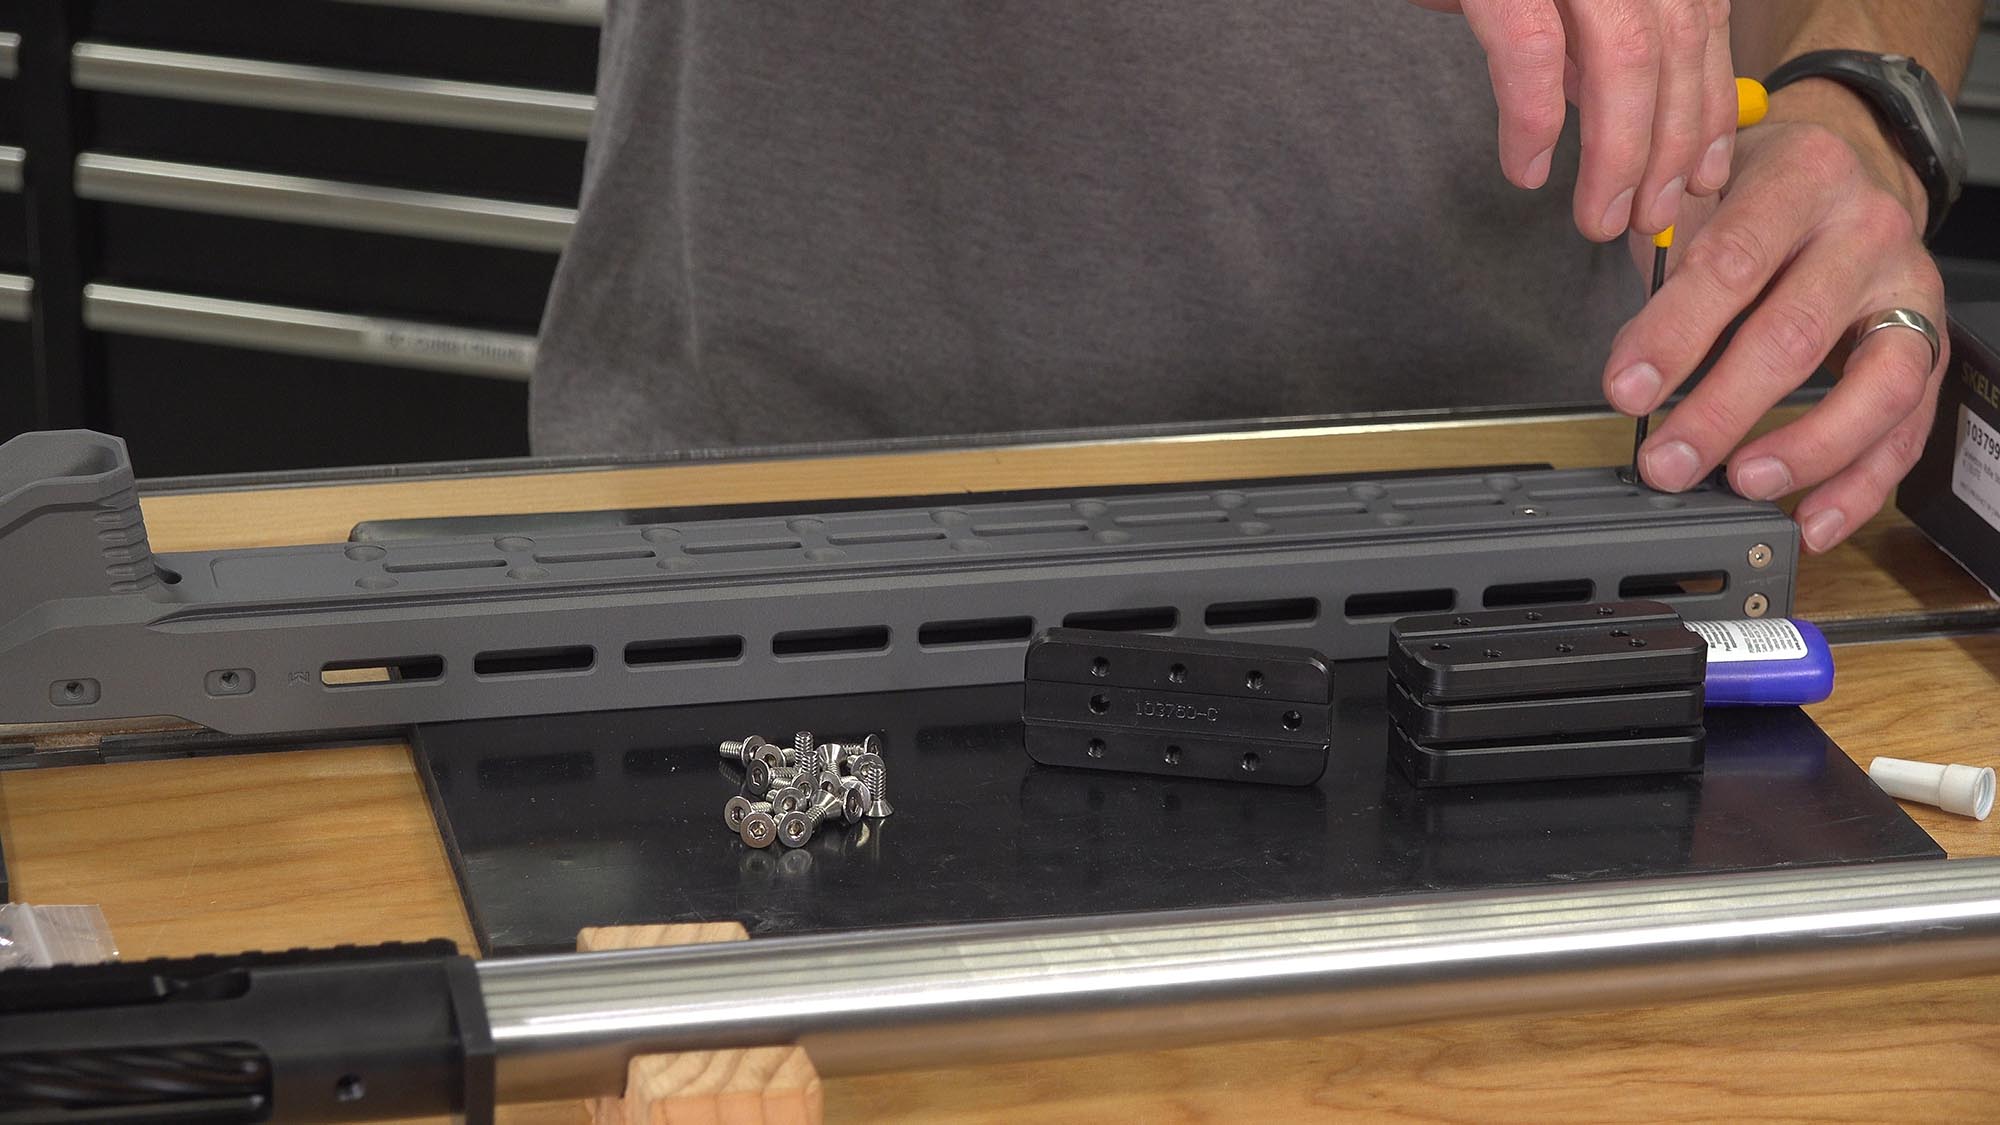
They simply drop in. I started a couple screws for each weight with the stock on its side, and then finished installing and torquing the screws (4 for each weight) with the stock on its back.
Then onto the Exterior Forend Weights! These have M-LOK, so the install is VERY easy:
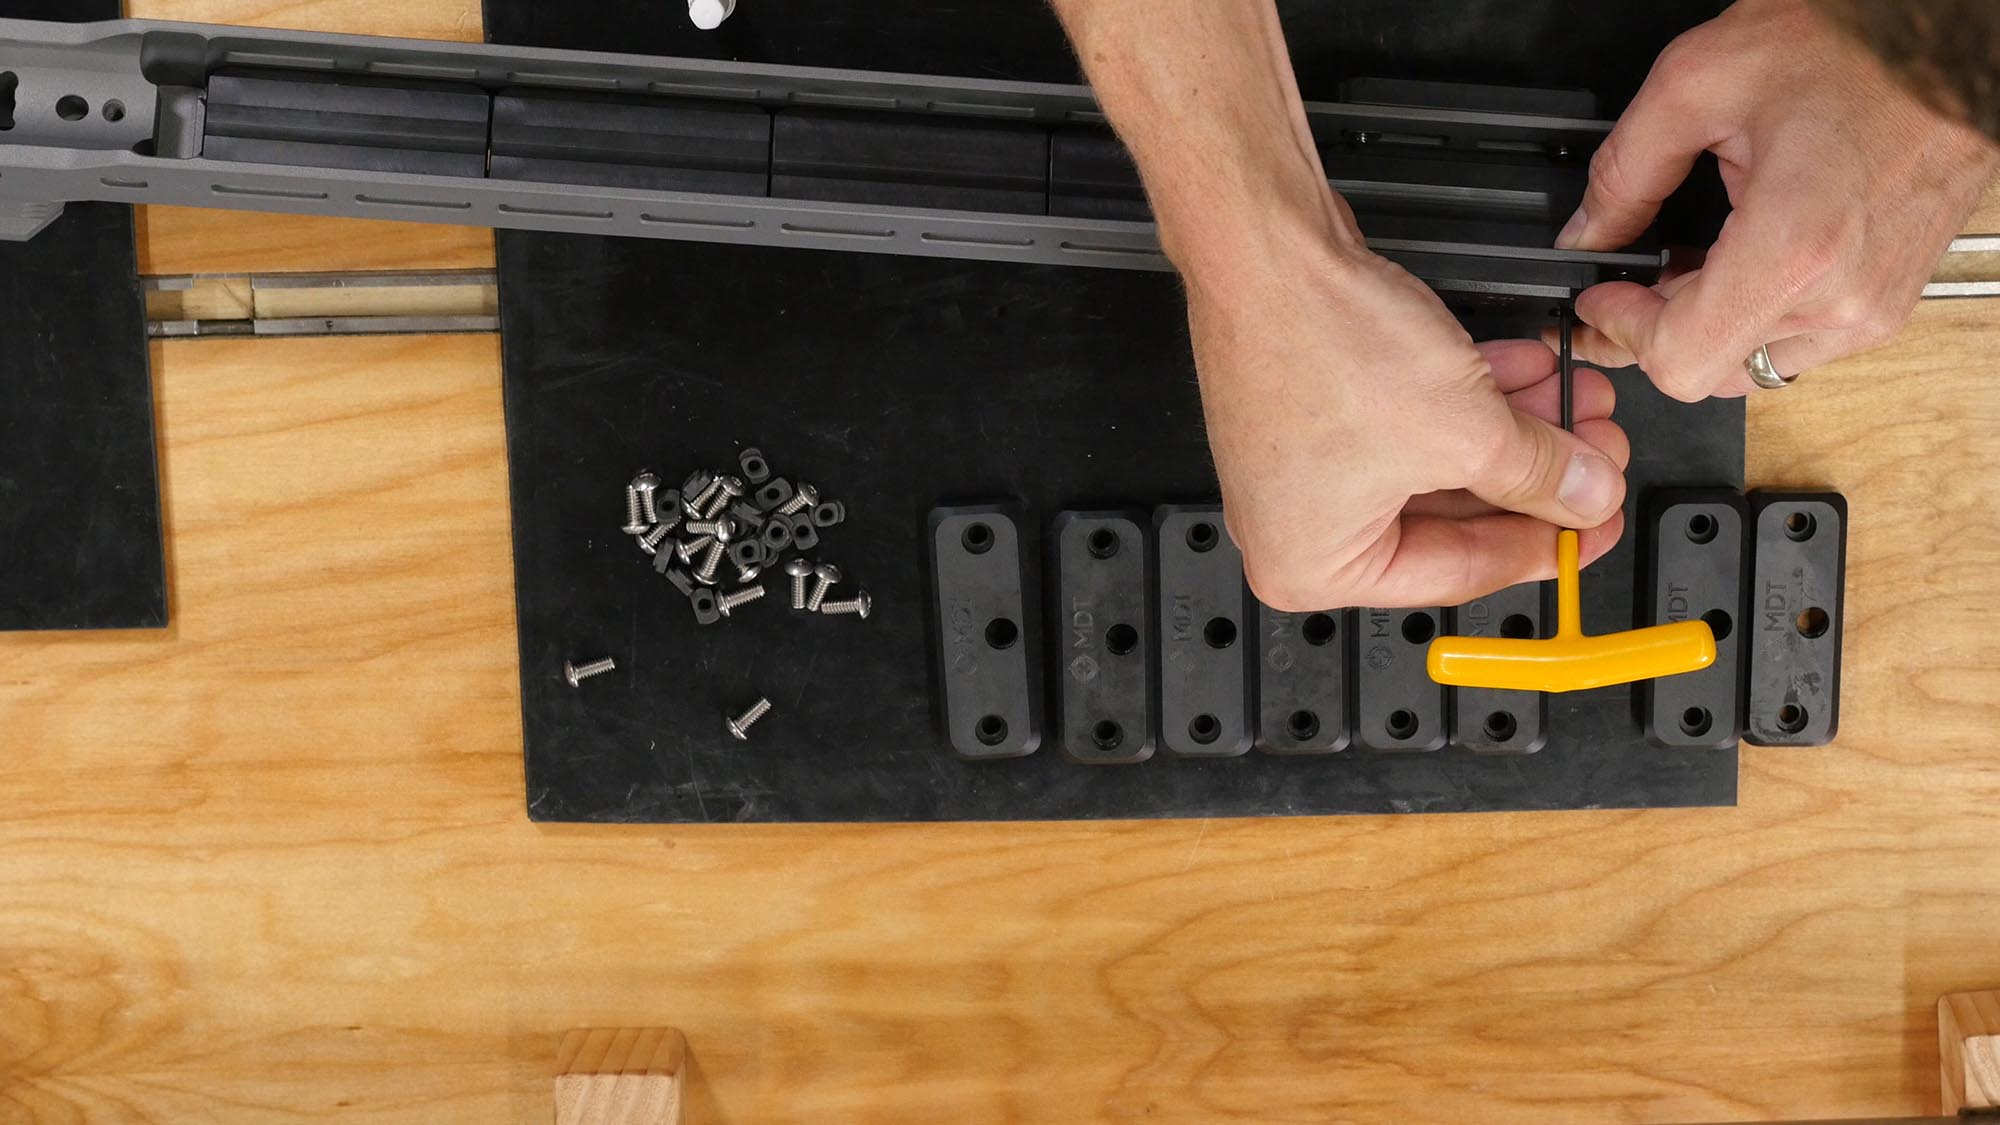
Just put two screws through each weight, spin on M-LOK nuts, slip the weight into the M-LOK slot, and tighten! A nice surprise: each weight has a QD cup machined into the side! Lots of options for quick attach sling points.
Once I was finished with the forend weights, I used the single allen bolt to bring the forend together with the buttstock. I used blue locktite on all hardware, including this allen bolt. Then onto the vertical grip! First, you attach the “machined core” to the stock with a single allen screw:
After the machined core is in place, the side panels are installed on the machined core via 3 screws/washers for each panel:

The panels can shift forward/backward, and tilt slightly. They are locked into place by the three screws on each side. This makes the MDT Vertical Grip fully adjustable! Now we’re talking!
Bringing Things Together
At this point, it’s time to install the barreled action into the completed stock. A very exciting moment!

I like to do the following when installing a barreled action:
- Test fit: make sure the action seats fully in the stock, check action screw holes for alignment
- Install the grip screws finger tight
- Rap the buttstock on your bench to seat the recoil lug against the inletting
- Incrementally torque action screws to suggested value (60 in-lb in this case) alternating between each screw as you tighten
Everything fit like a glove! Next it was time to test feeding some 300 PRC rounds from one of the magazines:
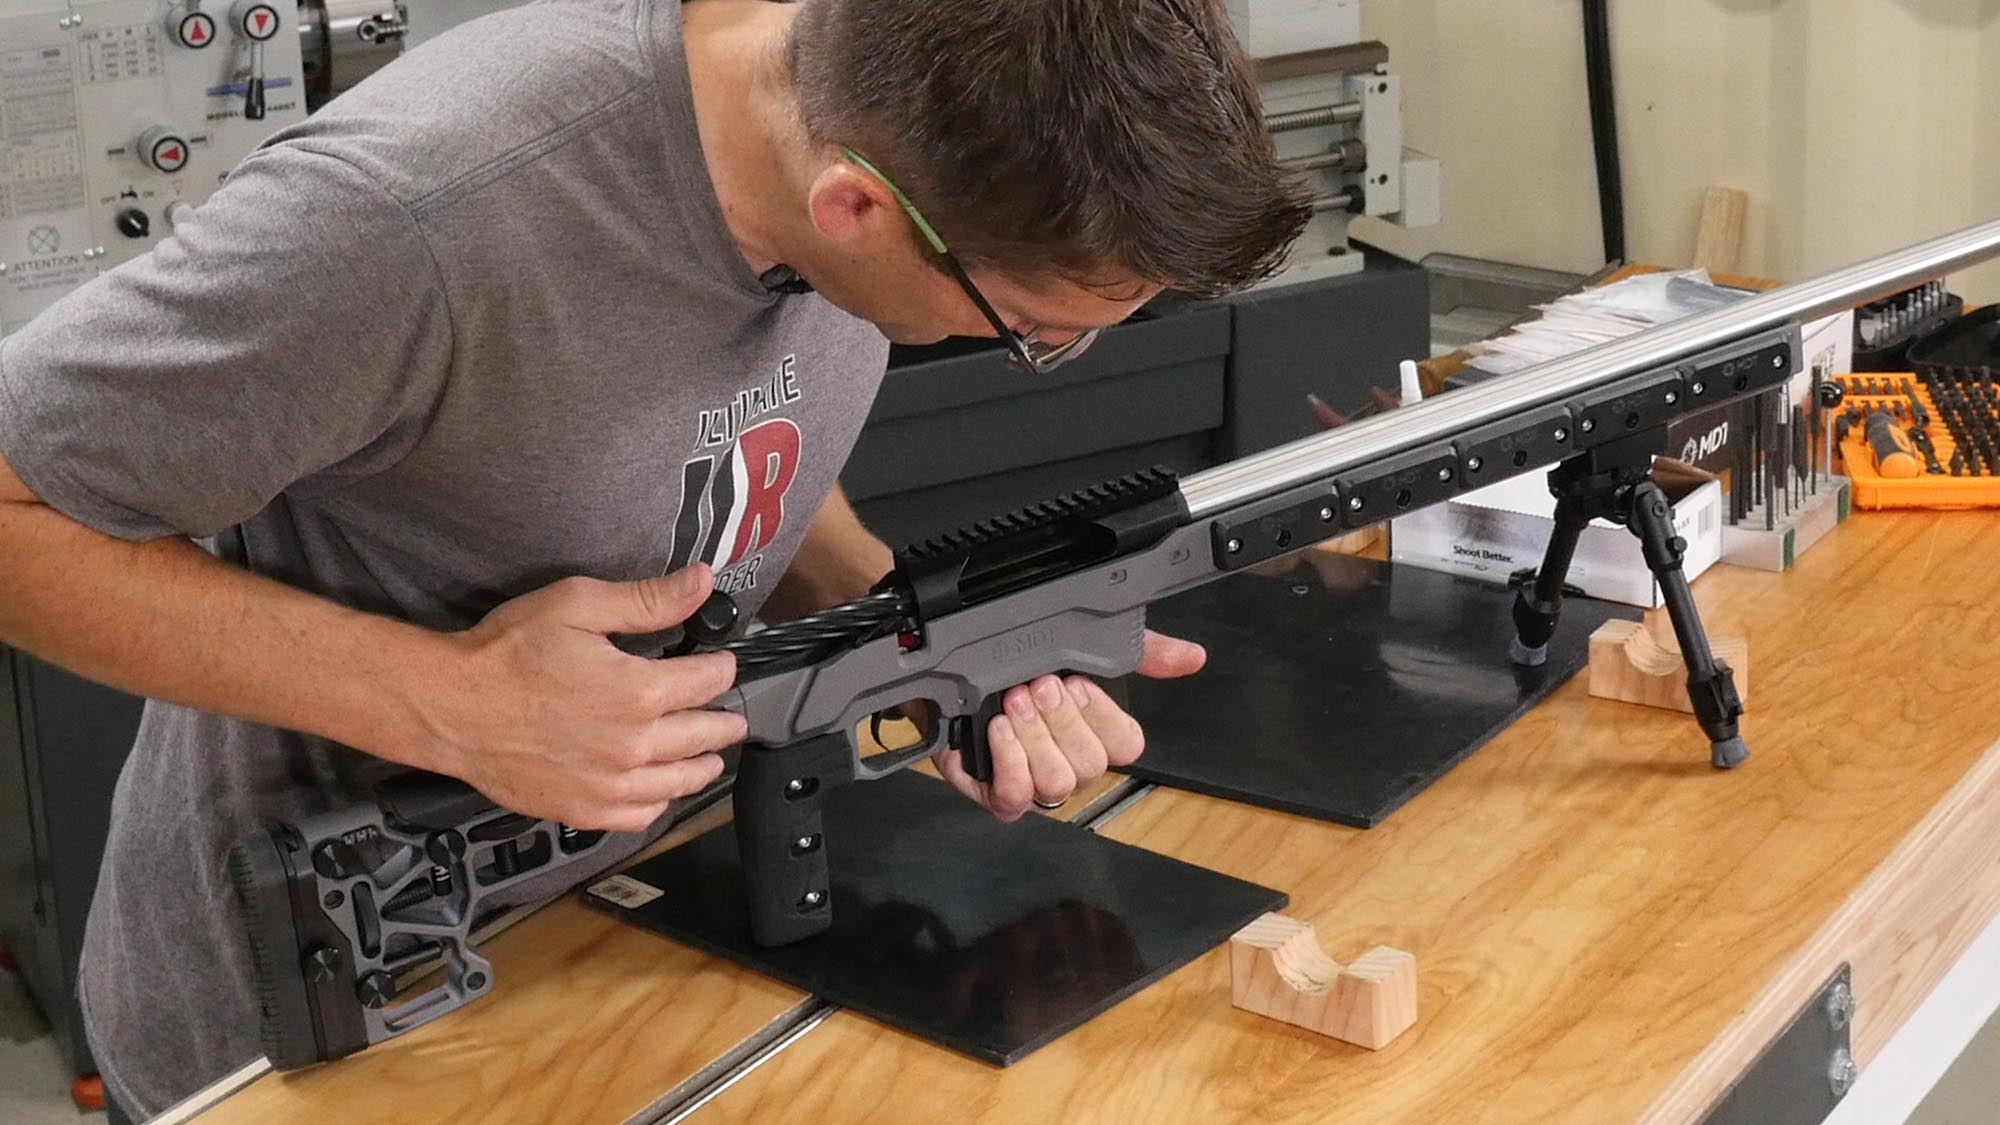
I found that by default, the bolt would “skip across” the case rim and tilt the cartridge in the magazine. If I held the magazine “up into the action” slightly, it would feed perfectly. It turns out that MDT makes different length magazine catches, and for my rifle I think I’ll try one of those! When I hold the magazine at the proper height, this rifle feeds perfectly. More on that later!
Here’s how the rifle turned out:
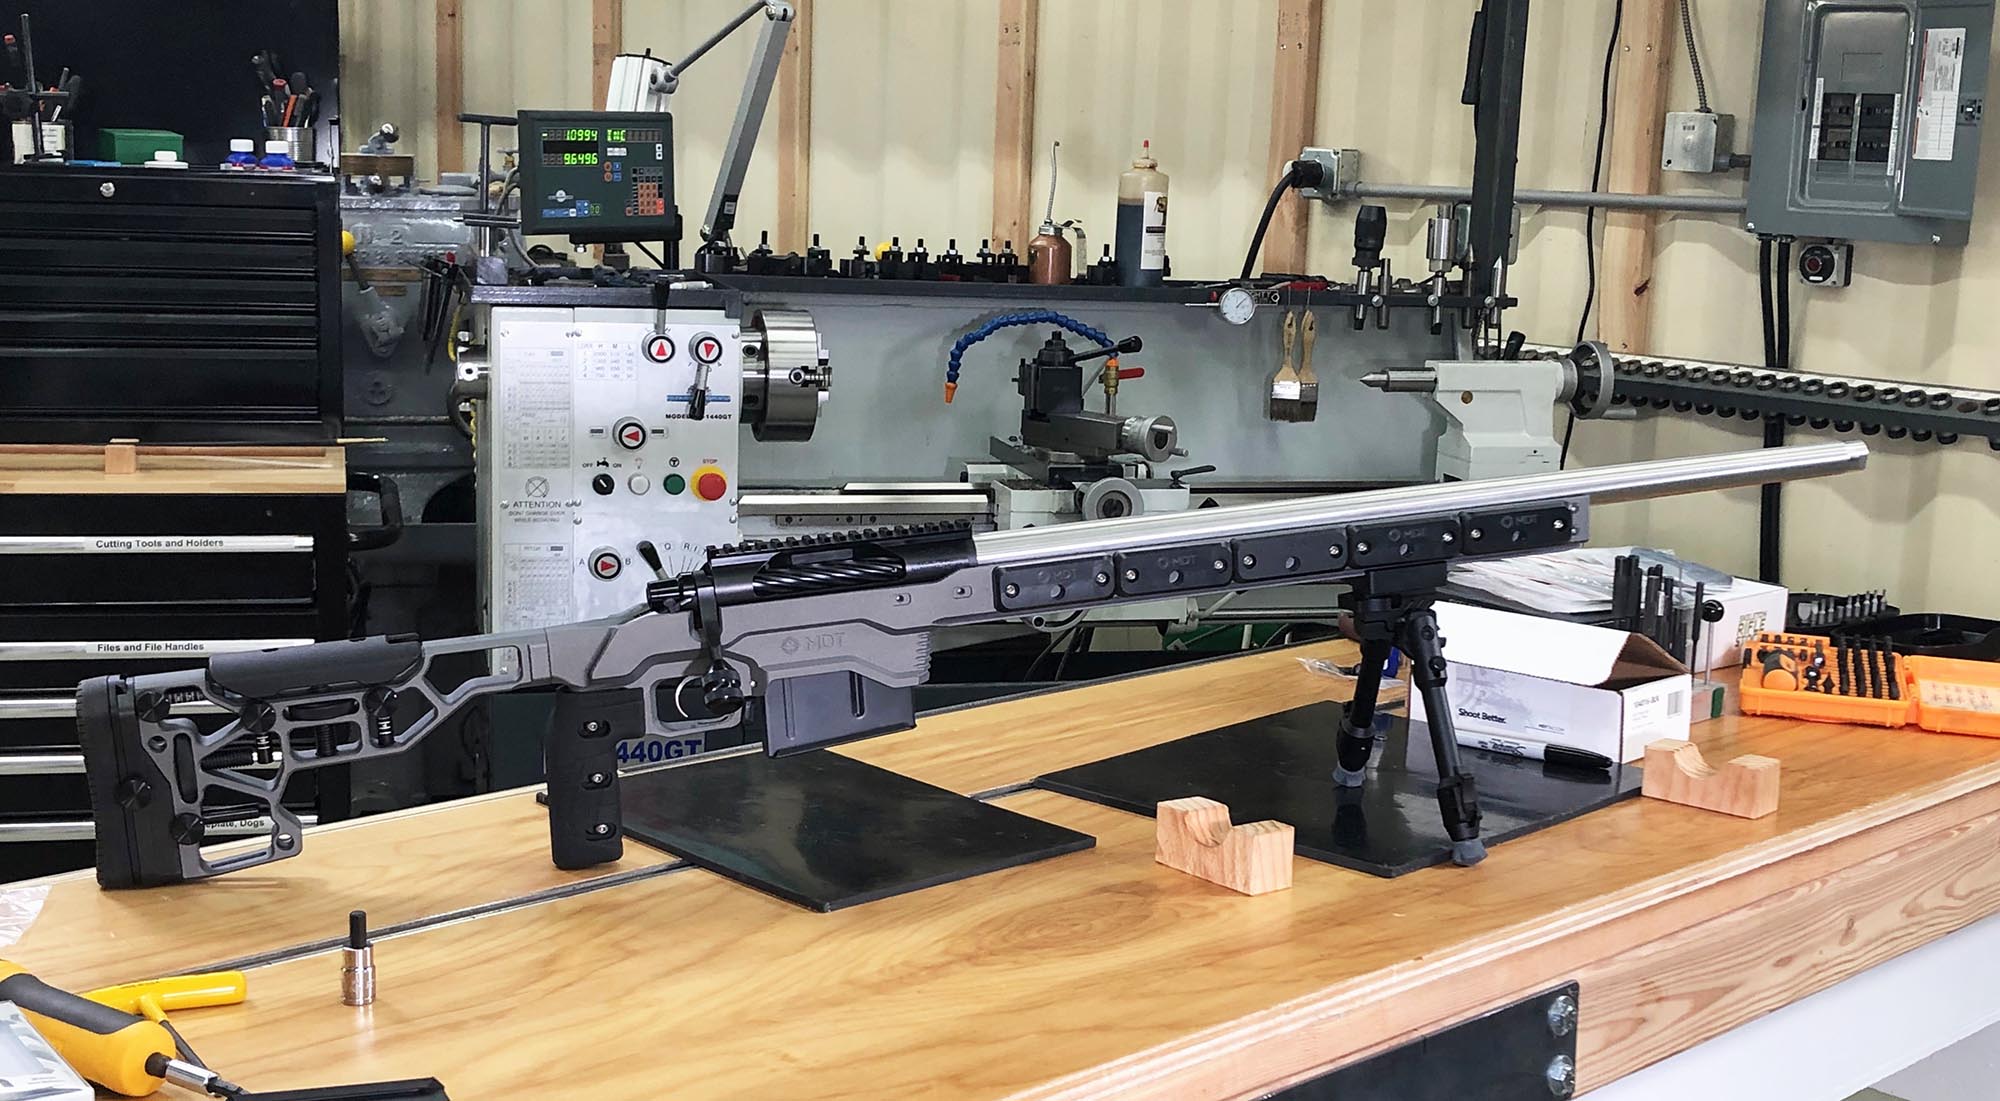
At this point I’m trying my best to be patient and wait for when I can shoot this rifle. But there’s more to do first!
What’s Next
Before we head to the range, there’s still the Benchmark Tactical Brake to install, and optics to mount. This is going to be FUN!
Don’t miss out on Ultimate Reloader updates, make sure you’re subscribed!
Thanks,
Gavin


Great info and build – I always look forward to your posts.. I value your opinion and would like to tap into your expertise; I am building a Howa 1500 short action in 221 Fireball 8 twist with barrel and action fitting by ER Shaw. I plan to put this in a chassis, Primary use is varmint work, ground squirrels and the occasional coyote – so if it was your dollar, would you use an MDT product or KRG bravo, and why. thanks in advance…