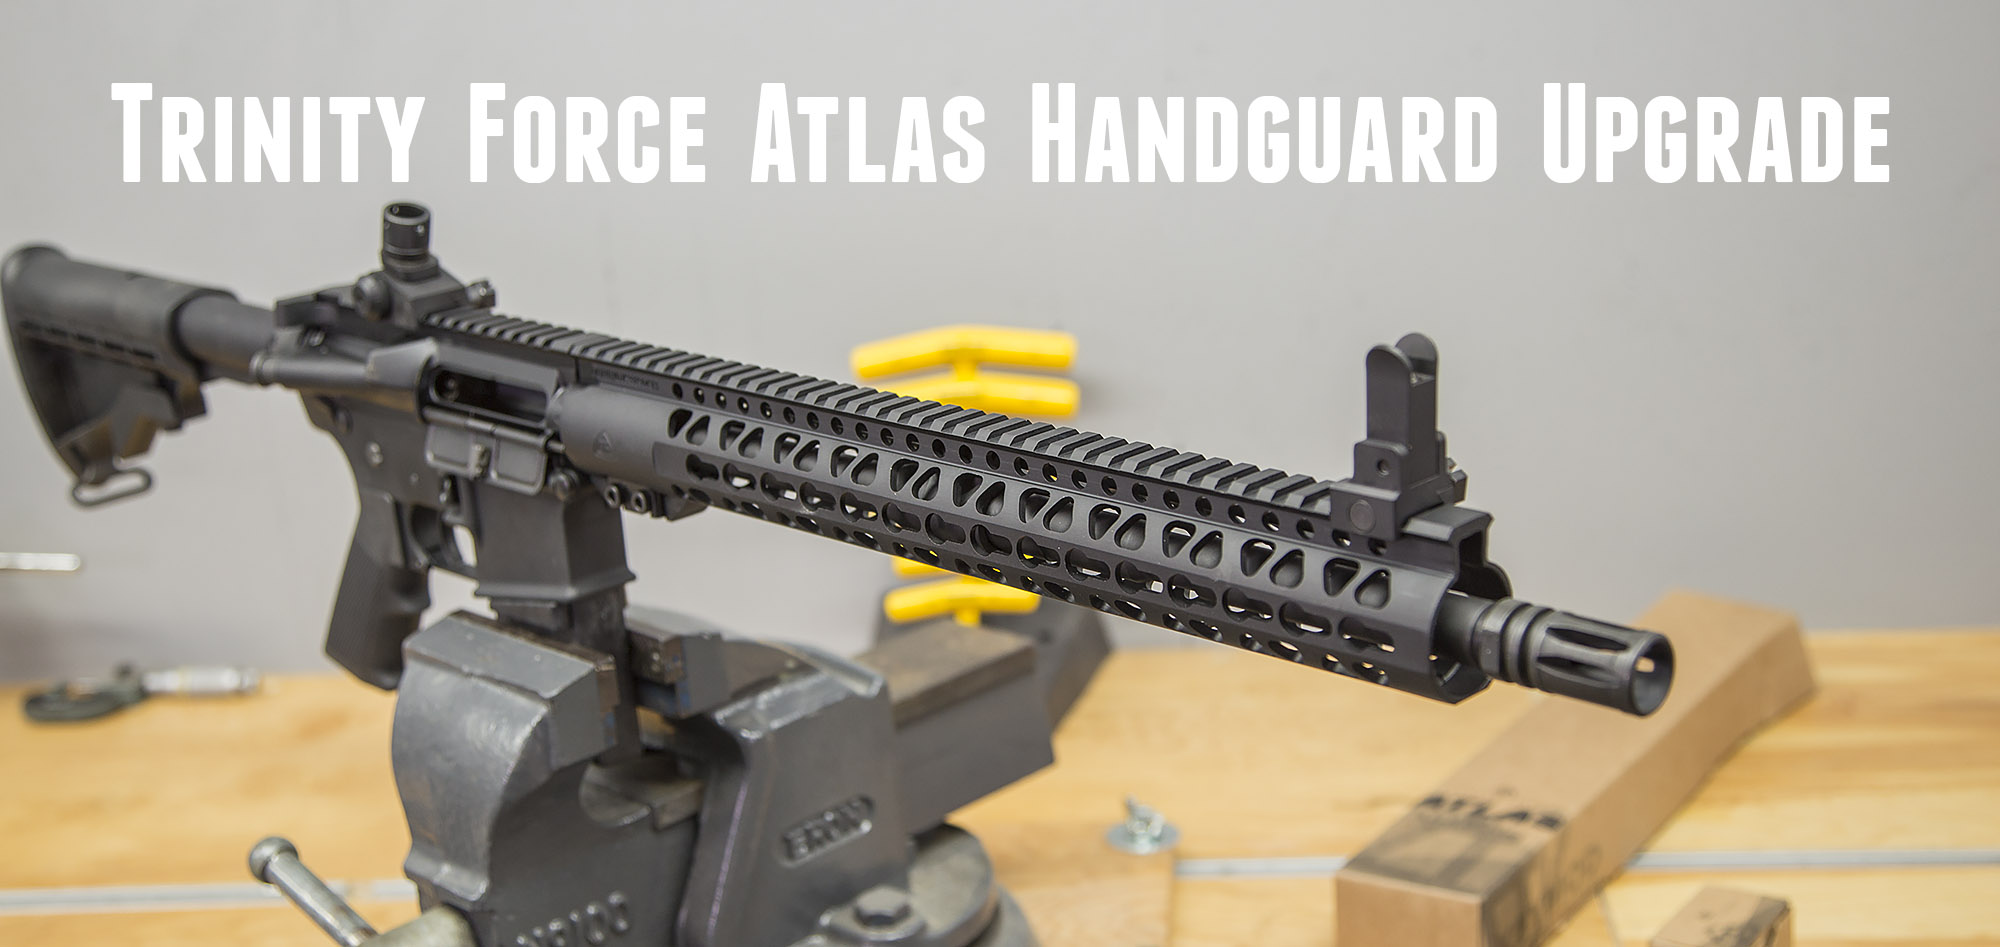
Building your dream AR-15 is really only the beginning of the “journey”. It’s only a matter of time before you’ll want to start the upgrade process. And that’s fine, because upgrading your AR-15 is part of the fun of owning it! Recently, I built an AR-15 from a Del-Ton kit from Midsouth Shooters Supply, and I’ve been super-impressed with this rifle! The rifle would be great as it was, but I thought it would be fun to upgrade the handguard to a free-float type for enhanced accuracy and to give more options for mounting accessories. It’s not a difficult process, but does require attention to detail and some specific tools. Here’s a detailed walk through outlining the process:
And the results were GREAT! If you have an AR-15 with a fixed front sight upper, here’s the parts you’ll need to complete the upgrade:
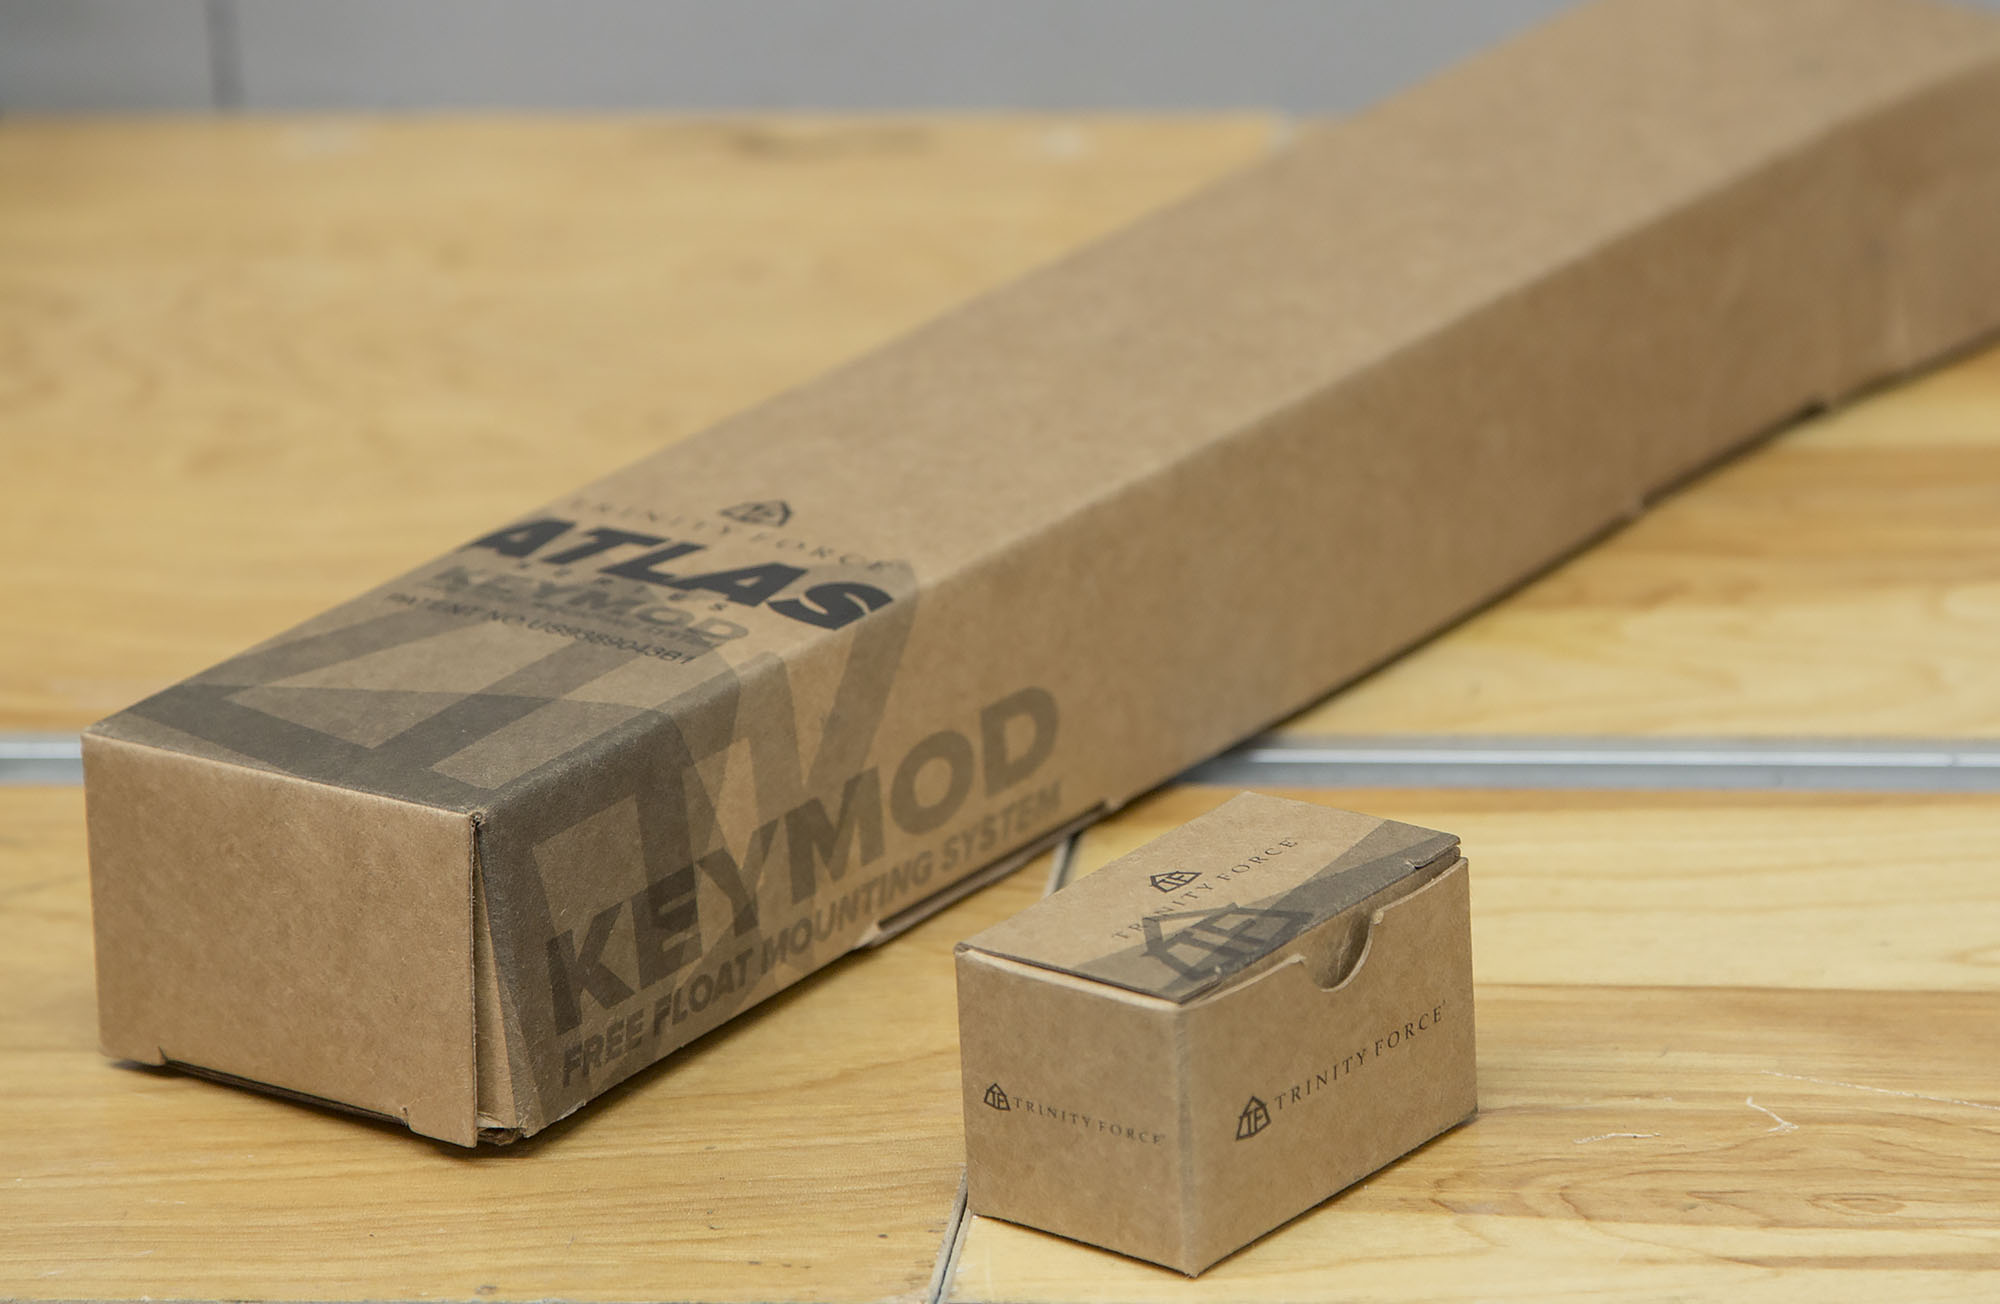
- Free float handguard, I used a Trinity Force Atlas 15″ Keymod handguard.
- Low-profile gasblock (for any handguard that covers the gas block area) – I used a Trinity Force 0.75″ low-profile gas block.
In addition to the parts, you’ll also need some tools. If you are an AR-15 enthusiast, these are great tools to have around even after this kind of upgrade! You never know when you may need these tools.

Pictured above:
- Brownells AR-15 vice block set: includes upper and lower receiver vice blocks (lower vice block not shown, except in video).
- Brownells gas tube wrench (optional)
- Allen key set
- Torque wrench and adapter (or crow’s foot) for 1 1/4″ barrel nut – mine is home made (see below)
- AR-15 armorer’s wrench
- AR-15/M16 front sight Bench block or generic bench block and shims/supports (pictured)
- Hammer (small)
- 3/4″ wrench
- 1/8″ punch, roll pin holder set, roll pin punch set
The one “non-standard” tool for this Trinity Force Atlas hand guard upgrade is a 1 1/4″ torque wrench adapter of some sort. I typically use the AR-15 armorer’s wrench as a torque wrench adapter since that capability is built into the wrench, but this hand guard doesn’t use a typical delta ring or compatible aftermarket barrel nut- it’s a 1 1/4″ hex nut type arrangement. When I tried a 1 1/4″ combination wrench, I found a bit of slop, so ideally you will find a tool that’s adjustable (and therefore will be useful for other applications as well). But I do feel confident that a 1 1/4″ torque wrench adapter or crow’s foot would work for this application.
In my case, I needed the tool same-day, so I decided to make something! I took a 1/2″ drive impact socket, cut off the drive-end, then welded it to an adjustable wrench (which I notched to fit the profile of the 1/2″ drive “adapter”). Now I have a combination tool- it’s still a great adjustable wrench, but also works as an adjustable torque wrench adapter.
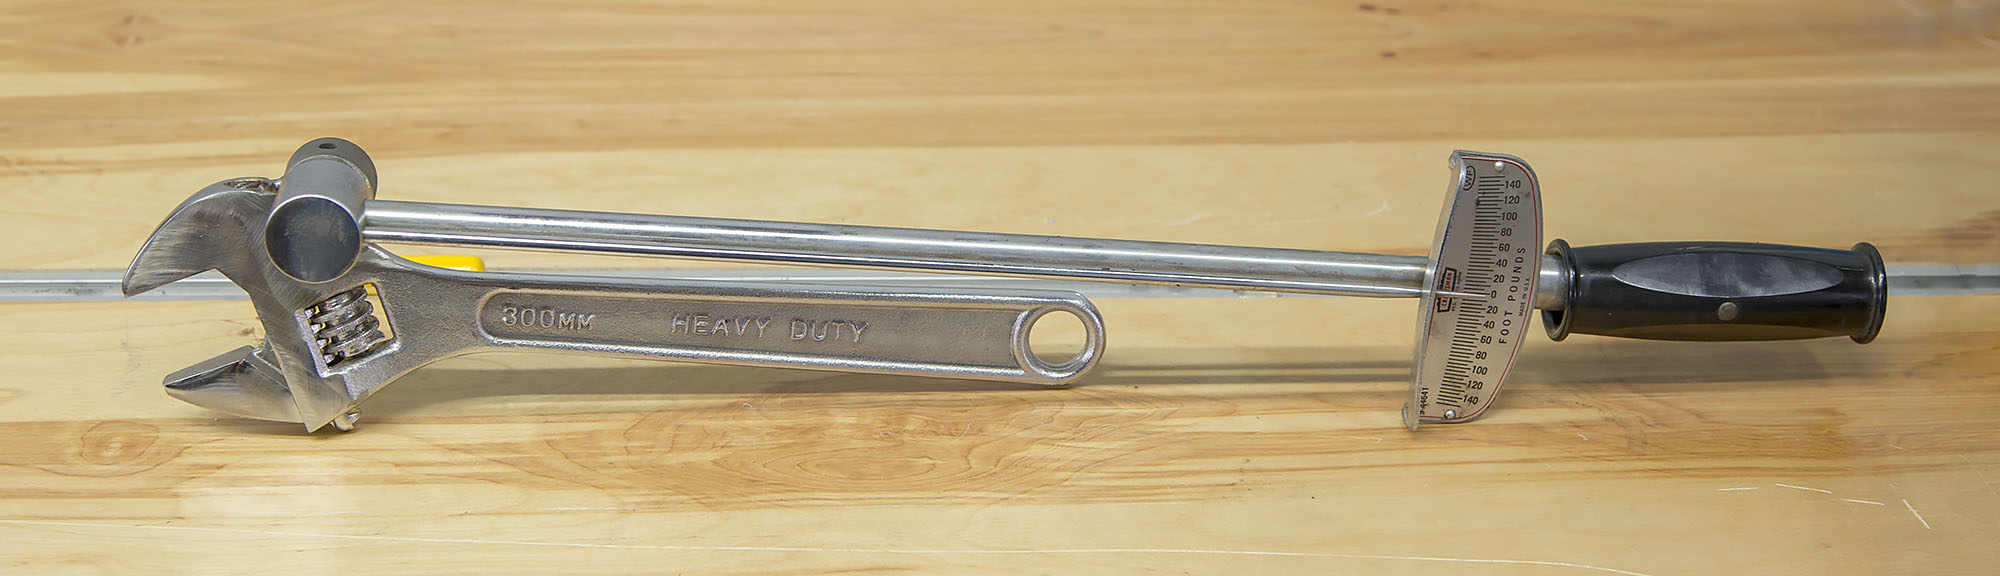
There’s some simple math involved to calculate the torque ratio for any torque wrench adapter setup:
(distance: center of 1/2″ drive to center of handle) divided by (distance: center of wrench jaws to middle of handle) * torque spec = compensated torque value.
In this case: 22.25″ / 24″ * 40 ft-lb = 37 ft-lb.
So if we have a reading of 37 ft-lb on the torque wrench, that’s actually 40 ft-lb at the barrel nut in this case (Trinity Force spec for barrel nut torque). For this application, the difference of 3 ft-lb is not super critical, but it’s nice to know exactly what torque you are applying, and I always try to use manufacturer’s specs when dealing with torque values. It’s kind of like cheap insurance.
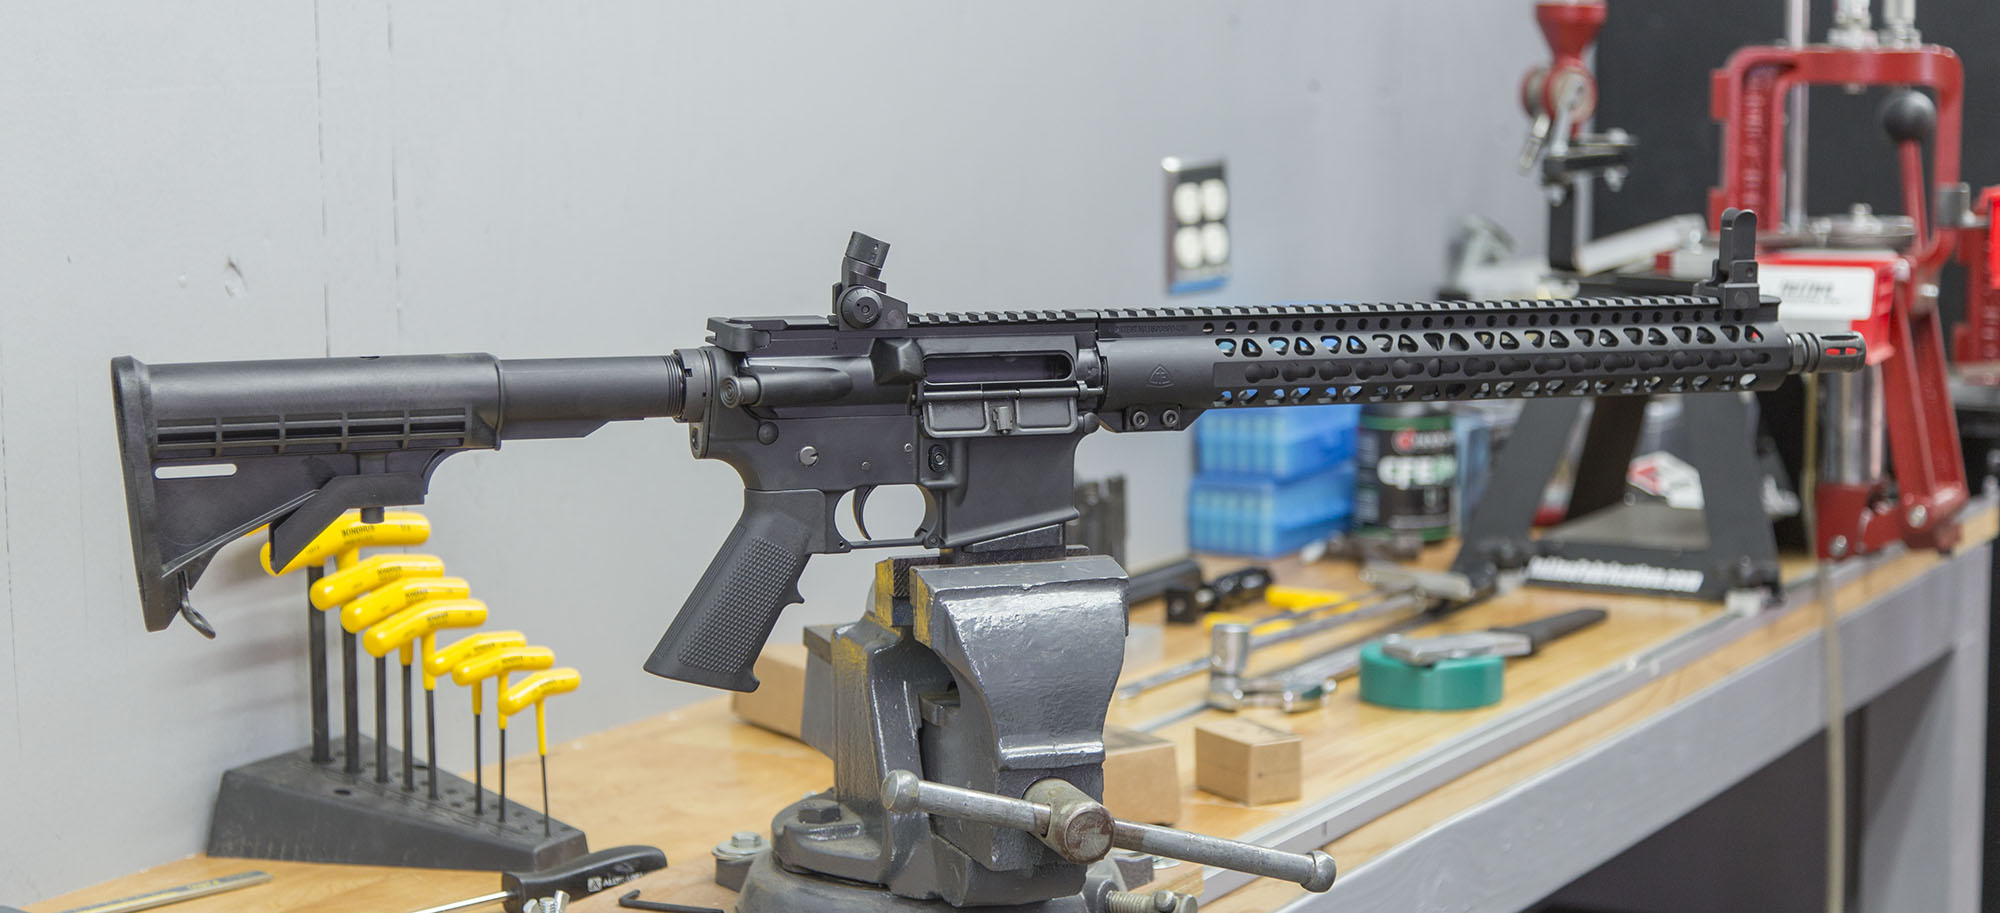
Summarizing the build shown in the video, here are some notes from my experience:
- Apply grease to threads when assembling AR-15 components, and always be conscious of torque values where they apply.
- Muzzle devices for the AR-15 typically use crush washers- and it’s not a bad idea to have extras on-hand in case your muzzle device won’t index properly at the proper torque value.
- Gas tube alignment can be tricky- I like to use the tape trick I showed in the video
- Proper tools are super-important! A roll pin holder set and roll pin punch set should be mandatory for anyone serious about AR-15 gunsmithing and upgrades
This hand guard upgrade went well, and the rifle shoots great! Now that I have additional Picatinny rail and keymod holes, I can pretty much do whatever I need to with this AR-15!
Are you working on an AR-15 upgrade? Did you just finish an AR-15 build? Check out all of the AR-15 parts, kits, and tools at rom Midsouth Shooters Supply! Also, please leave a comment sharing your experiences!
Thanks,
Gavin


Did you get the same headspace again? The barrel seemed to slide very easily into the receiver.
I know only what I’ve been reading for the last few weeks about ARs, but a video I saw seemed to attach some importance to a tight fit, and if lacking a bedding, to the receiver barrel union. Is there a consensus or some authoritative opinion re this?
Do you have to replace the barrel ? Or can you use the SW MP15 barrel and just swap the hand rail ?