We’ve had a lot of fun with our complete AR-15 build (thanks to Midsouth Shooters Supply and Del-Ton!). Now it’s time to spruce up this plain black AR-15 with some awesome laminate hardwood furniture from Boyds Hardwood Gunstocks!
But first, some review to catch you up with this project!
Build Overview & Highlights: (Kick-Off)
Step By Step Build on Rumble: (Complete AR from Del-Ton kit)
Show and Tell (finished product) on YouTube
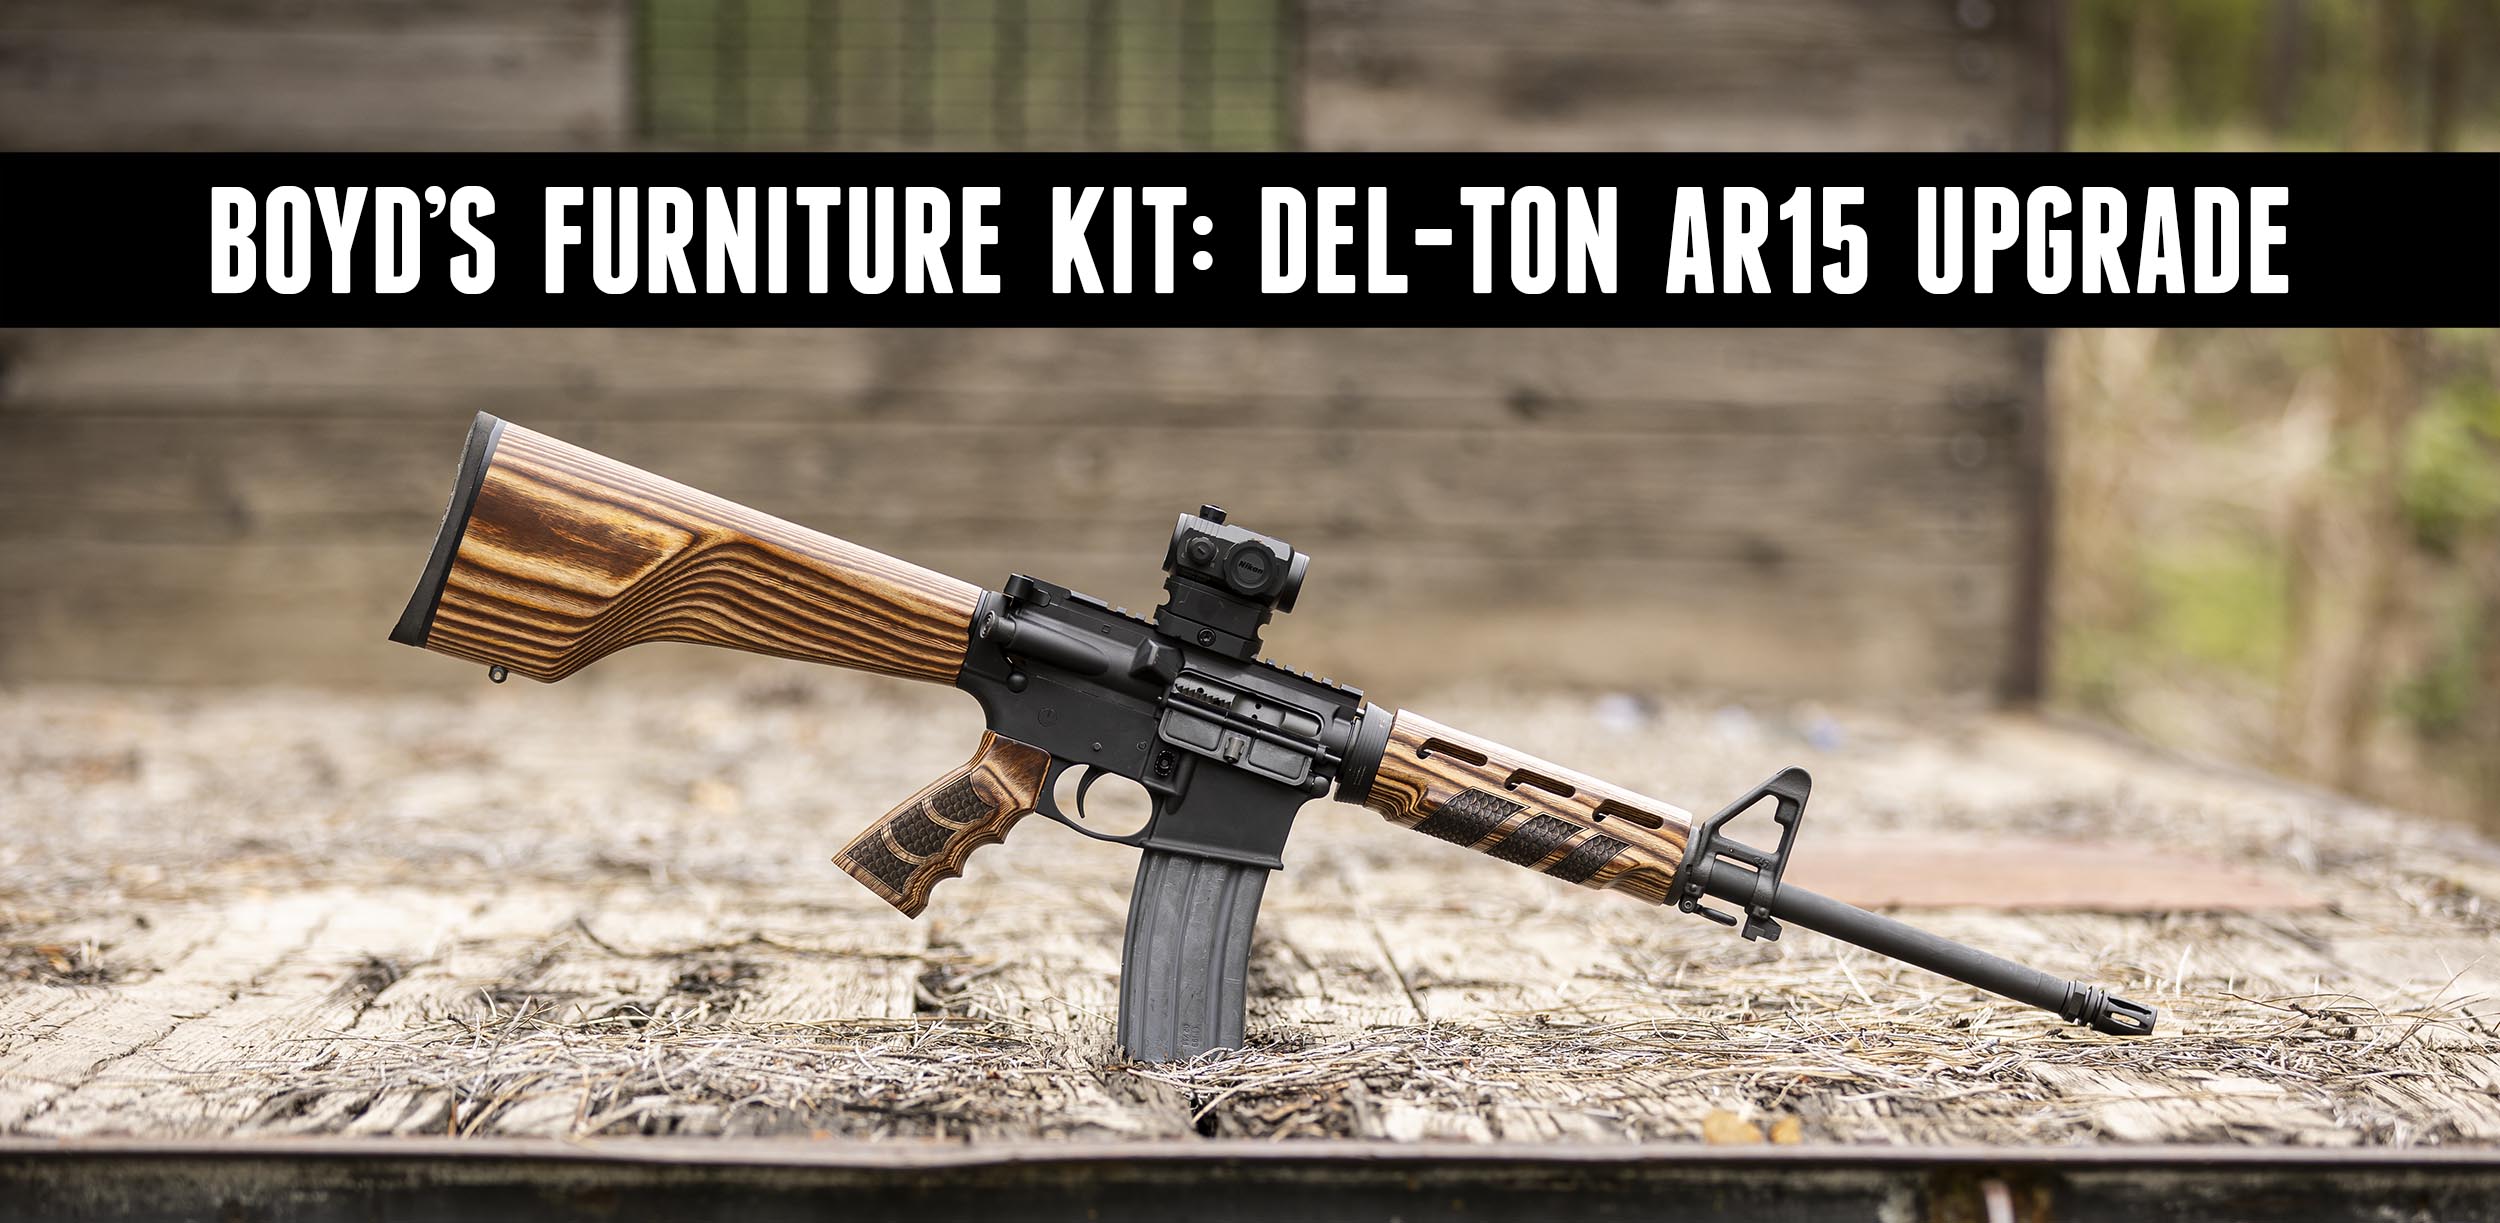
When we were done, our AR-15 looked like this, and shot real well!

Boyd’s AR-15 Furniture
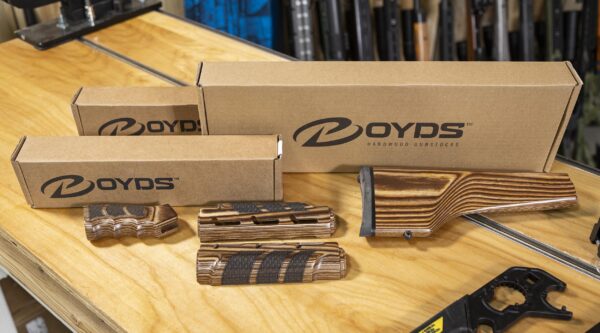
Though a departure from the conventional, I’ve seen builds completed with Boyds nutmeg furniture and really like the aesthetic. While I’ll build the Del-Ton kit first, I will eventually upgrade the rifle with the Boyds buttstock, grip, and handguard. There are a lot of colors and options for these components (handguard, buttstock, grip). I may need to do another AR-build like this, but perhaps more crazy with colors to make more of a statement next time!
Video: Boyd’s AR Furniture Upgrade
Here’s our video showing the step by step process for this type of stock upgrade:
Buttstock Upgrade
The buttstock upgrade is fast and easy, essentially plug and play! One note- if you have an M4-style buttstock like my AR had, you’ll need an A2 style buffer tube (cylindrical without protruding boss). I purchased one online ahead of this upgrade!
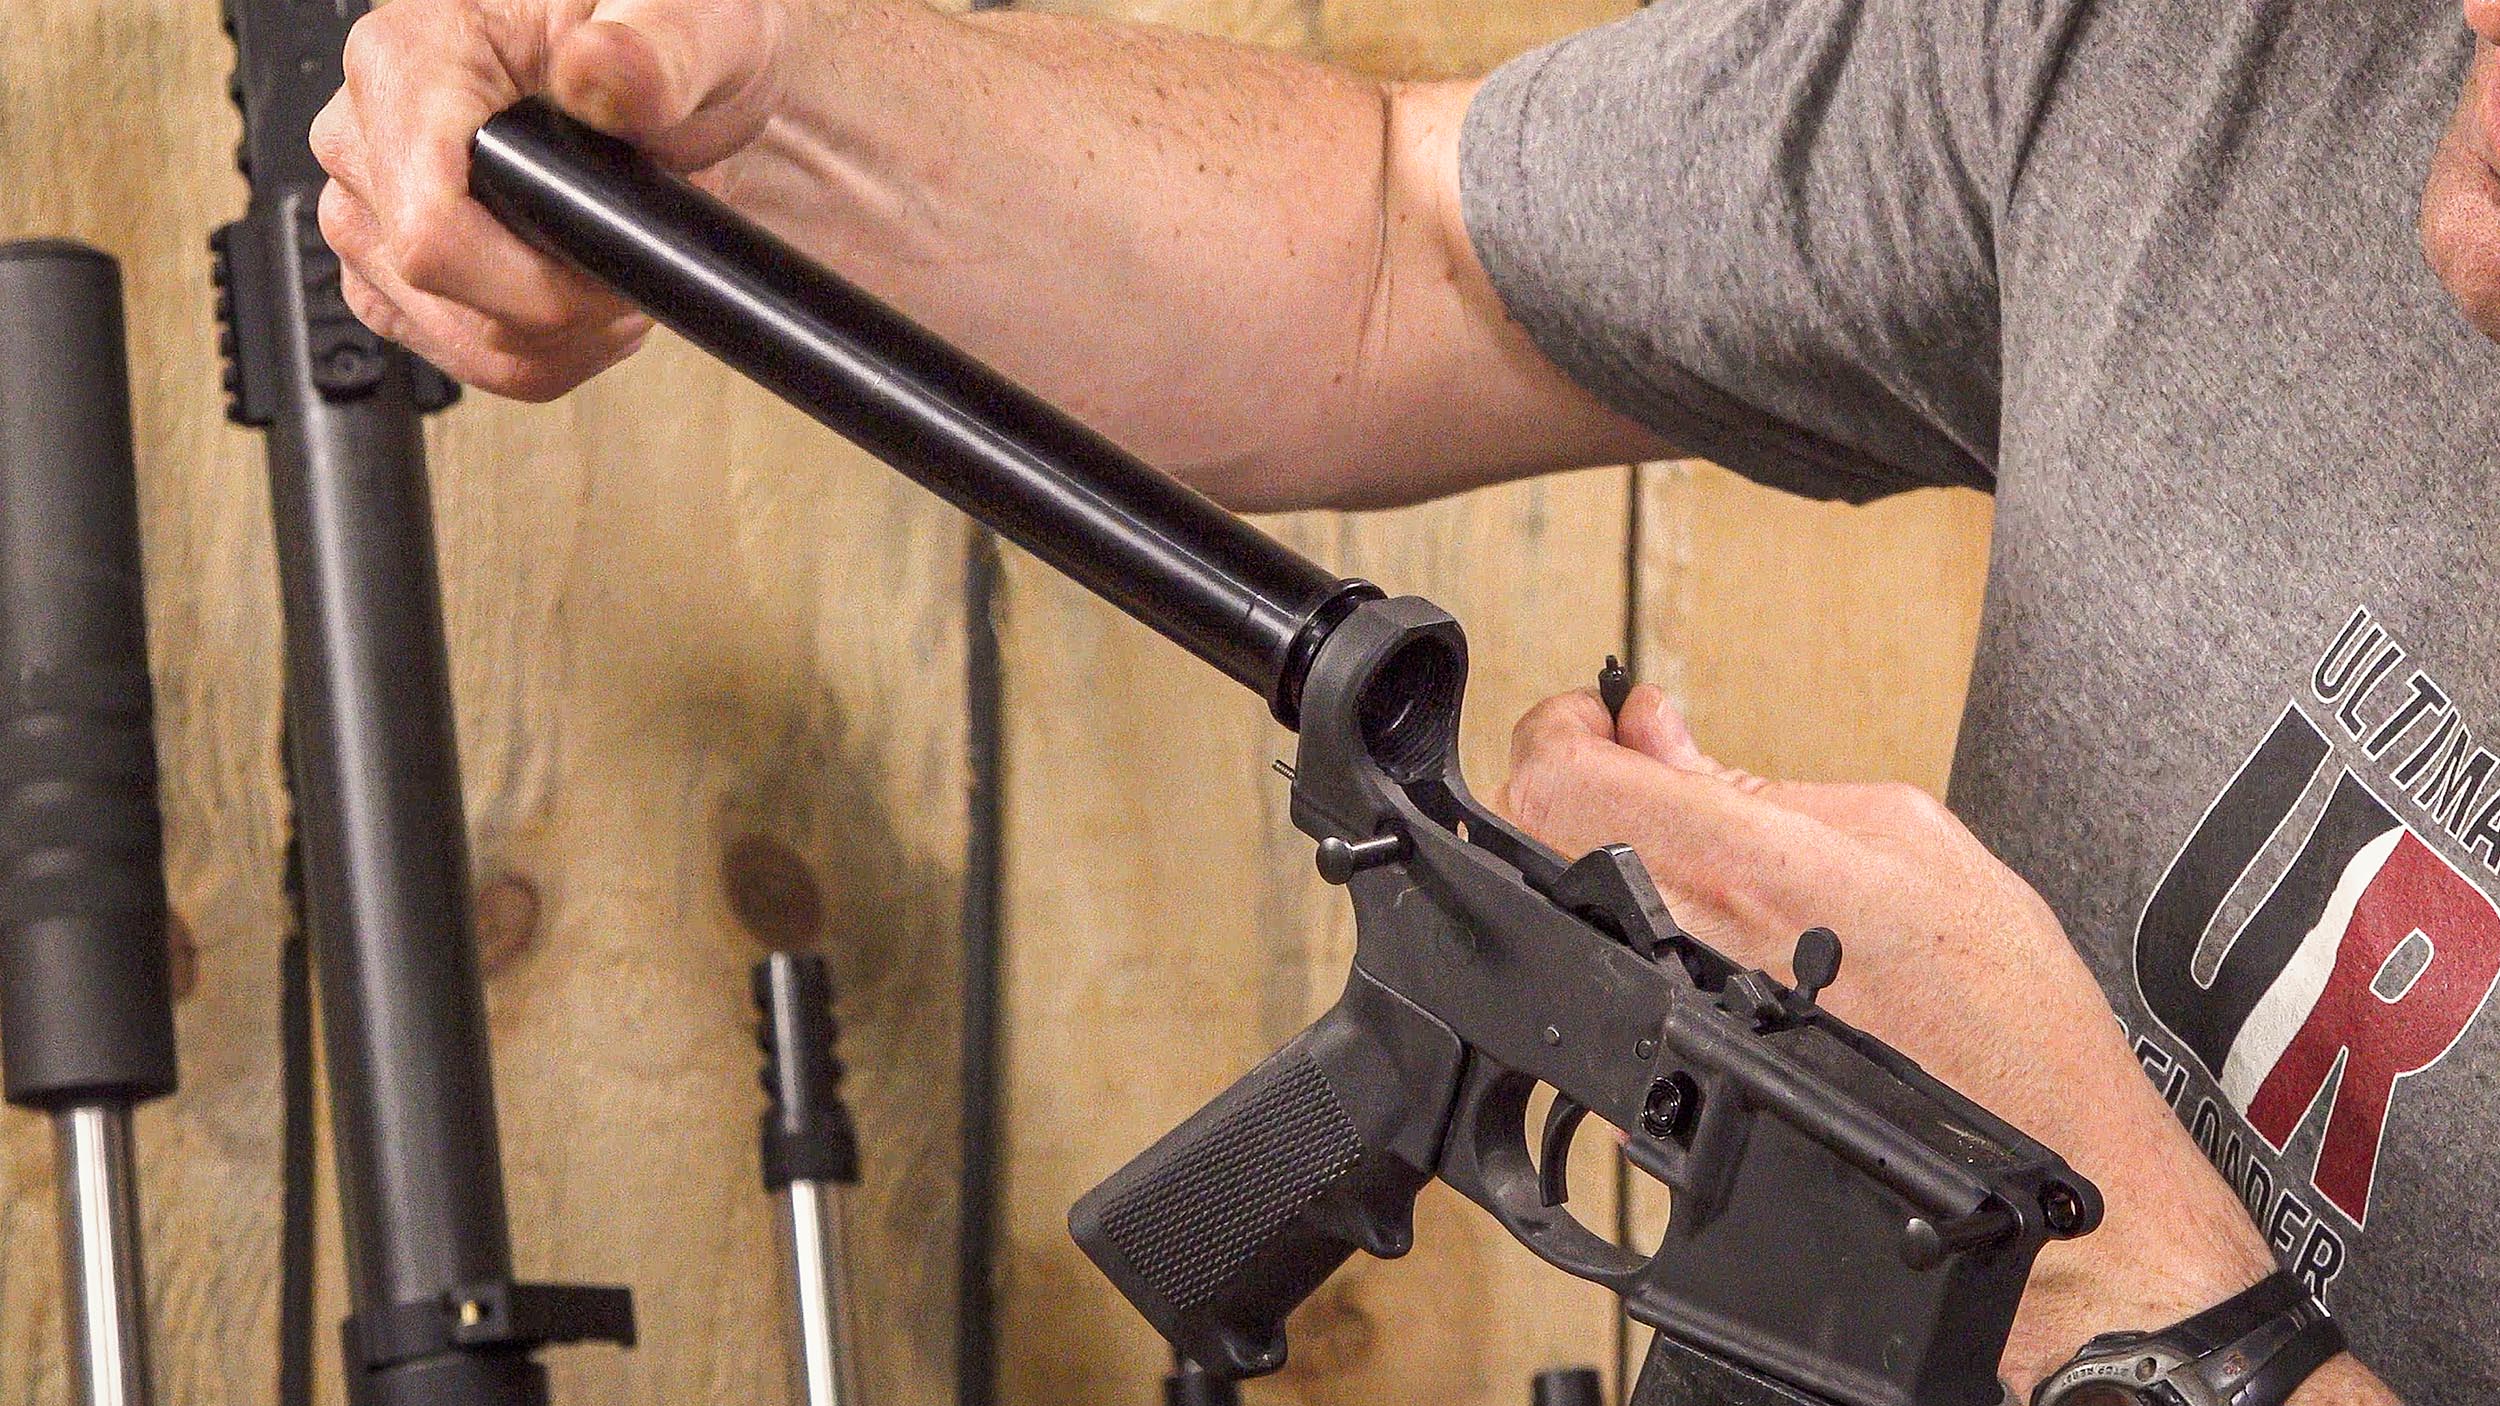
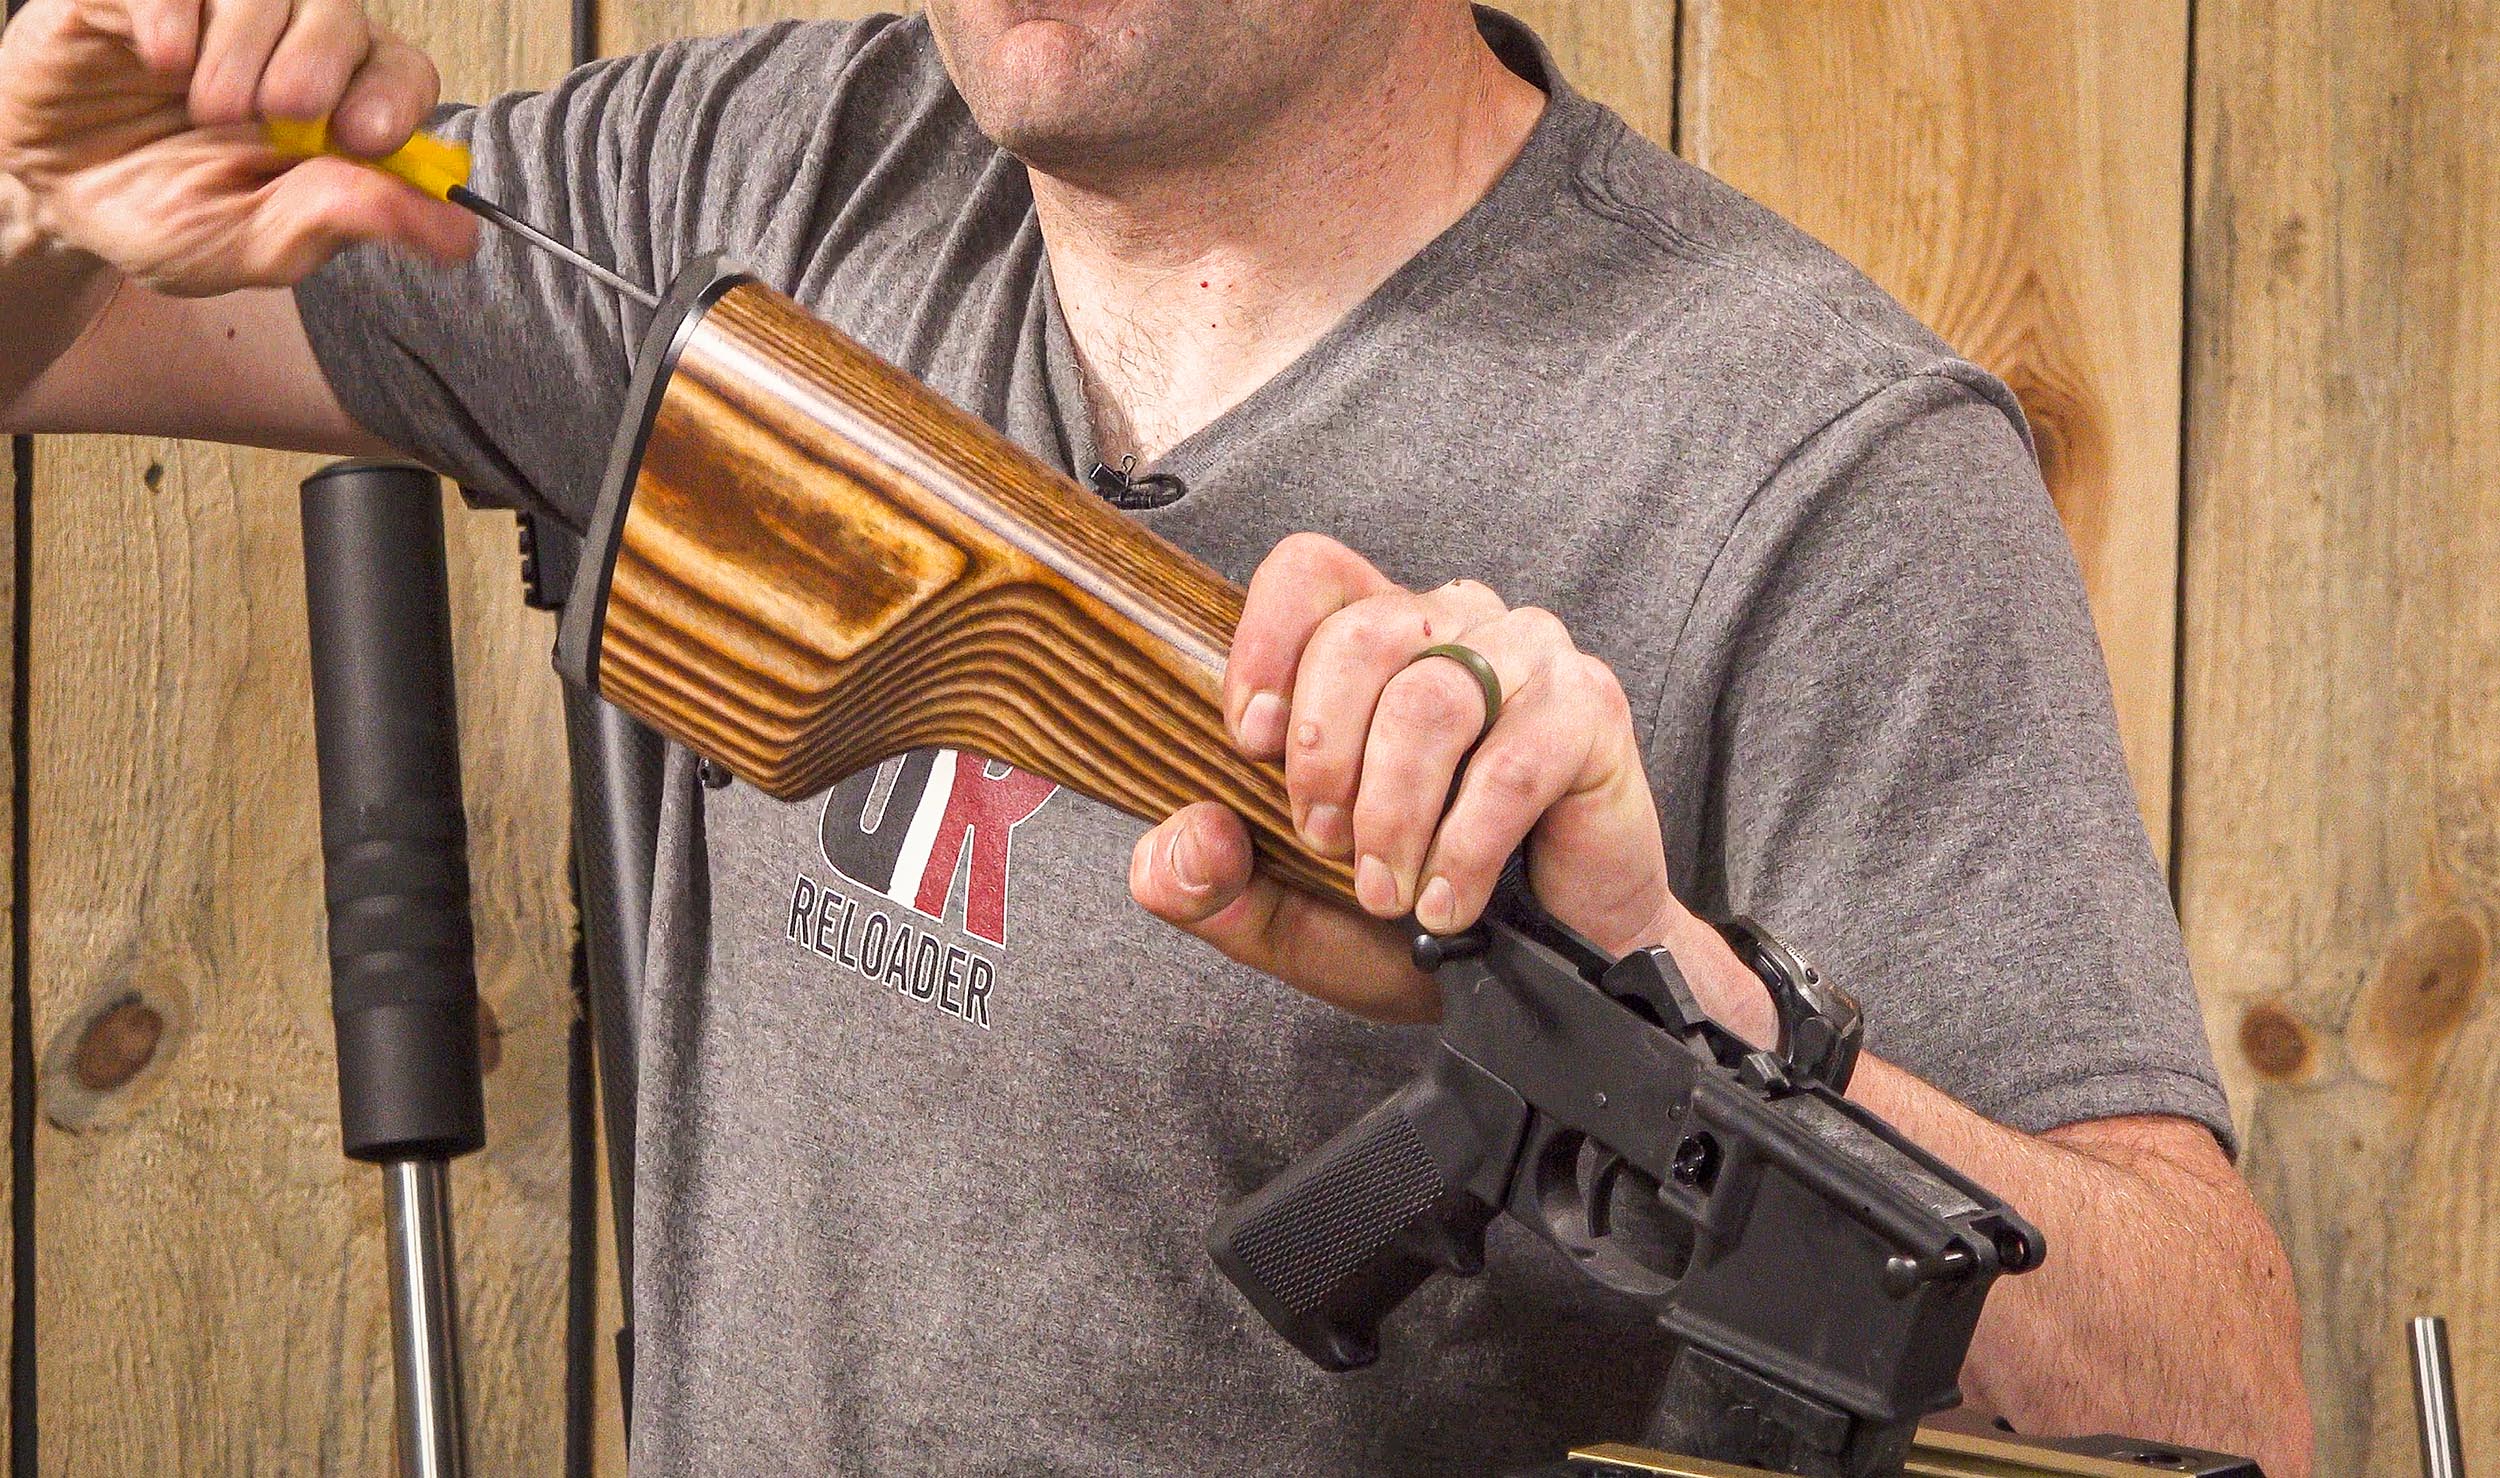
After upgrading the buffer tube, I simply slipped on the new buttstock, and tightened the retention screw, it’s just like installing an A2 buttstock! Very quick and easy.
Hardwood Grip Install
The grip is simply a swap, and installs just like a conventional AR-15/M16 grip:
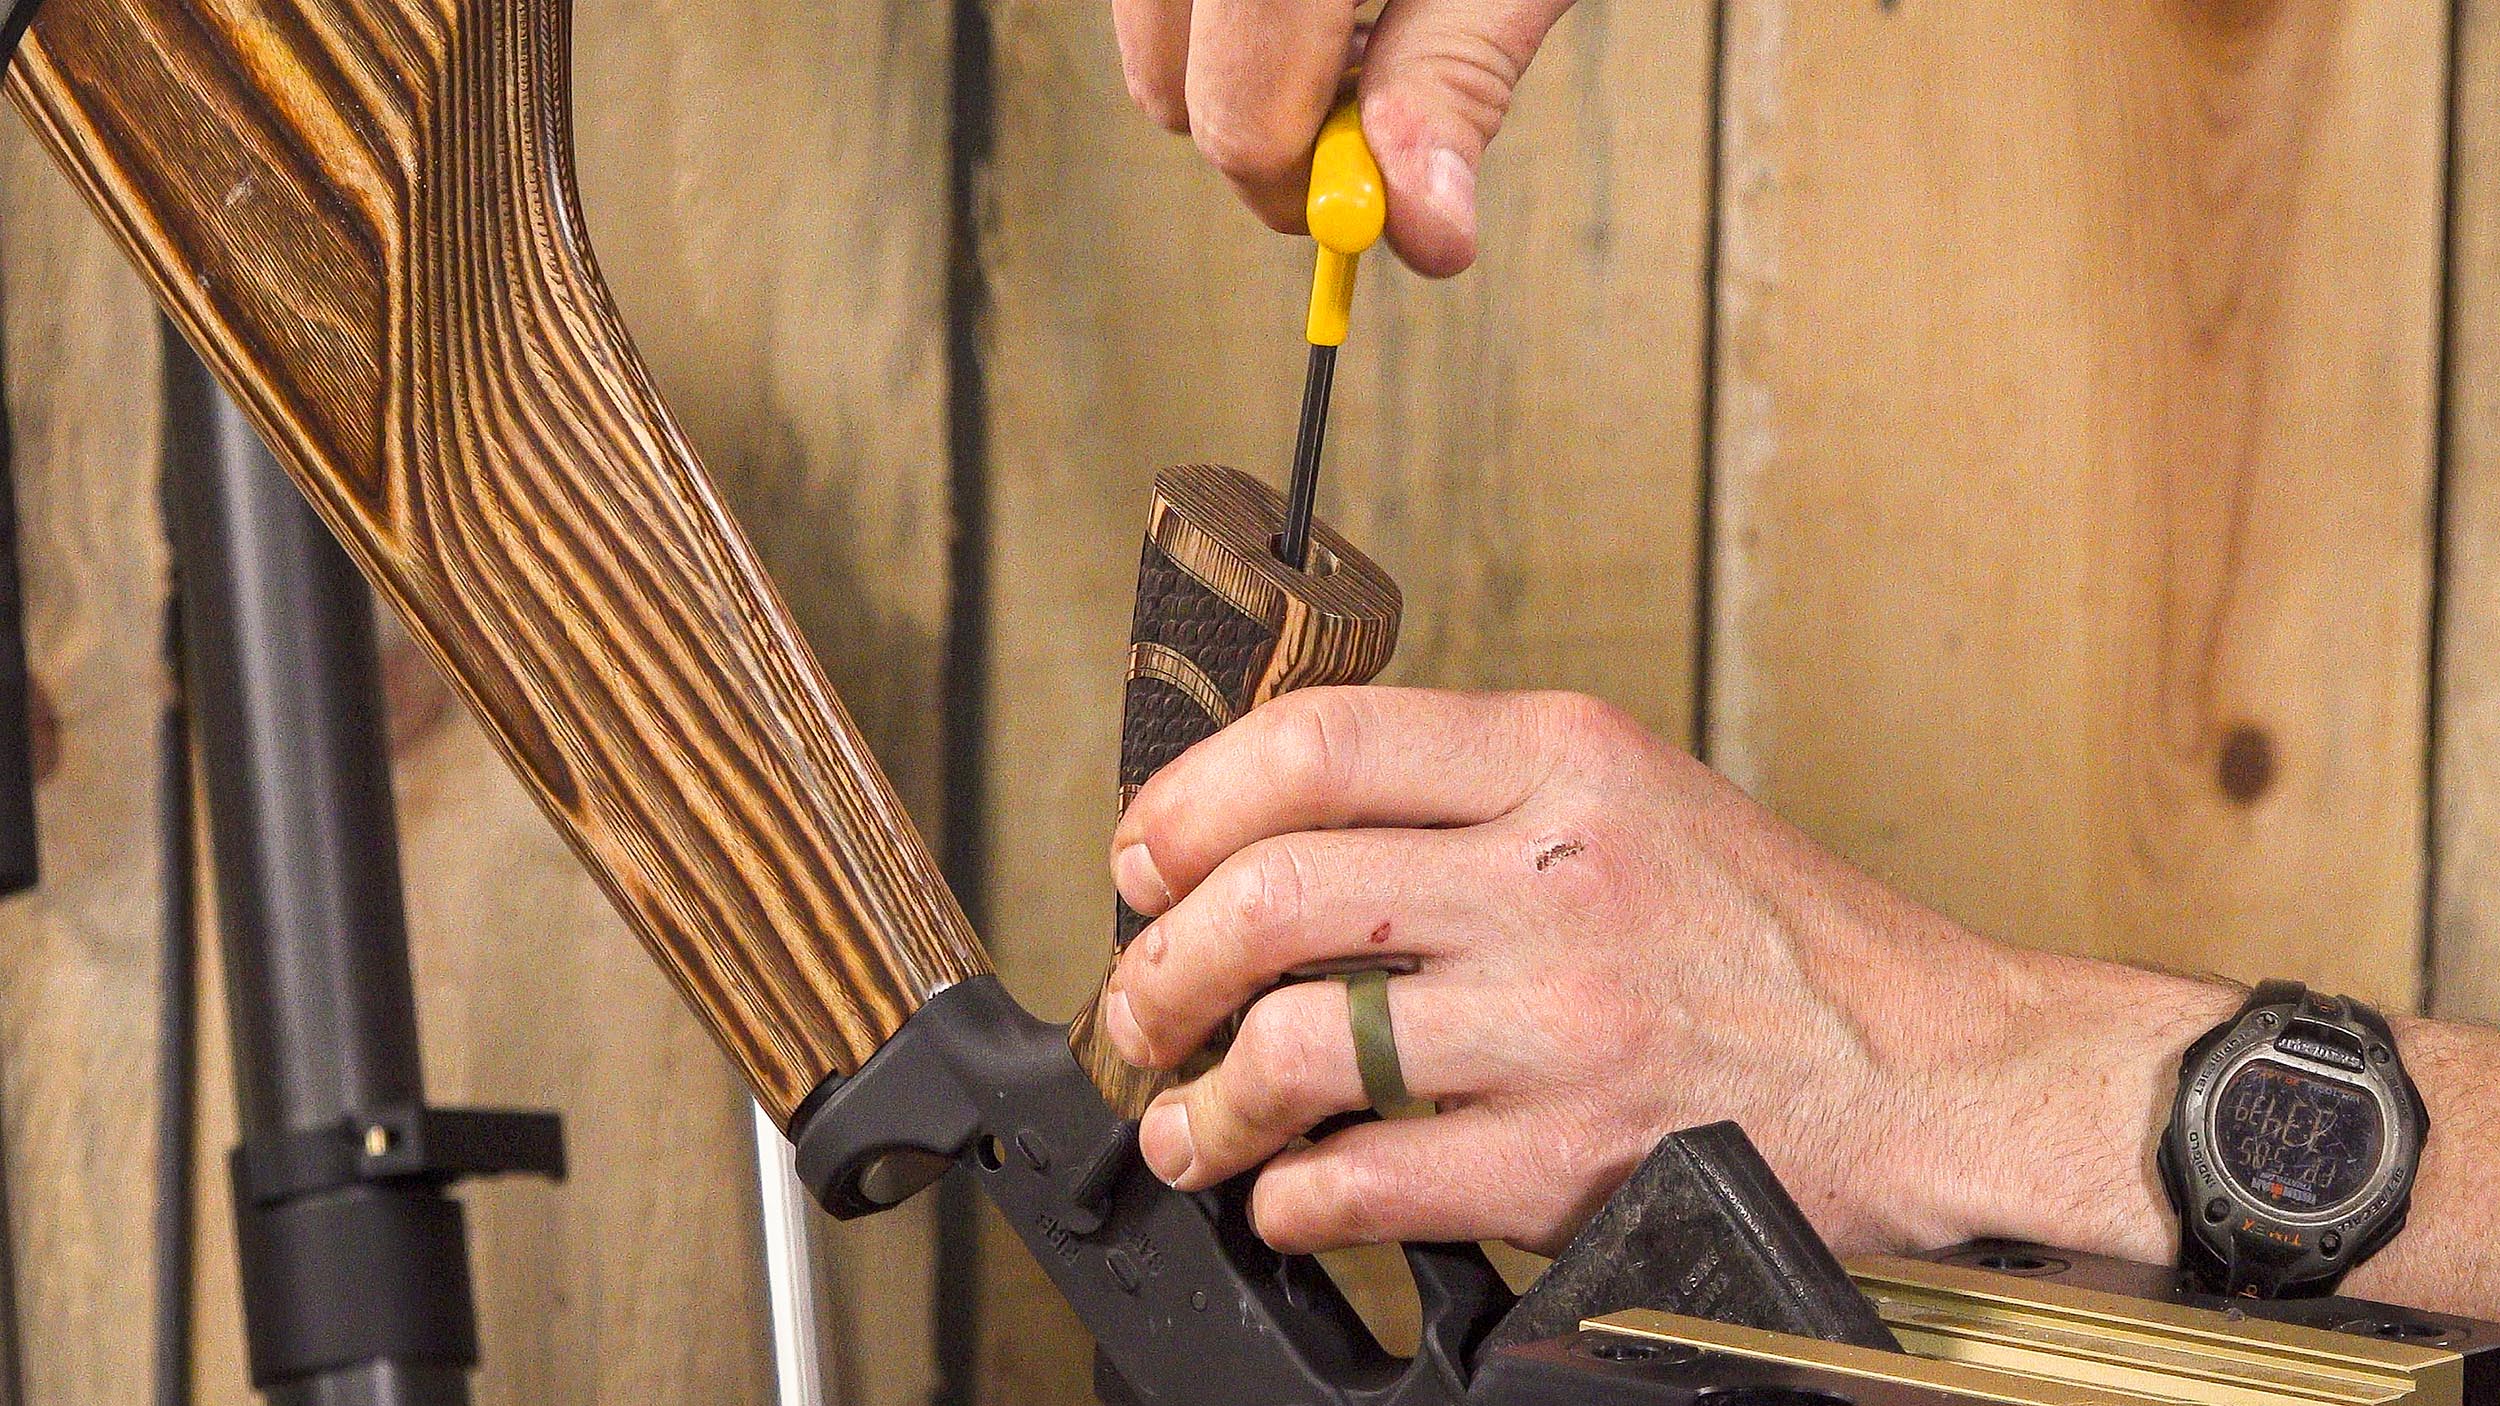
What I like about this grip setup is that it comes with an allen-head screw for the install- this makes it a LOT more easy compared with the straight-slot Mil-Spec grip hardware that you may be familiar with.
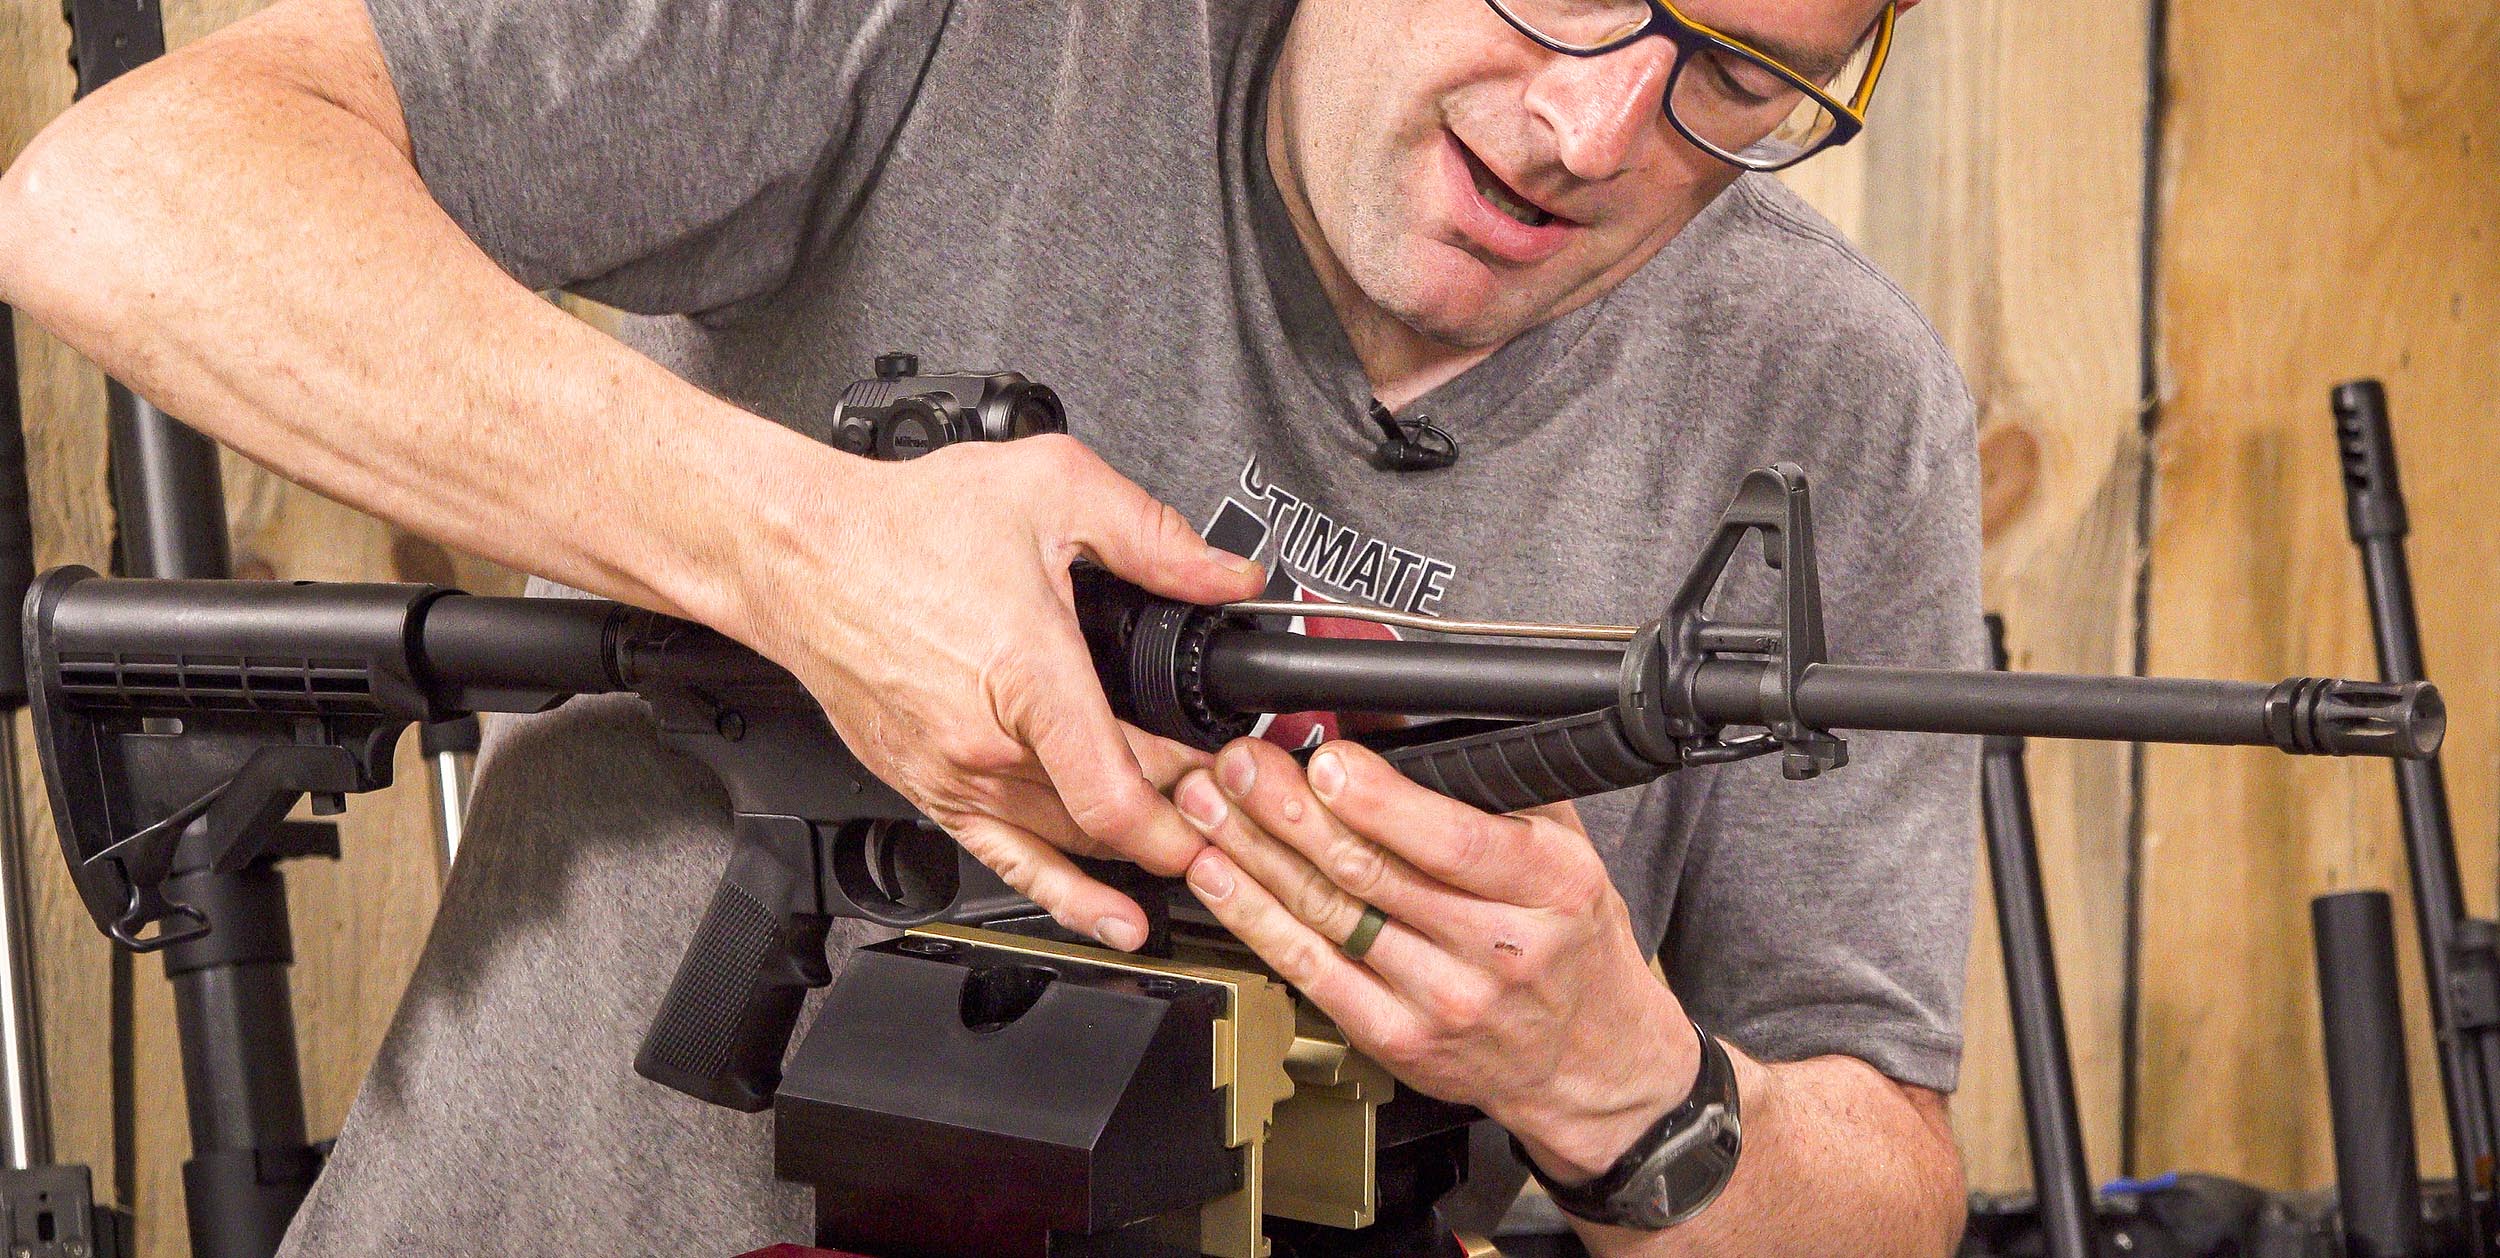
Hardwood Handguard Install
If you are familiar with M4-style handguards, the installation of the Boyd’s hardwood handguard will follow more or less the same process as removing and replacing the standard handguard panels. This starts with the compression of the Delta Ring, and prying out the plastic/aluminum panels:
After a test fitting, I found that I needed to add a TINY bit of clearance for the barrel nut in order to get my Boyds handguard panels to fit correctly:
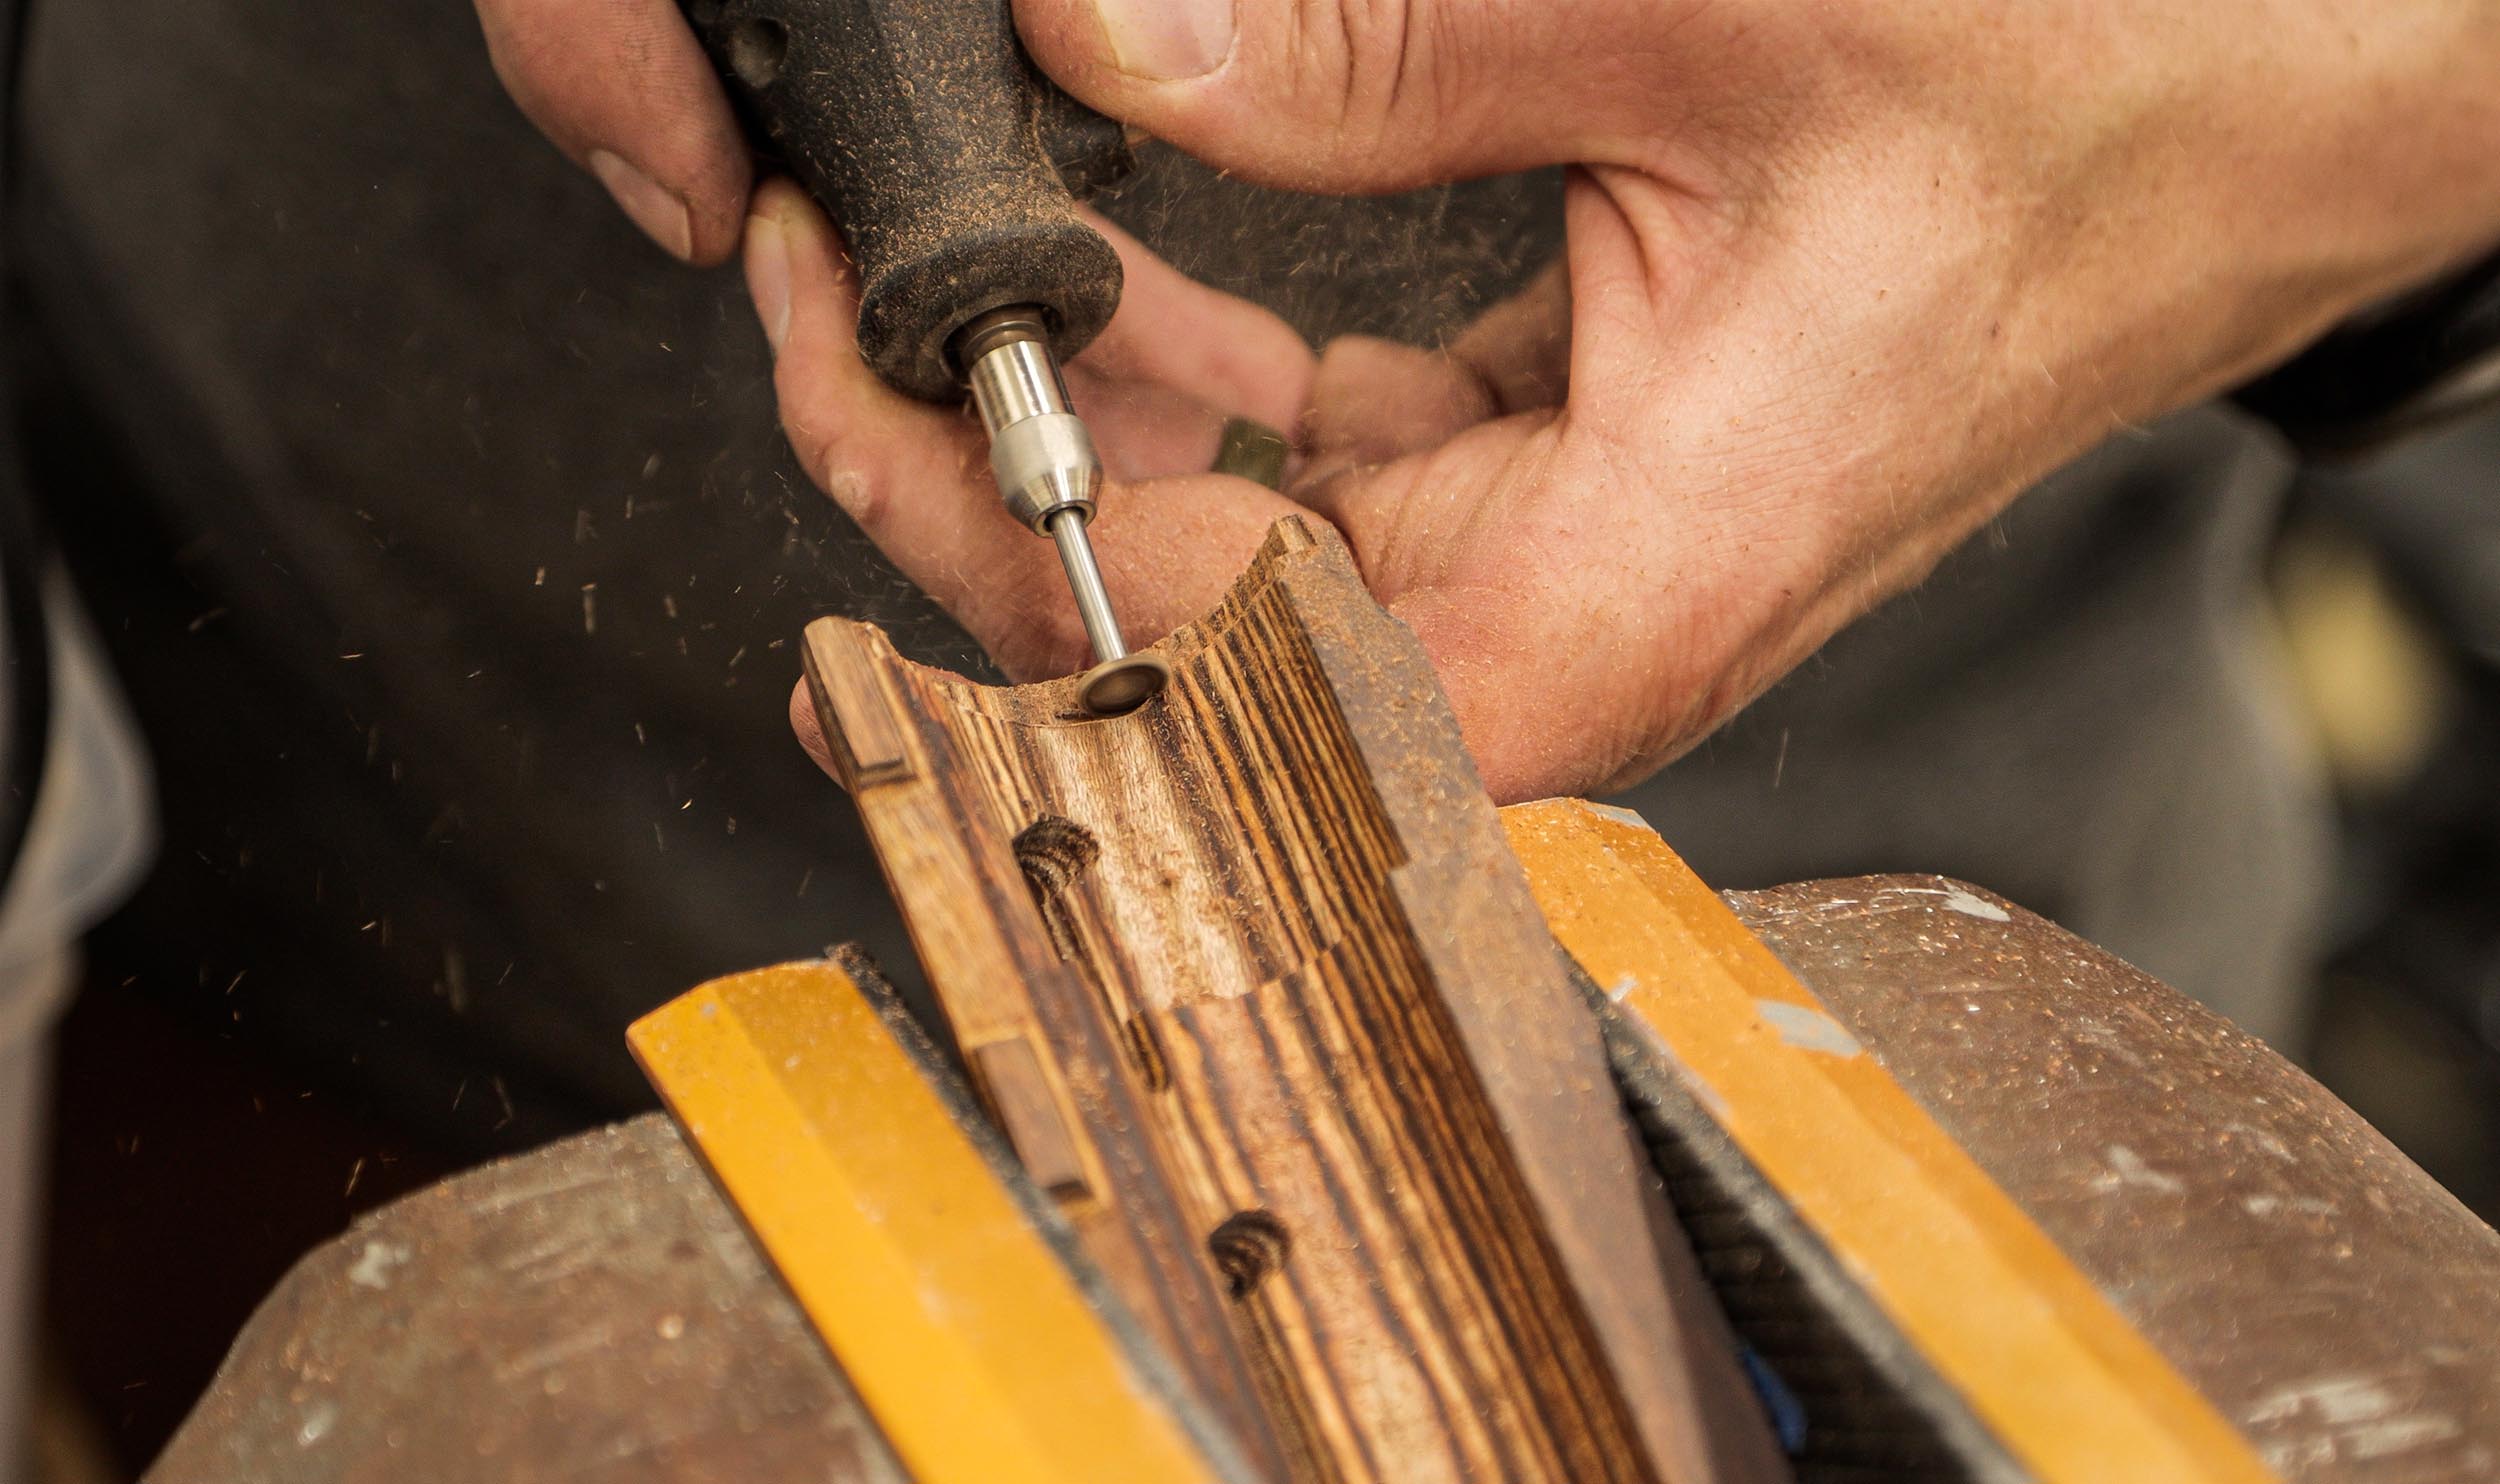
This was no surprise to me, because this is clearly outlined on the Boyd’s product page for this handguard:
“All finished parts have been CNC inlet to Boyds’ House Action. Variations may exist from firearm to firearm, minor fitting may be required to get that perfect fit to your firearm.”
After the fitting, these handguard panels fit perfectly, with no rattle or movement. Here’s me wrestling with the Delta Ring to get the panels on:
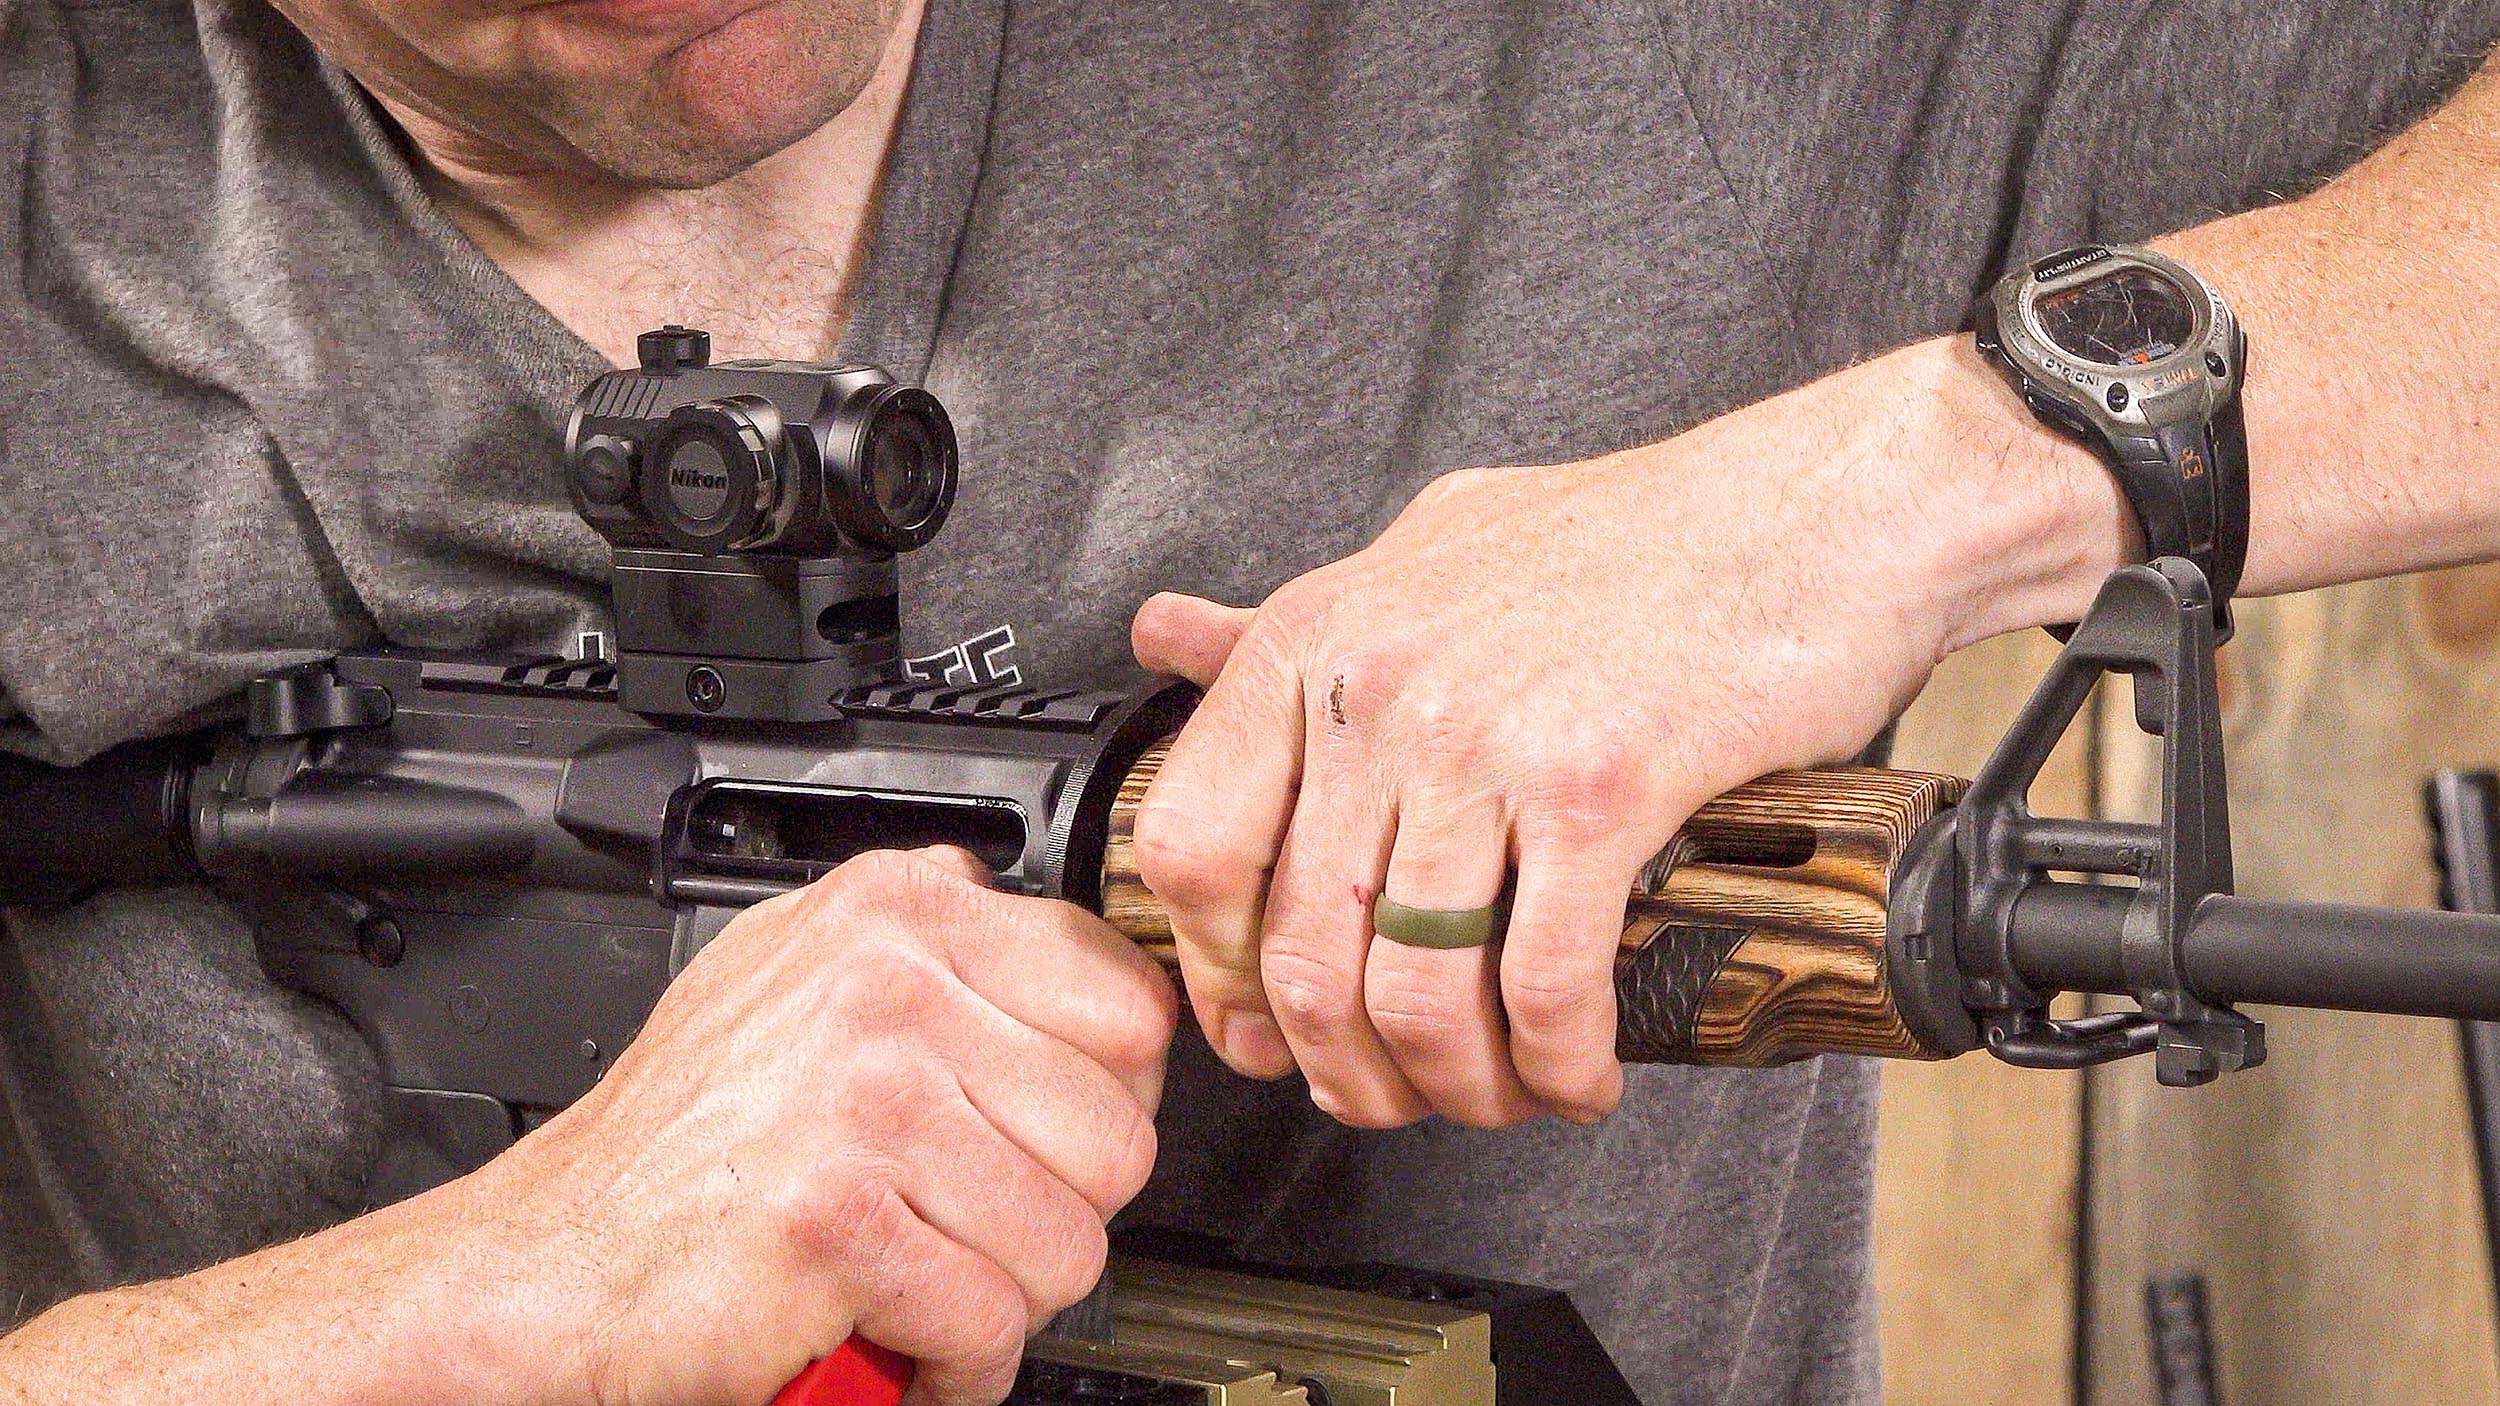
Next time, I’ll use a Delta Ring Tool like the one offered by Wheeler Tools.
The Finished Product
This AR looks AWESOME, and pictures don’t quite do it justice!
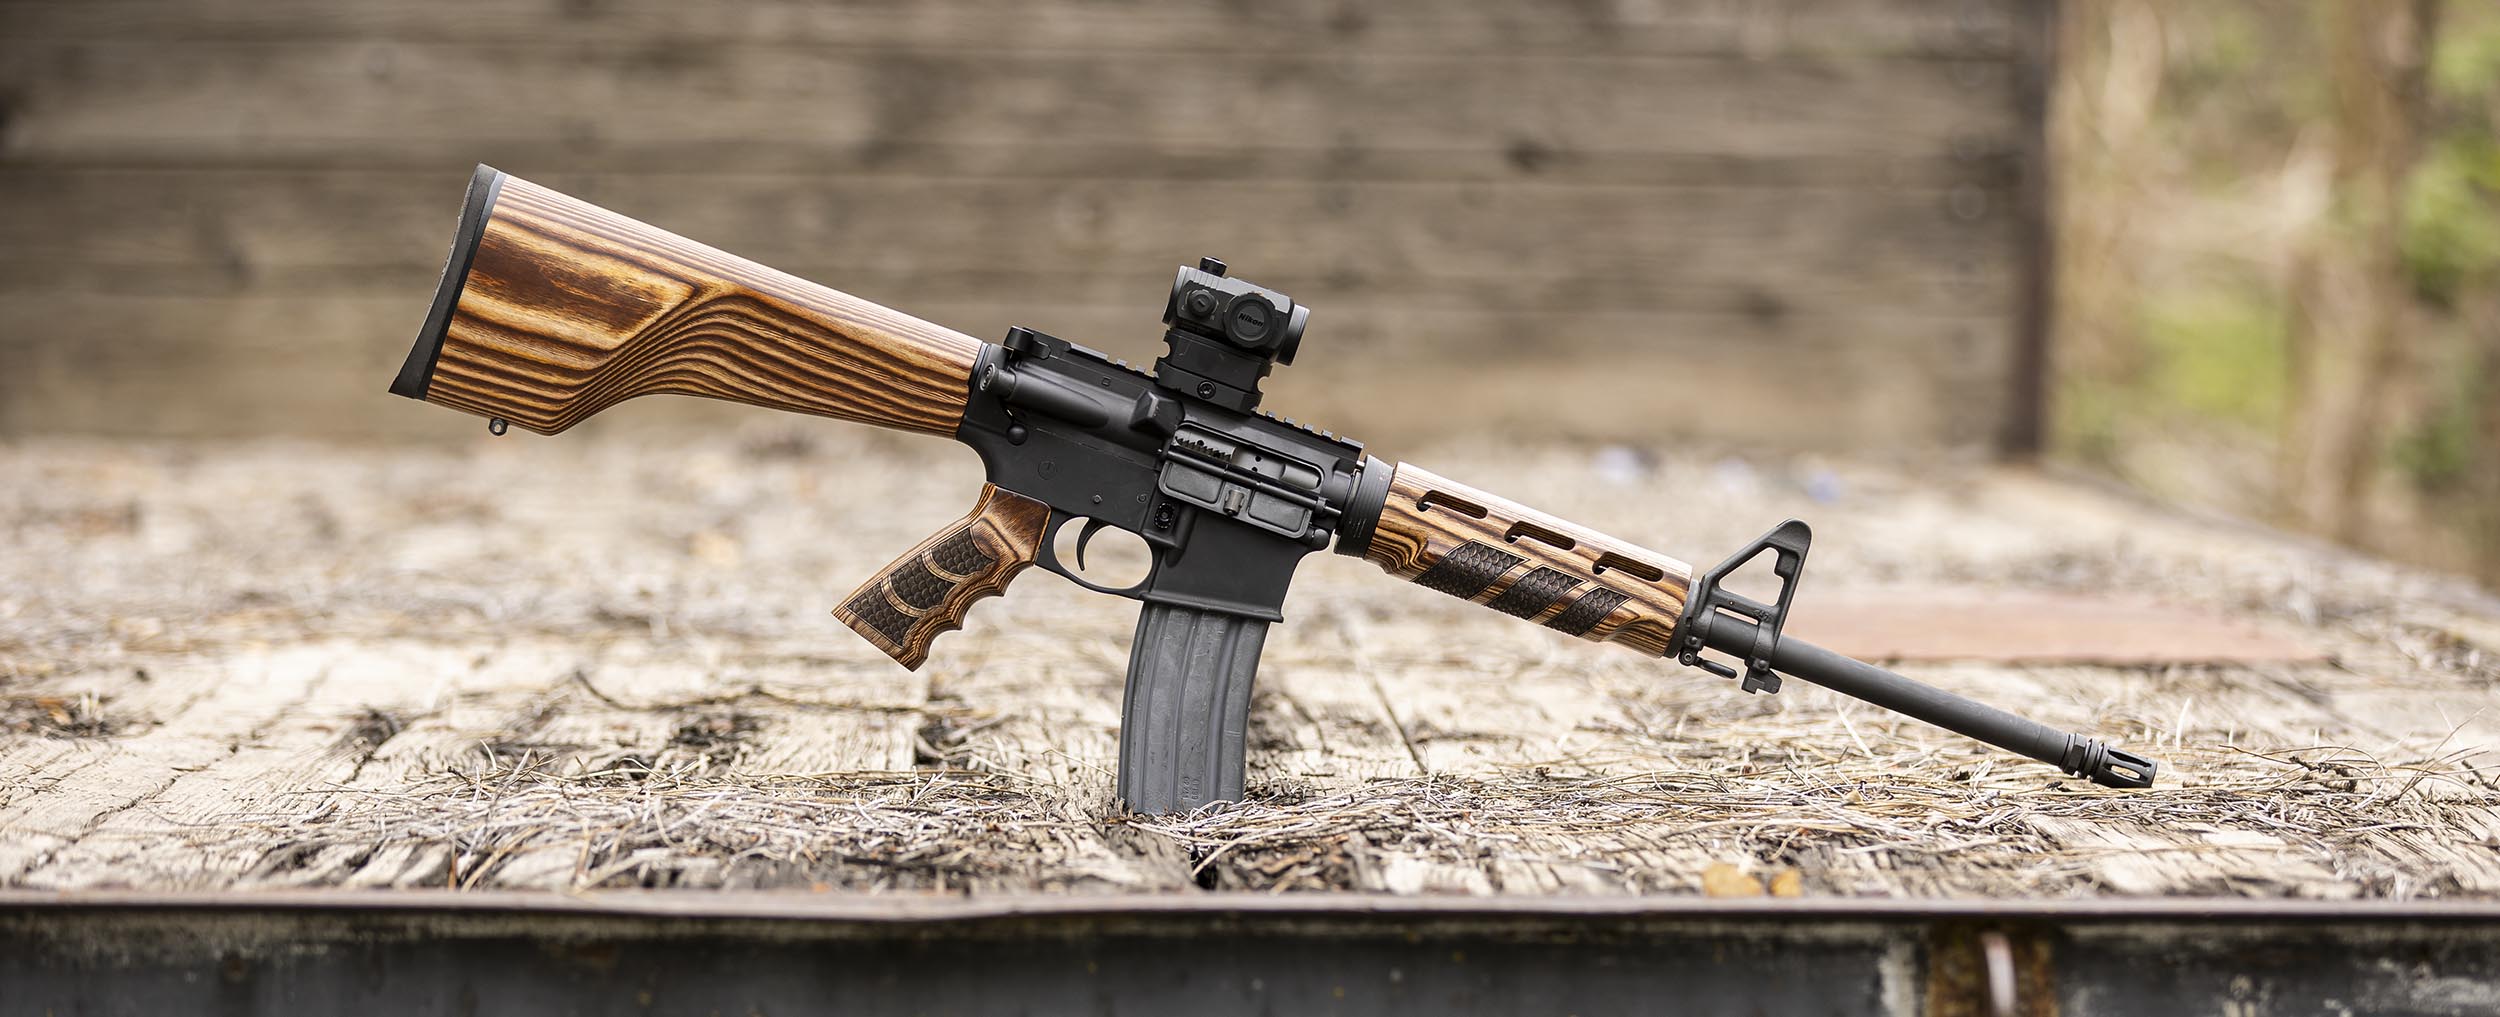
This hardwood furniture kit is not only great to look at, it also makes the rifle feel quite a bit more solid, and improves the ergonomics. Shooting this rifle was a pleasure:

This may just become my go-to AR for shooting offhand at steel targets by the Ultimate Reloader shop!
Get the Gear
Wheeler AR Armorer’s Bench Block
Wheeler Professional Armorer’s Wrench
Wheeler AR-15 Roll Pin Install Tool Kit
Wheeler Upper Receiver Action Rod
Wheeler Delta Series AR Upper/Pic Rail Vise Block
Wheeler AR Pivot Pin/Roll Pin Install Tool
AR-15 16” Heavy Carbine Del-Ton Rifle kit from Midsouth Shooters Supply
Many find AR builds intuitive, but to learn more about the platform and accurizing it, visit the Colorado School of Trades!
Don’t miss out on Ultimate Reloader updates, make sure you’re subscribed!
Thanks,
Gavin Gear


