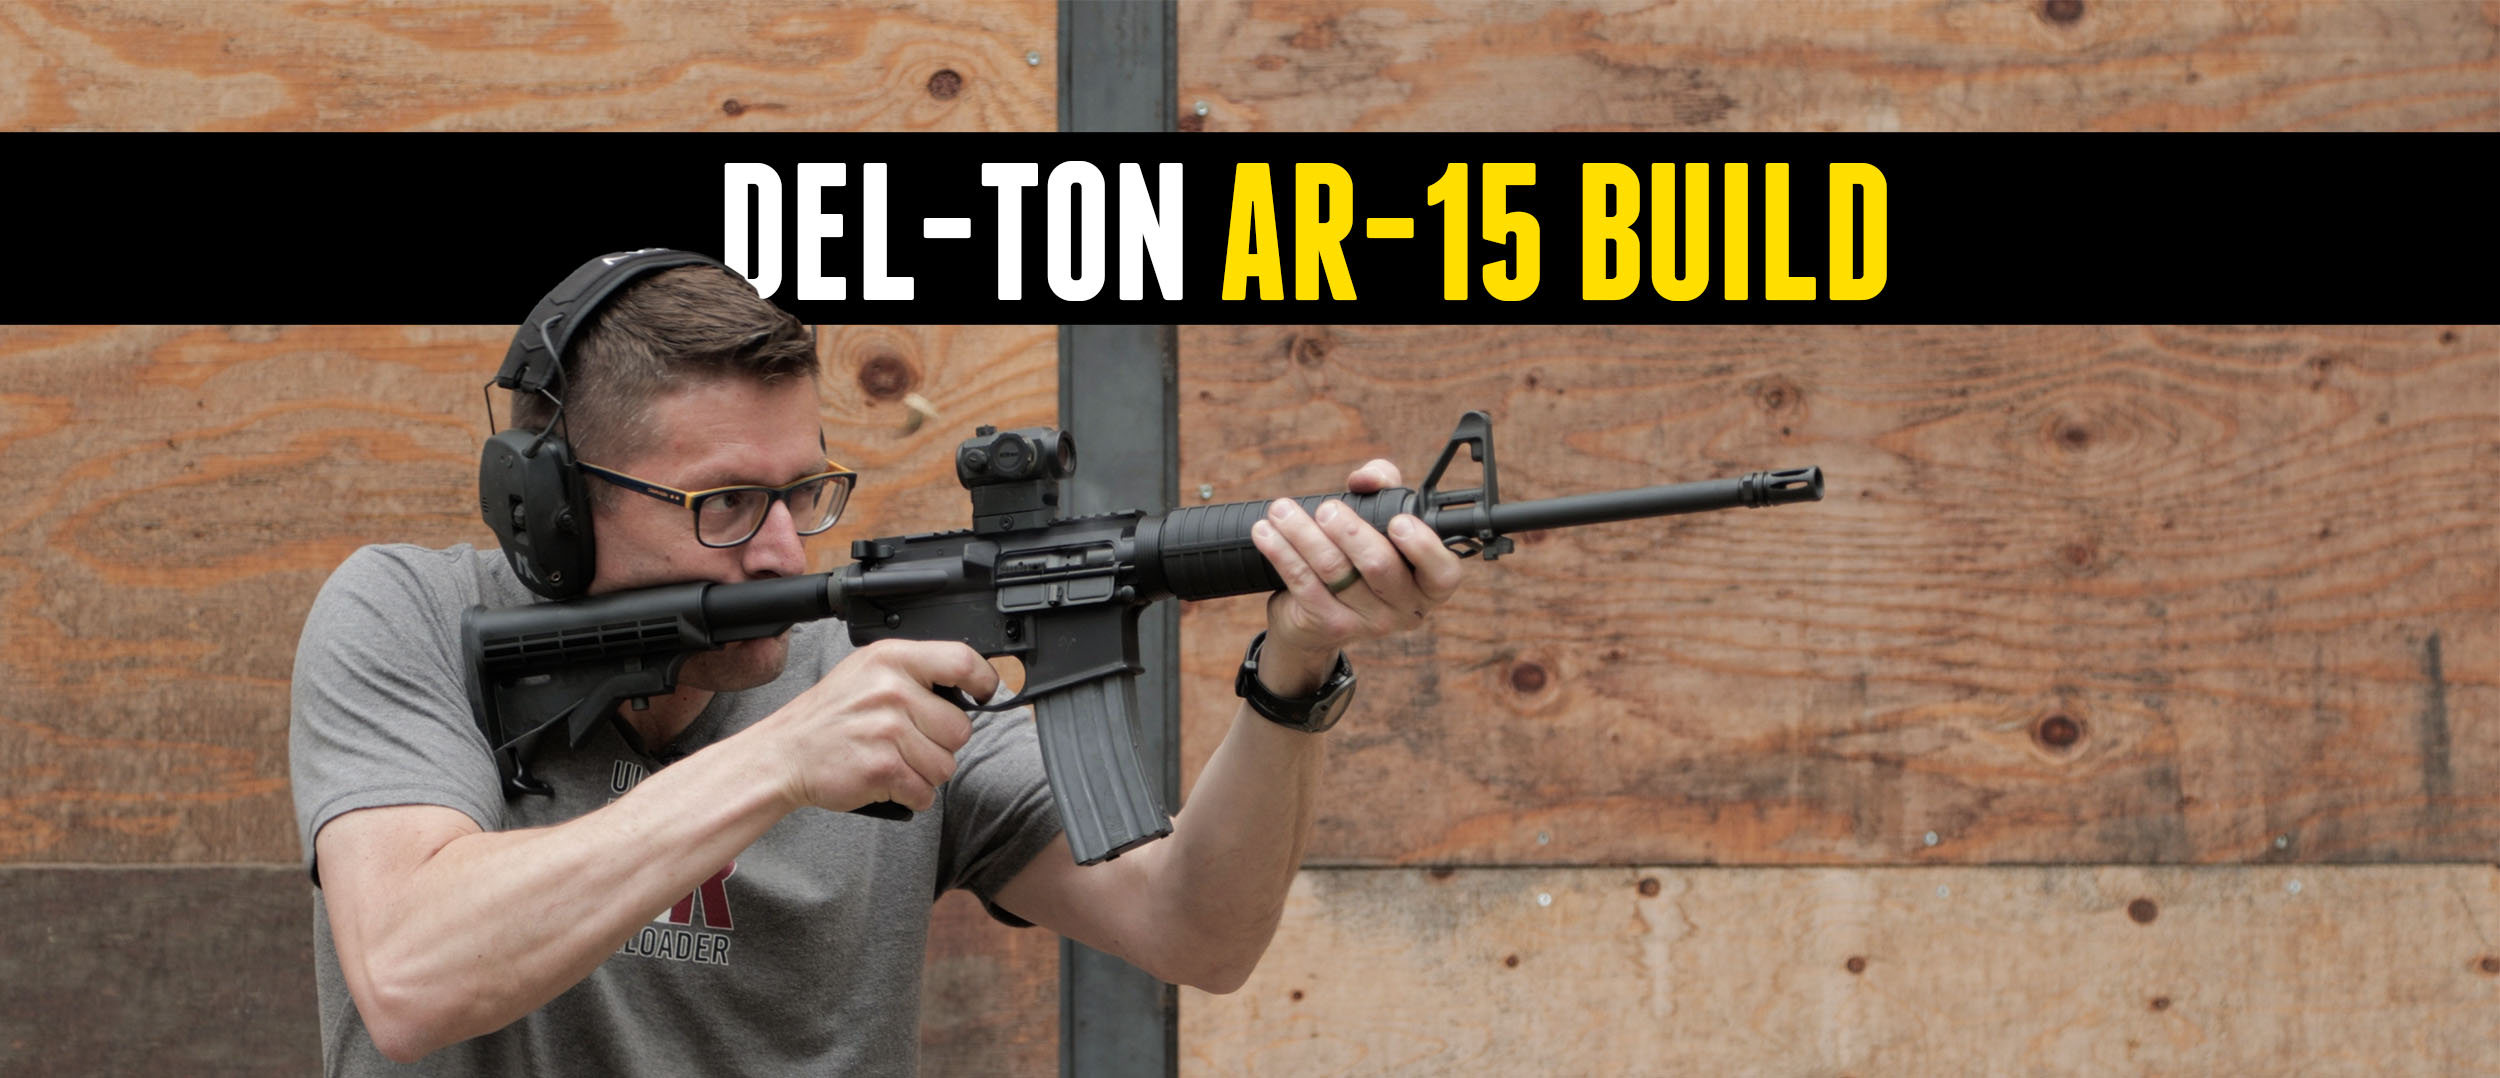
Previously we outlined the bones of our Midsouth Shooters Supply Del-Ton AR build. This time, we’re putting it together. Watch the Highlight video on YouTube, or Watch the full process on Rumble!
Build Overview & Highlights:
Step By Step Build on Rumble:
Disclaimer
Ultimate Reloader LLC / Making with Metal Disclaimer: (by reading this article and/or watching video content you accept these terms). The content on this website (including videos, articles, ammunition reloading data, technical articles, gunsmithing and other information) is for demonstration purposes only. Do not attempt any of the processes or procedures shown or described on this website. All gunsmithing procedures should be carried out by a qualified and licensed gunsmith at their own risk. Do not attempt to repair or modify any firearms based on information on this website. Ultimate Reloader, LLC and Making With Metal can not be held liable for property or personal damage due to viewers/readers of this website performing activities, procedures, techniques, or practices described in whole or part on this website. By accepting these terms, you agree that you alone are solely responsible for your own safety and property as it pertains to activities, procedures, techniques, or practices described in whole or part on this website.
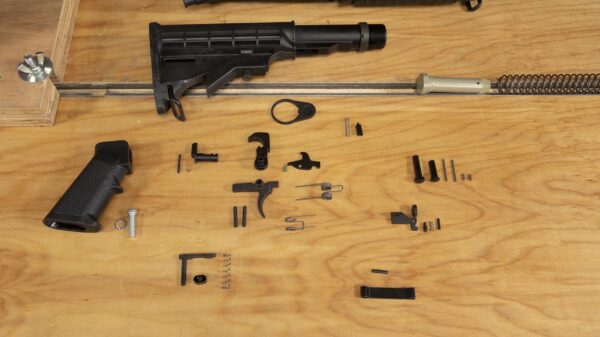
About the Build
To watch an overview of all the parts and tools, check out the kickoff video below.
We have several tools from Wheeler including Wheeler’s F.A.T. Stix, AR Armorer’s Bench Block, Professonal Armorer’s Wrench, AR-15 Roll Pin Install tool kit, Upper Receiver Action Rod, Delta Series AR Upper/Pic Rail Vise Block and AR Pivot Pin/Roll Pin Install Tool.
Front Pin Install
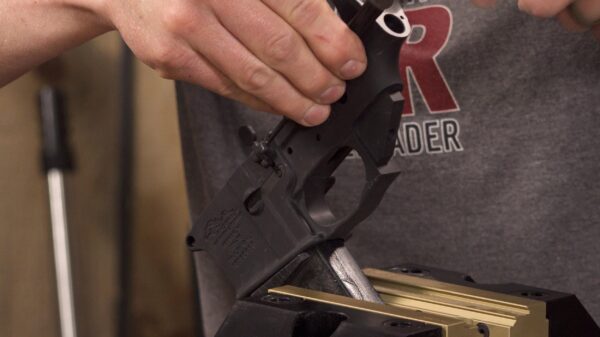
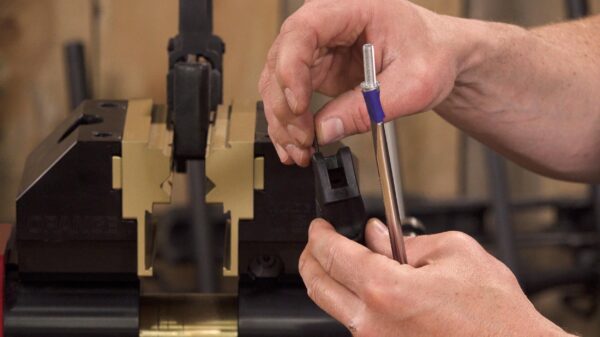
I secured my stripped lower in my Orange Vise and started with the front pivot pin, notorious for flying out. To aid with this, I used the AR pivot pin/roll pin install tool.
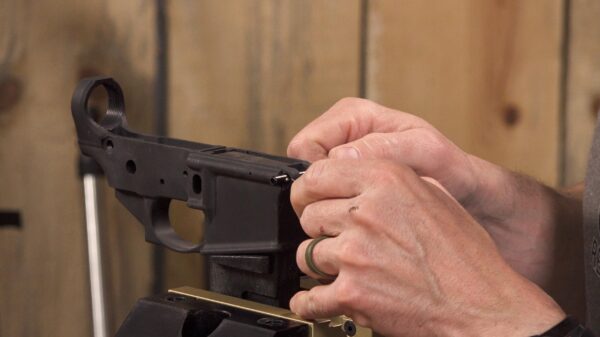
I placed the tool through the front pin holes and lined up the hole cross drilled through the tool so that I could send one of the detent springs through and follow it with a detent. Using the punch part of the tool, I rotated the spring and detent to keep them under pressure and compressed. Next I took the front pin and got it started in the pin holes then pushed it through, sending the tool through the other side.
Mag Catch
To install the mag catch, I took the receiver off the Orange Vise and added the spring and mag catch button with the grooves facing outward.
Next I fed the mag catch through from the other side until I felt it engage with the threads from the top hole of the mag catch button.
Bolt Catch
With the lower back in the vise, I set aside the bolt catch, bolt catch plunger, bolt catch plunger spring and bolt catch spring. I began by getting the starter in the hole.
I then added the bolt catch spring, plunger, and bolt catch. With everything aligned, I used a punch to tap the starter in the rest of the way to hold it all together.
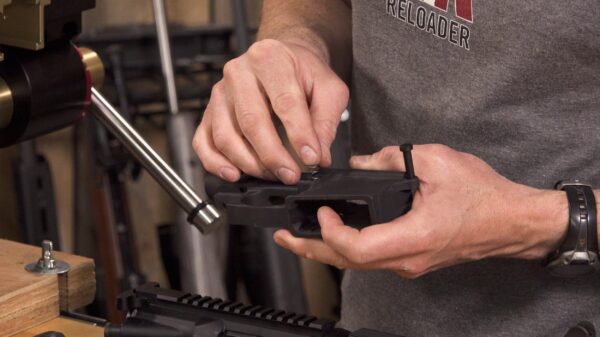
Mil-Spec Trigger and Hammer
The trigger spring pops over the ears on the trigger itself. The disconnector spring goes into a cutout in the middle with the disconnector overtop.
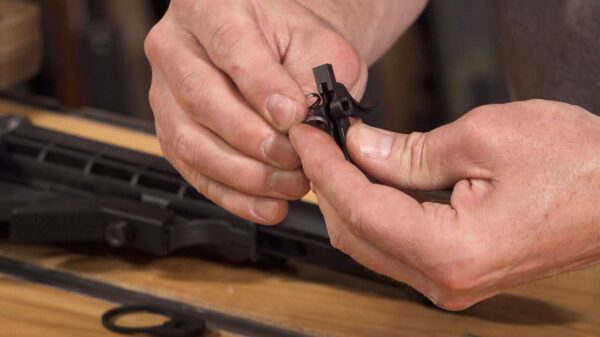
Holding these pieces together as an assembly, I used the trigger pin alignment tool to secure the assembly in the lower.
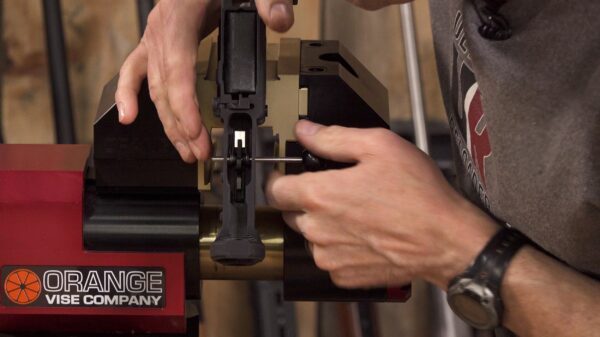
From the opposite side, I pushed one of the trigger pins through while pushing towards it with the trigger alignment tool. To get the pin flush, I had to use a small hammer.
Next I dropped the selector lever into place and pulled the hammer spring over the ears of the hammer.
The spring legs sit on top of the main portion of the trigger and use the same alignment tool to get the pin in place. (If you push against the alignment tool with your chest, you have both hands to work with.)
Grip and Rear Pivot Pin
I placed the rear pivot pin and added the detent and spring.
These are held by the rear plate. With this in place, I added the plunger (in towards the fire control group) and placed a spring inside the grip.
To keep the grip screw held on the screwdriver, I used a little bit of tape. This made it easy to work with as I installed the grip.
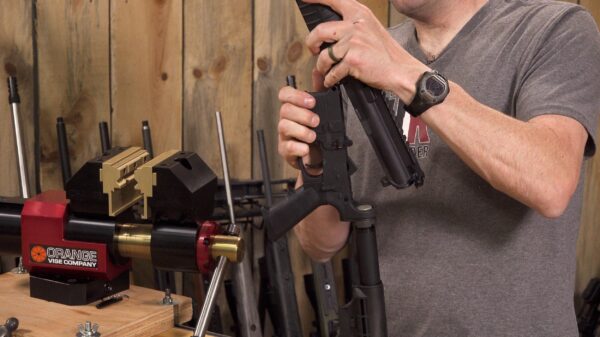
Buttstock and Buffer
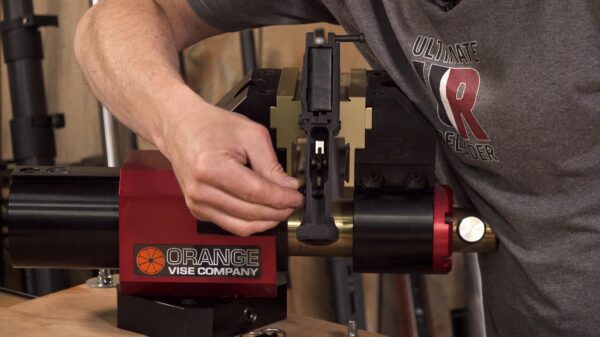
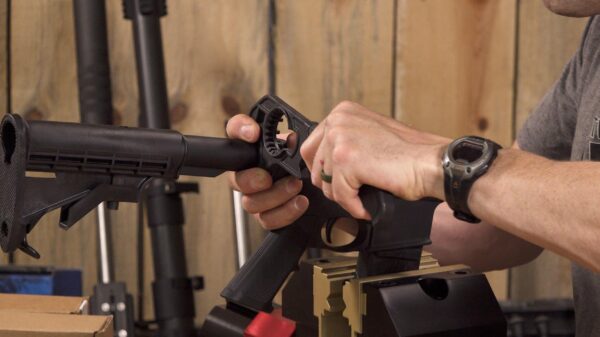
To mount the buttstock, I first added the rear plate and started threading it into the lower until it was time for the buffer catch spring plunger. I installed it then held it down as I kept threading the stock in place.
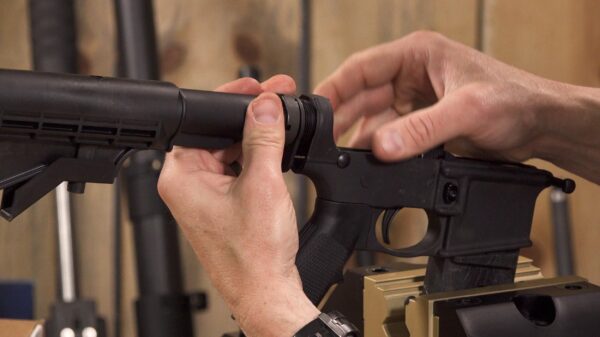
Once in place, I moved the rear plate against the detent spring and secured the castle nut.
The buffer spring slides lightly into the stock with the buffer over top. At this point I ensured the trigger worked, the safety worked and the mag catch worked.
Adding the Upper
Adding an upper is easy. With the pivot pins pulled out, I placed the upper over top and pushed the pins back through.
Function Check
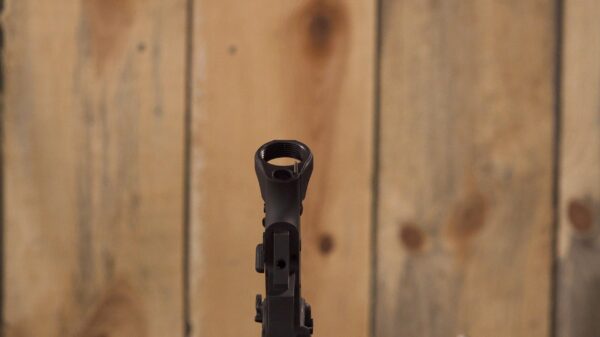
I added a simple red dot and function tested the rifle on steel outside the shop.
Conclusion
Keep watching this Rumble series to see the evolution of this build!
Get the Gear
Wheeler AR Armorer’s Bench Block
Wheeler Professional Armorer’s Wrench
Wheeler AR-15 Roll Pin Install Tool Kit
Wheeler Upper Receiver Action Rod
Wheeler Delta Series AR Upper/Pic Rail Vise Block
Wheeler AR Pivot Pin/Roll Pin Install Tool
AR-15 16” Heavy Carbine Del-Ton Rifle kit from Midsouth Shooters Supply
Many find AR builds intuitive, but to learn more about the platform and accurizing it, visit the Colorado School of Trades!
Don’t miss out on Ultimate Reloader updates, make sure you’re subscribed!
Thanks,
Gavin Gear


