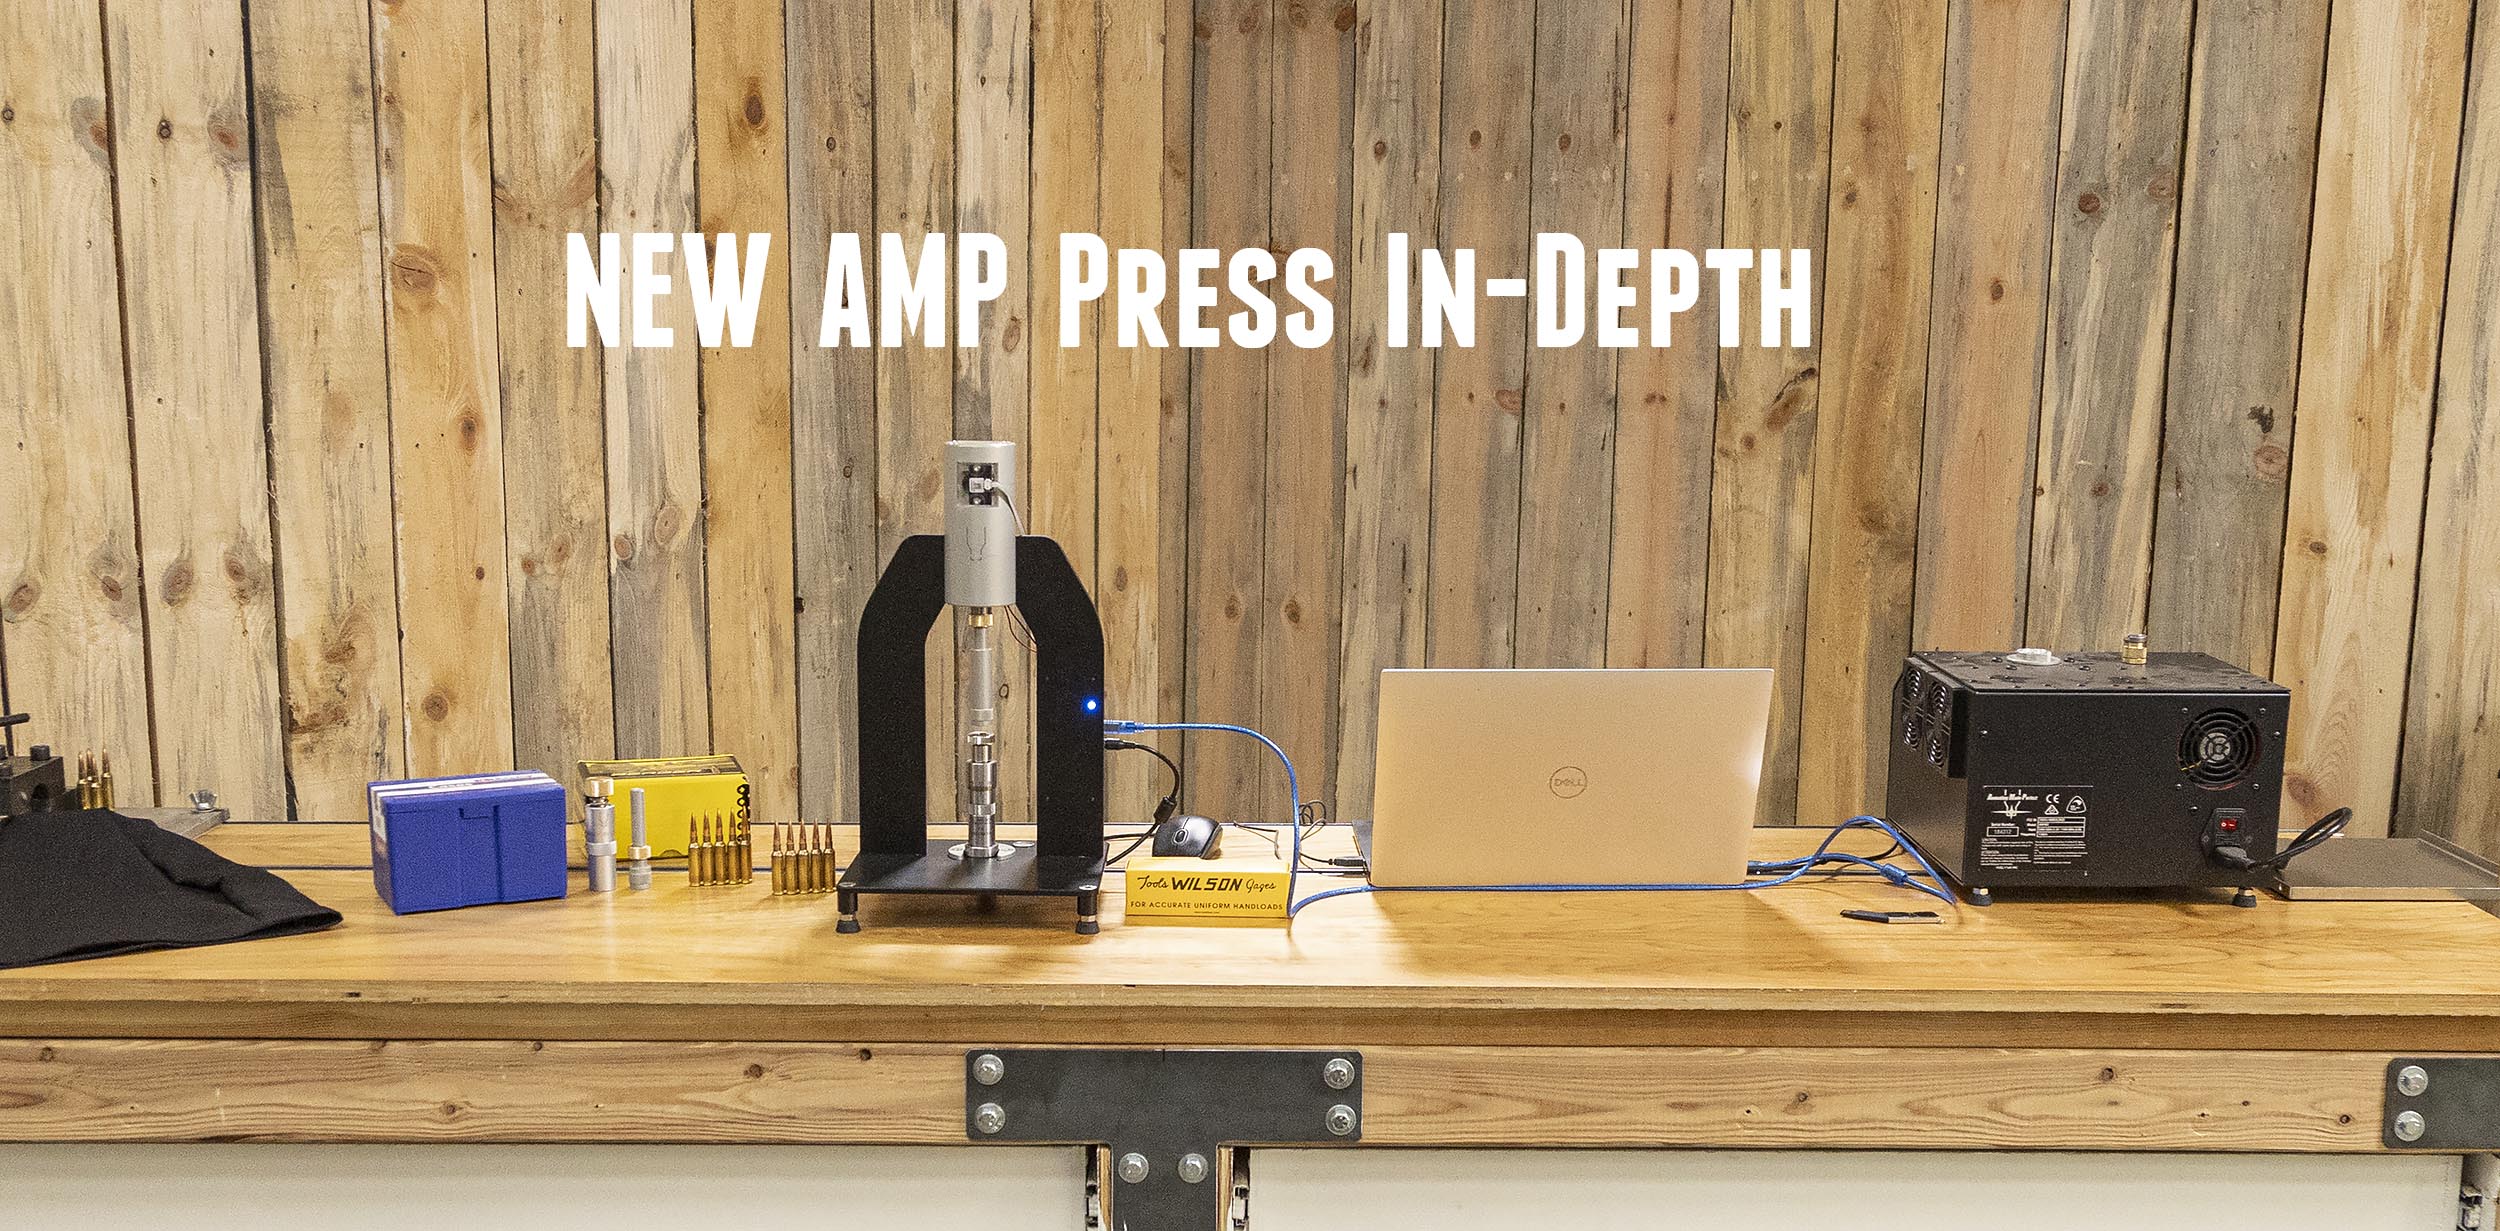
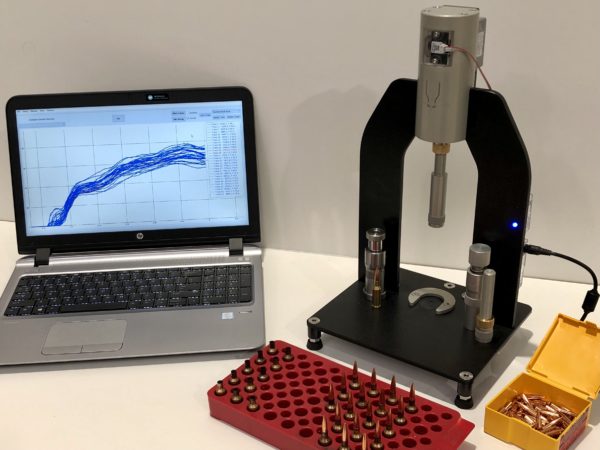
It’s HERE! The AMP Press from Annealing Made Perfect allows you to profile bullet seating force when seating bullets. This capability will help you validate and increase the consistency of your ammunition, and that will help you get on target. In this story, we’ll get hands-on and put this machine through its paces!
About the AMP Press
From the AMP Press Product Page:
-
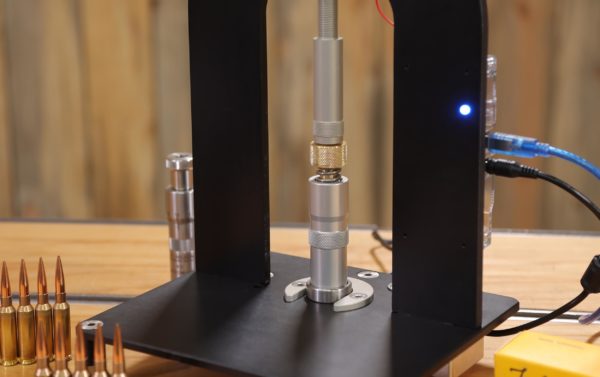
- Load cell: AMP Press comes equipped with a precision load cell which delivers exact weight measurements up to 200 kilograms. The face of the load cell is surrounded by a retainer which guides the die to the center of the cell. This ensures repeatable measurements every time. The load cell is highly accurate. Minute case to case variations can be magnified and displayed in incredible detail. The load cell face is free floating. This ensures that no binding takes place when the ram presses the die down onto load cell and that everything remains centered.
-
12V Motor: The ram on AMP Press is driven by a high torque, DC motor. This ensures that a repeatable stroke in both speed and force is applied to the die when seating. This removes the human error which occurs when operating conventional arbor presses. The 12V DC motor means the press can be easily powered by batteries. This allows its use in more remote locations such as at a range.
-
Distance sensor: The position of the ram is calculated using a position sensor, which is accurate to 0.001″. This allows the distance to seat bullets to be displayed against force for the first time. This is especially useful in highlighting discrepancies such as trim length and chamfer consistency. It also allows for the calculation of “Total Work” to be applied to the plot as an option to sort by for the first time.
- Bluetooth: AMP Press is Bluetooth capable allowing for wireless communication to your preferred device. Bluetooth will be enabled after the initial release of AMP Press. In the interim, computer connection will be by USB cable. Note: the initial release of AMP Press will be PC only. Mac software will follow.
What’s In the Box
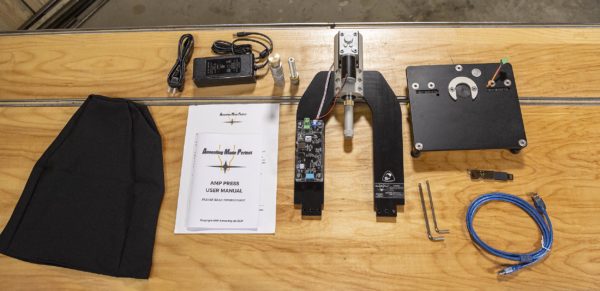
The AMP Press comes with the following:
- Main assembly (in two pieces)
- USB stick with software
- USB cable
- Allen keys for assembly
- Two rams: long, short
- Simulation die
- Power adapter
- Owner’s Manual
- Dust cover
Assembling the AMP Press
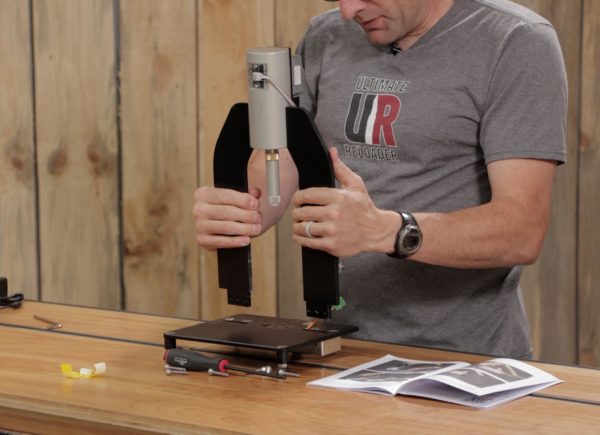
Putting together and setting up the AMP press is covered in-detail in the owner’s manual, and should only take about 30 minutes. Here’s the high-level process:
- Assemble the two halves of the major assembly (held together with six cap screws).
- Plug wiring harness into main electronics board
- Prepare power adapter, plug into wall, turn on AMP Press
- Install software on PC using provided USB key
- Plug AMP press into PC using supplied USB cable
- Connect to AMP Press (when prompted by app)
- Zero the scale (when prompted by app)
Validating Setup with Simulation Die
The Simulation Die is a device that’s included with the AMP Press that is used to ensure that your AMP Press is working properly. I think the simulation die provides a great/easy way to get to know the AMP Press and software.
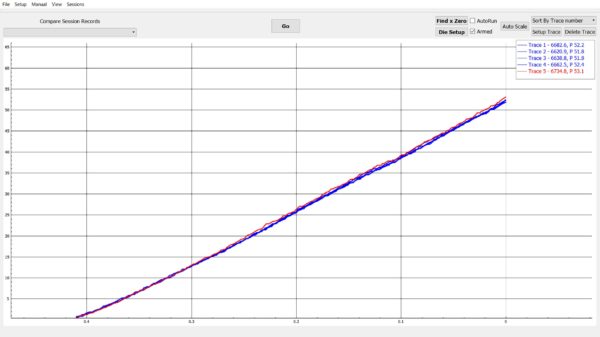
When I ran traces using the Simulation Die, I saw exactly what I expected, a linear spring producing a straight line! Here’s five traces:
Wilson In-Line (Chamber-Type) Seating Dies
The AMP Press is designed to use in-line seating dies from L.E. Wilson.
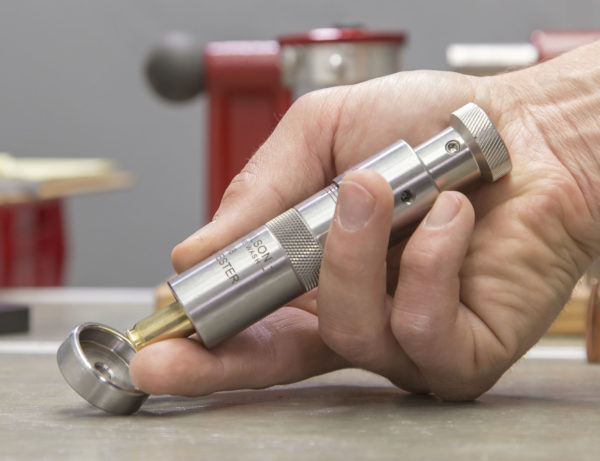
The L.E. Wilson Chamber Type seating die works differently compared to other seating dies. Most dies seat dies while there is relative motion between the case and the die body. The Wilson Chamber-Type seater holds the case stationary while a bullet seating stem is moved downward by means of an arbor press. In that way, more precise alignment is achieved between the case body and the bullet. That translates to less runout! As a backgrounder, bullet seating force has traditionally been monitored by means of a dial indicator type force indicator as covered in this article. The AMP Press brings this kind of testing to a new level!
Setting Up First Bullet Seating Traces
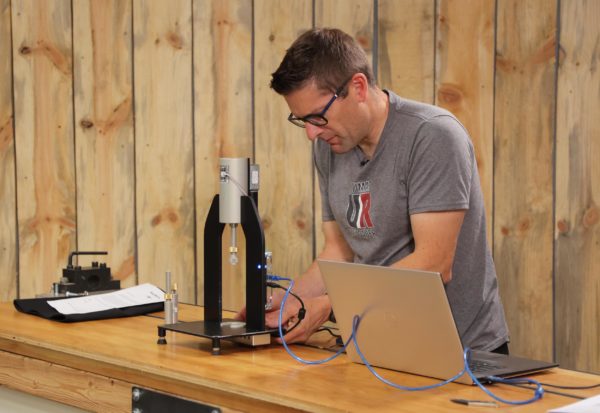
Following the Simulation Die testing, I got things ready for bullet seating including the following (see video for more details):
- Leveling the AMP Press using the built-in bubble level (shown above)
- Setting the ram height by placing seater die (with cup base), bullet, and case into the AMP press (leaving 2mm air gap)
- Setting X zero by removing case and bullet, running “Find X Zero” in app
Test 1: New Cases
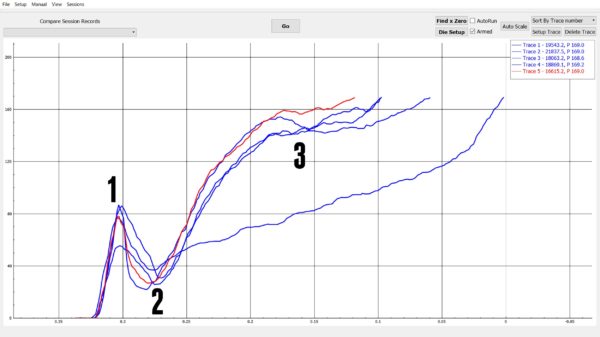
I ran my first bullet seating traces with new Lapua 6.5 Creedmoor cases which I used an expander ball to open up the necks with. The results were fascinating: (click/tap to enlarge)
Here’s what I see happening in this graph:
- Forces rise as bullet starts moving
- When bullet starts moving, friction goes down (coefficient of kinetic friction is lower than that for static friction)
- Forces rise as bullet contact surface area increases in case neck
The mystery here is the lower line. I’m wondering if that piece of brass had been processed differently in some way. A good reason not to throw brass back into new brass boxes.
Annealing Cases with AMP Mark II
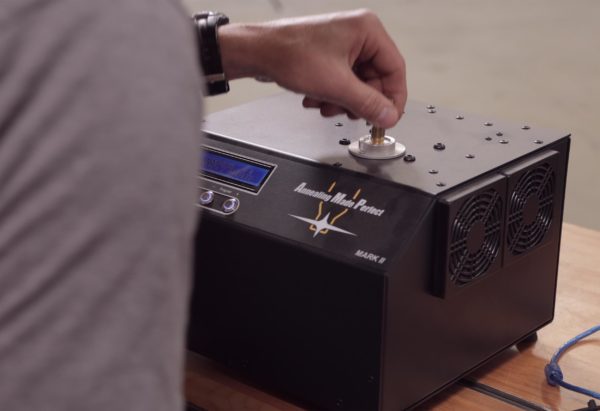
This is what I was waiting for! I decided to anneal new cases to see how things would differ. So I ran five cases through the AMP Mark II inductive annealing machine. I expected this would yield lower forces and more consistency overall.
Here’s a video I put together demonstrating the AMP Mark II (full article here):
Test 2: Seating Annealed Cases
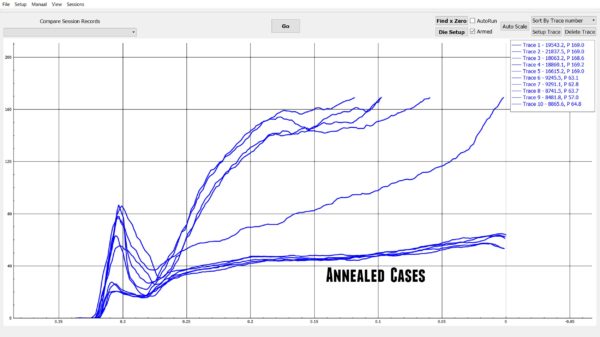
I ran the same bullet seating setup, this time with the annealed cases, and the results were pretty telling: (click/tap to enlarge)
Here we can see just how effective the AMP Mark II machine is when you anneal with it. We did indeed see lower forces, about 63% less force compared to without annealing! You can also see just how consistent each trace is compared to the others in that group. And, much less “jumpy” – smooth lines indicate smooth bullet seating. Wow.
Conclusion
I’m just getting started with the AMP Press. There are a LOT of software features I haven’t touched yet, and a lot of test scenarios I’m looking forward to trying out. This will be a lot of fun, and keep me busy for a long time! If you have a test you’d like to see with the AMP Press, please leave a comment.
Get Yours
L.E. Wilson Inline Seater Dies
Don’t miss out on Ultimate Reloader updates, make sure you’re subscribed!
Thanks,
Gavin







Might check variations in bullet seating using different methods of case cleaning. Without added case lube. It is said ultrasonic cleaning leaves cases too clean and “grabby”.
Then you could follow up with see how consistent various case neck lubes are.
Having attended a 1000 yard bench rest training class, as you mentioned, consistency is everything. Time for a field trip to see if all this high end equipment shows up on paper. Powder measures to the grain, weight sorting of cases and bullets, case volume measurements, bearing surface measurements, annealing and seating force all could be considered, all inclusive or individually. The comparison could be with “standard/normal” reloading equipment.
We now seem to have the resources (or at least you do) to make absolutely identical rounds. Will it show up on paper?