It’s time for Part 7 in the series I’ve been covering on the RCBS Pro Chucker 5. This time we’ll get down-and-dirty loading .223 Remington, something any AR-15 owner will be interested in! I like to show different loading setups in each blog/video, and this time I thought I would try the “.223 equivalent” of my awesome AR-10 308 Winchester loading setup. This setup will be different, but I really like the addition of the Redding Instant Indicator when loading rifle ammunition on progressive reloading presses, so I made sure to include that here.
Here’s the die setup that I put together for .223 on the Pro Chucker 5:
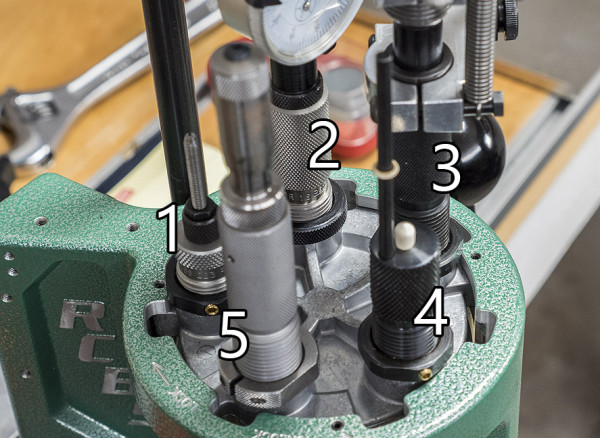
And the per-die-station details:
- RCBS .223 Remington sizer/de-primer
- Redding Instant Indicator
- RCBS Uniflow powder measure (rifle metering insert installed)
- RCBS Powder Checker (rod installed with no tip, inverted with threads at the top)
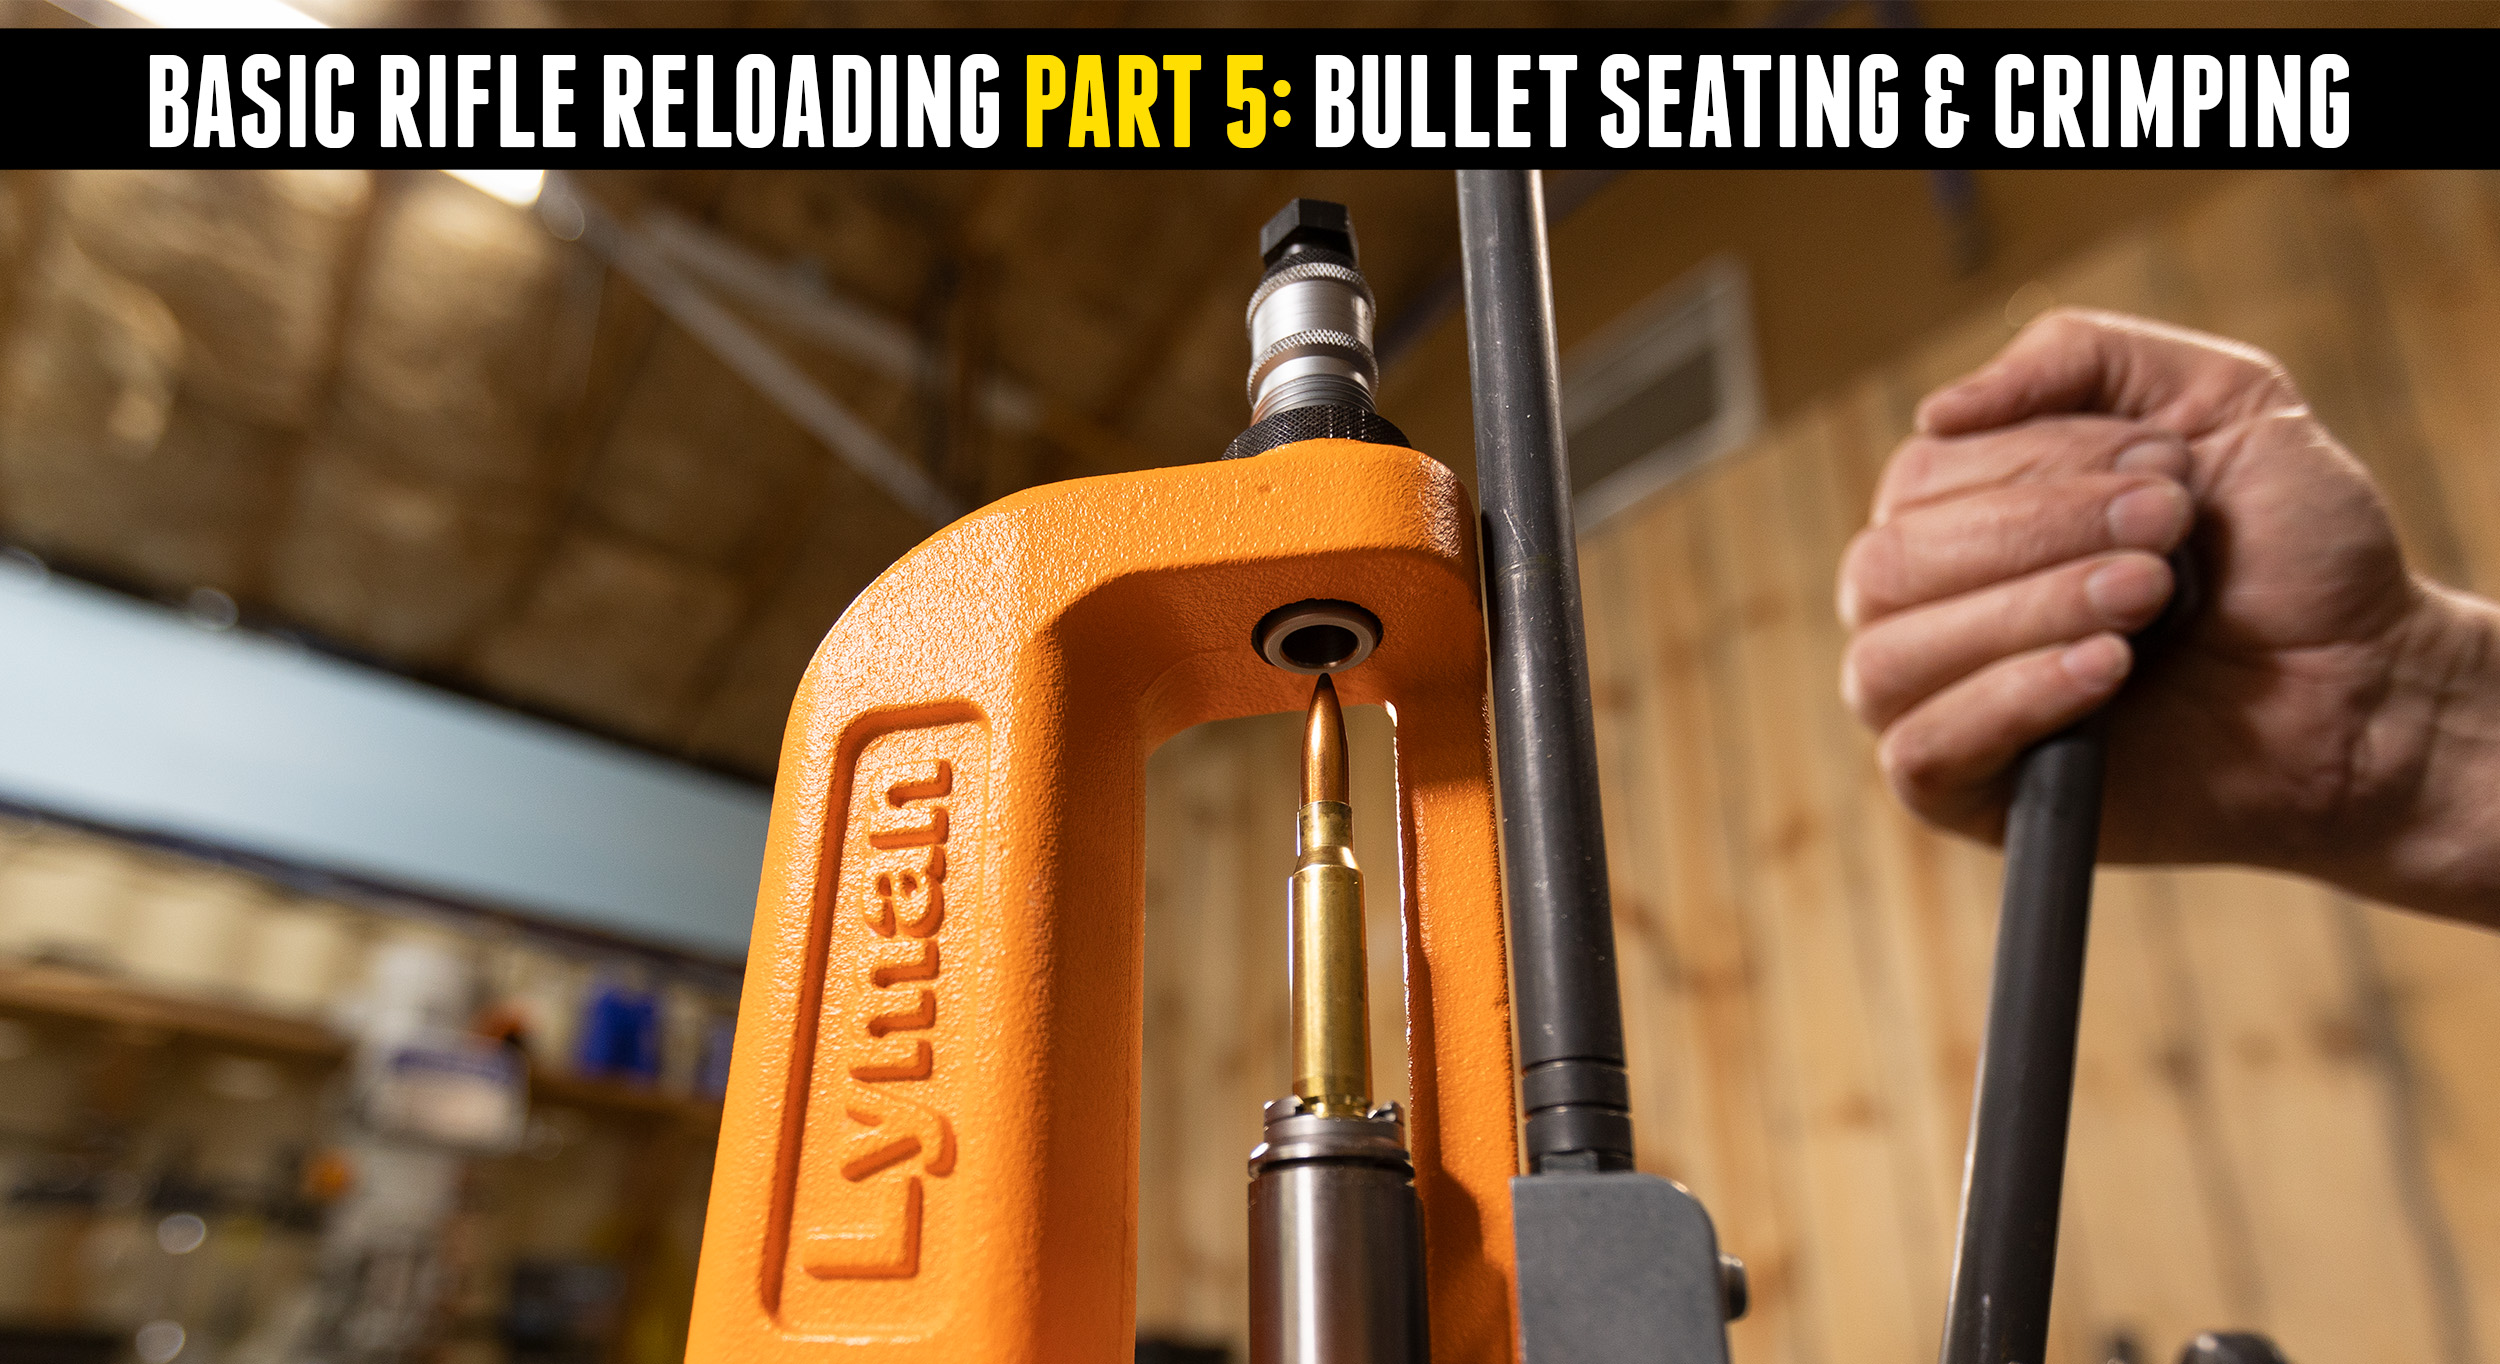
- Hornady .223 Remington bullet seater with micrometer stem and custom vent hole (see above “5”)
This proved to be a very smooth setup for loading .223 Remington. I can monitor brass trim length in station 2 at the top of each stroke. With the Instant Indicator set to 0.000″ for the desired trim-to length of 1.750″ I know I can see up to .010″ indicated and still be within spec (max length = 1.760″). This is a great way to measure brass length because when you size the brass it will lengthen slightly. Measuring it just after sizing ensures that actual loaded brass length is what you are measuring, not pre-sized length. The TC sizing die is specifically setup to minimize brass growth (lengthening), another important aspect of this reloading setup.
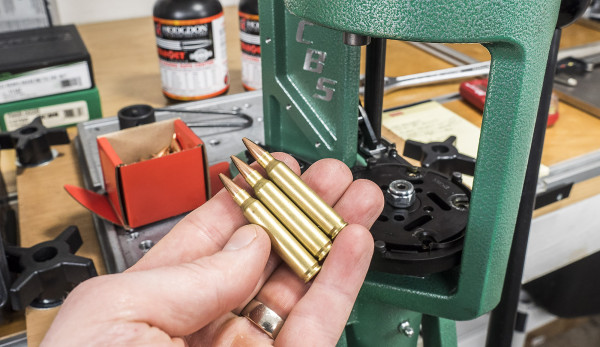
The proof is always in the results! The RCBS Pro Chucker 5 rewards you with a unique “clink” sound each time a cartridge slides down the metal chute into the completed cartridge bin – a great sound. And it’s always satisfying to hold some of your own custom loads:
A picture may be worth a thousand words, but a video is worth 16,200 pictures in this case (that’s the total frame count for this video 🙂 ). Check out the complete start to finish process for full progressive loading:
Lots more Pro Chucker content coming up, so make sure you are subscribed! Have an awesome .223 loading setup to share? Please leave a comment!
Thanks,
Gavin







Looks like it works well, so does the Hornady but it has a shell feeder. With the .223, I don’t think I could do without a shell feeder. Seems like I save up brass till I have something like 500 and then I load a large batch. It’s hard enough to place bullets on the case and hold them till they start into the seat die. Lot going on there with the case length check and the powder check die. Still, beats the one at a time single stage press by a whole lot. Not going to switch loaders yet.
One thing that I have run into with .223 on my Dillon RLB550 a tendency to mishapen the neck thus causing miss feed problems. I have gone through my die set up repeatedly. I think the issue is a taper die setting or perhaps charging station with the pressure on the creation of the “bell” being a little to hardy. Or, could it be the bullet setting die. I have adjusted and adjusted. Seems like the problem has been resolved but I would like to know which of these dies might be the culprit.
What do you think?
dear Mark B., Perhaps the inside of the case neck was not chamfered? Happened to me a few times that provokes crushing the neck at the seating station on my Blue Press 550. After I looked for/corrected the chamfer, normal -ness appeared.
I can not believe that you make such a big deal out of the shell plate flexing when your press is not mounted on a proper bench. The top of your press moves about an inch at the top when you go to the bottom of your stroke.
My press does not wobble !
Hey Danny- I’m working on a fix for the press flex. It’s not the table, it’s the way the RCBS plate is mounted to the plywood and some flex in the plywood. I’m working on a mild steel replacement for the plywood plate that will be more like the aluminum plate I use on the Hornady Lock-N-Load AP. No flex in that setup!
Hi Gavin – Great video. I’d like to see the similar set up using the RCBS Pro Chucker 7 loading for 9 mm. I’m also interested your resolved flexing issues in your mild steel replacement press mounting plate vs. the plywood mounting plate. I’d like to do the same thing for my Hornady Lock-N-Load Classic single stage press. Would you be able to advise me: what type of mild steel that you plan to use; the recommended plate thickness for the mounting plate; the size of the plate (length x width); the hole positions for mounting the plate to the heavy duty t-track (I plan on using this system on my reloading bench.); and the hole mounting positions for the Hornady Lock-N-Load Classic Single stage press? Have you considered adding an additional mounting hole/screw assembly in the middle back of the mounting plate on the rear track to help with the flexing issue? I have a steel scrap yard a few minutes drive away from my place who can assist me with this job (cutting the steel, drilling and taping the holes, etc.) for a very modest price. Keep the great videos flowing. This newbie is learning lots from them.
Another great video Gavin. Thanks for the info on die setup for progressives. The Hornady videos mention it but don’t explain or cover it like you did. Like learning new stuff that will make my reloading better. Thanks!
Thanks Brian! Glad you found it useful.
great video Gavin….but there has been a lot said about the plastic primer components breaking…you have not addressed this issue…so i am not considering purchasing a pro chucker as yet…until this issue is settled…thanks again for the excellent work you put into your videos.
Great video Gavin. I am curious about the movement of the die plate with respect to the press frame. Is this normal? It didn’t appear to affect your reloads but just seems excessive to me. I am anxiously waiting for the Pro Chucker 7 videos. I really want to upgrade to the PC7 but will not until RCBS sells the PC7 die plates by themselves (i.e. without the powder measure). Very disappointed in RCBS.
A suggestion. Show some of the failures we all get when we reload and the solutions as we go. I find I learn more from my failures than from my success.
Hi,
Is the powder thrower the standard Uniflow measure with the case activated linkage?
I’m looking for that thrower setup for my Redding t7.
Thankyou
Just looking at the long way travel on the loading arm.
Good workout!
I’ve heard that small primer feeders are easy to brake on this press. Did you have this problem?