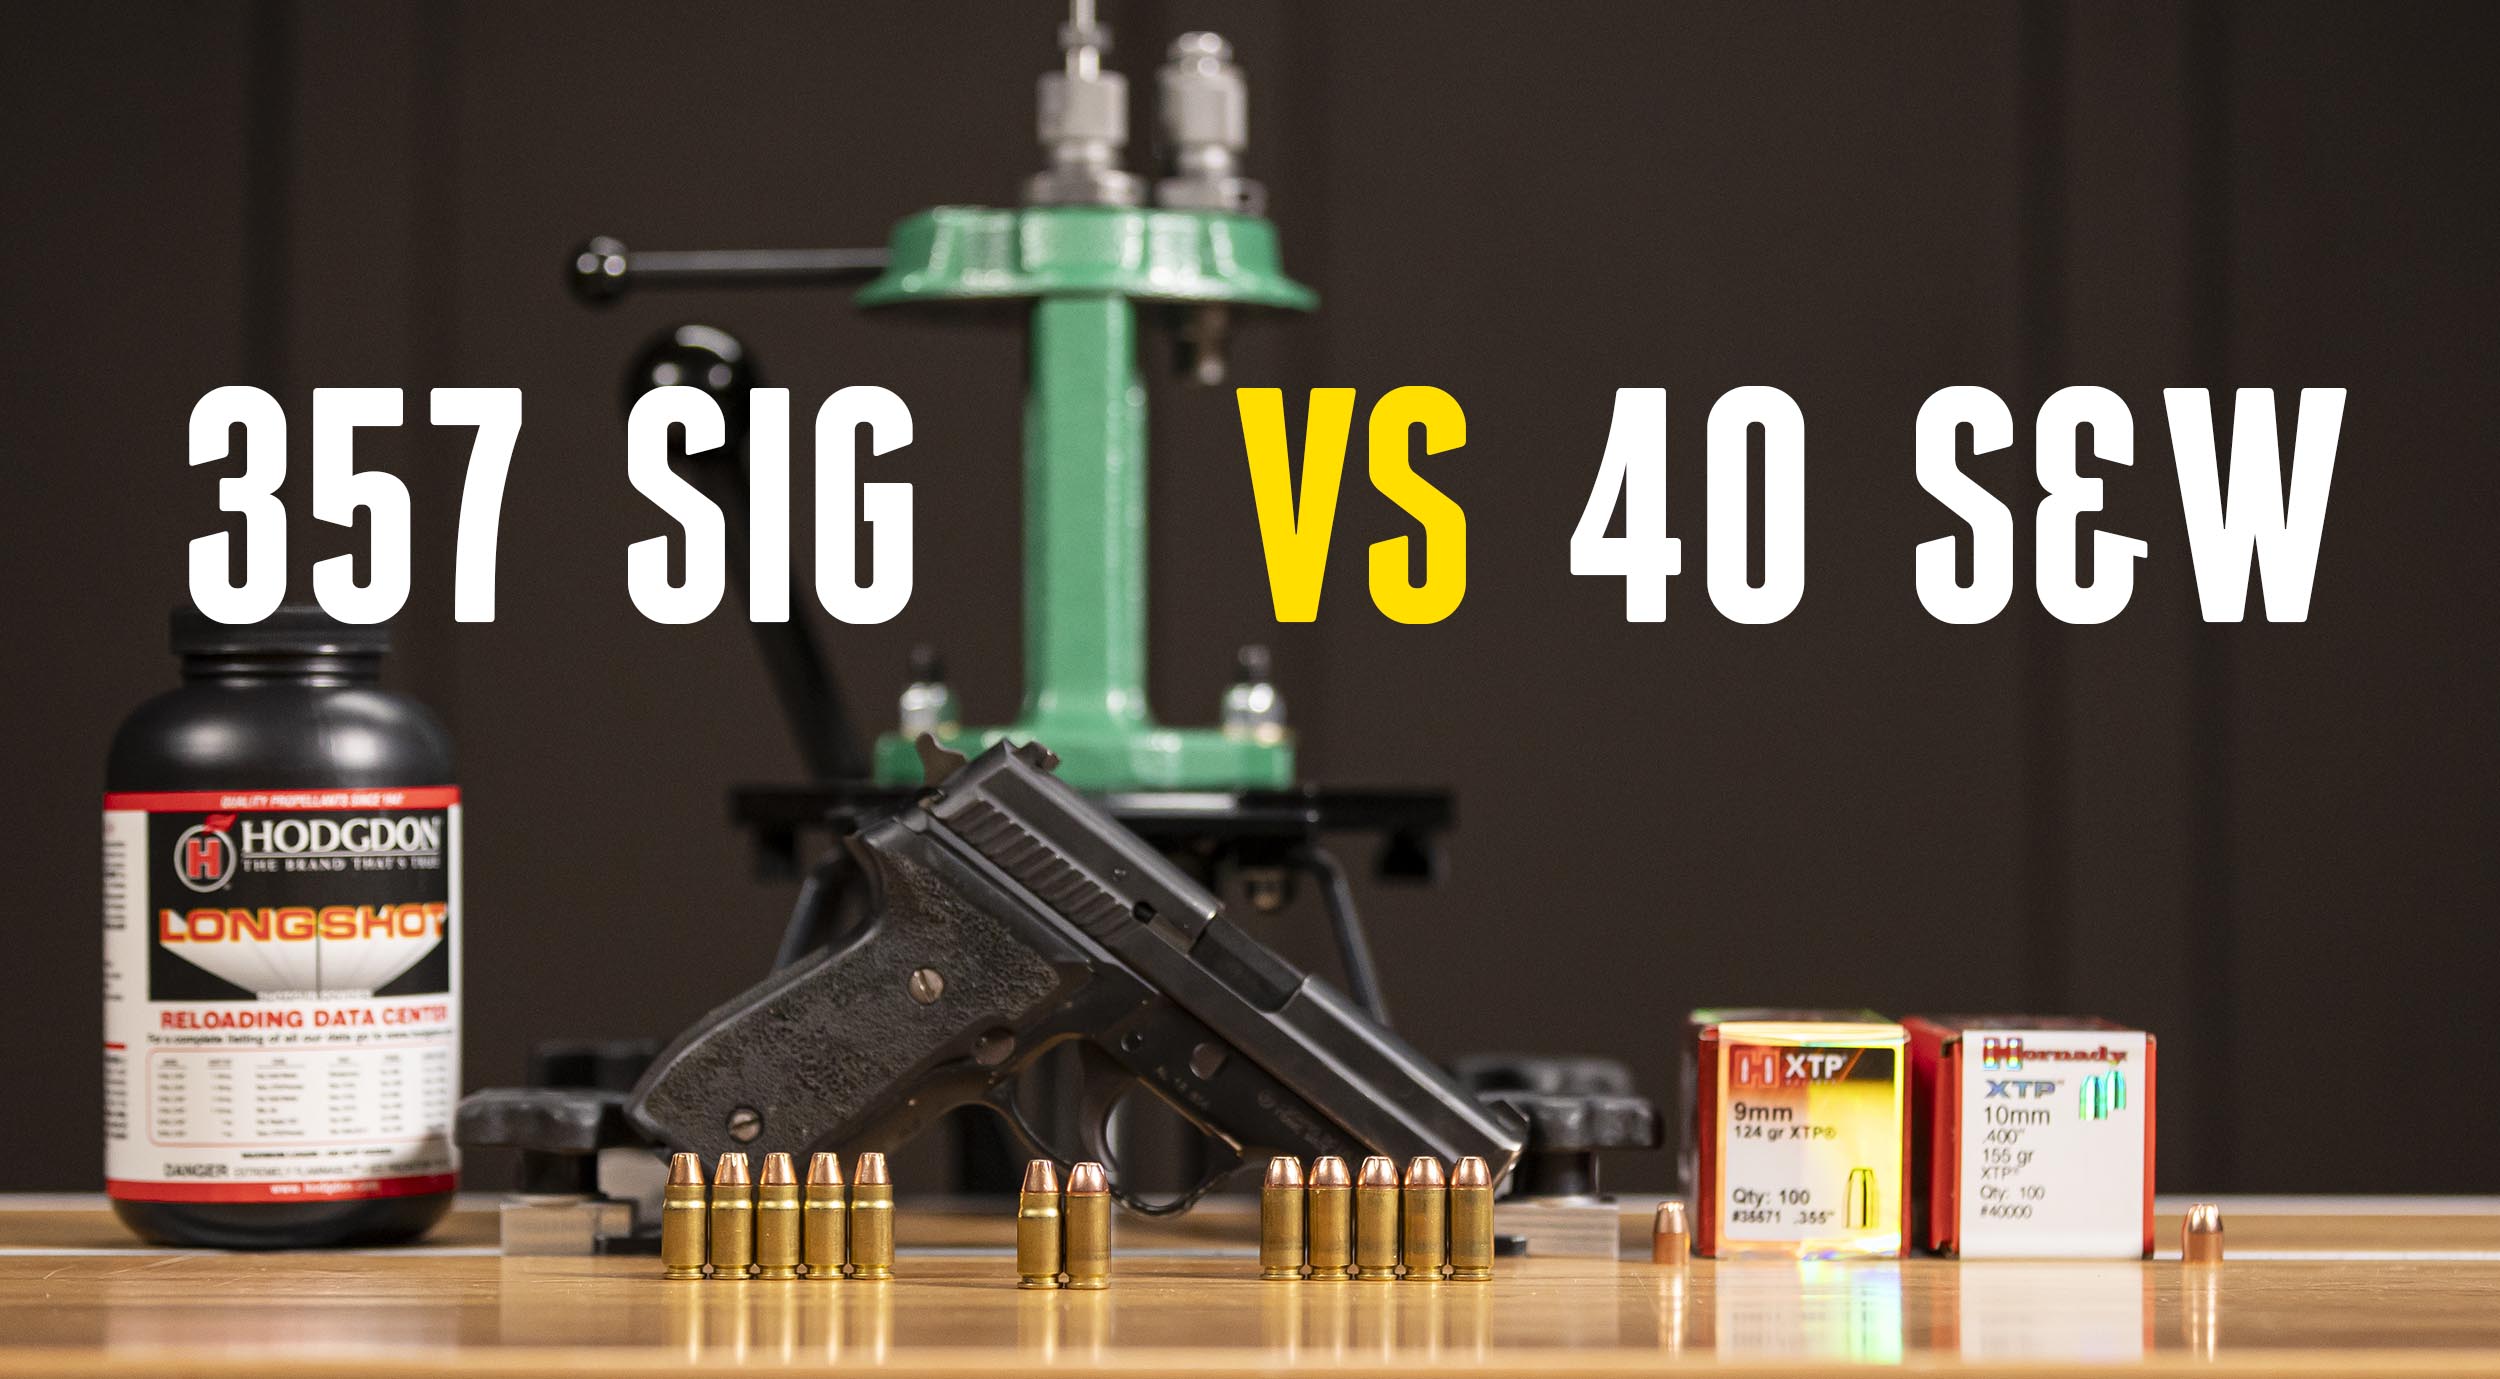
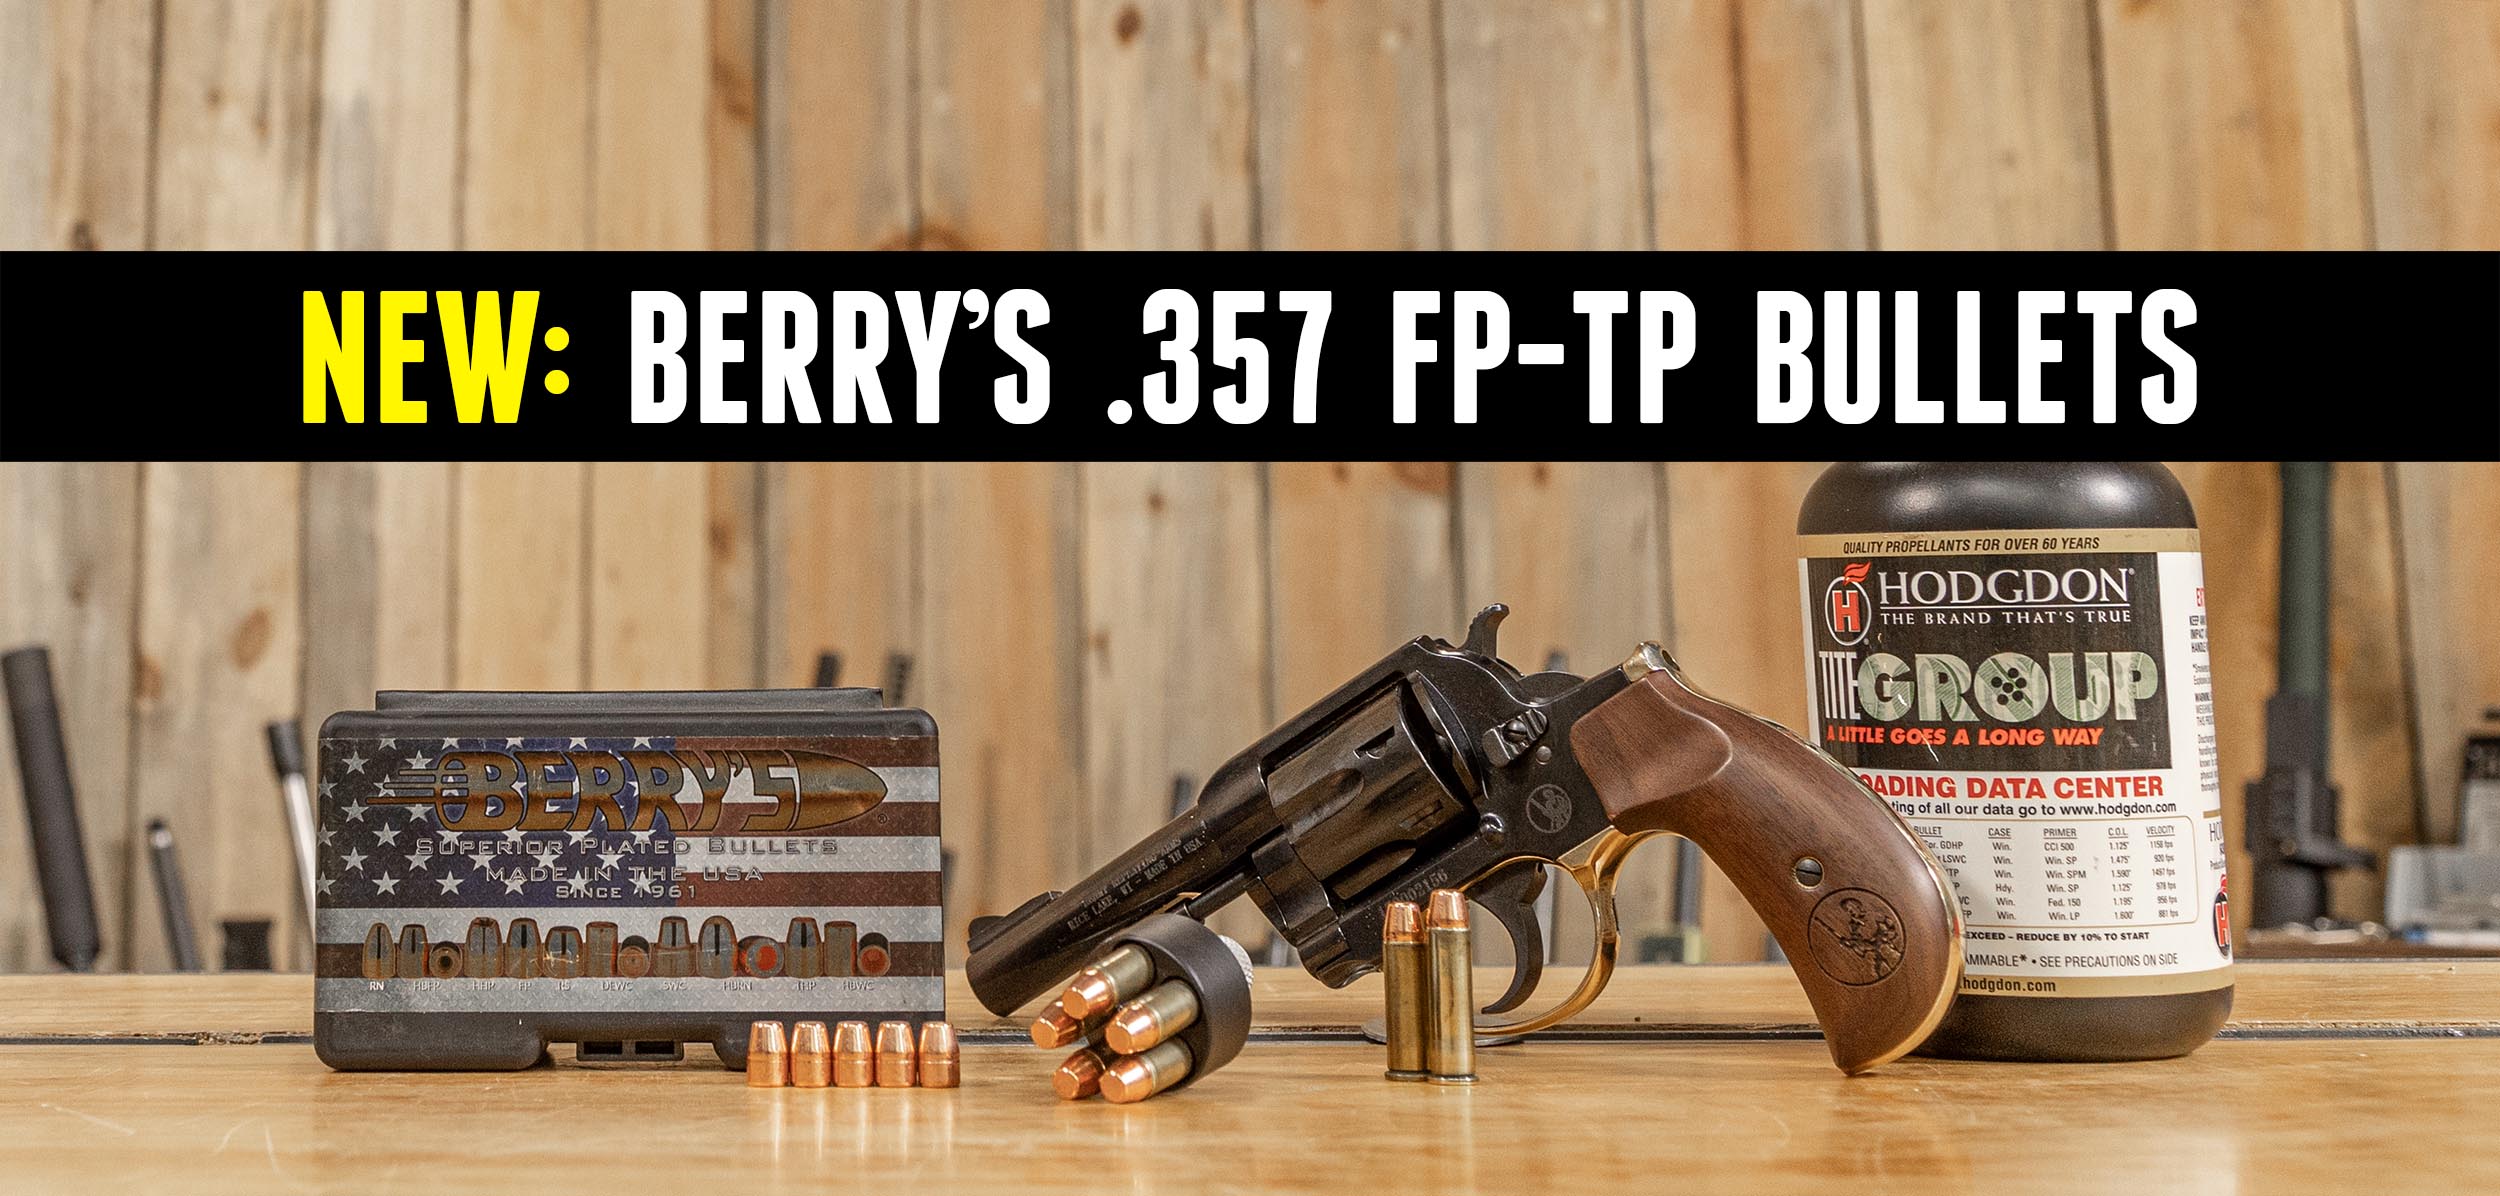
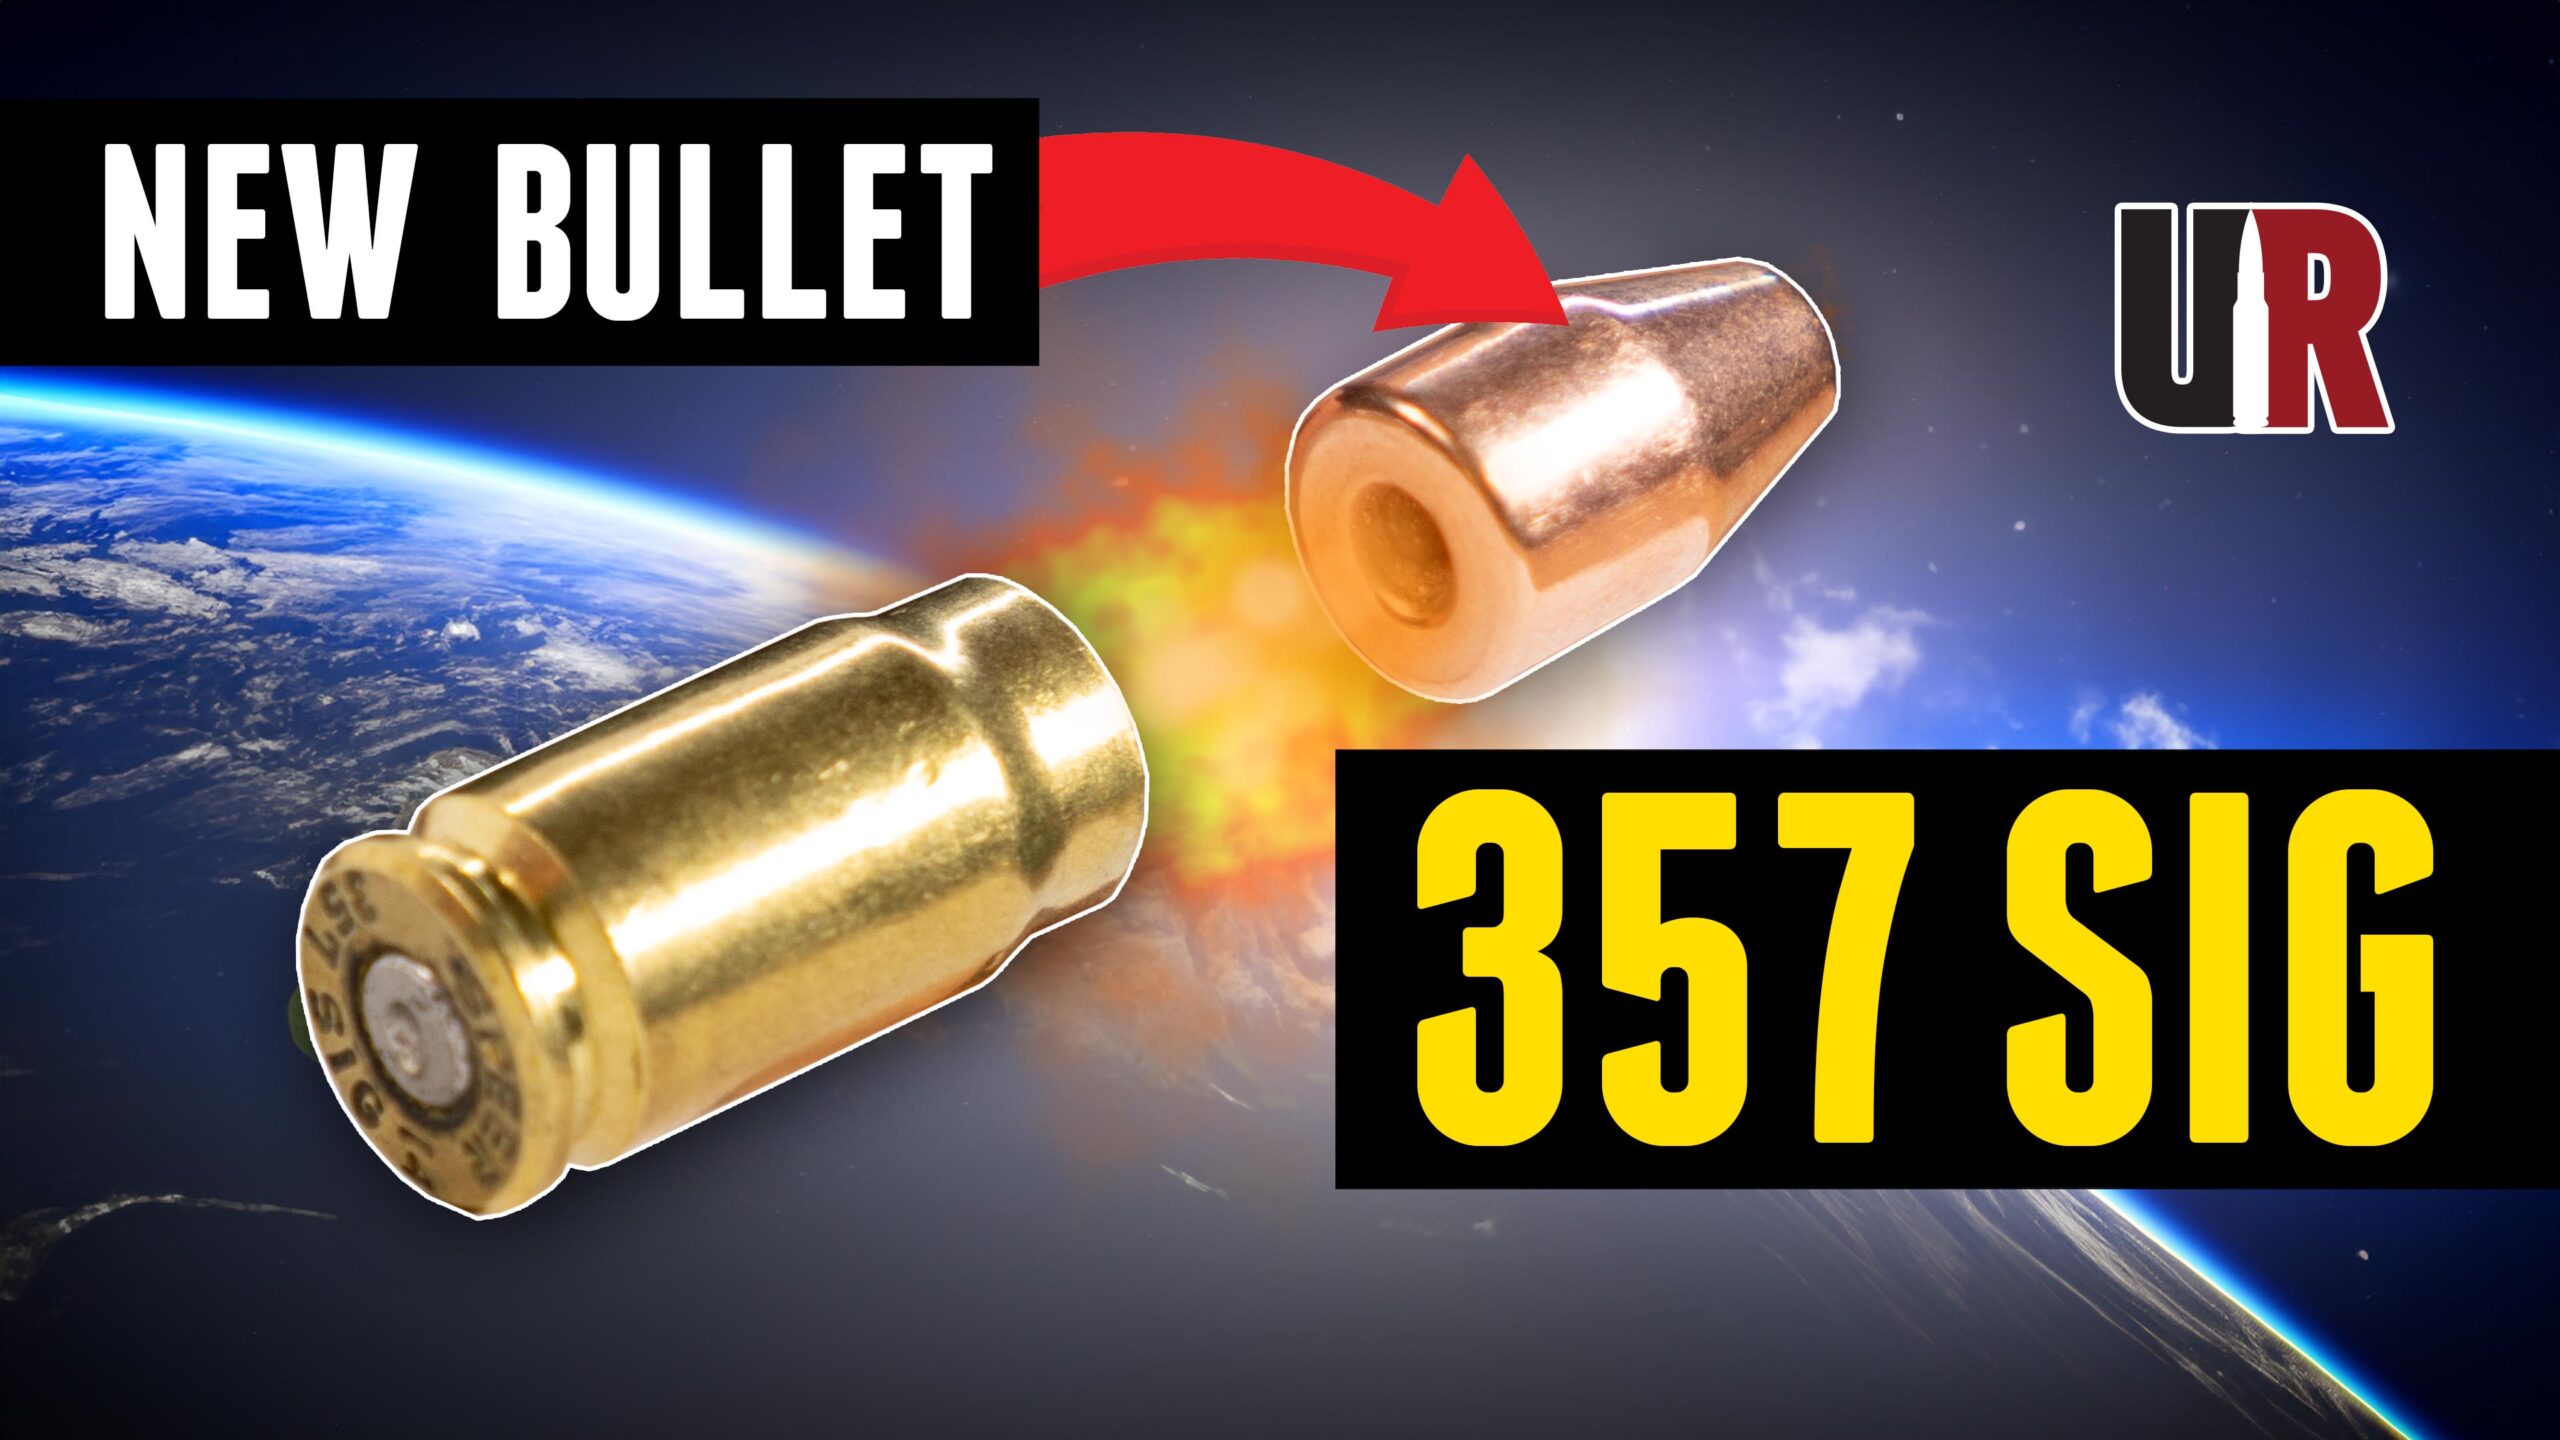
Posts Tagged ‘Pistol’

Pistol Brass Prep Basics

Saturday, March 3rd, 2012

Anyone who’s reloading needs to think about brass prep. It’s kind of like prepping your car before a paint job- if you don’t take the time to do prep right, you will not get the desired result. The first step is getting your hands on some brass. You can buy new brass, buy once-fired brass, pick up brass at the range, or shoot factory ammunition and save the brass. Unless you’re reloading brand new factory brass, you’ll need to prep the brass. This post will give you a 411 on that process.

Let’s get this sorted out…

One of the first things you’ll need to consider for brass prep is inspecting and sorting your brass. If you have a bag of once-fired 9mm brass, this includes taking out all of the 380 auto that might be mixed in. You don’t want that 380 auto getting lodged in your sizing die (rim doesn’t catch on shellplate in that case :) ). At this time, you’ll likely separate nickel plated brass from bare brass, and also look for damaged brass. If you’re picky (or loading for competition) at this time you may also sort by headstamp.

Make sure it’s Clean

In order to ensure that you don’t scratch your dies, and to avoid a mess, you’ll need to start by cleaning the brass. There are several ways to get this job done including vibratrory tumblers (shakers), wet tumblers, and ultrasonic cleaners to name a few. When you’re done with this step, your brass will be ready for lube.

Lube Job

Case lube for pistol loads is required if you are not using a carbide sizer die. But what about case lube when you are using carbide sizing dies? I tend to use case lube on all pistol loads. Light film lube (like Hornady One-Shot) does not require much effort or post-loading cleanup, and it does make the press operate more smoothly. A smooth press is a happy press, and it allows the operator to “feel” when something goes wrong more easily.

Other prep steps

There are some other brass prep steps that can be performed for pistol brass, but these are not usually required. These additional steps include:

  • Depriming and cleaning primer pockets
  • Trimming brass
  • Removing primer pocket crimp (for military brass)

Tips

Like most reloading tasks, brass prep is a personal thing. What one shooter finds important will not necessarily be important to another shooter. Enjoying brass prep is all about workflow for me. Here are some tips that will help you be an efficient brass prepper:

  1. Bag up your brass at the range and label it. This will help you decipher what is what when you get home.
  2. Tumble brass in separate lots if needed. I have a bulk quantity of Starline 357 Magnum brass, and a bulk quantity of mixed headstamp 357 magnum brass. I keep these bagged separately and tumble them in separate lots to avoid the need for sorting after the cleaning process. This saves me time.
  3. When sorting/inspecting, make yourself comfortable. I tend to sit on the couch with my bags of brass and some Akro bins while sorting. My wife appreciates it when I put a towel in the bins so that the plinking sound is minimized when I toss them in. :)
  4. Store your brass in clearly labeled bins that stack. Partially transparent bins can be helpful so that you can see how much brass is in each bin. It’s like a quick-glance visual inventory system. If you have special notes for a bin of brass, write it on a piece of paper and place it on top of the brass (lubed, trimmed, etc).
  5. Stage your brass prep. I tend to save up lots and do bulk quantities of cleaning, sorting, etc. This can help increase your efficiency.

How about you? Do you have tips or techniques to share? Please drop a comment!

Thanks,
Gavin

45 ACP Progressive Reloader Roundup

Thursday, September 22nd, 2011

Hello all- In honor of the 100th anniversary of the Colt 1911 pistol, I thought I would put together a post that showcases various progressive reloading presses cranking out 45 ACP ammo! This caliber is very versatile, and continues to be a favorite for both target shooters, law enforcement, and self defense. There are plenty more resources related to 45 ACP here on UltimateReloader, but this will give you a taste of loading this great cartridge on popular equipment!

Loading 45 ACP on the Hornady Lock-N-Load with the Hornady Bullet Feeder

Loading 45 ACP on the RCBS Pro-2000 with the RCBS bullet feeder

Loading 45 ACP on the Dillon XL-650

Loading 45 ACP on the Lee Loadmaster

Here, we see everything from a 4-station steup with hardcast lead bullets on the Lee Loadmaster, to loading jacketed bullets on progressive reloaders with bullet feeder attachments. There’s definately more than one way to load 45 ACP ammo, and each system has its strengths and weaknesses! (just like any type of machinery). Got a favorite 45ACP loading setup that you’d like to share? Please post a comment!

Thanks,
Gavin

Poll: What handgun cartridge do you reload most often?

Thursday, July 14th, 2011

I know a lot of us reload a lot of different calibers, but I thought it would be interesting to find out what calibers folks are reloading most often (I’ll do another poll for rifle cartridges). Don’t see your most frequently loaded handgun cartridge? Please leave a comment!

What handgun cartridge do you reload most?

View Results

Loading ... Loading ...

Hornady Lock-N-Load Bullet Feeder – Loading 45 ACP

Sunday, January 16th, 2011

This video shows setting up and loading 45 ACP with the new Hornady Lock-N-Load Bullet feeder on the Hornady Lock-N-Load AP press. Here’ I’ll show the preferred die setup from the following post:

Hornady Lock-N-Load Bullet Feeder – Die Stations

Thanks,
Gavin

Hornady Lock-N-Load Bullet Feeder – Die Stations

Wednesday, January 5th, 2011

One important thing to consider when contemplating a bullet feed system is – “How am I going to setup my dies and powder measure, and do I really have room and enough stations to make this thing work?”. Well, those are good questions, and this post will discuss a few different die configurations on the Hornady Lock-N-Load AP when using the Hornady Lock-N-Load Bullet Feeder.

Five stations may sound like a lot when you first get your press, but as you setup dies, change calibers, add powder check stations and so on – you’ll realize that in some cases more stations would actually be better! So, there are compromises to make.

Ideally, if we dream for a moment, and consider all of the possibilities for progressive loading of rifle and pistol calibers, one could arrive at something like the following for die stations and operations on a progressive reloading press:

Ideal dedicated station die placement:

Station 1: Size/Deprime
Station 2: Expander
Station 3: Powder Charge
Station 4: Powder Check
Station 5: Bullet Feed
Station 6: Bullet Seat
Station 7: Bullet Crimp

Yes, 7 stations would be nice, but most progressive presses have only 4 or 5 stations (The Hornady Lock-N-Load AP has 5), and most people would not be able to rationalize a press with more than 5 stations from a cost standpoint (think of the caliber conversion parts!). In reality, 5 station presses work quite well, and are cost effective. Just spend some time on a press with less than 5 stations, and you’ll know what I’m talking about…

So, having said all that- what would the typical die setups look like for a complete Lock-N-Load AP press with case feeder and bullet feeder? Here are the top three die setups that I’ve come up with and their corresponding tradeoffs.

Option 1: Powder Check Enabled (Recommended)


Lock-N-Load AP Die Stations - With Powder Cop - Image Copyright 2011 Ultimate Reloader


The reason I recommend this die placement is that when you have both a case feed system and bullet feed system in place, you’ll inevitably start loading much more quickly. When you’re moving faster, you tend to spend less time performing tasks such as inspecting and validating the powder charge visually. This means more of a chance of either a squib (empty) load, or a double charge. You could also use other powder check systems such as the RCBS Lock-Out Die in this station just as easily.

Benefit: Safety

Cost: No separate seat/crimp capability (combined in station 5)

Option 2: Separate Seat/Crimp


Lock-N-Load AP Die Stations - With Separate Seat/Crimp - Image Copyright 2011 Ultimate Reloader


Here we see what it looks like to have separate seat and crimp stations when using the Hornady Lock-N-Load Bullet Feeder. This is a popular setup, but is not as safe as when using a powder check die.

Benefit: Seating Precision, No lead shaving, Isolated die setups for seat and crimp

Cost: No powder check (not as safe – must be vigilant about visual powder level inspection!)

Option 3: Separate Expander and Powder Charge


Lock-N-Load AP Die Stations - With Separate Seat/Crimp - Image Copyright 2011 Ultimate Reloader

Finally, we see the setup when using separate expander and powder charge stations. This negates the need for using PTX expanders (and buying the powder die bodies if you want quick changeovers) but like the separate seat/crimp setup does not allow the user of a powder check die.


Benefit: Simplified Powder measure Setup

Cost: No powder check (not as safe – must be vigilant about visual powder level inspection!)

While I’m sure folks will come up with other options, these are the primary setups that I’ve experimented with, and I feel they represent the “mainstream” options that one would be likely to use. For me, I’ll stick with the powder check enabled option because of the safety factor. The new PTX expander bracket and enhanced design of the PTX expander profile (launched with bullet feed dies) makes for both easy setups and consistent/reliable case mouth expansion. When you have reliable case mouth expansion, you have more consistent automated bullet feed action.

Now, we’ve covered most of the basics for the Hornady Lock-N-Load bullet feed system. Next, let’s see this system in action! Sounds like it’s time for some HD videos :)

Do you have other die setups that you’ve employed with this system? Please share by commenting on this post!

Thanks,
Gavin