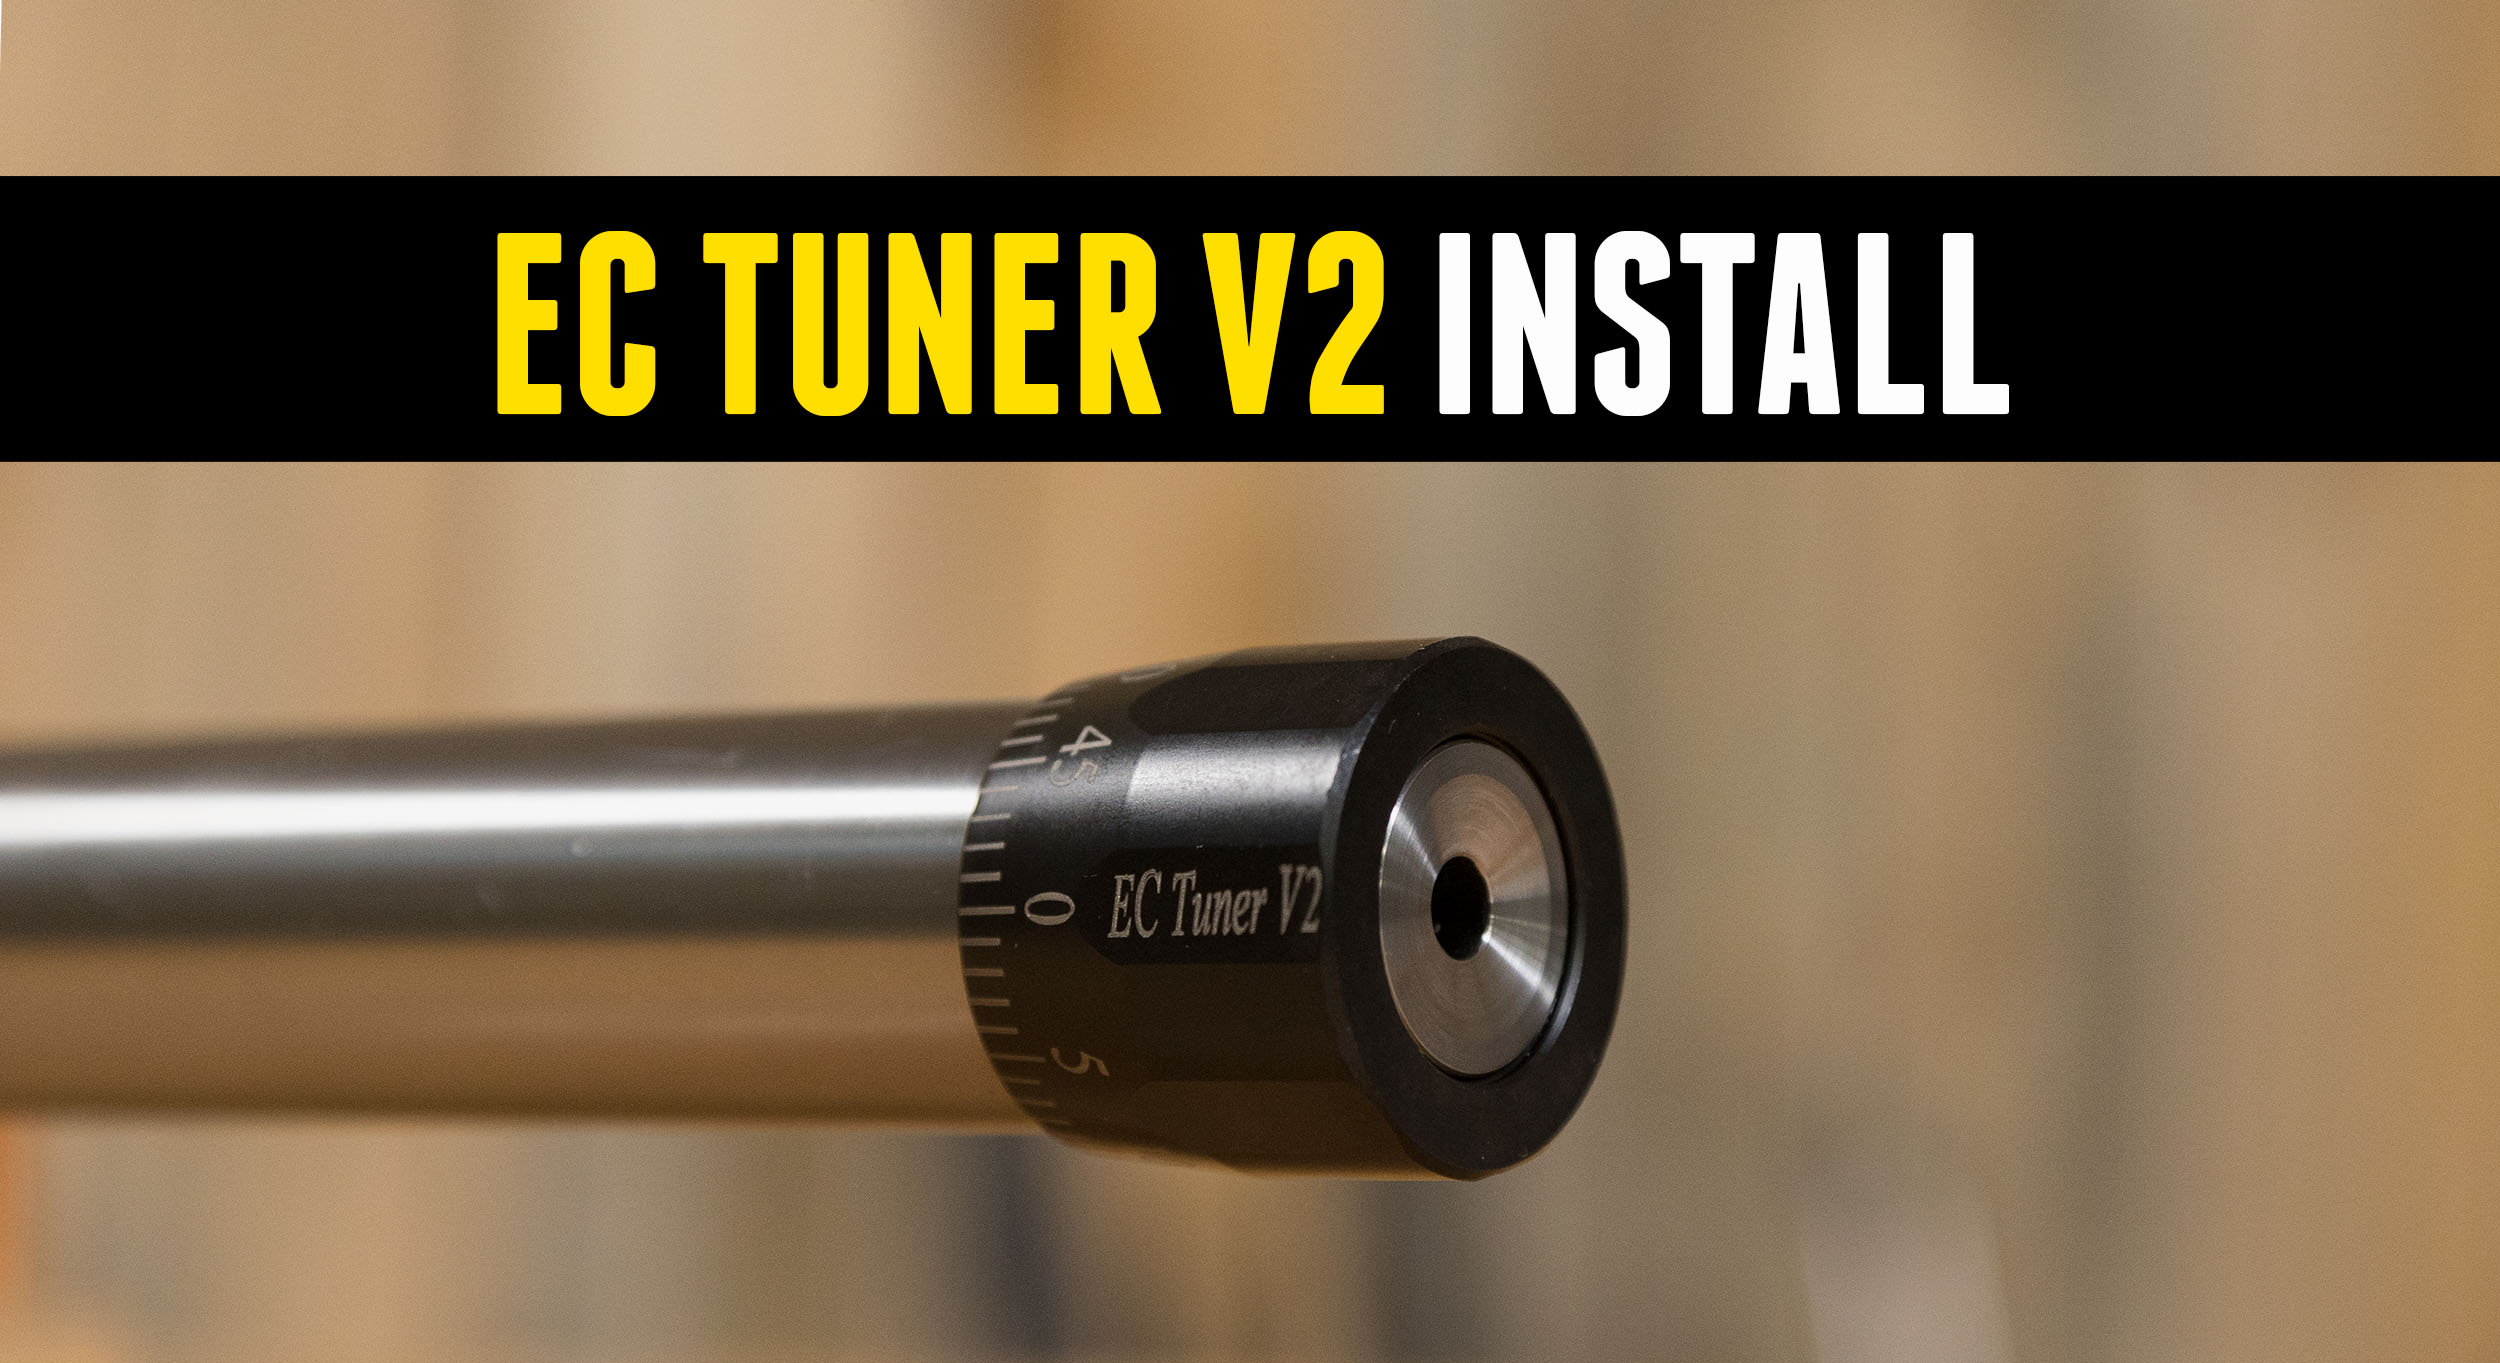
I recently kicked off my 7 PRCW build. Today, I’m going through all the steps to machine and install an EC Tuner V2!
*Note: For the O-Ring to work properly you should not go below the 0.935″ on the EC Tuner V2 tenon print. It is suggested that you cut a separate thread narrow relief on the right-hand side of the threads (slightly smaller than minor diameter) if needed instead.
Disclaimer
Ultimate Reloader LLC / Making with Metal Disclaimer: (by reading this article and/or watching video content you accept these terms). The content on this website (including videos, articles, ammunition reloading data, technical articles, gunsmithing and other information) is for demonstration purposes only. Do not attempt any of the processes or procedures shown or described on this website. All gunsmithing procedures should be carried out by a qualified and licensed gunsmith at their own risk. Do not attempt to repair or modify any firearms based on information on this website. Ultimate Reloader, LLC and Making With Metal can not be held liable for property or personal damage due to viewers/readers of this website performing activities, procedures, techniques, or practices described in whole or part on this website. By accepting these terms, you agree that you alone are solely responsible for your own safety and property as it pertains to activities, procedures, techniques, or practices described in whole or part on this website.
About the EC Tuner V2
This is not my first time installing an EC Tuner. I used an EC Tuner V1 on my 6.5x47mm Eddie Van Halen tribute gun. Since that time, Erik Cortina has made some improvements – enter the V2! The V1 uses set screws whereas the V2 uses a waffle compression washer to retain the settings.
From Cortina Precision:
Over a decade ago, I introduced the original EC Tuner. The EC Tuner provided an easy and efficient way to adjust your tuner because it was a tool less design. The original EC Tuner uses tension screws to create enough drag that the tuner will stay put after adjusting, but still allows the user to move it if needed. The original EC Tuner was designed to allow user to find the node in less than one revolution.
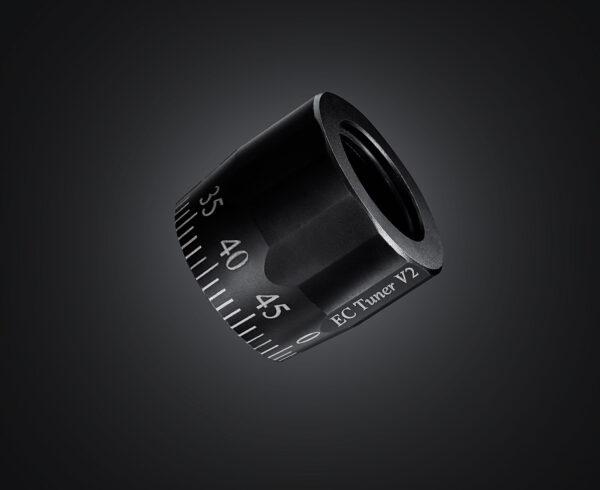
The EC Tuner V2 has some great improvements over the original EC Tuner.
-
- The EC Tuner V2 is lighter, which allows finer adjustments.
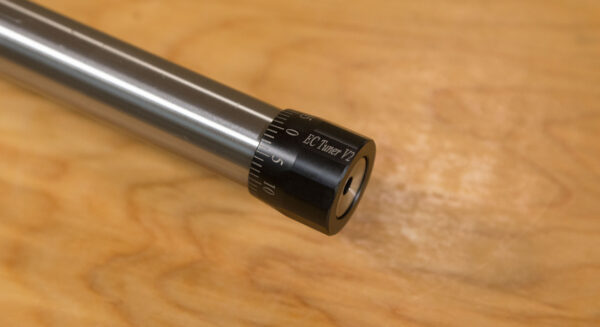
- The EC Tuner V2 larger, which makes the numbers easier to see.
- The EC Tuner V2 has flats on the outside diameter to provide grip to facilitate turning the tuner.
- The EC Tuner V2 has an O-Ring on the front to keep solvents to get between tuner and barrel when cleaning the barrel.
- The EC Tuner V2 uses larger 1″-20 TPI threads, so less material will be removed from your barrel.
- The EC Tuner V2 is shorter.
- The EC Tuner V2 eliminates the tension screws and uses a spring to maintain pressure on tuner at all times. The spring allows perfect repeatability by eliminating backlash on the threads. This ensures the tuner is always “pre-loaded” which drastically improves repeatability.
Weight: 4 oz.
OD: 1.500″
Length: 1.300″
EC Tuner V2 Installation Instructions
Build Recap
About the WOOX Titano
Brian from Build Hunt Xplore told me to check out WOOX at the 2023 SHOT Show. I was blown away by their stocks.
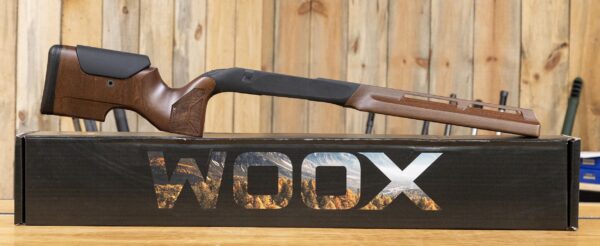
For this build, I have a WOOX Titano. It’s made with stunning walnut— my favorite wood — and specifically designed for benchrest and F-Class competition.
About the Build
The WOOX Titano is cut for a REM 700 action. I have a custom short action BAT VR for this project—their varmint repeater but with no bottom cut. This makes the action more rigid. Also, I will be single-loading, so it doesn’t matter. The action also has an integral lug and Picatinny rail.
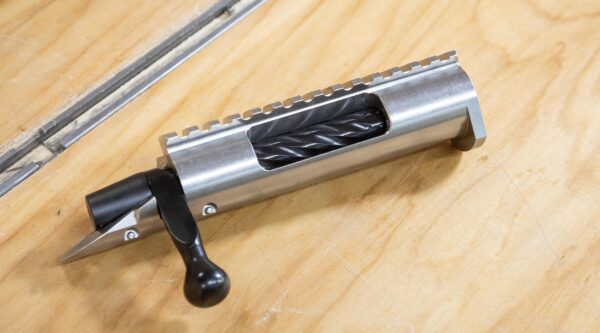
While my Eddie Van Halen tribute rifle was also a benchrest rifle, it was a much different build. I had to do custom inletting for a BAT Model M. The WOOX Titano is ready to drop a REM 700 action in.
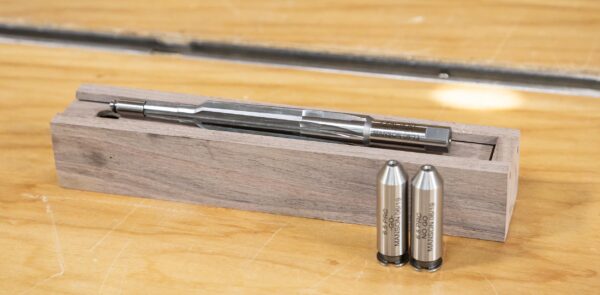
I have a Manson Precision Finish Reamer cut to Erik Cortina’s specifications and go and no-go gauges from my 6.5 PRC build. These will work for 7 PRCW as it is essentially a 6.5 PRC necked up to 7mm.
Here’s the video for Part 1 as a recap:
The Lathe
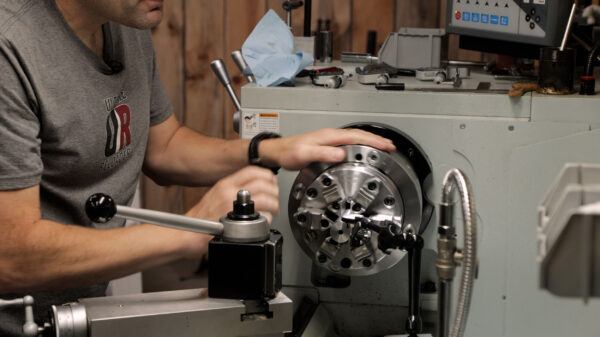
For this precision job, I turned to my Precision Matthews TL-1660 lathe, the larger of my two lathes.

This lathe is a beast! Here are some of the specs for the Precision Matthews TL-1660:
- Ultra Precision, made in Taiwan
- 16″ swing, 60″ between centers capacity
- D1-6 high precision spindle
- English and Metric threading without gear changes
- One shot lube on the carriage
- 3-Phase 5hp motor
*Note: for most gunsmiths, the TL-1640 would be a great choice. You likely won’t need 60″ between centers like the TL-1660 offers. The TL-1640 can save both space, and significant money on freight! I opted for the larger lathe because I wanted to have a lathe on hand with extended capacity between centers.
EC Tuner Install
Erik Cortina does a great job of providing the needed resources for gunsmiths to install his tuner on his website.
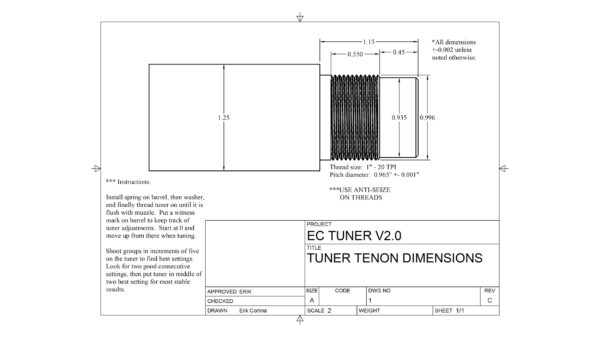
The tenon print provides all the key dimensions as well as the suggested pitch diameter – 0.965”. I’m doing this work on a manual machine and I typically run thread reliefs on the left-hand side of the threads, so I asked Erik if cutting down the diameter next to the shoulder to 0.935” would be an issue. He assured me it wouldn’t be.
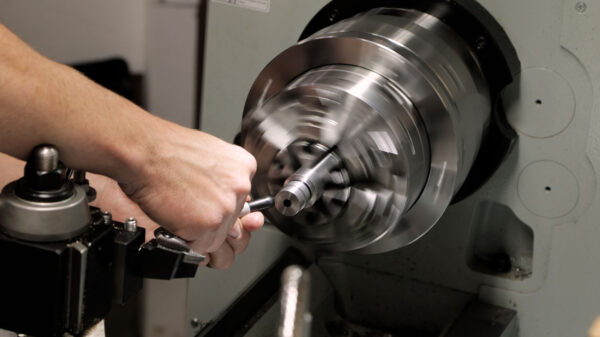
I marked the barrel with the approximate amount to be cut and secured it in my Precision Matthews TL-1660. Currently, the barrel has temporary 5/8×24 threading I cut for the pressure flush system (see part 1).

I parted this threading off and used a boring bar to remove 0.005” in length to make a clean facing pass. I blew some compressed air through to clean it out and dialed the outside diameter.
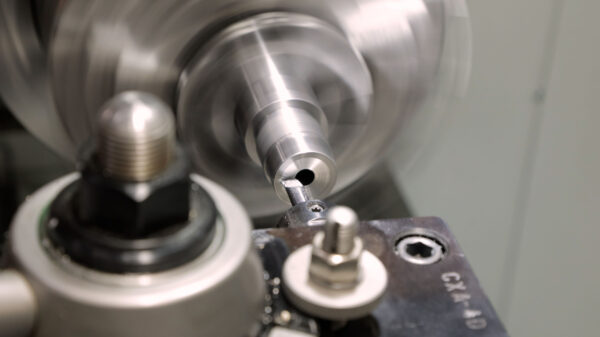
Next came preparing the crown and setting up the VNMG insert Bruce Thom got me hooked on for turning. Using this cutting tool, I can face (if needed), turn OD to spec for threading, cut thread reliefs, and face the shoulder all without tool changes! This has sped up my work considerably, and the surface finish I get is GREAT.
*Note: For the O-Ring to work properly you should not go below the 0.935″ on the EC Tuner V2 tenon print. It is suggested that you cut a separate thread narrow relief on the right-hand side of the threads (slightly smaller than minor diameter) if needed instead.
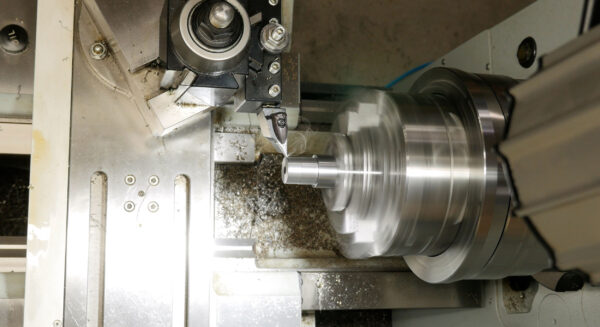
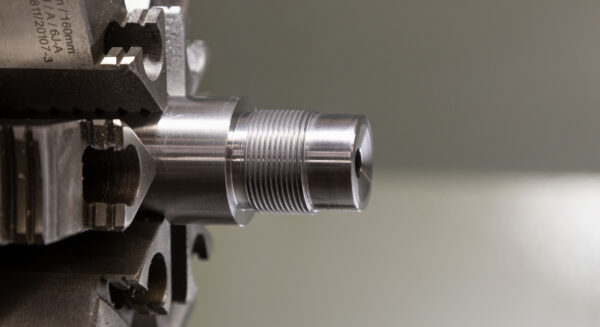
I then turned the tenon down to the diameter for the threads, cut thread relief on either side, and did some chamfering. At this point, the basic diameters are cut. I marked the area to be threaded with a Sharpie, began conducting threading passes and verified each with a pitch gauge.
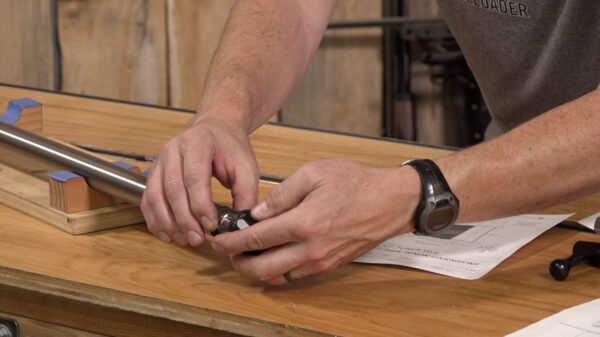
When the threads were cut to the specifications, I test threaded on the EC Tuner V2, then removed it to clean up the threads with some sandpaper and mineral spirits.
As a final step, I cut the 11 degree target crown with some draw passes, changing the compound angle to 29 degrees.
Conclusion
Erik’s drawing lists minor diameter going down to 0.9269” for 1:20.
I adapted this, but I will see if I can get Erik to relax this tenon number ( 0.920”, 0.9915”) so you can run a threading tool over it. As a final touch, I added TW25b grease to the threads before installing the tuner.
When I engrave the barrel details, I’ll also add a hash mark to indicate zero for the tuner. Installing a tuner is much like threading a muzzle, just with some different dimensions. If you are interested in learning machining, consider attending the Colorado School of Trades!
Get the Gear
Manson Precision Finish Reamer
Don’t miss out on Ultimate Reloader updates, make sure you’re subscribed!
Thanks,
Gavin Gear


