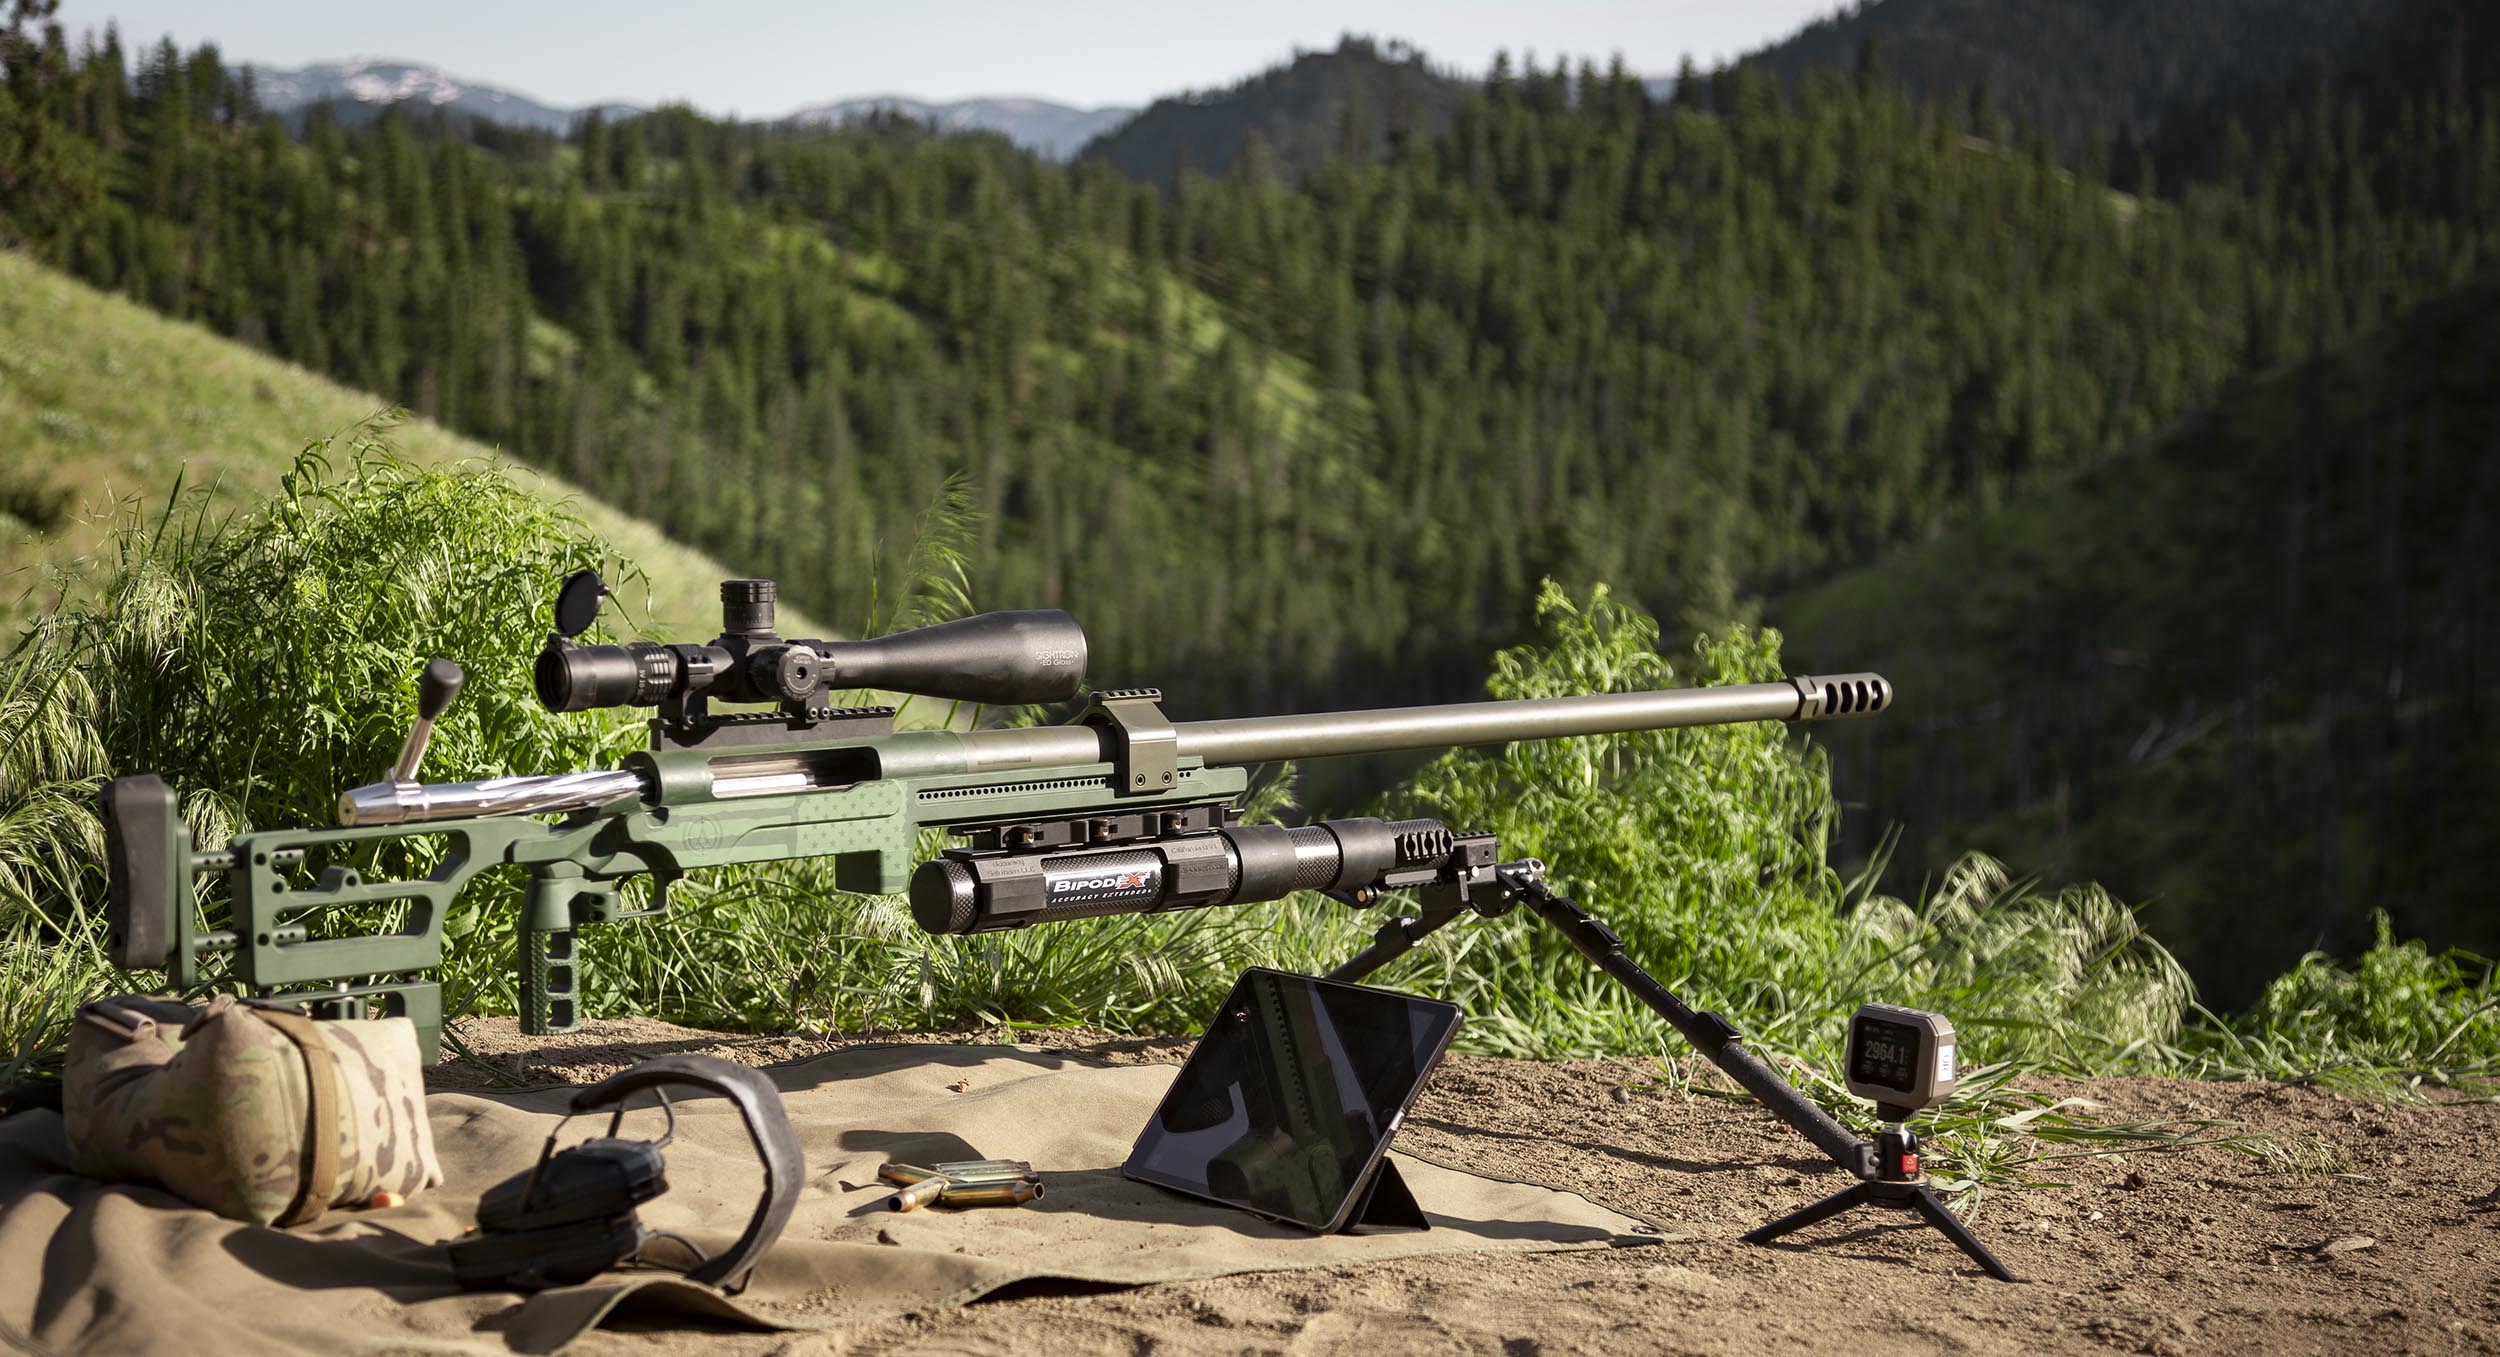
My Incredible Hulk .50 BMG rifle set me on the ELR path. I knew right away this was only an entry point and that I’d want a more serious ELR rifle – enter .375 CheyTac. This build is designed for ELR competition, something I’m looking forward to learning under the mentorship of King of 1 Mile and King of 2 Mile Paul Phillips! (His friend and fellow King of 1 Mile, Clay Rhoden, will also be assisting.)
Disclaimer
Ultimate Reloader LLC / Making with Metal Disclaimer: (by reading this article and/or watching video content you accept these terms). The content on this website (including videos, articles, ammunition reloading data, technical articles, gunsmithing and other information) is for demonstration purposes only. Do not attempt any of the processes or procedures shown or described on this website. All gunsmithing procedures should be carried out by a qualified and licensed gunsmith at their own risk. Do not attempt to repair or modify any firearms based on information on this website. Ultimate Reloader, LLC and Making With Metal can not be held liable for property or personal damage due to viewers/readers of this website performing activities, procedures, techniques, or practices described in whole or part on this website. By accepting these terms, you agree that you alone are solely responsible for your own safety and property as it pertains to activities, procedures, techniques, or practices described in whole or part on this website.
.50 BMG Build Recap
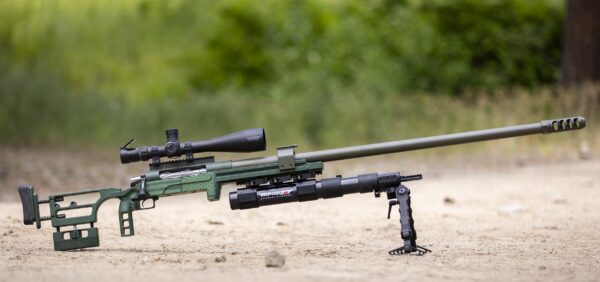
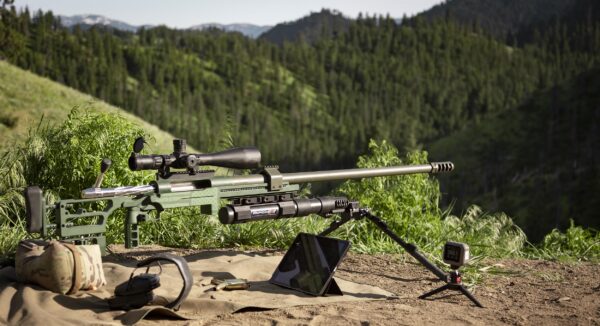
At the center of this build is BAT Machine’s EX action set in an Accurate Rifle Systems ELR chassis with a BipodeXt.
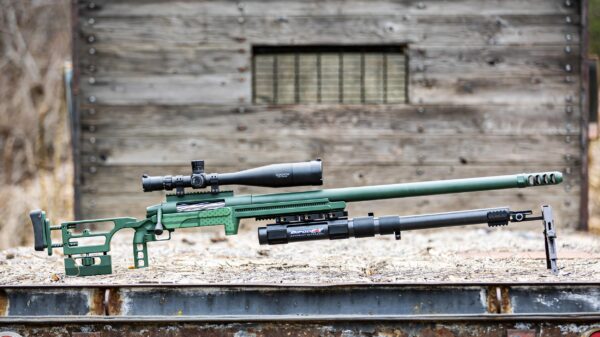
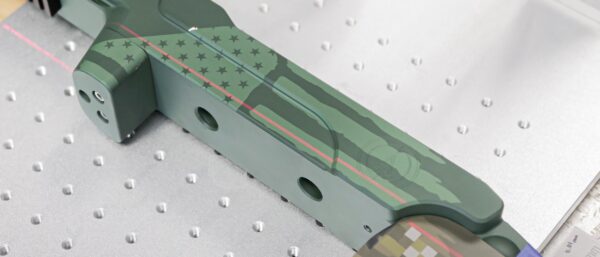
This massive action measures 12 inches in length and weighs approximately eight pounds. The telescopic bipod extends to over 40 inches! I finished off the build by Cerakoting the chassis and adding laser imaging for a patriotic aesthetic.
Right off the bat I had sub-MOA results (approximately 0.850”) at 100 yards with belt-fed machine ammunition (removed from the belt). I took this one step further, reloading precision .50 BMG using Triebel Dies and still observed sub-MOA results.
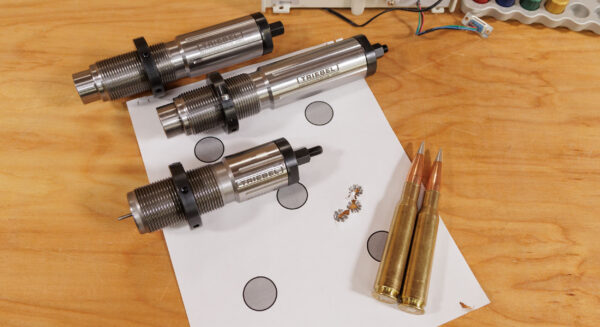
While this may not seem impressive for a cartridge designed for extreme distance, it is important to realize that while .50 BMG travels far, it isn’t known for being the most accurate. Even at 100 yards, some .50 BMG rifles have plate-sized groups.
.375 CheyTac Build Overview
This time around, I’m using the same action, chassis, and overall configuration of my .50 BMG build, just with a Bartlein Barrel blank made to Paul Phillips’ exact specifications and a different bolt assembly.

I also got another American Precision Arms Gen 2 XXX Bastard brake threaded 1-14. (I made an adapter that goes from 1” x 14 to ⅝” x 24 to accommodate my pressure flush system on my Precision Matthews TL-1660.)
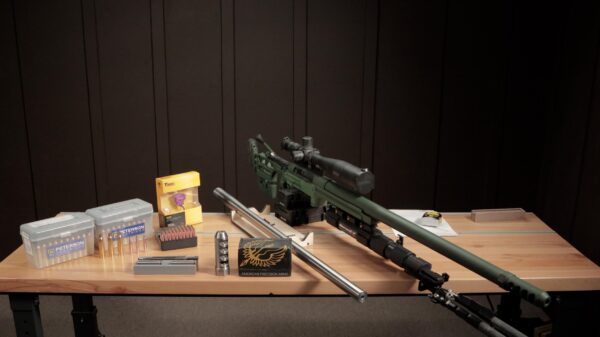
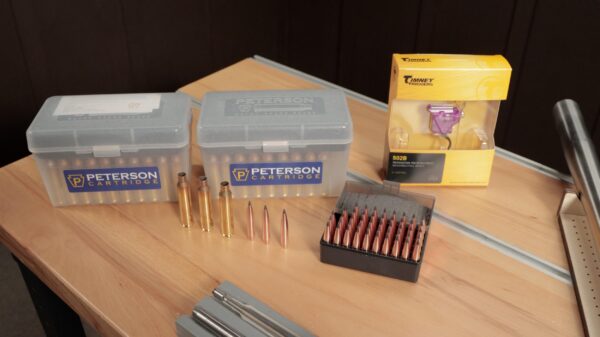
I also added a Timney Remington 700 Benchrest trigger adjustable from three to six ounces.
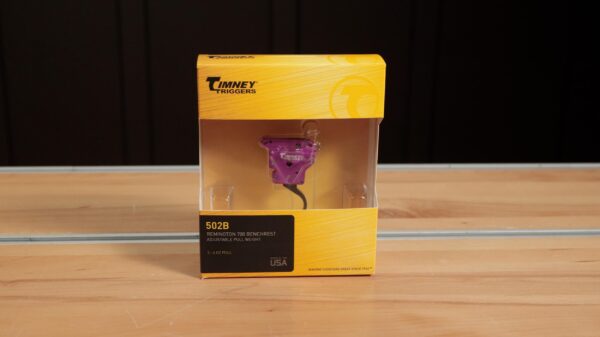
With such a light trigger, dry-firing is important! Moving forward, I will be switching my current F-Class optic for one better suited for ELR. Shooting out to two miles requires extreme cant, so I’ll probably involve a prism. I also anticipate swapping out my current bipod.
About the Global Precision Group
Attempting a project like this without mentorship would be incredibly daunting and difficult.

I’m honored to be working with Paul Phillips and his shooting partner Clay Rhoden on this journey. Paul started Global Precision Group to promote ELR shooting and training.
From Global Precision Group:

Global Precision Group is a leading training, consulting, research, and development organization dedicated to Extreme Long Range (ELR) shooting. King of 2 Miles Champion Paul Phillips established GPG with a vision to revolutionize the development of rifles and ballistics and to push the boundaries of ELR shooting. Our goal is to elevate the level of precision in both competitive ELR matches and practical military, law enforcement, and hunting applications.
As an industry leader, GPG is committed to advancing the growth of ELR shooting by providing top-notch training and education and actively promoting ELR events and competitions. Our expertise and passion for ELR have made us a trusted partner for those looking to excel in this exciting and challenging discipline.
.375 CheyTac Barrel Work
Not wanting to mess with success, I used a Manson Precision Reamer cut to Phillips’ exact specifications as well as Manson go and no go gauges.

I did all my chambering on my Precision Matthews TL-1660, my preferred lathe for large barrel work. (My finished barrel measured 38”!)
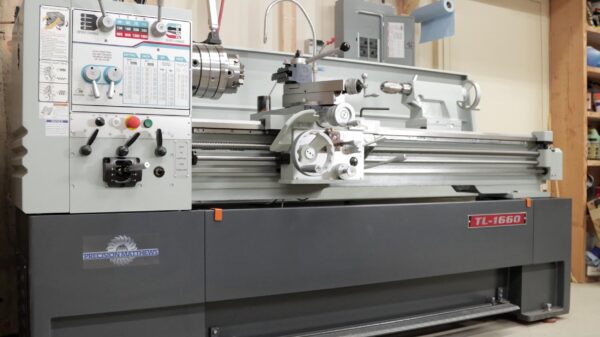
I cut the muzzle end first so I could use my pressure flush system adapter, threading it 1” x 14, just like my .50 BMG barrel, to accommodate the XXX Bastard brake.
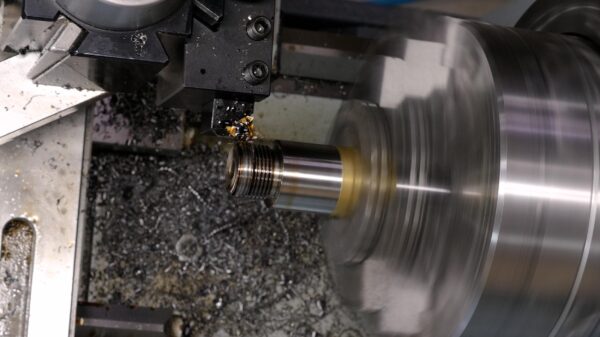
After I finished the muzzle threading, I installed my 5 ⁄ 8 ” x 24 adapter for pressure flush and chucked up the barrel for breech end work. 
First, I faced the barrel and pre-drilled before boring the pre-drilled area true.
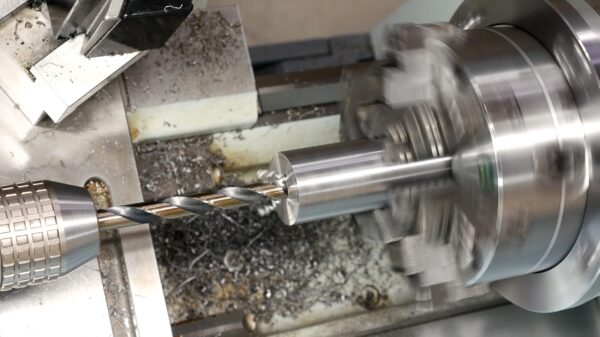
From here, I turned the tenon, cut the thread relief and checked it with the action. (I also had the .50 BMG barrel handy to compare with a thread micrometer.)

After all of these checks, I installed the pressure flush system and reamed the barrel to the appropriate depth.
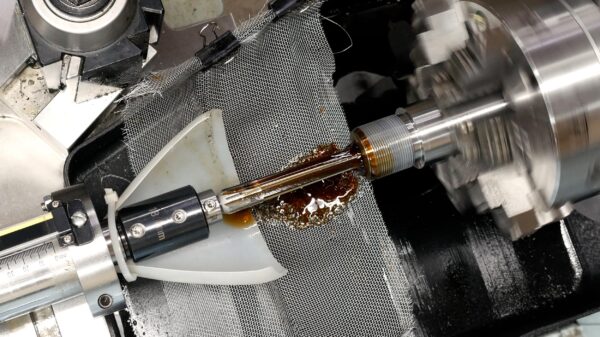
Lately I’ve started lightly torquing the receiver on the lathe and doing a headspace check before removing the barrel from the lathe. This makes it easy to do minor adjustments.
Bedding
One thing I really wanted to do which I hadn’t done for the .50 BMG was to bed the barrel to the Accurate Rifle Systems ELR chassis.
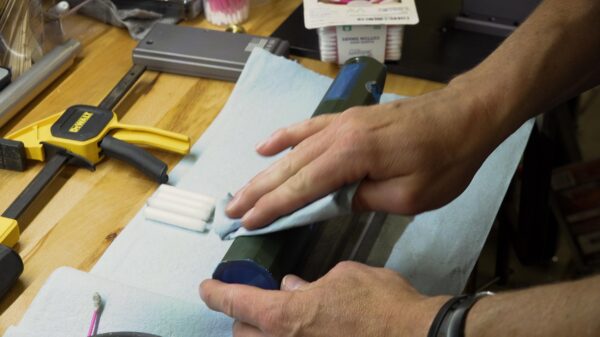
I started by rubbing the action and screws with Carnauba wax and installing posts I threaded ⅜” x 24 in place of the action screws.
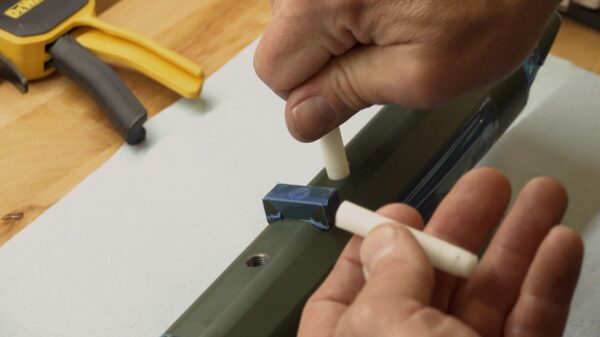
I then clamped the chassis into the Arrow Products Rock Vise.

Next I measured out and mixed the appropriate ratio of Devcon plastic steel putty, and added a light coat to the chassis.
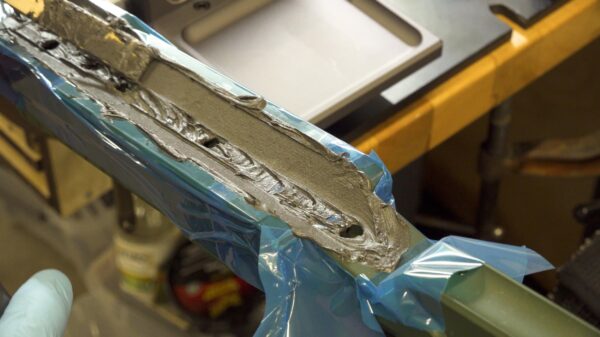
Excess oozed out the side as I clamped the action in place, indicating everything was in good order.

I flipped the action in the vise, removed the posts, and returned the action screws. After re-inserting the action screws, I backed off the torque to zero to ensure I wouldn’t have ANY stress in the action.
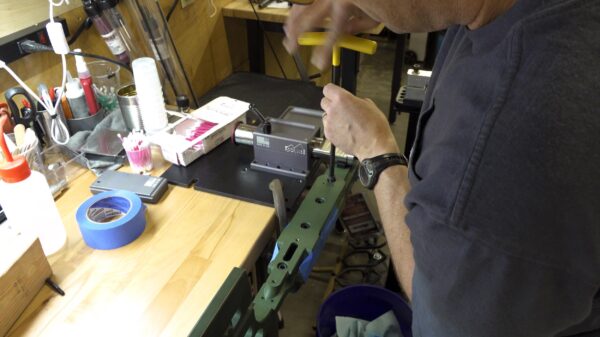
Finally, I touched up the area, did some unmasking, and let the bedding set up overnight.
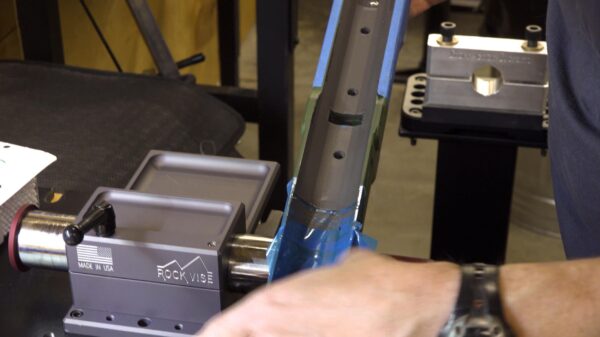
Cerakote
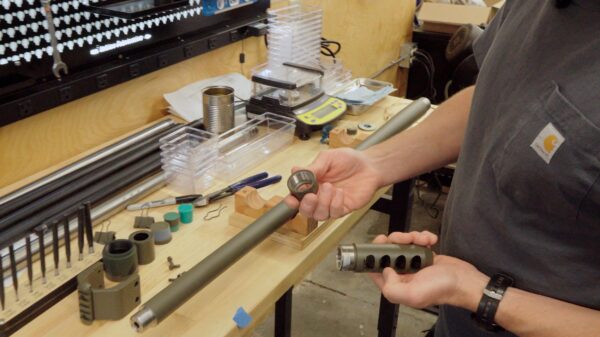
The chassis and action were already a custom “Midnight Green” Cerakote. I decided to coat the .375 CheyTac and brake in OD Green for quick and easy delineation. I was able to use the same caps I had made for the .50 BMG barrel and masked it all off before blasting.
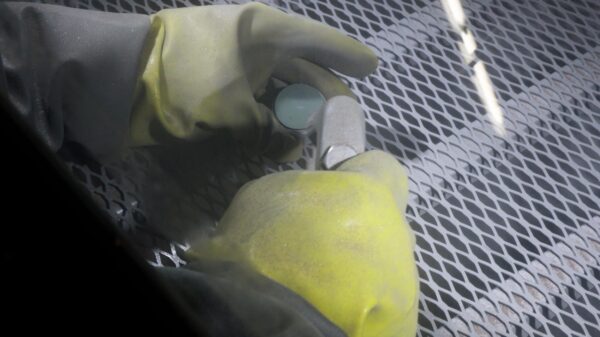
I don’t personally Cerakote the precision threads so I didn’t blast them, but I do always make it a point to blast the barrel separately from the action.
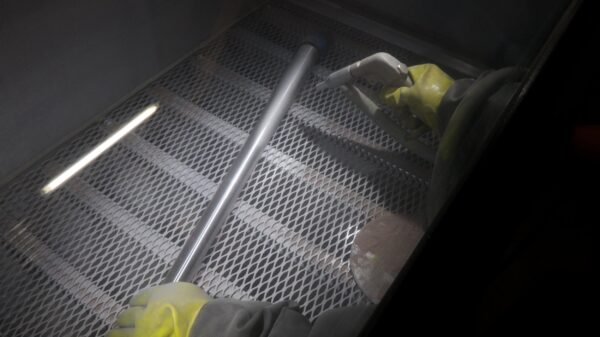
I also paid extra attention to blasting the brake as the Cerakote needs extra good adhesion there to combat high pressures.
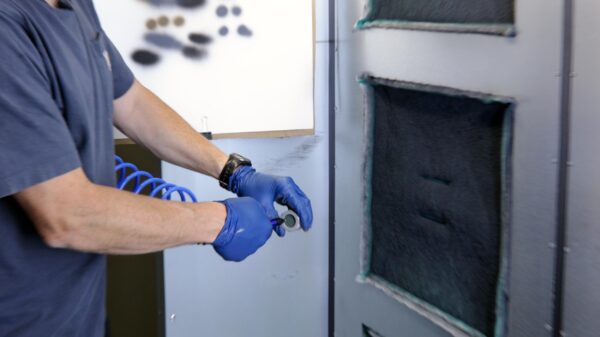
After blowing off the pieces, I racked them on my DIY rolling racking cart, measured and mixed up the OD Green Cerakote using the A&D EJ-3000, and hung it in the Built American DSBE-1500 spray booth. (Use code UR5 to save 5% on everything from Built American.)

I did three coats, rotating between the barrel, brake, and bridge for my future prism.
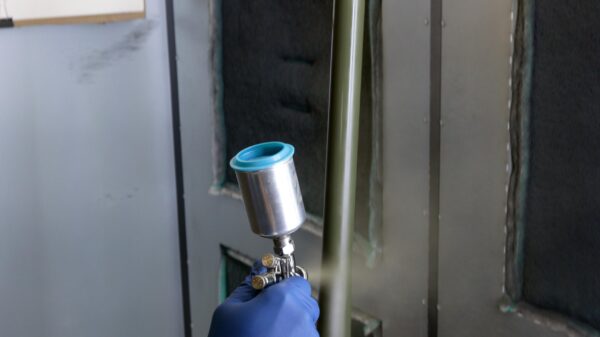
While I was spraying one, I flash cured the other in the Built American BAE-200.
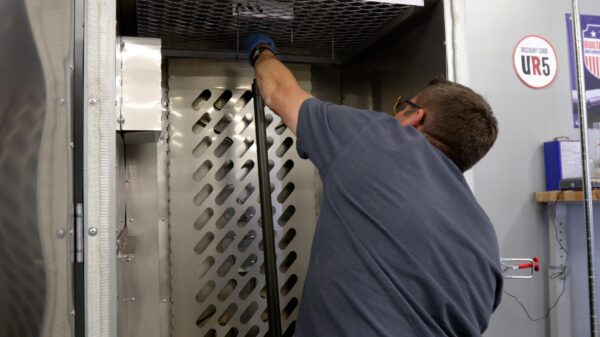
I recently added some shop strip lights to the spray booth which was extremely helpful. When all three coats were complete, I let them bake for two hours at 250 degrees Fahrenheit and left them overnight to cool.
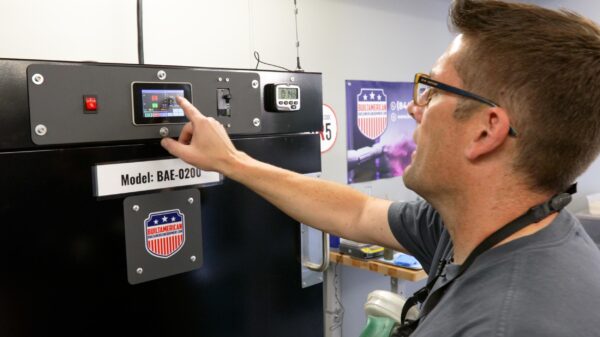
I was very pleased with the results.
Final Assembly
Perhaps the most exciting part of a build besides shooting is seeing everything come together for the first time. I used a Brownells barrel vise to clamp the barrel to the receiver.

Without the bushings, it is the perfect size for this large barrel shank. The bolt closed on the go gauge and didn’t on the no-go gauge, indicating all were in good order.
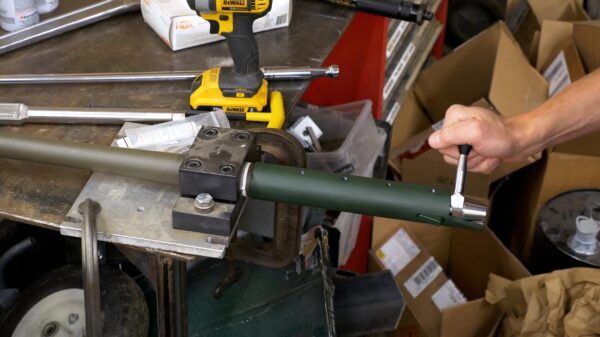
I also installed a 30 MOA Picatinny rail and ensured the brake ports were perpendicular to the vertical plane.
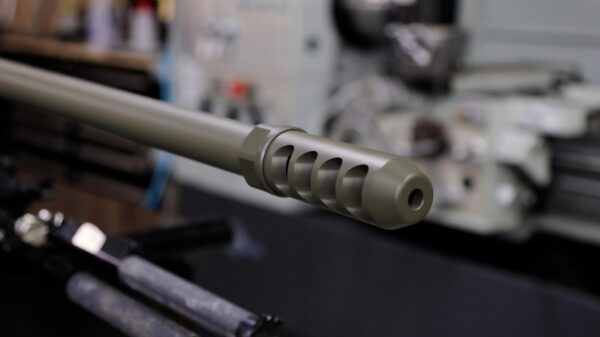
(I’ll eventually upgrade to a 60 MOA rail.) I used my Arrow Products Rock Vise to pop the barreled action into the chassis.

The bedding job made it TIGHT. The Picatinny rail allowed me to flip the rifle over in the Rock Vise for easier action screw access.

I added the barricade stop, grip, and trigger guard from this position. Adding the optic and forward bridge finished it off.
Shooting
I started the break-in process at 100 yards, using the Longshot LR-3 camera to monitor my progress.
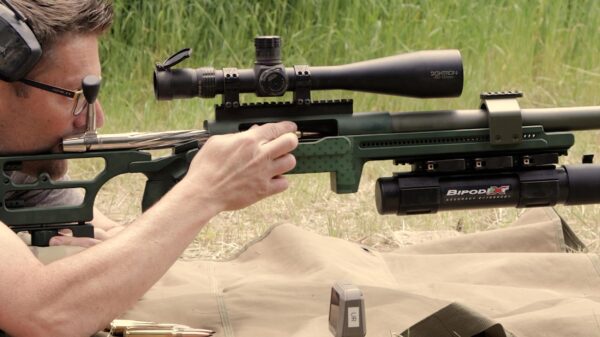
The results were ok until I raised the bipod and buttstock and used ammunition I had loaded 0.020” longer overall length.

Though a small sample size, my first three shot group with these changes measured under 0.5” at 100 yards!

I loaded 400 grain LAZER bullets from Cutting Edge in Peterson brass on a Forster Co-Ax XL press per recommendations from Paul Phillips and ELR shooter 9_dolls.

Conclusion
I am incredibly grateful for Paul Phillips’ guidance during this process. I still have lots of refinement to do in my shooting techniques and load development, but I already have sub-half-MOA results out of this rifle!
If you are interested in building your own precision rifles, be sure to check out the Colorado School of Trades.

Looking for barrel blanks and parts? We’ve had great luck with OTM Tactical—use code UR5 to save 5%!
Get the Gear
OTM Tactical (UR5 to save 5%!)
Accurate Rifle Systems ELR Chassis
Triebel Dies at Creedmoor Sports
Timney 502B Remington 700 Benchrest Trigger at Midsouth Shooters Supply
Built American DSBE-1500 Spray Booth (UR5 to save 5%!)
Built American BAE-0100 Desktop Capacity Cerakote Convection Oven (UR5 to save 5%!)
Built American BAE-0200 Standup Capacity Cerakote Convection Oven (UR5 to save 5%!)
Arrow Products Rock Vise Precision Firearm Vise
Cutting Edge Bullets: LZR .375 400 Max Gen2
Garmin Xero C1 Pro at Creedmoor Sports and Midsouth Shooters Supply
If you’re interested in taking the Cerakote Certified Applicator training, I would suggest enrolling ASAP as there’s a bit of a waitlist. If you’ve taken the class, consider the advanced course!
Don’t miss out on Ultimate Reloader updates, make sure you’re subscribed!
Thanks,
Gavin Gear
