We’ve been shooting a lot of .308 lately —in fact —we are out! We need to crank out a ton more, so this was a great time to set up a progressive press. I’ve been working with the Frankford Arsenal X-10 lately. Along the way, I’ve come across some notable gear like the Frankford Arsenal Die Locker Lock Rings, and FW Arms Dies. Let’s check it all out!
Disclaimer
Ultimate Reloader LLC / Making with Metal Disclaimer: (by reading this article and/or watching video content you accept these terms). The content on this website (including videos, articles, ammunition reloading data, technical articles, gunsmithing and other information) is for demonstration purposes only. Do not attempt any of the processes or procedures shown or described on this website. All gunsmithing procedures should be carried out by a qualified and licensed gunsmith at their own risk. Do not attempt to repair or modify any firearms based on information on this website. Ultimate Reloader, LLC and Making With Metal can not be held liable for property or personal damage due to viewers/readers of this website performing activities, procedures, techniques, or practices described in whole or part on this website. By accepting these terms, you agree that you alone are solely responsible for your own safety and property as it pertains to activities, procedures, techniques, or practices described in whole or part on this website.
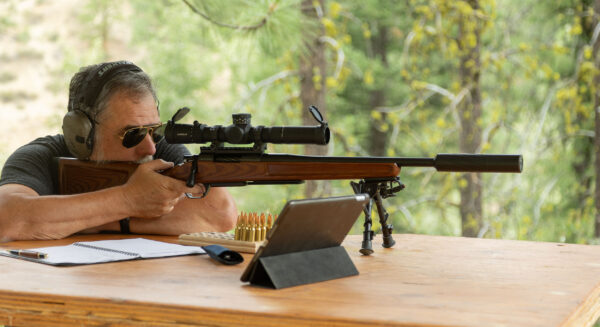
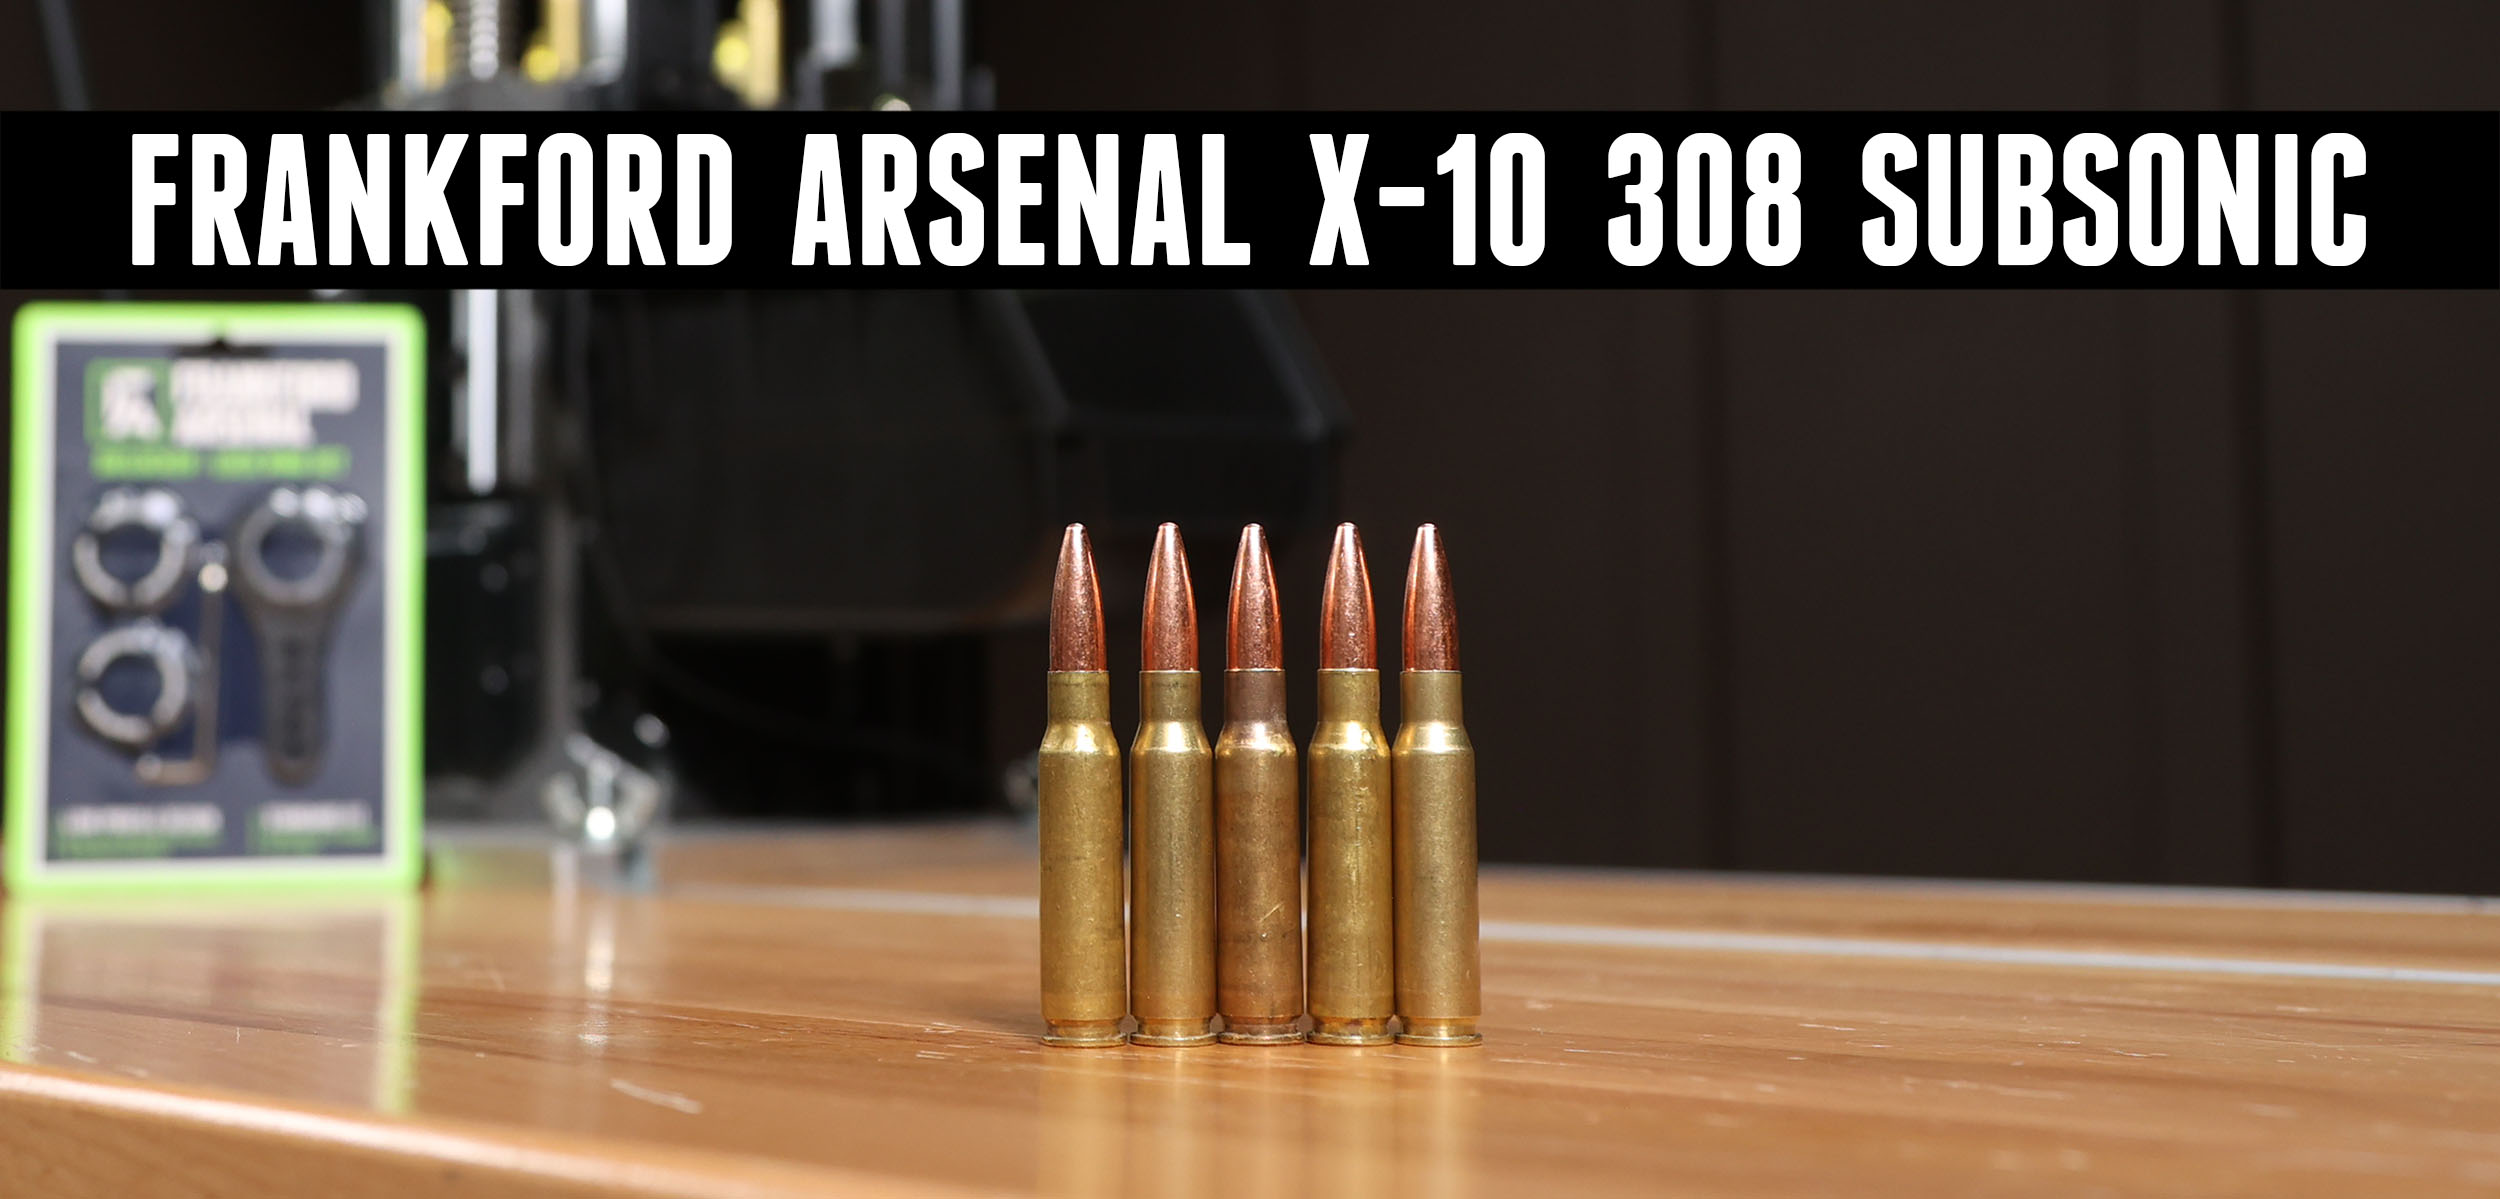
Guy Miner developed a load for Subsonic .308s a while ago. The whole team has tried this load, and has had an incredible time with it.
About the Load
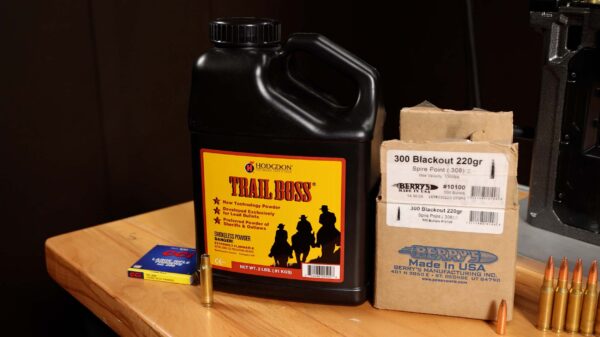
This has been a fun plinking load, especially in our .308 shorty build!
- Brass: Military Pick Up Brass
- Primer: CCI Large Rifle Primer
- Powder: 12gr Trail boss
- Bullets: Berry’s 220gr Bullet
Setup

To get started on this, I decided to set up sizing and trimming separately. I could have opted to set up trimming on the progressive press, but in order to simplify the setup and loading time, I kept it separate. I set up a Dillon FL Sizer die on the Frankford Arsenal F1. After I ran all my brass through the sizing die, I took it over to trim.
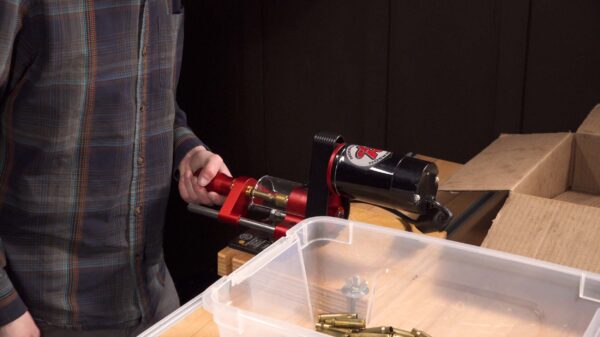
I set up and appropriately adjusted the trim length on the Henderson Precision trimmer. This made quick work of all my case prep.
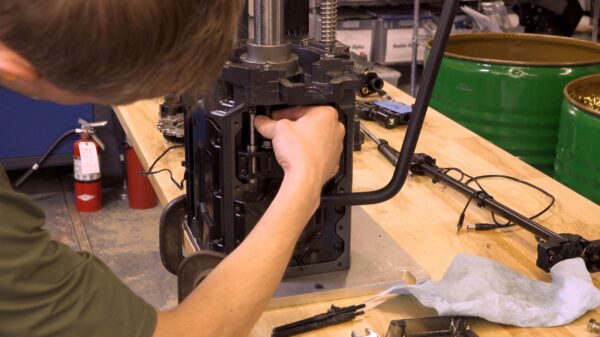
Once my case prep was done, it was time to set up the X-10 for the rest of the loading process. I kept this fairly simple, and there were a couple pieces of gear that helped me out immensely. Before we get into that, here’s what the die stations looked like.
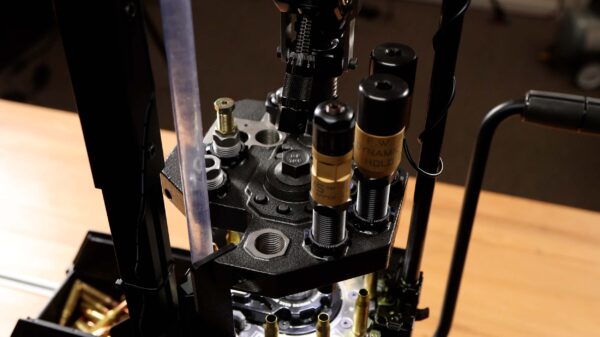
1: Case Feed
2: Empty
3: Decap, FW Arms Decapper (Just in case there is debris etc.)
4: Swaging, FW Arms Dynamic Hold Down (this is military brass, so it’s usually crimped)
5: Priming, FW Arms Dynamic Hold Down (Large rifle)
6: Empty
7: Powder Charge
8: Empty
9: Bullet Seating, Dillon Rifle Seating Die
10: Crimping & Ejection, Dillon Rifle Taper Crimp Die
About Frankford Arsenal Dielocker Lock Rings
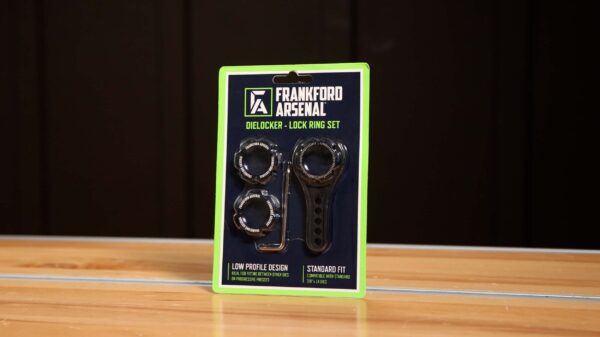
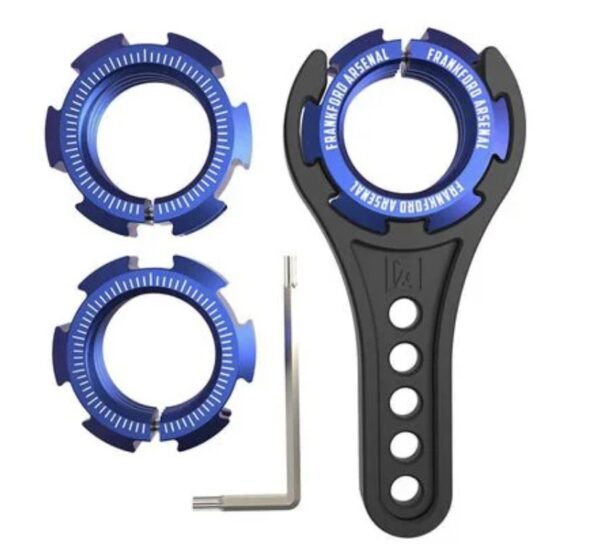
During set up, I stumbled across Frankford Arsenal’s Lock Rings. Normally I would say there is nothing special about a lock ring —but in this case I felt like sharing. Frankford Arsenal has done something pretty cool here.
From Frankford Arsenal:
A must-have addition to your die set, the Frankford Arsenal Dielocker Lock Rings are designed for precision, engineered for convenience, and built to elevate your reloading experience. This innovative lock ring set redefines the way you fine-tune your dies. Crafted from anodized aluminum, these split-ring designed lock rings offer both durability and superior maneuverability. The slim and sleek design of both the lock rings and included wrench fit effortlessly between tight spaces commonly found on progressive and turret presses. Featuring graduation marks at every .001″, these lock rings allow for minute die adjustments with exceptional precision. Whether you’re reloading pistol or rifle cartridges, our lock rings seamlessly integrate into your existing setup. Frankford Arsenal Dielocker Lock Rings are compatible with all standard 7/8″x14 dies.
-
- Anodized Aluminum lock ring construction provides maximum durability and ensure the rings last a lifetime
- The slim lock ring wrench and lock rings are designed to easily make adjustments in tight spaces – a common occurrence on progressive and turret presses
- Reference marks (every .001”) on lock rings allow for finite adjustments of reloading dies ensuring unmatched precision
- Split-ring design provides exceptional locking force while protecting die threads
- Compatible with standard 7/8″-14 dies for use with almost any press and die combination
Frankford Arsenal does a great job outlining what makes these rings special, but there are a few things that stood out to me on the reloading bench.
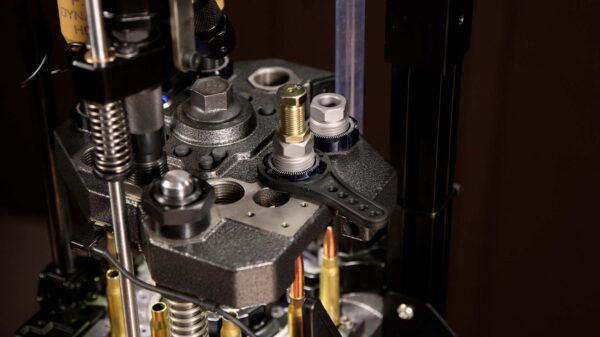
First of all, the lock rings come with an awesome wrench! It snaps right on to the lock ring and easily fits between each die. This task-specific tool is much better than using a crescent wrench or something like that. It can be difficult to work in these tight spaces when your stations are all utilized.
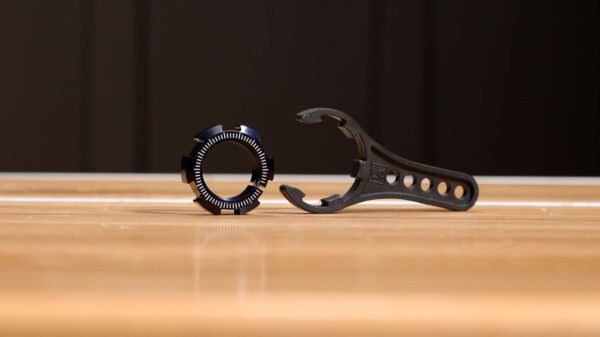
Secondly, indicator marks provide a visual reference for micro adjustments. Even though these are constructed with a cross bolt, I didn’t personally find the need to tighten it. They cinch down pretty well as is.
FW Arms Dies
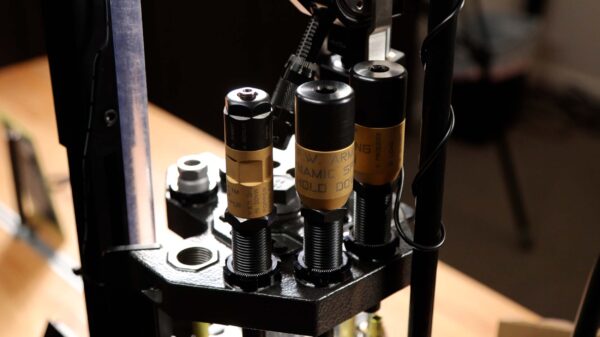
Another couple noteworthy pieces of gear on the press for this setup are the FW Arms Dies. We’ve been using these a lot recently, starting with our mega .223 brass processing project. Even though we had already sized and done all of our decapping on the F1, adding the FW Decap die to the X-10 was cheap insurance! I used it just in case there was any leftover debris in the case. Another favorite of mine is the FW Arms’ dynamic hold down die. This die is extremely useful when working with mixed headstamp brass. I used these as hold downs for swaging and priming.
Loading .308
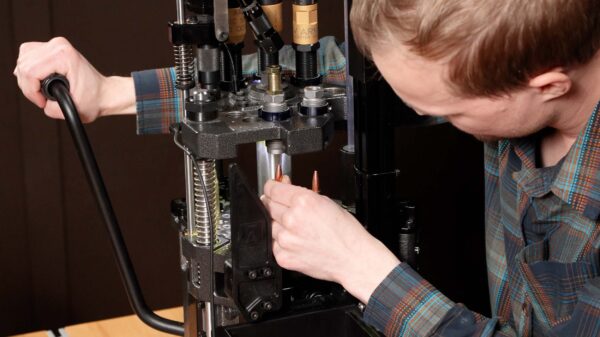
The best part of the process is getting to see your completed work. I was able to load a ton of .308 —I loaded until I ran out of cases and time! What’s next? Time to prep some more brass!
Get the Gear
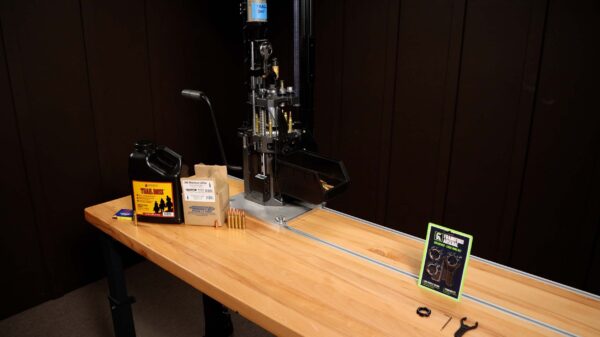
Frankford Arsenal X-10 (Also available from Midsouth Shooters Supply)
Frankford Arsenal Die Locker Lock Rings (Also available from Midsouth Shooters Supply)
Frankford Arsenal F1 Press (Also available from Midsouth Shooters Supply)
Dillon Rifle Bullet Seating Die
Henderson Precision Gen 3 Case Trimmer
Inline Fabrication Ultramounts
Don’t miss out on Ultimate Reloader updates, make sure you’re subscribed!
Thanks,
Kyle Shields
