Consistency is at the center of precision reloading. This doesn’t just mean using the same components but also how you size the brass and seat the bullet. So how do you make sure it’s perfect each time? Watch the videos or read on to see how you can get consistent shoulder bump and seating depth every time with Short Action Customs!
Disclaimer
Ultimate Reloader LLC / Making with Metal Disclaimer: (by reading this article and/or watching video content you accept these terms). The content on this website (including videos, articles, ammunition reloading data, technical articles, gunsmithing and other information) is for demonstration purposes only. Do not attempt any of the processes or procedures shown or described on this website. All gunsmithing procedures should be carried out by a qualified and licensed gunsmith at their own risk. Do not attempt to repair or modify any firearms based on information on this website. Ultimate Reloader, LLC and Making With Metal can not be held liable for property or personal damage due to viewers/readers of this website performing activities, procedures, techniques, or practices described in whole or part on this website. By accepting these terms, you agree that you alone are solely responsible for your own safety and property as it pertains to activities, procedures, techniques, or practices described in whole or part on this website.
About Shoulder Bump
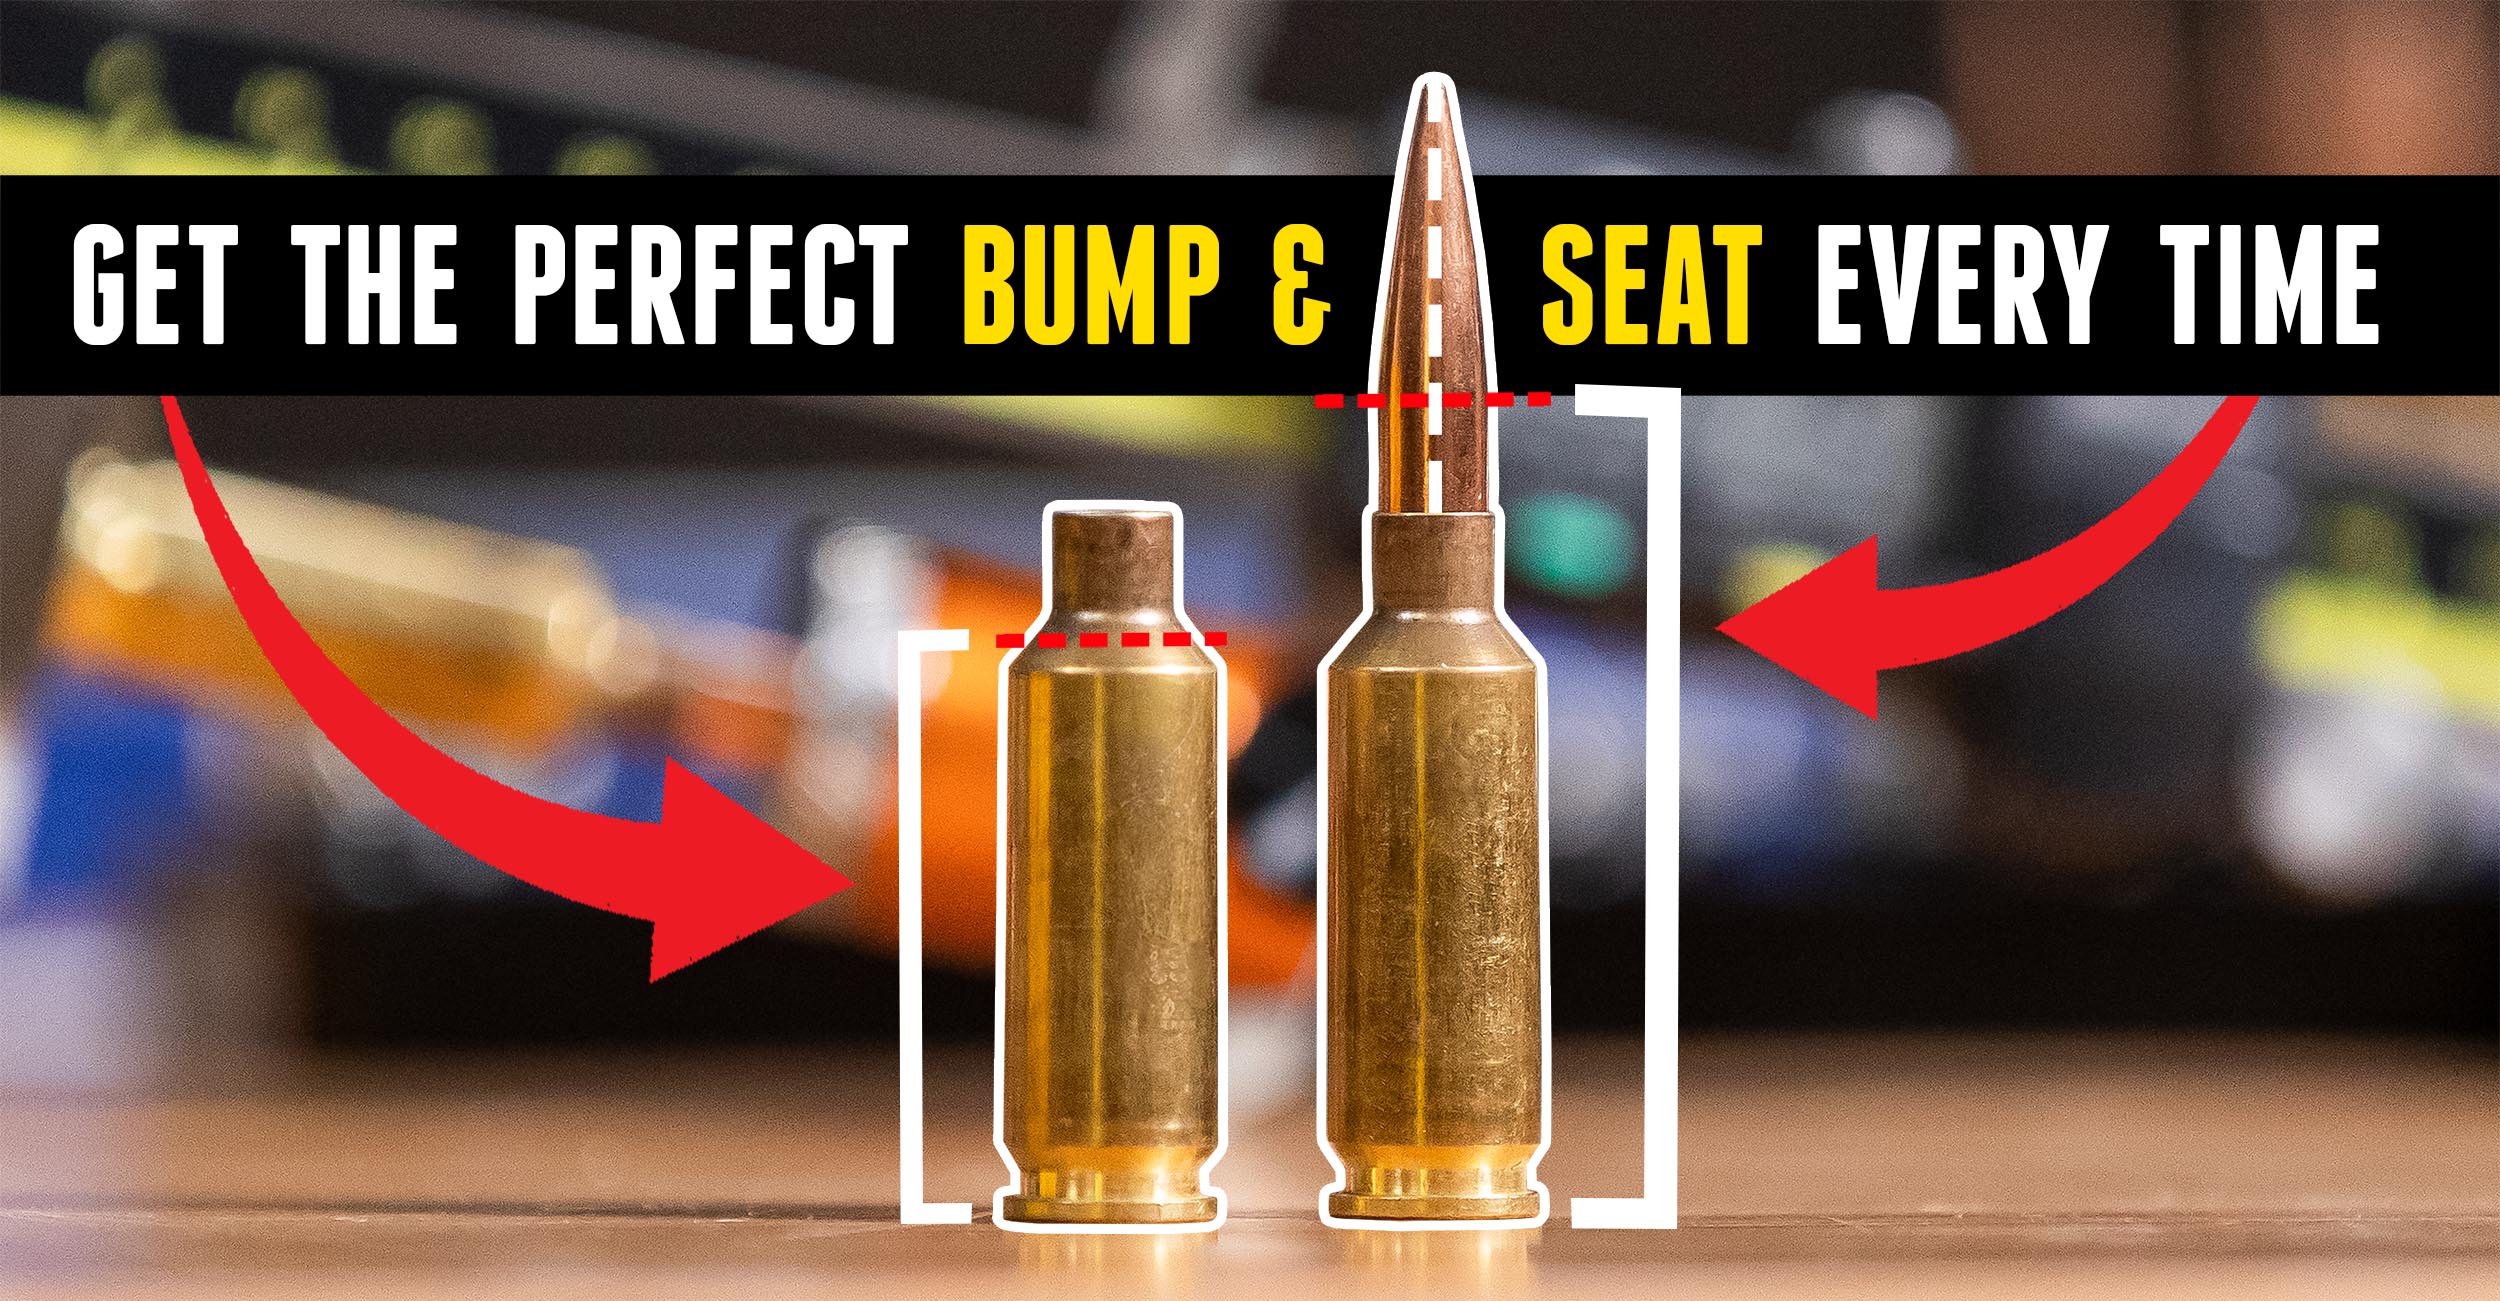
Finding the perfect shoulder bump can be more difficult than you might expect, but having it right means more reliable feeding (optimized function), longer brass life, greater precision, and optimized workflow. It all starts with cartridge headspace, the measurement from the end of the case to a datum line on the shoulder.
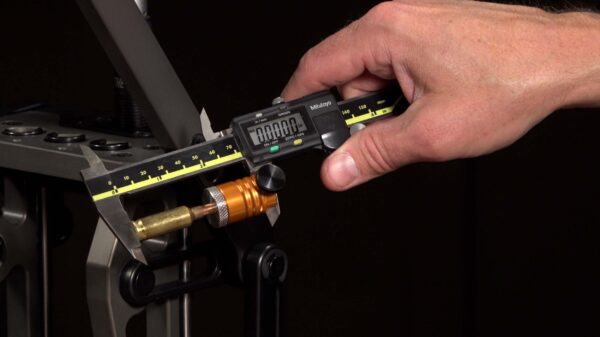
You can’t use the start or the end of the shoulder as a reference because there is a curvature that prevents you from getting accurate measurements. Special tools like the SAC modular headspace comparator are designed to measure shoulder bump by falling on this datum line. This base to datum measurement is cartridge-specific (see SAAMI). SAAMI cartridge and chamber diagrams will each have their own headspace measurements, but they are approximately the same.
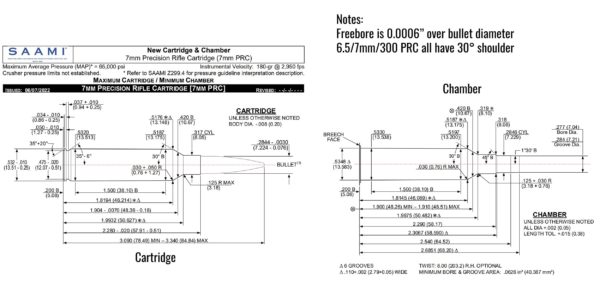
Referencing the SAAMI 7mm PRC diagram, cartridge headspace falls between 1.897” and 1.904” while the chamber headspace measures 1.900” to 1.910.” These differences indicate there is a possibility of the cartridge being too long and the chamber being too short. Rifle and ammunition manufacturers pay close attention to these numbers to ensure everything will work properly.
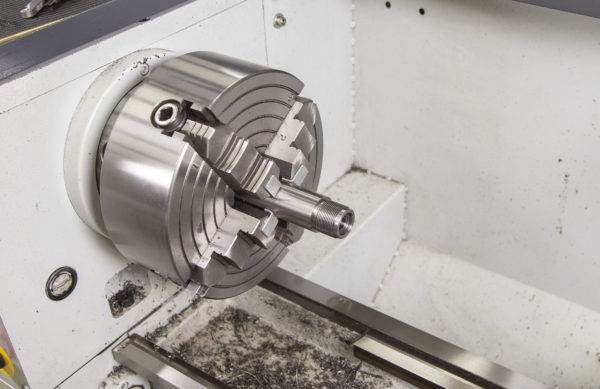
When I chamber a rifle, I chamber to minimum headspace +0.002”.The important thing to remember is that the cartridge shoulder needs to be a little bit smaller than the minimum chamber specification.
Chamber – Cartridge = Clearance
The bump is roughly equivalent to the clearance between the cartridge shoulder and shoulder area of the chamber. Minimal but not zero clearance will ensure proper feeding.
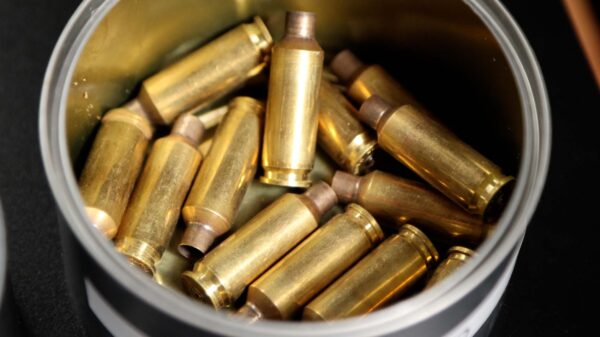
Optimal shoulder bump differs between bolt action and semi-automatic rifles. Optimal shoulder bump for bolt action rifles is between 0.001” and 0.002.” Best bump for semi-automatics is between 0.002” and 0.004.” This value is larger to allow the round to chamber and bolt to close in a semi-automatic action.
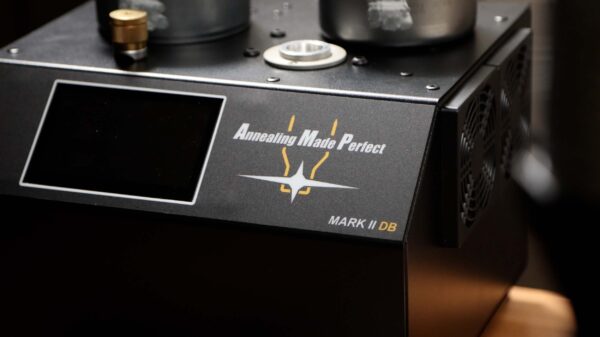
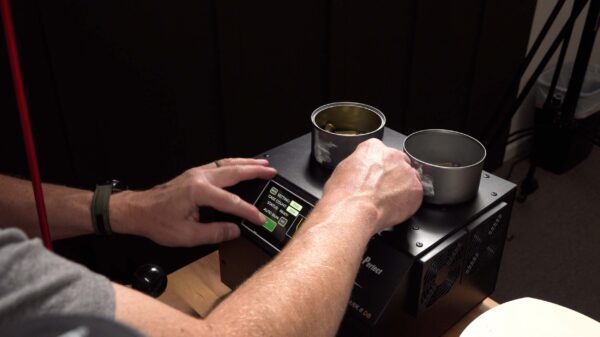
While not overworking brass is key to increasing longevity, annealing is another key to success. I’ve recently started using the new AMP Mark II DB from Annealing Made Perfect, which allows me to analyze a case and save the setting for another time. Induction annealing provides optimal hardness along the shoulder, neck, and part of the body. This removes the work hardening that happens during sizing, resulting in zero springback and consistent shoulder bump.
Correctness Formula
Details of the brass, reloading process, and the rifle’s chamber all have to come together perfectly for safe, proper firing. Otherwise known as the correctness formula, you need correct brass dimensions, correct rifle chamber dimensions, and the correct sizing die dimensions/setup.
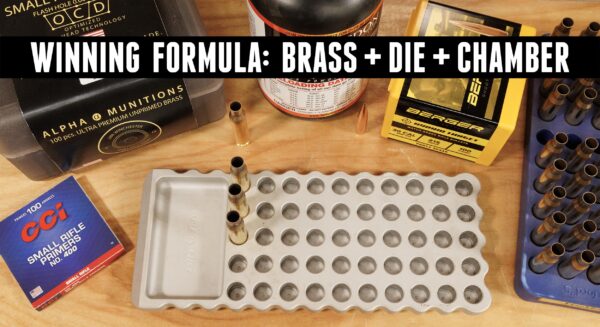
I explored this topic in detail while pushing .308 WIN to its limit (DO NOT TRY THIS AT HOME) and torture testing Alpha Munitions brass. In short, a quality rifle, quality brass, and quality dies are important.
Shoulder Bump Demonstration
I used a variety of Short Action Customs equipment for my 6mm Dasher loading session.
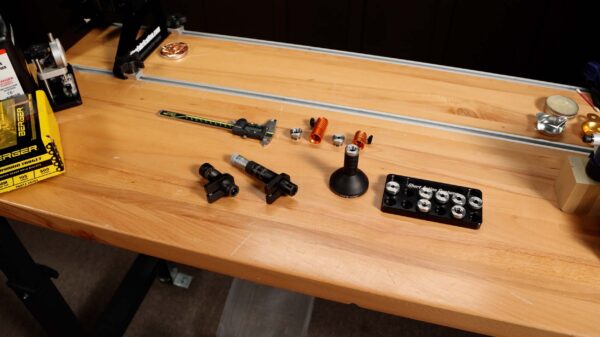
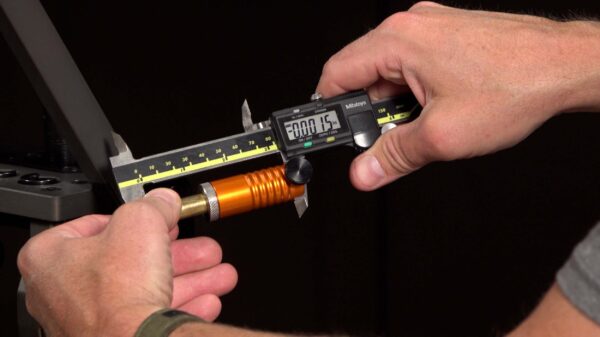
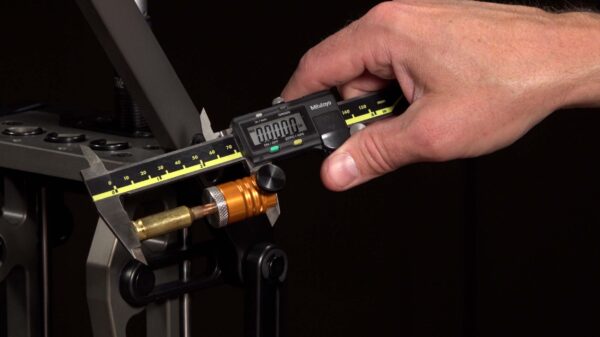
I started by checking the headspace of a deprimed case using the modular headspace comparator kit. (The comparator uses the same inserts as the modular funnel kit.) I carefully secured the fired case in the insert and spun it around while applying some pressure before zeroing out the calipers. This establishes a reference point — all bump values will be negative numbers.
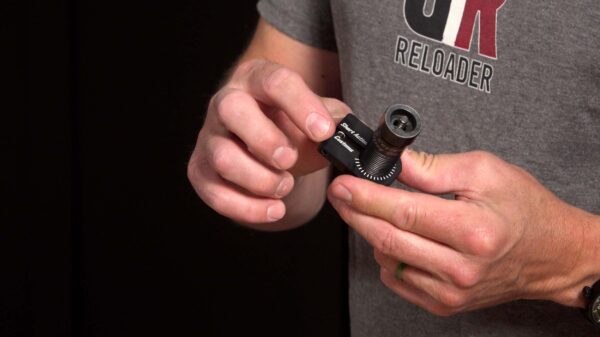
By this time, I had already secured the SAC modular sizing die in the Nexus press, screwing it in and backing it off to prevent oversizing. (The Nexus has some extra throw available.) With the fire-formed standard established, I continued to deprime and resize all of my lubed, annealed cases, bumping the shoulder between 0.001” and 0.002.”
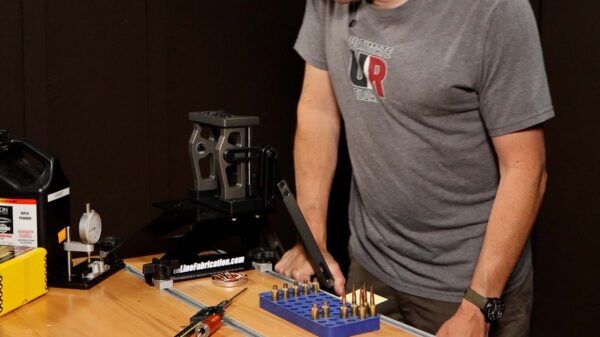
It took a few tries to get the perfect shoulder bump on the first case, but I wasn’t worried about overworking it since I had taken the time to anneal first.
About Bullet Seating
Bullet seating is my favorite part of precision reloading — it doesn’t take a lot of force and culminates in a ready-to-fire round. I demand a fast and efficient die setup for bullet seating, not something I have to take hours to establish each session. I also want consistent seating, optimal seating depth, and bullet concentricity. Seating depth affects both function and precision. You have to pay attention to it to obtain the best groups possible.
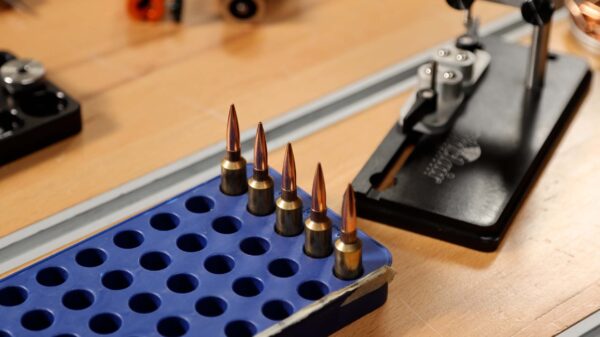
Several factors affect bullet seating: magazine length, load tuning (internal volume), jump, neck area donut, and SAAMI/CIP specifications. If your round needs to fit in a magazine, you have to ensure your cartridge overall length meets those specifications. It is also important to realize that the deeper you seat the bullet the less internal volume you have in the case. Internal volume affects both the efficiency and consistency of the powder burn. You have to balance your desired powder charge with seating depth for the best results. Just as you don’t want to jam a round into a magazine, you don’t want to shove the bullet into the case when you close your bolt.
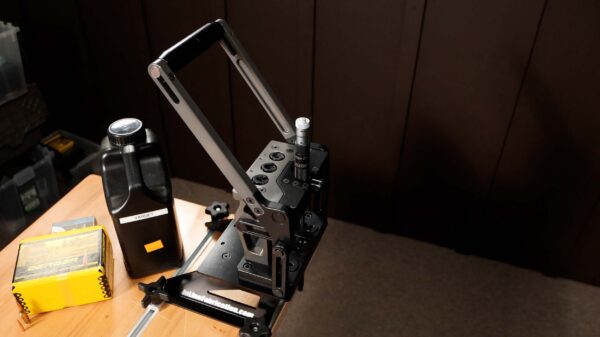
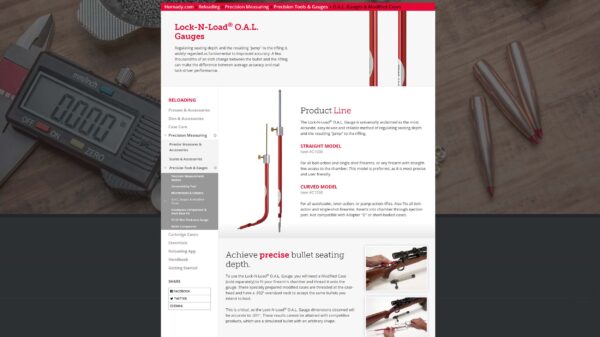
Jumping bullets, having them travel a certain distance before engaging the rifling, prevents this. The distance you jump the bullets is yet another factor that can affect your group size. 0.020” is considered an optimal jump, but you have to have a way to measure it for each barrel you are loading for. There are three primary methods: using loctite inside a previously fired case, jamming, and using a Hornady O.A.L. gauge. In all cases, you determine the base to ogive where the bullet contacts the lands and seat each bullet the desired amount deeper.
Neck area donuts are small rings of brass that may form in cases after bullet bearing surfaces are shoved into the transition between the neck and shoulder of a piece of brass. This donut can cause inconsistencies over several firings and resizings that could affect velocities.
Bullet Seating Demonstration
Before seating any bullets, I had to charge the cases.
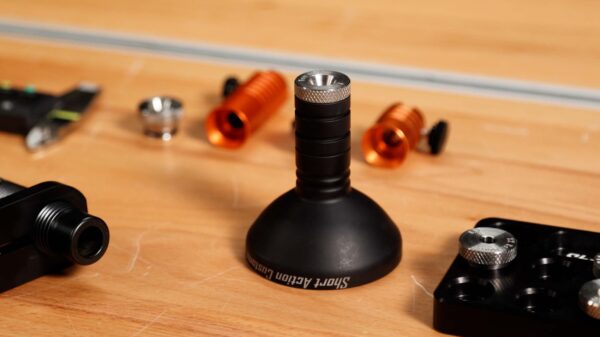
SAC’s modular funnel kit prevented spillage and its inserts are conveniently compatible with the comparator.
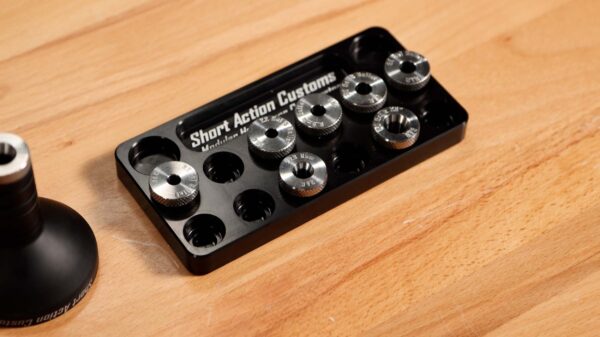
I set an empty case with no bullet in the Nexus press and lowered the die to make sure there was no interference.
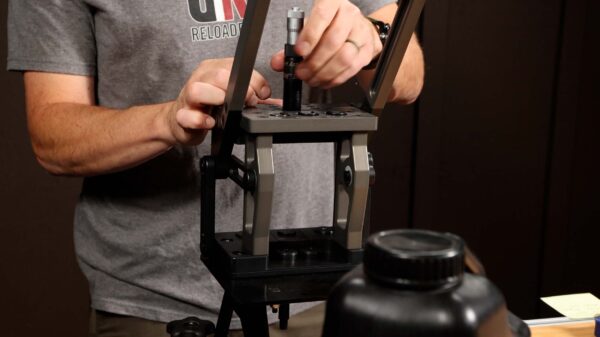
I backed off the die until I could see the micrometer scale and locked the SAC lock ring.
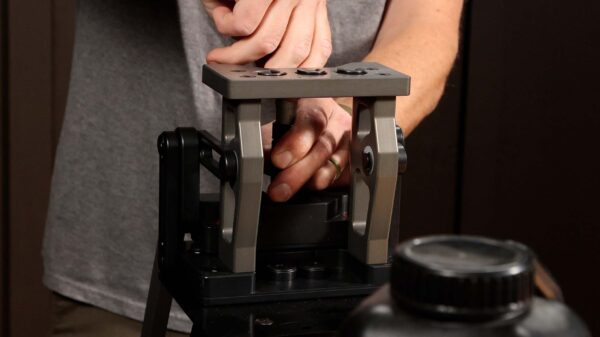
Using this setting as a starting point, I swapped the empty case for a dummy round and adjusted the micrometer until I felt the bullet hit.
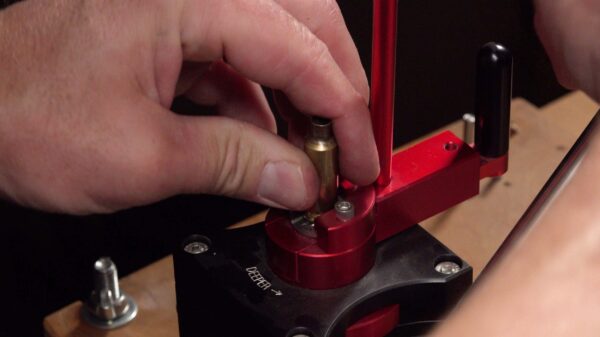
I took it a little further and transitioned to repriming the sized and annealed cases.
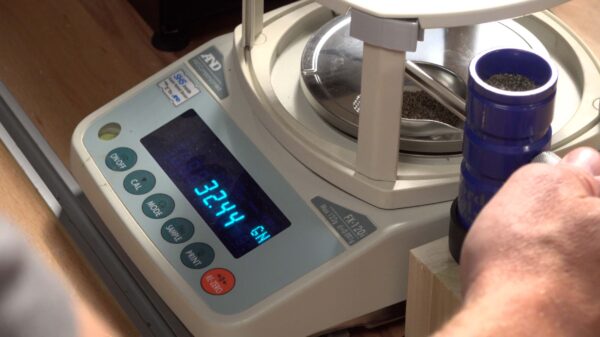
I charged each case with 32.4 grains of Varget (check multiple legitimate load data sources before loading) and seated my first Berger 6mm 105 grain hybrid target bullet over top.
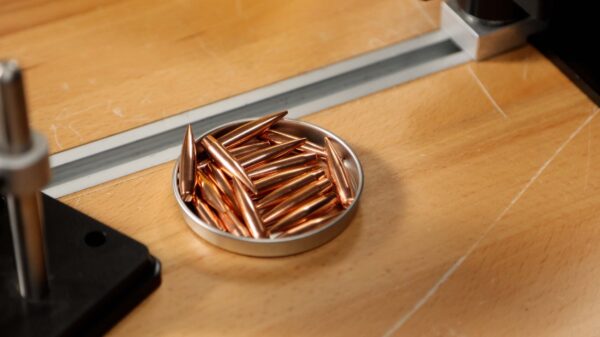
This 6mm Dasher load is my pride and joy, five shots landing into one hole at 100 yards with my bolt-action build.
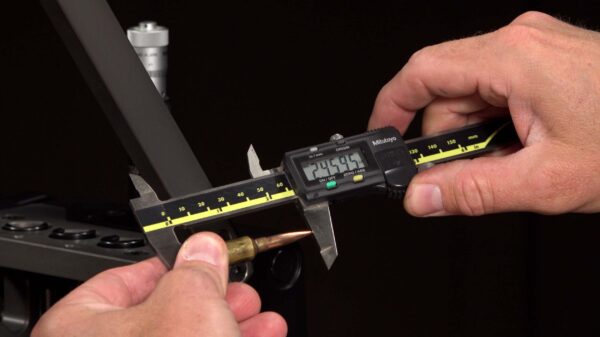
I checked overall length and adjusted the die appropriately, but also used the SAC modular comparator to check the base to ogive of each loaded round to ensure the appropriate jump and audit consistency.
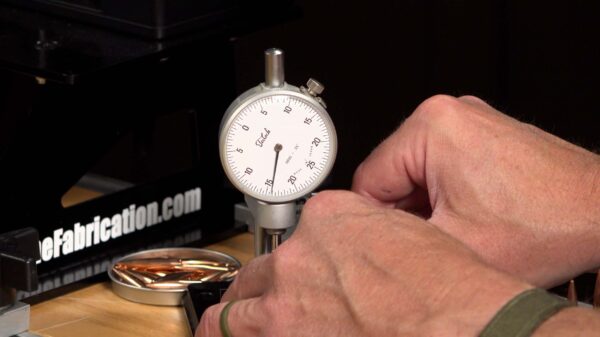
My last check was bullet runout using a Sinclair concentricity gauge. Results were good, approximately +/- 0.001” over all five test cartridges.
Conclusion
Precision reloading and precision shooting center around consistency. Everything needs to be the exact same every time for the best results.
Understanding and implementing the correctness formula results in consistent, precision-loaded cartridges that are sure to function. The SAC Nexus press cam-over design contributes even greater consistency with the same stroke every time yielding perfect base to ogive results.
I was extremely happy with this equipment setup and process, especially when paired with a well-developed load.
Get the Gear
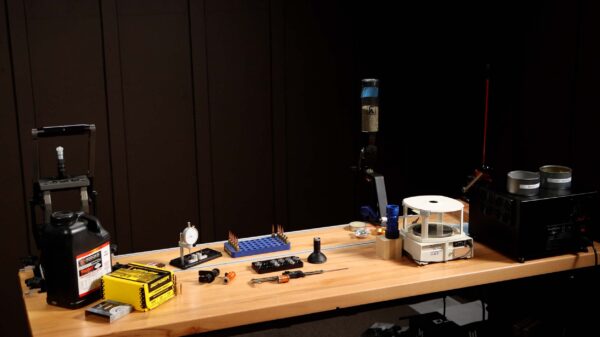
Short Action Customs Modular Funnel Kit
Short Action Customs Modular Sizing Die
Short Action Customs “THE” Seating Die
Short Action Customs Nexus Press
Short Action Customs Modular Headspace Comparator Kit
Short Action Customs SOLO-LOC Rings
Inline Fabrication Ultramounts
Berger 6mm 105 Grain Hybrid Target Bullets at Midsouth Shooters Supply and Creedmoor Sports
Primal Rights Competition Primer Seater
Hodgdon Varget at Midsouth Shooters Supply
Sinclair Concentricity Gauge at Brownells
Hornady Lock-n-Load Straight O.A.L. Gauge at Midsouth Shooters Supply and Creedmoor Sports
Don’t miss out on Ultimate Reloader updates, make sure you’re subscribed!Thanks,
Gavin Gear
