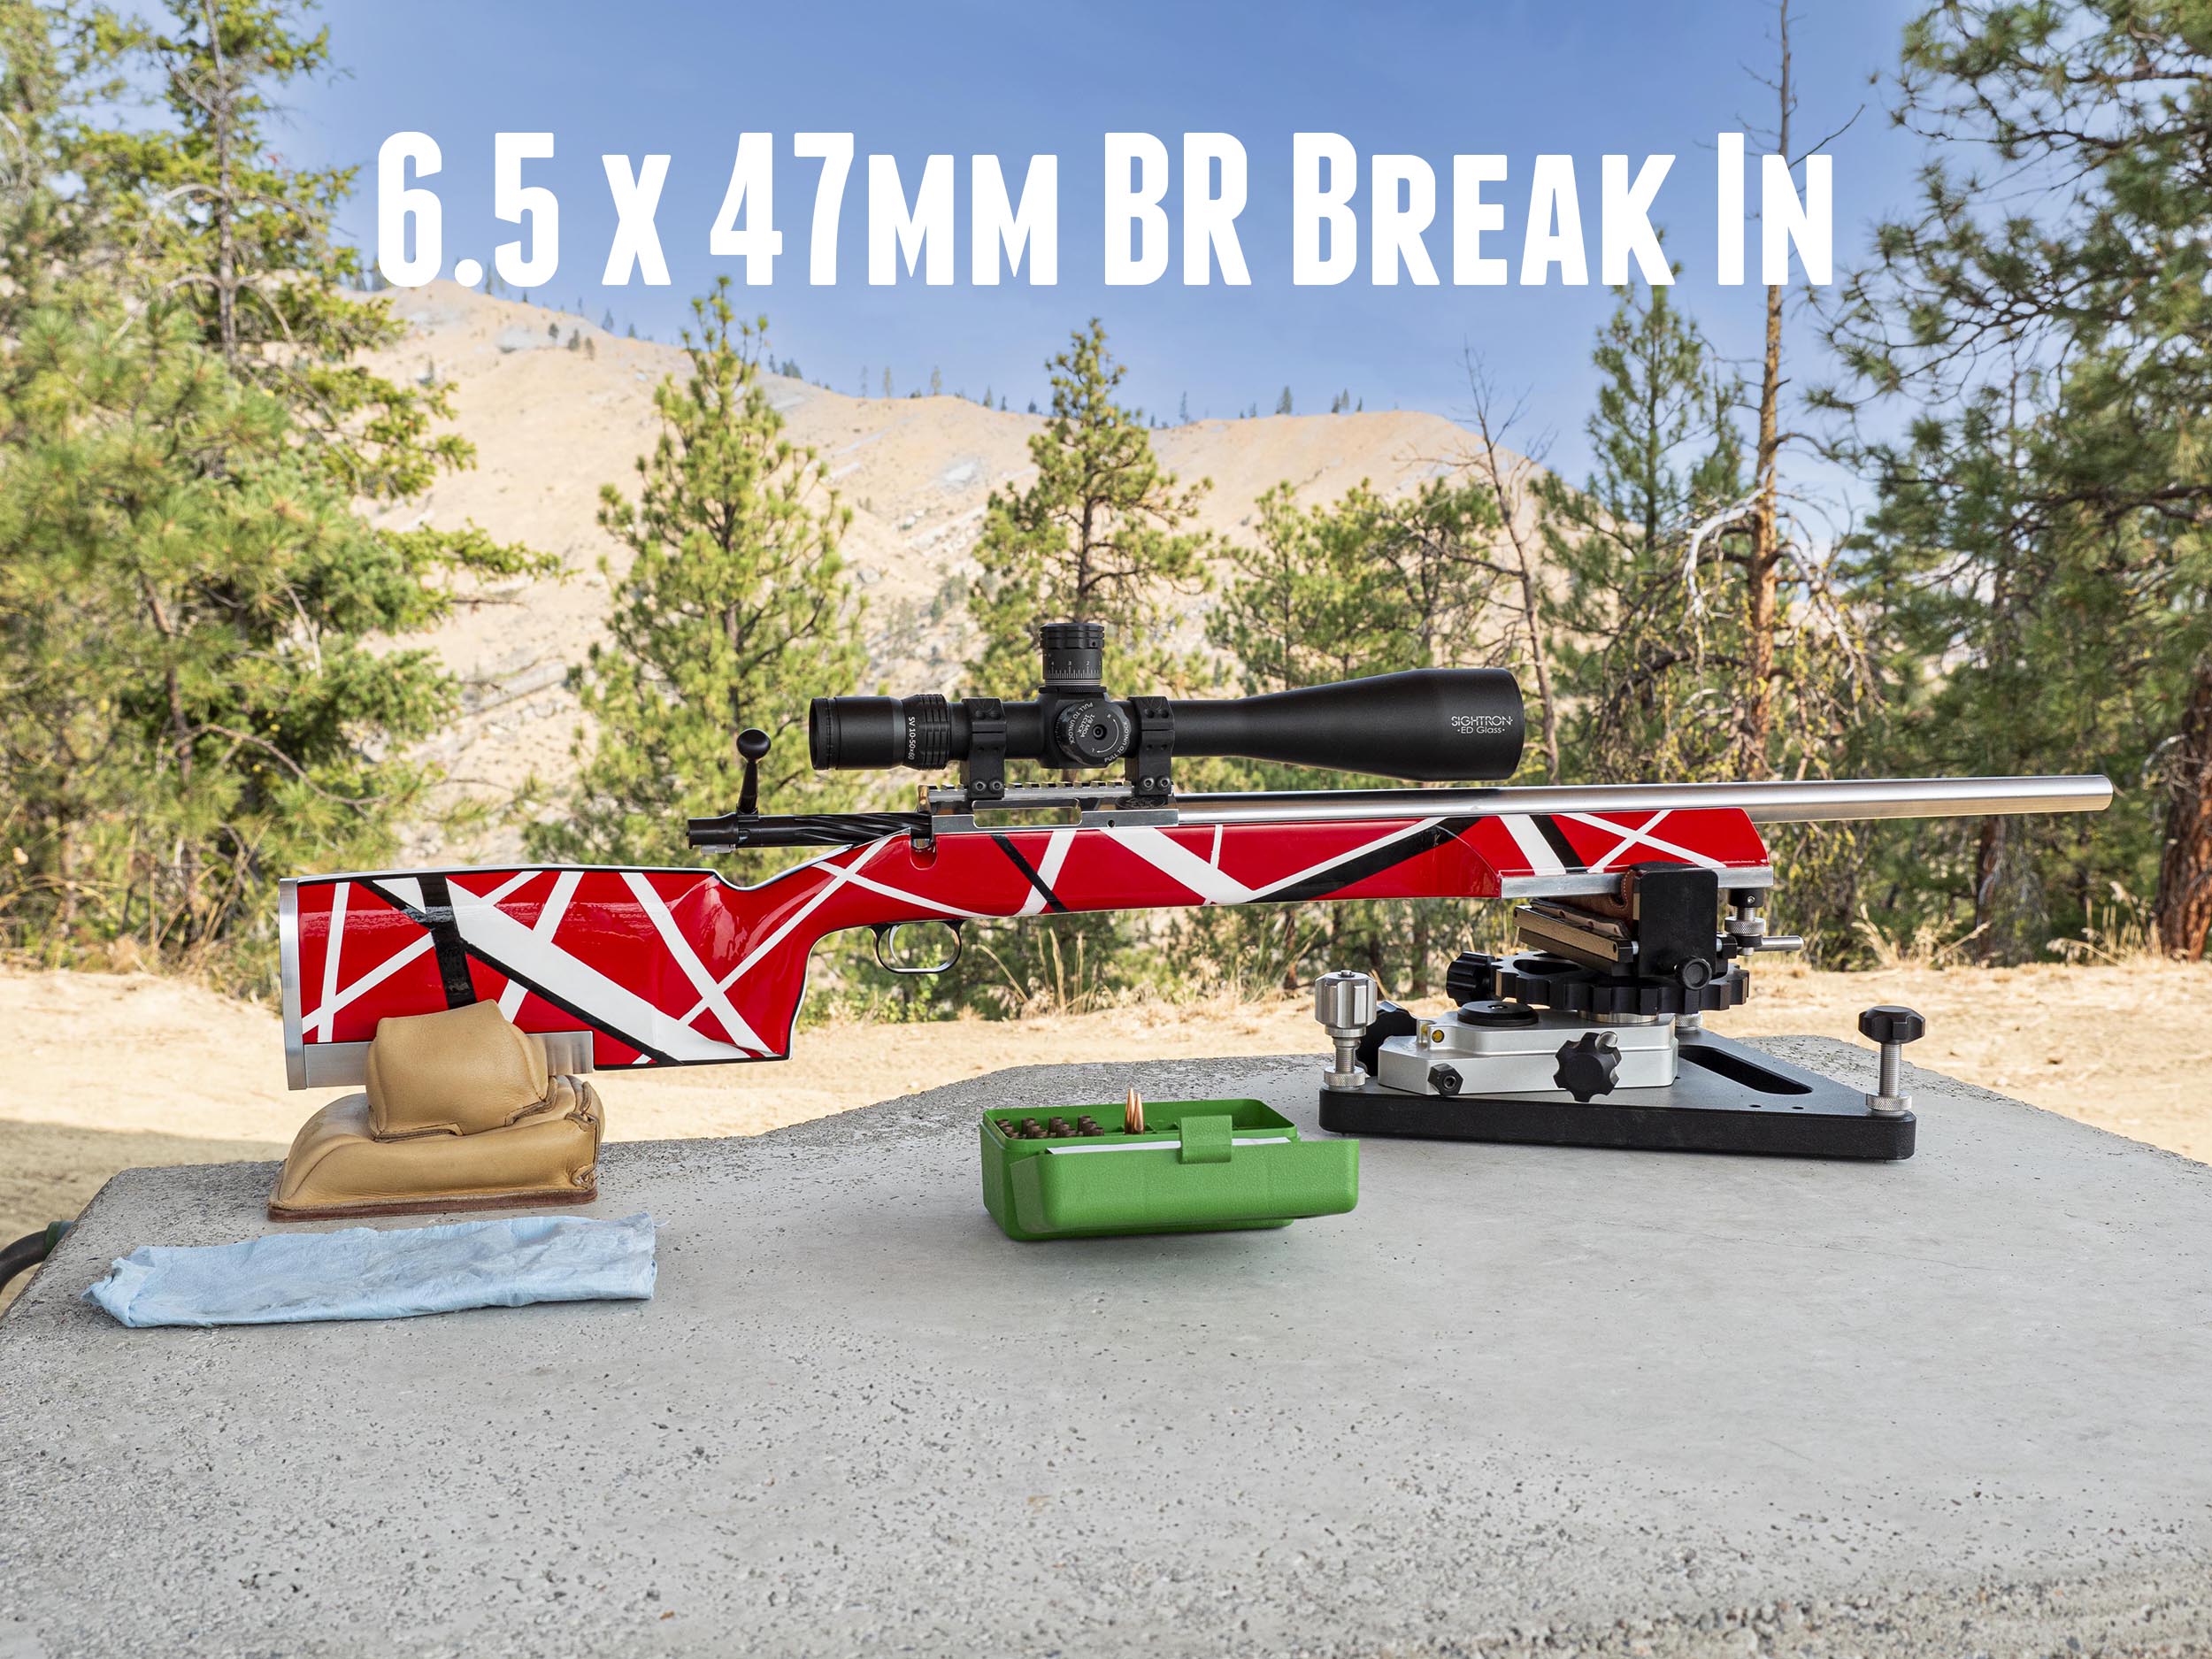
All of the work you put into a rifle build will be put to the test once you start shooting your new rifle! In this case, I had invested more time into building the rifle compared to any other. So I was excited (and a bit nervous) to get a scope mounted and to start shooting. We’ll cover all that in this story!
Disclaimer
Ultimate Reloader LLC / Making with Metal Disclaimer: (by reading this article and/or watching video content you accept these terms)
- The content on this website (including videos, articles, ammunition reloading data, technical articles, gunsmithing and other information) is for demonstration purposes only.
- Do not attempt any of the processes or procedures shown or described on this website.
- All gunsmithing procedures should be carried out by a qualified and licensed gunsmith at their own risk.
- Do not attempt to repair or modify any firearms based on information on this website
- Ultimate Reloader, LLC and Making With Metal can not be held liable for property or personal damage due to viewers/readers of this website performing activities, procedures, techniques, or practices described in whole or part on this website.
- By accepting these terms, you agree that you alone are solely responsible for your own safety and property as it pertains to activities, procedures, techniques, or practices described in whole or part on this website.
Catching Up on the Series
This build is top notch from start to finish!
Components:
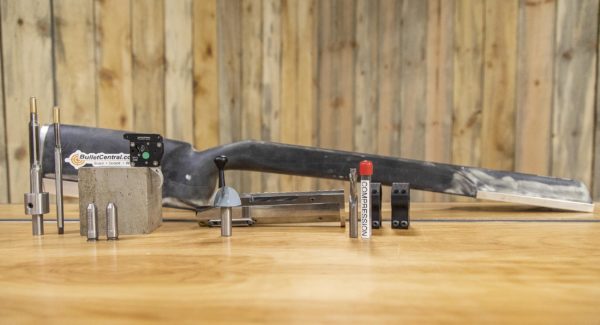
- Bat Model B action, 308 Bolt Face (modular), Octagonal profile, integral recoil lug
- Bat 34mm scope rings (high, black finish)
- Bix’n Andy Remington 700 Competition Trigger (from Bullet Central)
- Wheeler Engineering LRB stock with 4″ forend and steerable buttstock rudder
Tools: (See Triebel tooling details further down in article)
- Triebel Guntools 6.5x47mm body/neck finisher reamer
- Triebel Guntools 6.5x47mm throater reamer
- Triebel Guntools Go and No-Go gages
- 1 3/8″ Core Box cutter
- 3/8″ compression router bit (dual-direction)
See further down in article for scope details!
If you missed the other stories in this series, you’ll want to check those out:
6.5x47mm BR Build Part 1: Chambering the Barrel
6.5x47mm BR Build Part 2: Custom Stock Work
Eddie Van Halen Custom Rifle Paint Job (Tribute)
While this build has been time consuming and challenging, it’s also been VERY fun!
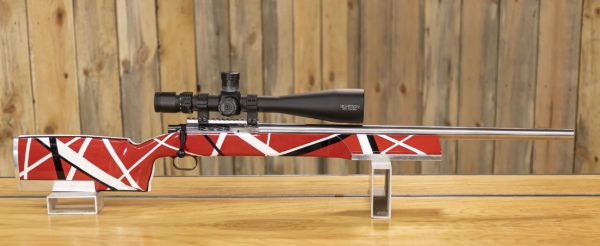
Sightron SV Scope
I decided to try a Sightron scope for this build based on the good things I’ve heard from respected precision shooters that I know personally. This scope is a great optic for the kind of precision shooting I’ll be doing with this rifle!
Here’s the quick facts on this Sightron 27012 10-50x60mm scope:
- 10-50 power
- 60mm objective
- Second Focal Plane
- Coarse and Fine side focus
- Fine crosshair reticle with small dot
From the Sightron Product Page:
The SV 10-50×60 ED is designed purely for long range target shooting. The 34mm body tube with ED glass provides 70 MOA elevation and 60 MOA windage. Large oversized tactical turrets with 1/8 MOA clicks provide 10 MOA per revolution. The patented F.A.S.T focus system provides a two focus dials; the first operates like a standard quick acquisition focus knob, and the second provides a 4 to 1 gear reduction for smooth fine focus.
The scope features an external zero-stop mechanism and a Second Focal Plane MOA-1 reticle.
The SVSSED1050x60ZSMOA-1 includes the following:
-
- Scope
- 3-inch Sunshade
- Flip up lens covers
- Torx key and Allen wrench for knob and zero stop adjustments
Sightron scopes are available at Creedmoor Sports.
Break-In Load
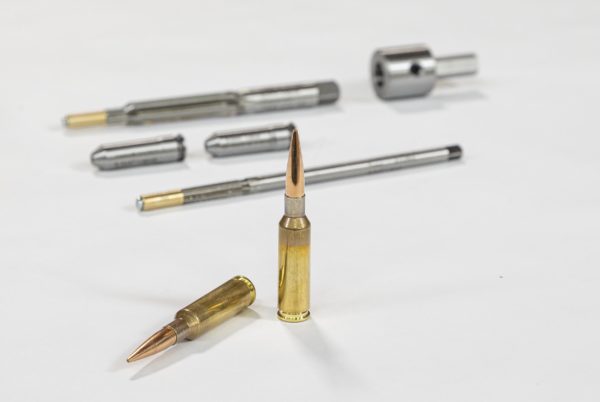
When I built my first 6.5x47mm rifle (Uintah Precision Bolt-Action AR Upper), I found a load that worked well in that rifle:
- Case: new Lapua 6.5x47mm, small rifle primer
- Bullet: Berger 140 grain Hybrid
- Powder: Varget (35 grains)
- Primer: Federal Small Rifle
Disclaimer: Use load data at your own risk. Ultimate Reloader is not responsible for errors in load data on this website. Always cross-reference load data with manufacturer’s published data.
I decided this load would be a good starting point for the EVH tribute rifle!
Break-In Process
Like I normally do, I tracked some initial results while breaking in this barrel. I followed my normal barrel break-in process:
- 1 shot, clean
- 1 shot, clean
- 1 shot, clean
- 3 shots, clean
- 3 shots, clean
- 3 shots, clean
- 5 shots, clean
- 5 shots, clean
- 5 shots, clean
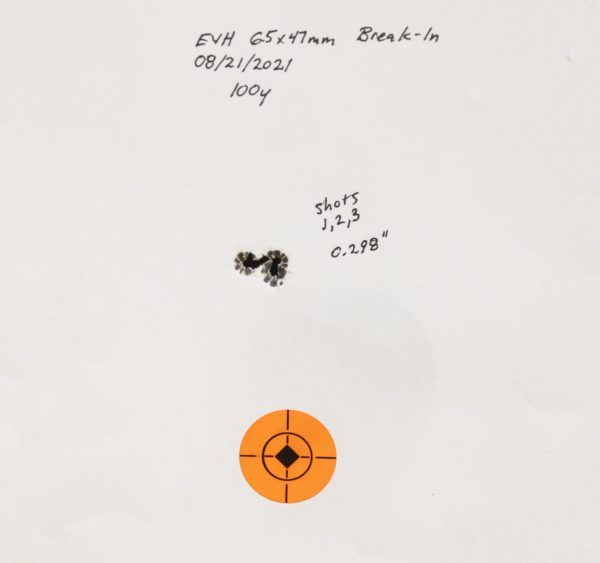
From the very first three shots through the rifle, I was seeing good things!
A couple were apparent:
- My bore sighting job was excellent
- 0.284 MOA for the first few shots was GREAT!
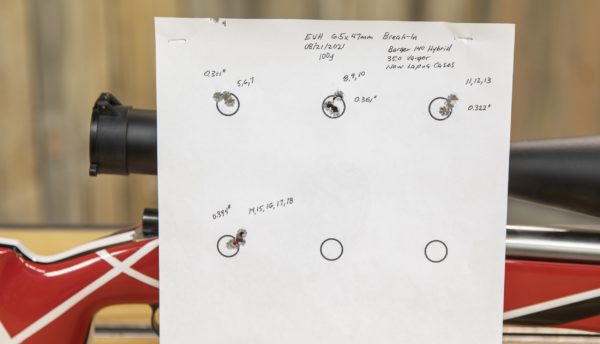
For the fourth shot, I forgot to dial down, so I hit the top of the page. Following that, I shot more three shots groups, and a five shot group:
With all of the groups below 0.400″, and no load development for this rifle yet completed, things were looking good!
What’s Next
Next in this series I’ll cover something different: the installation of an EC Tuner on this rifle! Following that, we’ll cover load development.
Don’t miss out on Ultimate Reloader updates, make sure you’re subscribed!
Thanks,
Gavin













What do I think? You start consistently shooting clovers at 100 yards and I’ll have you build me a rifle.