I’ve long been inspired and impressed by Eddie Van Halen (EVH). He “changed the game” for guitar in the late 1970s, and the world took notice! I’ve been a Van Halen fan for a long time, and that’s where the inspiration for my latest rifle build came from. Benchrest rifles are known for their “loud” paint jobs, and that made me think: “I need to do an EVH Frankenstrat paint job!”. In this story I’ll share my experiences putting together this automotive-style rifle paint job.
Disclaimer
Ultimate Reloader LLC / Making with Metal Disclaimer: (by reading this article and/or watching video content you accept these terms)
- The content on this website (including videos, articles, ammunition reloading data, technical articles, gunsmithing and other information) is for demonstration purposes only.
- Do not attempt any of the processes or procedures shown or described on this website.
- All gunsmithing procedures should be carried out by a qualified and licensed gunsmith at their own risk.
- Do not attempt to repair or modify any firearms based on information on this website
- Ultimate Reloader, LLC and Making With Metal can not be held liable for property or personal damage due to viewers/readers of this website performing activities, procedures, techniques, or practices described in whole or part on this website.
- By accepting these terms, you agree that you alone are solely responsible for your own safety and property as it pertains to activities, procedures, techniques, or practices described in whole or part on this website.
About the Frankenstrat
Eddie Van Halen, the guitarist for the band Van Halen put together a Fender Stratocaster from a collection of parts prior to recording the band’s first album “Van Halen” (1978). This guitar was originally painted by Eddie in a black-and-white striped paint theme:

After realizing this paint scheme was being copied by other guitarists, Eddie painted the Frankenstrat with it’s now legendary red/white/black paint scheme:

This has become one of the most iconic symbols in the world of Rock and Roll. The perfect paint theme for a benchrest rifle! Sadly, Eddie Van Halen died in 2020, so for me this is the perfect tribute to his guitar playing and himself as a person.
A Background on the Rifle Build
This is actually part 3 in a series! Here’s the first two stories:
Complete Gear List

This build is top notch from start to finish, including what’s pictured above, and further down (barrel blank).
Components:
- Bat Model B action, 308 Bolt Face (modular), Octagonal profile, integral recoil lug
- Bat 34mm scope rings (high, black finish)
- Bix’n Andy Remington 700 Competition Trigger (from Bullet Central)
- Wheeler Engineering LRB stock with 4″ forend and steerable buttstock rudder
Tools: (See Triebel tooling details further down in article)
- Triebel Guntools 6.5x47mm body/neck finisher reamer
- Triebel Guntools 6.5x47mm throater reamer
- Triebel Guntools Go and No-Go gages
- 1 3/8″ Core Box cutter
- 3/8″ compression router bit (dual-direction)
Krieger barrel blank:
![]()
Here are the specs for this blank: (more options on the Krieger Barrels website)
- 27″ overall length (blank)
- 4 groove
- 1:8 twist
- M24 profile
- 1.200″ shank
It’s All in the Prep Work!
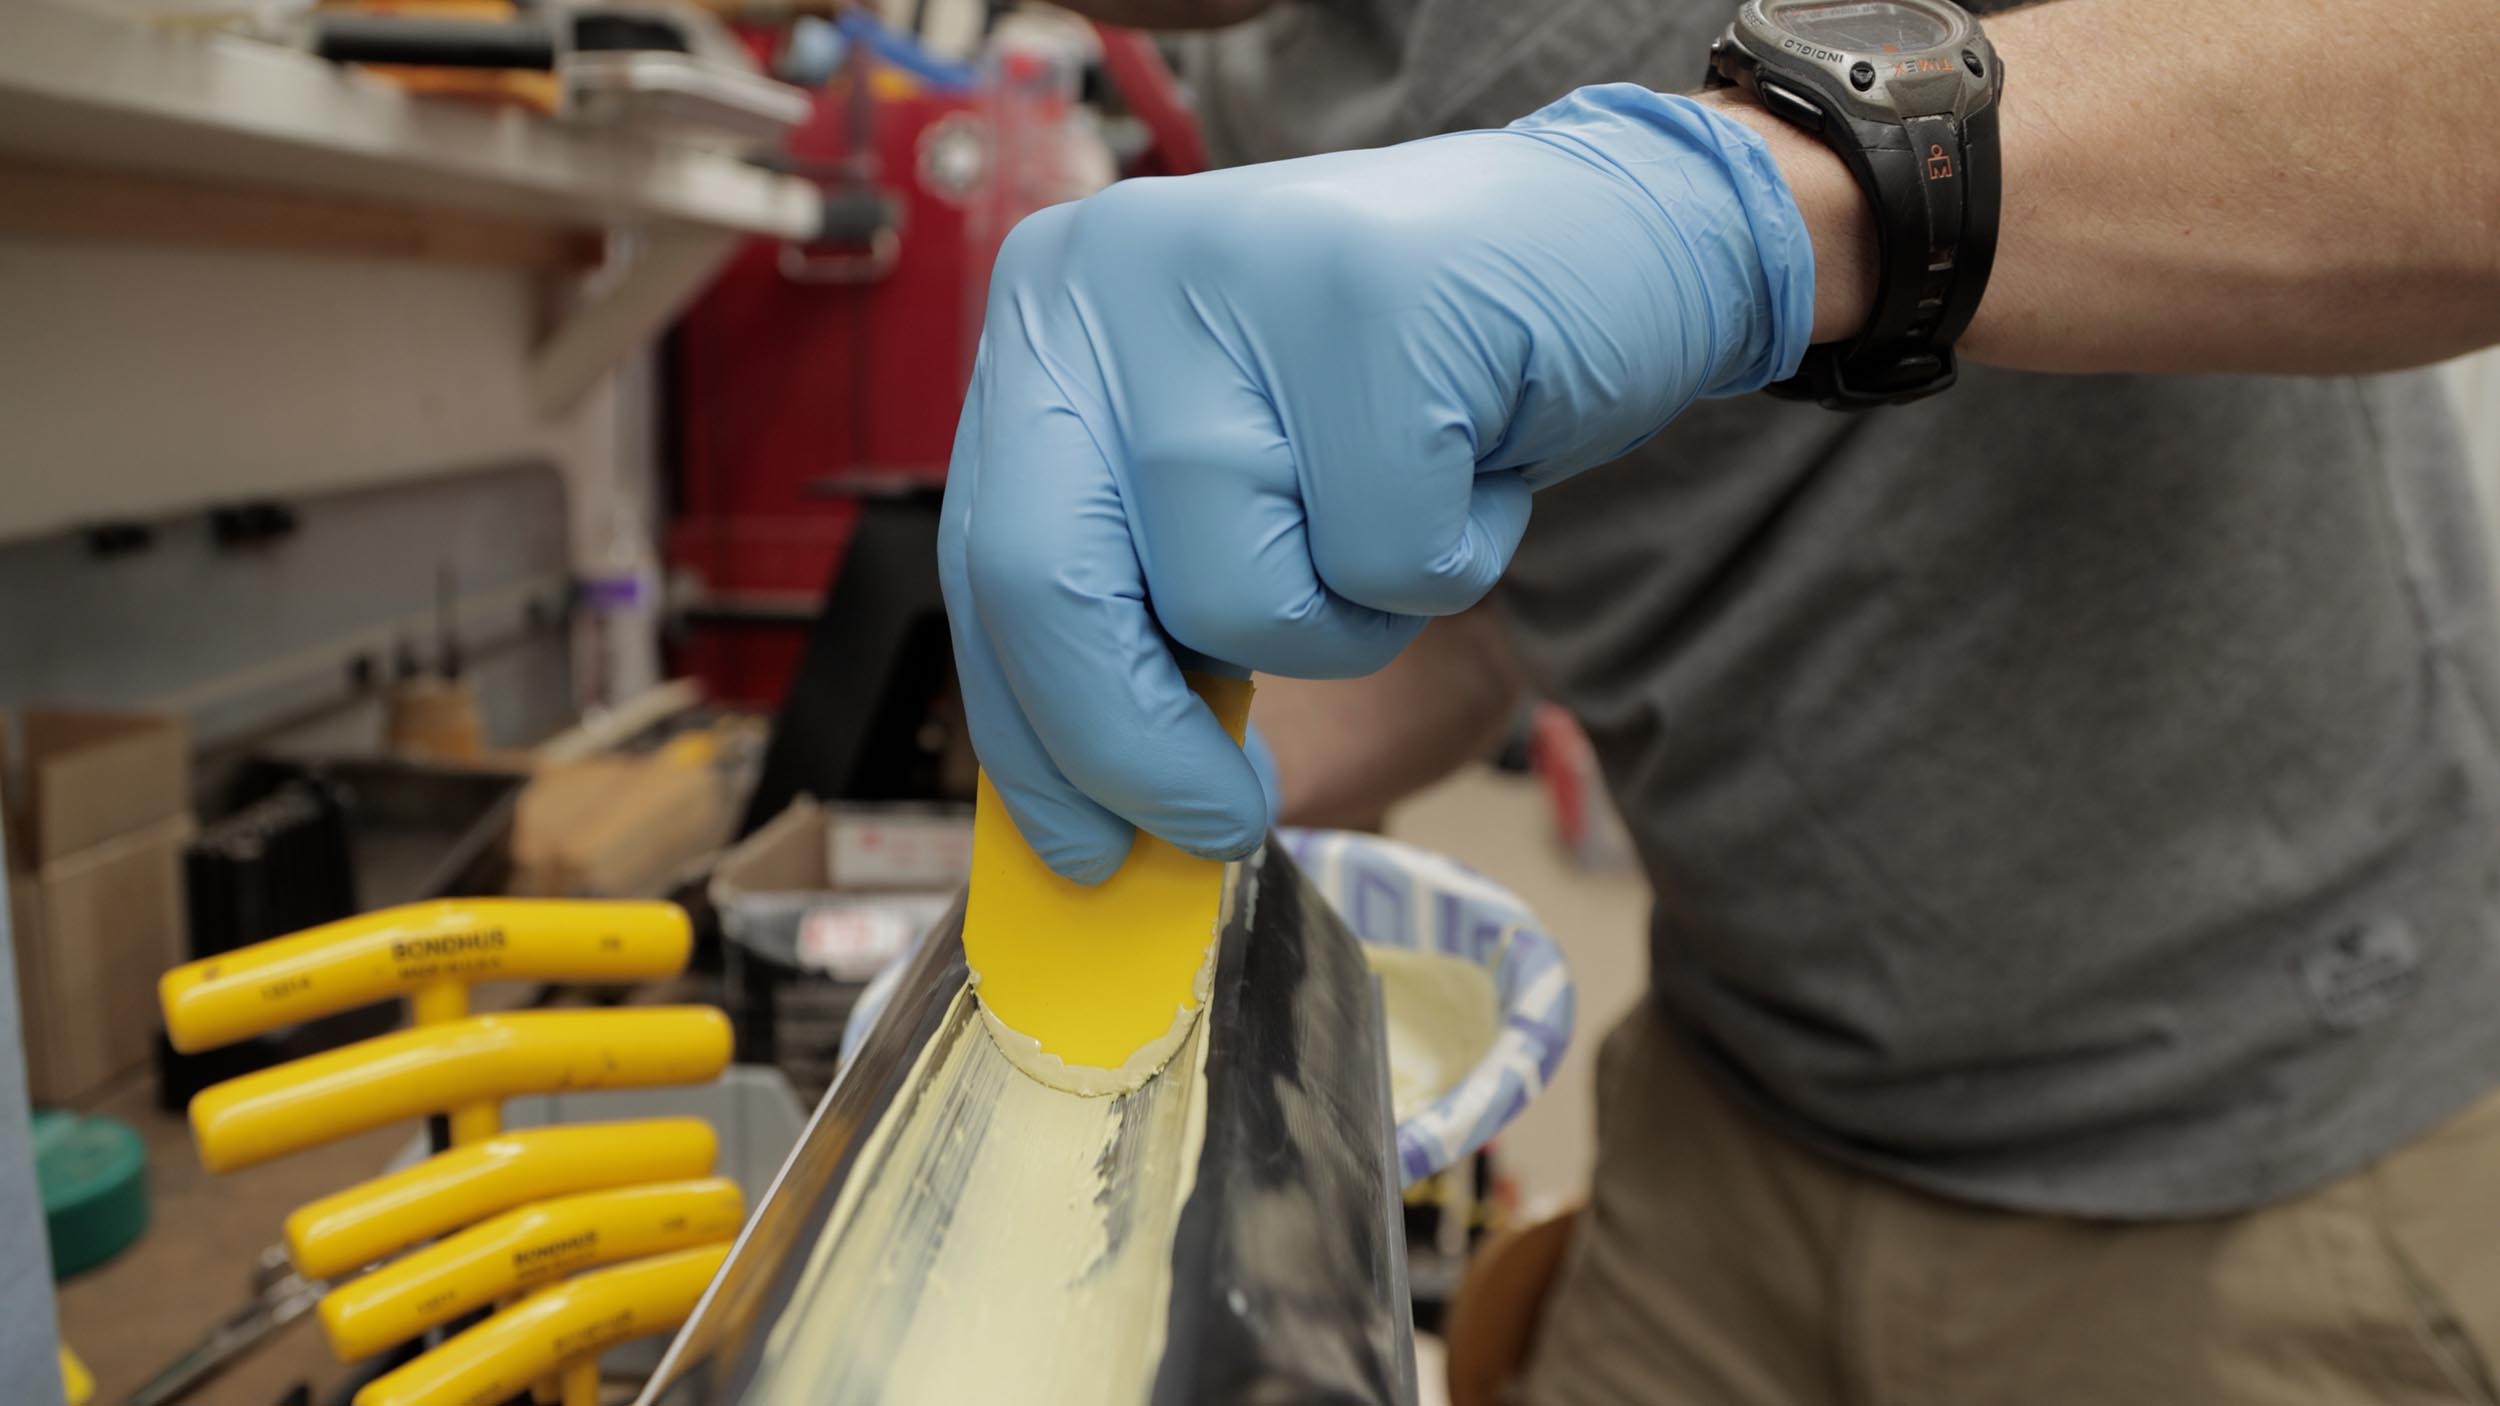
The prep work for this rifle build took me back to my autobody shop days! It’s a lot of hard work that takes a ton of patience! Here’s a quick breakdown of the process I followed:
- Filler application in barrel channel and select areas of the stock that needed touchups
- Sanding glazing putty with guide coat to indicate completeness
- Spraying with Epoxy Primer (pass 1)
- Guide coat and 400 grit wet sanding
- Spraying with Epoxy Primer (pass 2)
- Guide coat and 400 grit wet sanding
The work here is well worth it. The final product is a reflection of all of the attention to detail, time, and effort spent on prep work.
Paint Products and Equipment
Paint Gun
I decided to use a new LVLP (Low Volume Low Pressure) gun that I bought on Amazon for this job. The gun did well, especially given my sad compressor situation- and no air dryer (only an inline filter). Here’s the details on the gun: ($125. when I bought it)
Astro EVOT14 EuroPro Forged LVLP Spray Gun with 1.4mm Nozzle and Plastic Cup

Paint Products
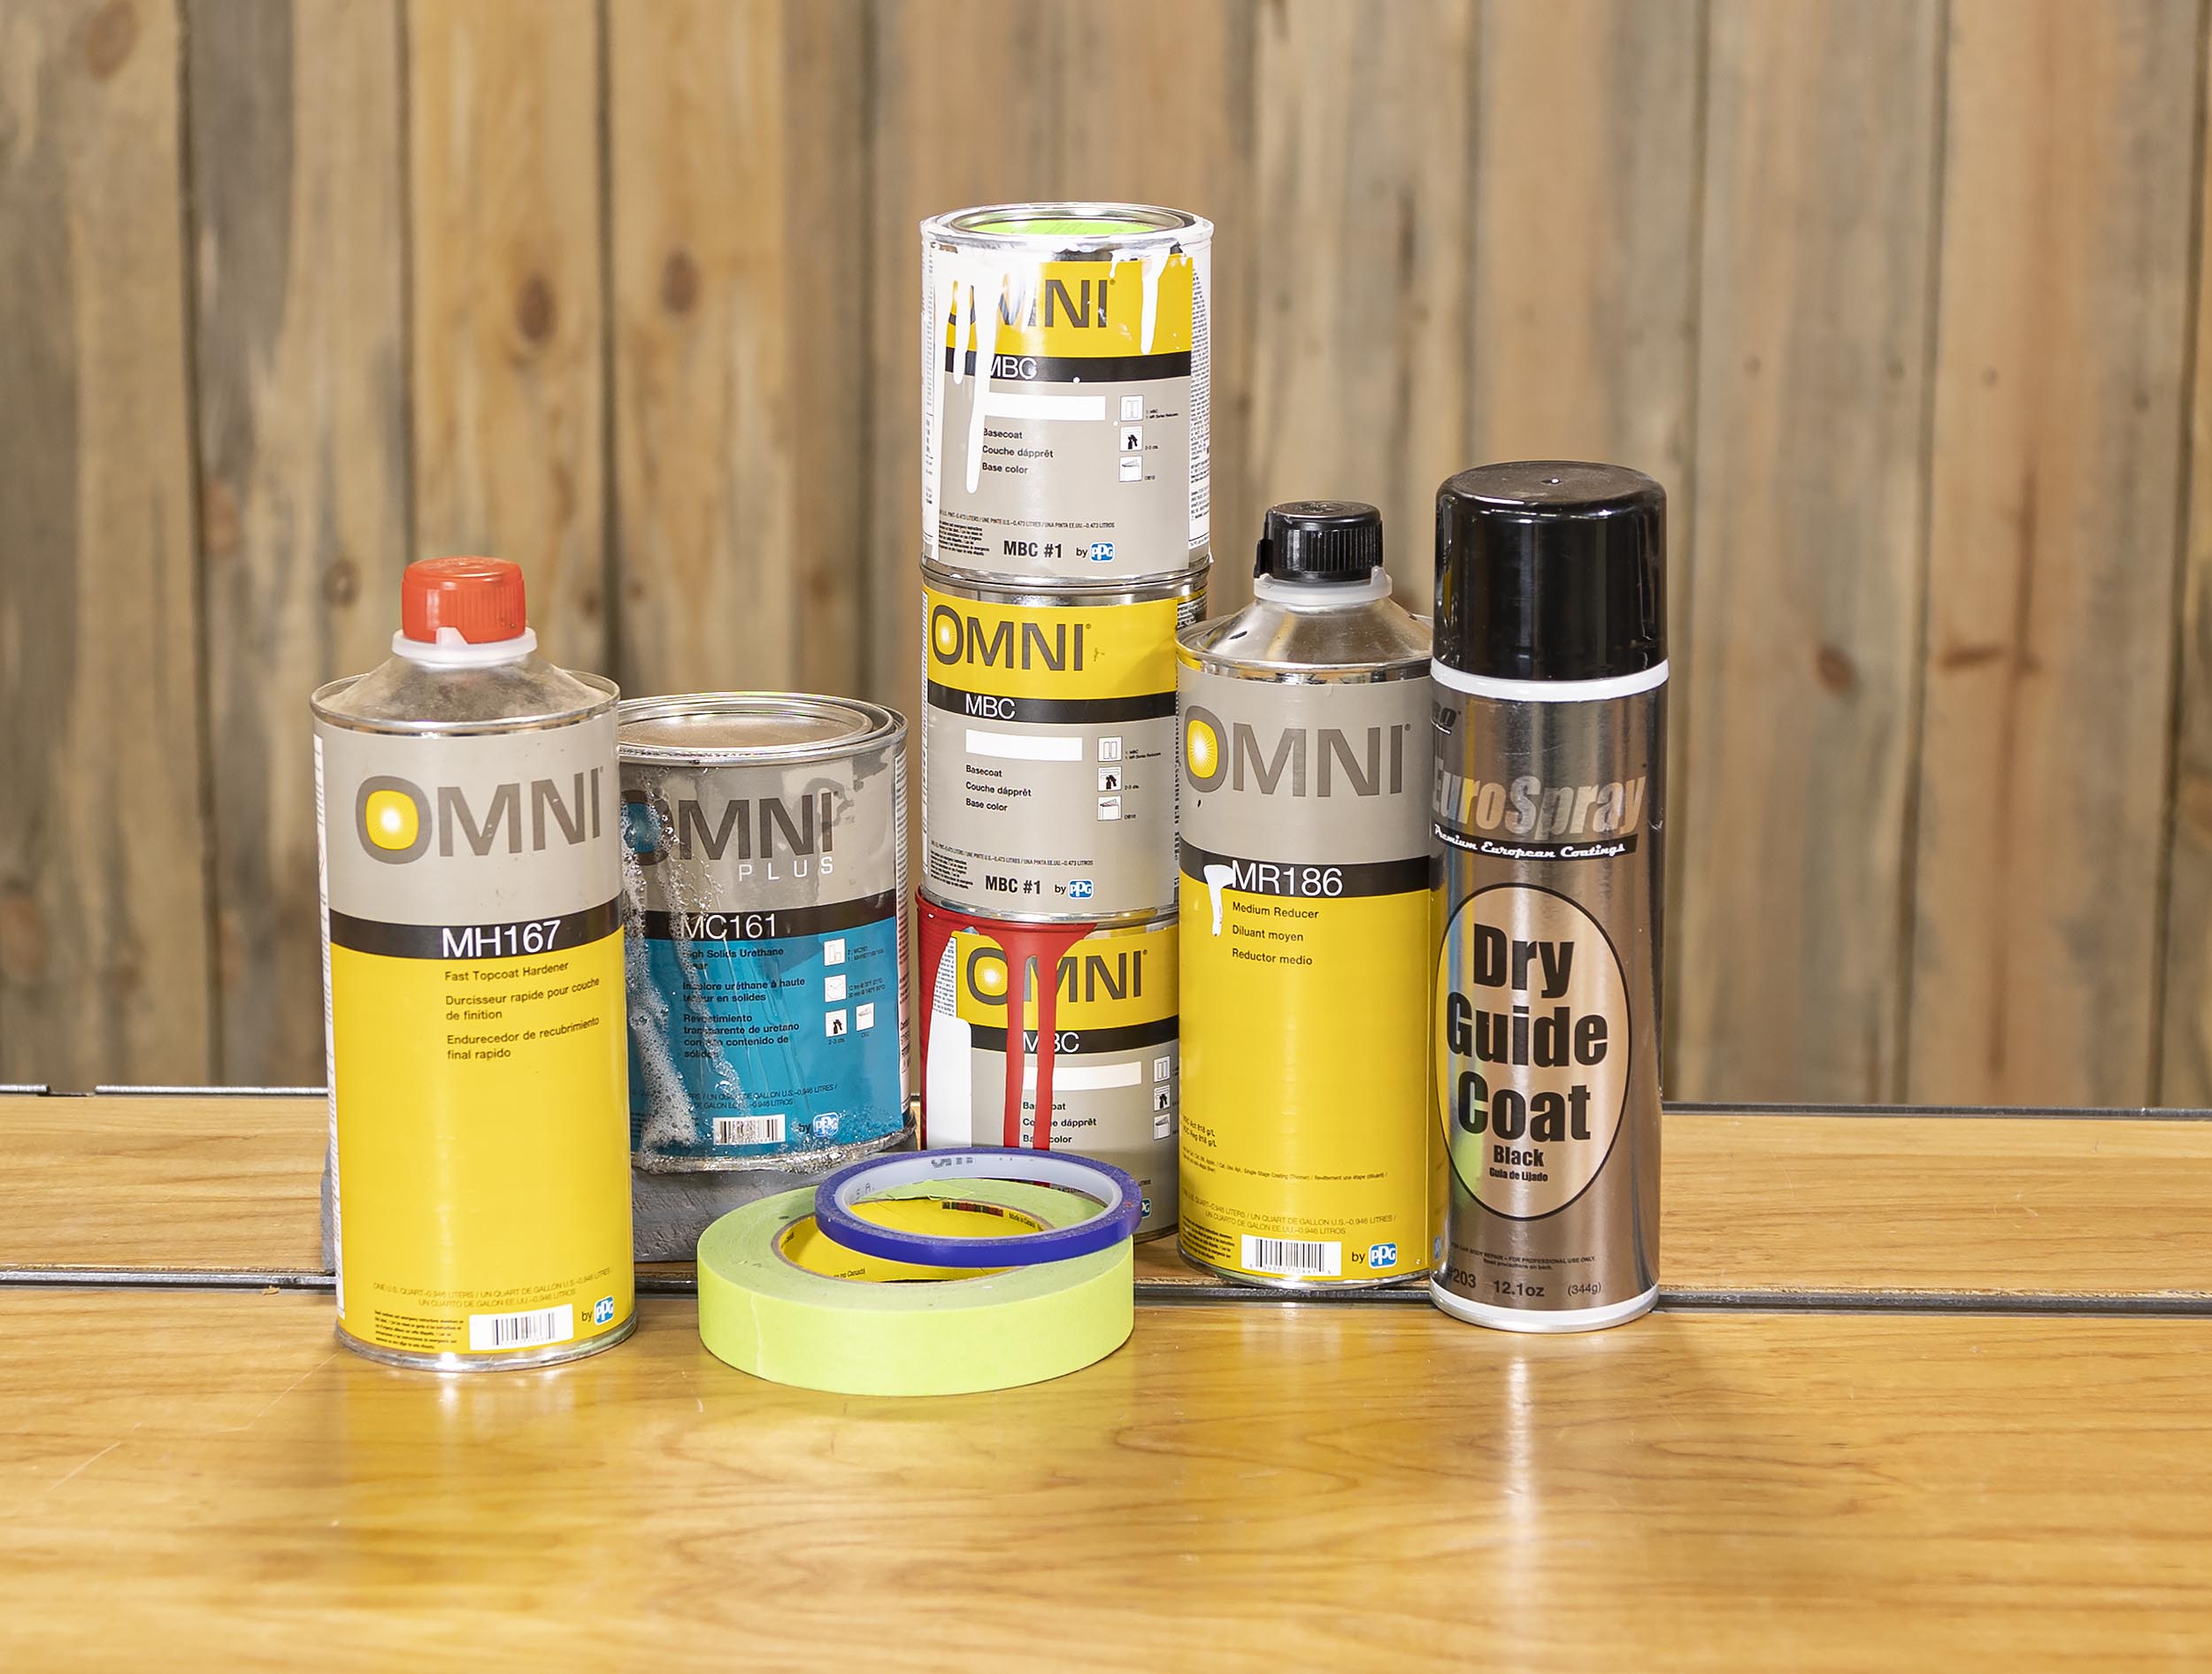
For this paint job I used the following: (Onmi is a PPG product line)
- Omni MP170 epoxy primer and MP175 catalyst (not pictured)
- Omni MBC basecoat (in red, white, and blac) with MR186 reducer
- Omni MC161 clearcoat and MH167 hardener
Painting Part 1: Red Basecoat
As I mentioned in the video, if I did this paint job again, I would change the order, finishing with red. That would make the masking a lot easier. For the red basecoat, I masked all of the areas that didn’t need the red paint, and sprayed the basecoat in 3 successive coats waiting approximately 10 minutes between coats.

Painting Part 2: White Basecoat
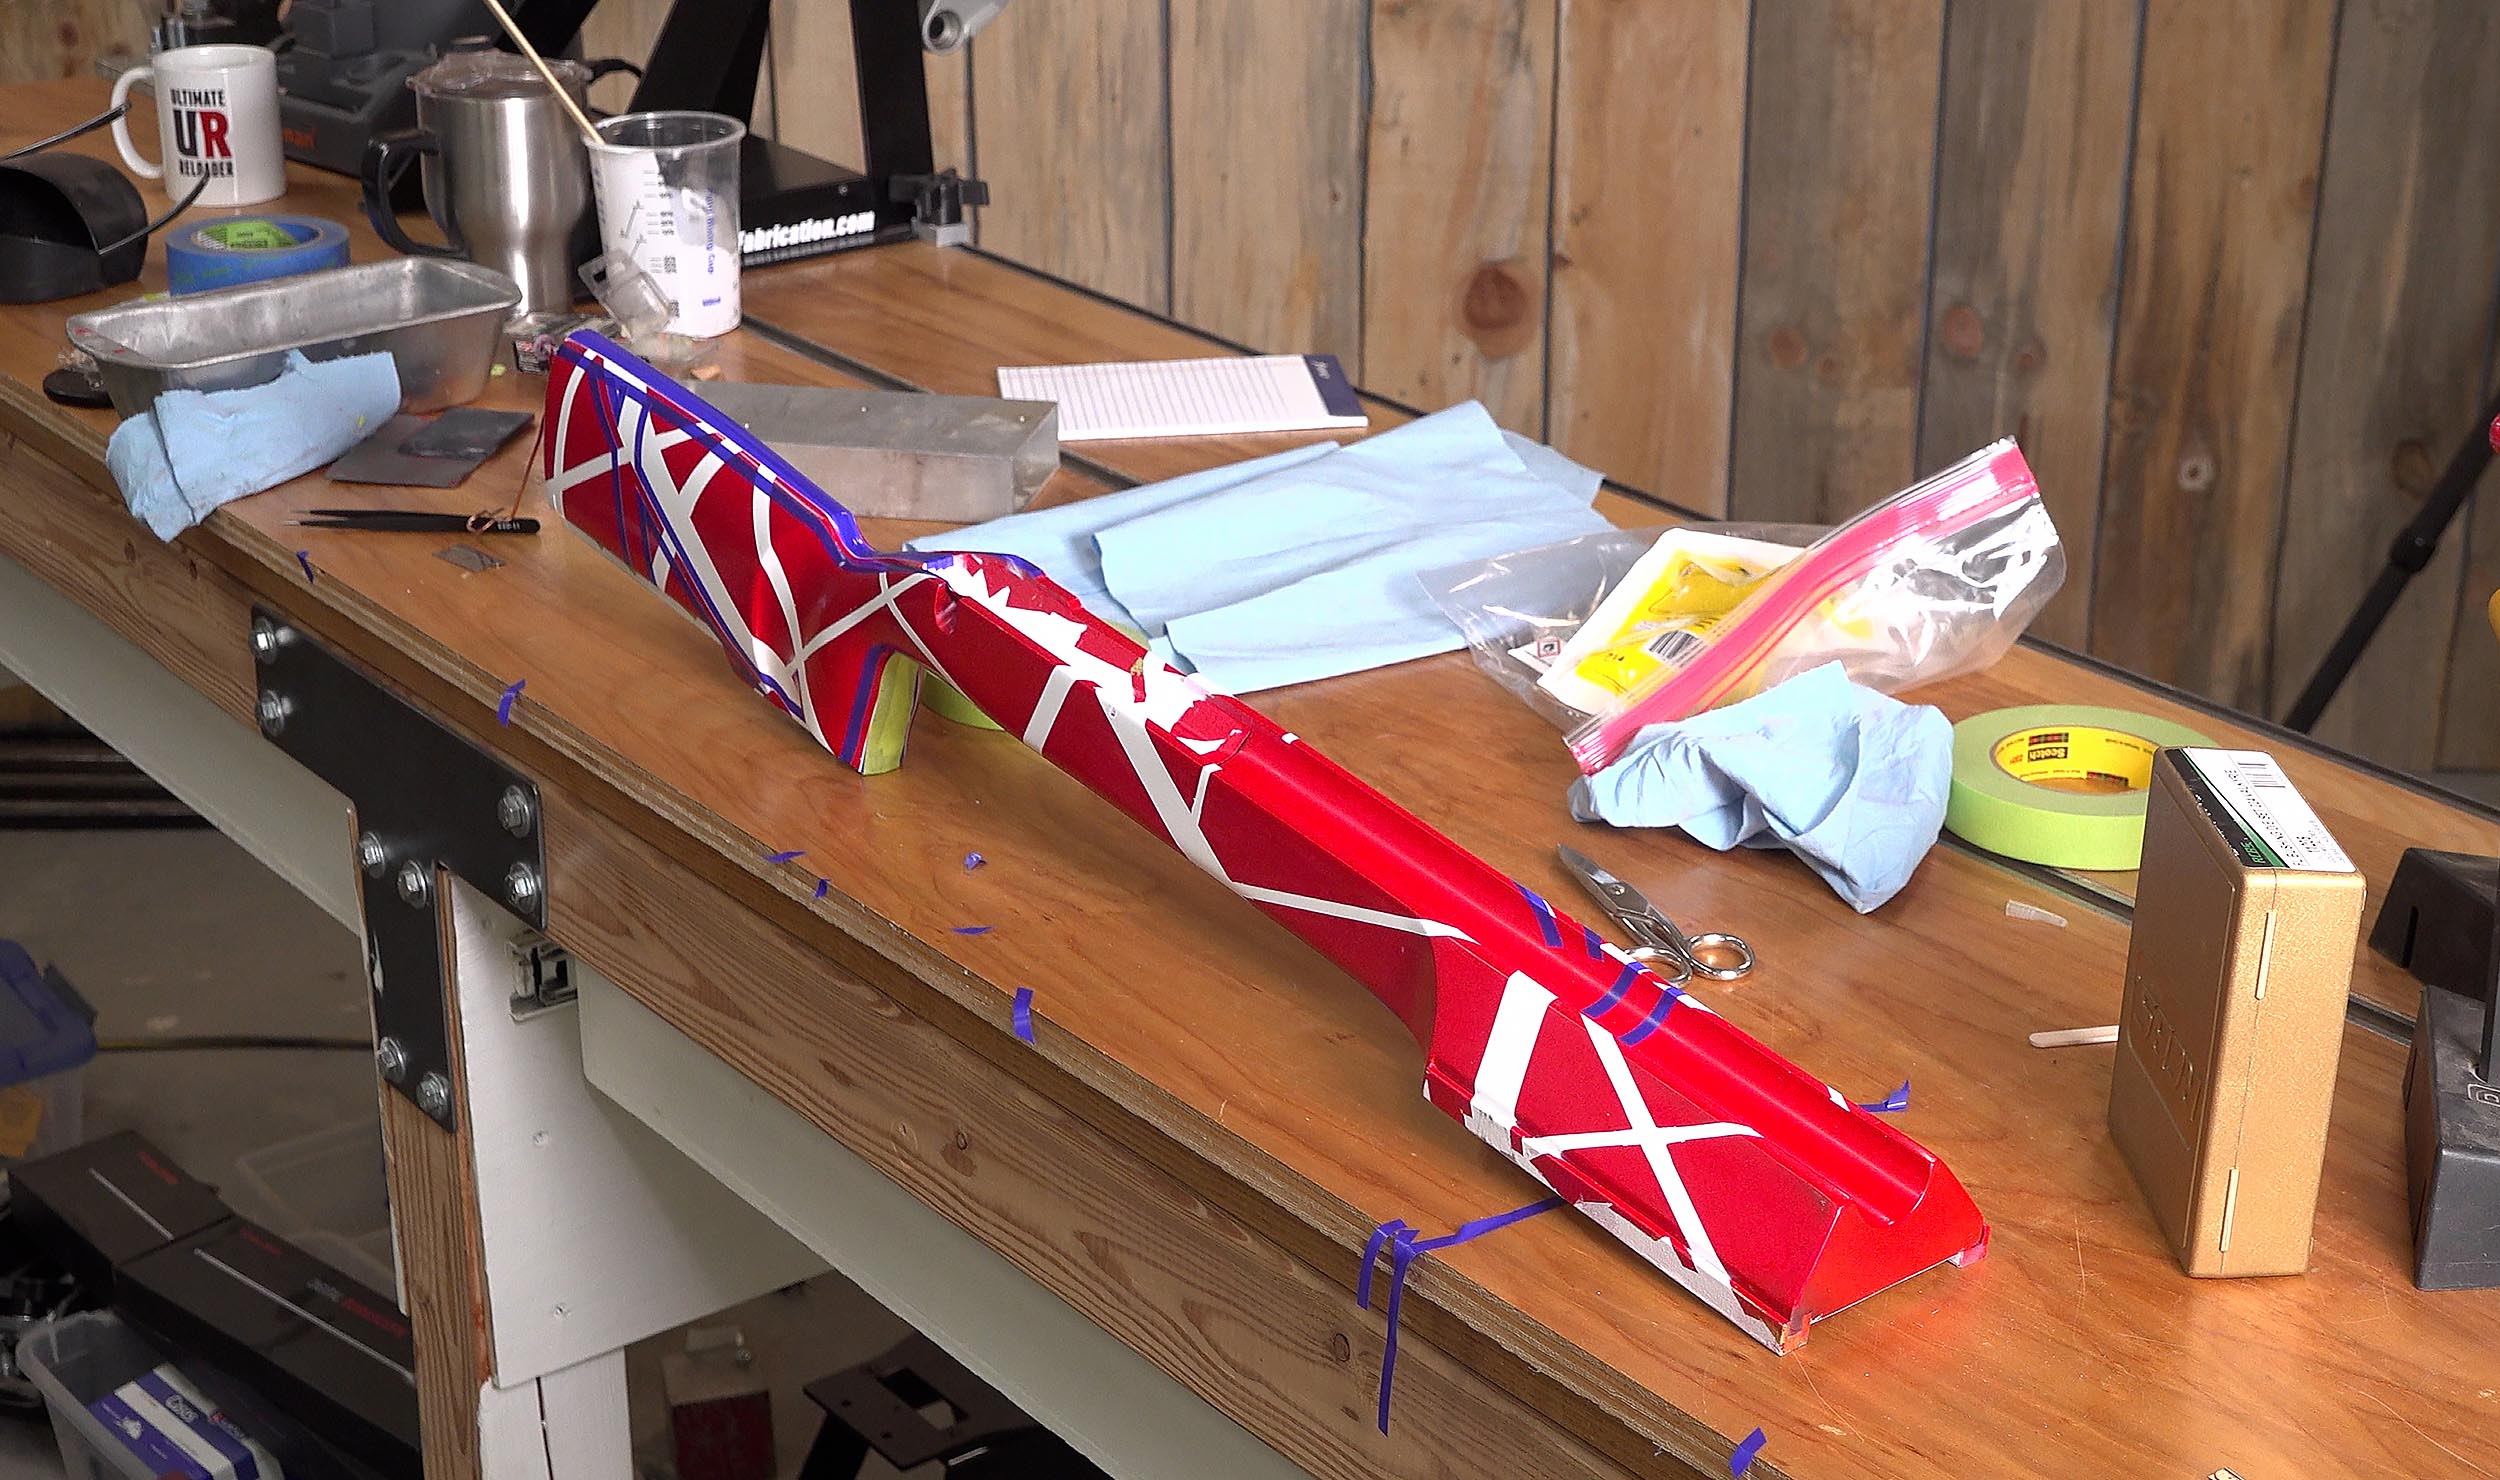
For the white basecoat, I spent quite a while masking which formed the basic white striped pattern over the red:
I then sprayed three coats of white basecoat:
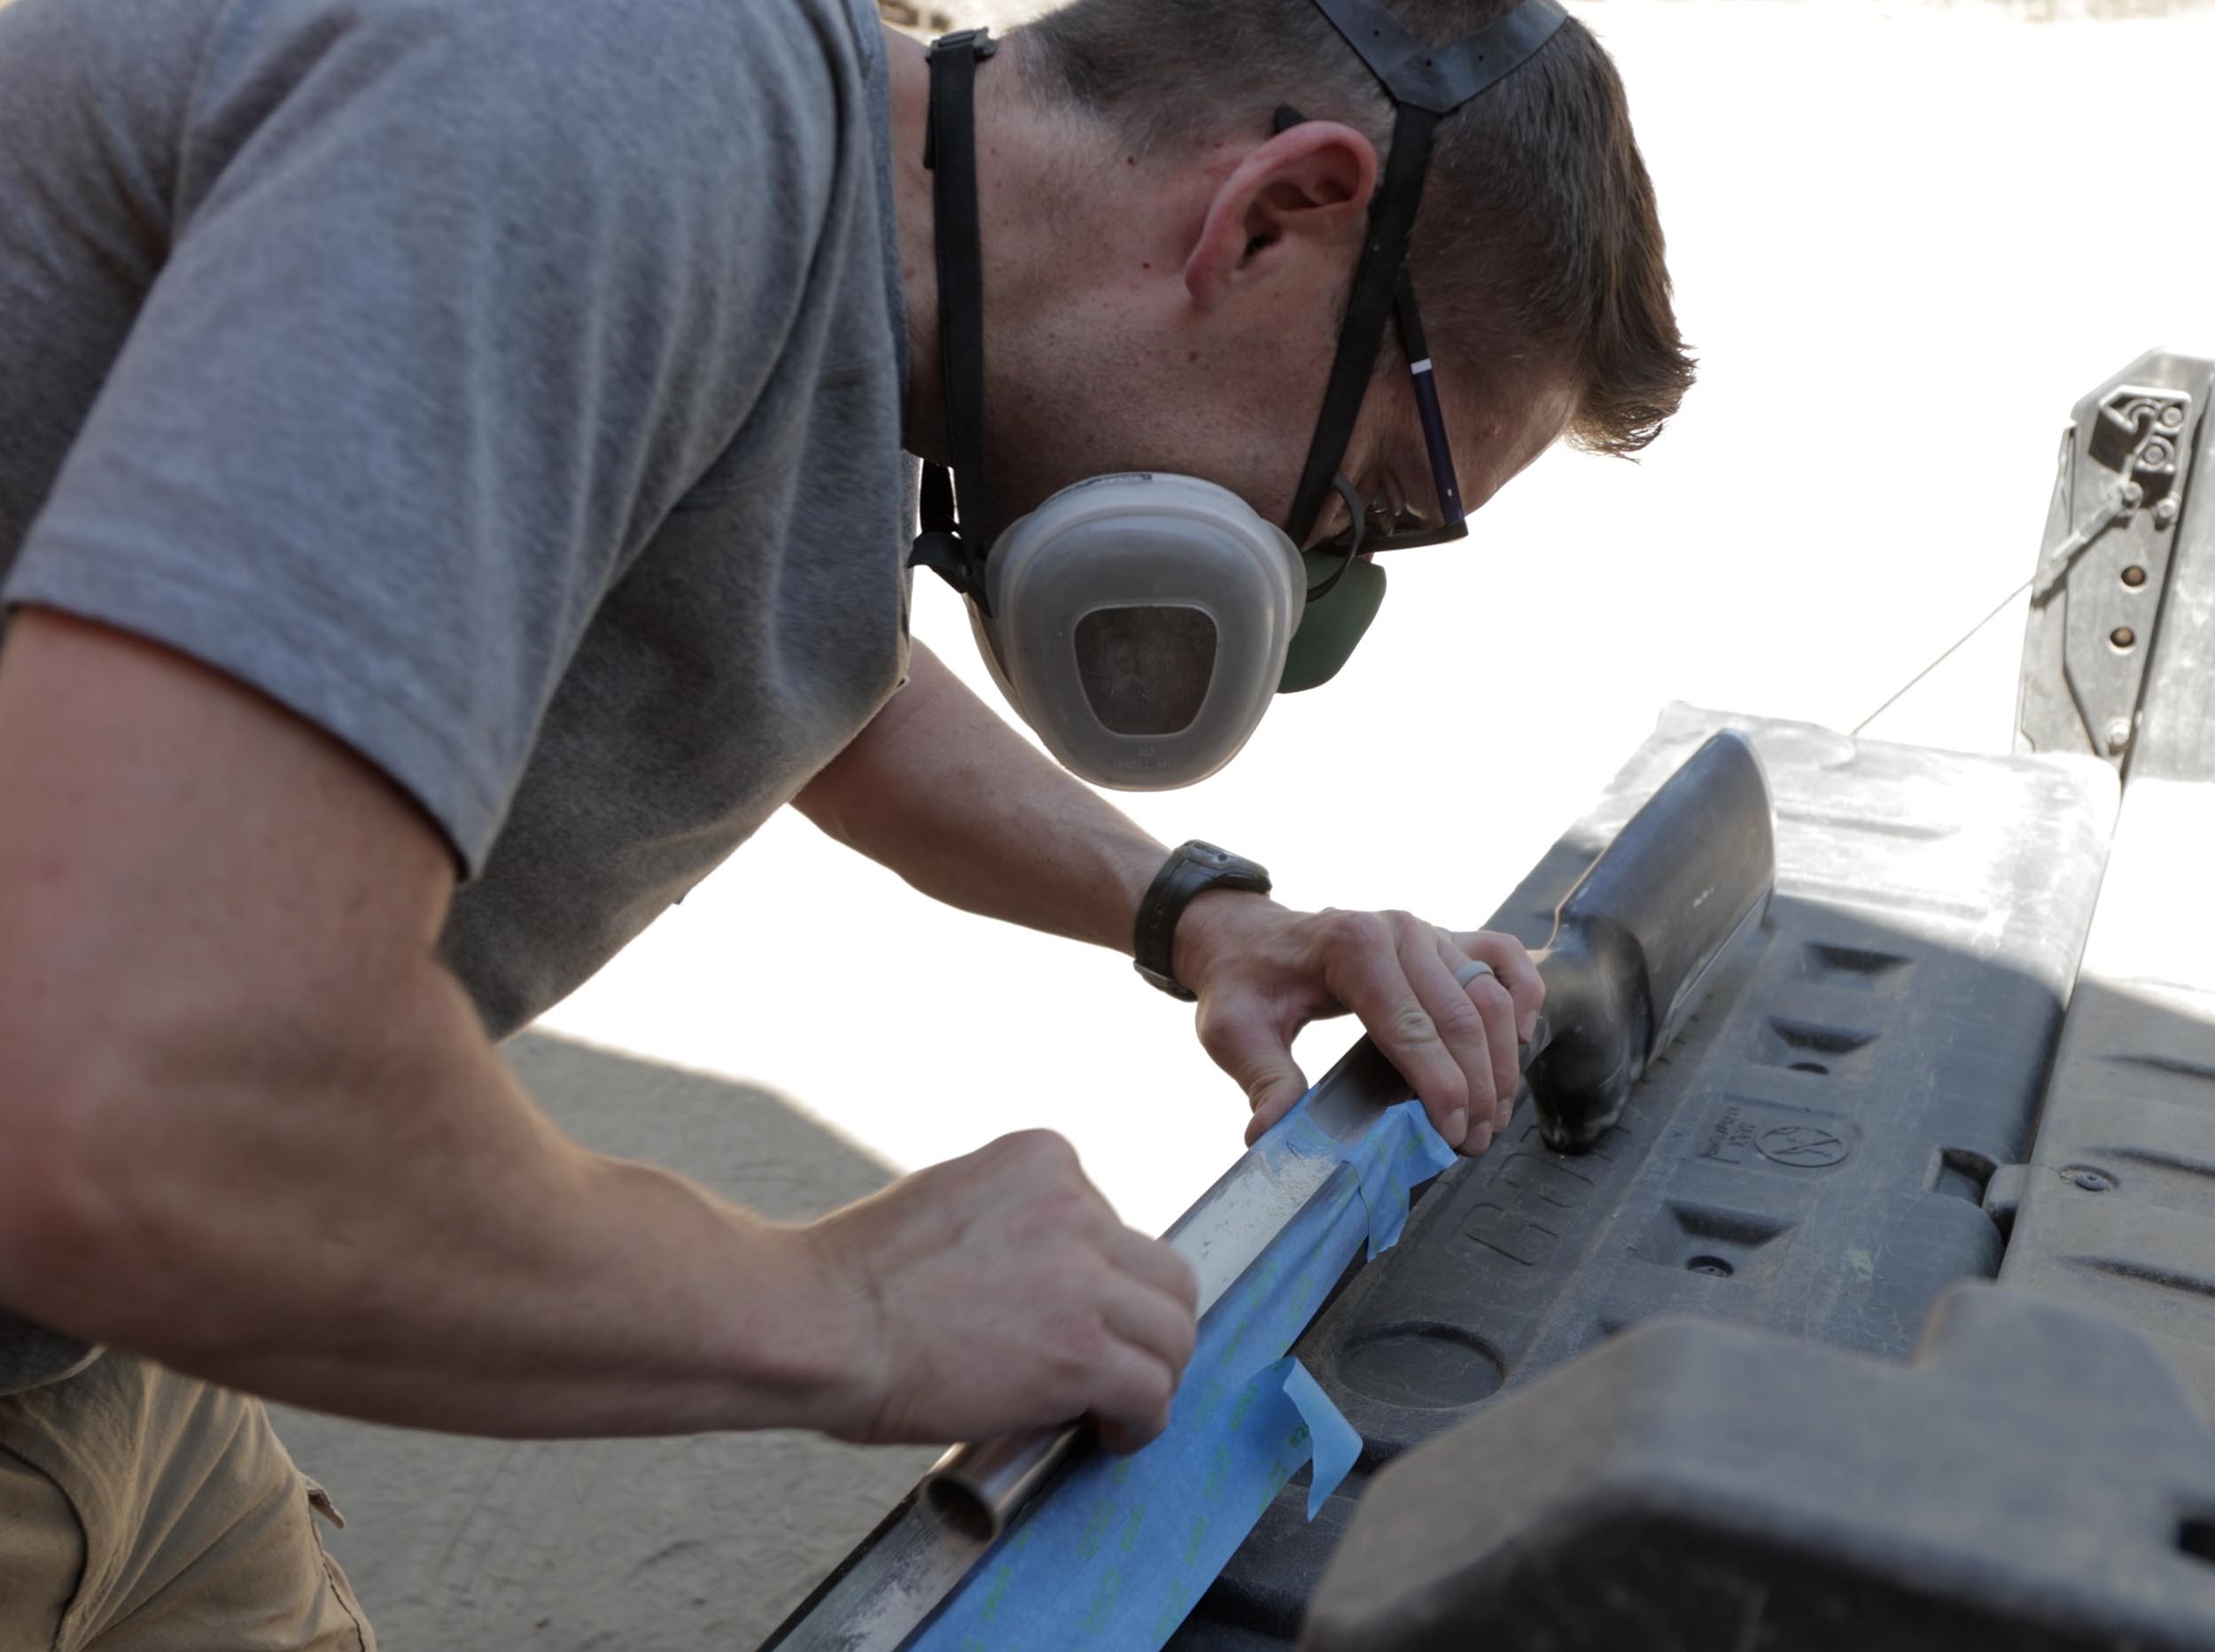
Painting Part 3: Black Basecoat
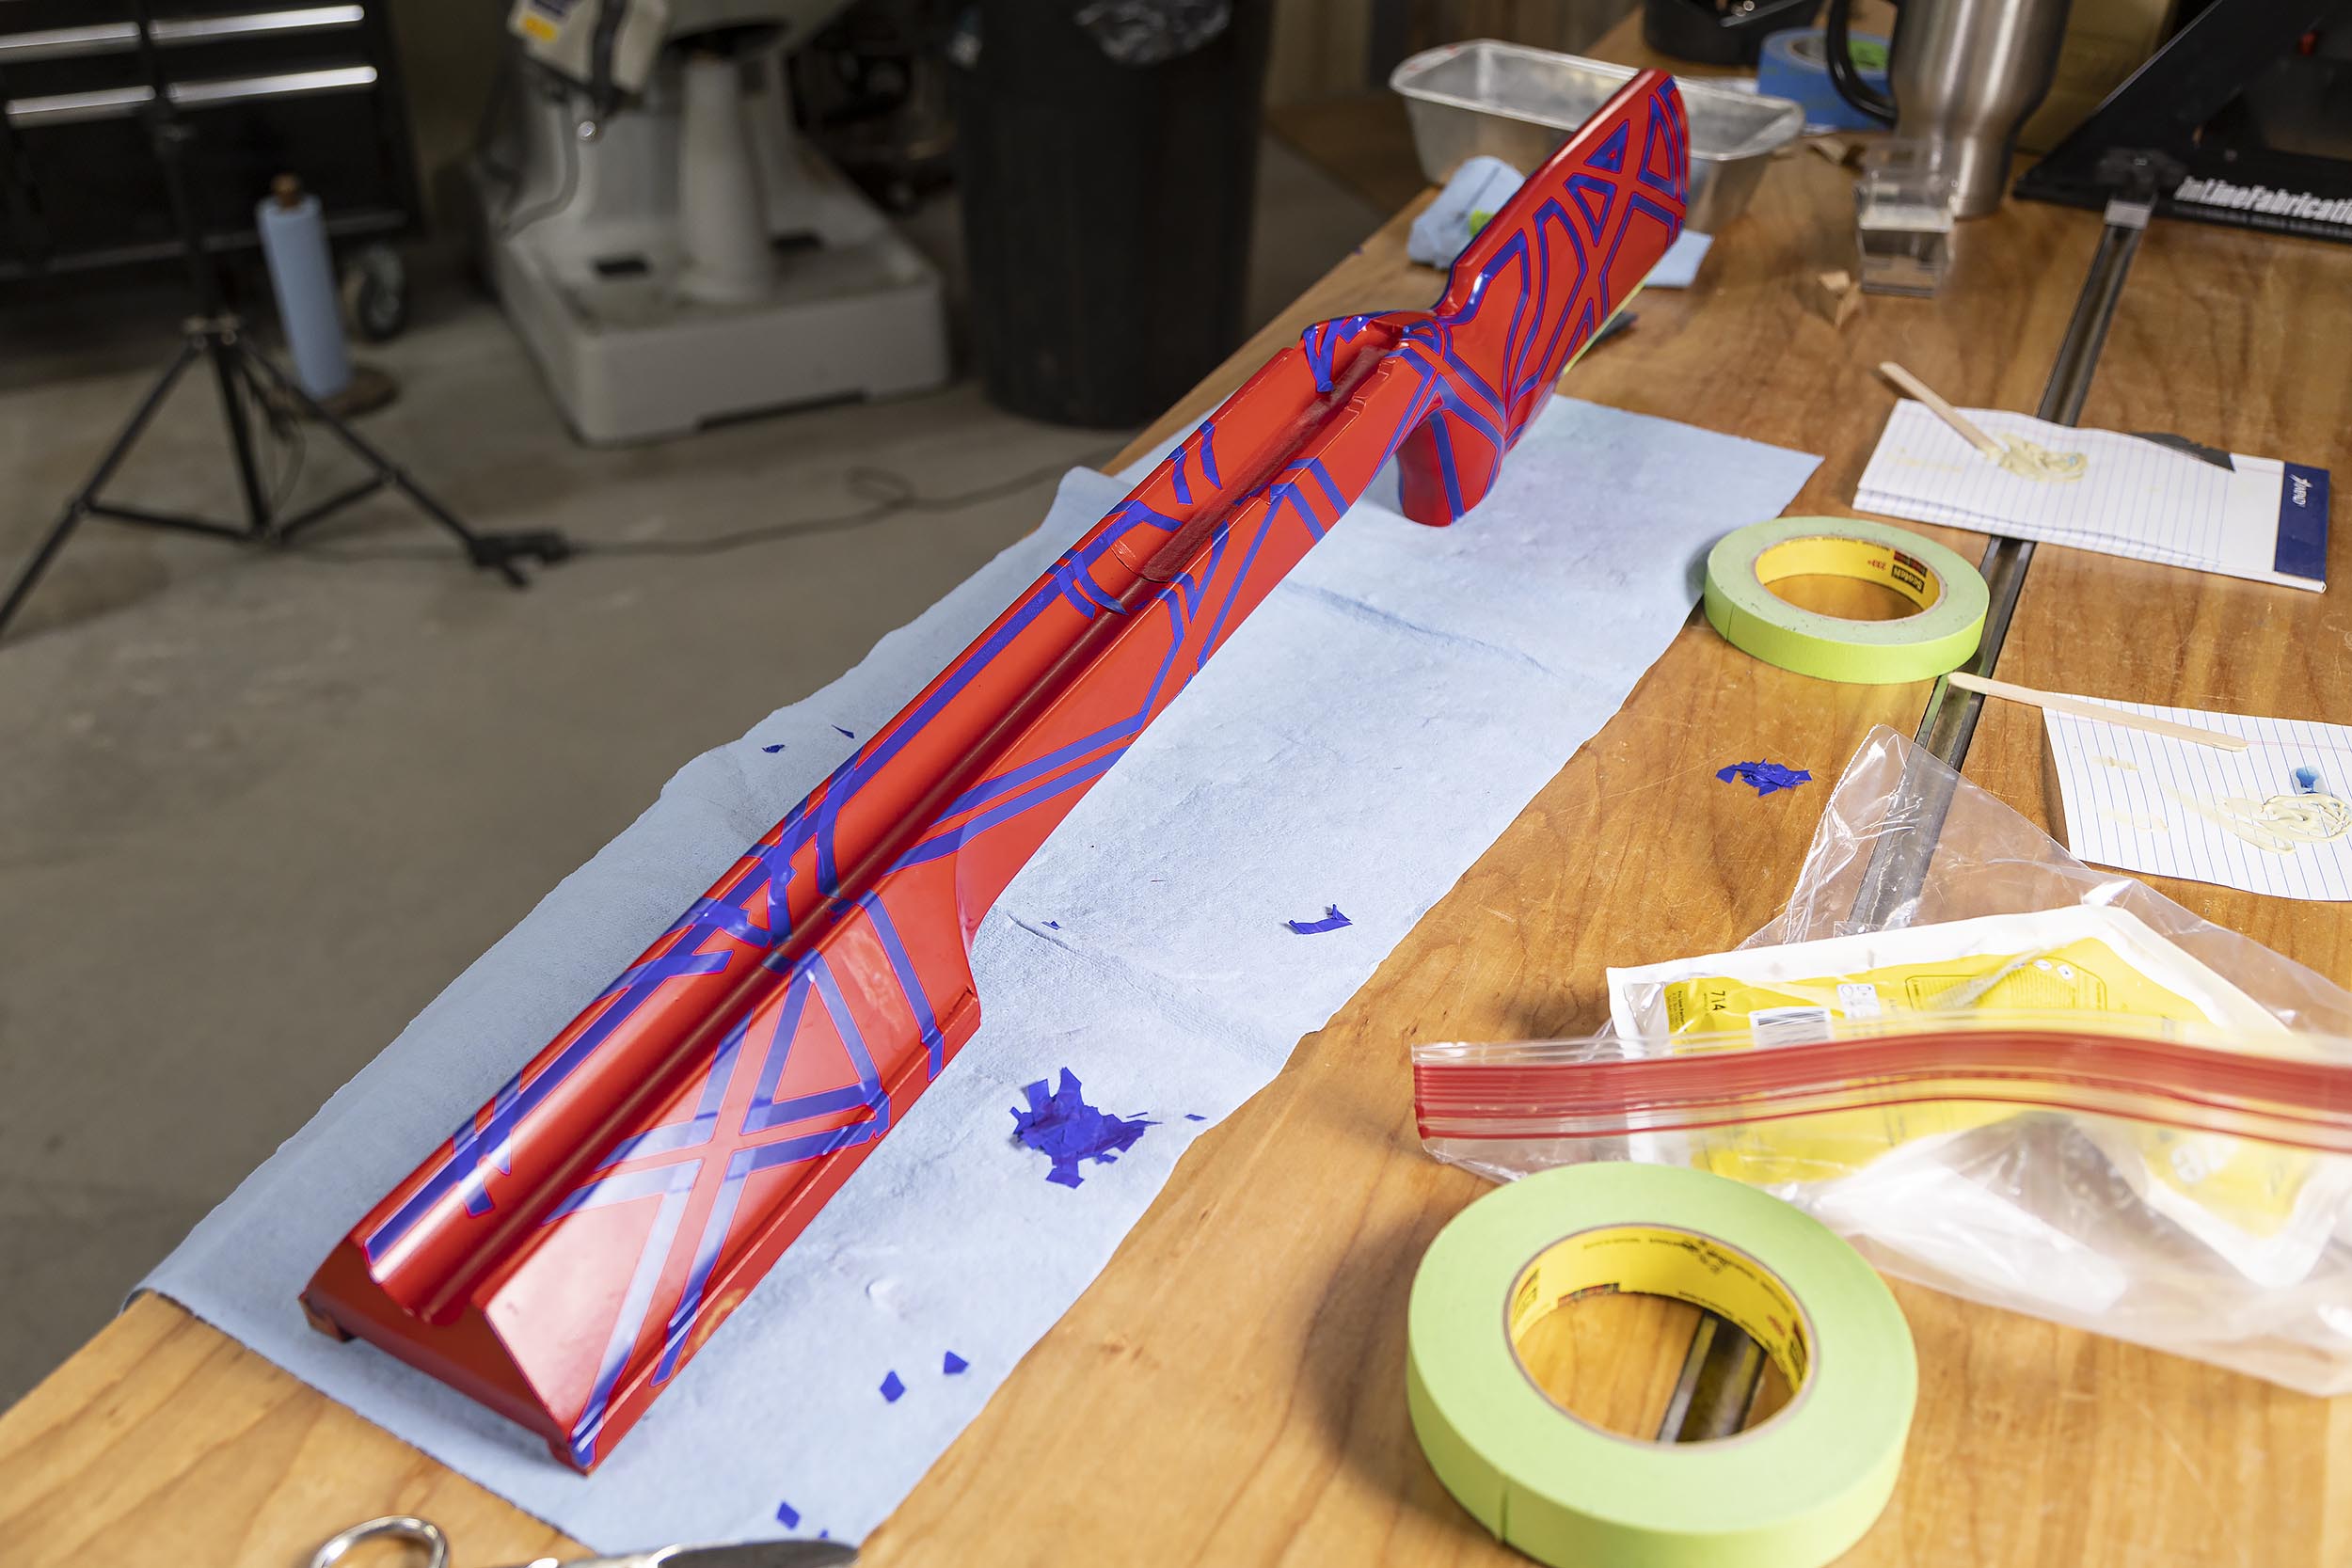
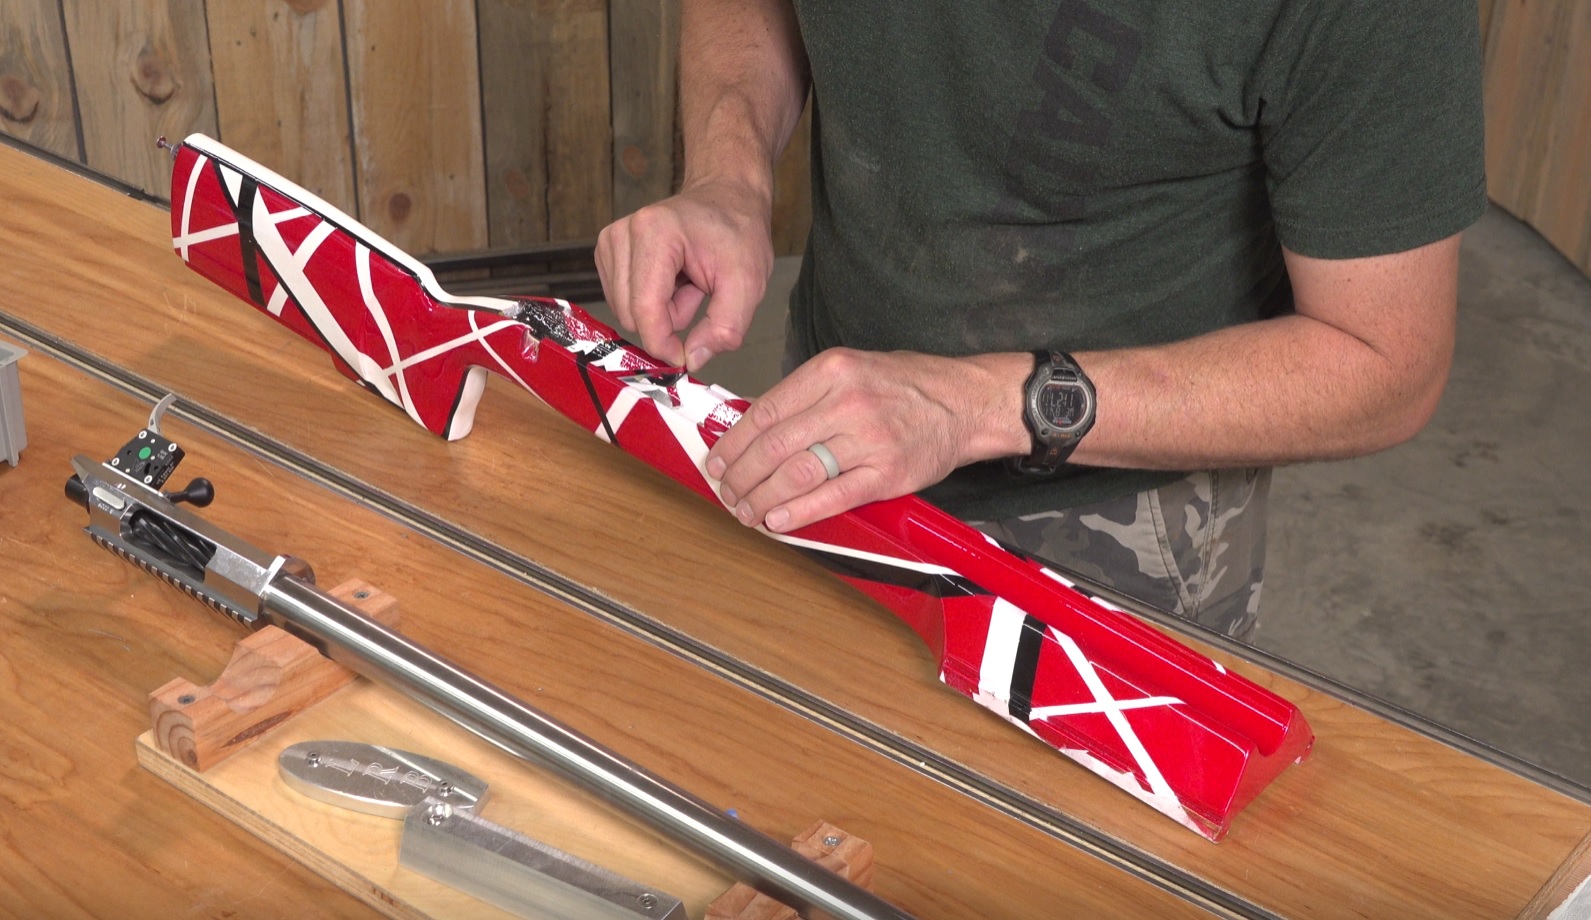
Following the spraying of the white, I spent a while cleaning up some masking intersections and other minor issues. Then it was time to mask for the black lines again with the 3M 1/4″ blue vinyl tape.
Here’s the start of that process:
That was followed with another basecoat pass (3 coats), this time in black:
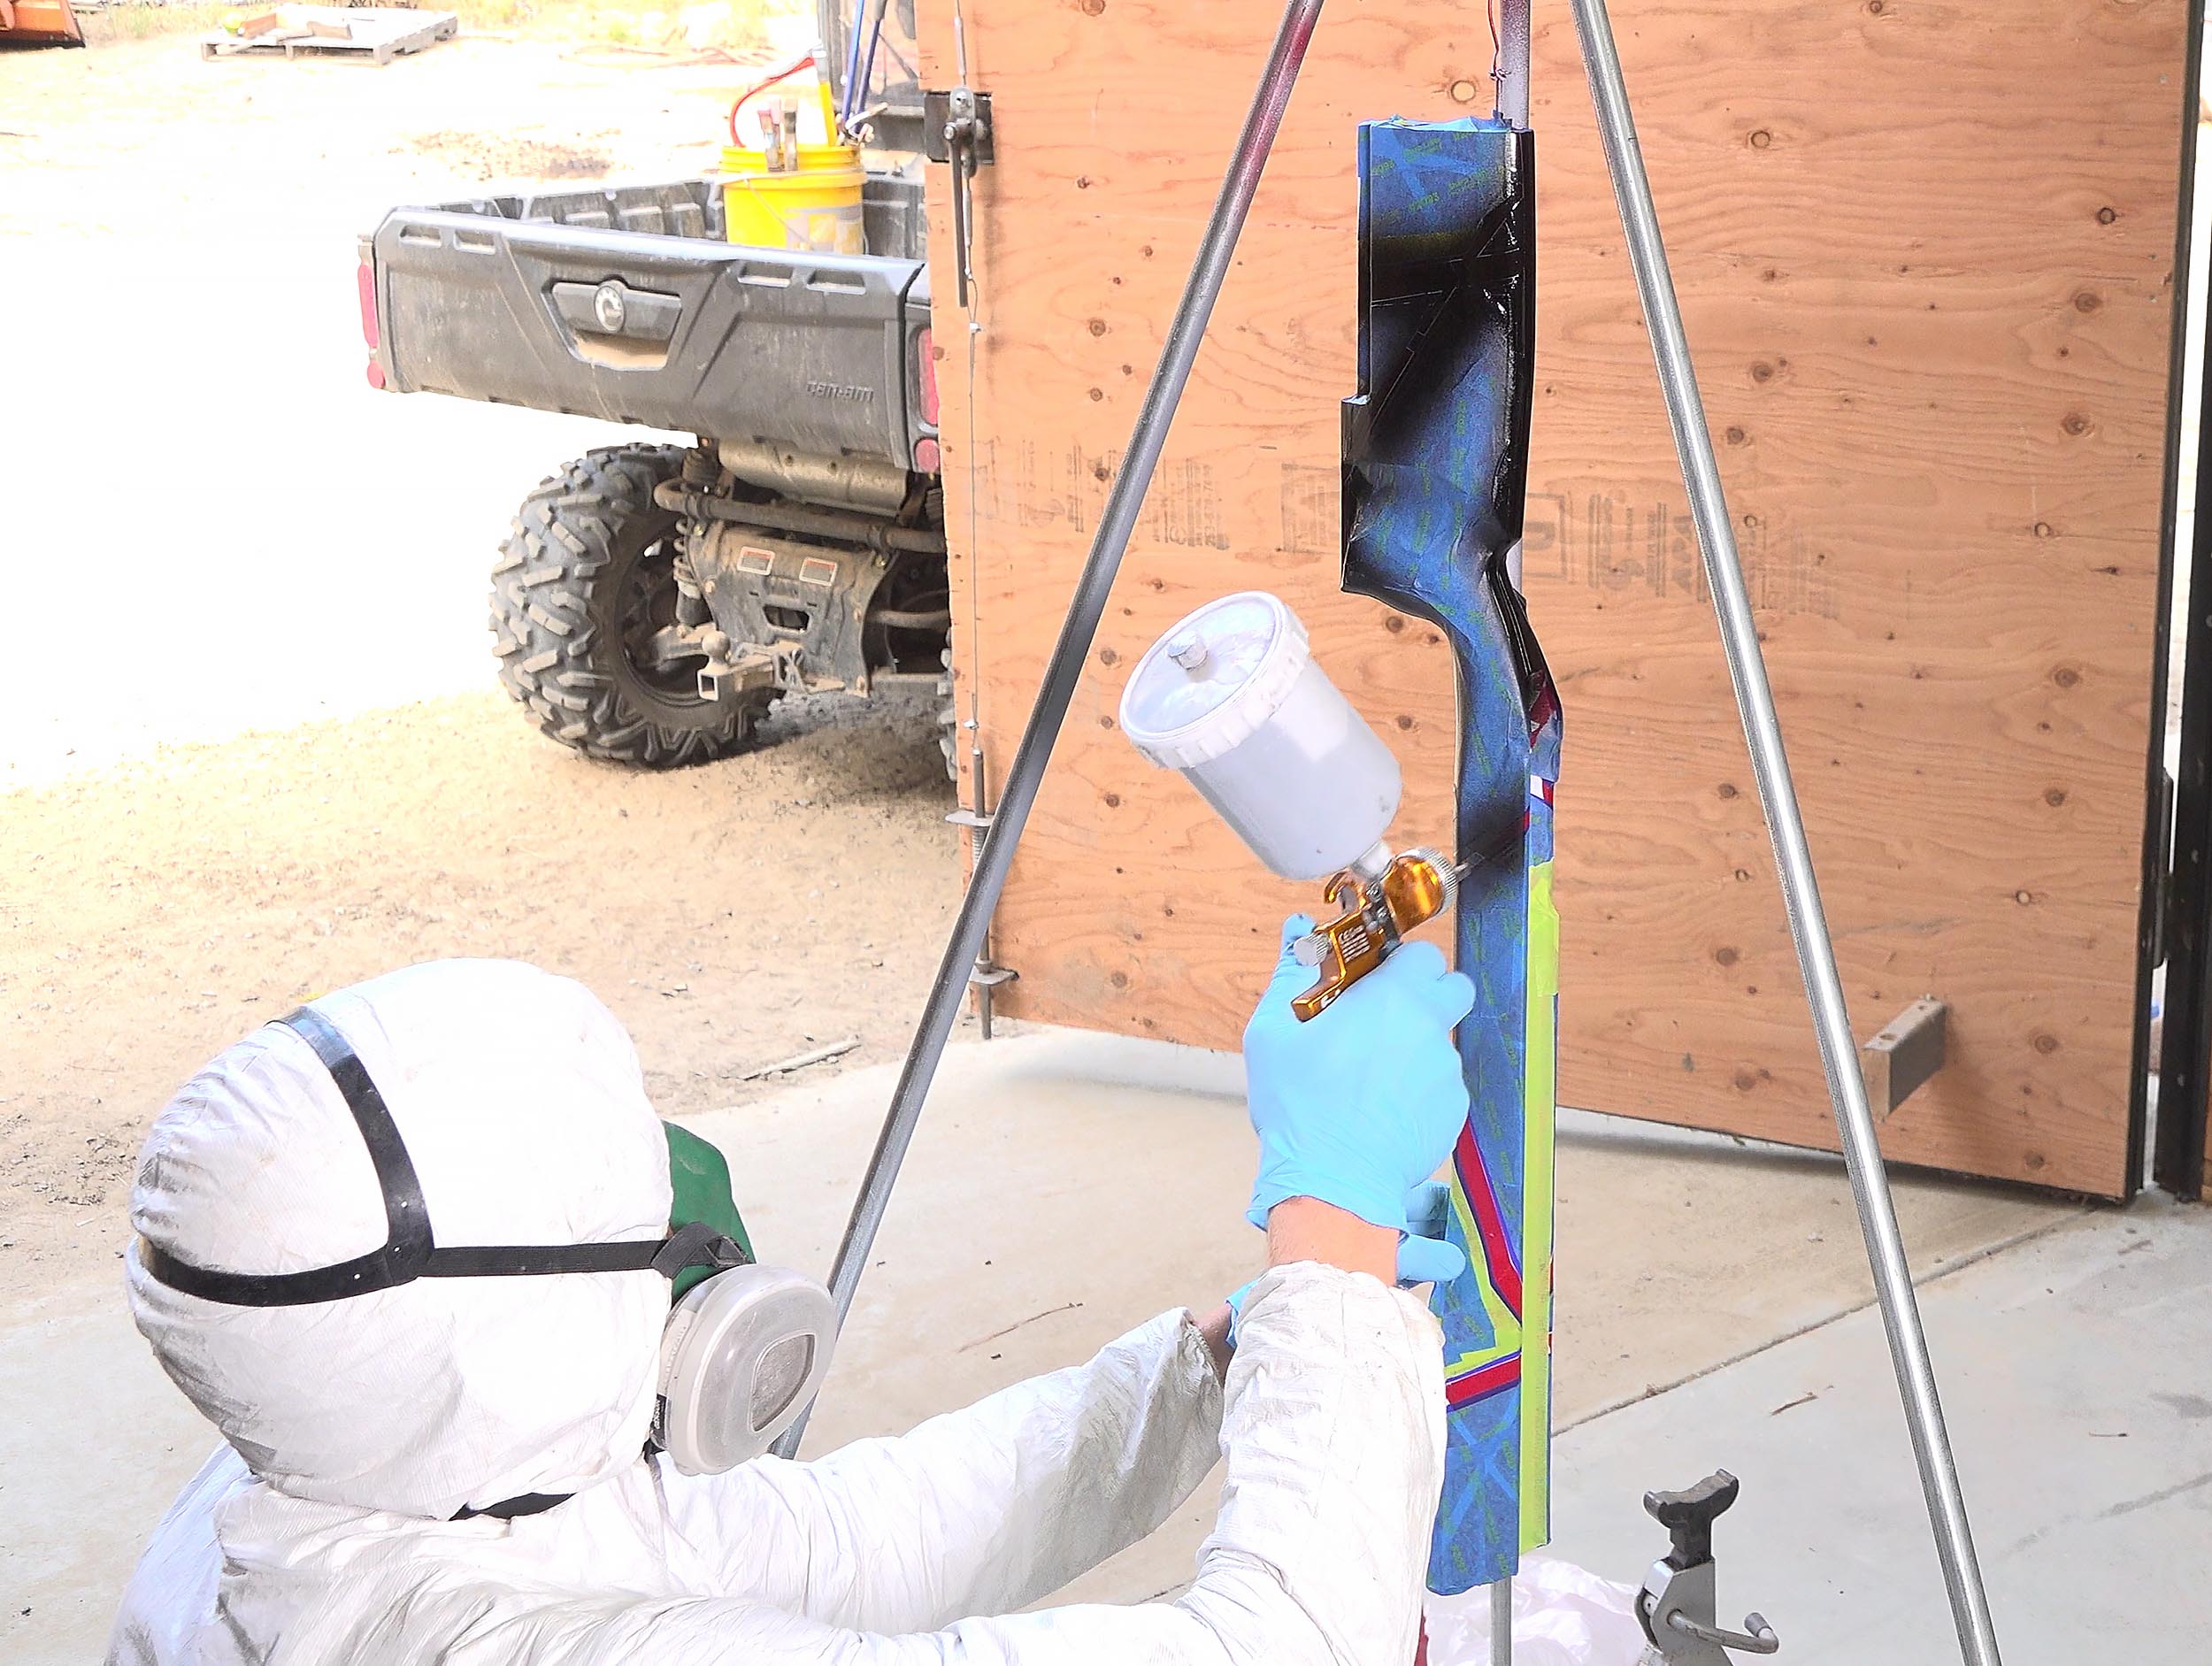
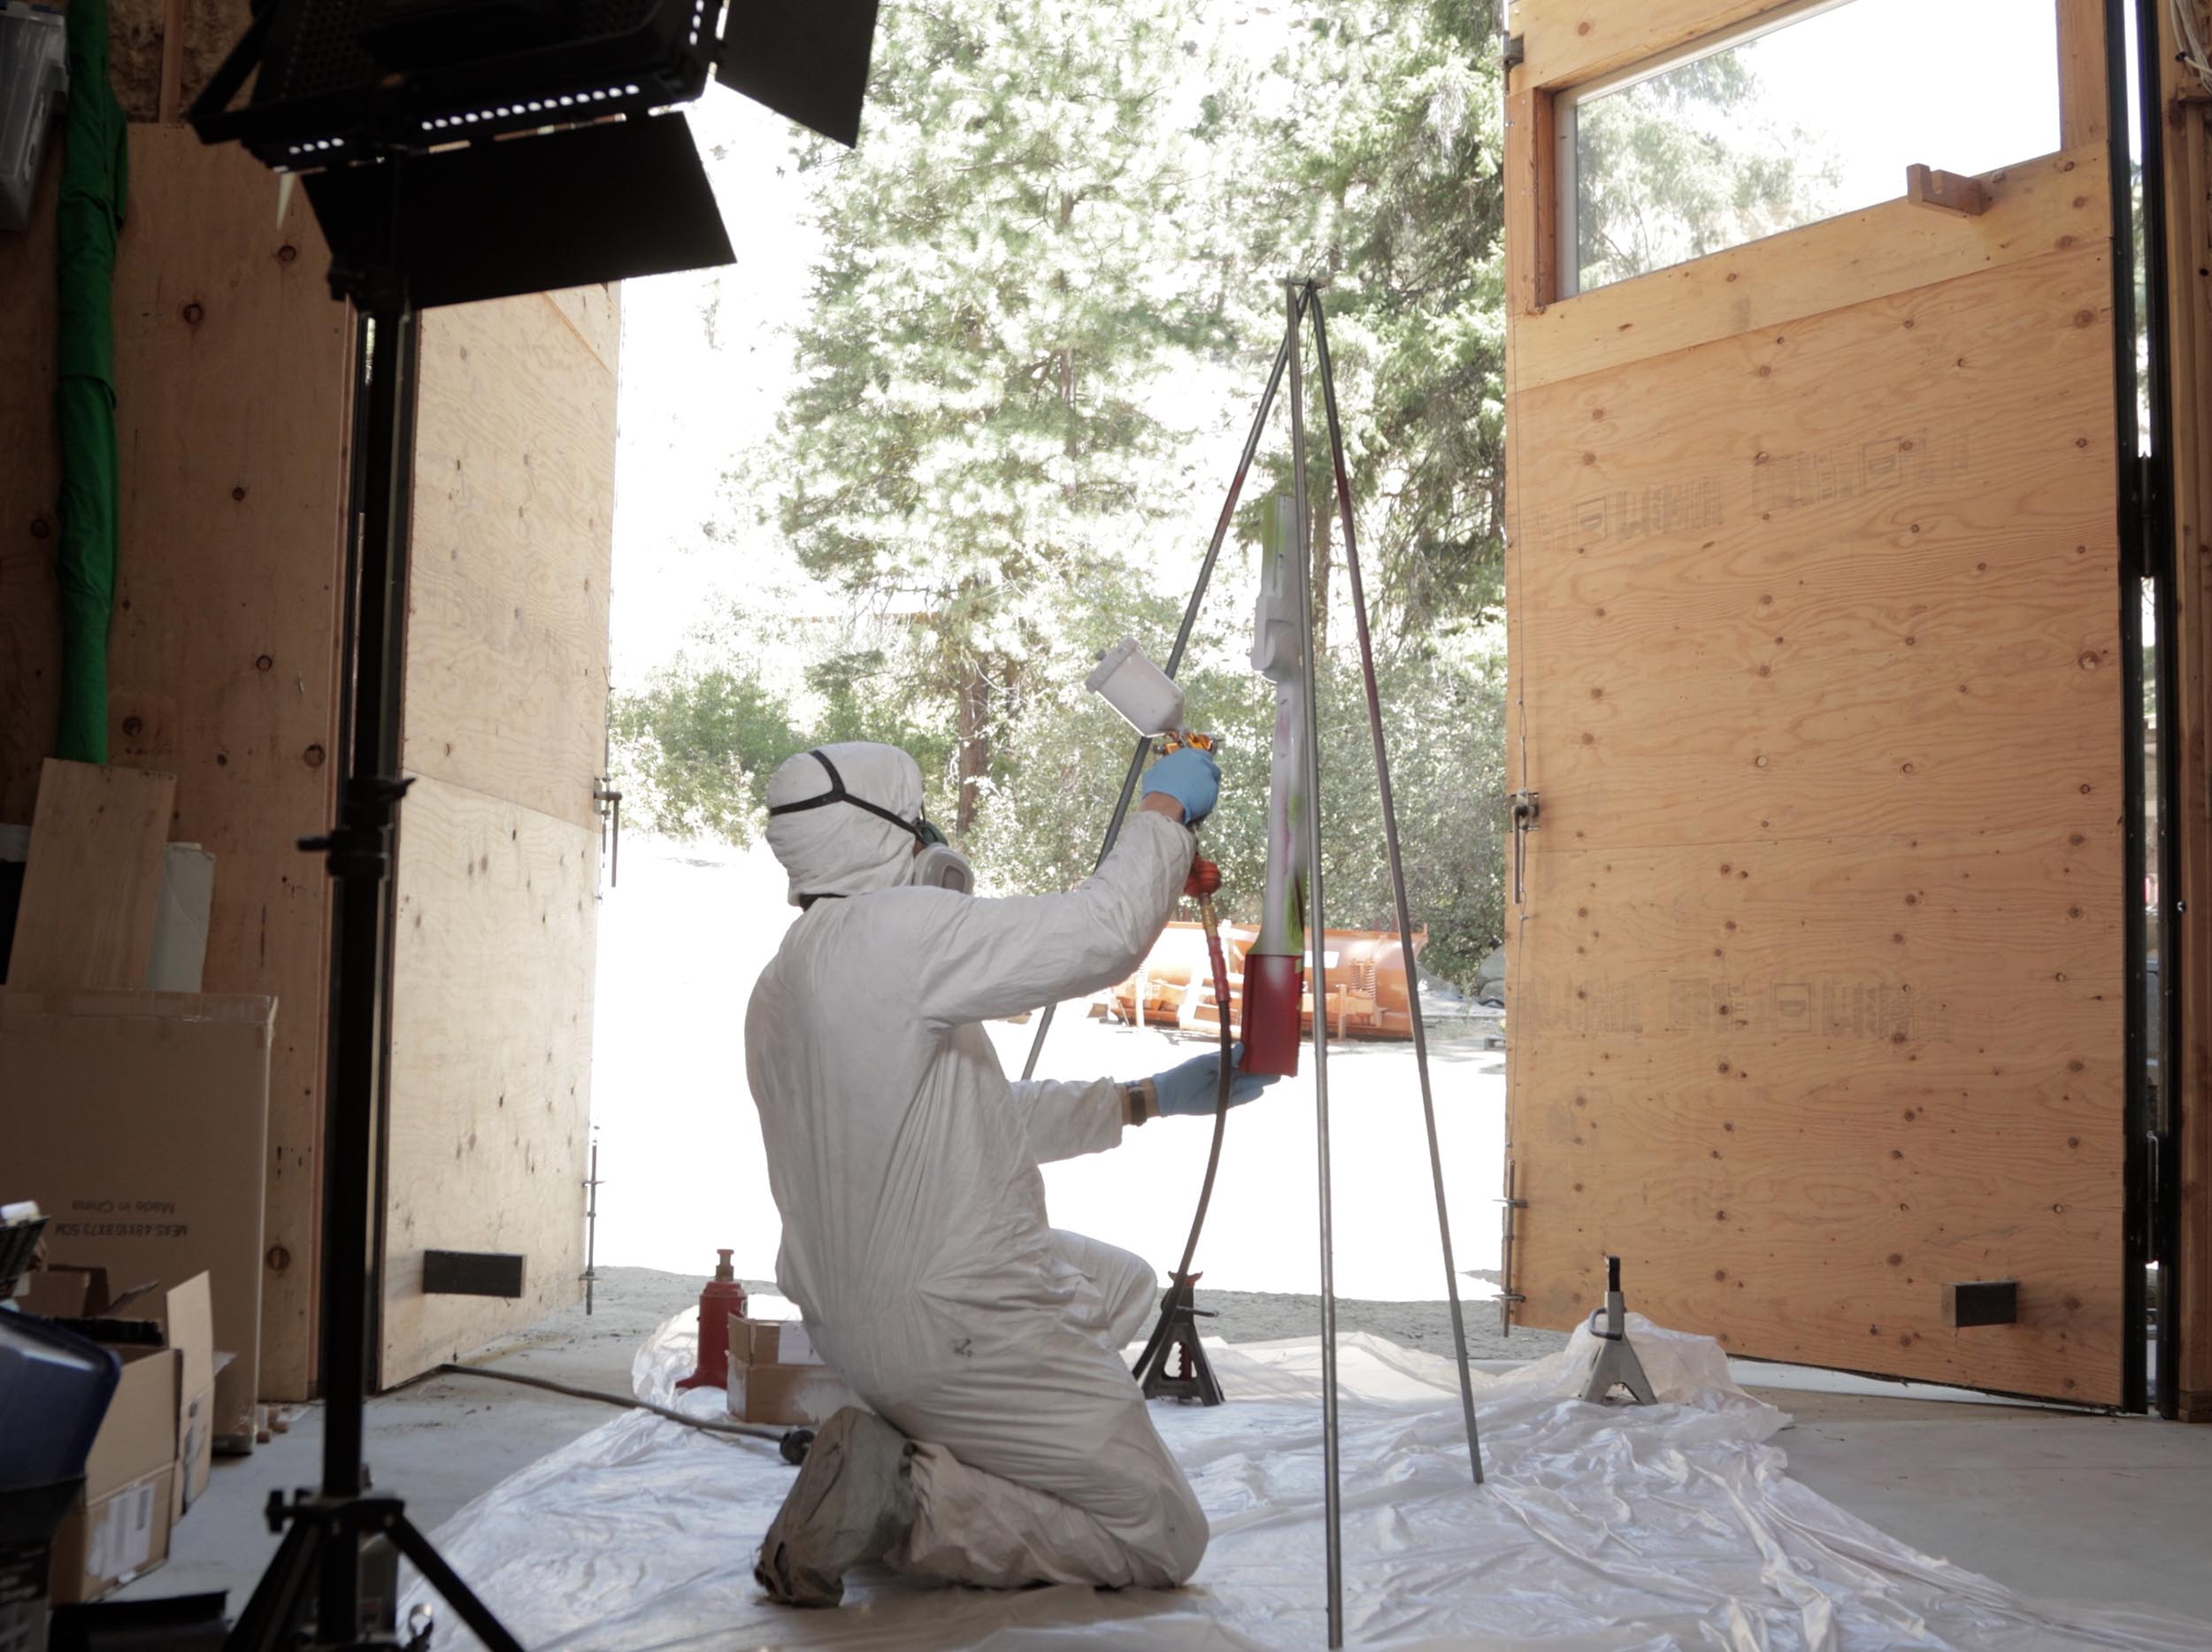
While my rifle support system wasn’t optimal (the tripod was made for cooking over the fire!) I was more concerned with seeing the paint go down, hence the lighting right next to the hanging rifle stock. If you can see the reflection of light on the paint you’re laying down, you can do a perfect job. Without that kind of lighting, you won’t be able to!
Painting Part 4: Clear Coat
![]()
Spraying the clearcoat is very satisfying. The basecoat is matte in appearance, and this is when things really “take life”. You can see the colors come through more bold and vibrant, and the shine is amazing.
I sprayed three coats, and let things cure for a while before moving the rifle stock to an overnight curing location (with increased heat).
![]()
Finishing Touches
Unmasking the rifle was both slow and exciting! To see the final combination of visual elements was awesome.
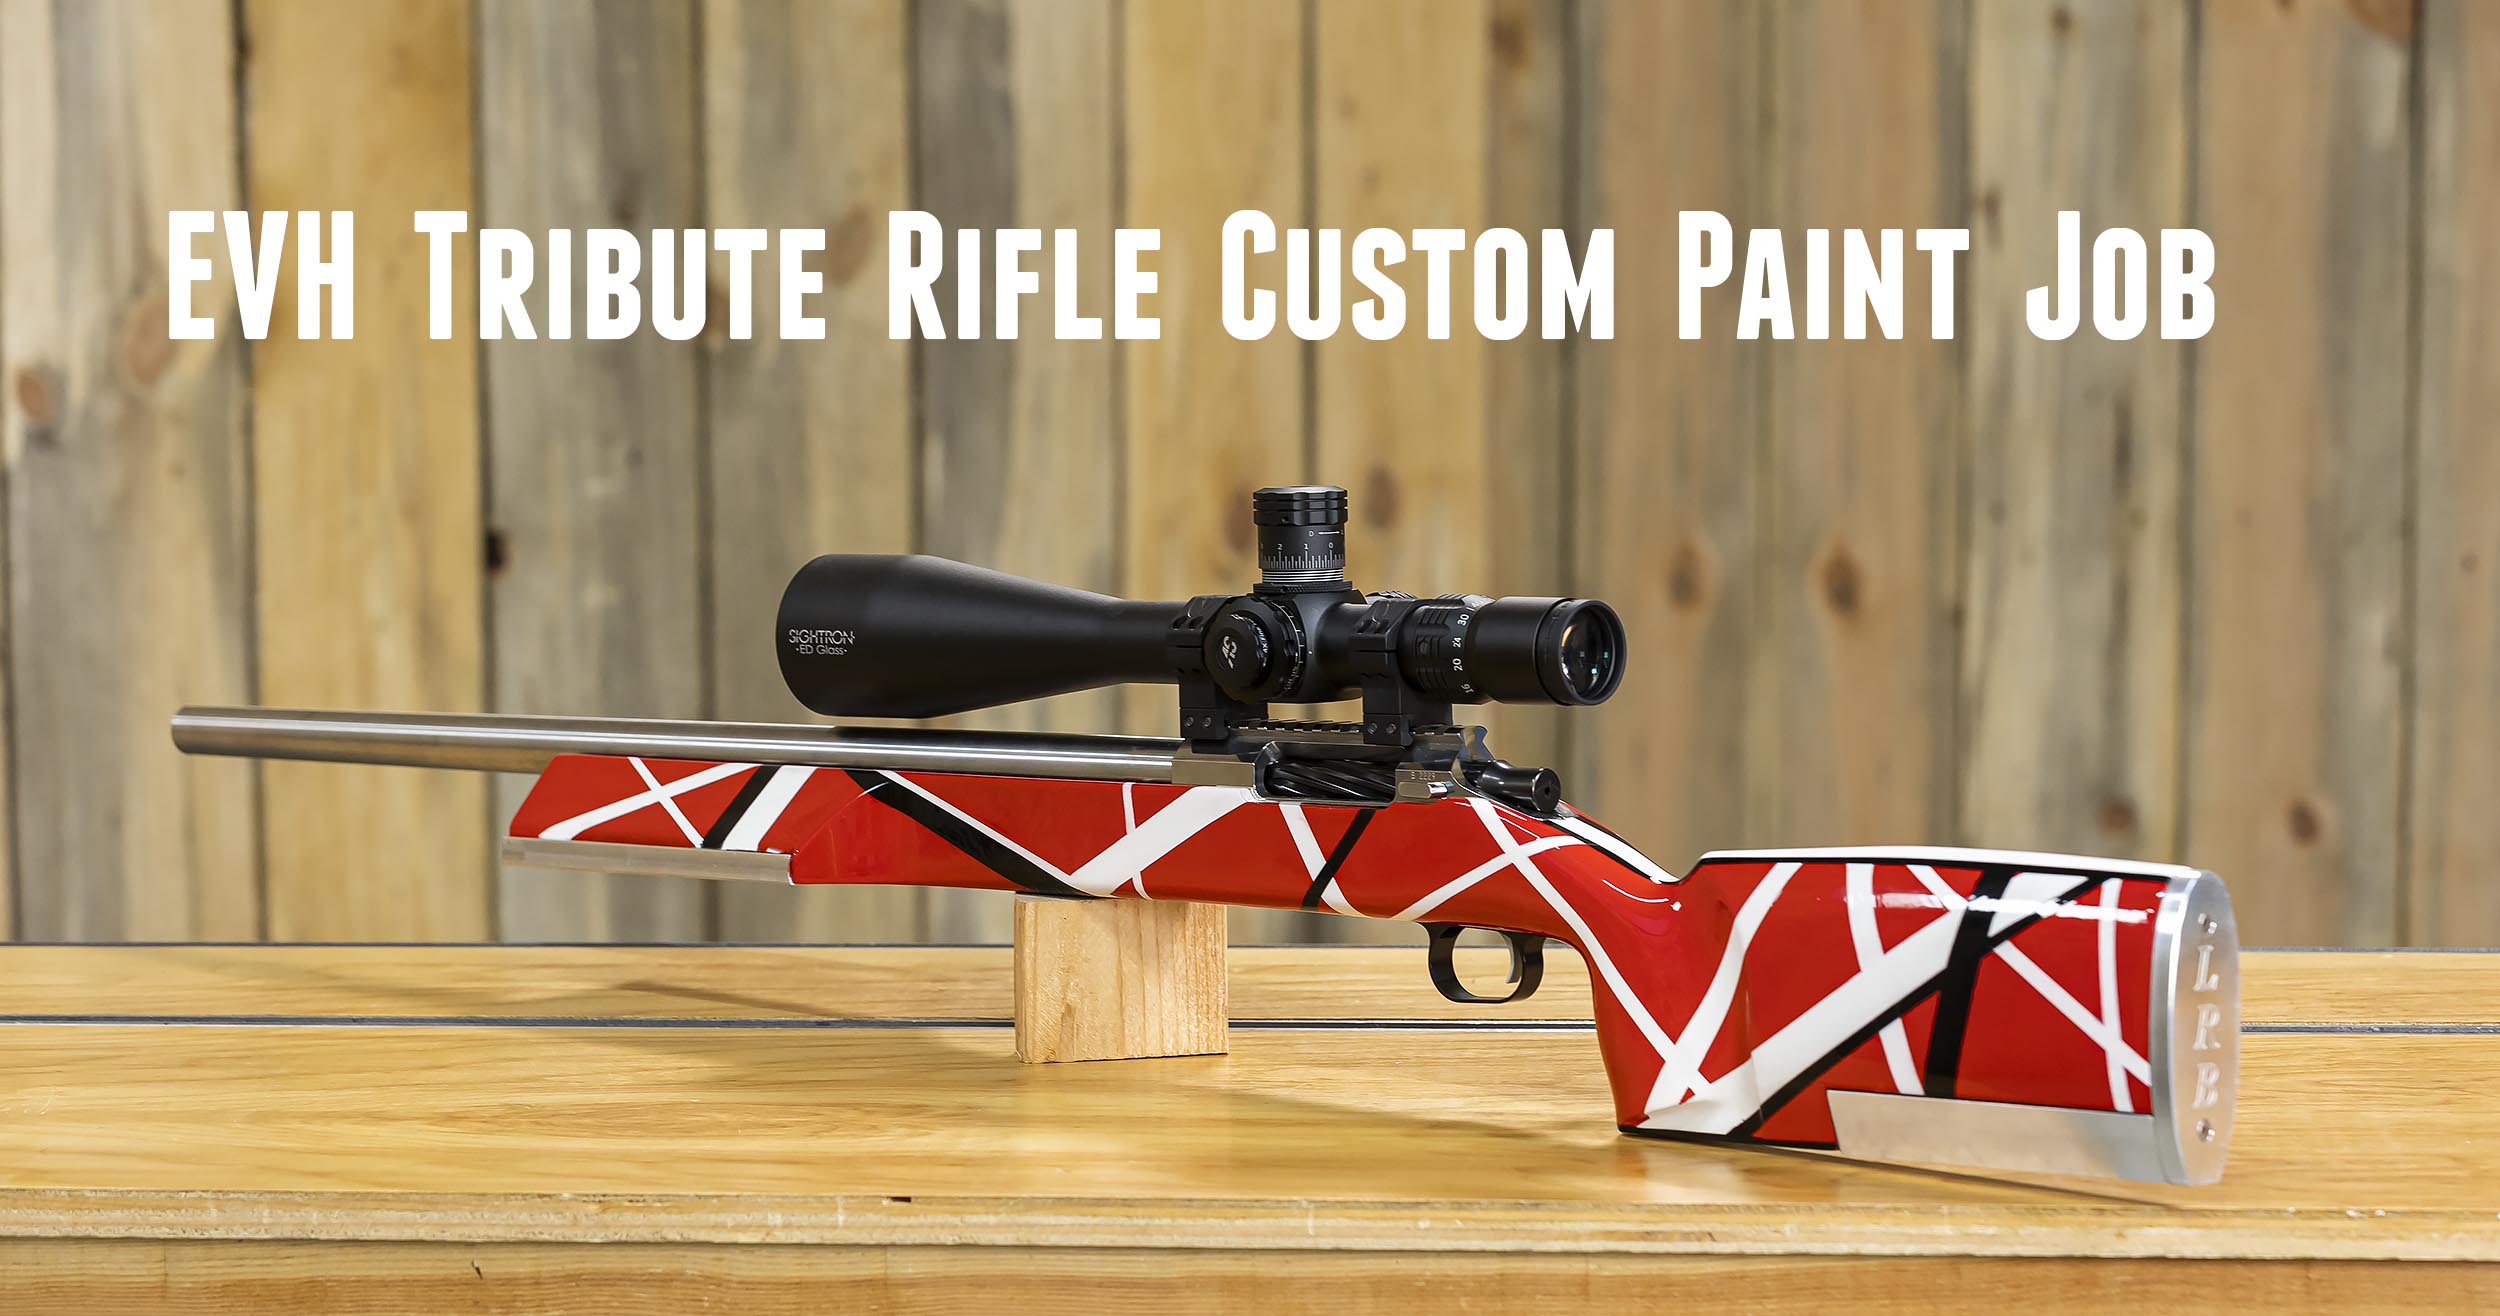
After assembling the stock (pieces had been removed for painting) and installing the barreled action, I took a moment to look at the finished rifle, mission accomplished:
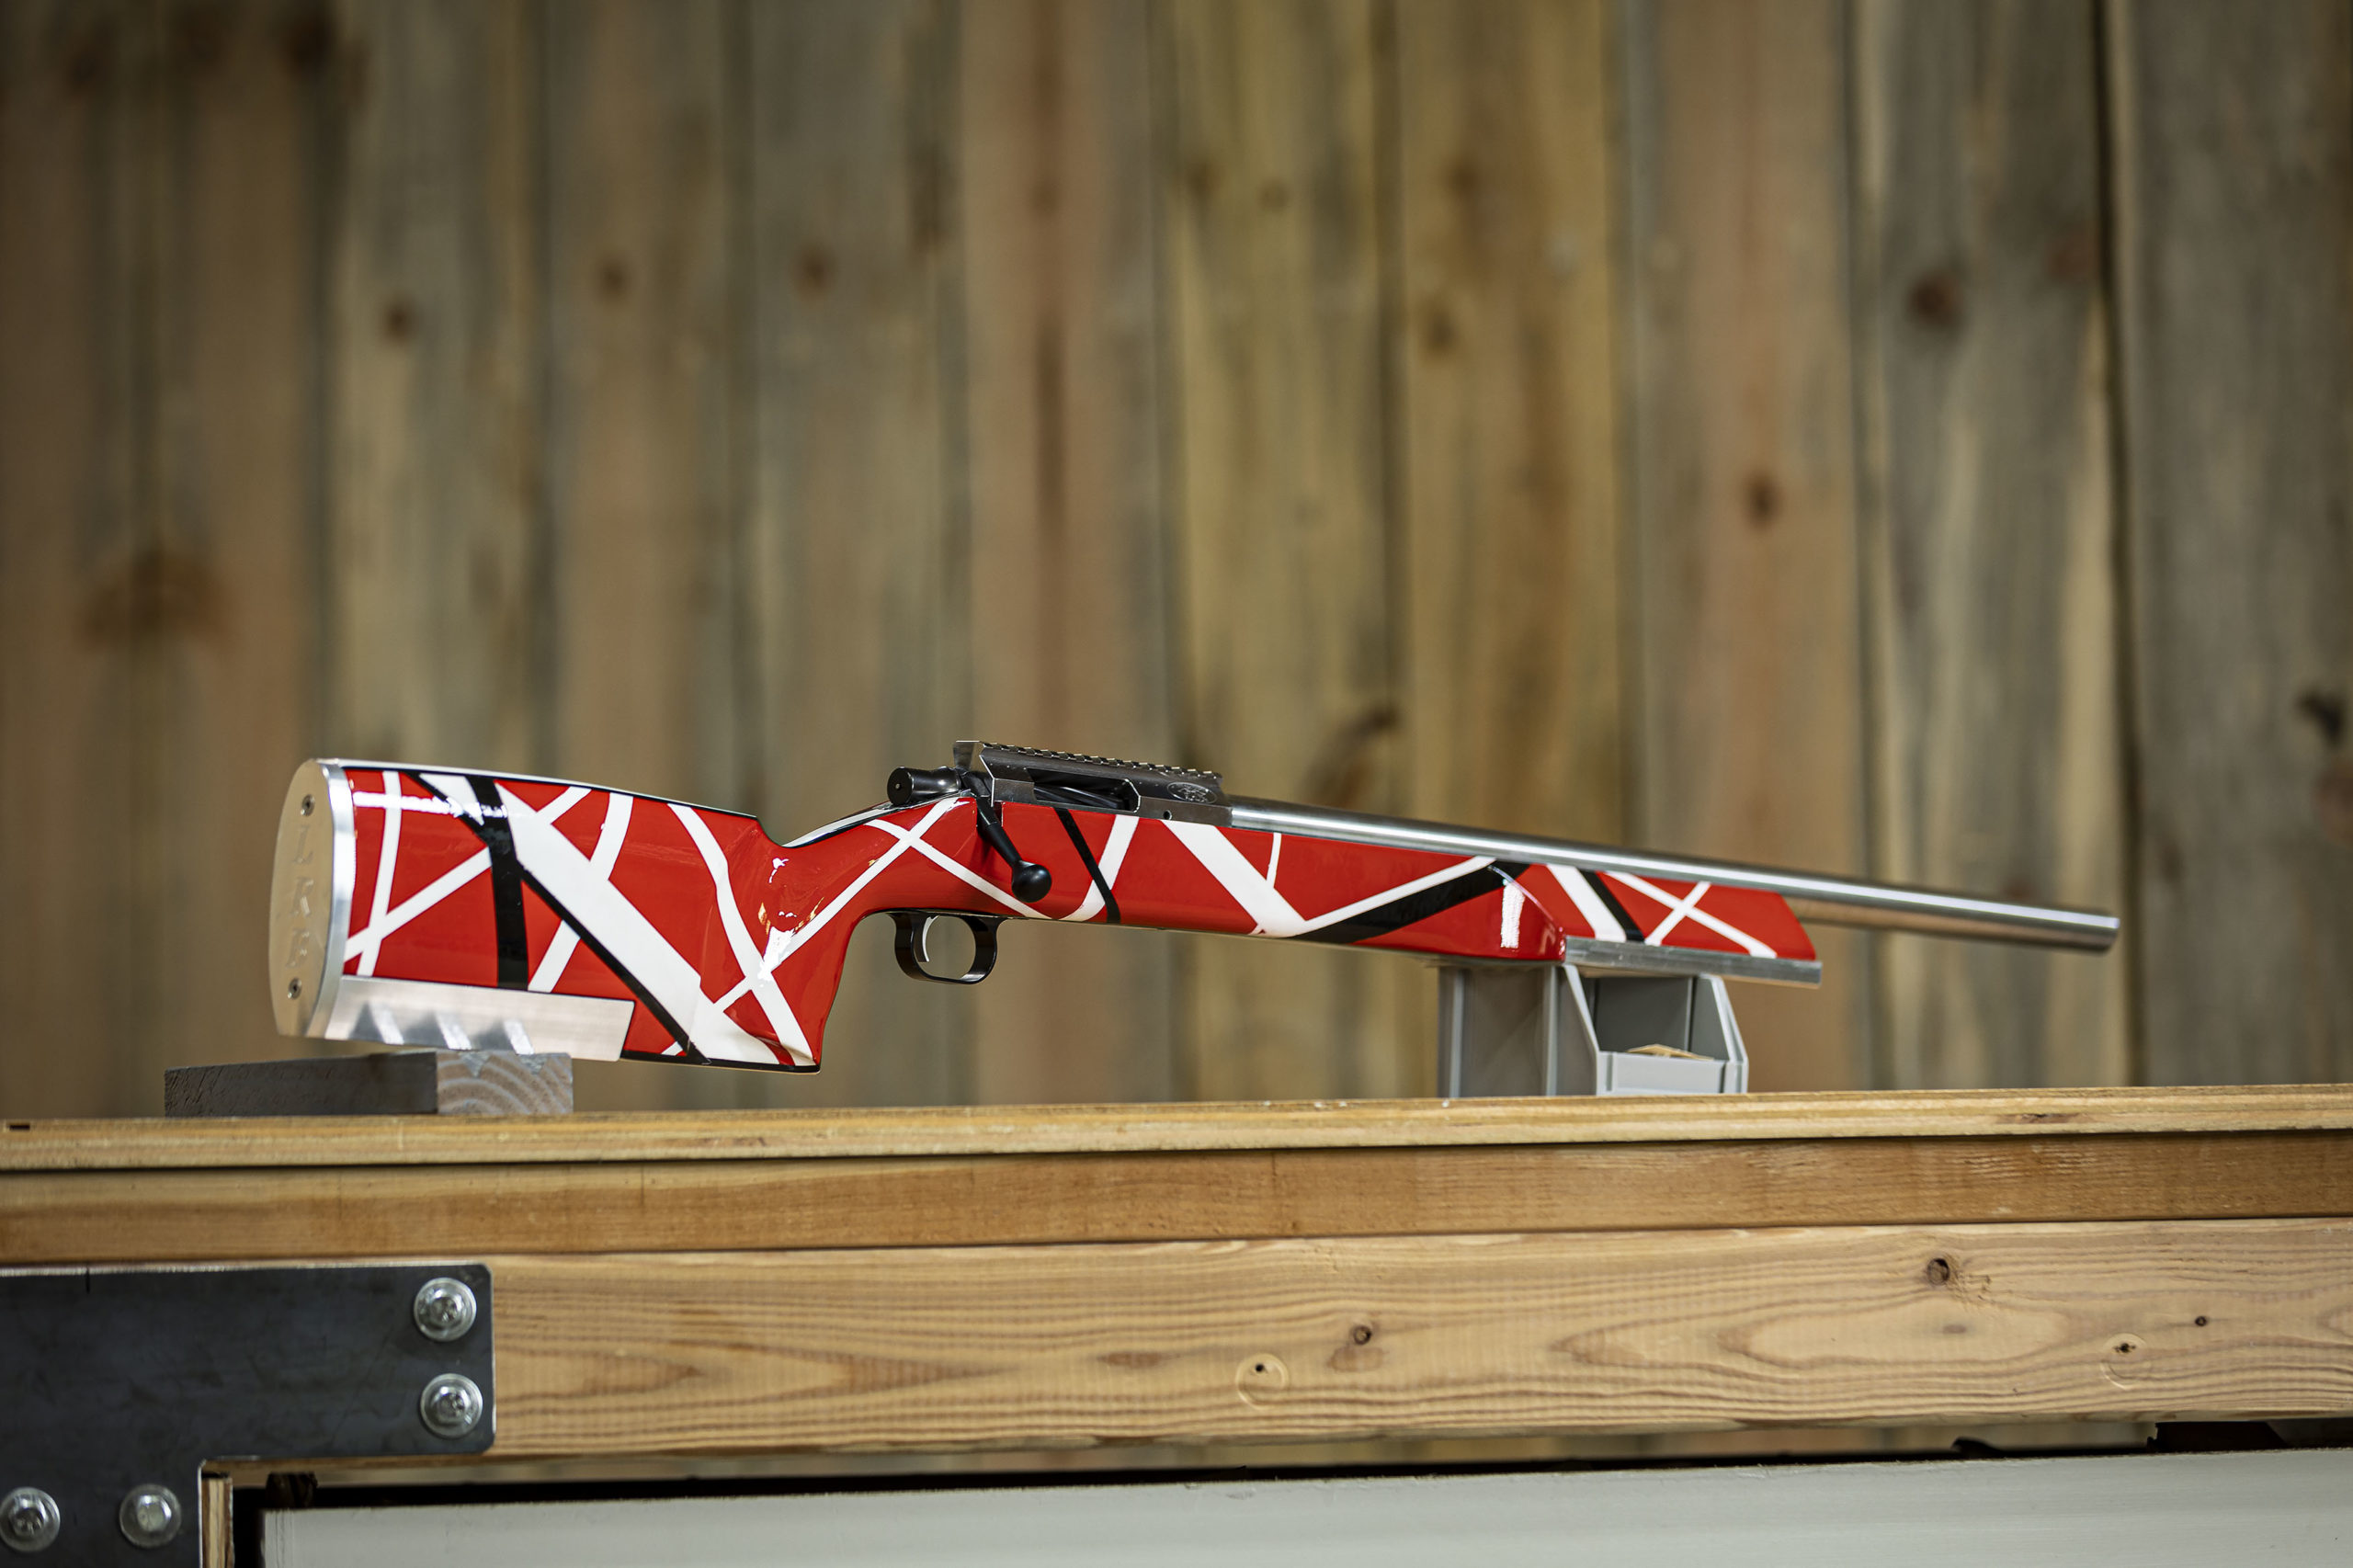
Above: finished EVH Tribute Rifle (click/tap to enlarge)
But there was one more thing to do: a dry-fit of the scope and rings (as a preview, more on this later!)
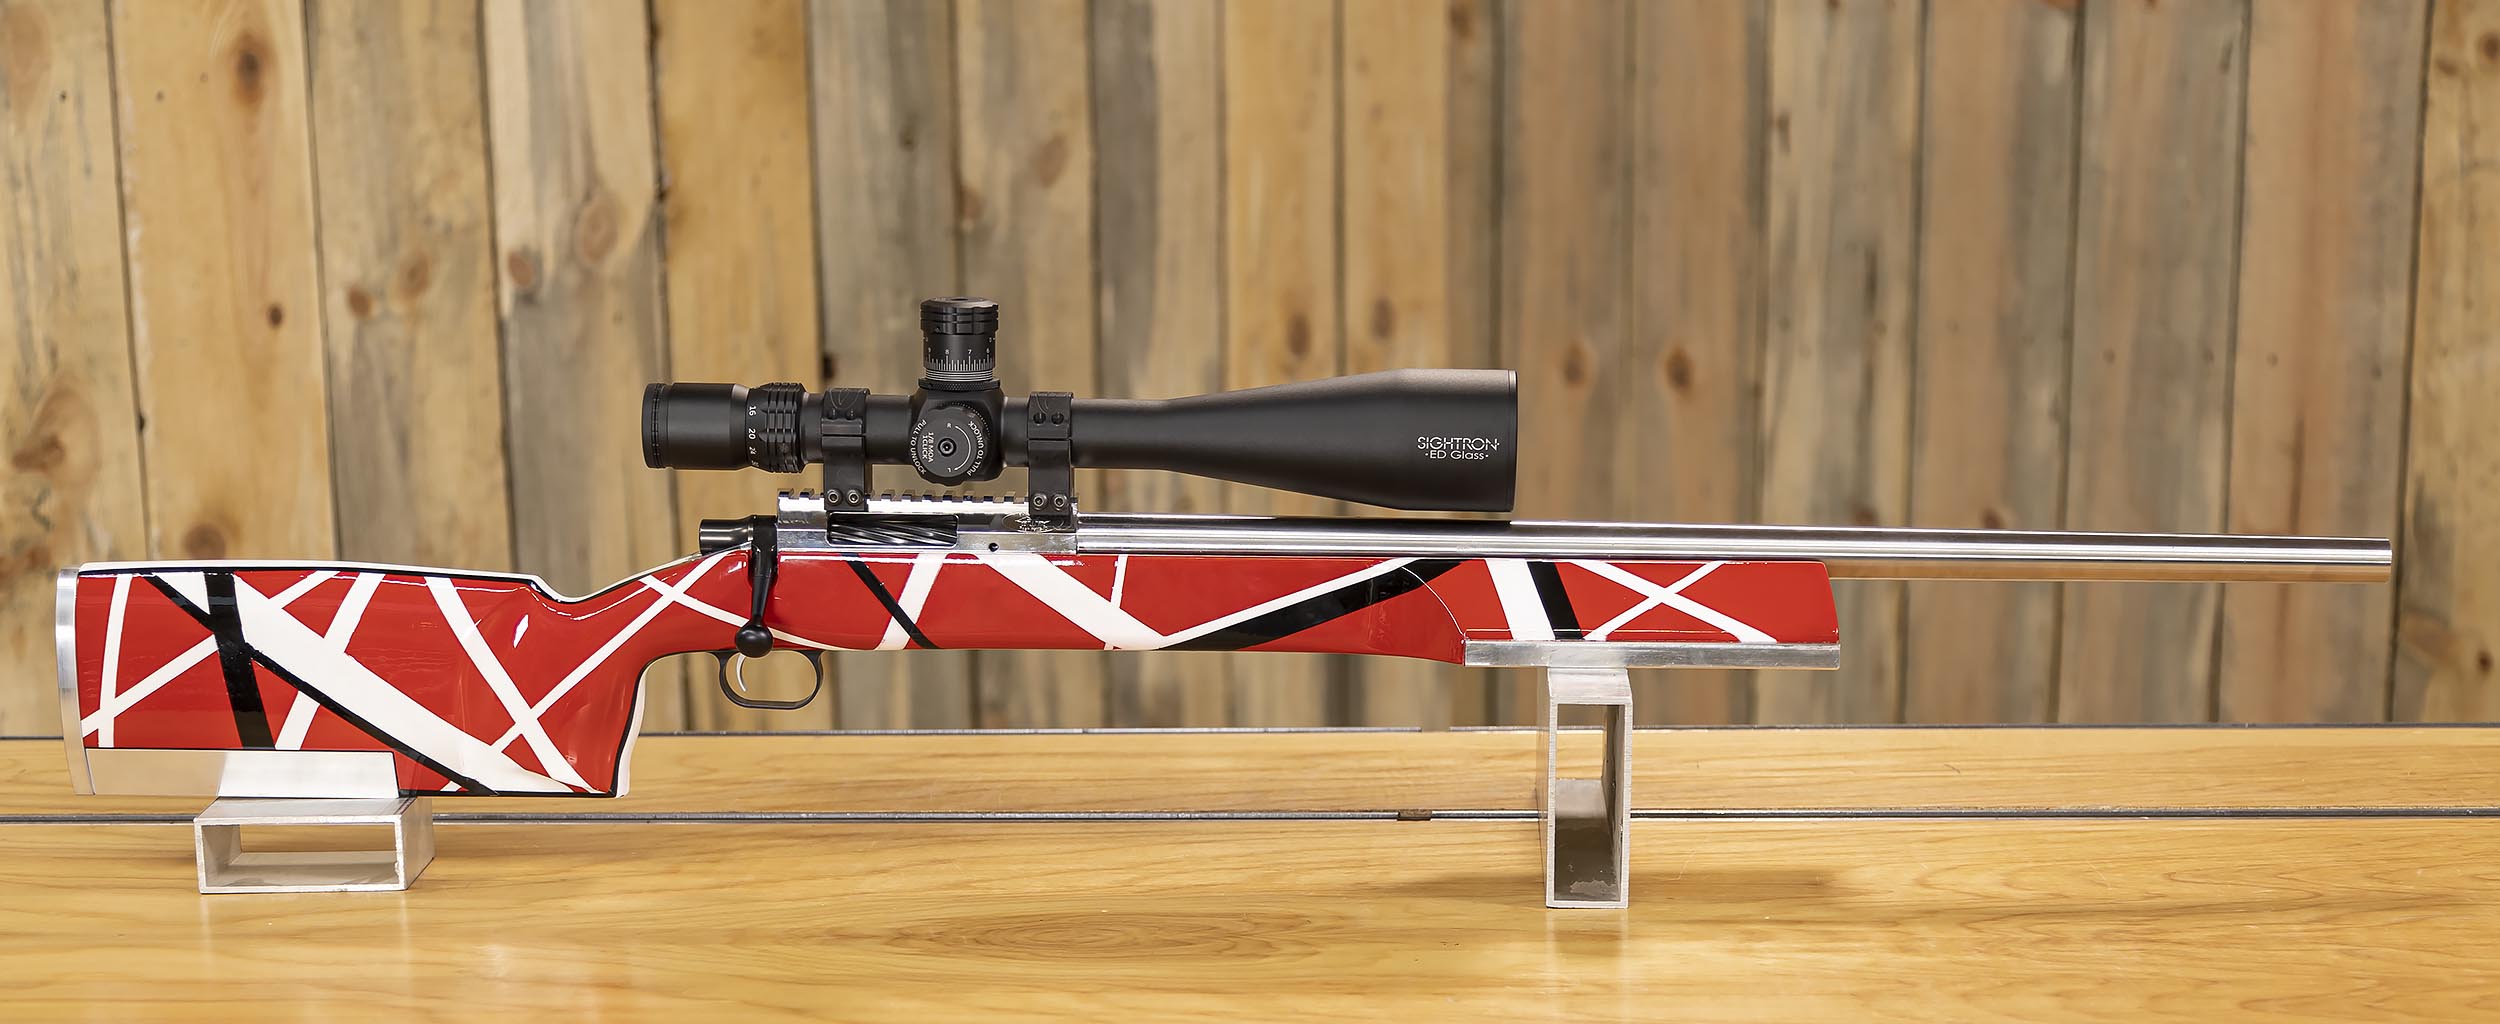
Here’s the quick facts on this Sightron 27012 10-50x60mm scope:
- 10-50 power
- 60mm objective
- Second Focal Plane
- Coarse and Fine side focus
- Fine crosshair reticle with small dot
Sightron scopes are available at Creedmoor Sports.
More on the scope in future stories! I can’t wait to shoot this rifle, the anticipation is killing me. It has however been worth the wait! Don’t miss out these rifle updates, make sure you’re subscribed!
Thanks,
Gavin


