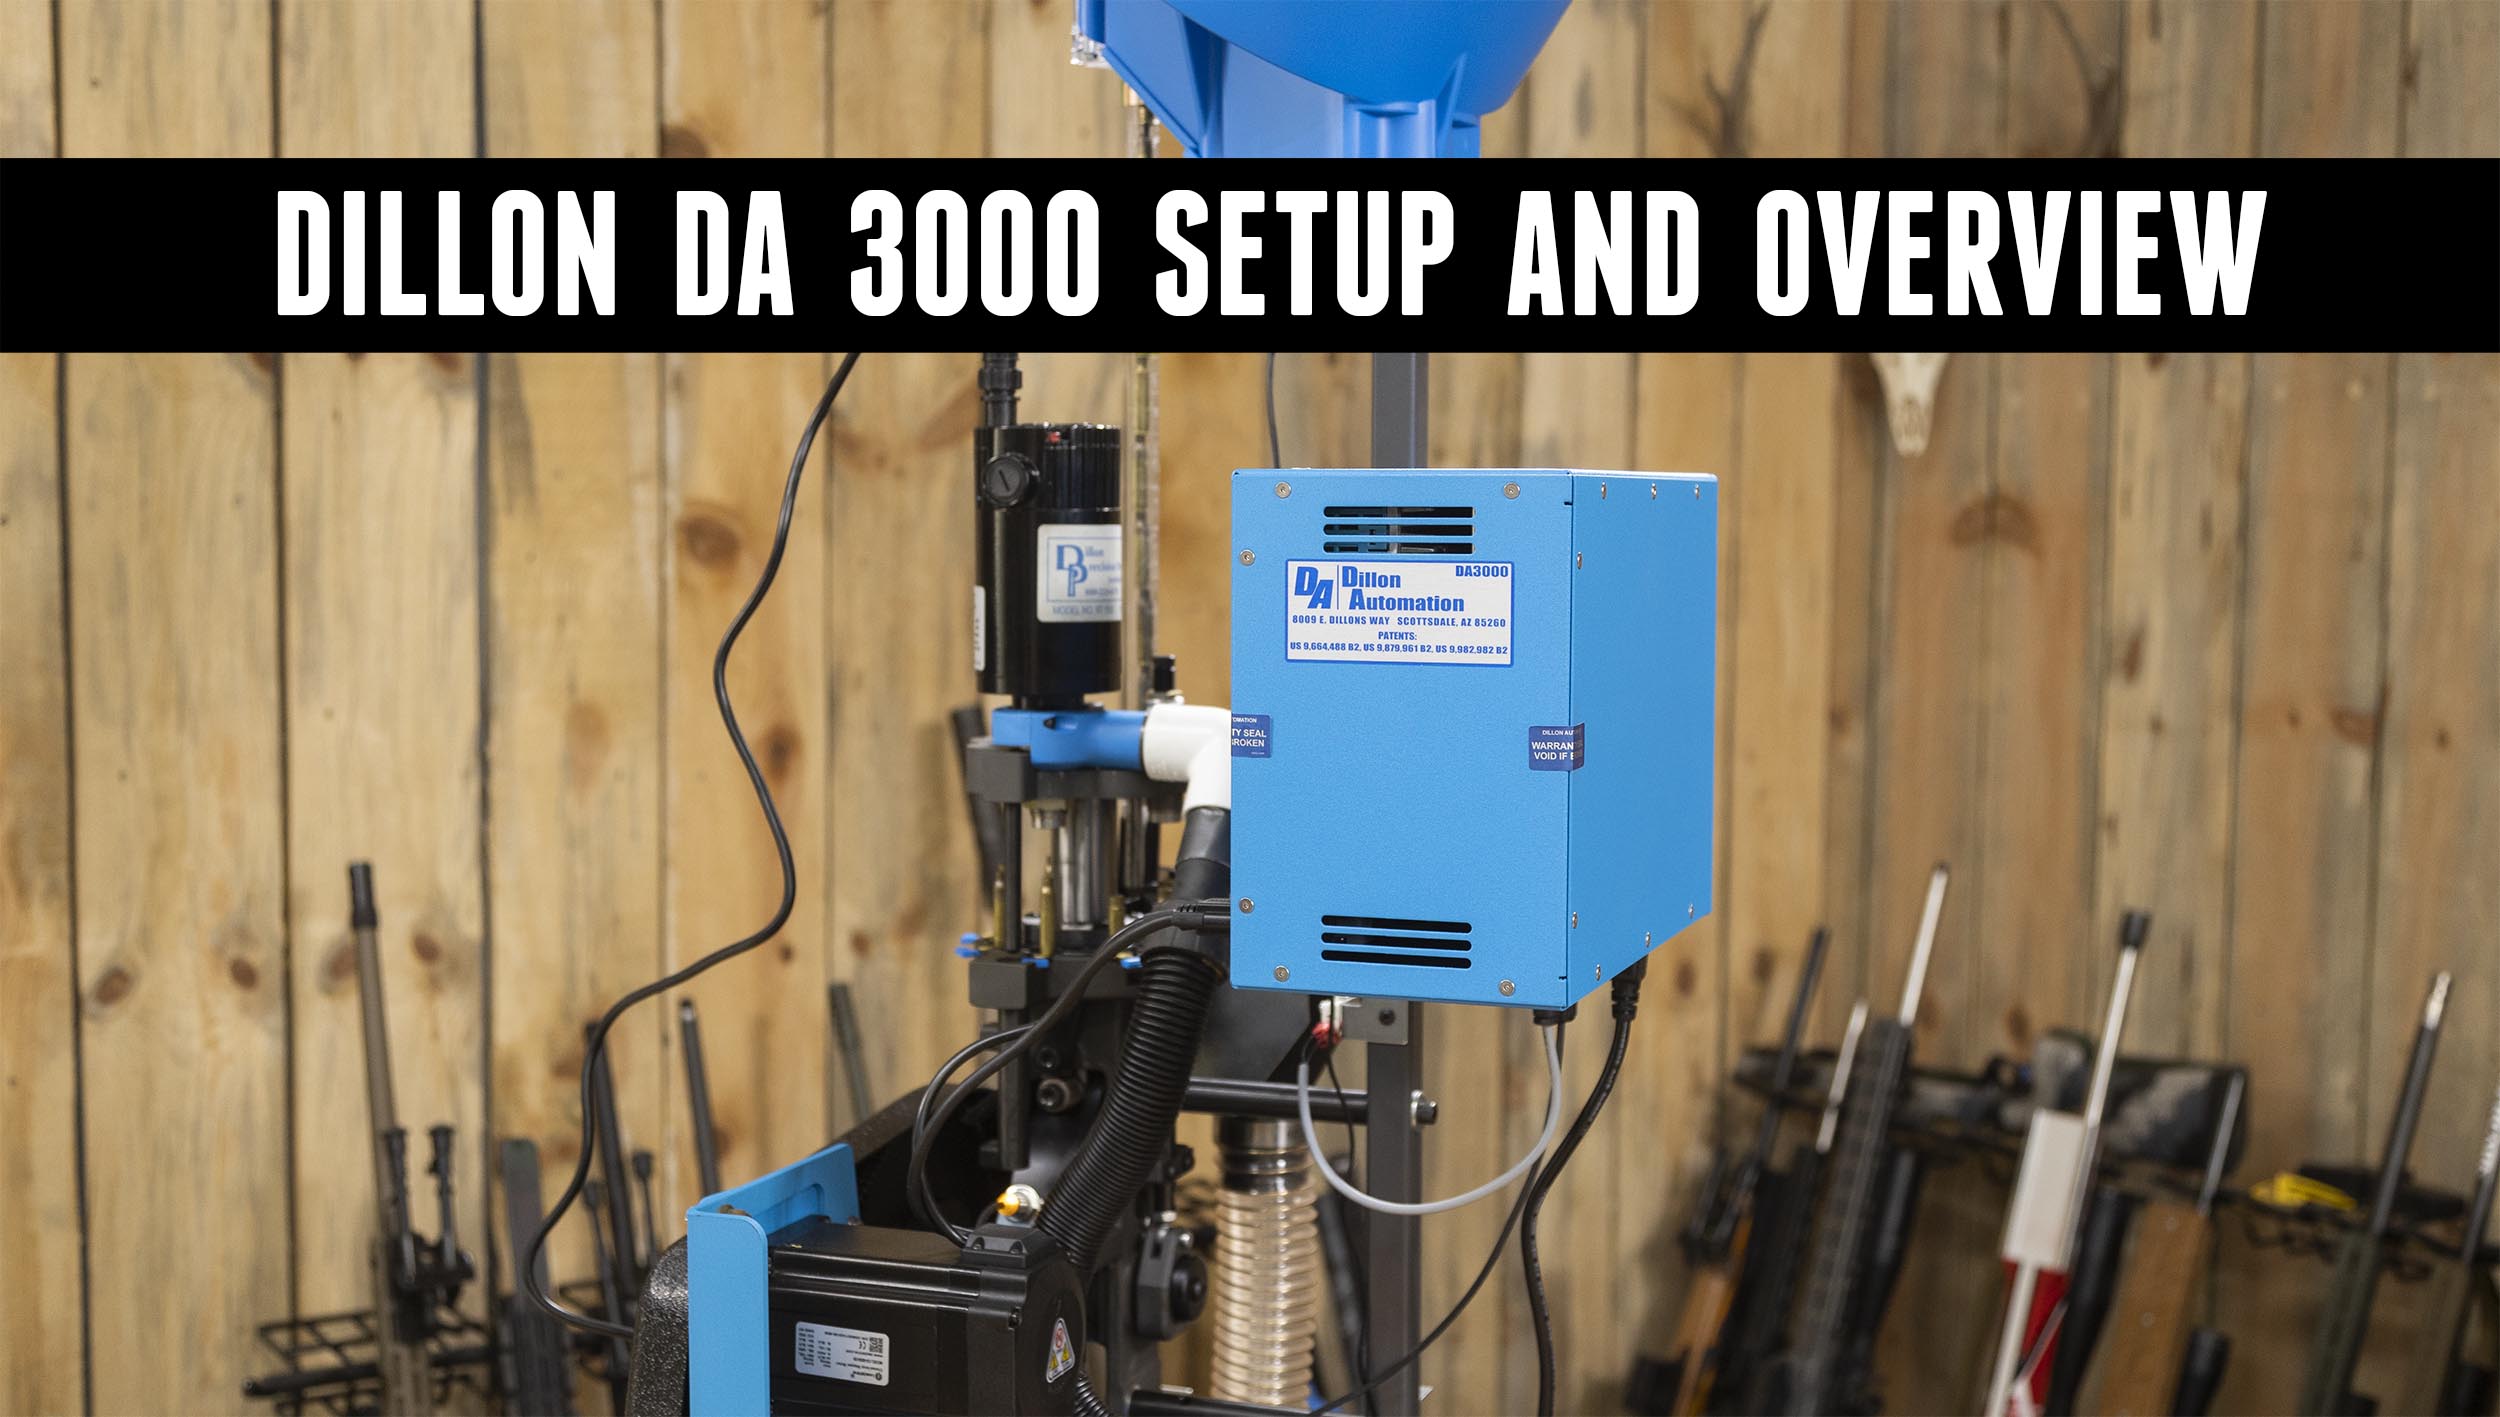
Today we’re unboxing the new Dillon DA 3000 Autodrive. We’ll combine it with the CP2000 case processing press and give you all the details as we prepare for bulk conversion of 223 brass to 300 blackout brass.
Disclaimer
Ultimate Reloader LLC / Making with Metal Disclaimer: (by reading this article and/or watching video content you accept these terms). The content on this website (including videos, articles, ammunition reloading data, technical articles, gunsmithing and other information) is for demonstration purposes only. Do not attempt any of the processes or procedures shown or described on this website. All gunsmithing procedures should be carried out by a qualified and licensed gunsmith at their own risk. Do not attempt to repair or modify any firearms based on information on this website. Ultimate Reloader, LLC and Making With Metal can not be held liable for property or personal damage due to viewers/readers of this website performing activities, procedures, techniques, or practices described in whole or part on this website. By accepting these terms, you agree that you alone are solely responsible for your own safety and property as it pertains to activities, procedures, techniques, or practices described in whole or part on this website.
*NOTE: If you are setting up a DA3000 with CP2000 and plan to convert or trim 300 BLK brass, it is best to swap the swaging station to the right-hand side before installing the DA3000 crankshaft/sprocket
About the Dillon DA 3000
From Dillon-Automation:
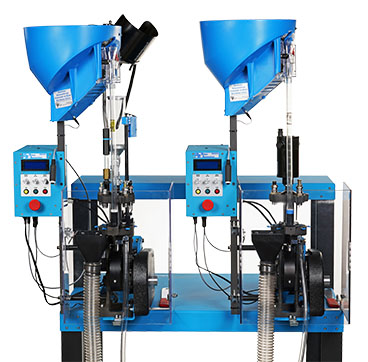
Introducing : Dillon Automation
Welcome to the latest member of the Dillon family – Dillon Automation. If you shoot or prep a large amount of ammo – think of us as your essential reloading partner – one that will help you get the most out of your Dillon Precision RL1100 Reloader & CP2000 Case Processing Machines.
And you won’t void your Dillon reloader warranty !
We’ve put a lot of research into providing a great product that will help minimize the time you spend preparing cases & reloading large quanties of ammunution – but also preserve the durability and reliability of your Dillon reloading machine. The Dillon Automation DA3000 is our first product, limited quantities are available – $2399 for each model. US orders only.
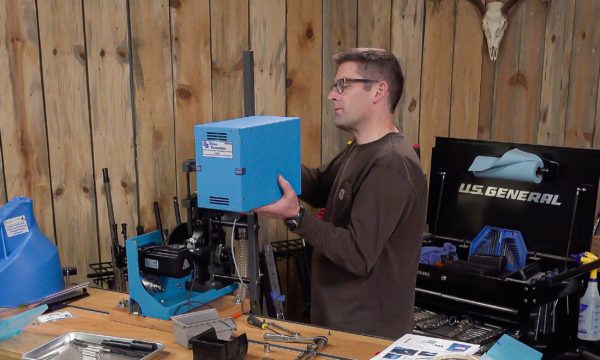
What’s In the Box
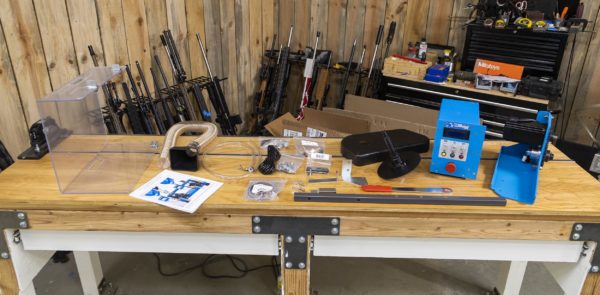
The DA 3000 arrived in two boxes packed in signature Dillon-style. The heavier main components were in secure, custom mold-inserts. Inside were the following:
- Main mounting bracket
- Motor
- Control box
- Sprocket
- Drive chain
- Cover
- Main mounting pole
- Cables
- Switches
- Mounting hardware with standoffs
- Main power cord
- Primer discharge hose
- Discharge chute and funnel
- Safety shield
- Detailed owner’s manual
The owner’s manual details all of the instructions step-by-step along with proper terminology of the components.
Set-Up
There’s a number of small steps that go into installing the DA 3000 on the CP2000, but Dillon did a wonderful job of outlining them all in the owner’s manual. The DA3000 can be used with the Dillon CP2000 or the Dillon RL1100 — the manual designates different workflows for each depending upon if they are already assembled or new in box.
I followed the instructions for a brand-new CP2000 with no issues. With the DA 3000 set up and caliber conversion kit parts installed, I’m now ready to install the RT1500 trimmer and dies. If you want to see every minute step of the installation, Dillon has a very thorough set-up video.
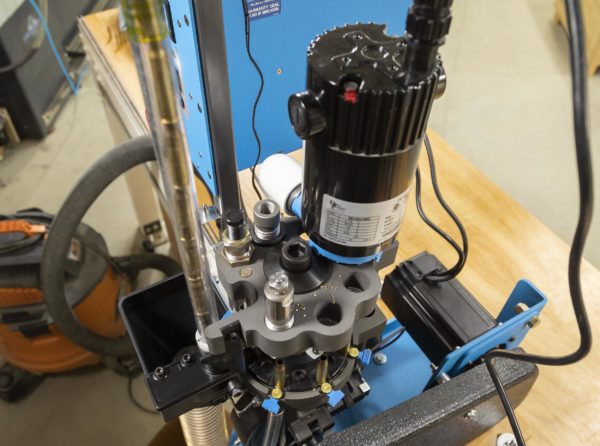
To give an overview, I first removed the bin bracket, toolhead and factory handle-driven crankshaft. I swapped this with the DA 3000 crankshaft (with sprocket) and adjusted the stop position to ensure proper indexing. Swapping the crankshaft is the most complicated part of the entire setup process.
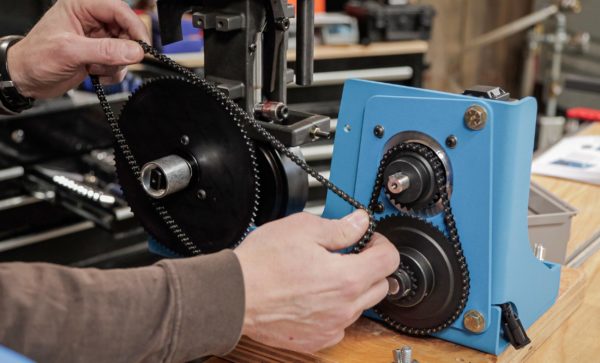
Next came mounting the DA 3000 base to the bench, mounting the CP 2000 to the DA 3000 base and installing the drive chain, caliber conversion parts and toolhead. Side note – the DA 3000 has the same hole pattern as the RL1100 and CP2000. Wherever and however you choose to mount your DA 3000, be sure you have the proper hardware. Very infrequently do you have to manually crank the press, so there are almost forces between the DA 3000 and the bench, they are all between the machine and the DA 3000. The drive chain is like a miniature bicycle chain. The entire motor assembly rotates. Pull it close, hook the chain in place, and let gravity do its thing before tightening the bolts. Take a sight-line look down the two sprockets to make sure everything is properly aligned.
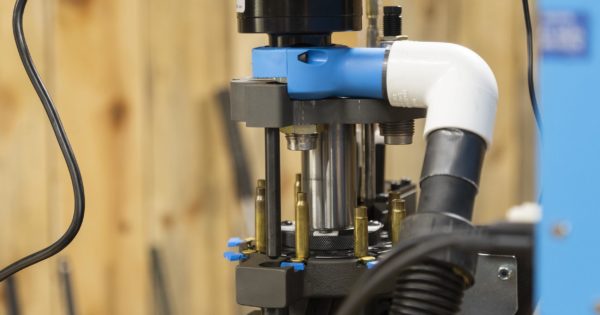
I also opted to install the shellplate and special toolhead (low-cut toolhead for 300 blackout trimming). This toolhead has a special design to get the RT-1500 down lower than a CP2000 or RL1100 toolhead would allow.
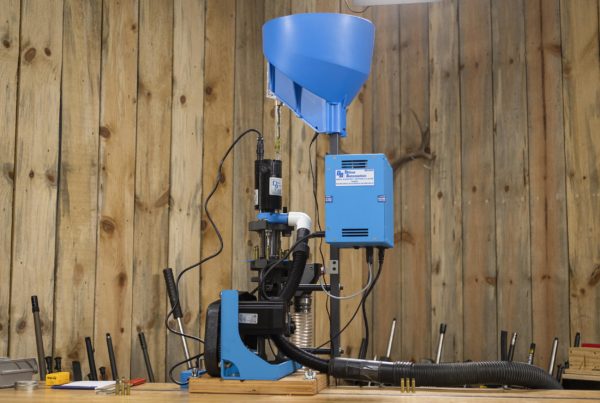
Installing accessories, the controller, sensors and case feed came next. This list included the cartridge catch funnel/hose, case feed mounting post, spent primer funnel/hose, safety shield brackets, side cover, controller box and case feed bowl. Of special interest is the cartridge catch funnel that feeds into a giant hose. Place the hose over a bucket, box or whatever you want the processed cases (CP2000) or completed cartridges (RL1100) to fall into. Typically, we would install the side cover at this juncture as well, but I opted to leave it off so I could show how all the chains and sprockets work together.

I then connected the home sensor cable and safety cover switch. There are optional sensors for low powder and low primers that would also be added at this point that I will add in the future. Also optional is a remote stop switch – the machine comes equipped with a red stop button. The motor assembly has two different plugs that connect to the control box and an AC power cord connects to a wall outlet.
Power Up and Jog Test
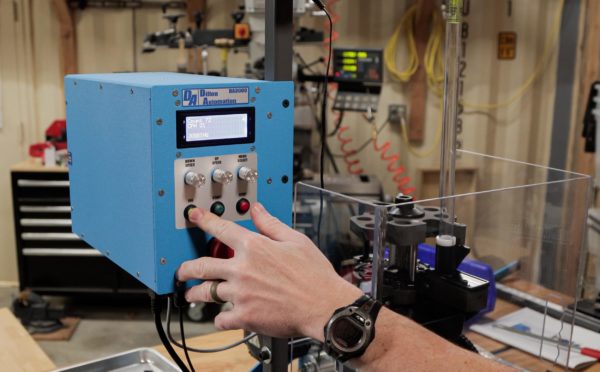
The starting position for the machine is with the toolhead all the way down. I did this manually and reinstalled the safety shield. Pressing the yellow jog button set the machine to a really slow speed. This mode is good for setting up dies, validating indexing and making sure you’re ready to hit the start button. In this process, I realized I needed to adjust my indexing and amended the issue.
Controls and Menu
The control box has three knobs: down speed, up speed and menu select. The down speed and up speed buttons are only rotational. The menu select button can also be pushed in. Below the knobs are three buttons. Yellow for jog, green for start and red for a scheduled stop. There’s also a large red panic button to stop the machine immediately.
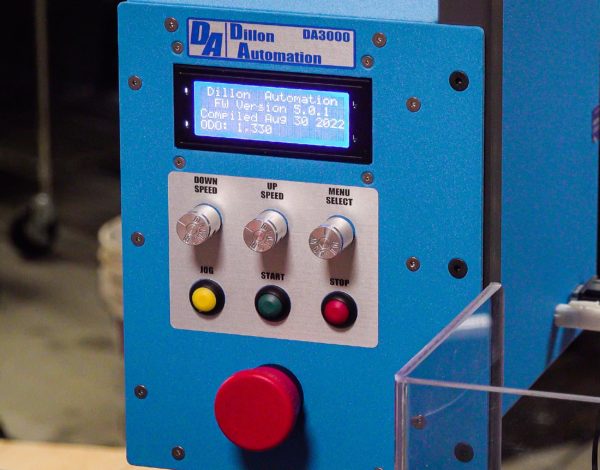
The main menu allows you to access a variety of sub menus. These allow you to adjust things like the counter, top delay, bottom delay, and test mode. This machine is simple to operate and configure.
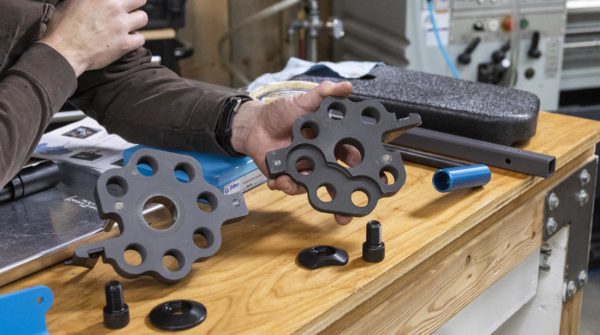
Caliber Conversion Overview
Station one is case insertion. Station two has a decapper-only die. Stations three and four are empty. Five has the RT1500 trimmer. Six is empty. Seven is the hold-down die on the top and swaging on the bottom. Station eight holds the mandrel die. In the next video, we’ll go in more detail on the trimming and conversion process. In short, the decapper die is lowered until it will poke out the primer. If you need to lower a die and you can’t get the lock ring on top because it is too low, you can put it on the bottom. Be sure to check clearance and manually crank the press to confirm.
When you get to trimming, the 300 blackout trim die can be used both to trim 300 blackout and convert 223 brass to 300 blackout. Lower the die body and check with the case gauge to ensure the shoulder is where you want it. I opted to go on the lower step of my case gauge so I had a bit more tolerance in the chamber. I’m planning to fireform the brass. Once you set the die height, apply the lock nut and screw the trimmer down. To do this, I took a piece of factory 300 blackout brass and lowered the trimming head until it hit the case mouth, then backed it off and tightened the top lock ring. I then trimmed some brass to confirm trim length and headspace. The dust collection piece came next, which I connected to a shop vac. If I had run swaging on the other side, I would have been able to use the next station over for the trimmer. This may be preferable to do in the future. For the hold down die, lower the toolhead to the bottom position, crank it down until it touches the shell plate, and tighten the lock ring. The more sensitive adjustment is the swaging itself. Raise the rod to the point you get appropriate swaging. I tested priming off the CP2000 to ensure I had the right feel. A go and no-go gauge could be helpful here as well. I really like that I can throw a variety of brass on this set-up, even a combination of military and civilian brass, and it will all go through.
The mandrel punches the neck out to the appropriate diameter and uniforms accordingly. I lowered the mandrel until I knew I was well below where the case mouth would be and locked it down. I then hand-cycled the press to confirm things were working appropriately.
Conclusion

For an initial test, I ran the case feeder, turned on the trimmer and shop-vac, and hit start. Everything ran flawlessly. I’m very excited about this set-up as 300 blackout brass can be expensive and hard to find. 223/5.56 brass is very readily available. Stay tuned for future videos loading 300 blackout and shooting full-auto!
Get the Gear!
Don’t miss out on Ultimate Reloader updates, make sure you’re subscribed!
Thanks,
Gavin Gear