For any precision-oriented rifle, the chambering work is absolutely critical. Having a chamber with smooth walls, proper headspace, and correct alignment is an absolute requirement when maximum precision is the goal. In this article, I’ll outline the chambering and machining work I did for my full-custom 300 PRC rifle build. I did things a bit differently this time, so I’ll call out those changes as I walk through the machining work. Let’s get into it!
Disclaimer
Ultimate Reloader LLC / Making with Metal Disclaimer: (by reading this article and/or watching video content you accept these terms)
- The content on this website (including videos, articles, ammunition reloading data, technical articles, gunsmithing and other information) is for demonstration purposes only.
- Do not attempt any of the processes or procedures shown or described on this website.
- All gunsmithing procedures should be carried out by a qualified and licensed gunsmith at their own risk.
- Do not attempt to repair or modify any firearms based on information on this website
- Ultimate Reloader, LLC and Making With Metal can not be held liable for property or personal damage due to viewers/readers of this website performing activities, procedures, techniques, or practices described in whole or part on this website.
- By accepting these terms, you agree that you alone are solely responsible for your own safety and property as it pertains to activities, procedures, techniques, or practices described in whole or part on this website.
If you haven’t already, you may want to check out some of my prior builds:
Winchester Model 70 22-250:
Winchester 70 Rebarrel Part 2: Start to Finish Process
Remington 700 224 Valkyrie:
- 224 Valkyrie Remington 700 Build P1: Planning the Build
- 224 Valkyrie Remington 700 Build P2: Barrel Prep and Alignment In the Lathe
- 224 Valkyrie Remington 700 Build P3: Chambering and Machining
- 224 Valkyrie Remington 700 Build P4: Muzzle Threading and Barrel Install
- 224 Valkyrie Remington 700 Build P5: Custom Thread Protector
For this write-up, I’ll focus on the end-to-end process, and anything specific to 300 PRC. For more details on the rifle chambering/machining processes, please see the articles listed above, and stay tuned for more detailed breakdowns- lots of related content coming!
You’ll also want to check out the backgrounder stories leading up to this 300 PRC full-custom build:
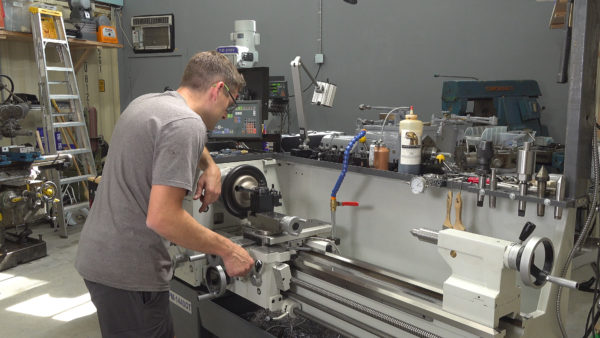
My Lathe
For this build, I’m using a Precision Matthews PM-1440GT. I believe this is the best gunsmithing lathe you can by new in the USA (Taiwanese made, not chinese, 2″ through-spindle capacity, Japanese high-precision spindle bearings, etc):
Also, I’ll be using the custom outboard spider that I built- you’ll want to check out that story!
Gordy Gritters / Fred Zeglin Book
For this build, I’m using the latest and greatest chambering instructions from Gordy Gritters from the book he authored with Fred Zeglin:
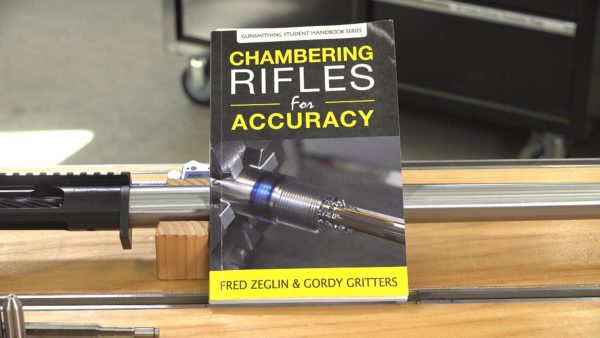
You can find this book on Amazon HERE: Chambering Rifles for Accuracy (Gunsmithing Student Handbook Series)
The biggest thing I’m doing differently after reading this book has to do with barrel dial-in. More on that a bit later in this article. Now, onto this build!
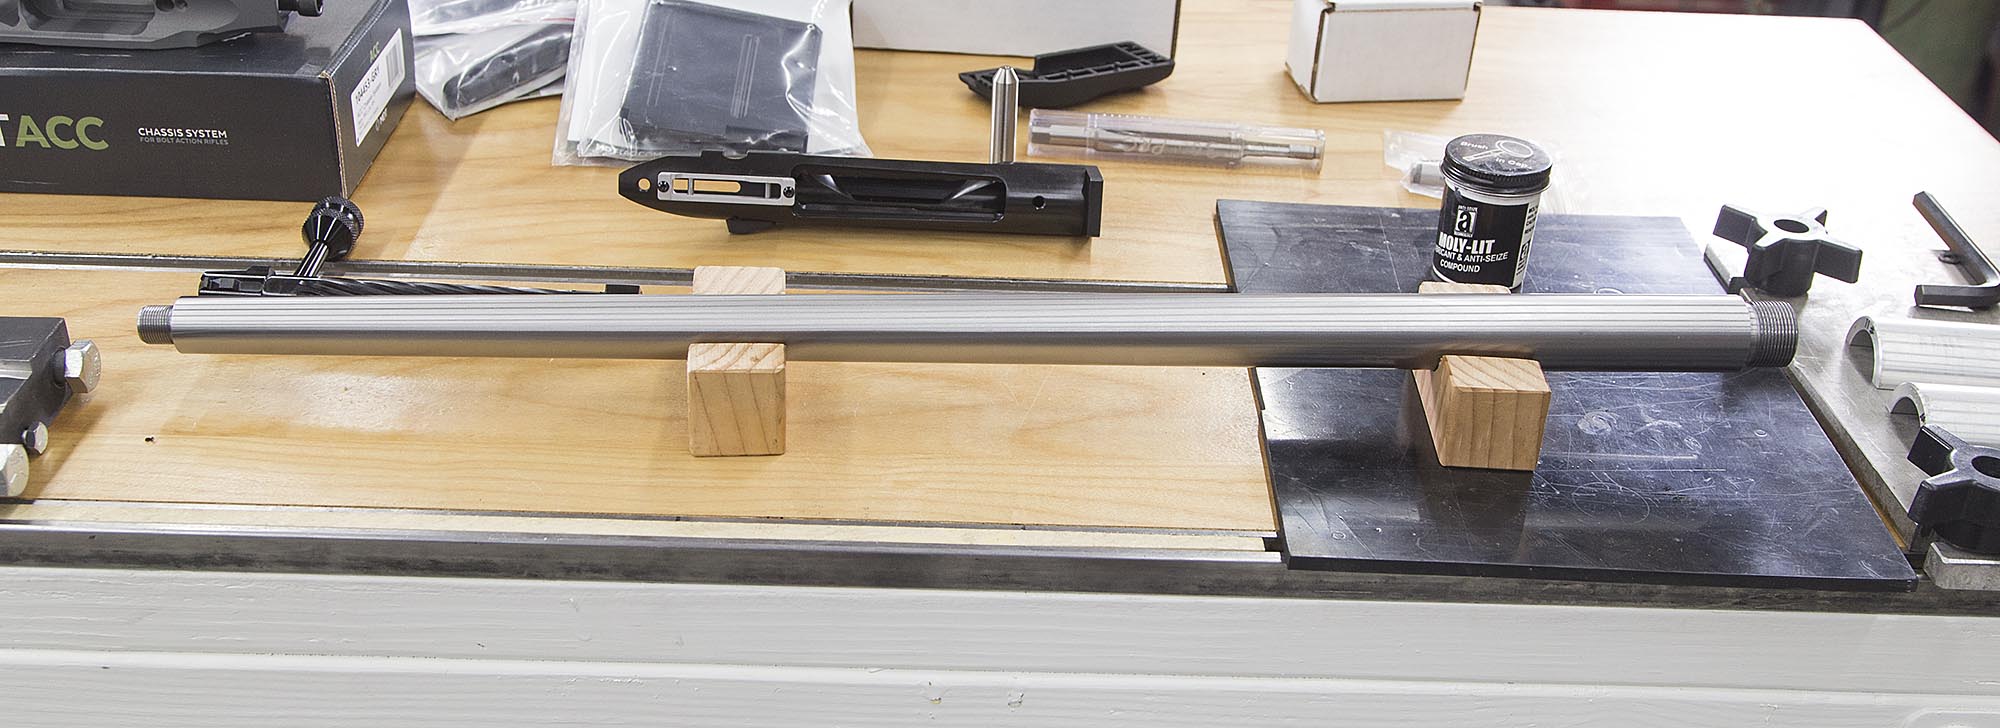
Preparing the Barrel Blank
![]()
For this build, I’m using a Benchmark Barrel blank with the following specifications:
- 26″ length
- 1:9.5″ twist
- MTU profile
- 416R stainless, hand-lapped
The finished length will be 26″, but the blank was manufactured to 28″ overall length. This is by design! By cutting off both ends of the barrel blank, you have fresh bore to work with, and can optimize things like shank length to suite your build.
I started the build by cutting about 0.75″ off the breech end of the barrel:
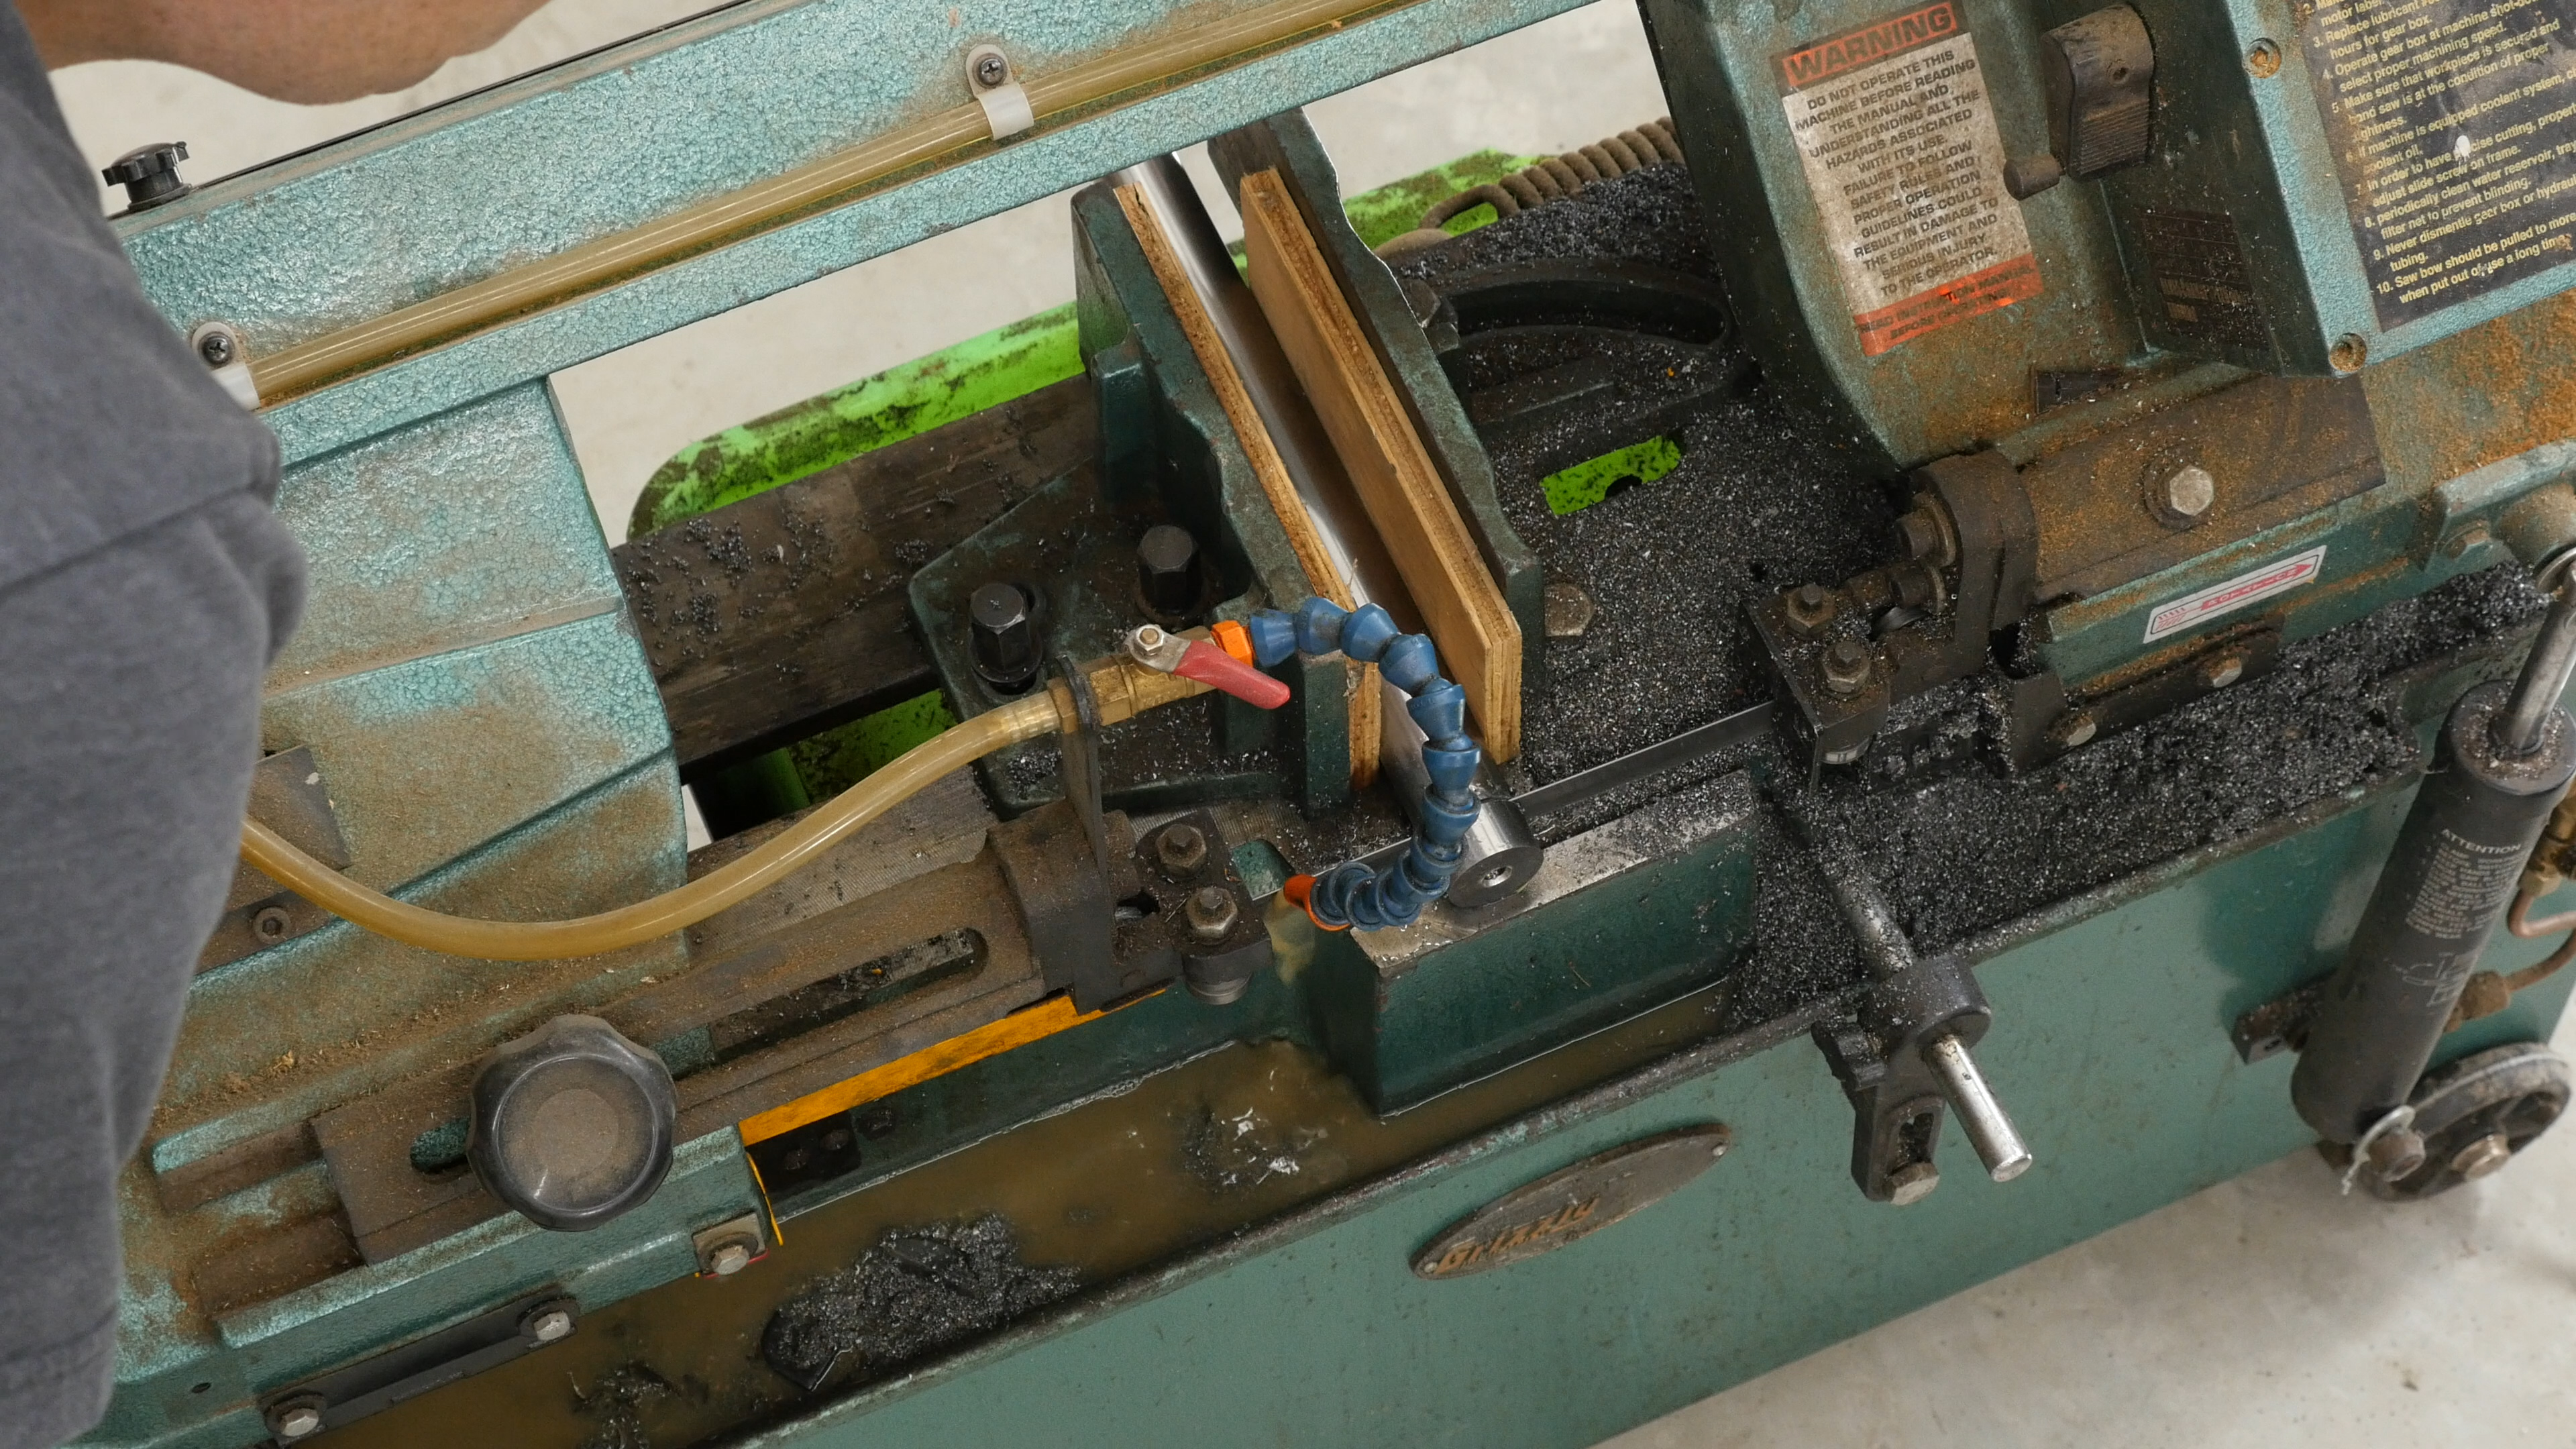
Here I’m using wood plates and tape on the underside of the barrel blank to avoid any scratching.
Facing Blank, Pre-Drilling the Chamber
I did an initial dial-in of the barrel blank (same technique outlined below) so that I could face off the tenon and pre-drill the chamber area. Starting with a 3/8″ drill bit, I drilled in a “safe distance” from where the shoulder profile will be in the finished chamber. This turned out to be about 1.55″ from the end of the blank:

This was followed by a 29/64″ drill bit (0.453″):
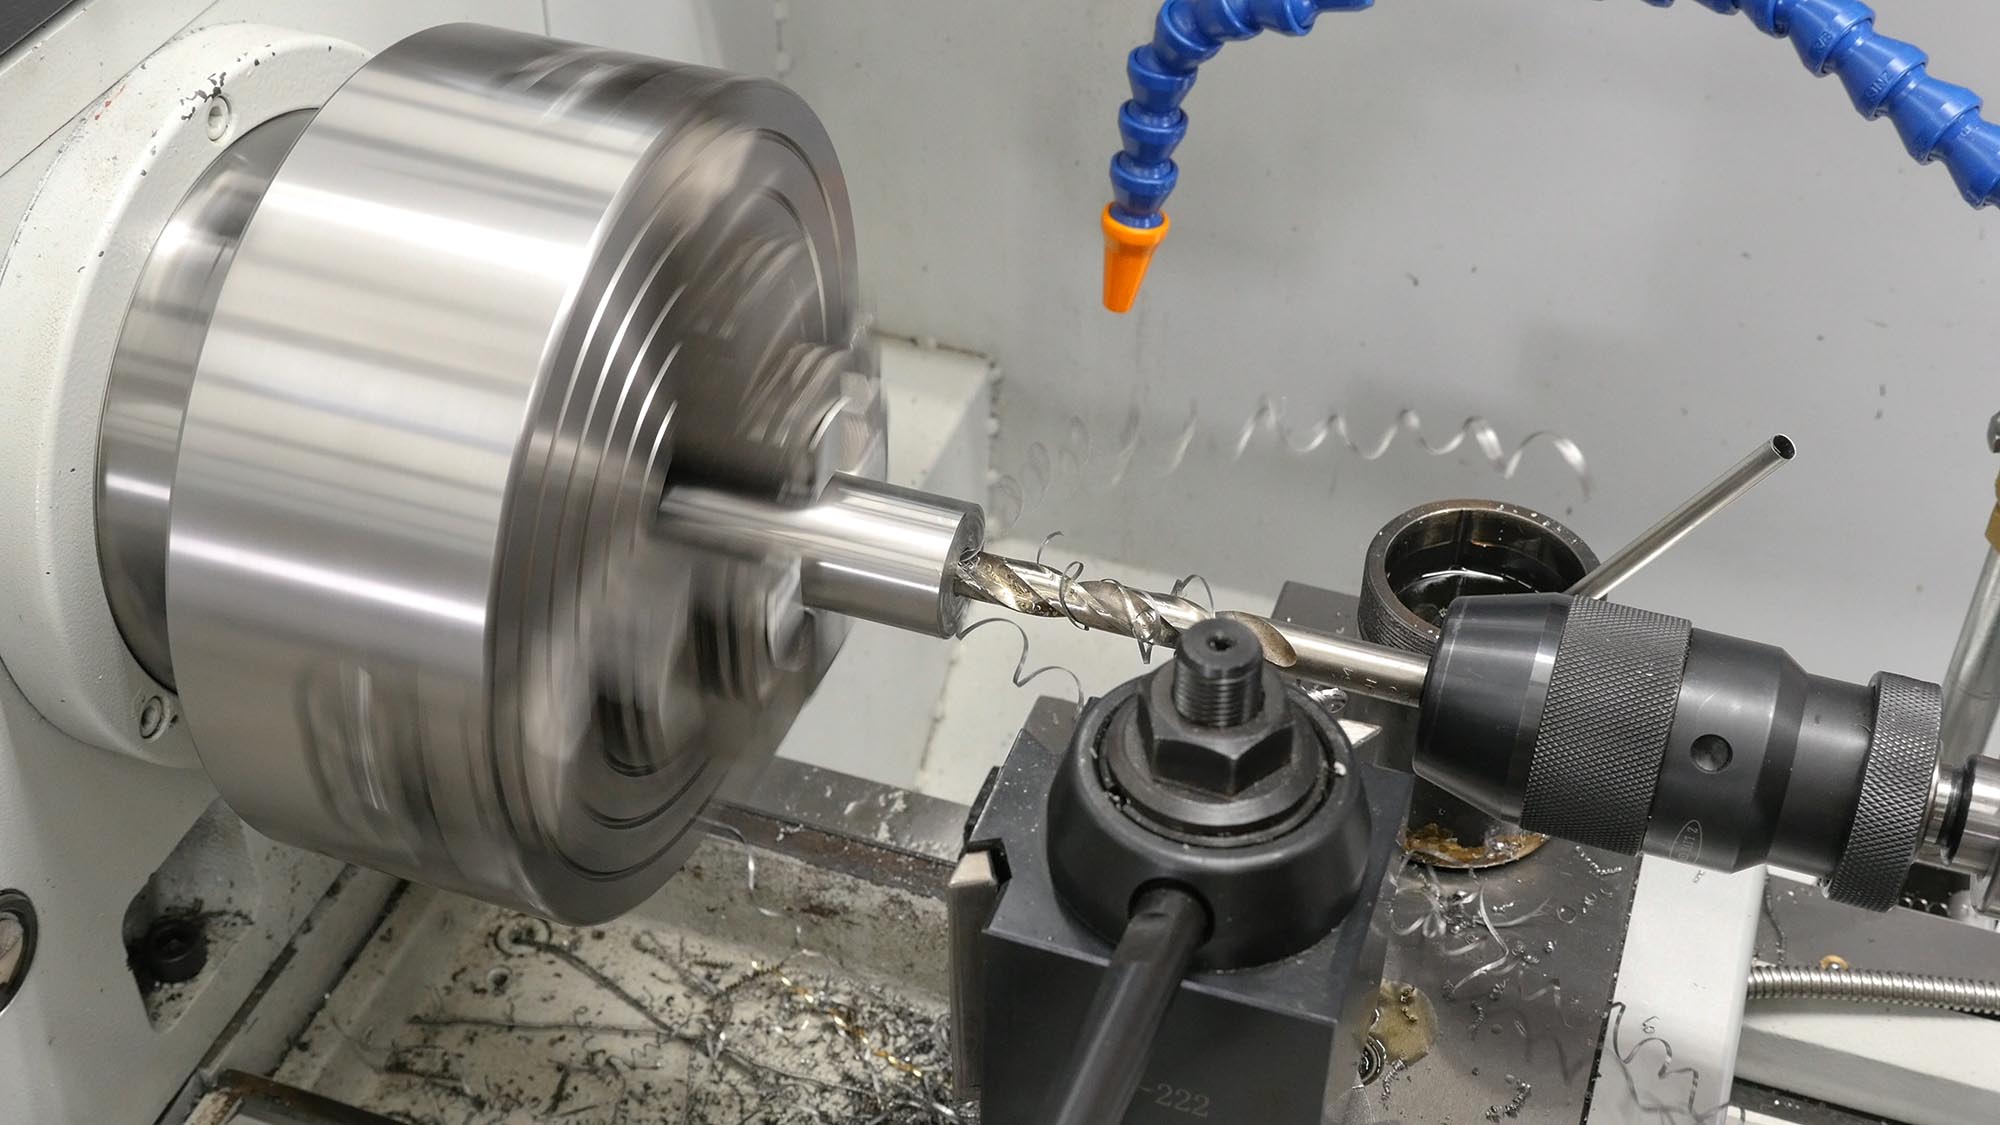
I was careful to measure the diameter of the chamber at the body to shoulder transition (over 0.500″ for 300 PRC). This gave a good bit of “breathing room”. You don’t want to drill too much- a good way to ruin your barrel blank!
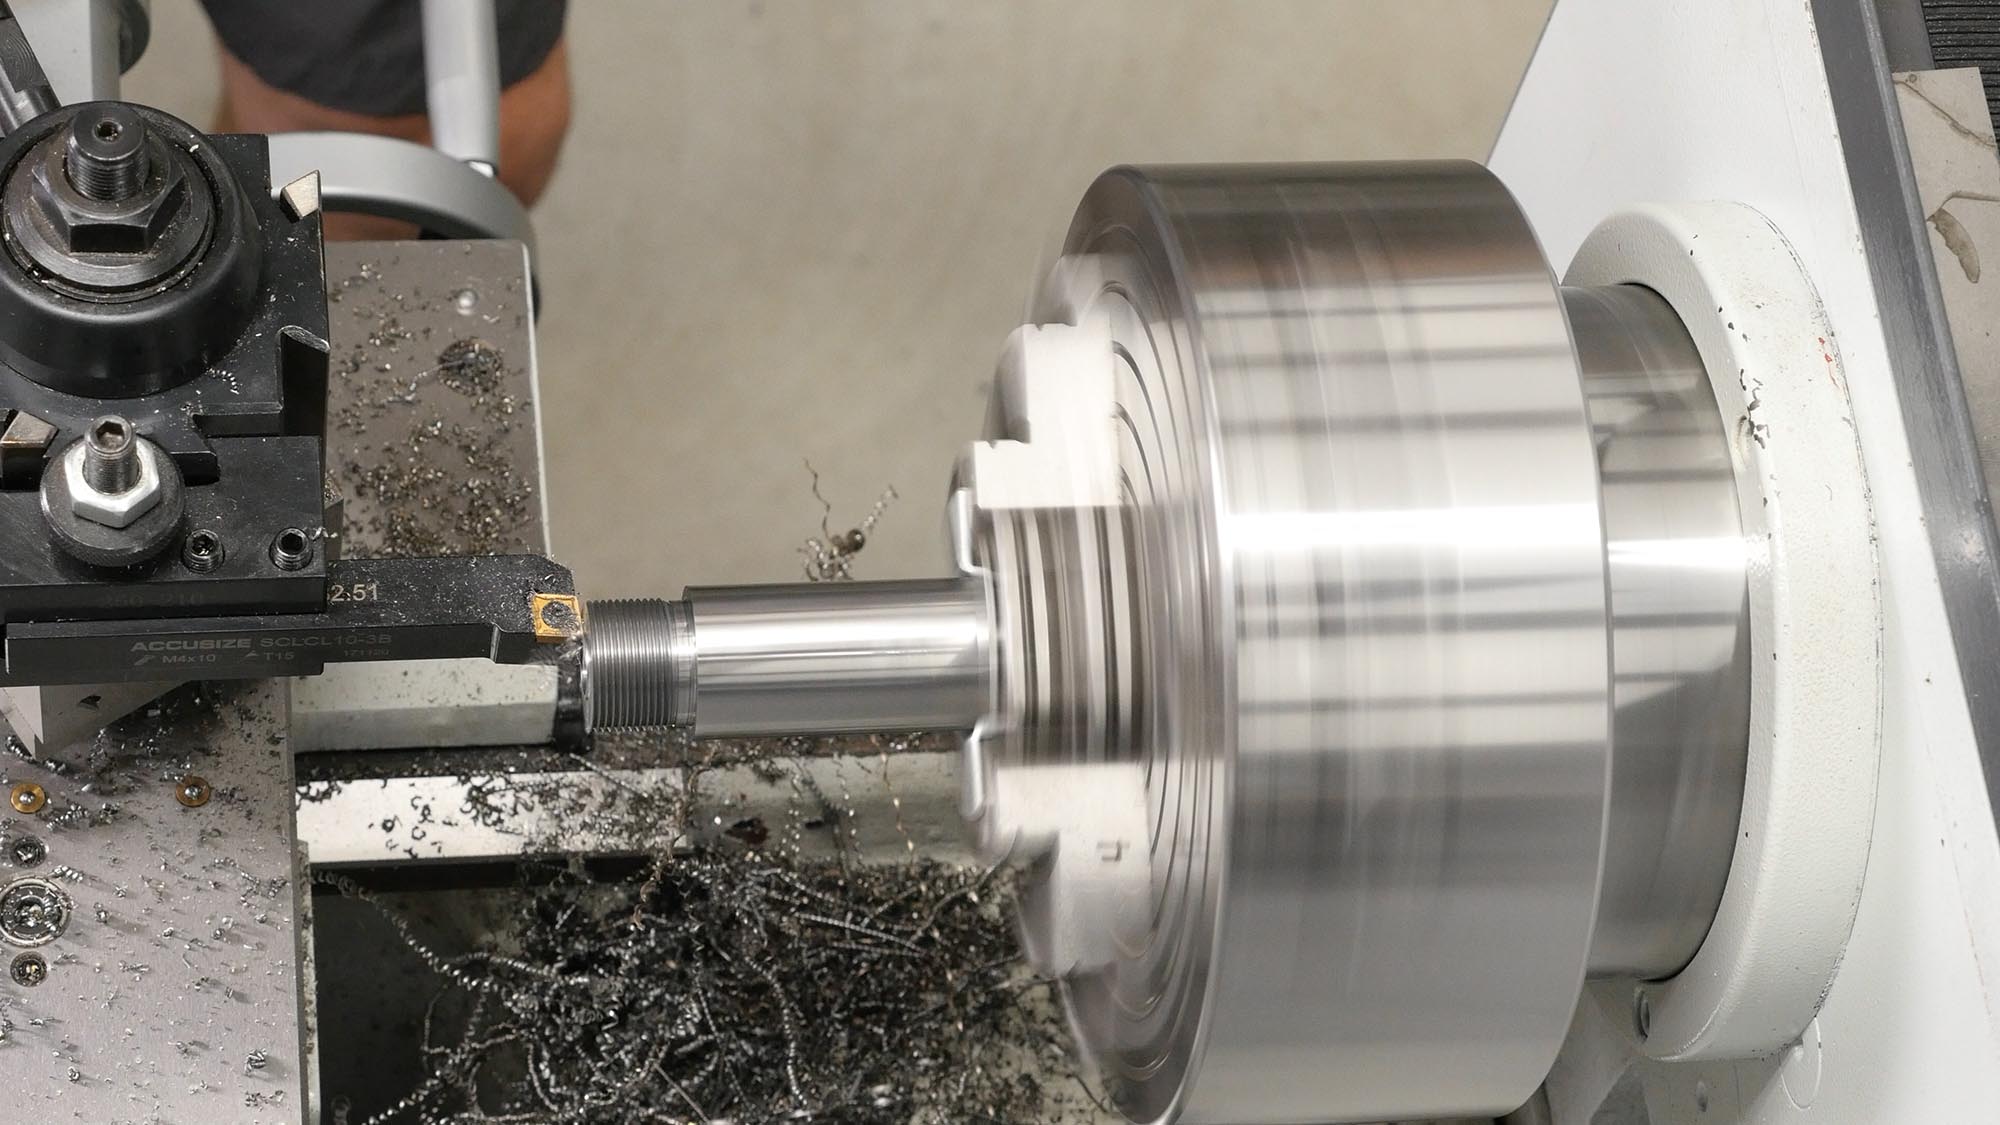
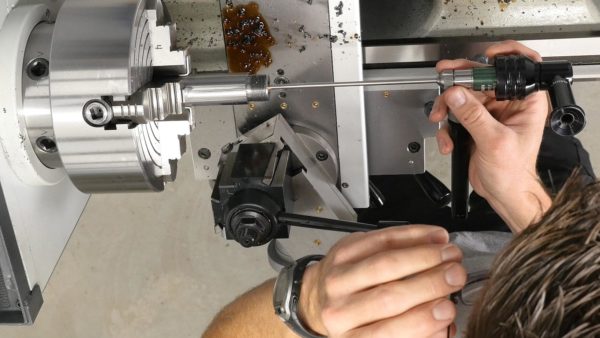
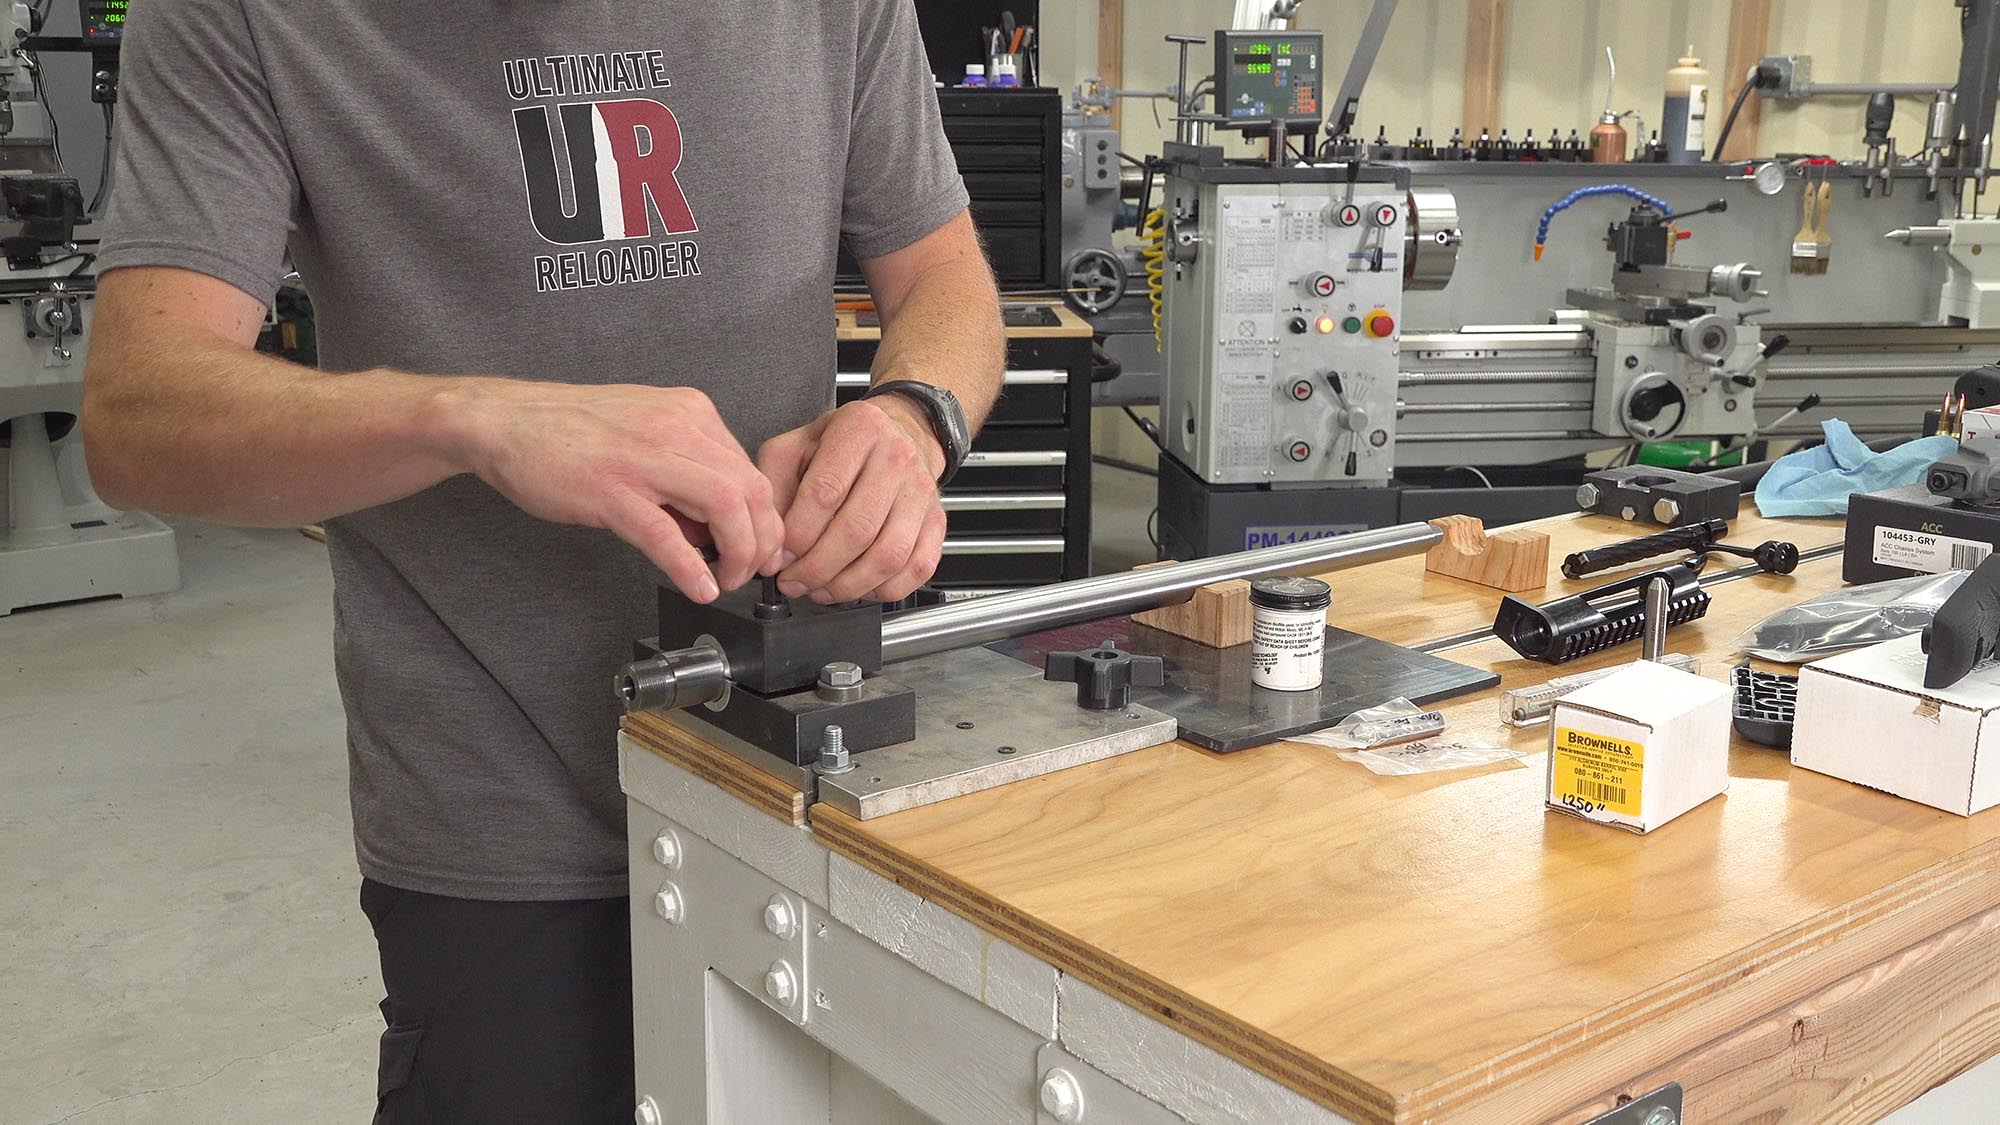
Dialing-In the Throat Area of the Bore
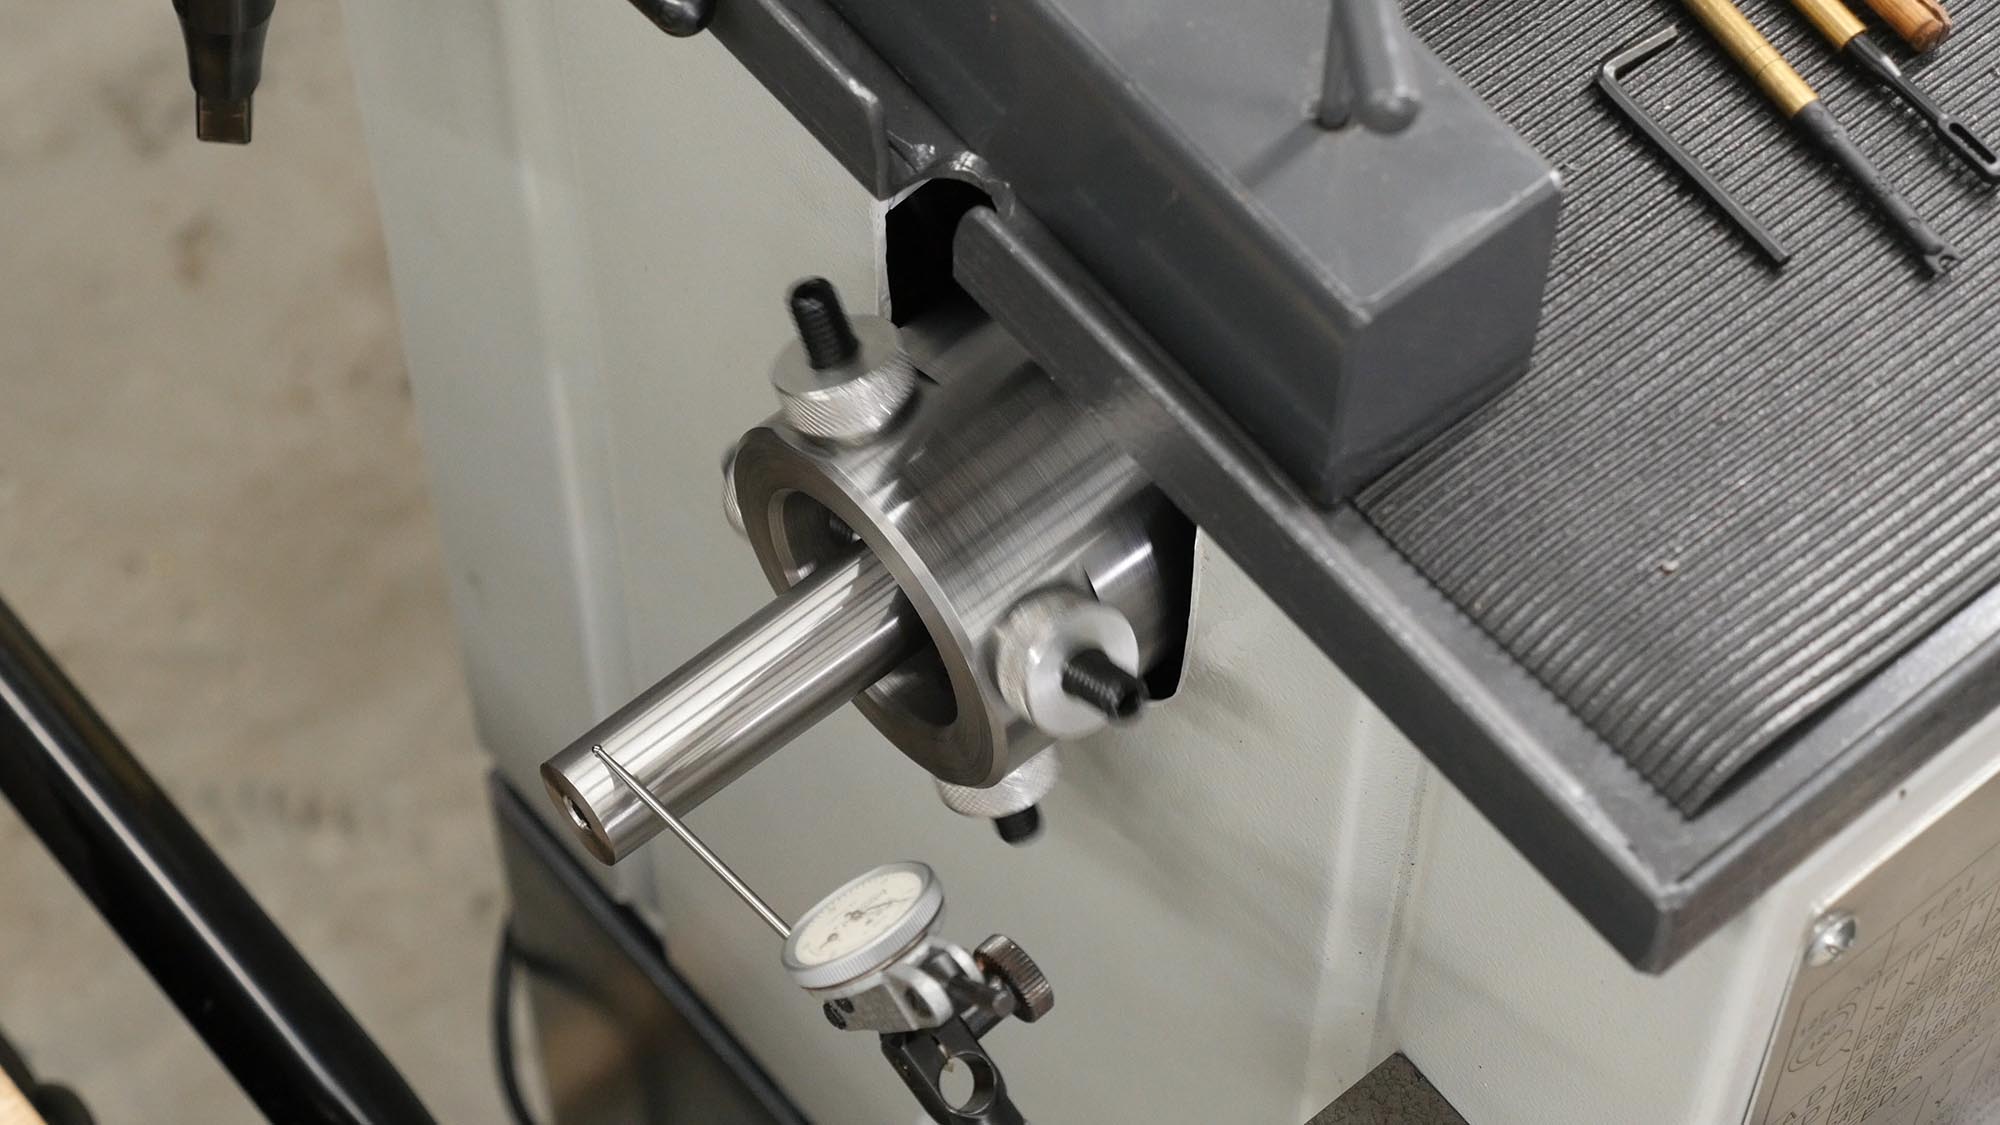
Once the barrel is pre-drilled, a high-precision dial test indicator can reach the “throat area” of the bore (where the throat will be, and fore/aft of that area). Here I’m using a Mitutoyo 513-504T 0.0001″ test indicator:
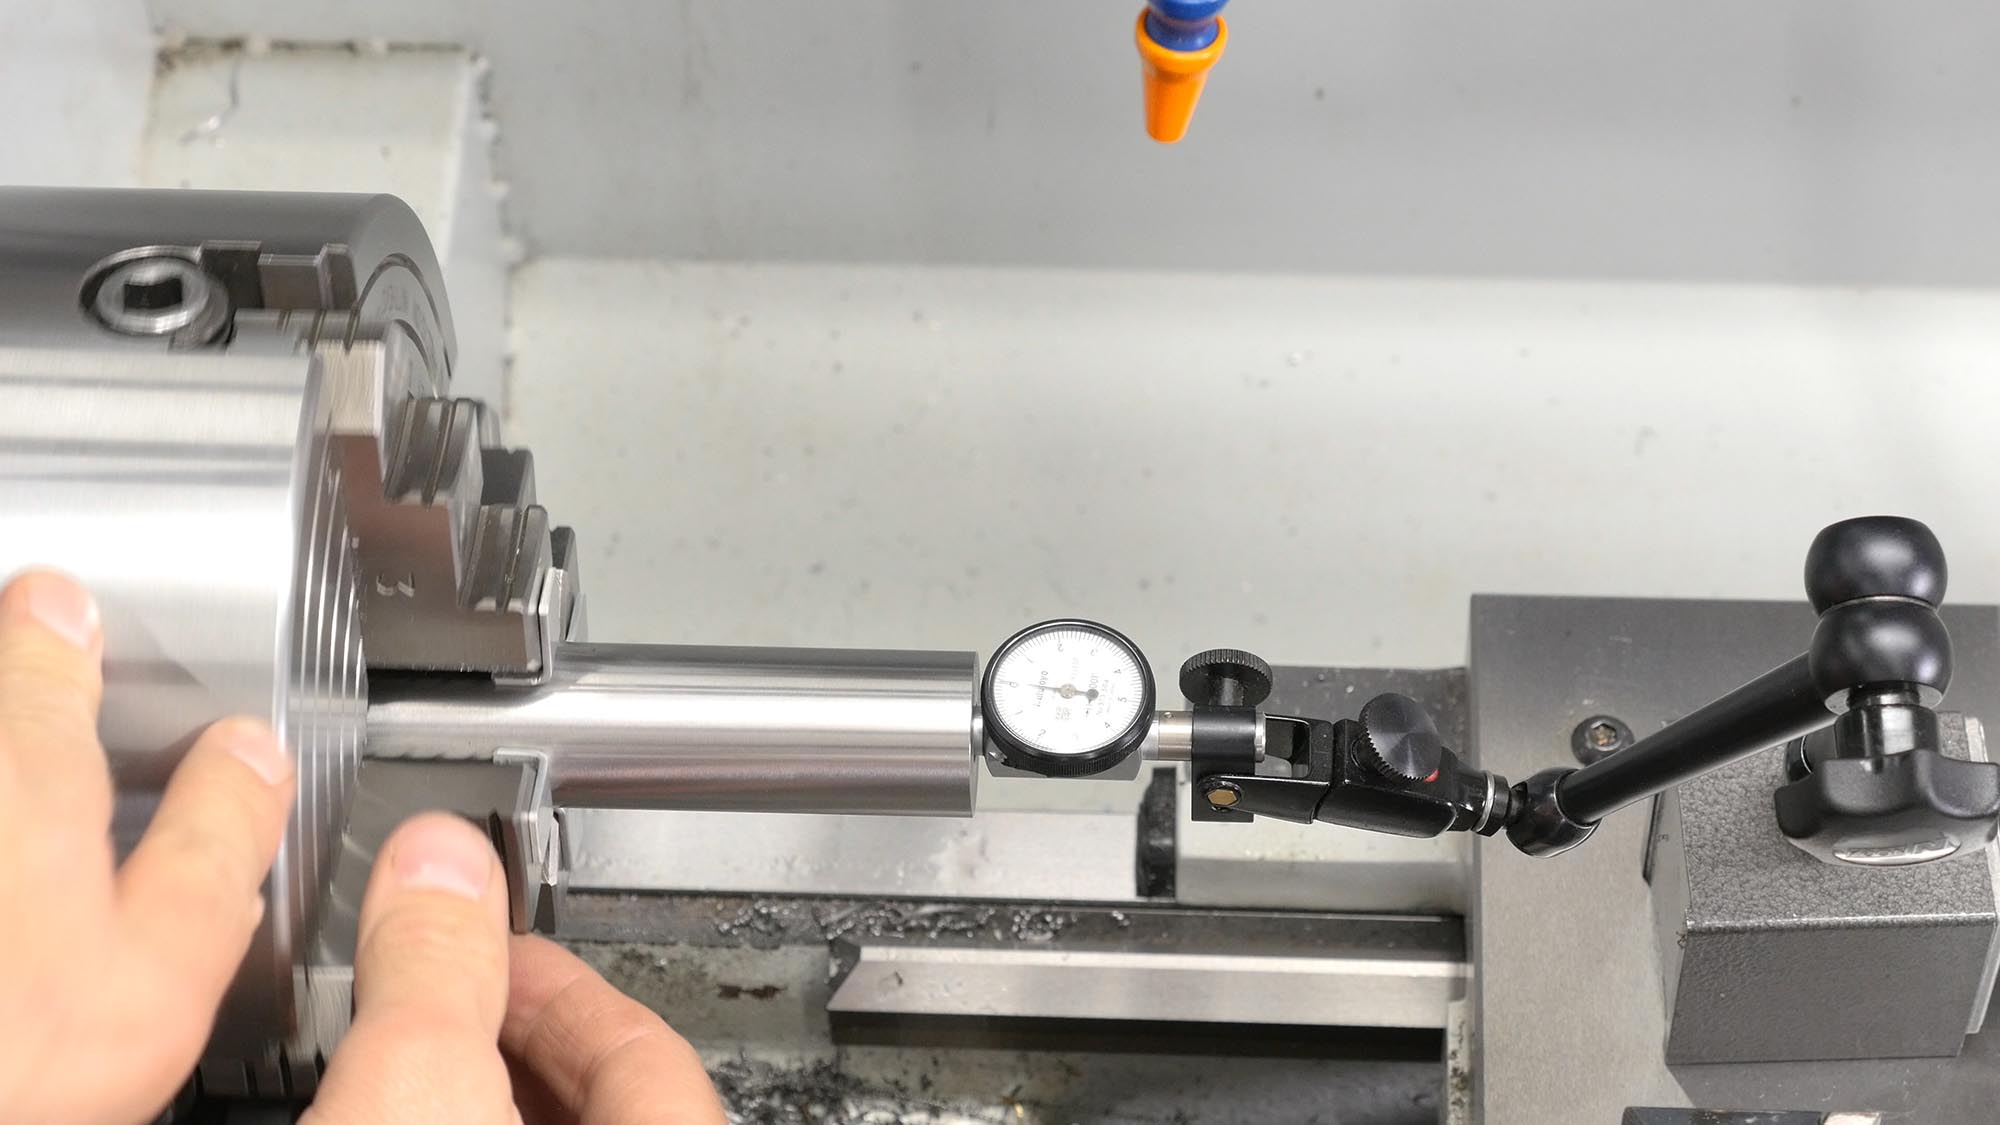
The barrel dial-in setup I’m using here is from Gordy Gritter’s contribution to the book Chambering Rifles for Accuracy (Gunsmithing Student Handbook Series). Here I’ve got 3″ of barrel blank protruding from the jaws so as to avoid distortion of the chamber area from the chuck jaws.
There are two adjustments I made while incrementally dialing-in the barrel:
- Chuck jaws: moving the barrel radially until the area under the jaws has no runout
- Outboard spider: angling the barrel so that the area protruding from the chuck jaws (about 1.5″ towards the breech end from the jaws) runs true
After several iterations of alternating dialing points, I was satisfied with a TIR (Total Indicator Reading) of 0.0002″, or a runout of +/- 0.0001″.
At this point, the pre-drill area can be trued up with a boring bar:

Turning the Tenon
For this build, the tenon work was greatly simplified because of the flat-nose bolt I got with my Kelbly’s Atlas Tactical Remington 700 semi-clone action. With no counterbore needed, it’s really just a threaded cylindrical section with flat face on the end! Here’s my annotated print (provided on Kelbly’s product page):
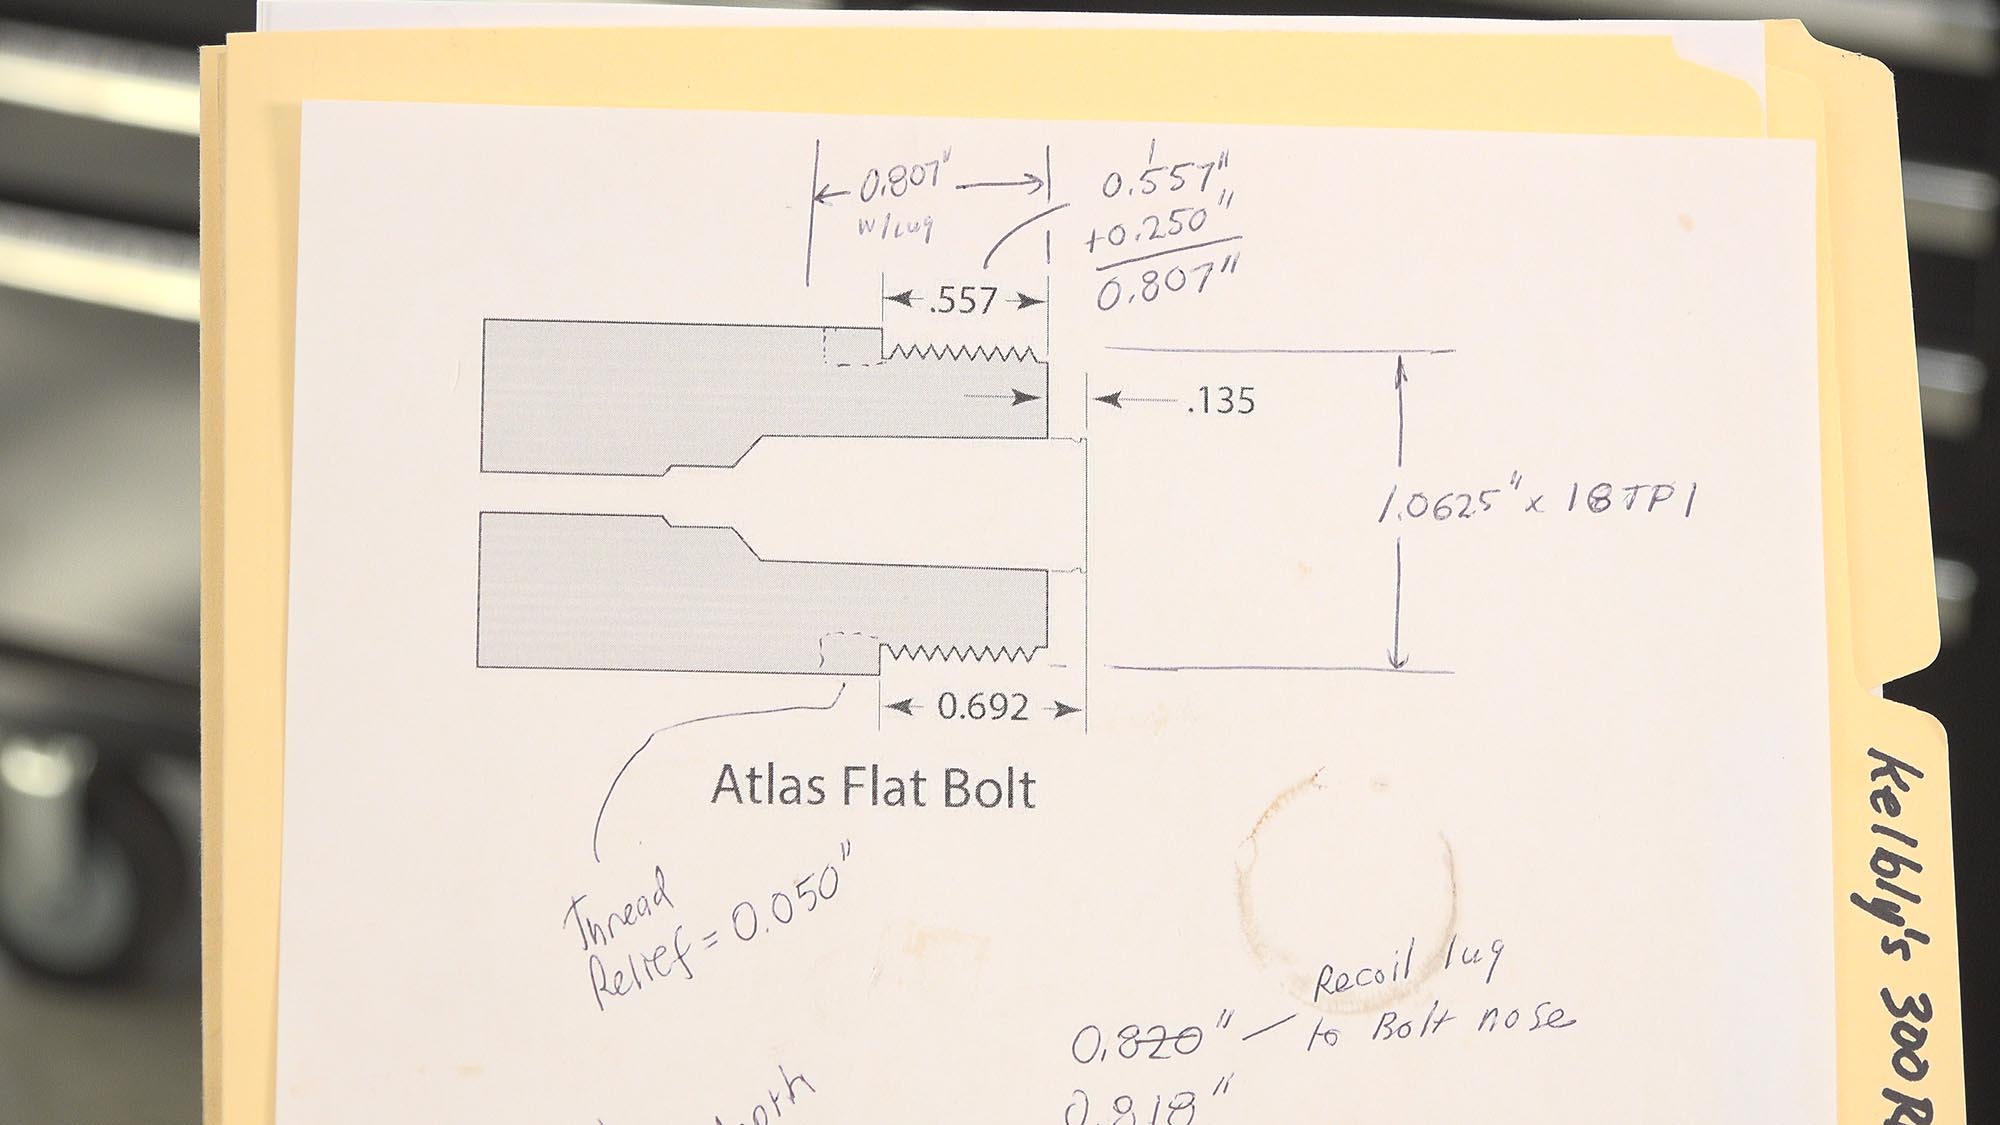
I checked and double-checked the math, and cut the tenon and relief for threading. I cut the tenon about 0.010″ long, knowing that I’d face it to length after the action was clocked to the barrel curvature.

Ready for threading!
Threading the Tenon
Since I covered threading in detail previously, I’ll point you to the following article:
Remington 700 224 Valkyrie Build Chambering and Machining
The only real difference for the 300 PRC build was:
- The thread pitch is 18 TPI (Kelbly’s) instead of 16 TPI (Factory Remington spec)
- The length of the tenon was different
This time, things turned out really well with a perfect thread fit!
Clocking the Action to Barrel Curvature
Another thing I did this time directly from Gordy’s section of the book Chambering Rifles for Accuracy (Gunsmithing Student Handbook Series) was to use Gordy’s technique to “clock the action” This is done so that the barrel is pointed “up” rather than down or side-to-side. Why do we have any angular offset here? It’s a side-effect of dialing in the throat area of the chamber to high precision. The muzzle ends up “pointing” to one side slightly (I had a total runout of 0.004″ or +/- 0.002″ which is VERY good).
The first step is tho find the “high point” with an indicator:
Then the lathe chuck is marked “UP”, and the action is threaded onto the barrel to see how far off the action angle is.
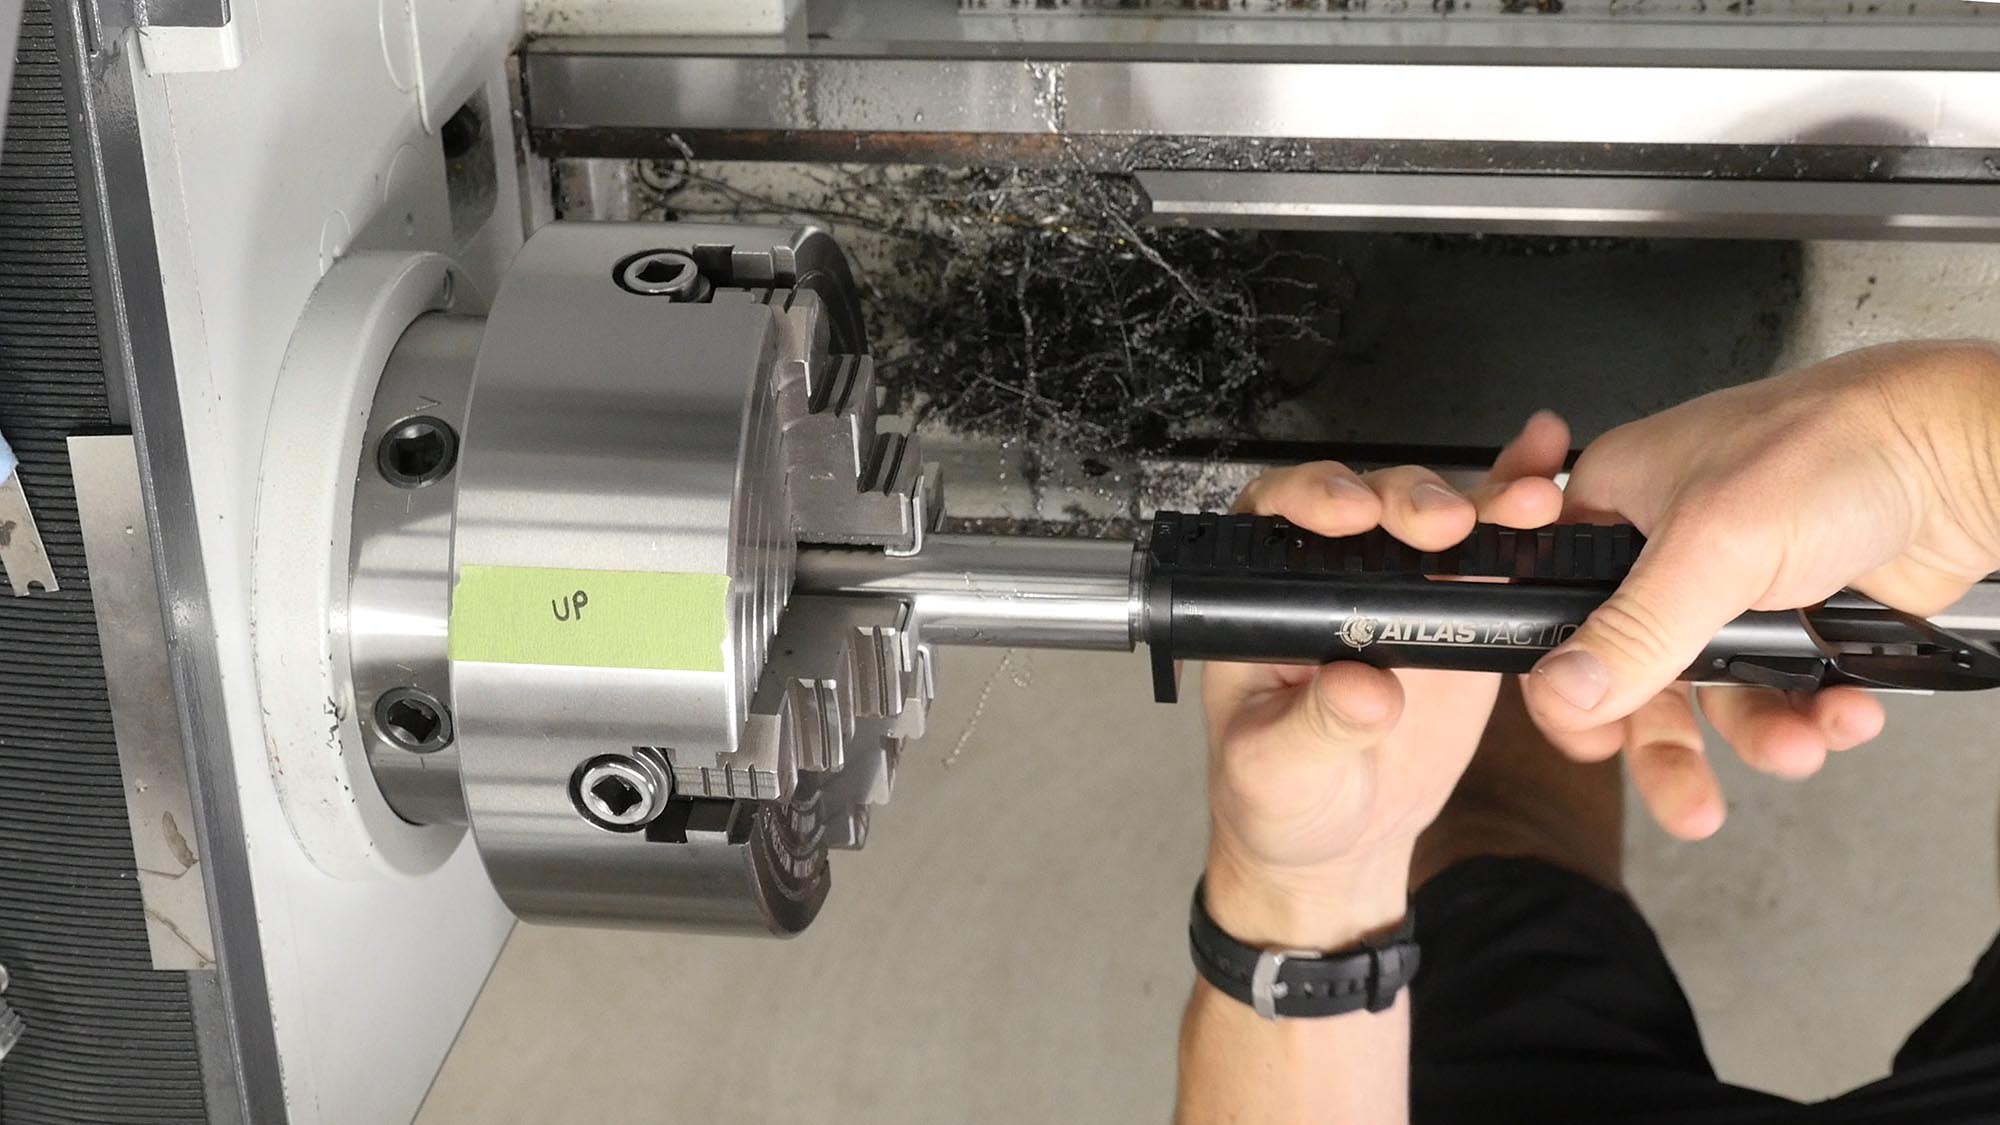
I measured how much to cut off the tenon shoulder, leaving about 5 degrees of “crush” for when the action was tightened onto the barrel. Perfect!
Cutting Tenon to Length
Once the action is clocked on the tenon, the tenon can be cut to length. I used a depth micrometer and the DRO on the lathe to precisely cut the tenon down. I was within about 0.0002″ on length- plenty close!
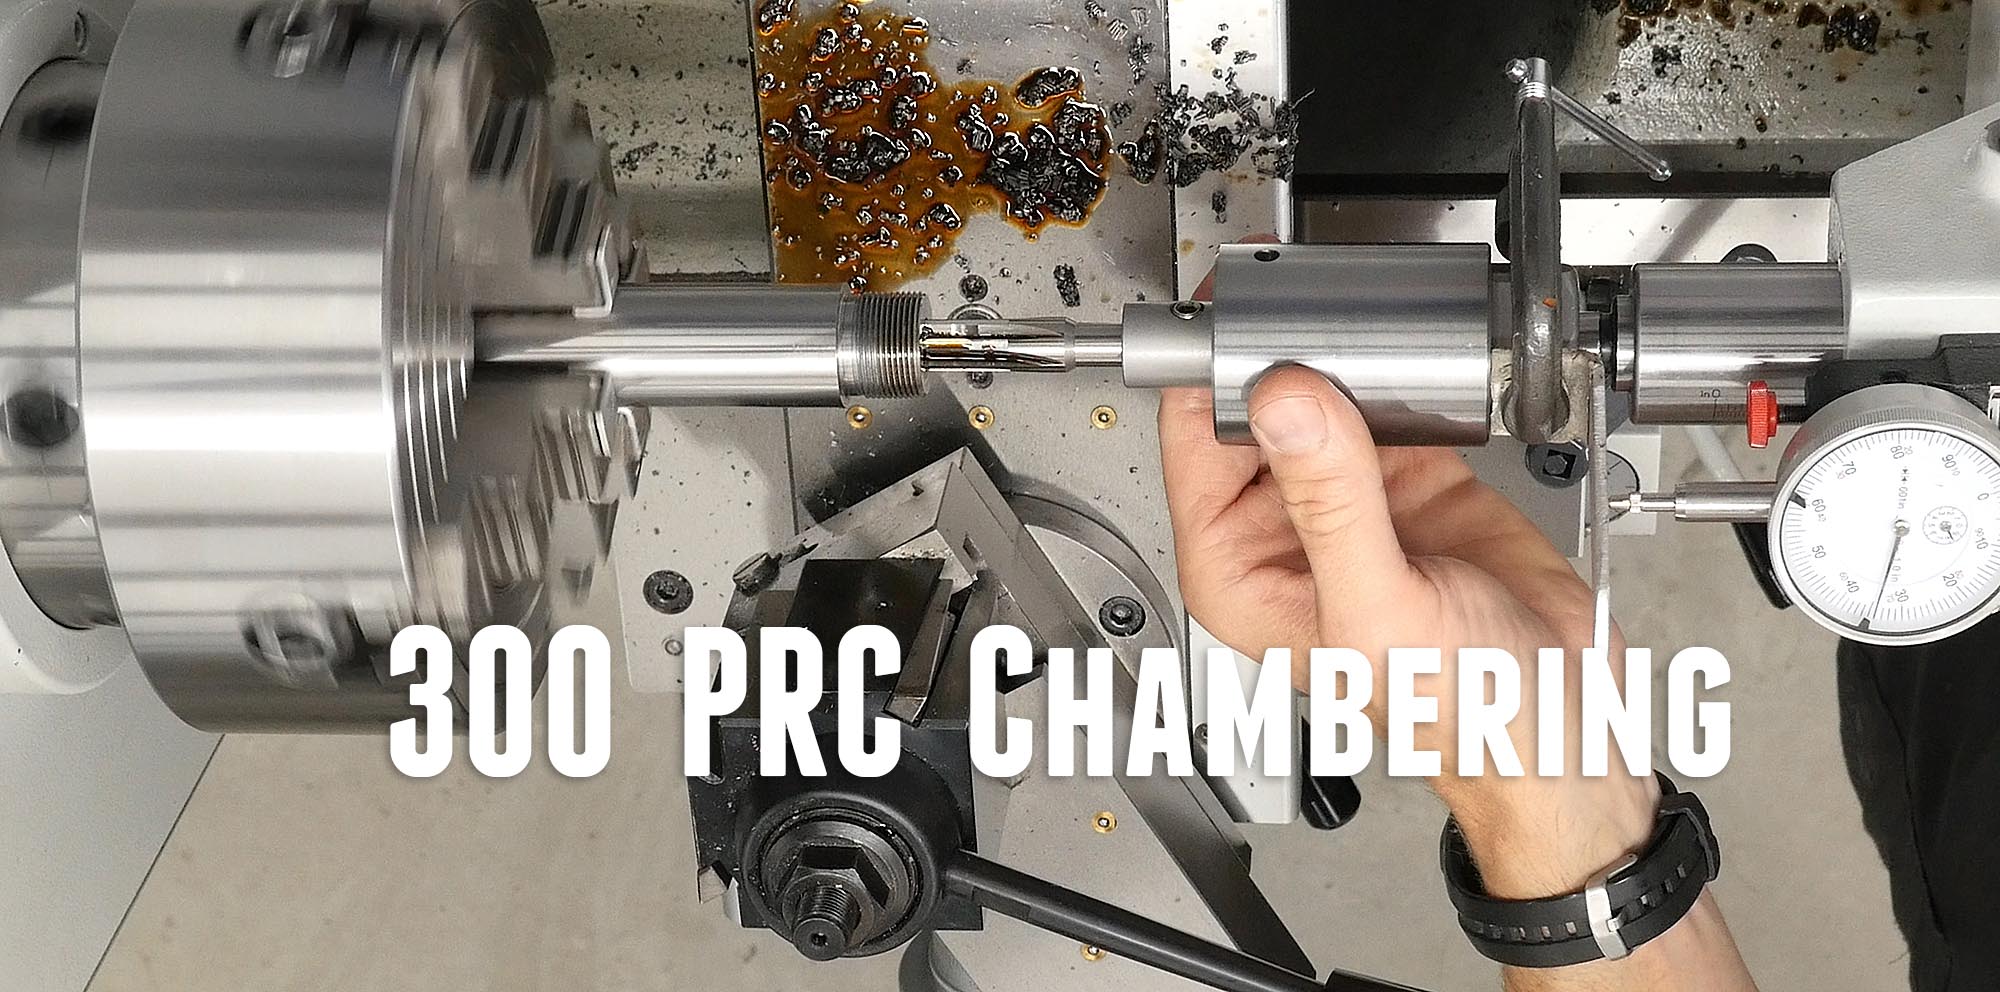
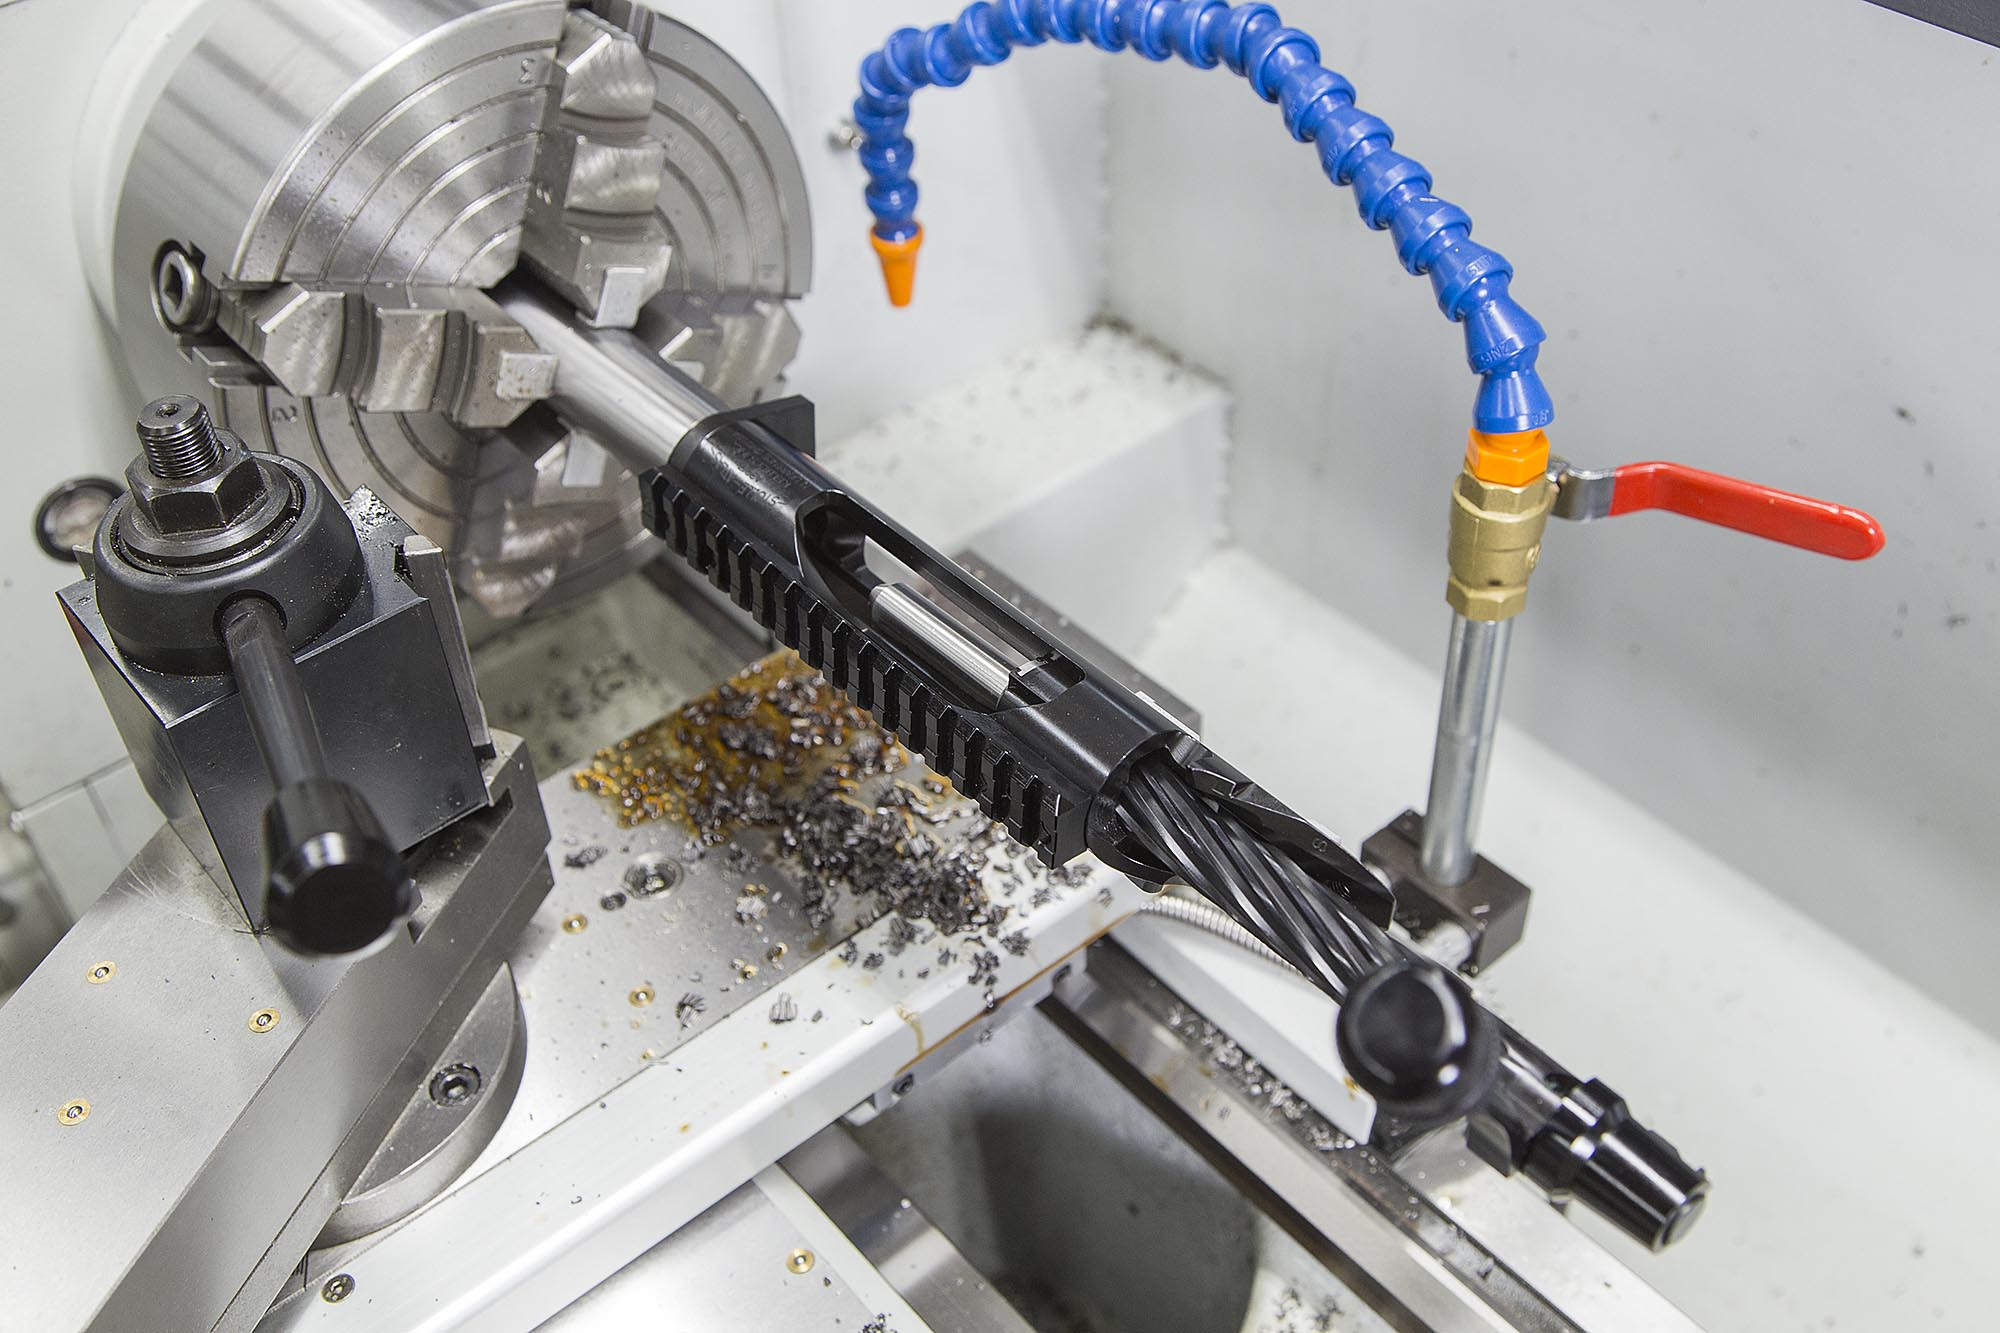
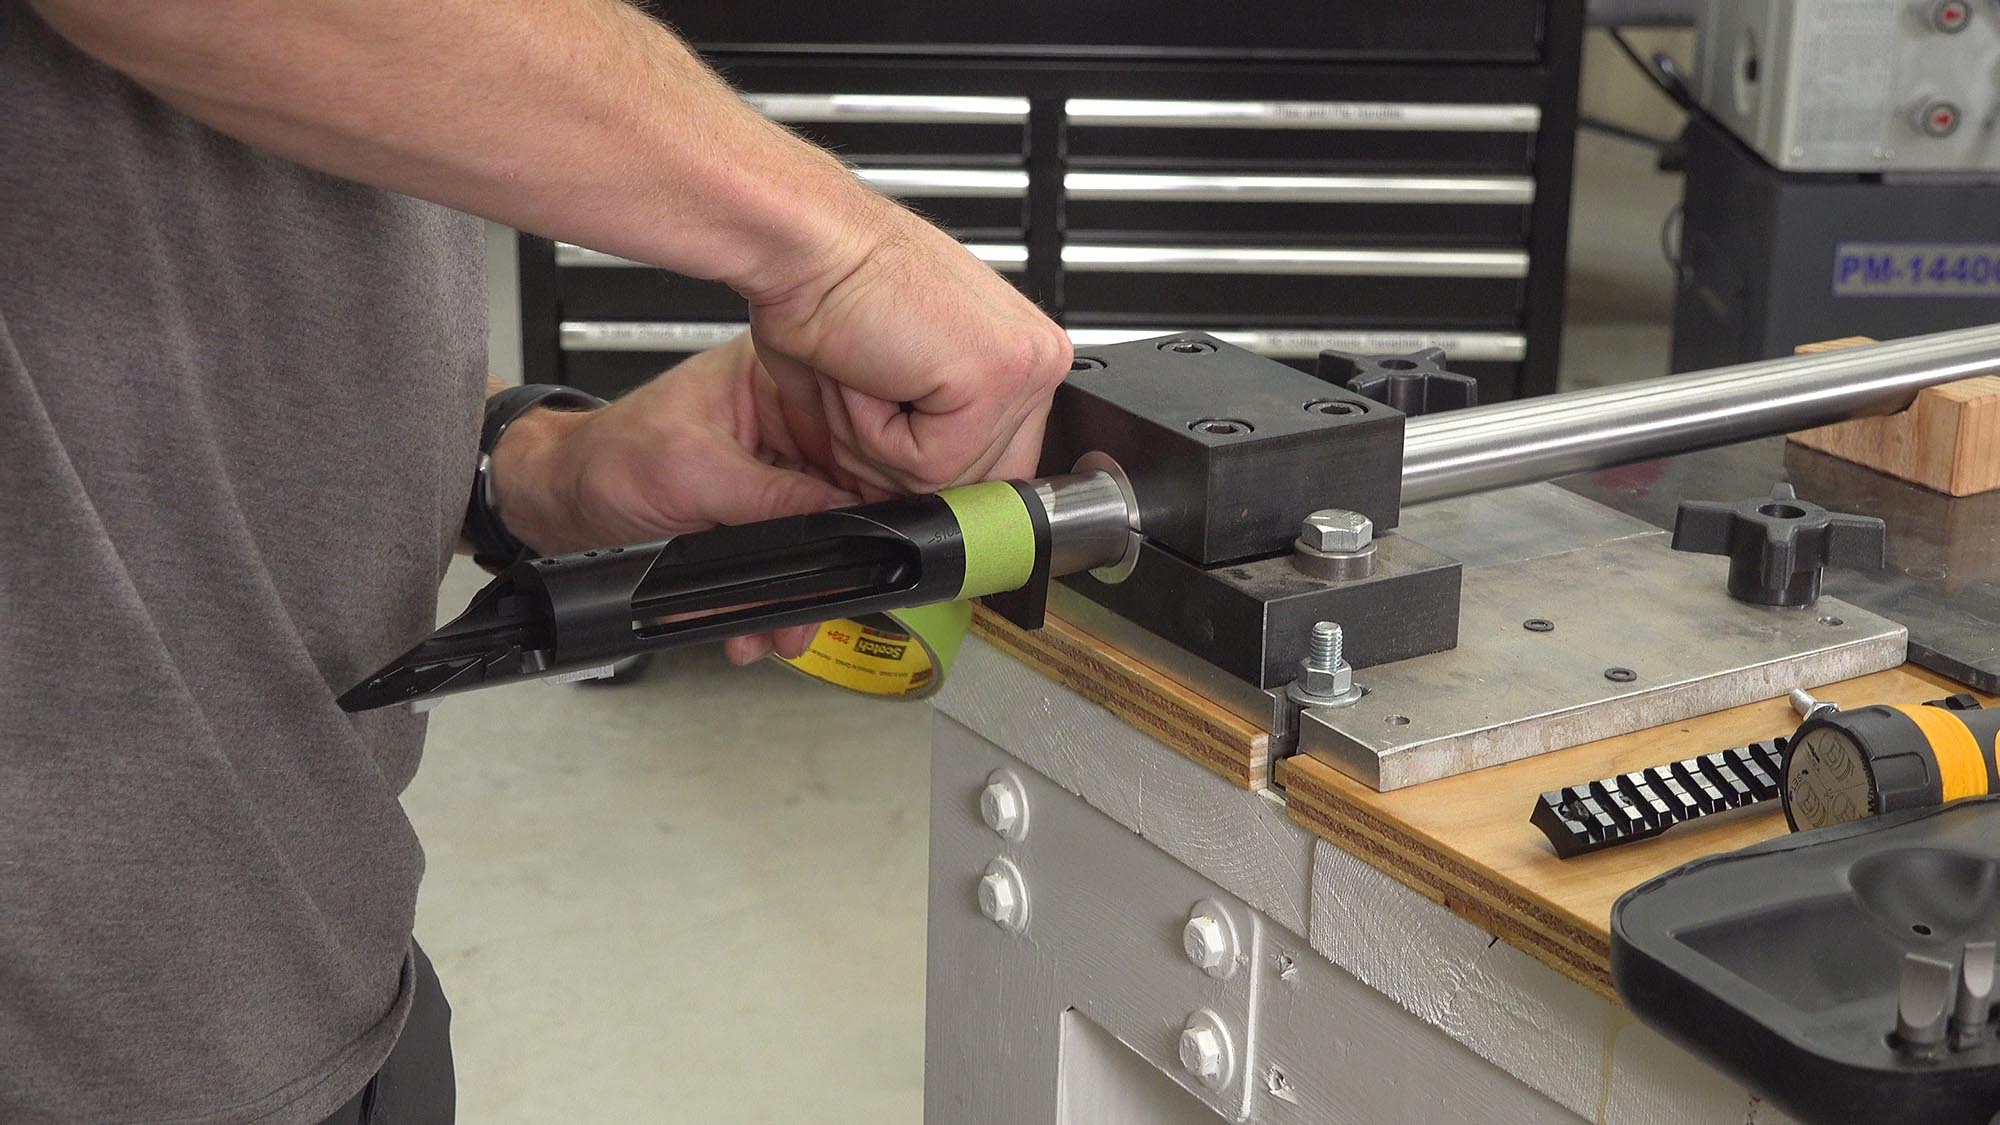
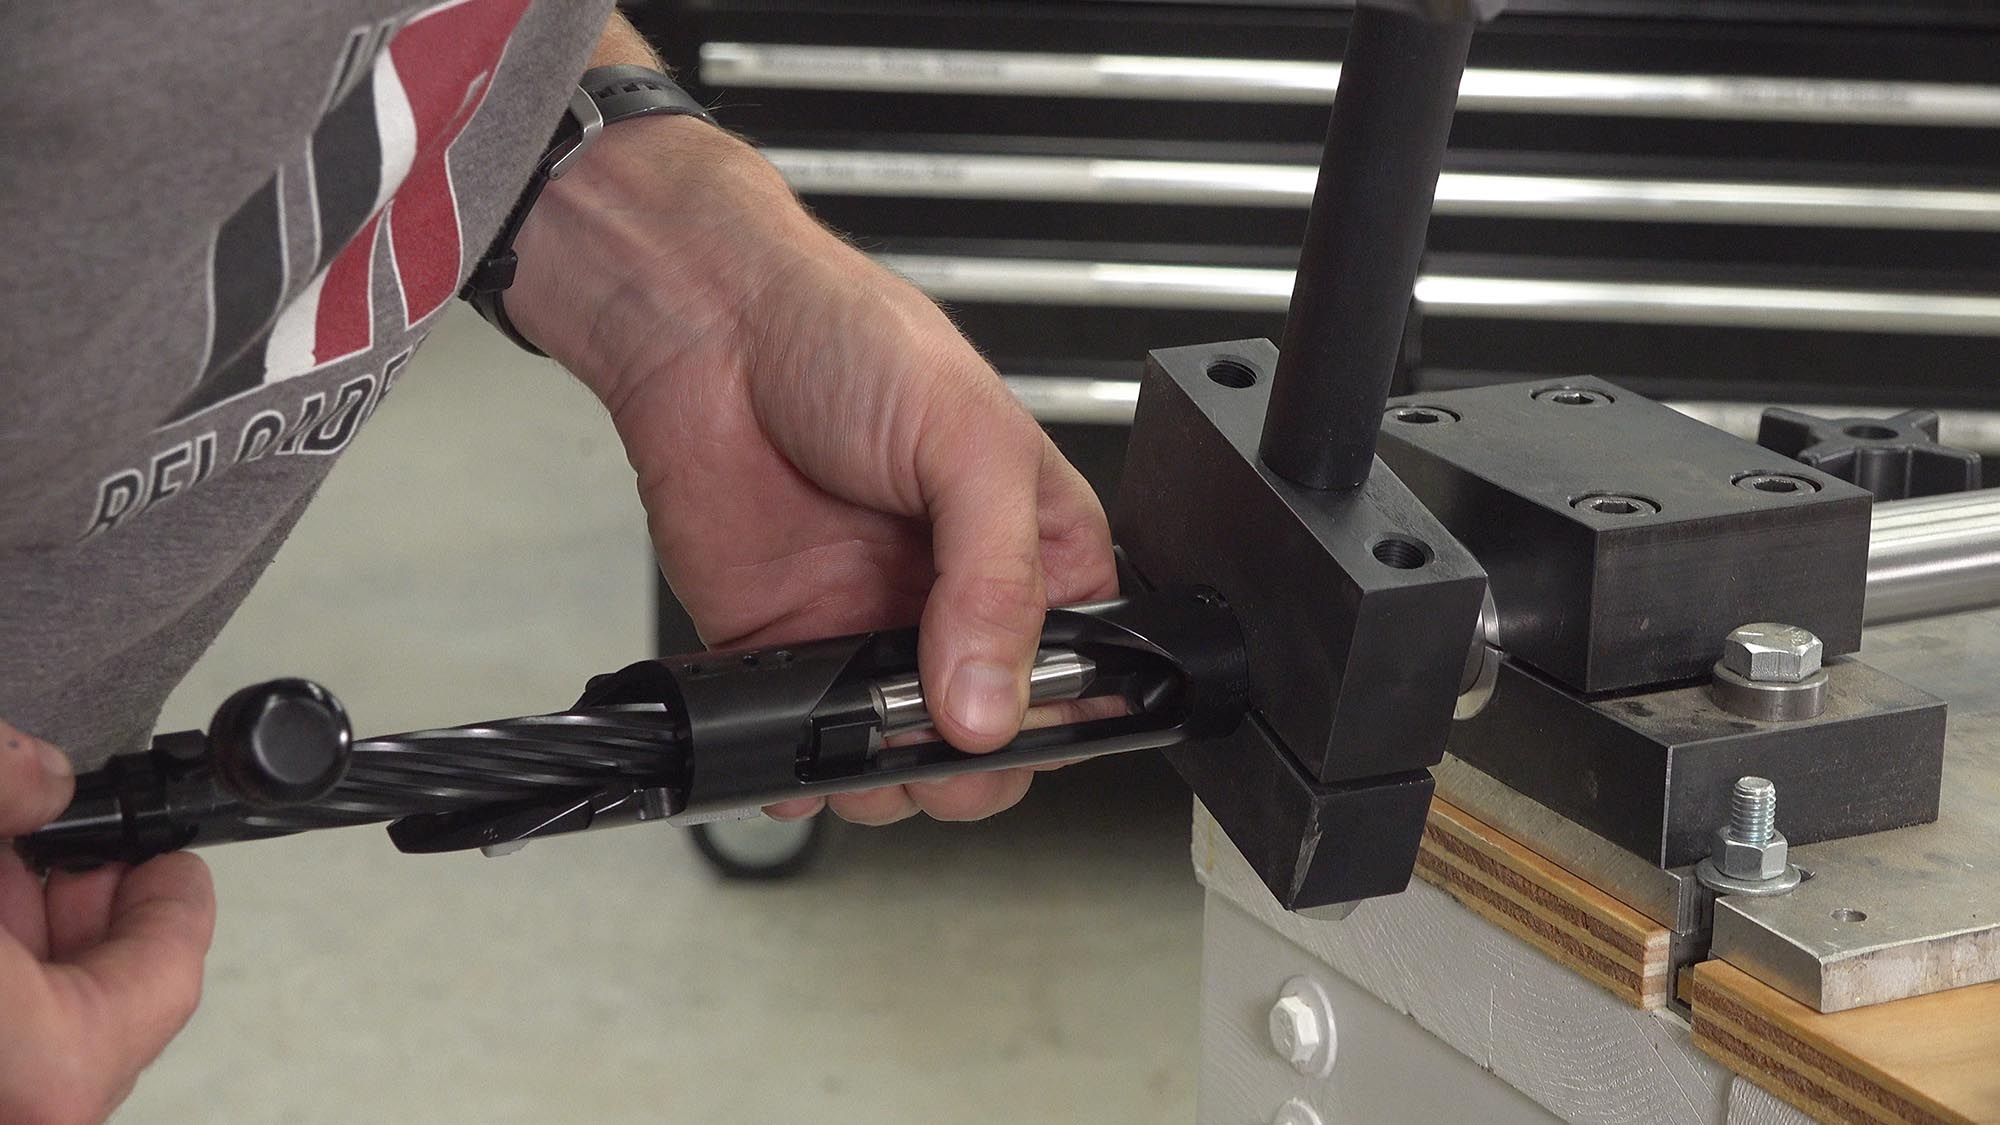
Chambering Process
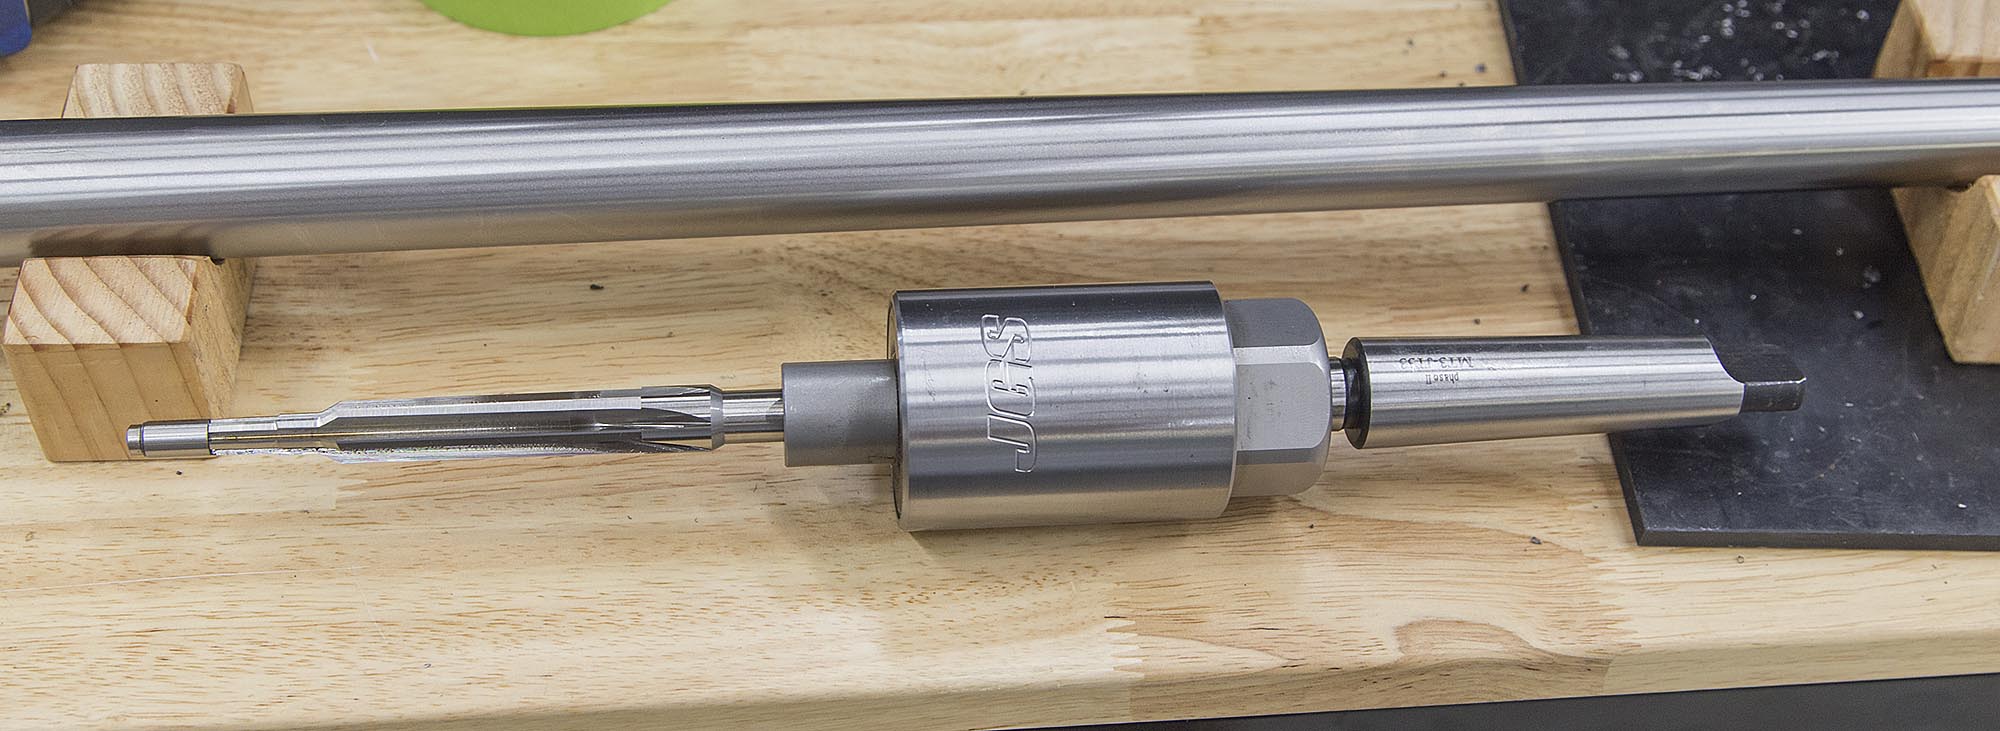
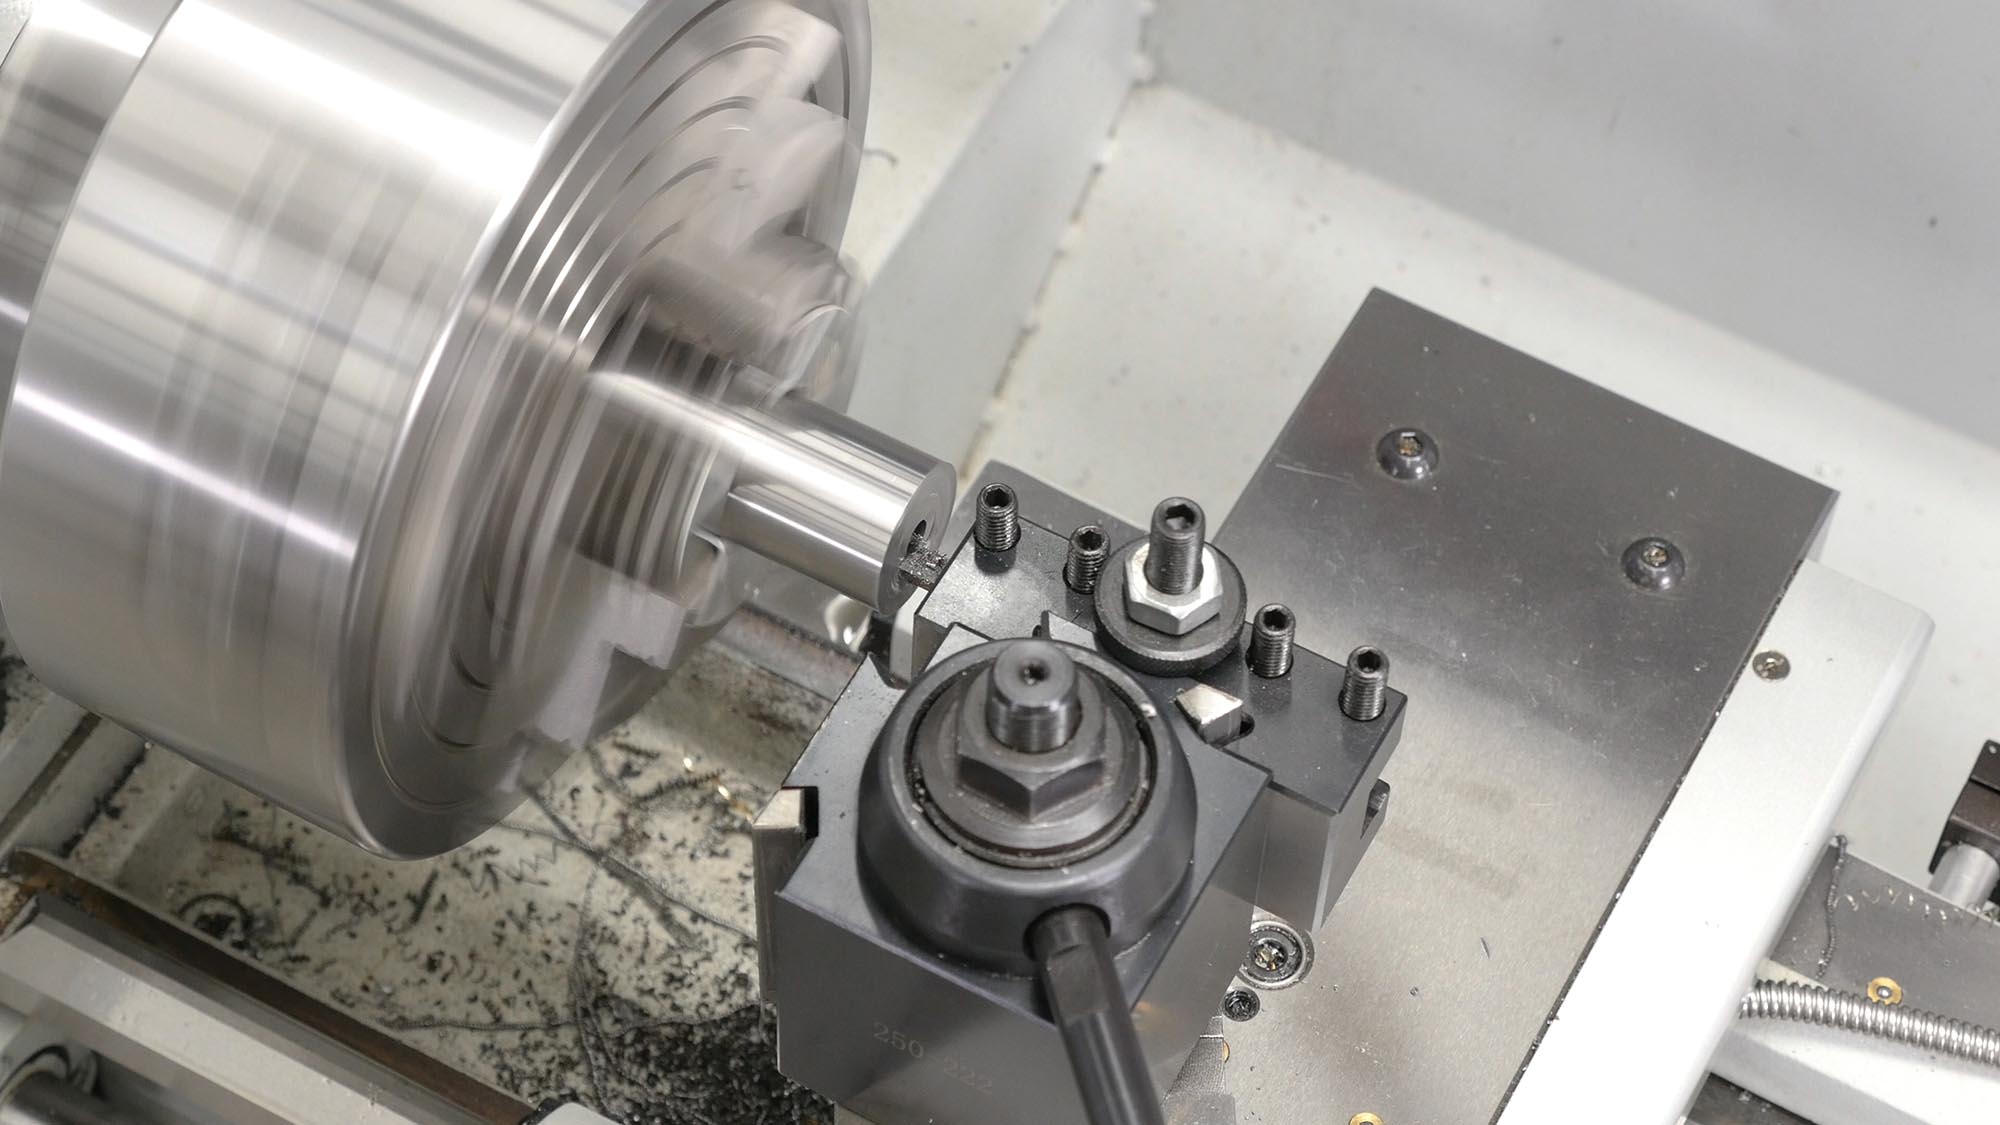
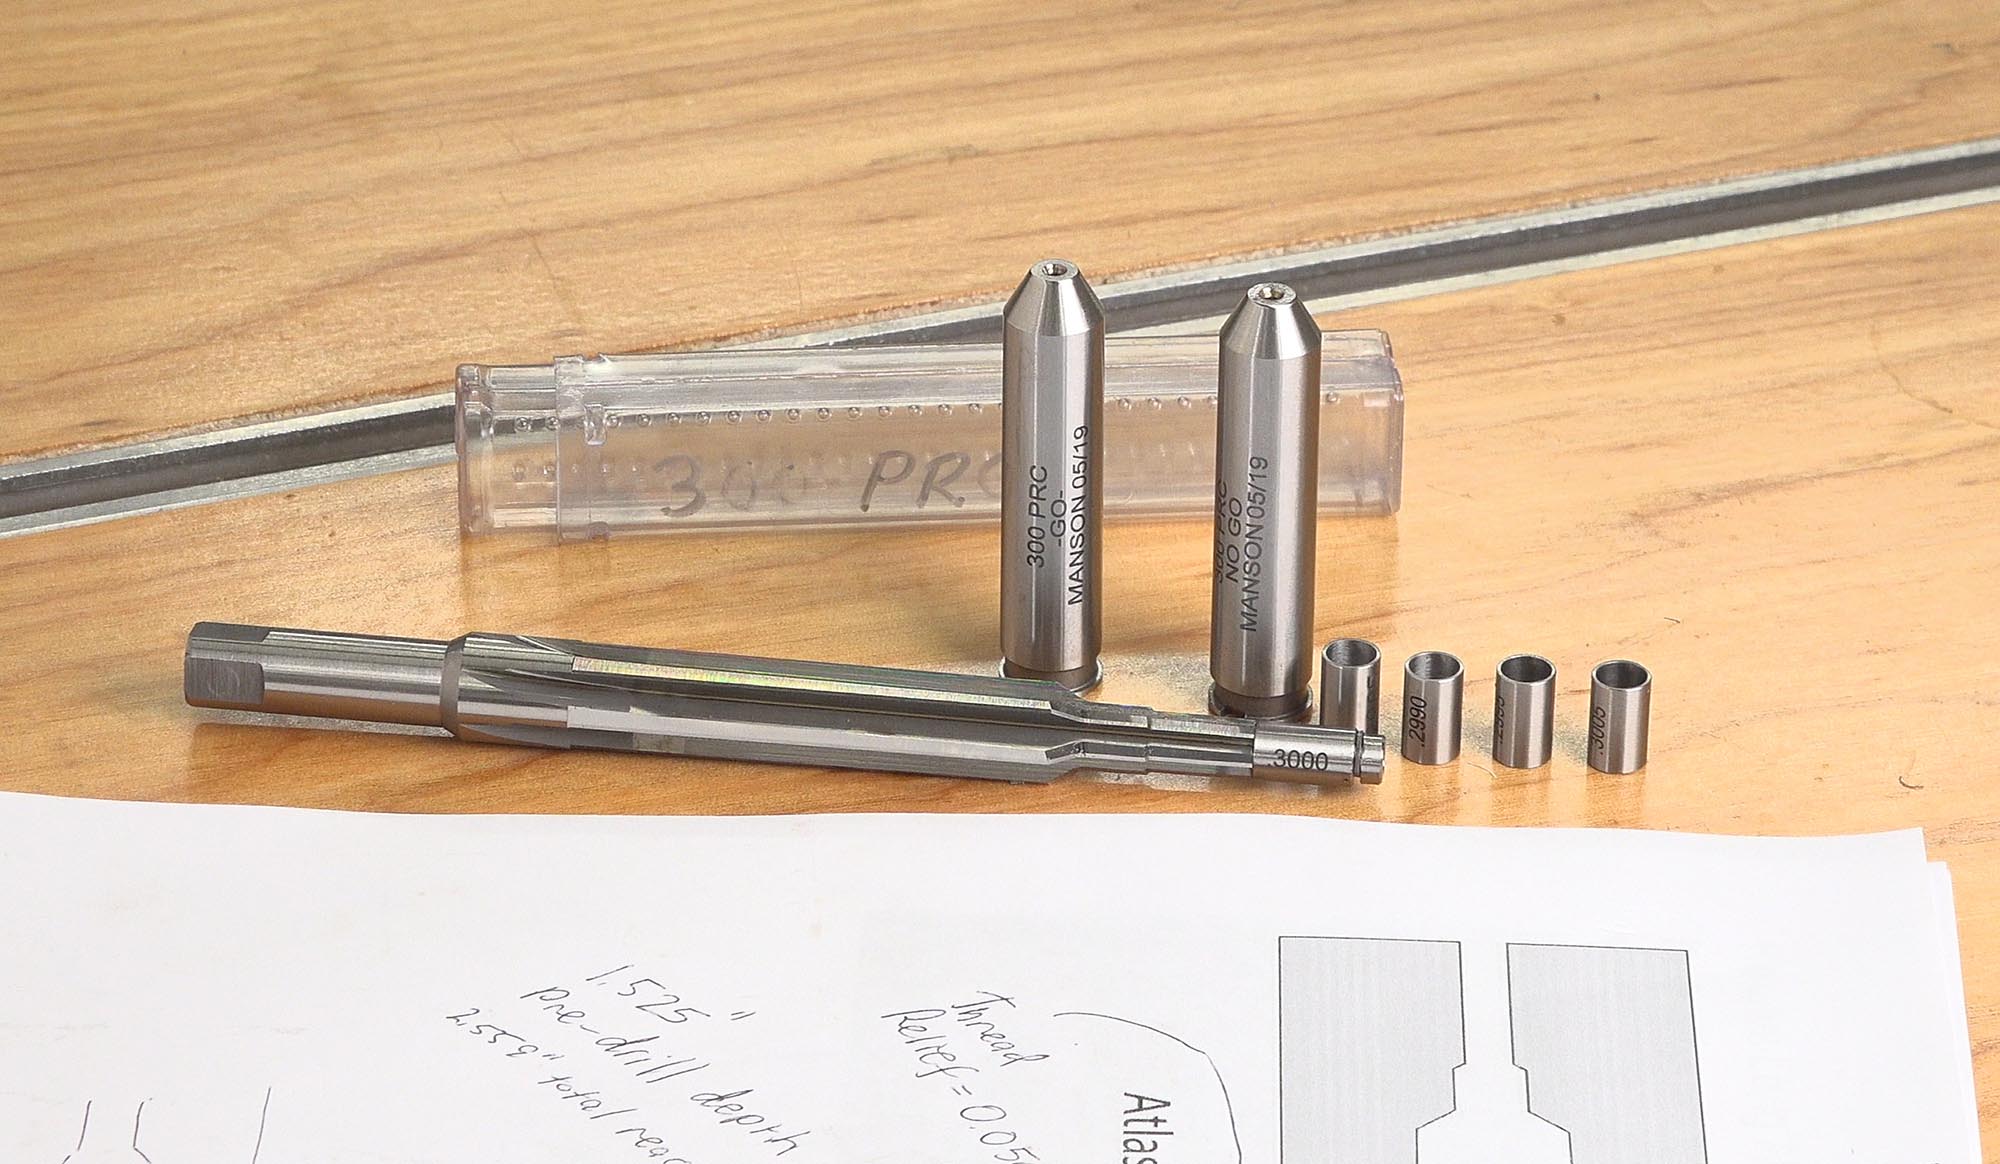
For this chambering job, I used the following tools:
JGS Precision floating reamer holder (pictured above)
And the following from Dave Manson Precision Reamers:
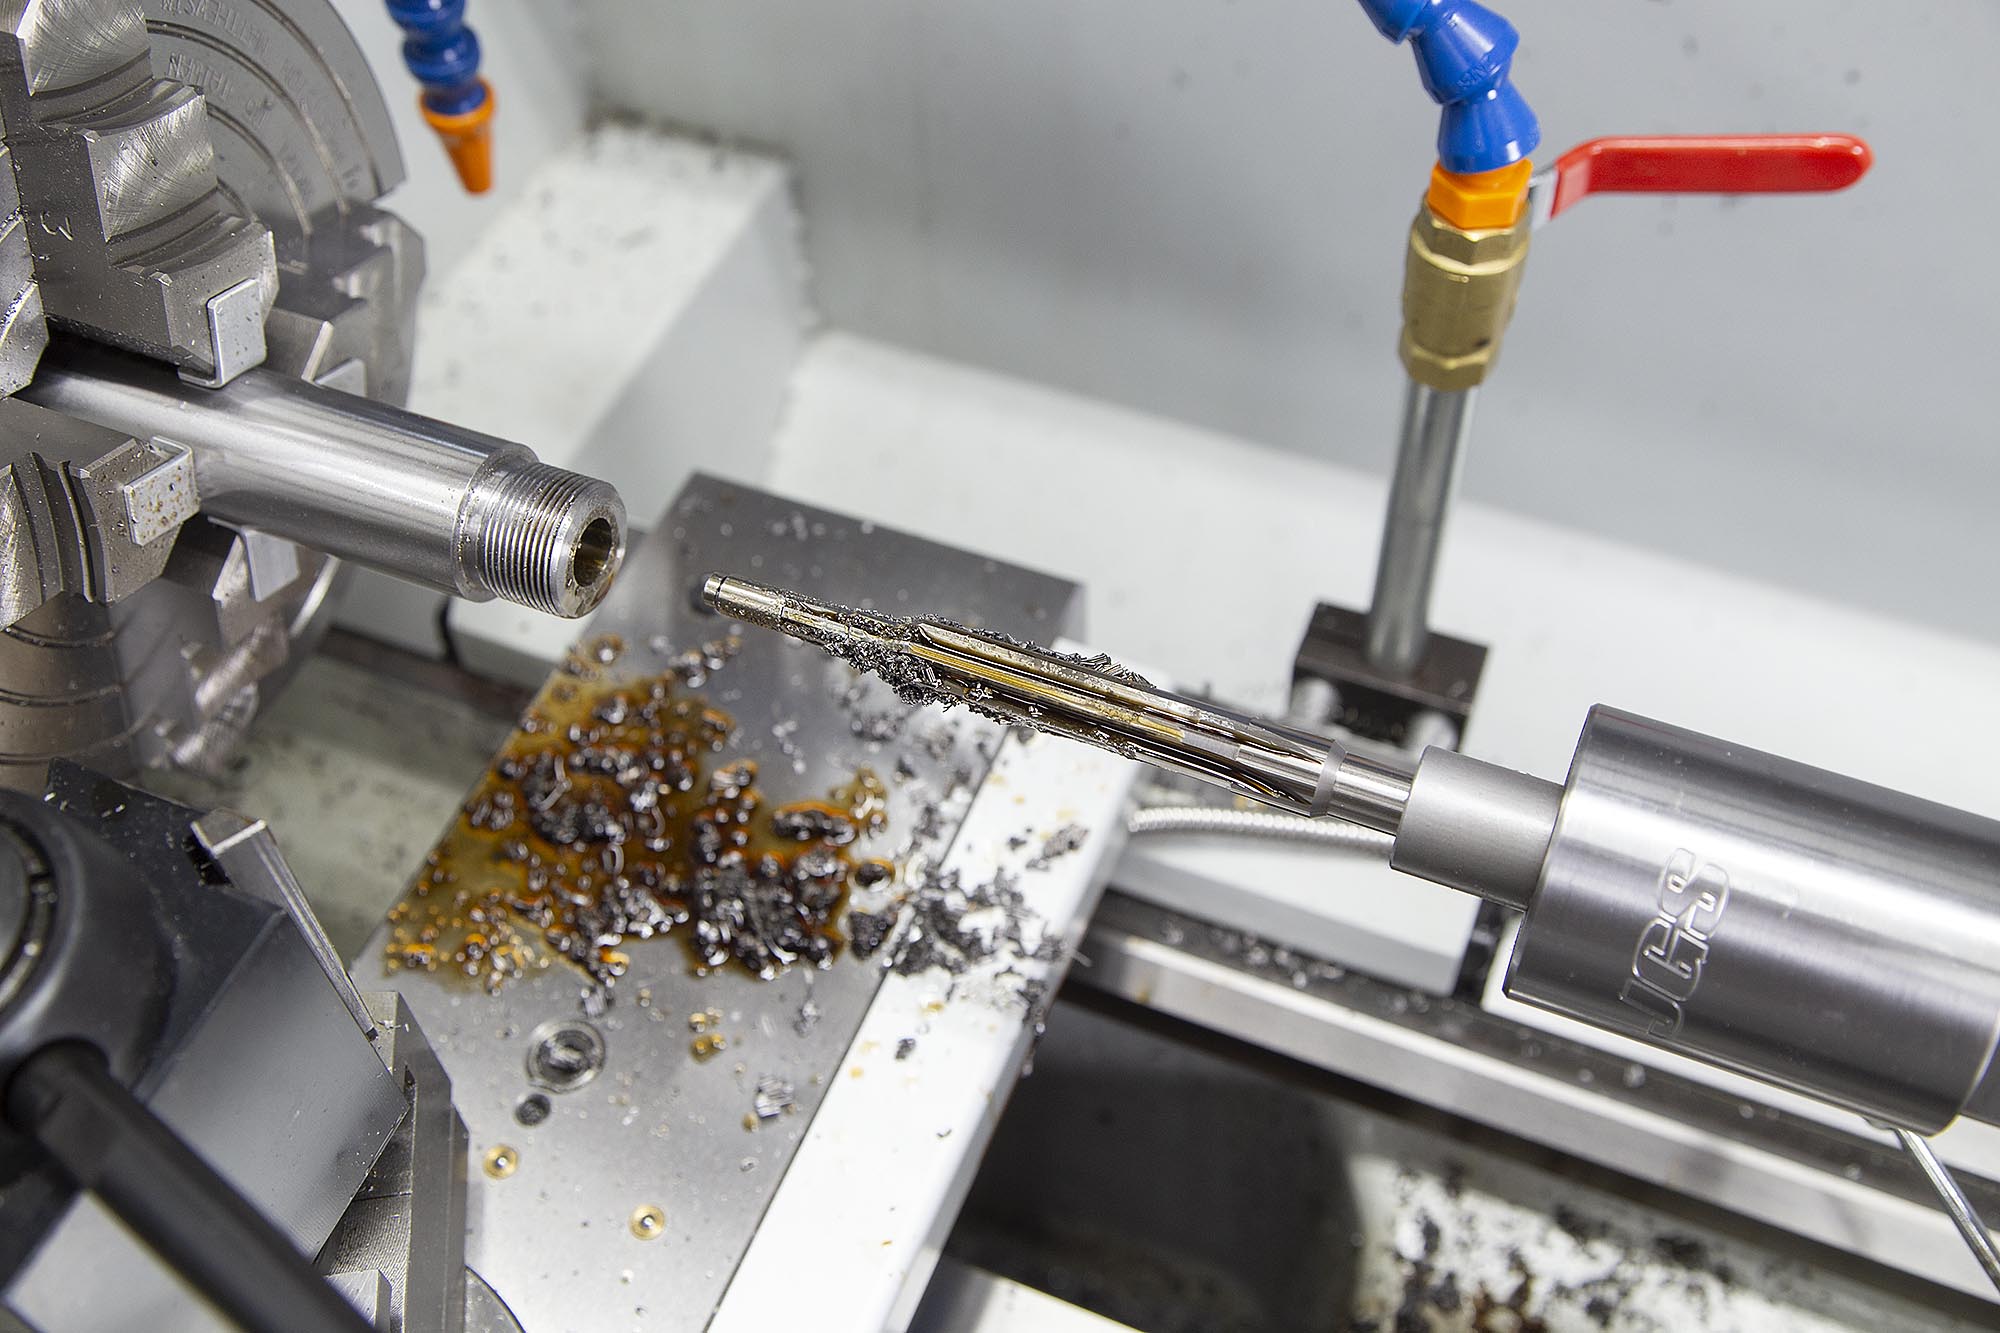
Using a home-made depth indicator setup on the tailstock to monitor plunge depth, I took an iterative process for chambering:
- Passes of 0.100″ depth
- Passes of 0.050 depth
- A pass at 0.020″ depth
- Final passes (0.005″, 0.002″)
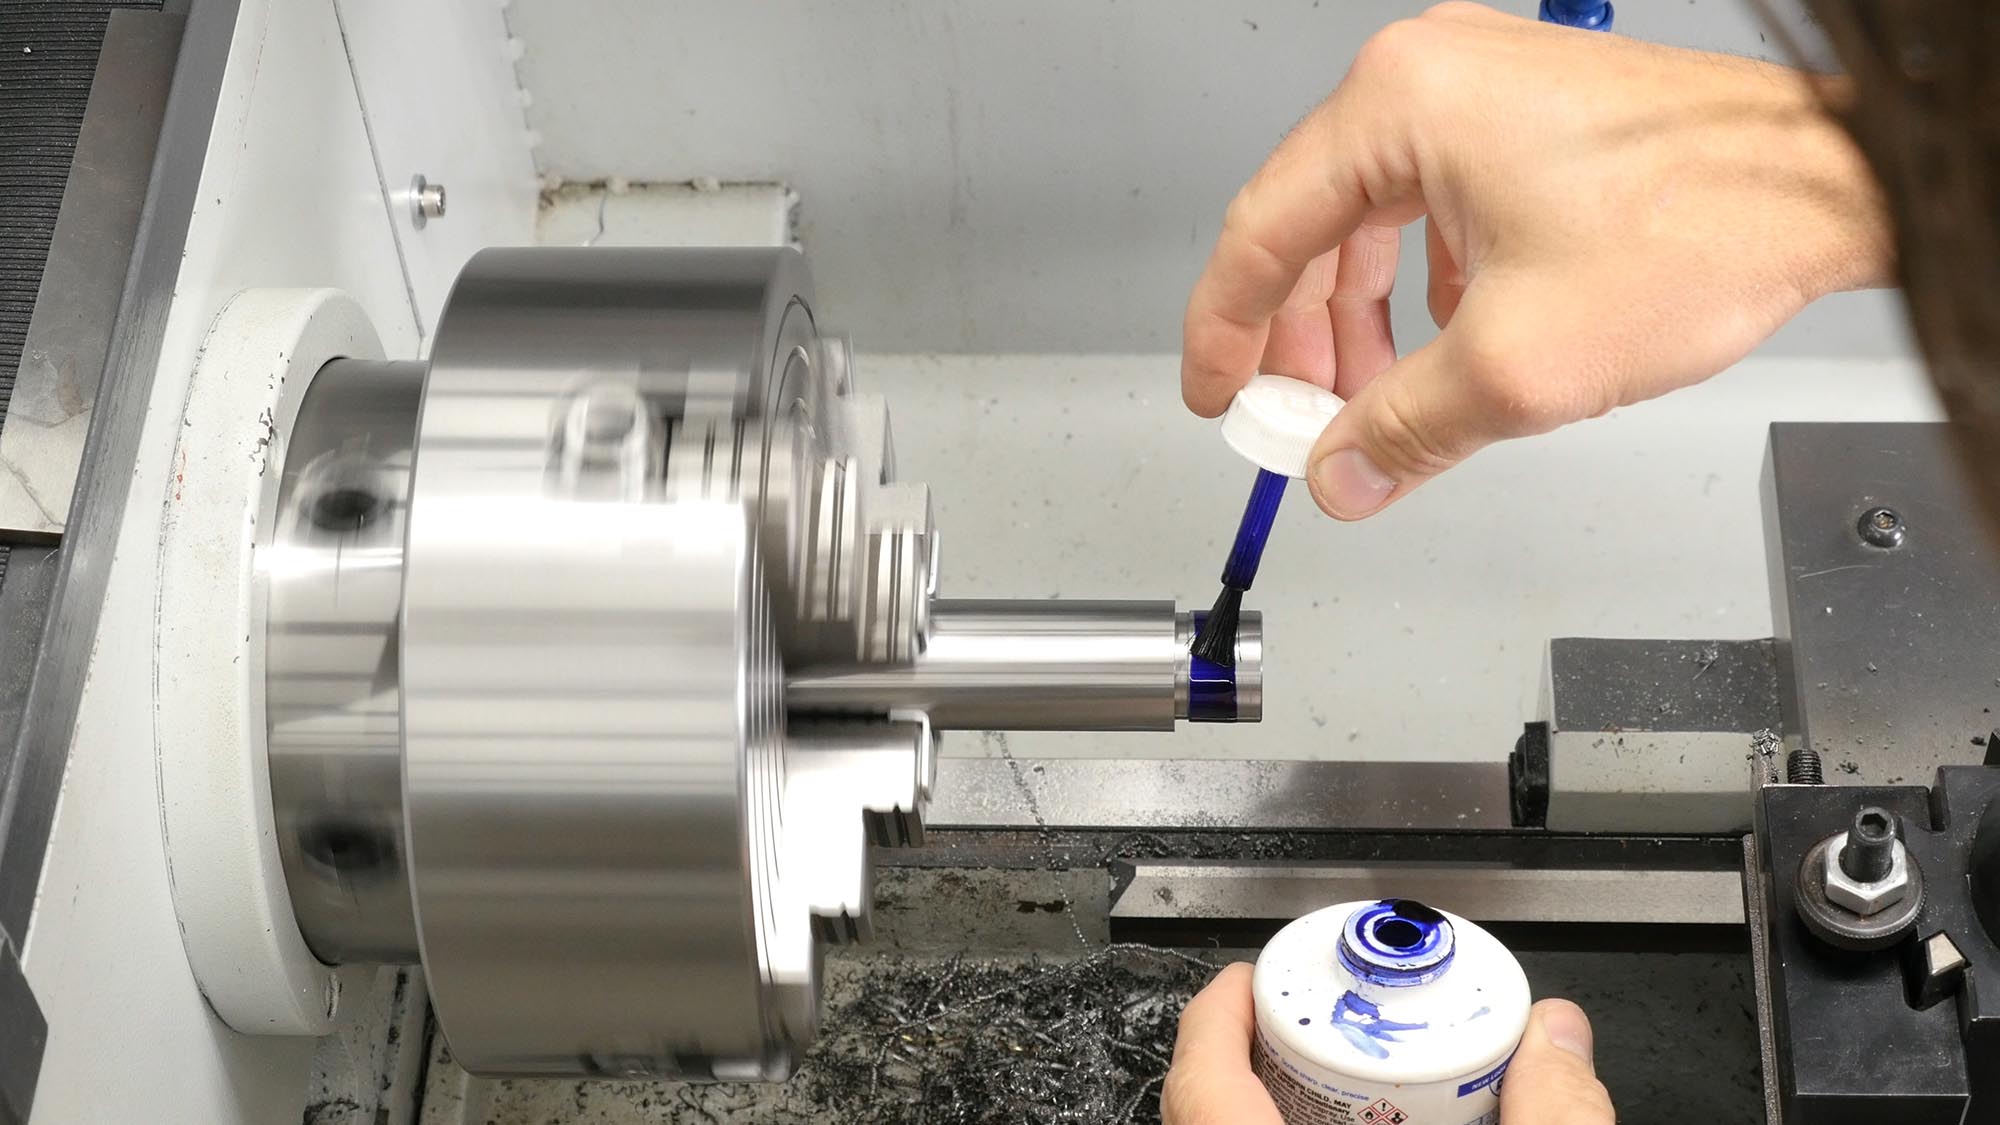
Between each pass I would blow out the bore (from the muzzle end), and wipe the chips off the reamer. I used Vipers Venom chambering oil both squirted into the chamber, and onto the reamer for lubrication.
The critical aspect of this kind of chambering is to monitor your depth as you make each successive cut. Using the headspace gauge spec from the Kelbly’s page, I used a go gauge in the chamber periodically to monitor chamber depth. When I got to about 0.020″ I screwed the action on with the go-gauge to monitor depth.
I used Gordy’s “tape trick” to lengthen the go-gauge by 0.002″ and cut the chamber to that exact length. This would account for the “crush” that happens when the action is tightened onto the barrel.
I was very excited to use my new Hawkeye 7″ and 17″ Gunsmith’s Borescope Kit from Brownells for this chambering job. It makes the monitoring of chamber quality and concentricity quite straightforward!
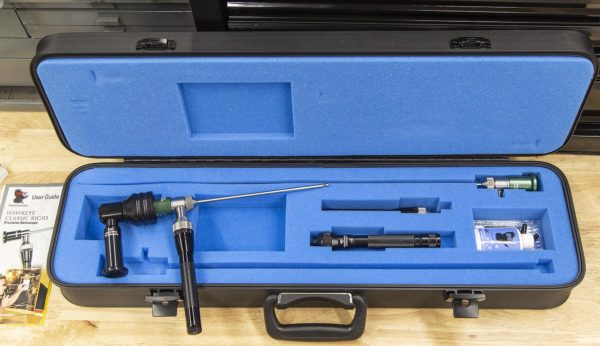
I was encouraged to see very smooth chamber walls (almost miror-like) and a perfectly centered and crisp throat area where the rifling transition happens. Amazing to be able to see with such clarity what’s going on inside the chamber and bore!
Threading the Muzzle
From my Remington 700 224 Valkyrie Build (same exact process)
The muzzle threading operation was also nearly identical to the process of cutting and threading the breech-end tenon.
The steps were:
- Measure the Ruger Precision Rifle threaded muzzle key dimensions (this is a copy of what Ruger does for the RPR)
- Turn the tenon down, 0.020″ longer than needed
- Cut the thread relief
- Clean up the shoulder
- Cut the “step” on the muzzle end
- Thread the muzzle
- Face the muzzle end to length
- Cut the recessed crown
- Polish the end of the muzzle and crown with fine sandpaper
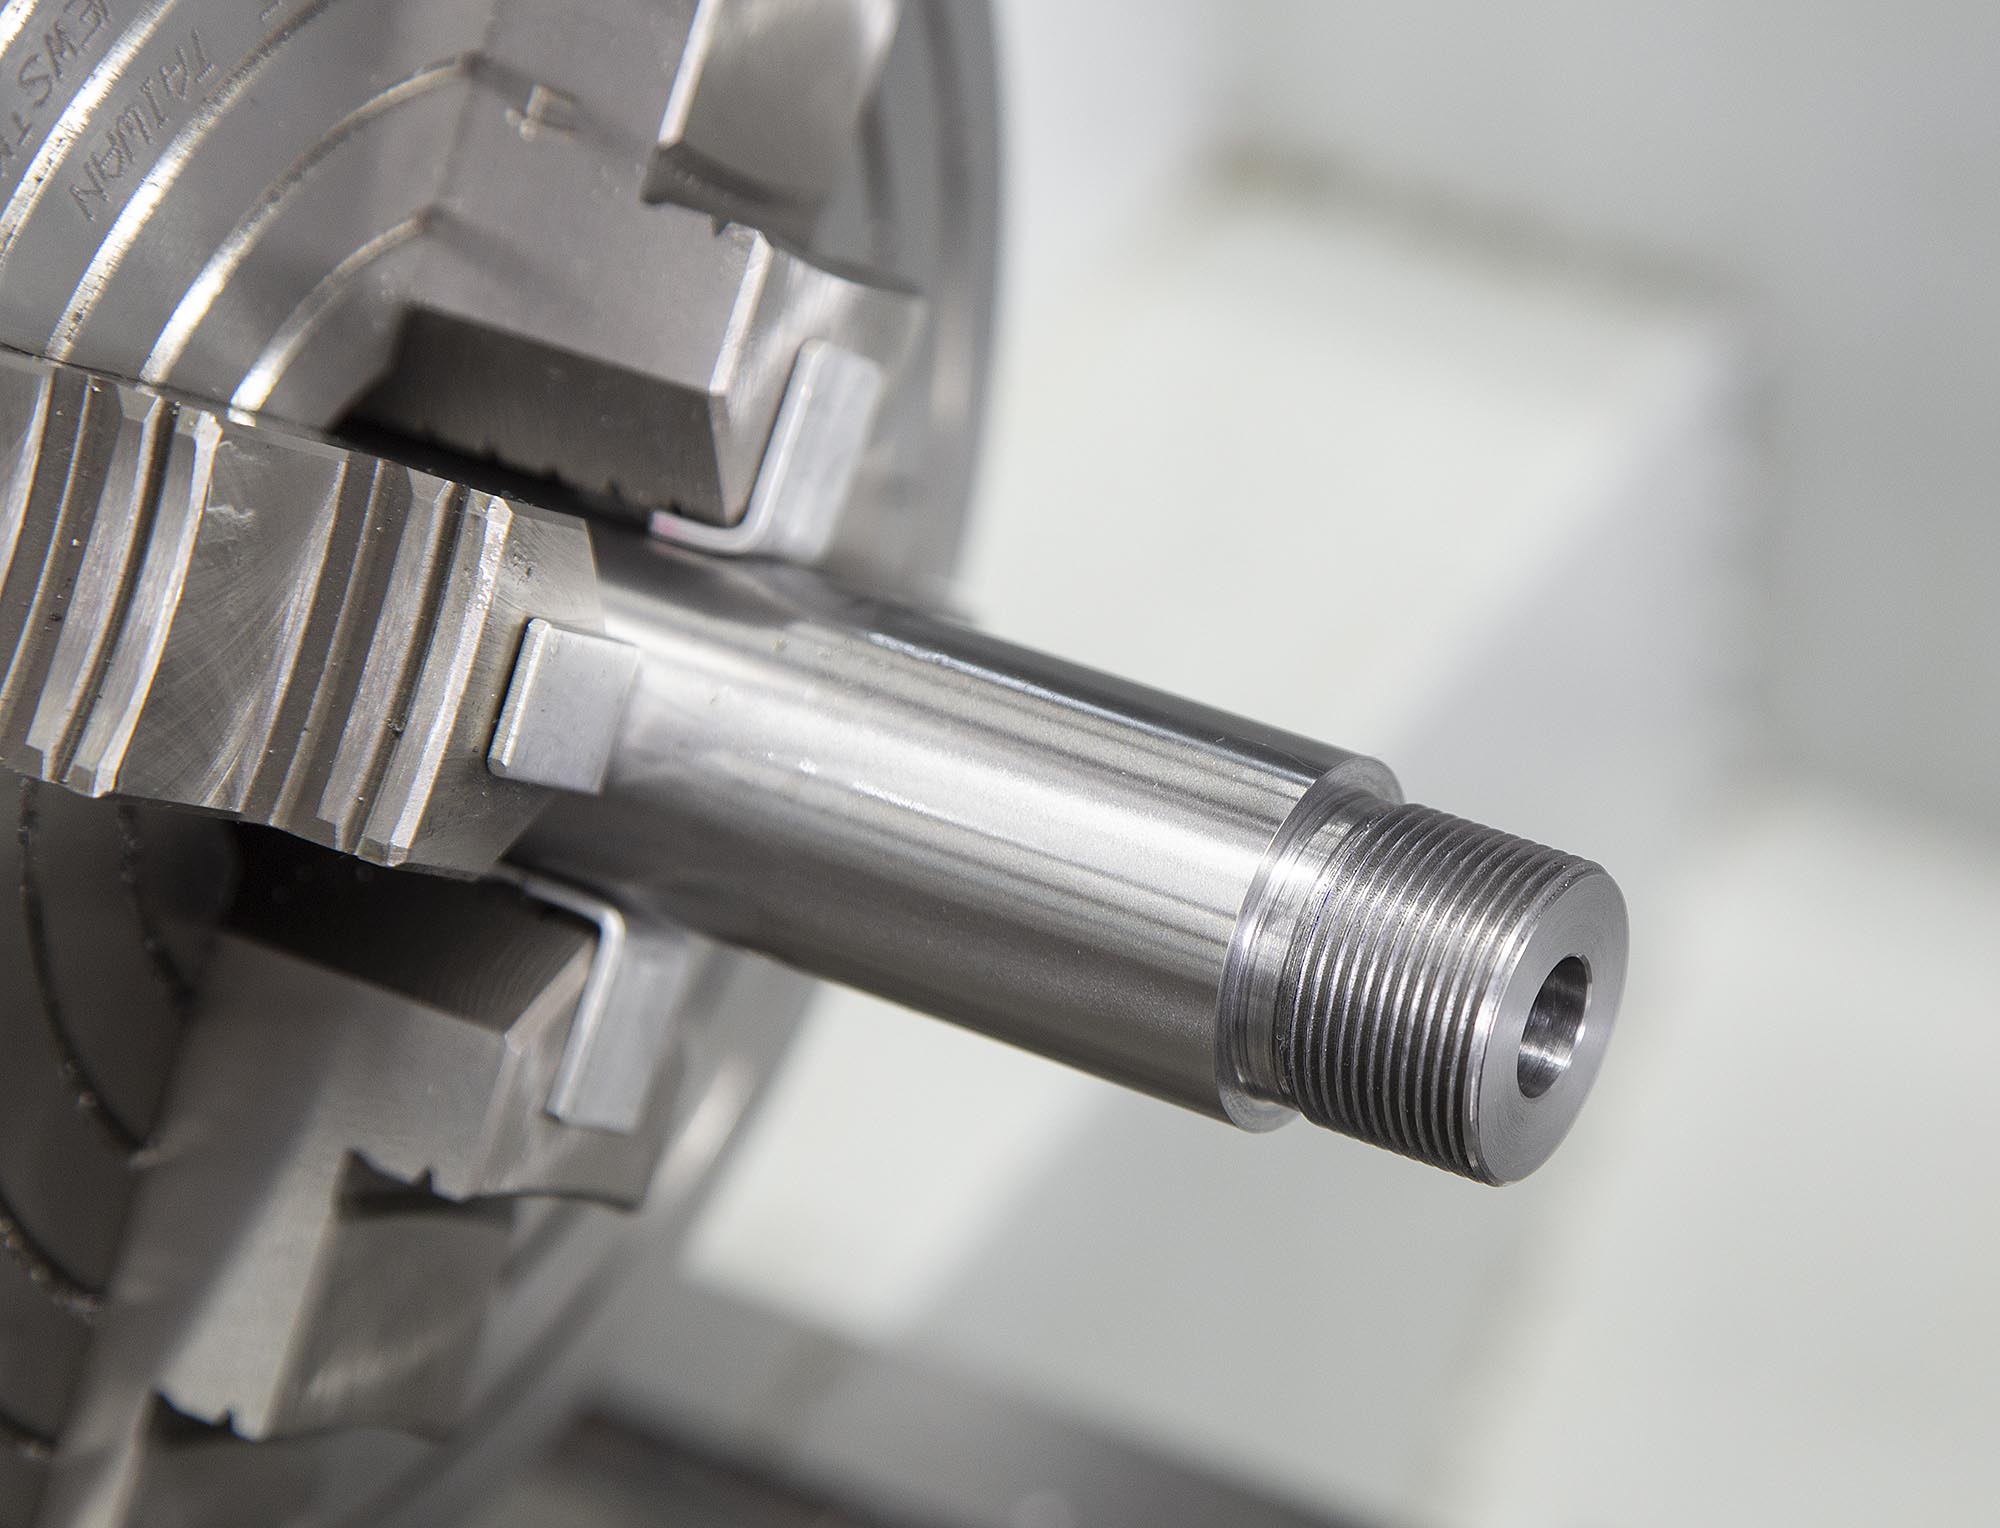
Here’s the muzzle end after profiling, but before cutting the step, and threading:

And checking the thread pitch (24 TPI) before threading:
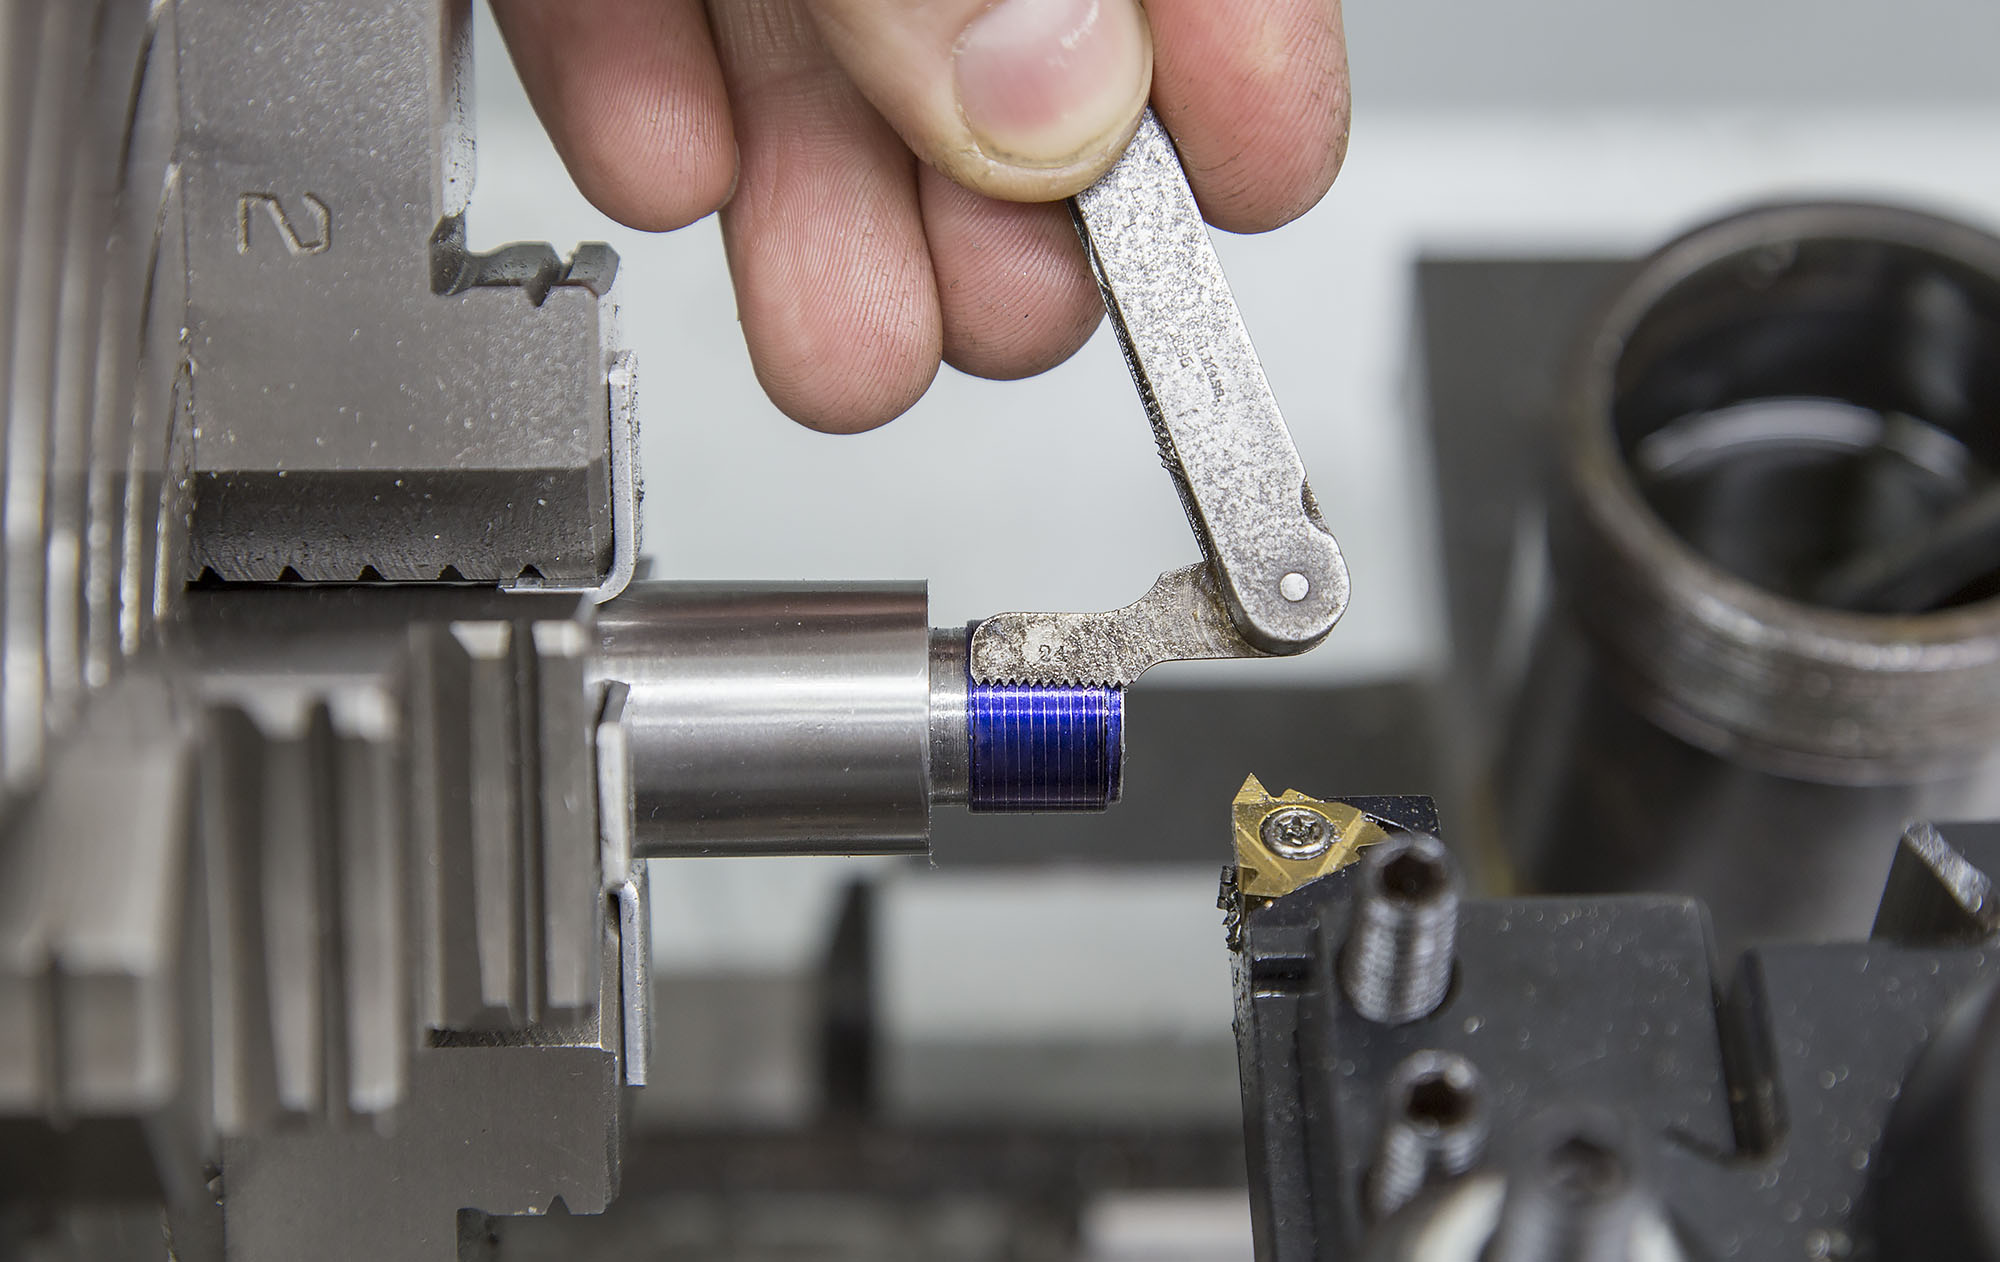
Here’s the finished 300 PRC threaded muzzle:

Installing Barrel, Checking Headspace
Above: the completed barrel ready for installation in the action. It’s a lot of work to put together a chambered barrel like this, but it’s well worth the effort!
For the install of this barrel, I used the following tools:
After installing the barrel in the vice, I taped the action in order to prevent scratching:
Then it was time to install the Wheeler Remington 700 Action wrench being careful not to scratch the action as I positioned it. I did not use the action screw feature for the action wrench since I had a pinned recoil lug this time. I tightened the barrel to about 100 ft-lb, and then checked headspace:
Dead on the money! Very slight resistance at the bottom of the bolt handle throw when closed on a go gauge! And I could not close the handle with the Go Gauge + 0.002″ tape, so that’s just perfect!
What’s Next
We are almost ready to shoot this rifle! Just a couple things left to do:
- Assemble the MDT ACC Chassis and related parts
- Install and clock the muzzle brake
- Install optics
The suspense is killing me, I can’t wait to see how this rifle will shoot! Don’t miss out on Ultimate Reloader updates, make sure you’re subscribed!
Thanks,
Gavin


This is a whole different side of you than your more commercial oriented YouTube videos. I also can’t help but wonder if your not just received invaluable help, but being collectively groomed by some of the best out there. Maybe your future is headed in a direction you’ve not seen coming. A sought after inspirational teacher and barrel maker.
Not being a machinist I’m humbled by your journey. The dedication, knowledge acquired skills and constant improvement all of which you share with your followers.
As one of my favorite authors (and competitive shooters) has said, loyalty to our shooting sports innovators is paramount. If we copy and outsource these pioneers, there will be no one left at the helm who’s passionate about our sport above all else. That’s why having excluded Harrell’s Precision from your press lineup I found so disappointing.