A threaded muzzle is great, but if you aren’t using a muzzle brake or suppressor, you’ll need something to protect the (fragile) threads! That’s where a thread protector comes in handy. One of the best ways to make a thread protector is with a cut-down section of barrel blank. Good thing I had this “extra” section of steel from the custom barrel job on my 224 Valkyrie Remington 700 build. So in this post, I’ll outline the end-to-end process of making a pre-profiled muzzle thread protector.
Series navigation:
- 224 Valkyrie Remington 700 Build P1: Planning the Build
- 224 Valkyrie Remington 700 Build P2: Barrel Prep and Alignment In the Lathe
- 224 Valkyrie Remington 700 Build P3: Chambering and Machining
- 224 Valkyrie Remington 700 Build P4: Muzzle Threading and Barrel Install
- 224 Valkyrie Remington 700 Build P5: Custom Thread Protector (you are here)
- 224 Valkyrie Remington 700 Build P6: KRG Bravo Stock, TriggerTech Special Trigger
- 224 Valkyrie Remington 700 Build P7: AICS Magazine Conversion
- 224 Valkyrie Remington 700 Build P8: Barrel Break In, First Groups, First Loads
- Athlon Midas TAC 6-24x50mm HD Riflescope: In-Depth Overview
Recycling Barrel Steel
One of the things to think about when cutting down your barrel blank (See the previous story on barrel prep and alignment) is leaving enough material from the muzzle end to make a thread protector like this. Of course this assumes you plan to thread the muzzle (immediately, or even later).
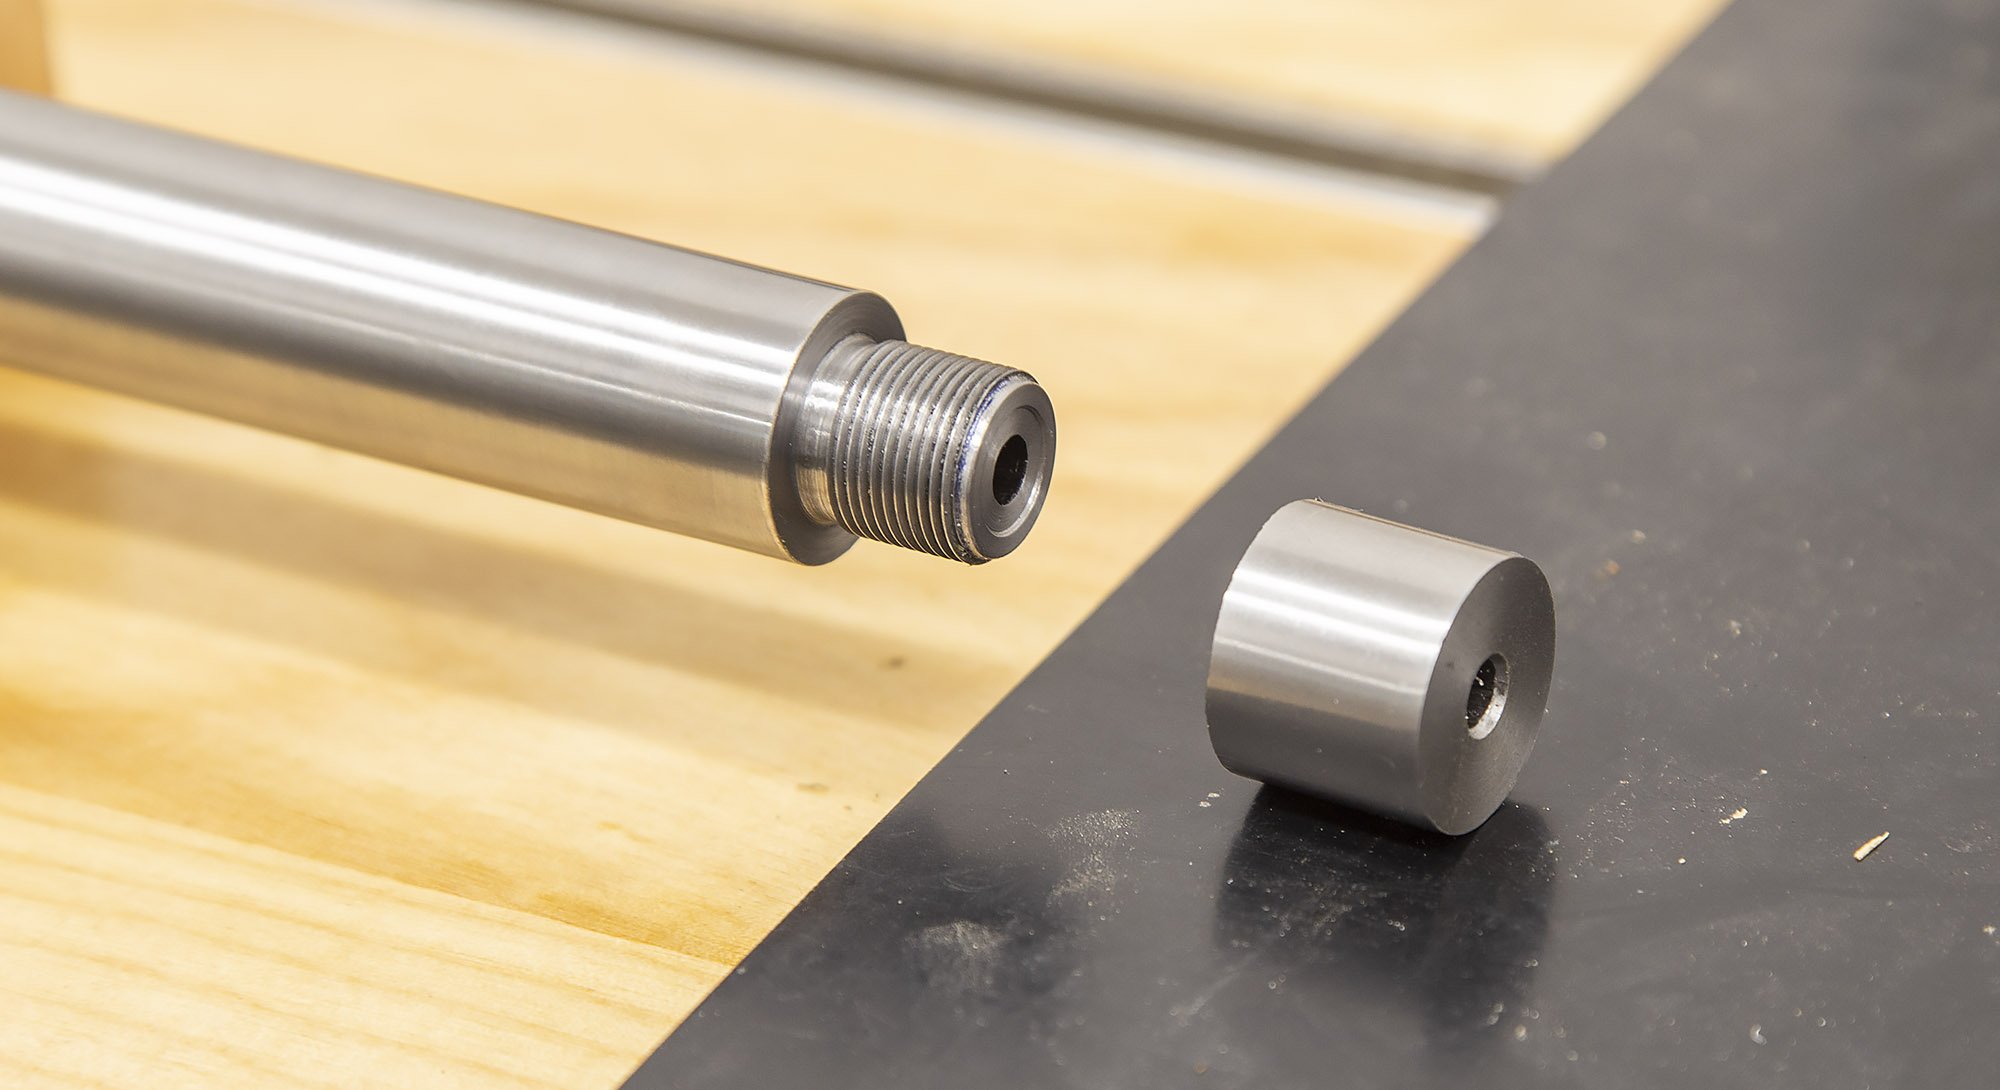
Above you can see the finished muzzle (left) and the barrel cut-off section from the muzzle (right). This is where our project will start! Again, I’m using my Precision Matthews PM-1440GT metal lathe, this time with an Atlas PB23 5C collet chuck:
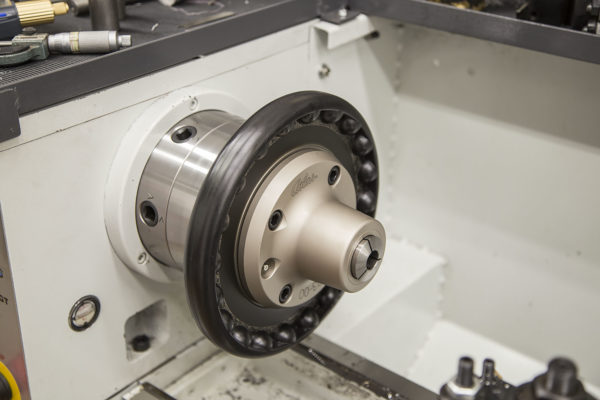
I like to use collets to secure work whenever possible because of their gripping power, ability to hold fragile items (like gripping onto screw threads), and inherently concentric clamping action (very little runout). This is a great project for this kind of workholding solution! I have a set of 5C collets in increments of 1/32″, and was able to find a collet close to the OD of the barrel cut-down section. I’d really like to have a set by 1/64″ increments, perhaps some day! Another option would be to get rubber-flex collets which have a greater diameter range for each collet.
With the barrel section secured in the collet, I went to work facing down both sides- to remove the saw marks, and to get this thread protector close to the final length (keeping it at least 0.020″ long):

With the faces cleaned up, it was time to drill out the bulk of the material, getting the inside diameter close to the final diameter needed for tapping.
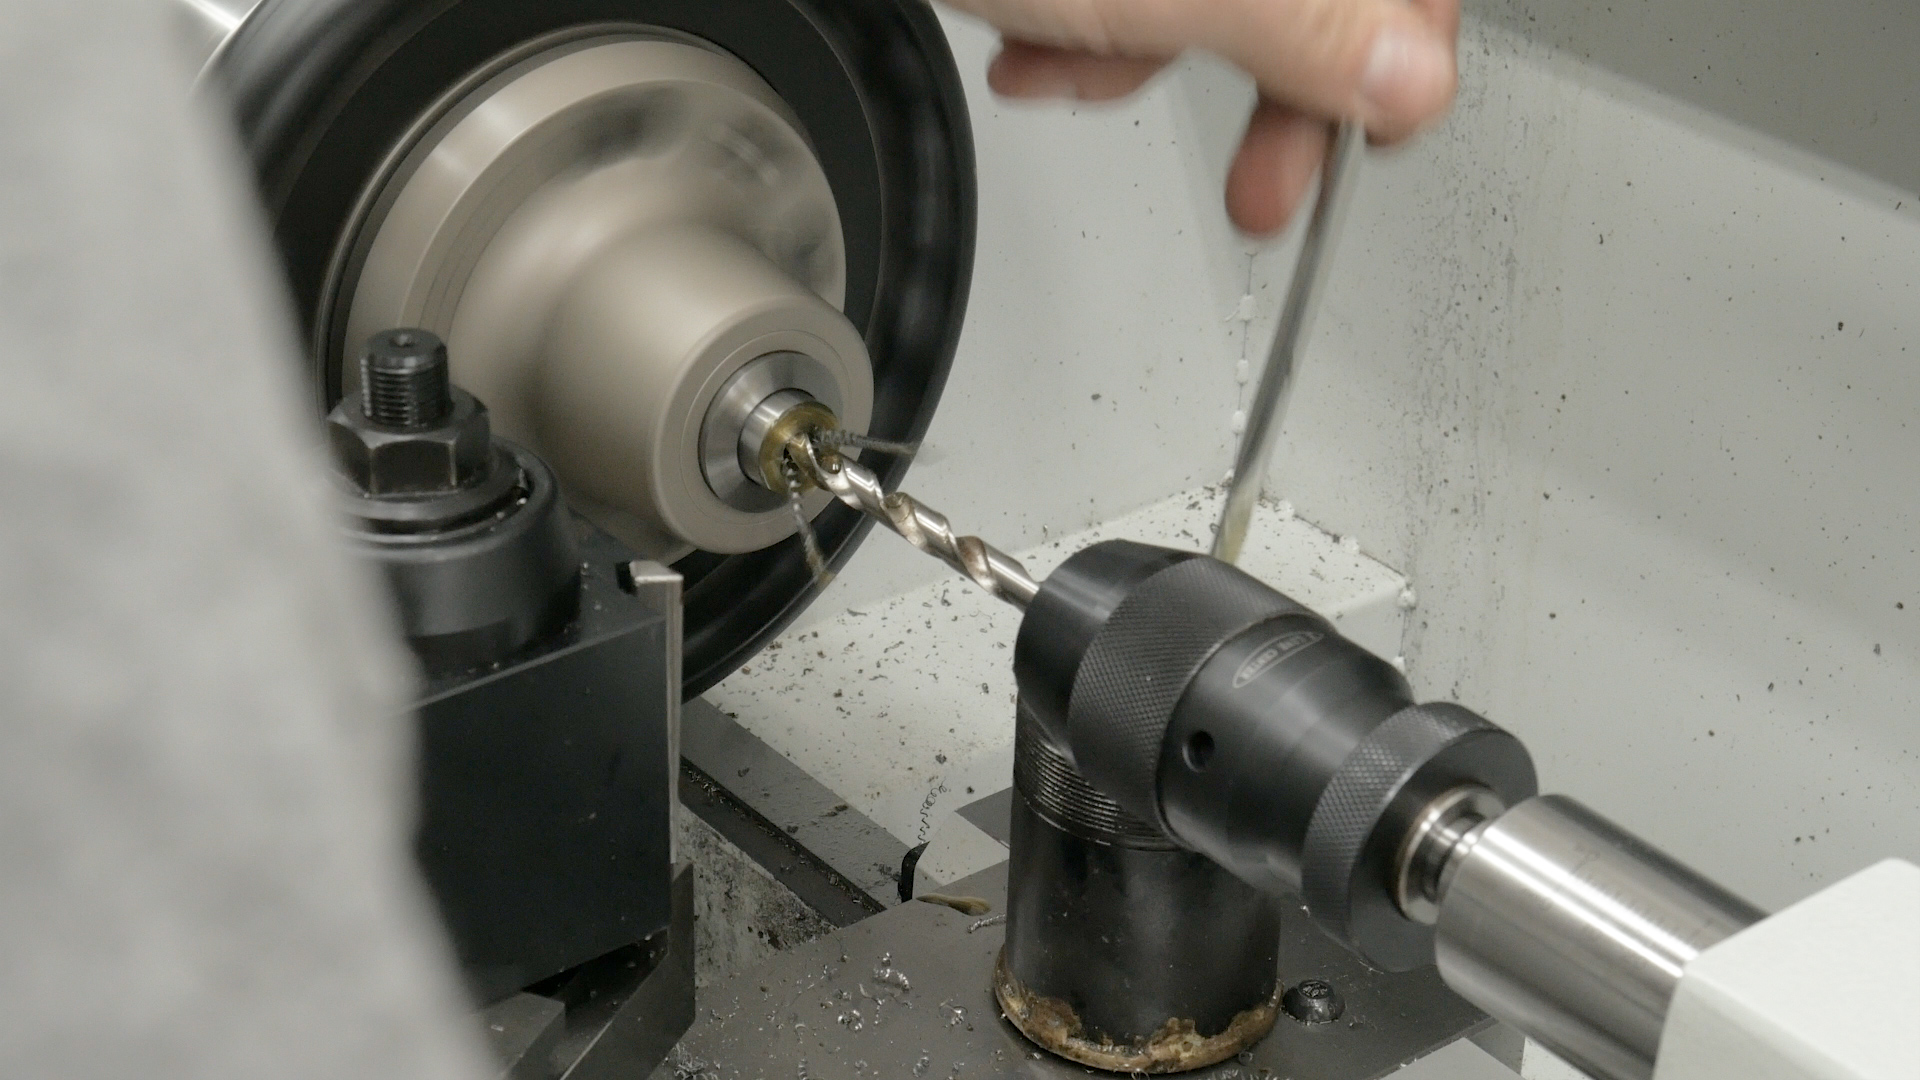
After drilling in three passes (three different drill diameters), I used a boring bar to bore the hole to size. I measured the inside diameter of another thread protector I have, and used that dimension.
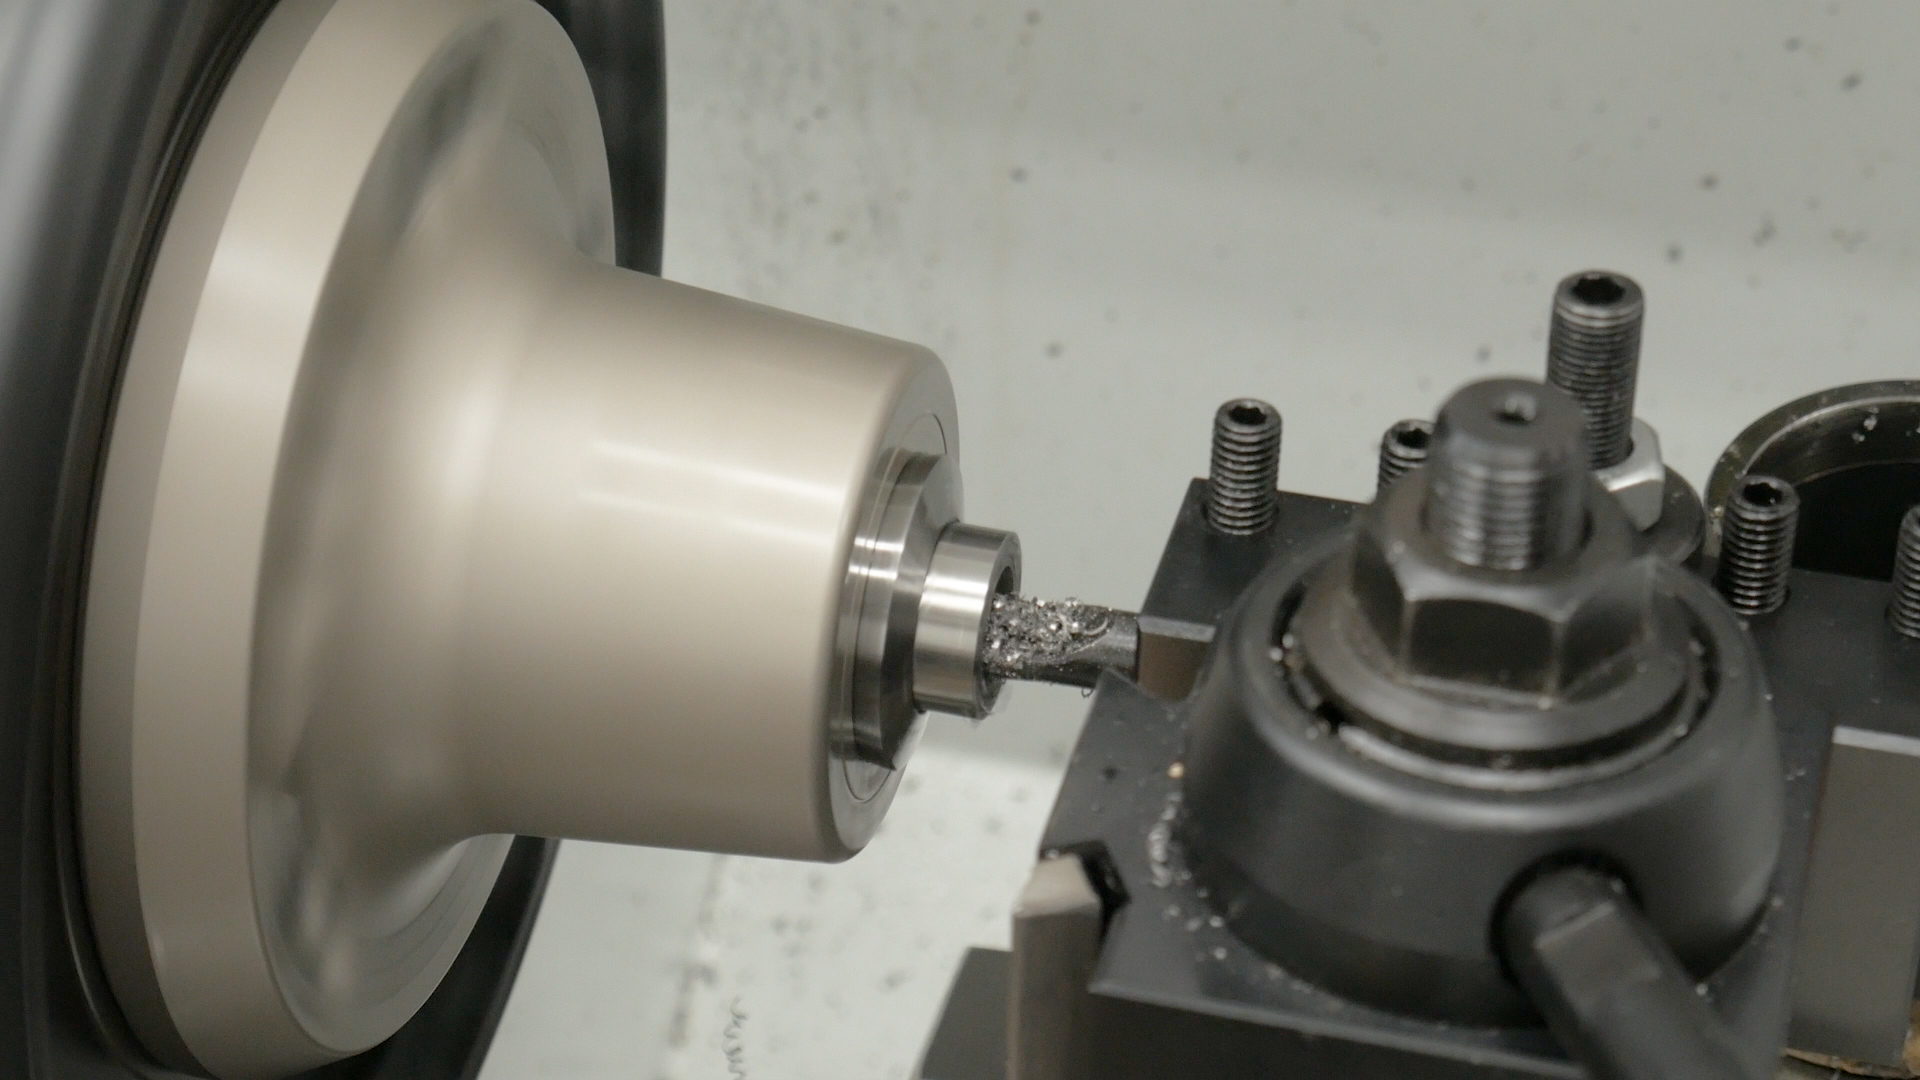
Now we have a hole that’s concentric with the outside of the thread protector, and of proper diameter for cutting the threads. A 5/8×24 tap is a great thing to have for this kind of operation! You can use an internal threading tool to cut the threads, but these threads don’t need laser precision, and a tap will do a great job of cutting these threads to a good fit, and will do the job very quickly! The lathe is turned down to minimum spindle speed (50 RPM), and plenty of cutting oil is applied to the tap. With the tap held in a drill chuck in the tailstock, the spindle is started, and the tap is fed in by pushing on the tailstock. Once the tap cuts a couple threads, you can let go of the tailstock- the tap will feed itself in.
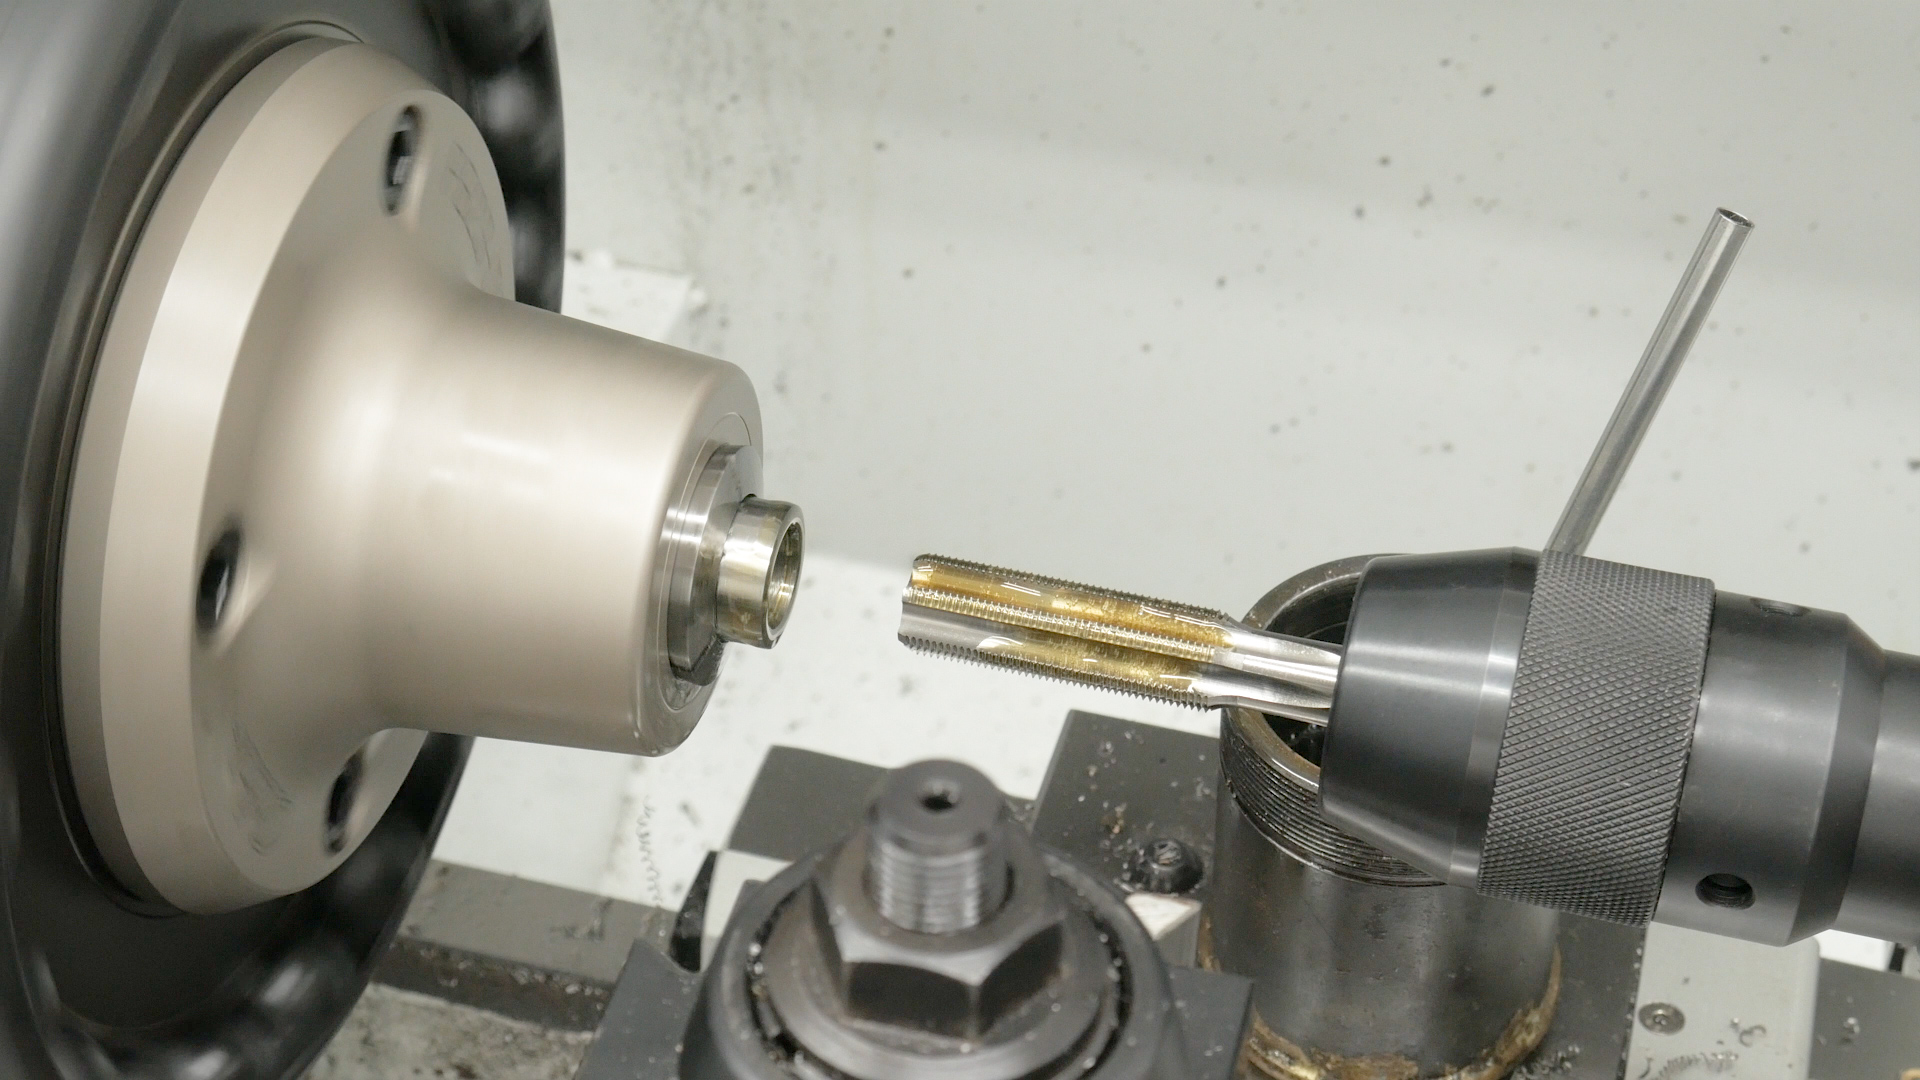
When the threads are finished cutting (I like to feed about 1/2″ of tap out the back to make sure the cutting is completely done), the spindle is reversed. With the spindle running backwards, the tap is fed out of the hole. I like to pull with gentle pressure on the tailstock so that when the tap exits, it’s withdrawn right away, and doesn’t mangle the end of the threads.

A quick test fit on our threaded muzzle confirmed proper fit- just a tiny bit of friction when spinning on!
Next, I mount the mandrel I made for working on 5/8 x 24tpi threaded muzzle accessories in the collet chuck:

This mandrel is essentially the same profile as a 5/8″x24TPI threaded muzzle, but is shorter so that the inside of the muzzle accessory threaded area can be cut, profiled, and the accessory can by cut down to length. I mounted this mandrel in the milling machine (I have a Precision Matthews PM949-TV), spun on the thread protector, and milled a couple wrench flats on either side of the thread protector:
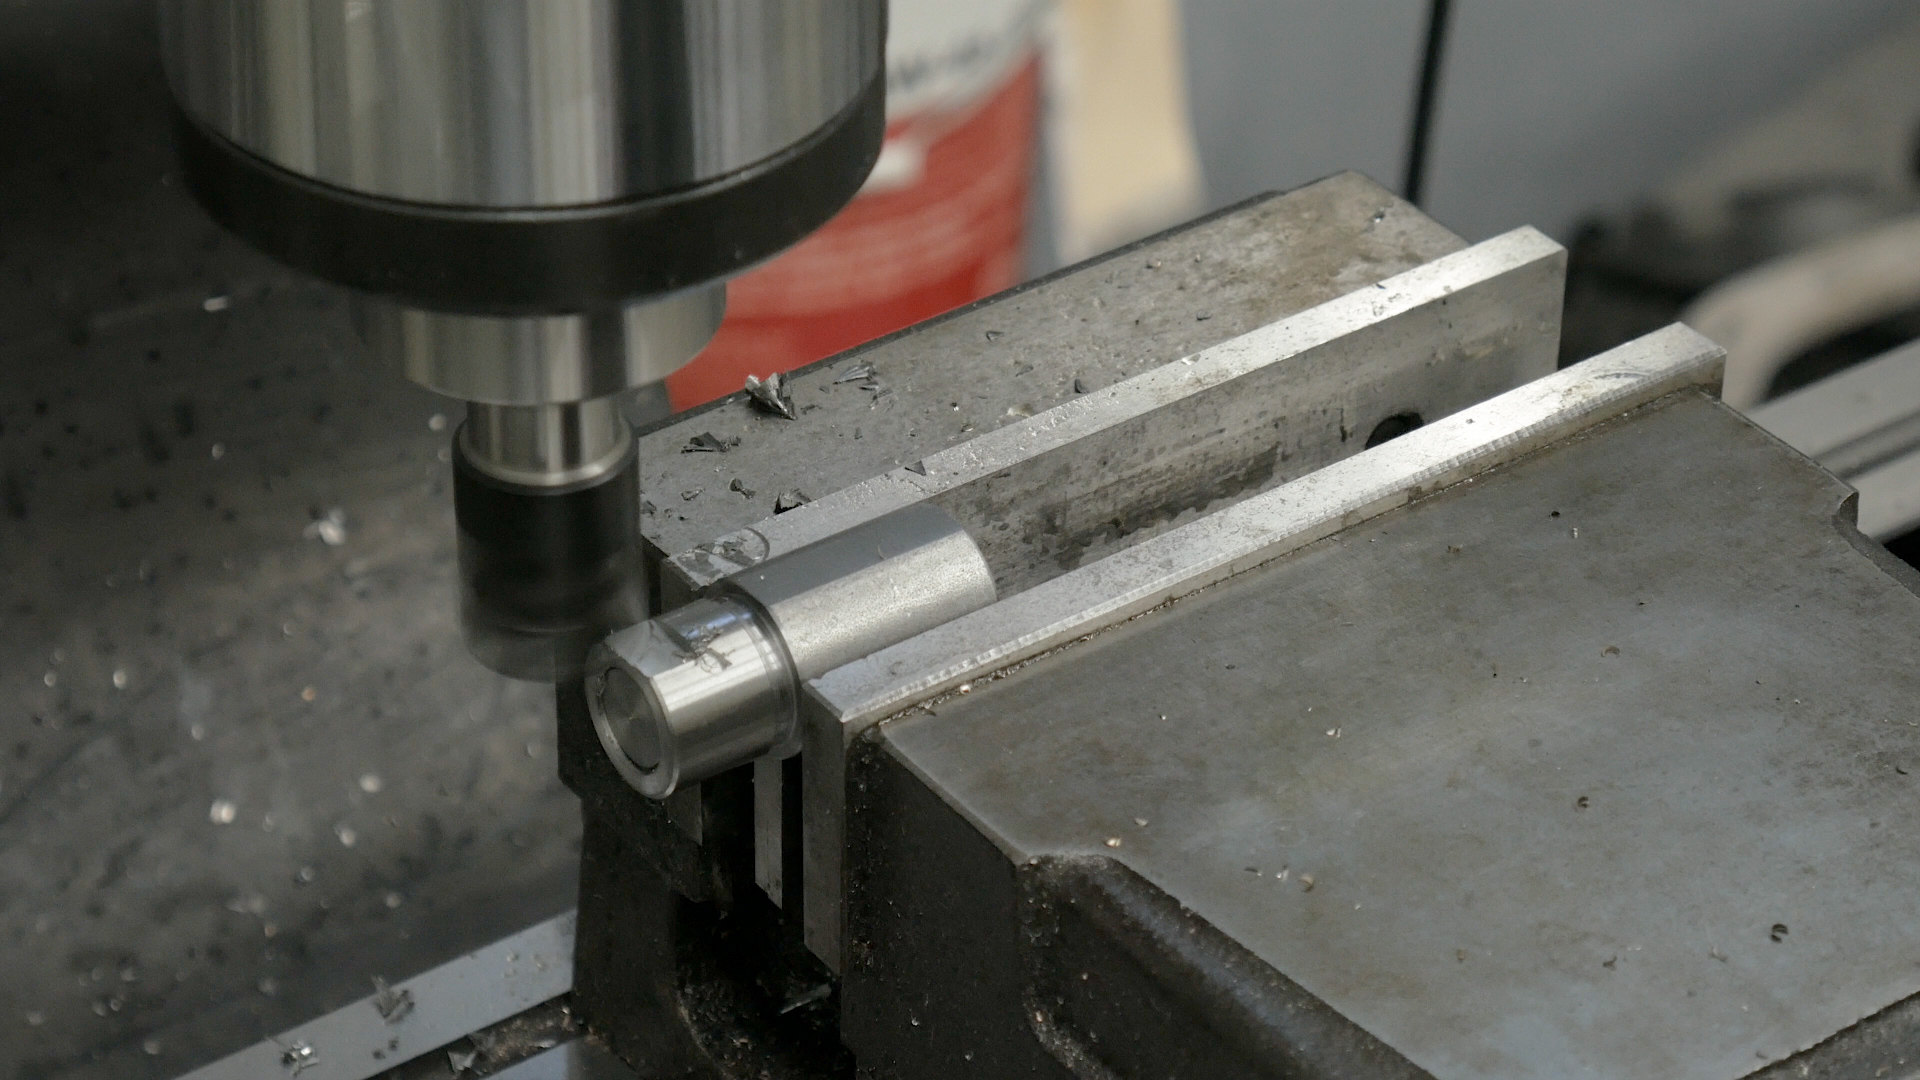
Note: In the future I plan to use a 5C spin index, something I still need to get ahold of. For this operation, I used parallels in the vice, and the flat profiles on either side of the mandrel to setup each machining pass.
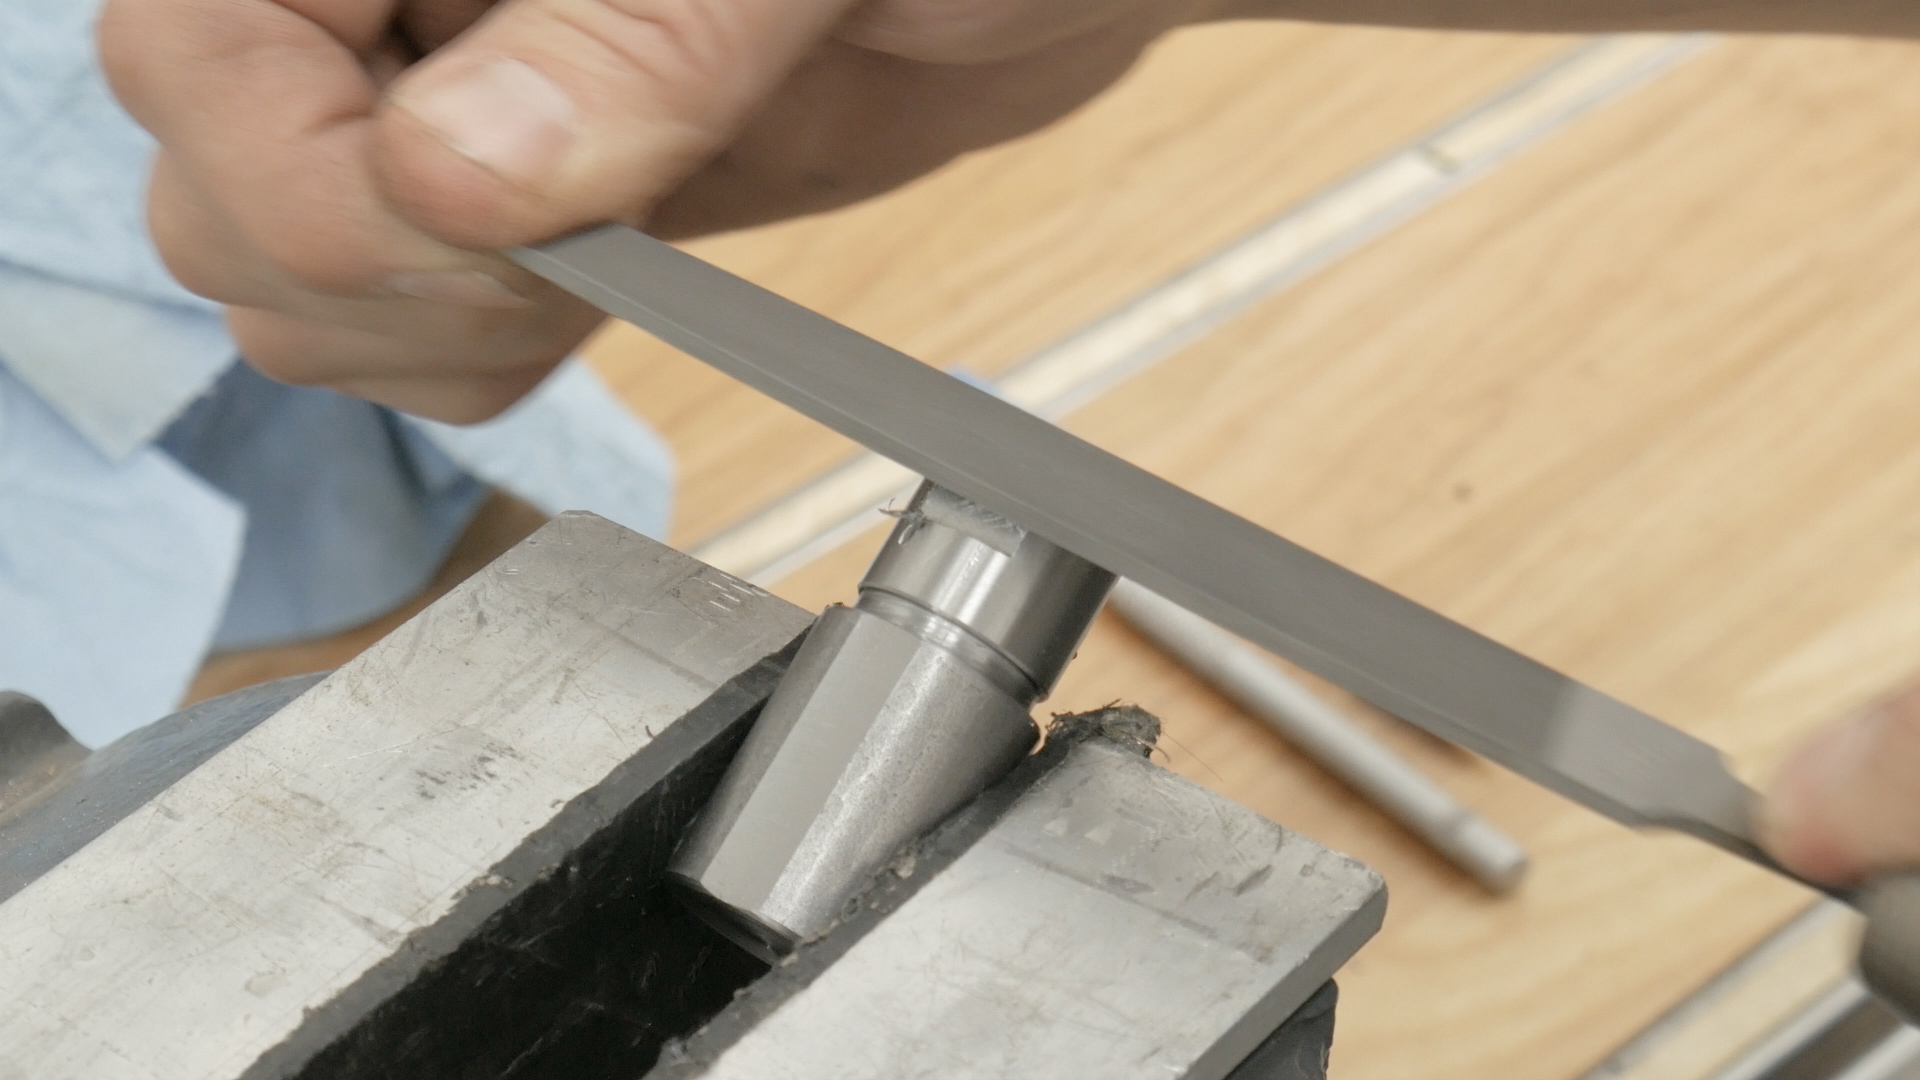
Then, the thread protector and mandrel are mounted in a bench vice so that I can touch up some burrs from milling. This endmill was a bit on the dull side, you can see that based on the quality of the cut, and the burrs on the side. Next time, I’ll use a better endmill (or since this one uses indexable carbide cutters, I’ll just replace the inserts).
At this point, it’s time to face the thread protector down to length, and “clock” it so that we have proper wrench flat orientation when the thread protector is tightened against the shoulder.

Clocking the Thread Protector
In order to calculate the cut required for clocking, install the thread protector on the muzzle at the torque you expect to use when installing it. Then use a protractor to measure the angle between the angle your wrench flats are currently at, and the desired orientation (clockwise angular measurement).
Then calculate the “percentage of a full rotation” you need in order to orient the wrench flats perfectly:
Let’s say we need to advance the thread protector 23 degrees for proper alignment: 23/360 = 0.0638 (equivalent to 6.38% of a full rotation).
Then calculate your thread pitch in inches. In this case we have 24 TPI, so 1/24 = 0.0417″, the distance between thread peaks.
To calculate how much to face off the end, we take the two values and multiply together:
(rotation factor) X (thread pitch) = (0.0638) X (0.0417″) = 0.0027″.
So we’ll need to take off about 0.0027″ in order for the thread protector to clock properly. Note: I would suggest taking off a tad less, and working your way up with a couple cuts. This is fast when we have the mandrel setup in our lathe!
Finishing Touches
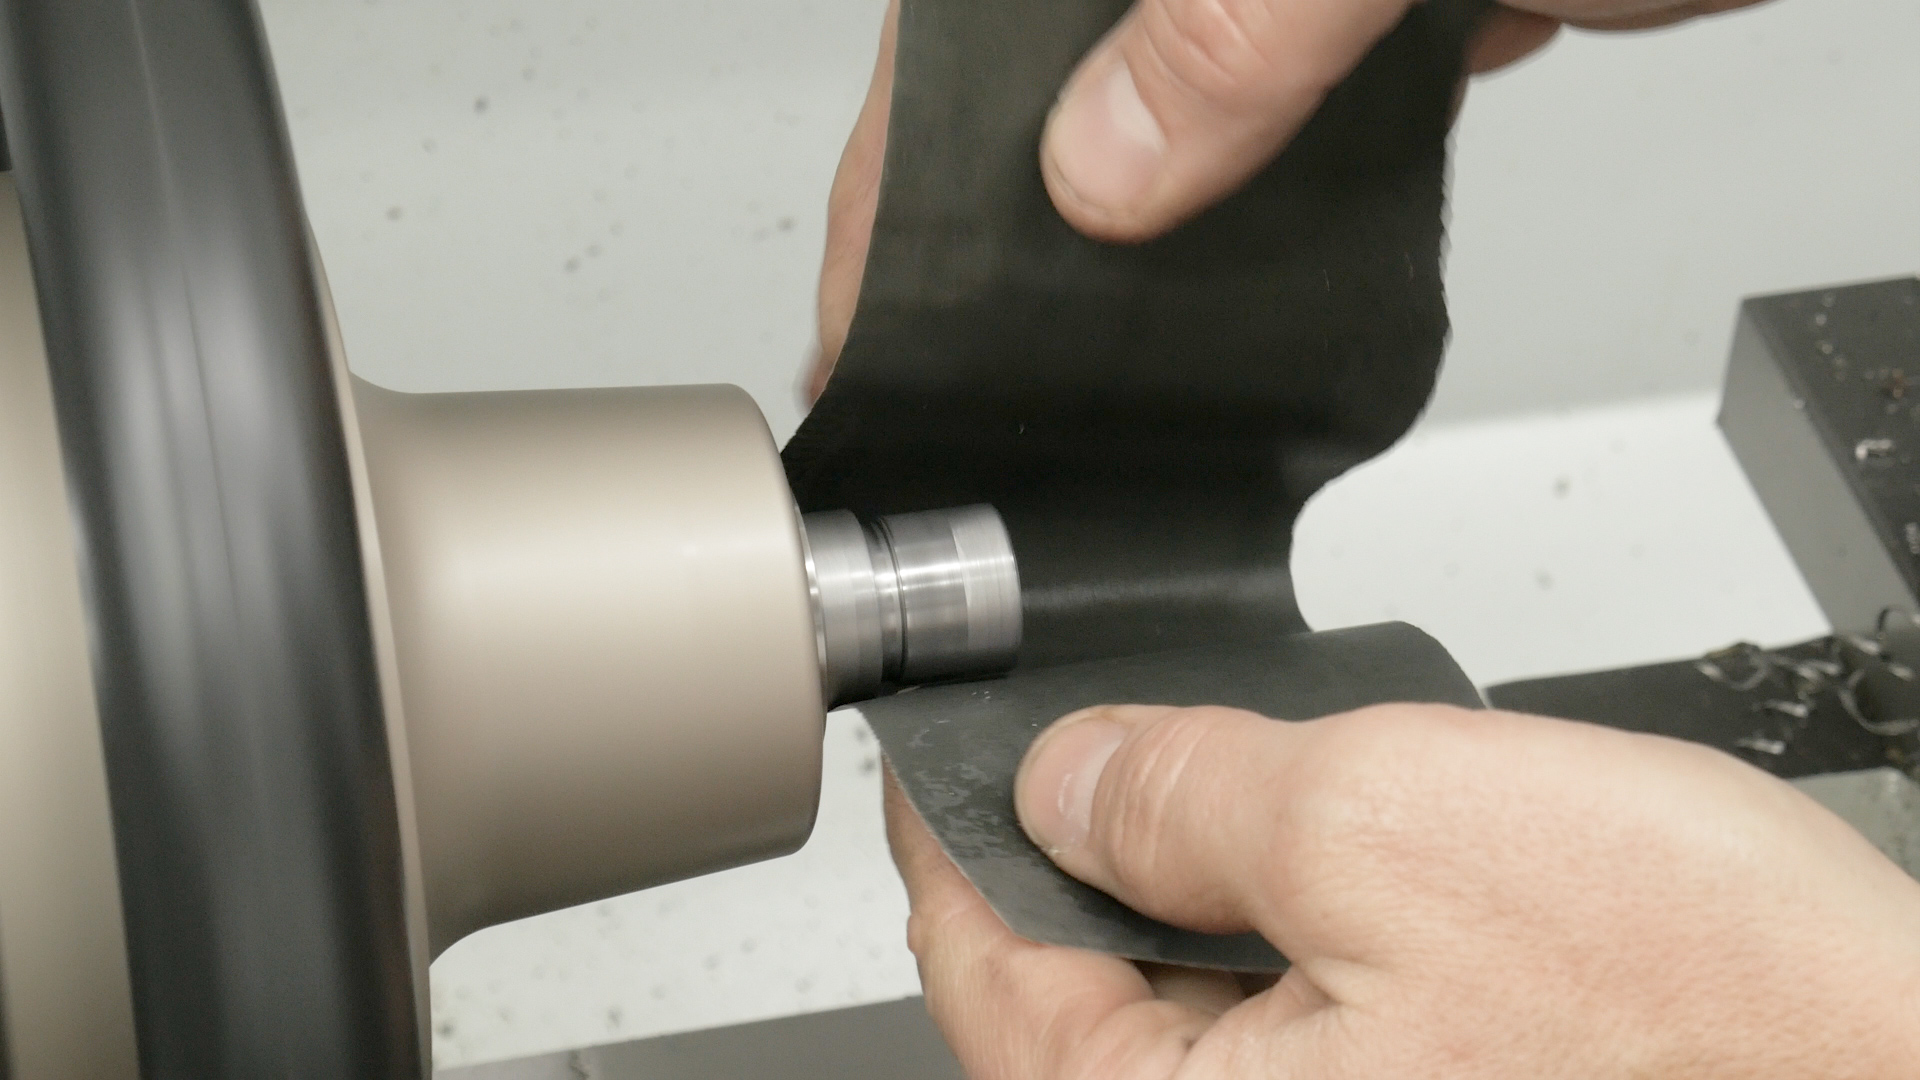
When the thread protector clocks properly, it’s time for a final polish at fast spindle RPM (I used 2000 RPM) using fine sandpaper and some machining oil.
Now it’s time to install the thread protector, torque it down, and enjoy looking at what we just made!
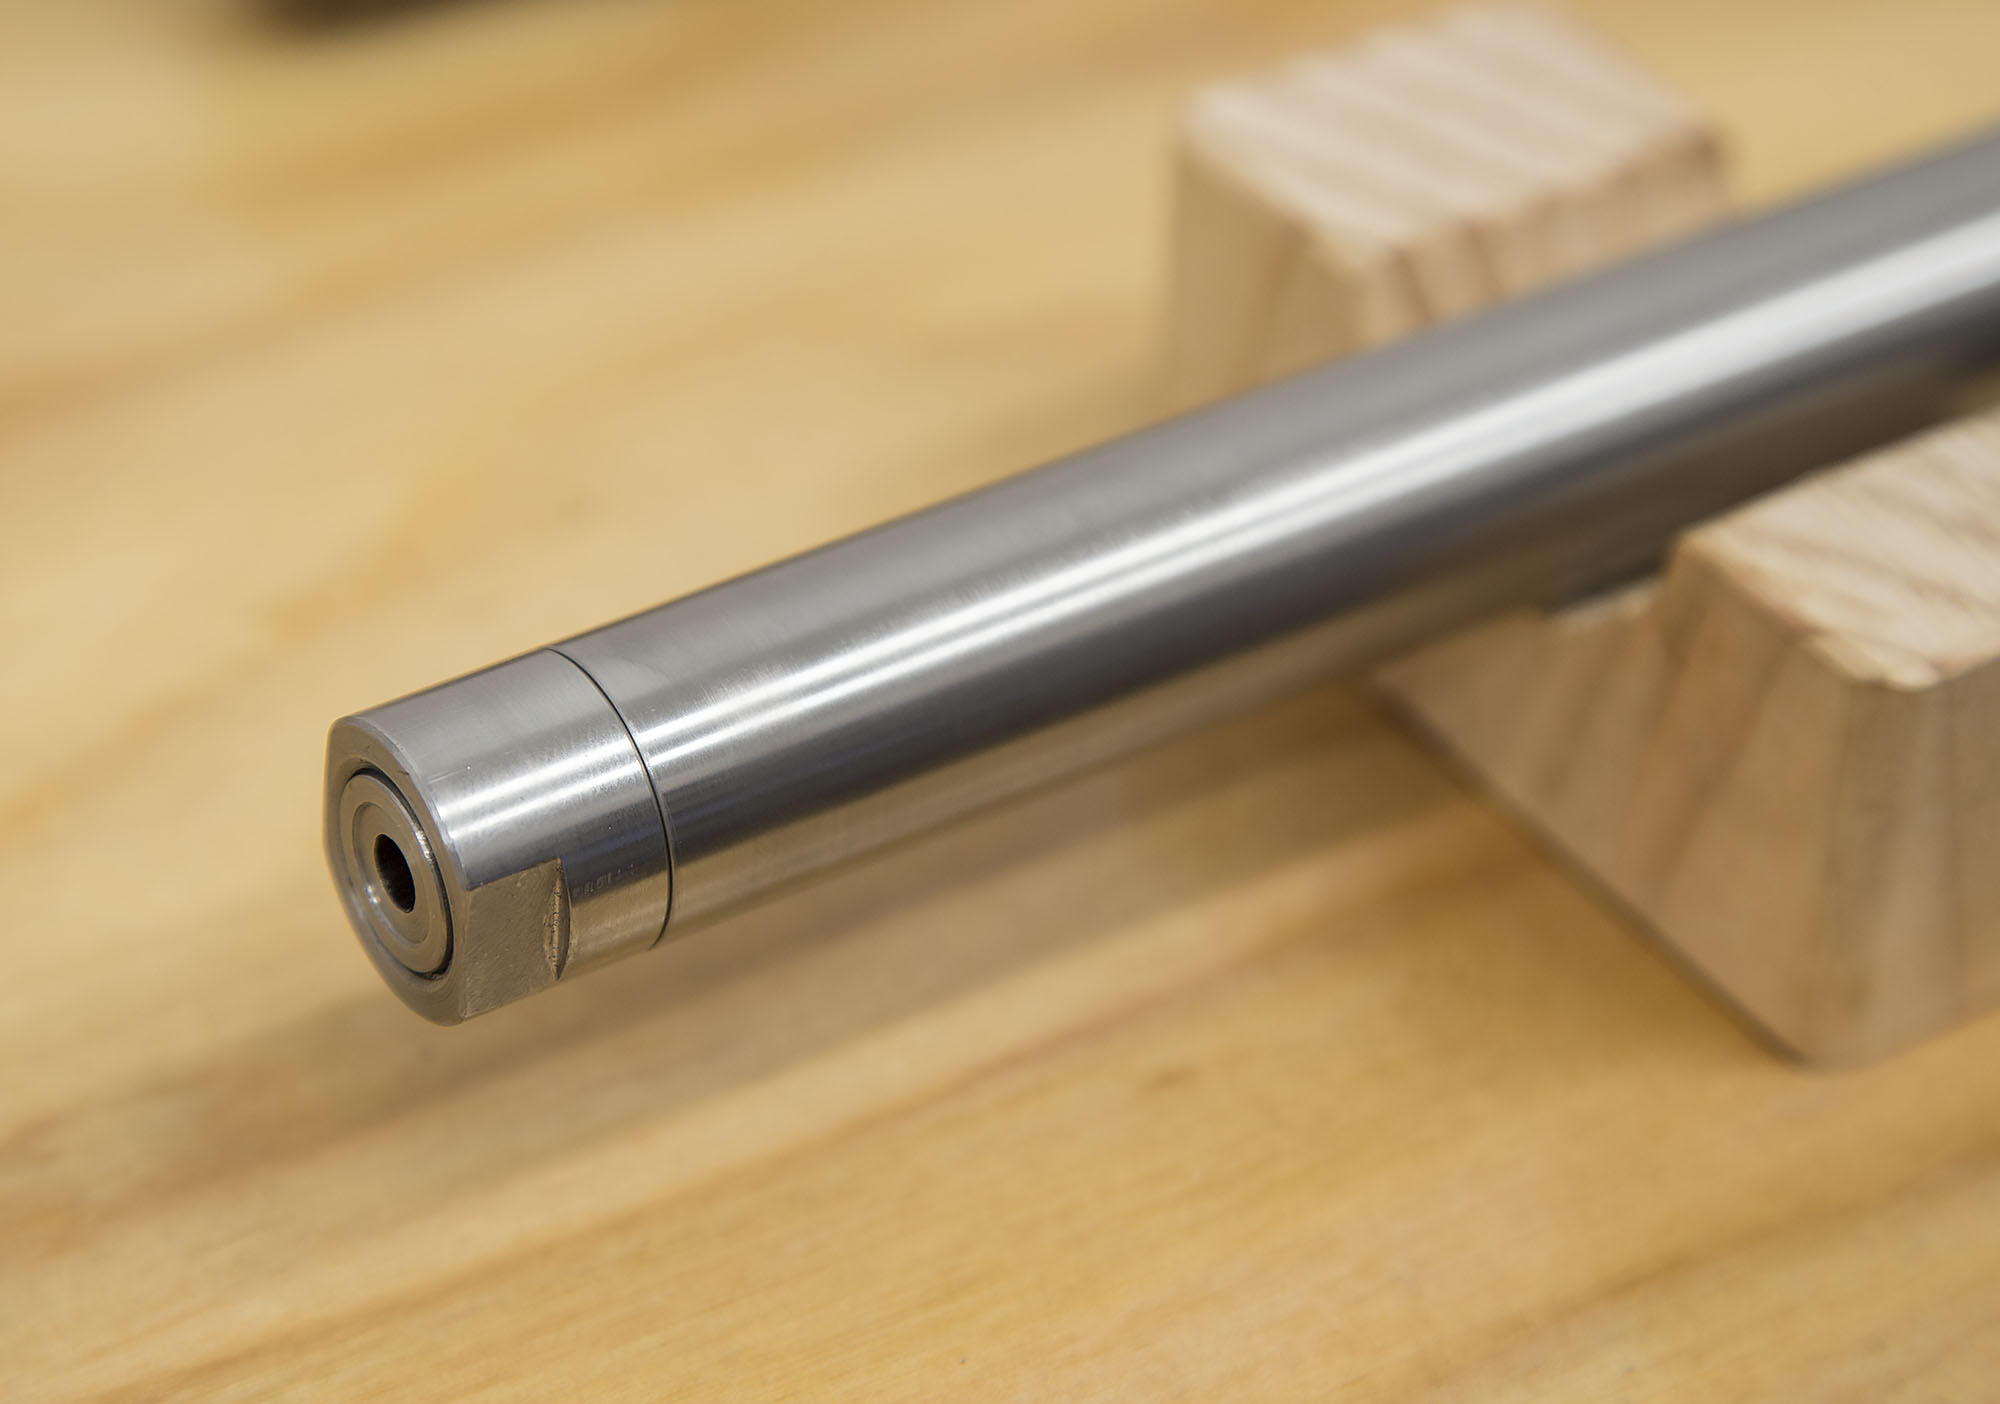
Looks great, doesn’t it? Make sure you’re subscribed, because there’s a lot more 224 Valkyrie action coming your way!
Thanks,
Gavin


