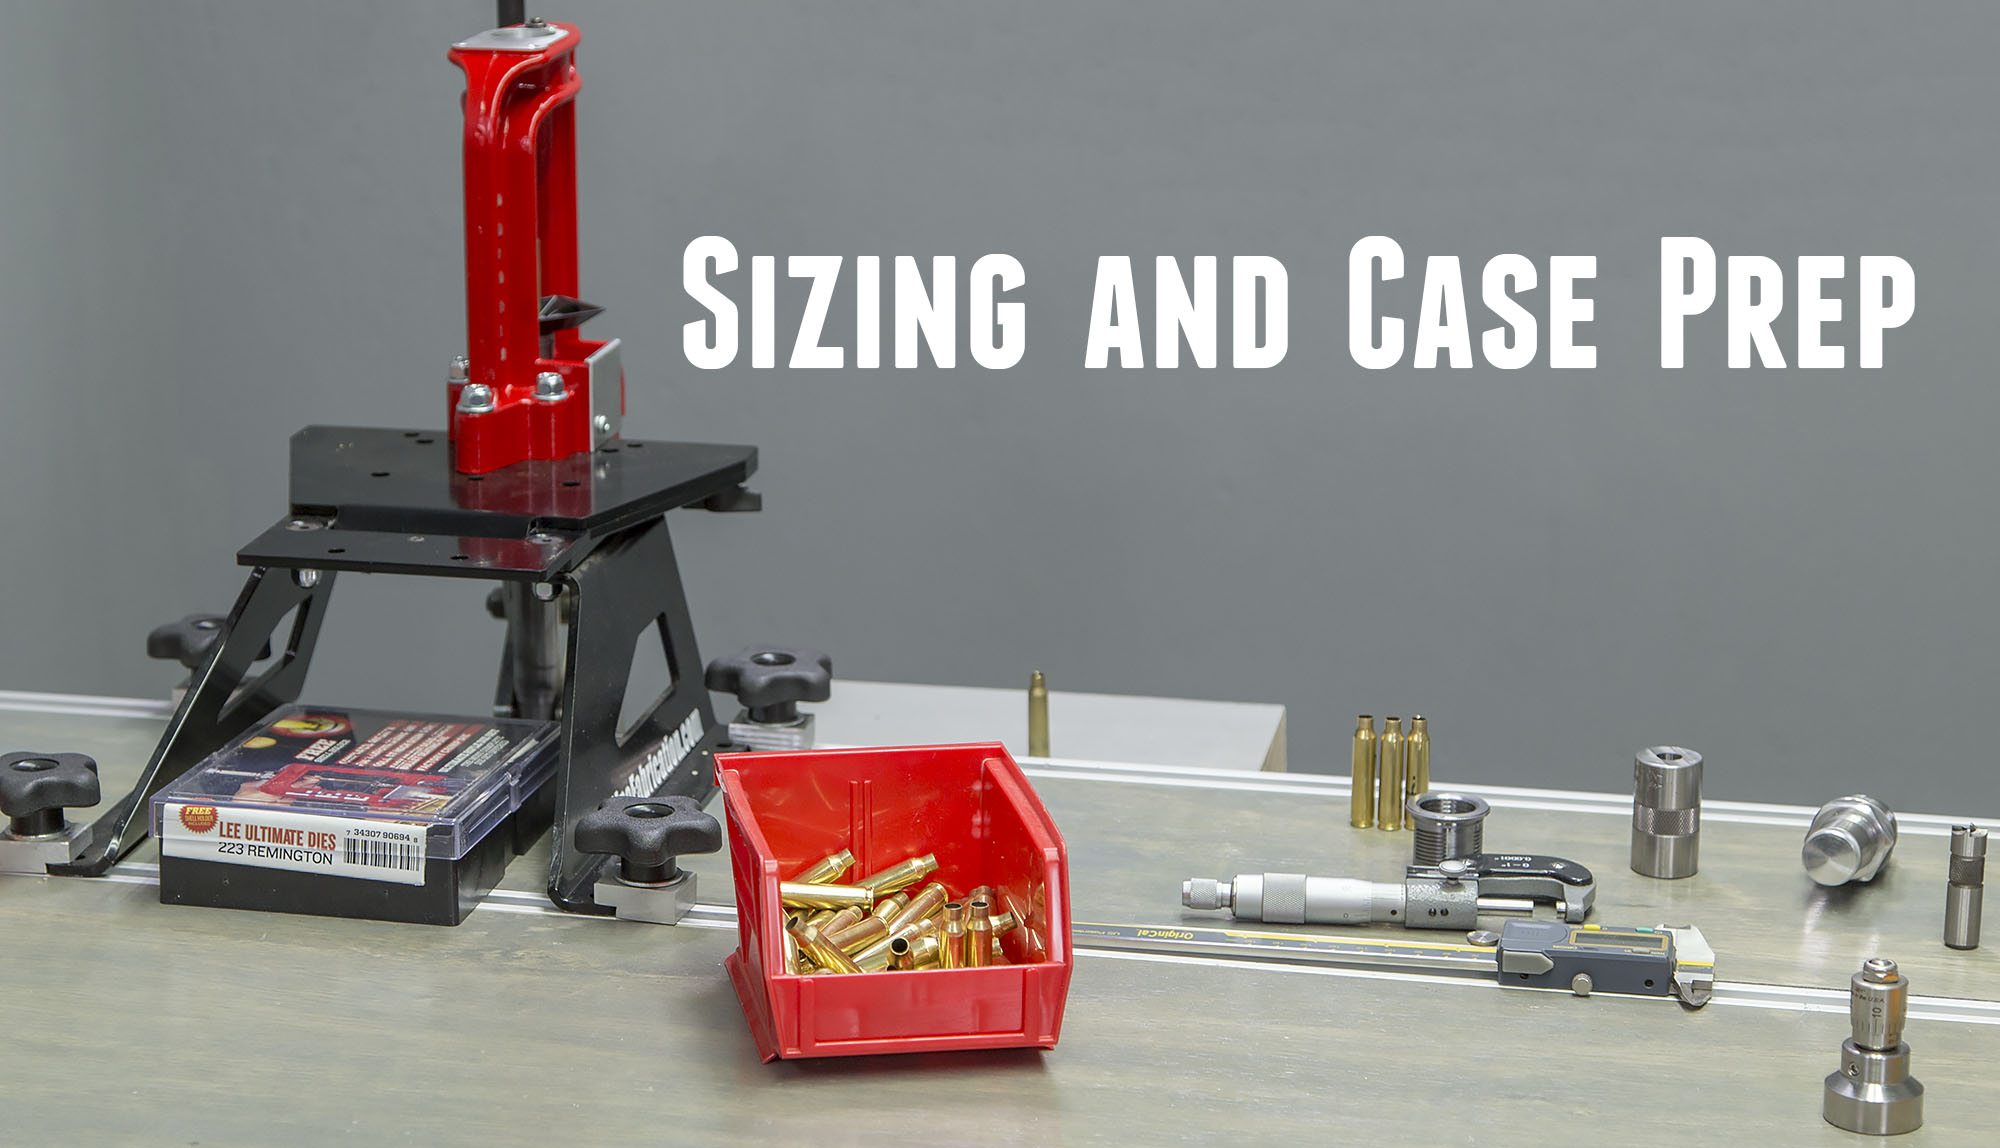
Now that we’ve setup and tested the TC Compass Rifle and un-boxed the LEE Deluxe Challenger reloading kit, it’s time to start loading some budget precision .223 Remington ammunition! I’ve already fire-formed some loads using Starline .223 Brass, and now it’s time to take a look at sizing/de-priming, checking our sizing setup, trimming brass to length, chamfering the case mouths, and cleaning primer pockets.
Precision Loading Overview
There are a lot of ways you can load precision ammunition- in this series I wanted to stay “true to the theme” which is Budget Precision .223 using the LEE Deluxe Breech Lock Challenger Kit. So I’m going to use as much of the tools as possible from the kit, and keep the budget as LOW as possible. So for these precision loads, we’ll perform the following steps:
- Fire form “factory style” loads with new brass in the TC Compass
- Clean the brass (using a vibratory tumbler and ground walnut shells)
- Neck-only size the brass using the LEE Collet Neck-Only Sizer (de-priming will be performed in this step as well) – note that case lube is not optional when using this sizing die.
- Check sizing and trim length with a case gage
- Trim the brass to length, chamfer case mouth (shown but not needed on 1st loading with neck-only sizing)
- Clean primer pockets (shown, but I would not normally bother for this type of precision loading)
- Prime the cases
- Charge the cases
- Seat the bullets
- Check bullet runout
These general steps should give great results, and will be repeated as I work up the optimal load for the TC Compass. In this article, I’ll specifically cover steps 4-7 as well as related equipment setup. Stay tuned for the next post and video which will cover steps 8-11. Before we get into the first stages and steps for budget precision reloads, a bit of background/overview.
LEE Breech Lock System
The LEE Breech Lock System offers some of the same functionality as the Hornady Lock-N-Load system, with some differences I’ll call out here:
- The LEE Breech Lock system requires more of a rotation to lock/unlock the bushing from the press.
- The LEE Breech Lock system offers the option to lock the bushing into the press in case you want to screw dies into the bushing as if it were a conventional 7/8″ x 14 TPI single stage press.
- The LEE Breech Lock system threads have a lock-down action that is different than the Lock-N-Load bushing system. This system was “inspired” by the breech lock system on WWII-era big guns on war ships.
There are some other subtle differences, but these are the ones that stand out to me.
At first, I had a tough time dropping the die in and getting it engaged. Then I examined the bushing and the press threads (both of interrupted design) and realized that you have to align a series of threads pointing back towards the user of the press when inserting the bushing. Once I paid close attention to this alignment, the bushings/dies dropped in quickly and easily. Same with disengagement and removal- you have to loosen the die/bushing at just the right angle- then the die/bushing will lift straight out effortlessly. It just takes a bit of practice.
LEE Ultimate Die Set
I wanted to have “all the options” for this Budget Precision .223 story, so I went with the LEE Ultimate 4-Die rifle Die Set in .223. With this set, you have the choice between neck-only or full length sizing, can seat bullets, and crimp as well.
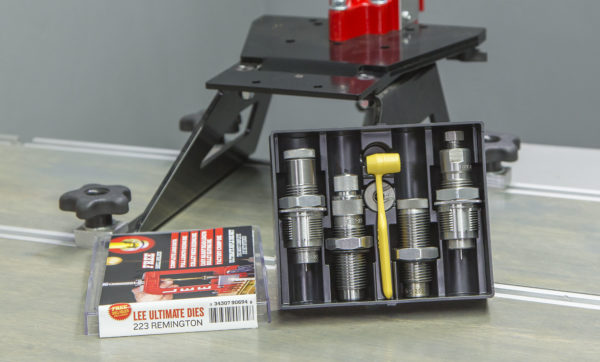
Above you see what’s included with the LEE Ultimate Rifle Die Set:
- Instructions with load data
- LEE collet type neck-only sizer and de-primer die
- LEE dead-length seater die
- LEE factory crimp die
- LEE full-length sizer and de-primer die
- Shellholder
- Powder dipper
*For more information about LEE rifle dies, see my article where I cover these products in-depth.
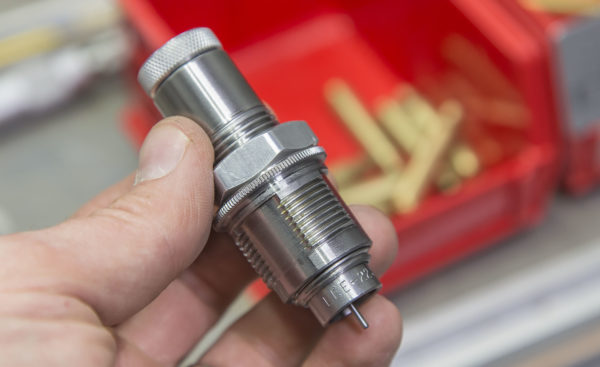
This is a great setup if you want maximum flexibility for your rifle loads. I chose to use the collet-type neck-only sizer which is unique in how it works. A collet clamps the case neck tightly over a mandrel to perform the sizing. What’s different about this method is the use of a mandrel. Because of the mandrel, the case neck is sized perfectly concentric with respect to the case body. It’s literally “forced” into concentric alignment when the collet clamps down on the mandrel:
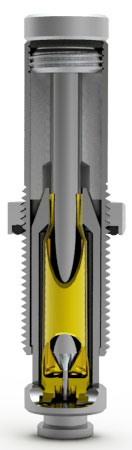
Picture courtesy LEE Precision.
To setup this collet-type neck-only sizer die you just screw the die into the press/bushing until it contacts the shellholder, then turn it in an additional 1 turn. That’s it! Sizing was smooth and easy with the LEE Case Sizing Lubricant which is included in the LEE Deluxe Challenger Kit.

With this lubricant and sizing die, you follow the typical protocol: wipe a small film on the outside of the case neck, and use a Q-Tip or similar to rub some lubricant on the inside of the case neck.
Checking Sizer Die Setup and Operation
When I started reloading, I learned the hard way just how important a good case gage is for *each* cartridge you load. After setting up your sizer, and the rest of your reloading setup, it’s important to check your setup by running one or more cases through a case gage. On a progressive press, the setup of each die station can affect other die stations, so it’s important to “run up the press” (fill all stations), load a few cartridges with all stations full, pull a few cartridges that were loaded with all stations full, then check those cartridges with a case gage. At the same time, you’ll want to check your crimp and bullet seating depth to make sure the opposing sizer die hasn’t altered the crimp or seating die setups.
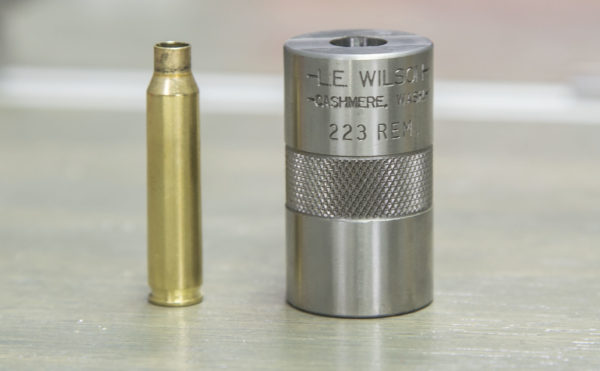
I use L.E. Wilson case gages, and above you can see a Starline .223 case next to the .223 case gage. Two quick measurements are performed. First is the the “headspace” check which checks both shoulder setback *and* full-length cartridge dimensions. Second is the trim-to-length check. If you have mixed headstamp brass or mixed batches of brass with the same headstamp but perhaps different prep/loading specs, you’ll want to check sized cases as you load periodically. Alternatively you can prepare a sampling of different cases and check them before you start a loading session. When you use a case gage, you can load with confidence, and can avoid wasting your time and money on bad ammunition.
LEE Quick Trim
Trimming cases has got to be one of my least favorite activities when reloading rifle ammunition. It’s not just the trimming, it’s the follow-up case mouth de-burring and chamfering. With the LEE Quick Trim you can perform all of these steps at one time- right on the press!
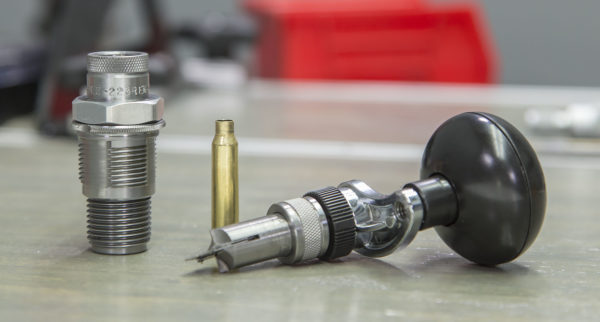
The only thing you have to keep in mind is that a special trim die is required for each caliber (cartridge spec) you want to trim with the LEE Quick Trim. The dies are not expensive, and I found the entire setup to work well with the rest of the LEE Deluxe Challenger Kit. You can trim a case in about 10 seconds or so, not bad!
Summary
Proper case prep and sizing is critical. It’s like the saying I can recall hearing when I worked at an auto body shop: “it’s all in the prep work”. Since this article is about precision loads- we’re after both correctness (concentricity, proper dimensions), and consistency. If we can satisfy those two considerations, our ammunition will perform well. We’re already off to a great start here, but we still have priming, charging, and bullet seating to perform, so make sure you catch the next installment in this series!
Thanks,
Gavin