How often do you look at the inside of your barrel? When you do, what do you look for? In this video, I’ll cover basic borescope how-to’s as well as barrel troubleshooting!
Disclaimer
Ultimate Reloader LLC / Making with Metal Disclaimer: (by reading this article and/or watching video content you accept these terms). The content on this website (including videos, articles, ammunition reloading data, technical articles, gunsmithing and other information) is for demonstration purposes only. Do not attempt any of the processes or procedures shown or described on this website. All gunsmithing procedures should be carried out by a qualified and licensed gunsmith at their own risk. Do not attempt to repair or modify any firearms based on information on this website. Ultimate Reloader, LLC and Making With Metal can not be held liable for property or personal damage due to viewers/readers of this website performing activities, procedures, techniques, or practices described in whole or part on this website. By accepting these terms, you agree that you alone are solely responsible for your own safety and property as it pertains to activities, procedures, techniques, or practices described in whole or part on this website.
Why Use a Borescope?
What happens inside your barrel affects its performance, gunsmithing, and maintenance. Many people get by without one, but eventually encounter an issue that can only be solved by one. I use them primarily to ensure my barrels are clean with no carbon rings and to inspect barrels during the chambering process.
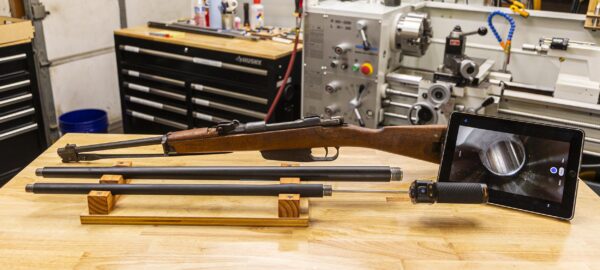
It is important to keep in mind that not everything you see with the borescope may be problematic. It takes time and training to be able to discern large problems from minute ones.
Types of Borescopes
There are two types of borescopes: analog and digital. I’ve used a variety of both over the years. You must directly look through the scope to view the bore with an analog scope. Digital borescopes allow device viewing, video recording, and image saving.
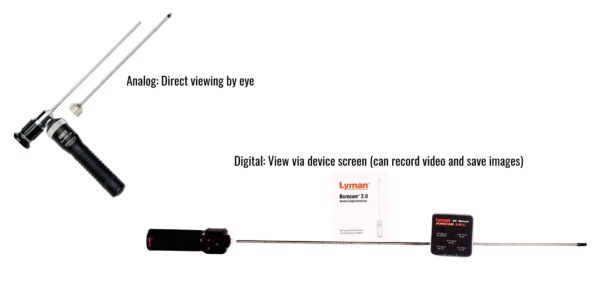
My analog borescope is a Hawkeye. The light goes down the tube, reflects off the surface of the barrel and goes straight to your eye. This borescope does have a manual focus.
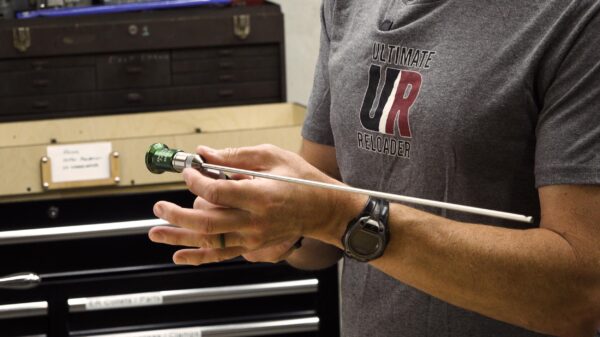
While simple, this borescope doesn’t allow you to record footage for later review or sharing with anyone else. It also isn’t as convenient and comfortable as a digital scope—contorting yourself to see through the scope can be a challenge. I have a 90 degree eyepiece to help with this, but it’s still not my preferred solution as it lends to accidental focus adjustment. These types of tools are also particularly expensive.
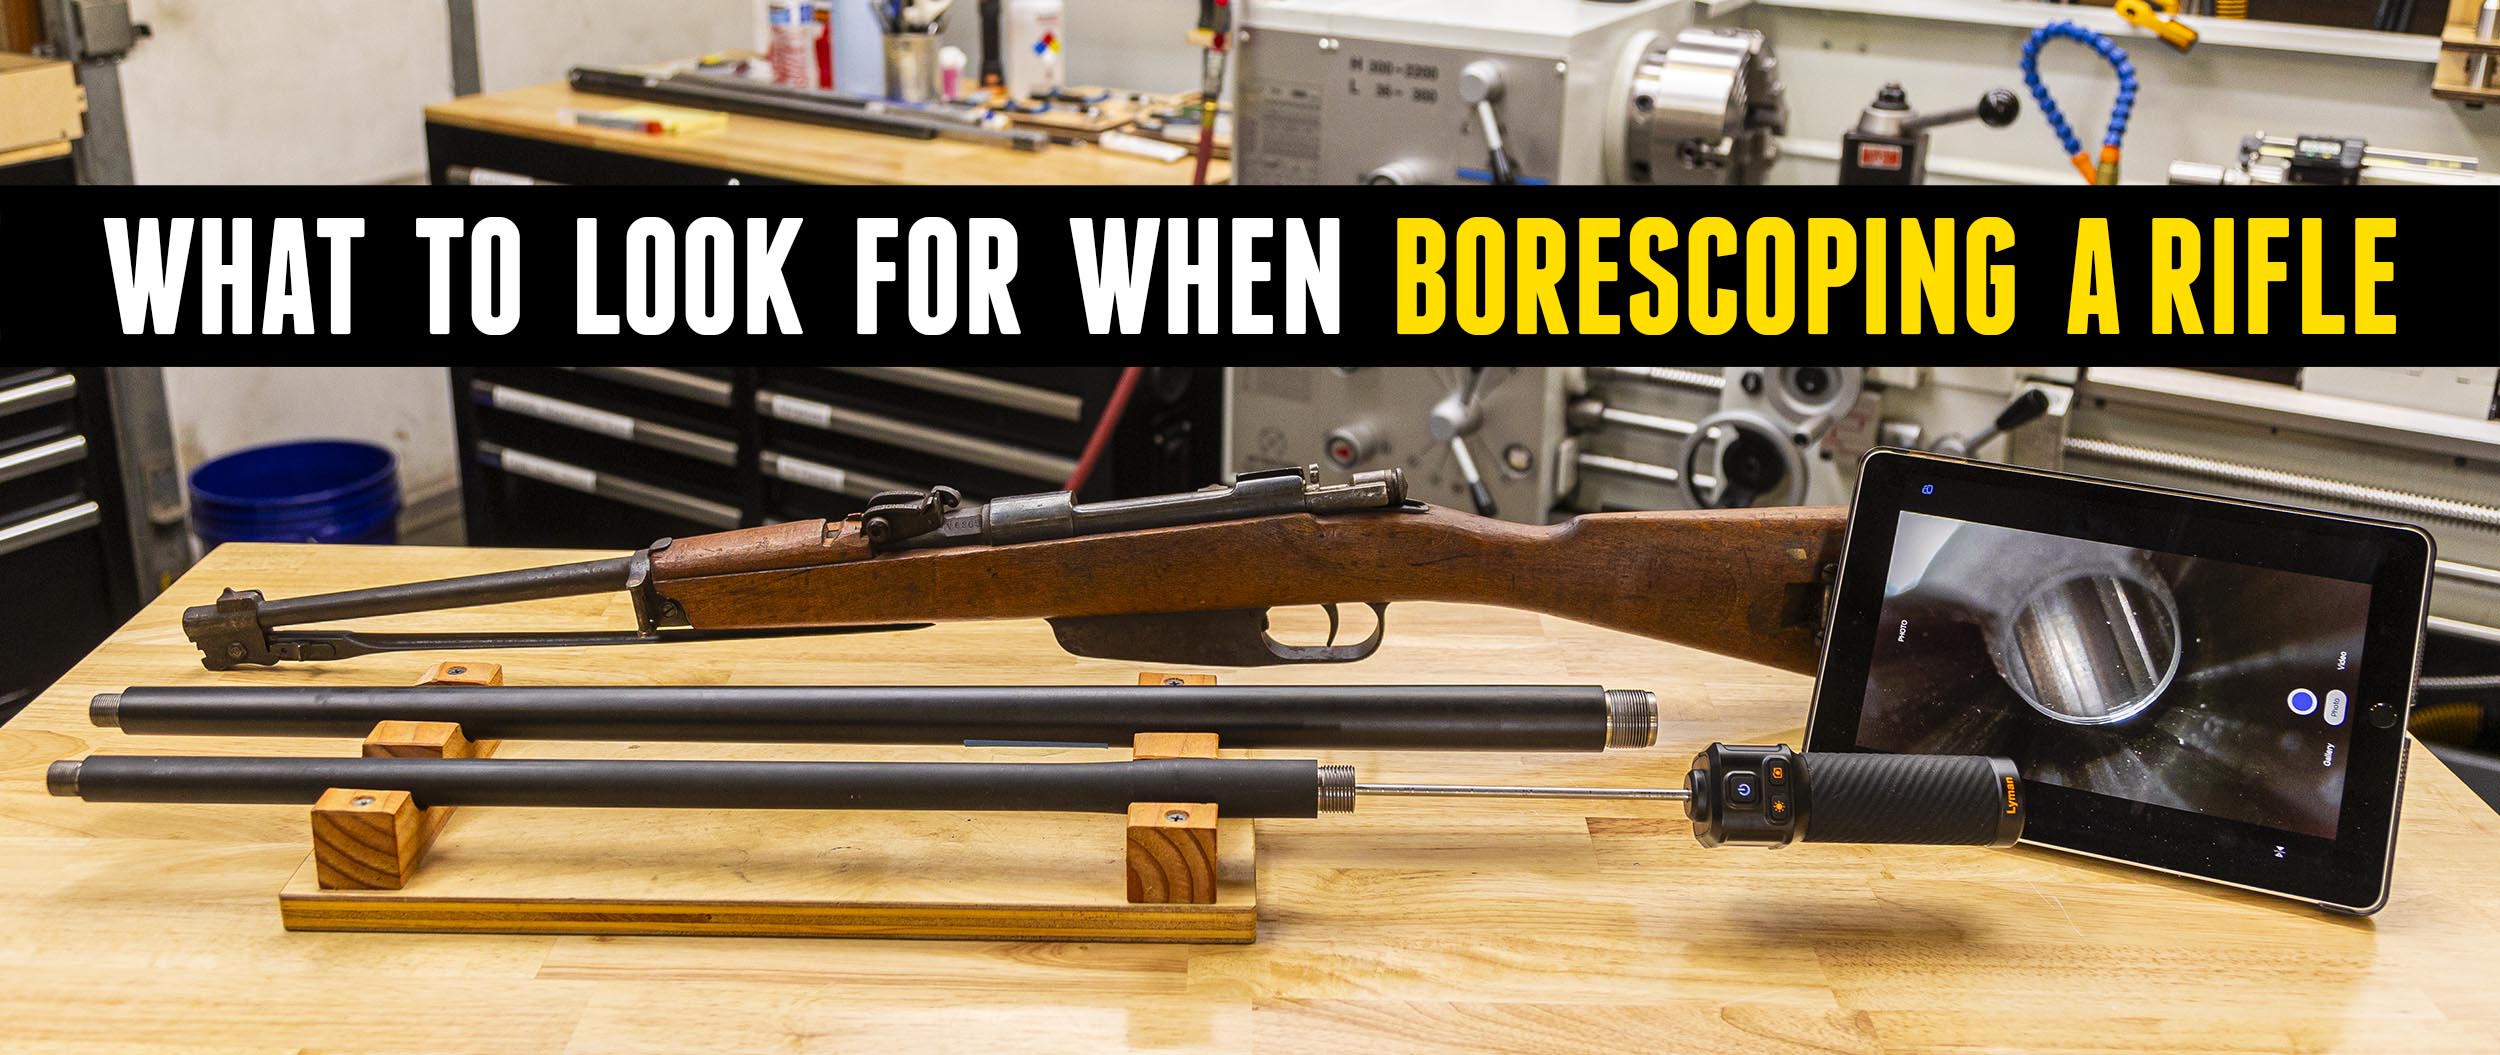
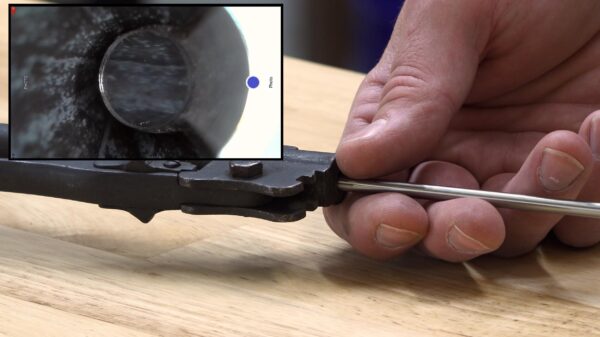
Digital borescopes like the Lyman Borecam 2.0 work in much the same way. There is an LED light source projected down the tube which hits a mirror and reflects off the viewing surface, back to the mirror where it is captured by a camera. Setting up a phone, ipad, or other viewing device allows you to easily see your barrel without having to get on top of it! Digital borescopes do need a power source (battery or charger) and to be connected to a device. In my opinion, being able to record footage to share with customers or other gunsmiths is extremely important.
Currently I’m using the new Lyman Borecam 2.0, a wireless solution released this year compatible with Apple and Android. It has a 26” length and works for calibers .22 caliber to .40 caliber. It has five included caliber-specific mirrors and works in a straight on or 90 degree configuration—your preference. This complete setup with built-in Wi-Fi has an MSRP of $199, much less than the thousands of dollars analog borescopes can cost.
Barrel Review
The first barrel I decided to take a look at was my 6mm ARC barrel from my TIMBR build. Each barrel has several sections of particular interest: the main section of the chamber, the neck area, the throat area, the rifled barrel bore, and the muzzle/crown area.
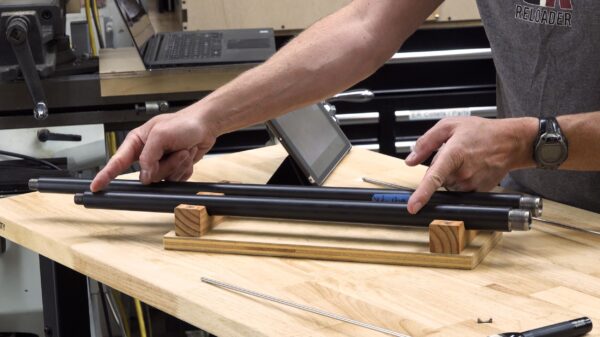
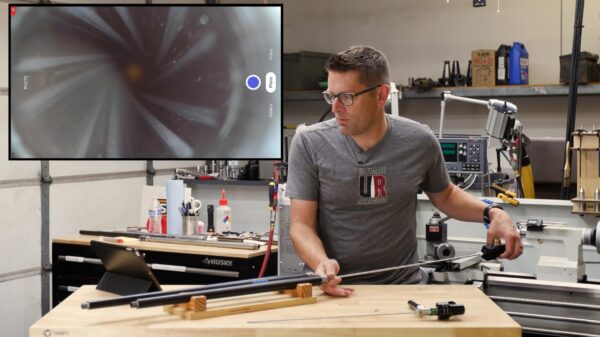
Using the Lyman borescope in the straight configuration, I looked for obstructions and anything out of the ordinary. I also verified that everything looked straight— no bulges or bends. This is most easily accomplished with a light on the other end.

Once properly focused, the camera provided incredible detail as I worked my way down the barrel, including small fibers! Switching my entry point from the chamber to the muzzle, I very quickly noted the crown was in dire need of cleaning.
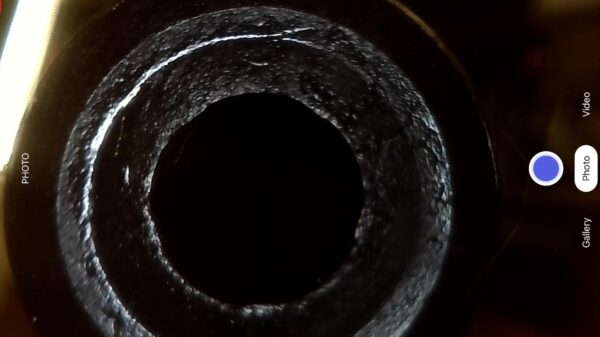
For a more detailed inspection, I added the 90 degree mirror. You can adjust the focus by backing off the jam nut and screwing the mirror in and out.

I started with the chamber end, which had some carbon build-up. This could potentially be hiding some pitting. Next, I examined the neck and throat transition area.
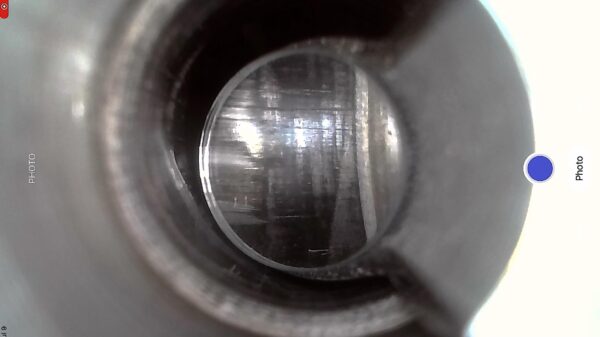
Besides some carbon, the bore looked nice with no tool marks. The 90 degree mirror provided a much different view of the crown than the straight mirror did. (Side note: It is also very helpful for inspecting AR-15 gas ports.)
Common Issues
Carbon and copper build-up regularly contribute to rifle issues. Patches alone won’t tell you if you have a carbon ring—only a borescope will. I checked my dirty 6.5 Creedmoor barrel, starting once again from the chamber with the right-angle mirror. The shoulder looked fairly rough. First carbon then copper coated the rifling. I didn’t notice anything exceptionally problematic with this barrel except the need for a deep clean.
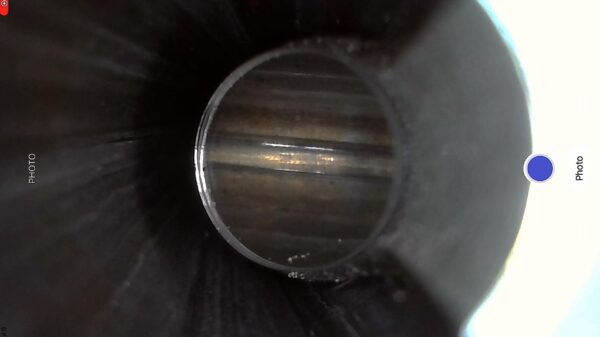
Carbon rings are on a different level and can induce pressure spikes that may lead to dangerous conditions. One most recently formed on my 6 GT near the throat transition.
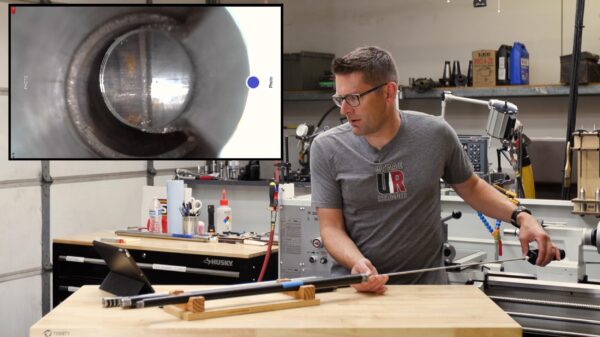
There are a number of methods to dispel carbon rings. I prefer an abrasive like J-B borepaste with a patch. Bolt-action rifles aren’t the only platforms that encounter these issues, semi-automatic rifles like the AR-15 also fall victim to carbon rings.
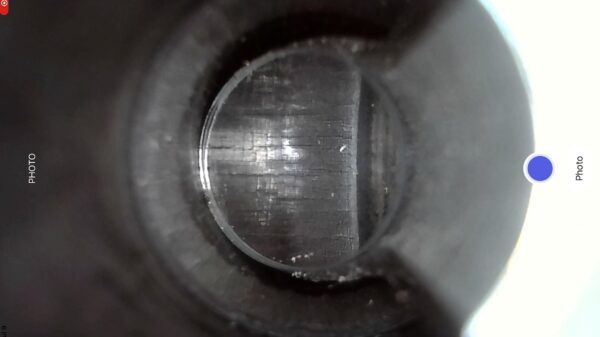
Fire cracking and throat erosion are concerns with high-performance cartridges like .22-250 and .300 Win Mag. High pressures and temperatures can compromise the steel. Fortunately, borescopes make this easy to monitor. I chose to examine the very first barrel I chambered. Years of .22-250 rounds had taken their toll, heavy fire cracking immediately visible along with a copper ring.
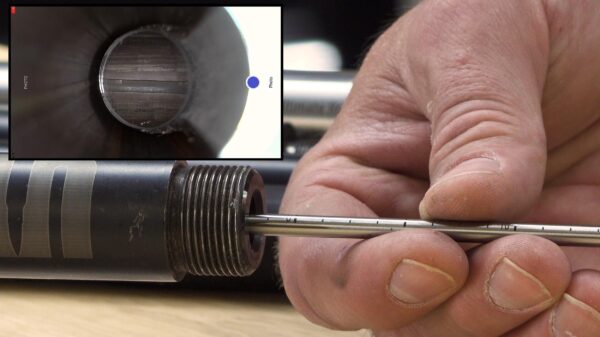
Distance increments marked on the borecam rod allowed for easy recording and reference of trouble spots. Beyond the eight-inch mark, I observed tool marks.
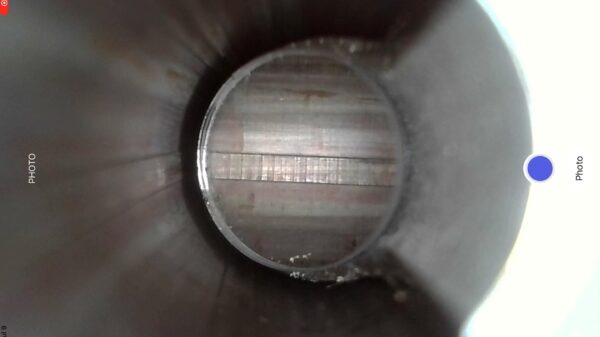
The muzzle was in poor condition. Cleaning the barrel and re-crowning the muzzle would be on my list to improve the barrel, but it’s still possible it shoots decently even in such rough shape.
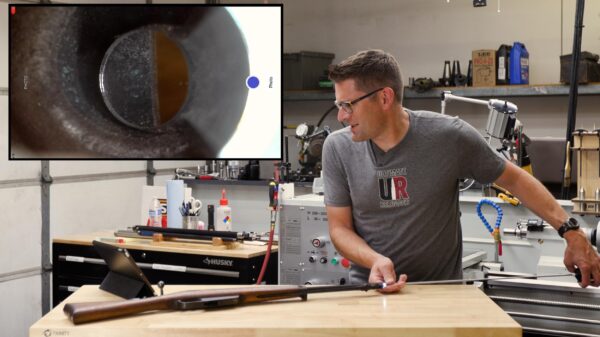
Vintage rifles tell their own story and won’t look the same as a brand-new precision rifle. My surplus 6.5 Carcano has extensive pitting and years of oxidized copper, but that doesn’t mean the gun is bad.
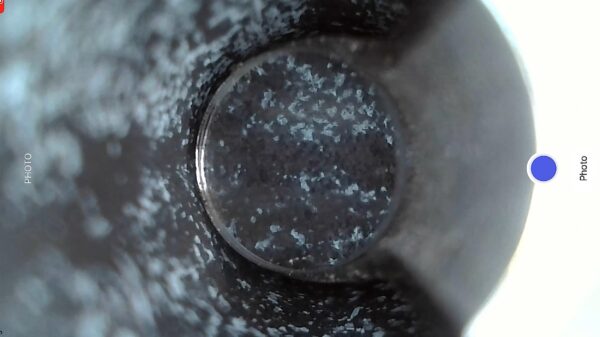
I value it for its historical value and feel, not its accuracy, though I’m tempted to rebarrel it.
Lathe Barrel Inspection
I have used both wired and wireless borescopes to audit my machining work, but I prefer wireless. No cords means less mess and no risk of tangling. I mounted the Lyman Borecam 2.0 in a piece of delrin, secured it in a lathe toolholder, and added it to my Precision Matthews lathe.
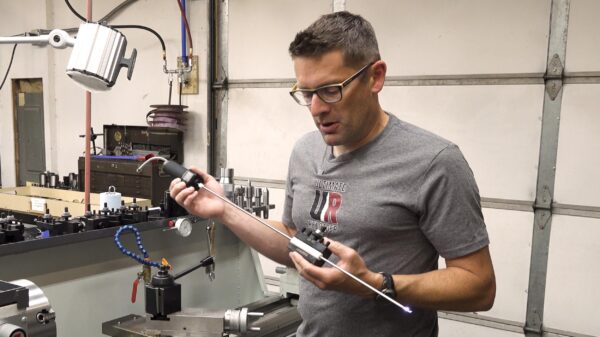
With a barrel chucked, it’s easy to spin it around and see all the parts in great detail.
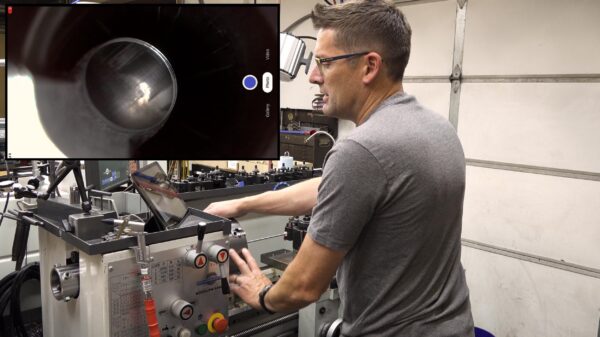
I specifically inspected the chamber and throat transition, uncovering a few tooling marks indicative of an imperfect reaming setup.
Conclusion
Learning to use a borescope to monitor barrel conditions and diagnose issues is a great skill to have.
Digital borescopes aren’t only affordable but allow you to share your findings with others as a way of education or consulting. Remember that a barrel isn’t always as bad as it looks on camera. You have to shoot it to find out for sure!
Get the Gear
Lyman Borecam 2.0: Wireless Bore Camera
Don’t miss out on Ultimate Reloader updates, make sure you’re subscribed!
Thanks,
Gavin Gear
