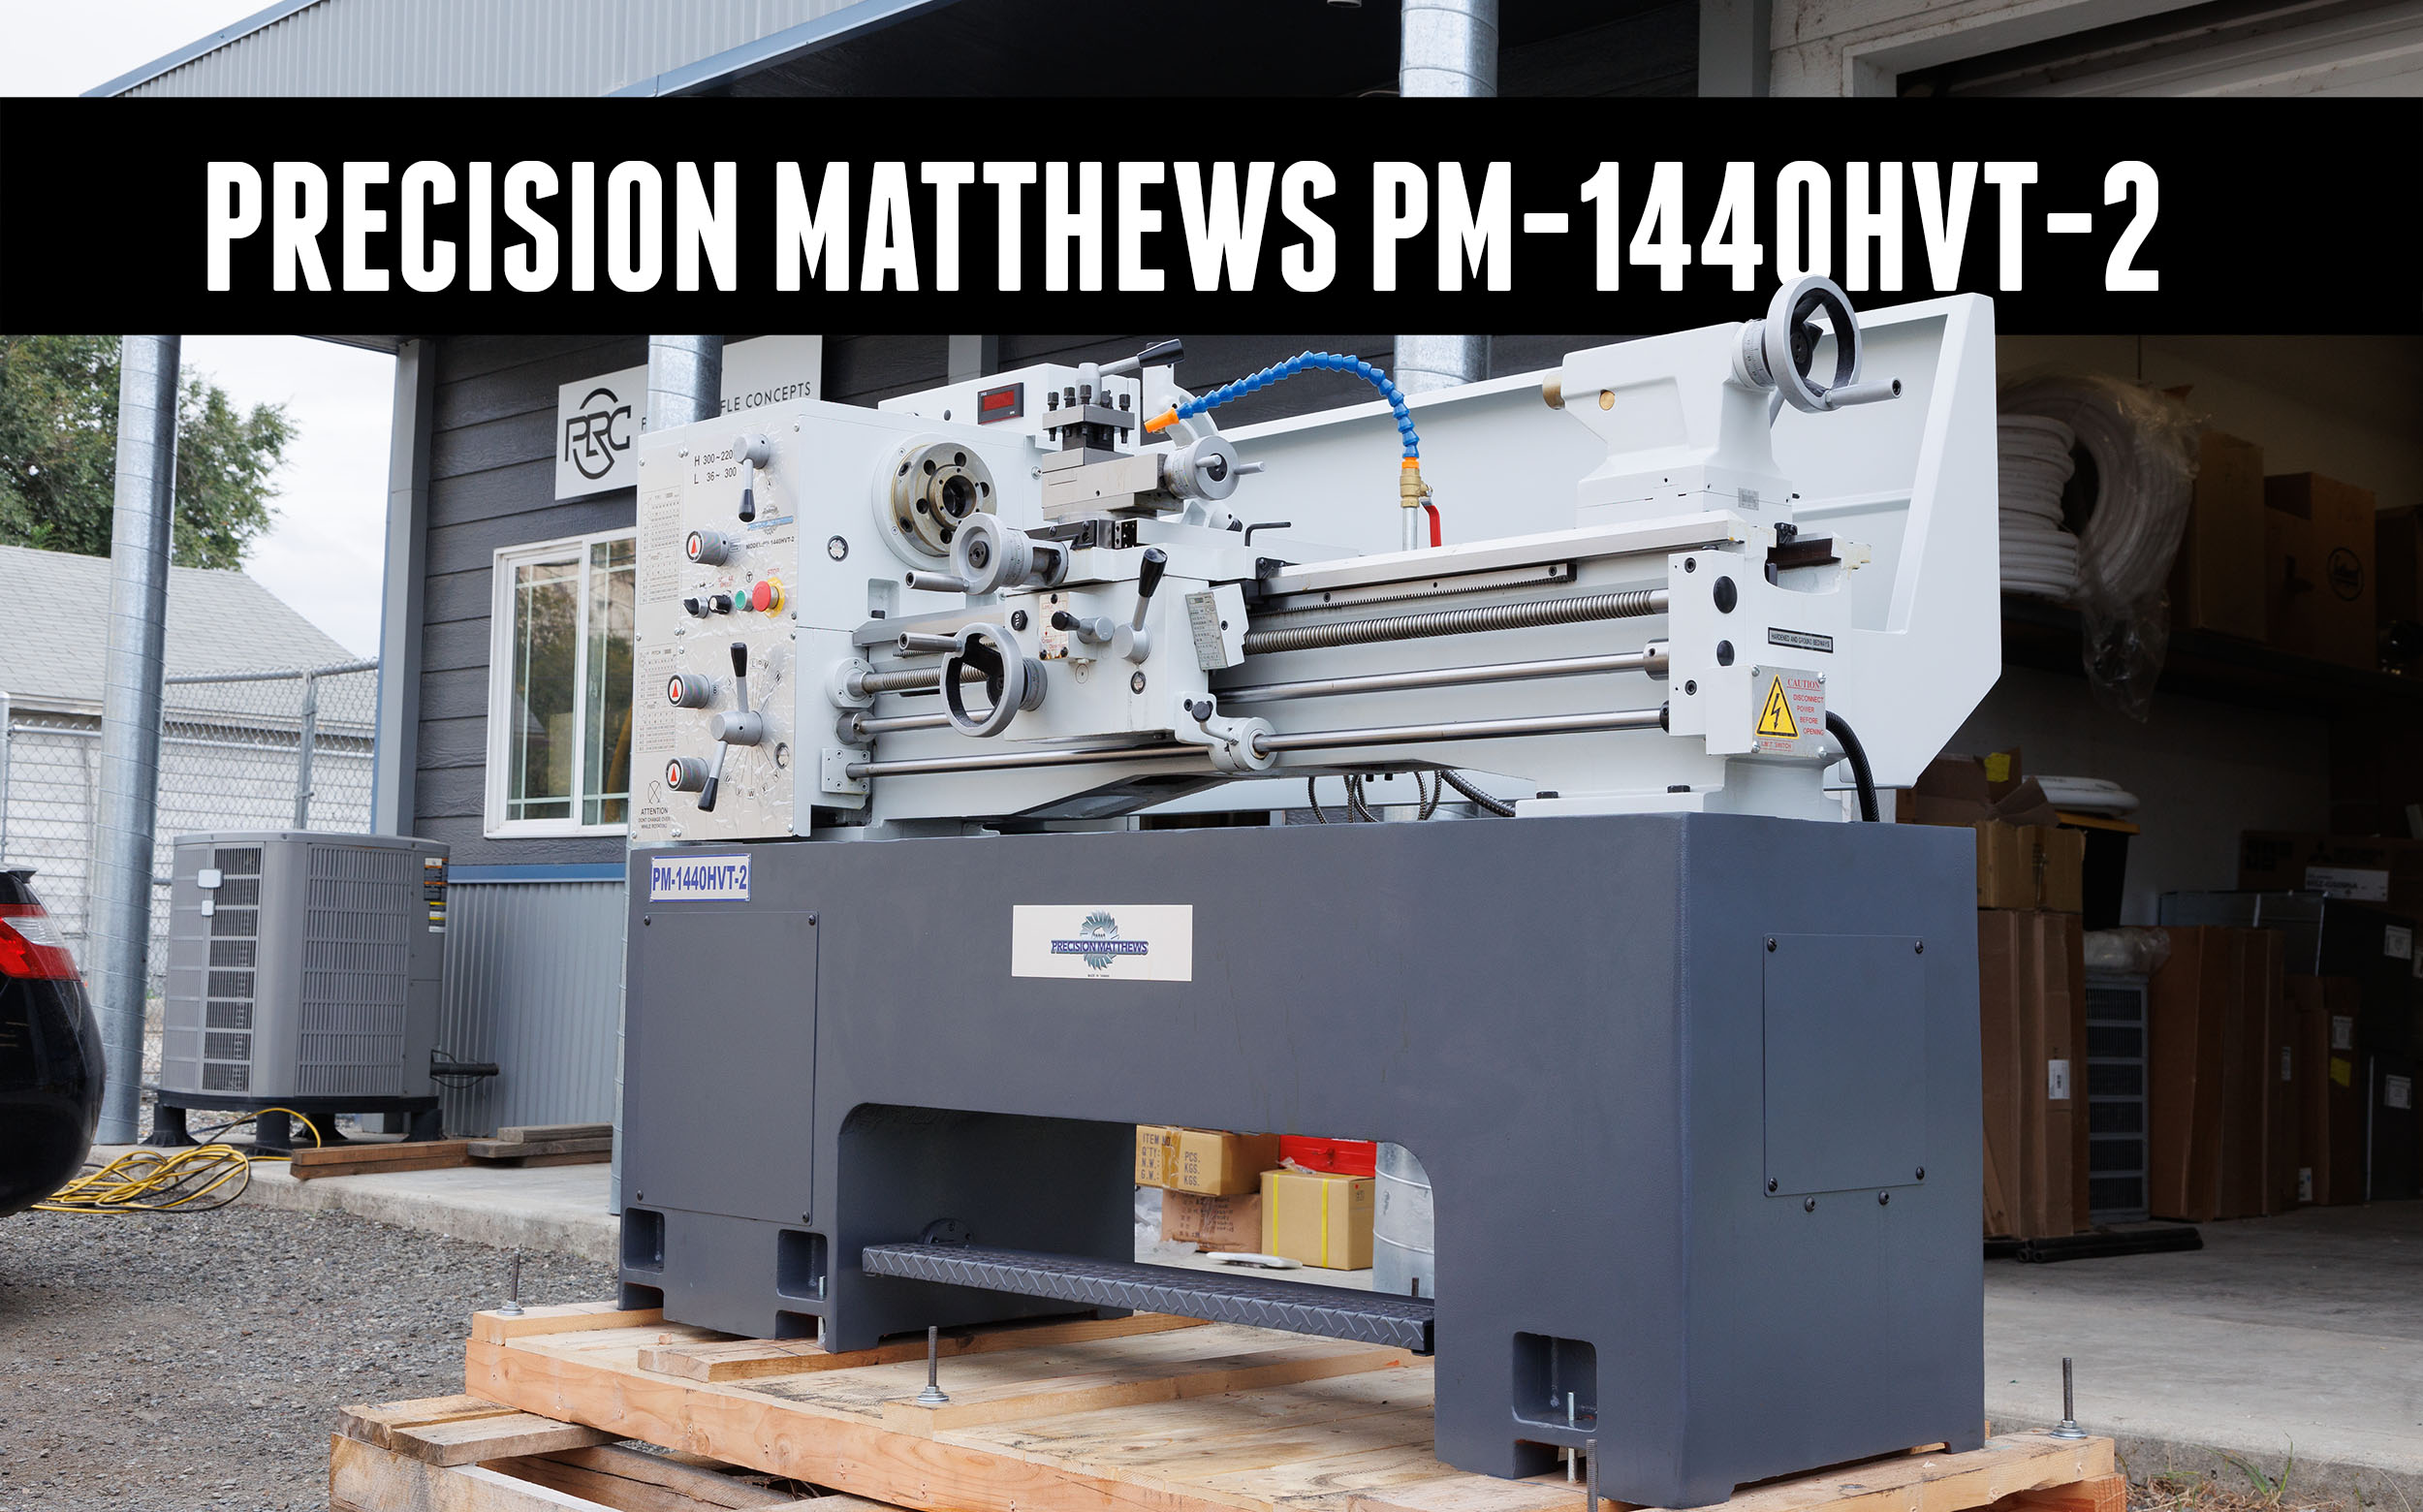
Manual machinery has always interested me. I’ve used the Precision Matthews PM-949TV Precision Mill, PM-1440GT, and TL-1660 on a variety of projects and they’ve served me well. While I still use these lathes, I needed something more—enter the PM-1440HVT-2.
Disclaimer
Ultimate Reloader LLC / Making with Metal Disclaimer: (by reading this article and/or watching video content you accept these terms). The content on this website (including videos, articles, ammunition reloading data, technical articles, gunsmithing and other information) is for demonstration purposes only. Do not attempt any of the processes or procedures shown or described on this website. All gunsmithing procedures should be carried out by a qualified and licensed gunsmith at their own risk. Do not attempt to repair or modify any firearms based on information on this website. Ultimate Reloader, LLC and Making With Metal can not be held liable for property or personal damage due to viewers/readers of this website performing activities, procedures, techniques, or practices described in whole or part on this website. By accepting these terms, you agree that you alone are solely responsible for your own safety and property as it pertains to activities, procedures, techniques, or practices described in whole or part on this website.
Uncrating and Setting Up the PM-1440HVT-2
While this lathe is similar to the PM-1440-GT, it is heavier with a solid cast iron base, wider ways, and has variable speed. With something this large, a box isn’t enough.
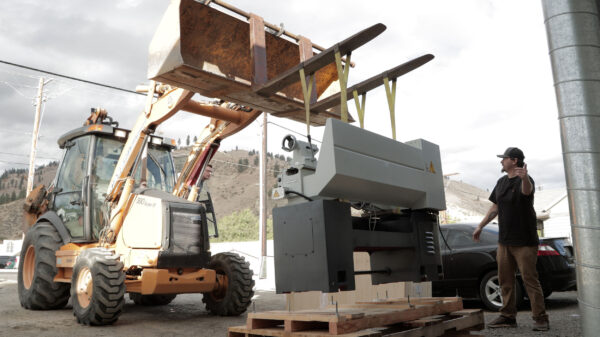
We had to remove the lathe from a wooden crate, remove the protective filming, unbolt it from the crate, lift it with straps using heavy machinery, and set it on rollers to get it into the shop. We used metal pipes as rollers to more easily move the machine, setting one pipe ahead each time and pushing.
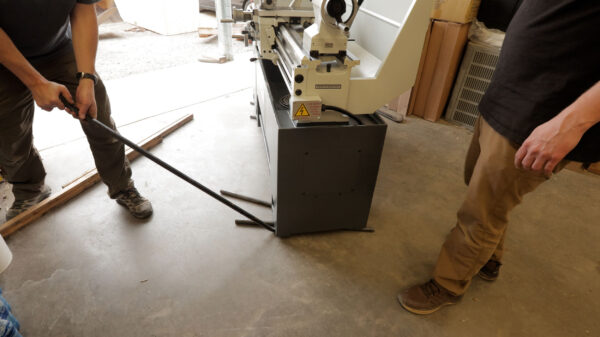
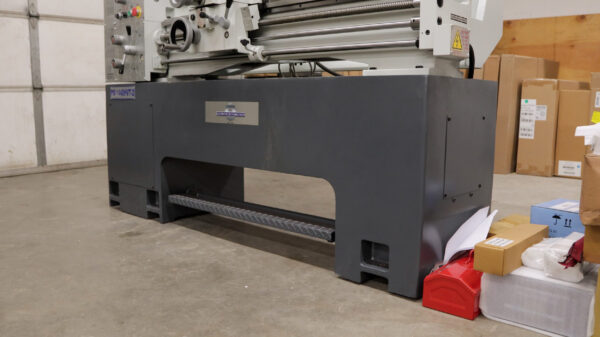
We twisted the machine into place with crowbars before positioning the jack screws and cast iron feet.

There is very little flex in the cast iron base, so it’s best to have one corner elevated until the jack screws and feet are in place.
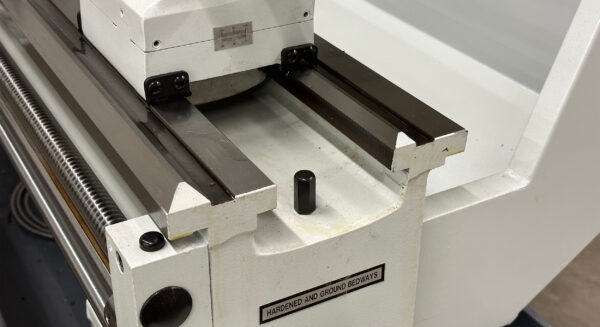
To level the machine, I set two parallels on the ways and balanced a machinist’s level on them. I always verify level at the back of the machine and near the chuck. Adjusting the jack screws changes the angle. If the machine is tilted slightly, it’s ok as long as it’s exactly consistent across the machine. Any differences will induce warp. When I was happy with it, I locked the screws into place.
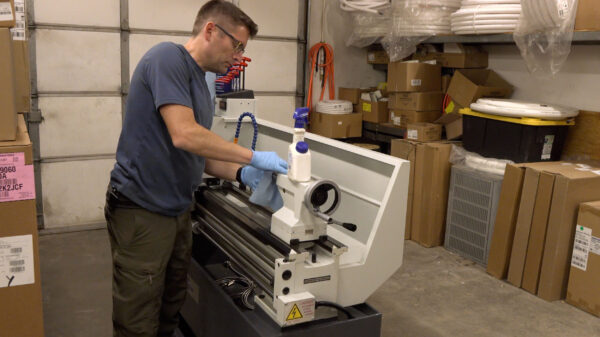
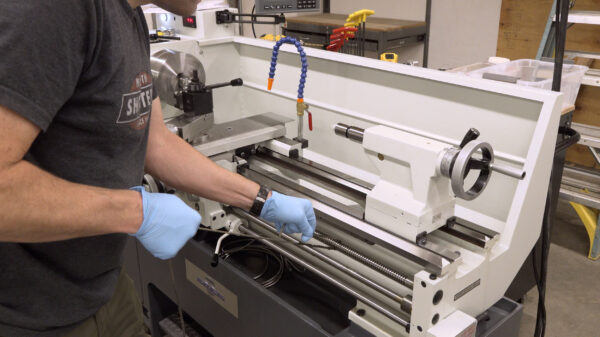
From here I did a detailed clean, spraying all surfaces with WD-40 to remove protective coatings and wiping them away with a number of blue shop towels. The lead screw requires extra attention. I like to wrap a rope that matches the thread troughs around the screw and turn on the machine, taking care to remove all the extra coating from the cavities and wipe away the excess. (This is also a good maintenance practice.)
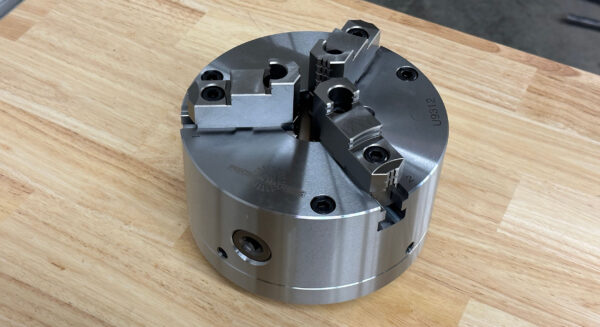
The spindle bore is another important area to clean, though a bit trickier. I of course built a special tool I call the spindle bore mop that resembles a jag on a cleaning rod to aid in this. The circular “jag” is 0.050” under the diameter of the inside of the spindle and comes in handy as you use the machine to push out debris. I also did additional degreasing on the faceplate, adjustable three-jaw chuck, and four-jaw chuck.
When I completed my cleaning, I added some oil to the machine as a lubricant. Before I could start the machine, I had to connect it to power. The PM-1440HVT-2 can run off of single or three-phase with variable speed, though I only have single phase and had to run a power drop to make it work. Having this style of connection is versatile and makes it easy to move around the machine without running into any cords.
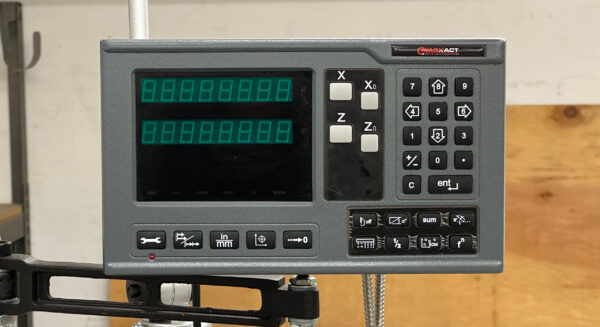
Perhaps the biggest pain point of setting up a lathe is installing the DRO. I’m grateful Precision Matthews sends their lathe with the scales already set, so all I had to do was connect the display.
With the four-jaw chuck installed, I clamped a piece of material and ran the spindle at approximately 1200 rpm for an hour to start breaking it in. At the 50-hour run time mark, I’ll do a complete oil change on the machine.
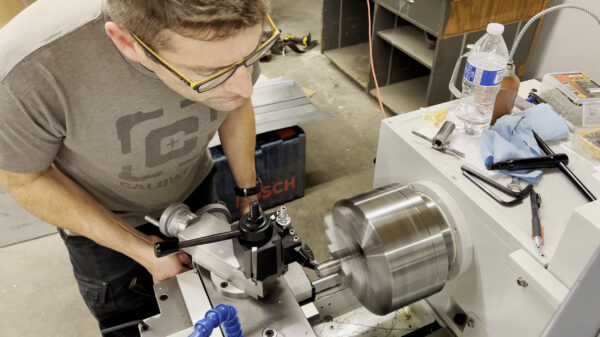
The most critical piece of lathe preparation for me is ensuring access to the spider. The spindle’s outside diameter matches that of the spindle on the PM-1440GT, so this allowed me to use the custom spider I built with a pinch clamp design. (I had to cut a small piece off the side plate to install it. Watch the full video here.) This spider doesn’t require any set screws and grabs the spindle without making marks. I then drilled a hole above the spider so I could reach the pinch clamp with a 3/16” Allen key.
Conclusion
I had a great time getting the PM-1440HVT-2 set-up, tested, and ready to go. Moving forward, I’ll give a complete overview of the lathe covering the accuracy, all the controls, and more. Also coming are more rifle builds! Interested in learning how to run a manual lathe? Consider the Colorado School of Trades!
Get the Gear
Precision Matthews PM-1440HVT-2 lathe
Don’t miss out on Ultimate Reloader updates, make sure you’re subscribed!
Thanks,
Gavin Gear


