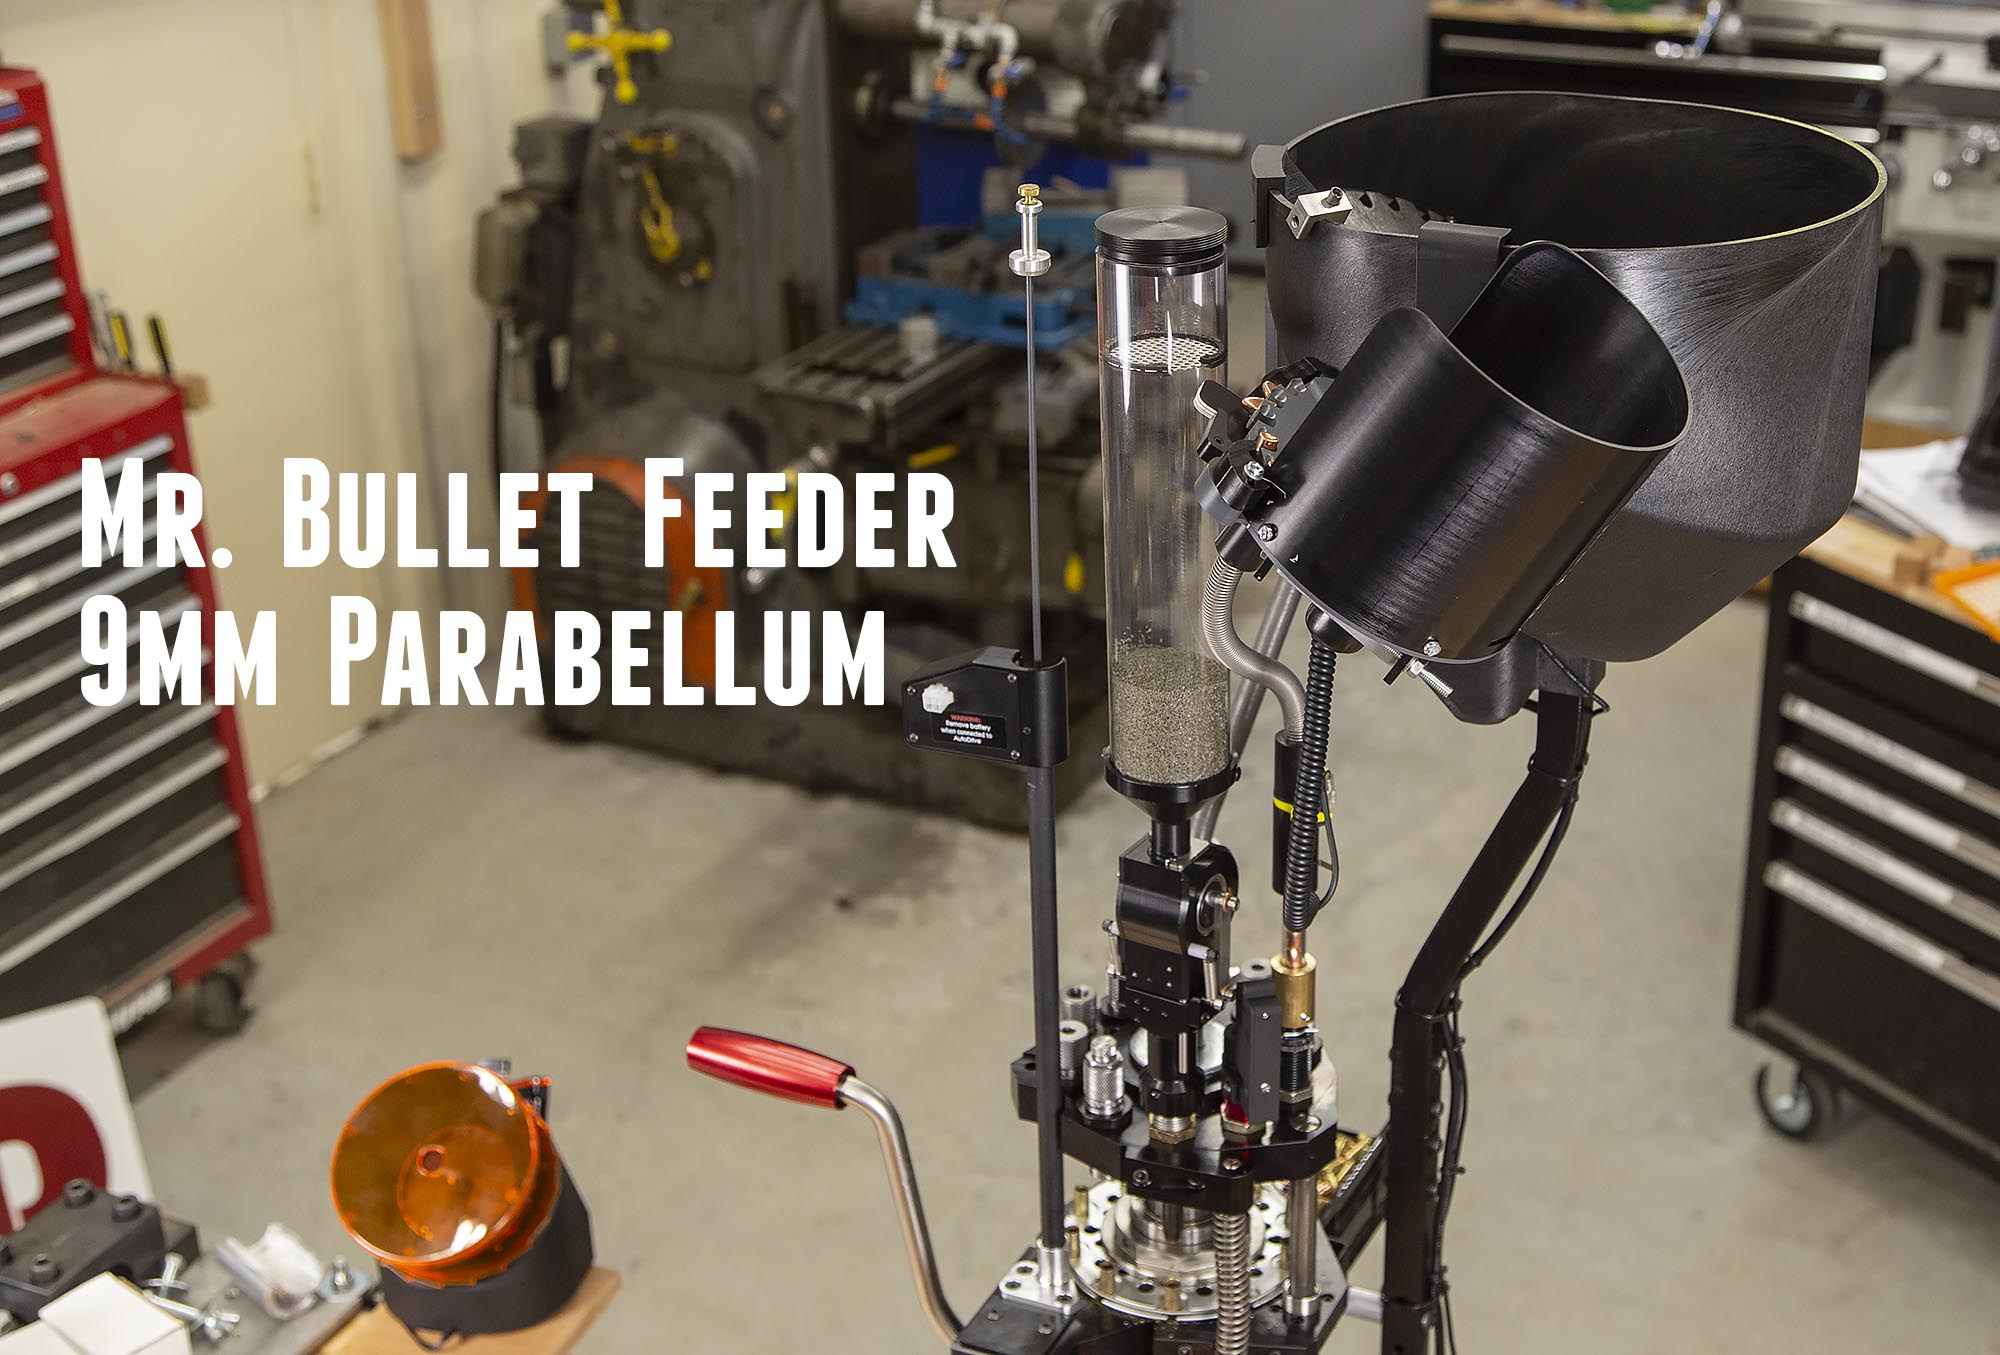
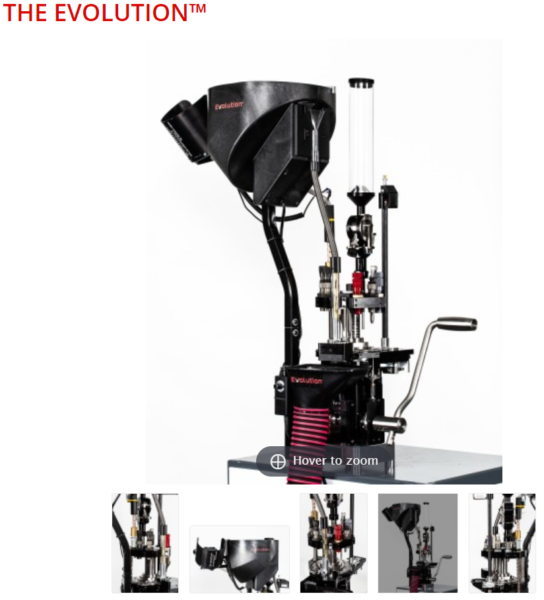
High-volume loading is all about optimizing the process. If you want high throughput, you can’t afford to have any “bottlenecks” in your reloading workflow. And that’s where a bullet feeder comes in handy! In this article, I’ll continue where I left off (see Mark 7 Evolution Overview/Setup) with my Mark 7 Evolution “boot up”. This time I’ll be adding two key efficiency enhancements: a Magnetic Powder Check and a Mr. Bullet Feeder, both from the Double Alpha Academy.
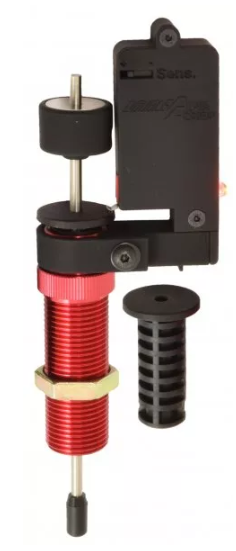
Double Alpha Magnetic Powder Check
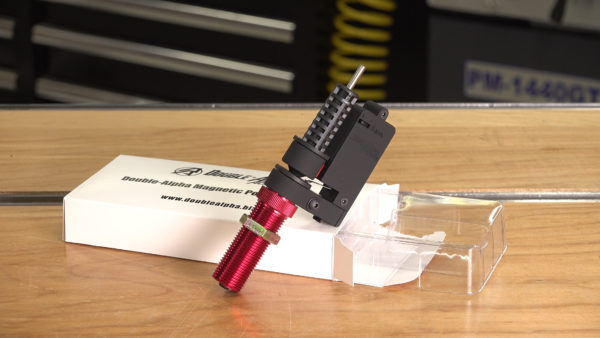
Before I took on the bullet feeder install, I wanted to make sure I had a good powder check system installed. Why? When you’re using a bullet feeder, you can’t see the powder level as easily, and with increased speed comes the need for increased safety checks. It’s better to be safe than sorry! The Double Alpha Magnetic Powder Check has some interesting features and benefits that makes it unique:
- If there is a powder charge issue, you’ll get both an audible alarm *AND* a visual cue (an LED will light up)
- This powder check is VERY fast and easy to setup
- There are multiple settings for sensitivity (allowable variance without sounding alarm)
- The unit is self-contained and doesn’t take up a lot of space on the toolhead
- It’s affordable (just under $60 when I just looked)
Setting up the Magnetic Powder Check is easy:
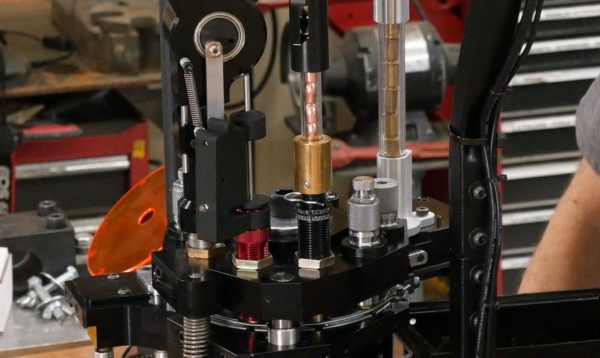
- Place a charged case in the powder check station (I installed in station #7, just ahead of the bullet feed station)
- Screw in the powder check die until the disc lifts off the die body (alarm will likely sound)
- Move magnet sensor up and down to find the upper and lower limits of the vertical “safe zone” (where alarm does not sound)
- Tighten the magnet set screw in the middle of the safe zone
- Check the setup with a properly charged case, an empty case, and and over-filled case
Here’s the Magnetic Powder Check installed and in use while loading:
Done! Now we are ready to pick up the pace with Mr. Bullet Feeder!
Mr. Bullet Feeder: What’s in the Box
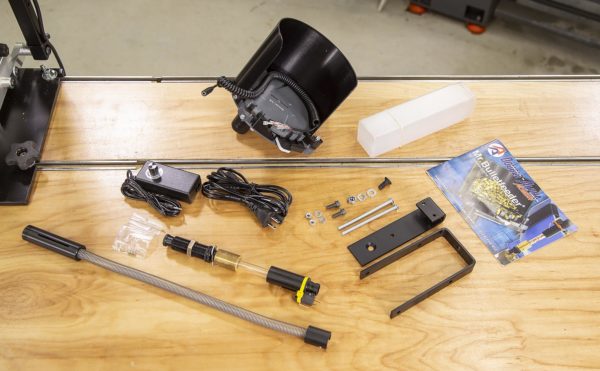
The Mr. Bullet Feeder system comes with everything you’ll need to load a particular caliber- for my setup that includes both 9mm and 38 caliber pistol projectiles.
In the above picture clockwise from top we have:
- Bullet collator (motorized)
- Dropper case
- Owner’s manual
- Mounting bracket and hardware
- Dropper assembly
- Spring drop tube
- Variable speed power supply
- Power cords: Euro and US
Setting Up Mr. Bullet Feeder
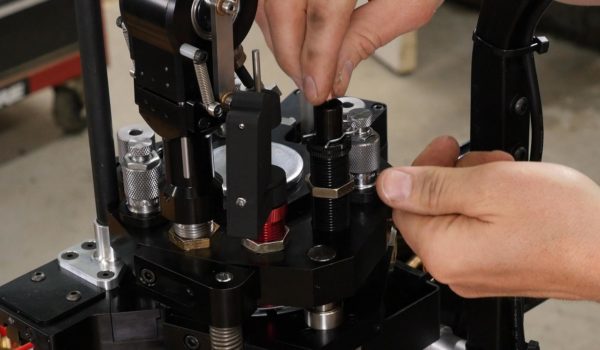
Setting up Mr. Bullet Feeder should take about 1/2 hour, unless you’ve lost any of your tools! Here’s what you’ll need to do to get things up and going.
Dropper Assembly Install
- Remove the upper portion of the dropper assembly from the lower part (one set screw)
- Screw the dropper die into the press (at the bullet drop station you’ve selected) a few threads
- Drop in enough bullets (base down) until you can see the top bullet
- Place a flared case in the bullet drop station
- Lower the press handle
- Screw the dropper die in until you see/hear the stack of bullets drop
- Turn the dropper die in another 1/4 turn
- Tighten the lock ring
Assembly of Mounting Bracket, Hanging Bullet Feeder Collator
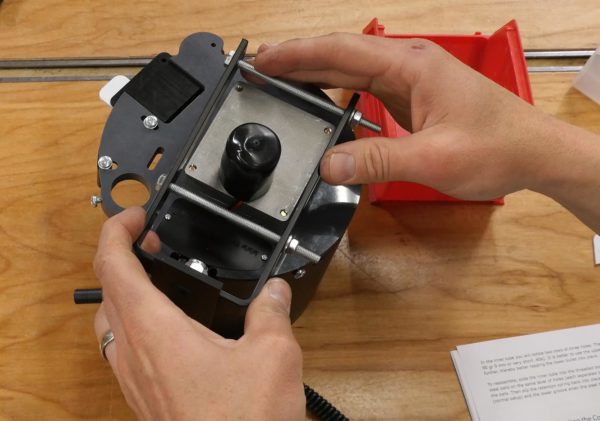
Now it’s time to get the collator put together and mounted on the press which involves the following:
- Assembling the mounting bracket
- Clamping the mounting bracket to the collator
- Dropping the collator and bracket onto the case feed bowl and securing the clamp screws
Note: You’ll want to make sure the nose guide and flip ramp are adjusted properly which is covered in detail in the owner’s manual.
Drop Tube Install and Final Assembly
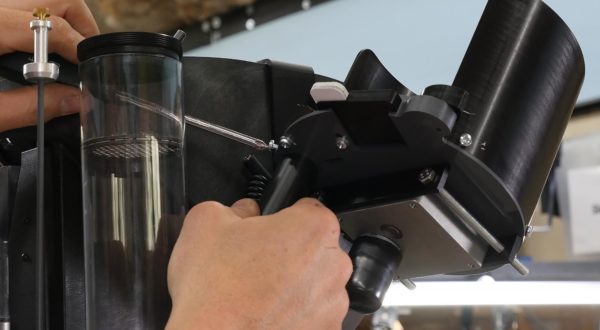
You’re now in the home stretch! Some final assembly steps:
- Tilt collator to appropriate angle (see above picture)
- Install upper spring adapter (with debris slot pointing down)
- Install spring (may need to be shortened, see video)
- Install adapter cap between spring and dropper tube
- Connect wires at shutoff switch
- Connect AC adapter to wall power and power jack hanging from bullet collator
Now you’re ready to turn on the unit and see how well it will run!
Loading with the Mr. Bullet Feeder and Magnetic Powder Check
Wait, Do You REALLY Need 10 Stations?
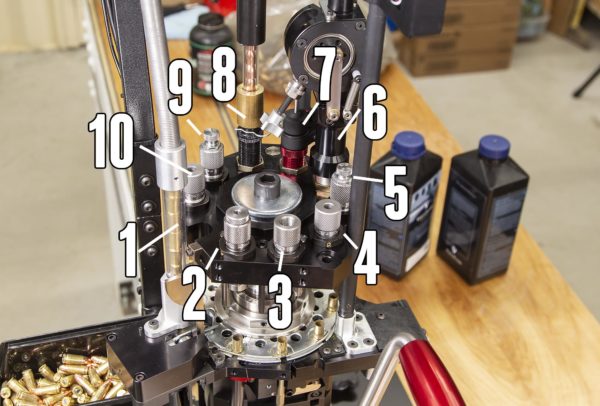
10 Stations may seem excessive for a progressive reloading press, but it’s not! Here’s how the Mark 7 Evolution is setup for loading utilizing all 10 stations:
- Case feed
- Lyman 9mm Sizer/De-Primer
- Lyman 45 ACP bullet seater (stem removed) used for primer pocket swaging hold down (swager rod engaged for this loading session, will be discussed in detail in future story)
- Lyman 45 ACP Taper Crimp die used for priming hold down
- Lyman 9mm Expander
- Powder measure
- Double Alpha Magnetic Powder Checker
- Mr. Bullet Feeder bullet drop
- Lyman 9mm Seater
- Lyman 9mm Taper Crimp Die
Yes, you can “do with” less stations, but for serious reloading, this is the kind of setup you’ll want- each critical operation and adjustment having its own independent station.
Components and Load for This Loading Session
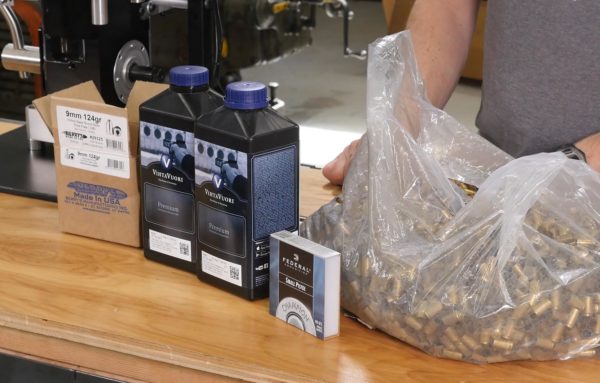
For this loading session, I used the following:
- Berry’s 124 grain Hollow Base Round Nose bullets (plated)
- Capital Cartridge Once-Fired 9mm Cases (Use “ULTIMATE” code at check out to save 10% !)
- Federal #100 small pistol primers
- Vihtavuori N340 powder (4.9 grains)
- 1.140″ COL
Use load data at your own risk. Ultimate Reloader is not responsible for errors in load data on this website. Always cross-reference load data with manufacturer’s published data.
I switched from CFE-Pistol (used in the last story) to Vihtavuori N340 powder because of some issues I was having with powder sticking to the powder check tamping rod- and with the larger granules that Vihtavuori N340 has, the issue was resolved completely. Another side benefit was lower SD numbers for velocity: (As captured with the Caldwell G2 Chronograph and phone app)
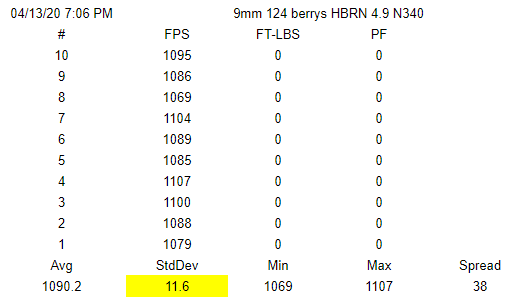
WOW! That’s some tight velocity numbers. I know that I can increase velocity as well if I work up towards max charge which Vihtavuori lists at about 5.1 grains.
Cranking It UP!
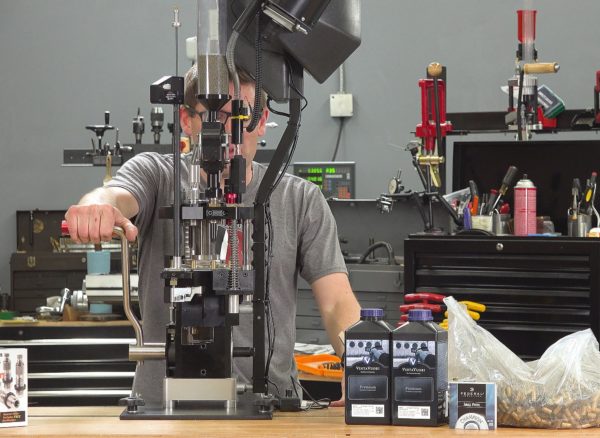
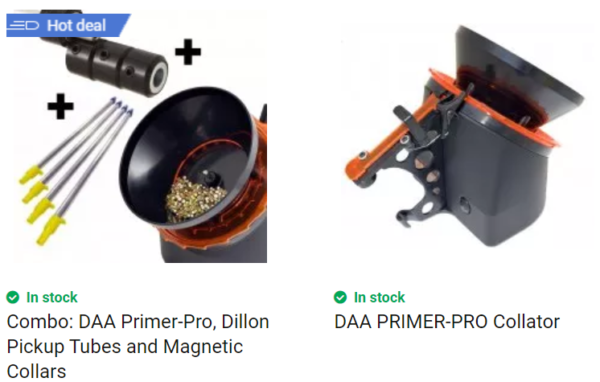
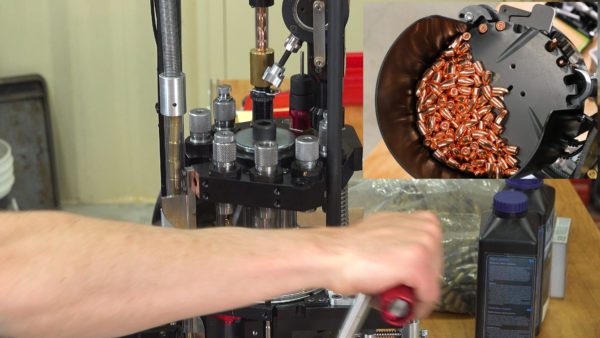
Once everything is setup correctly and adjusted (you’ll likely make a few tweaks) this reloading setup is absolutely amazing. All you have to do is pull the handle and watch the completed rounds tumble into the bin. With the Double Alpha Primer Pro, you can make primer refills super easy and quick as well! With a setup like this, you should be able to sustain reloading rates of about 1500-2,000 rounds per hour. That’s pretty amazing. Here’s the simultaneous split view from the video rapid loading 9mm:
Get the Gear
If you’re interested in these products, you can get them from Mark 7 and double Alpha HERE:
Mark 7 Evolution 10-station Progressive Reloading Press (Also sold by the Double Alpha Academy)
Double Alpha Magnetic Powder Check
Mr. Bullet Feeder at Double Alpha
Primer Pro by Double Alpha
Don’t miss out on Ultimate Reloader updates, make sure you’re subscribed!
Thanks,
Gavin
