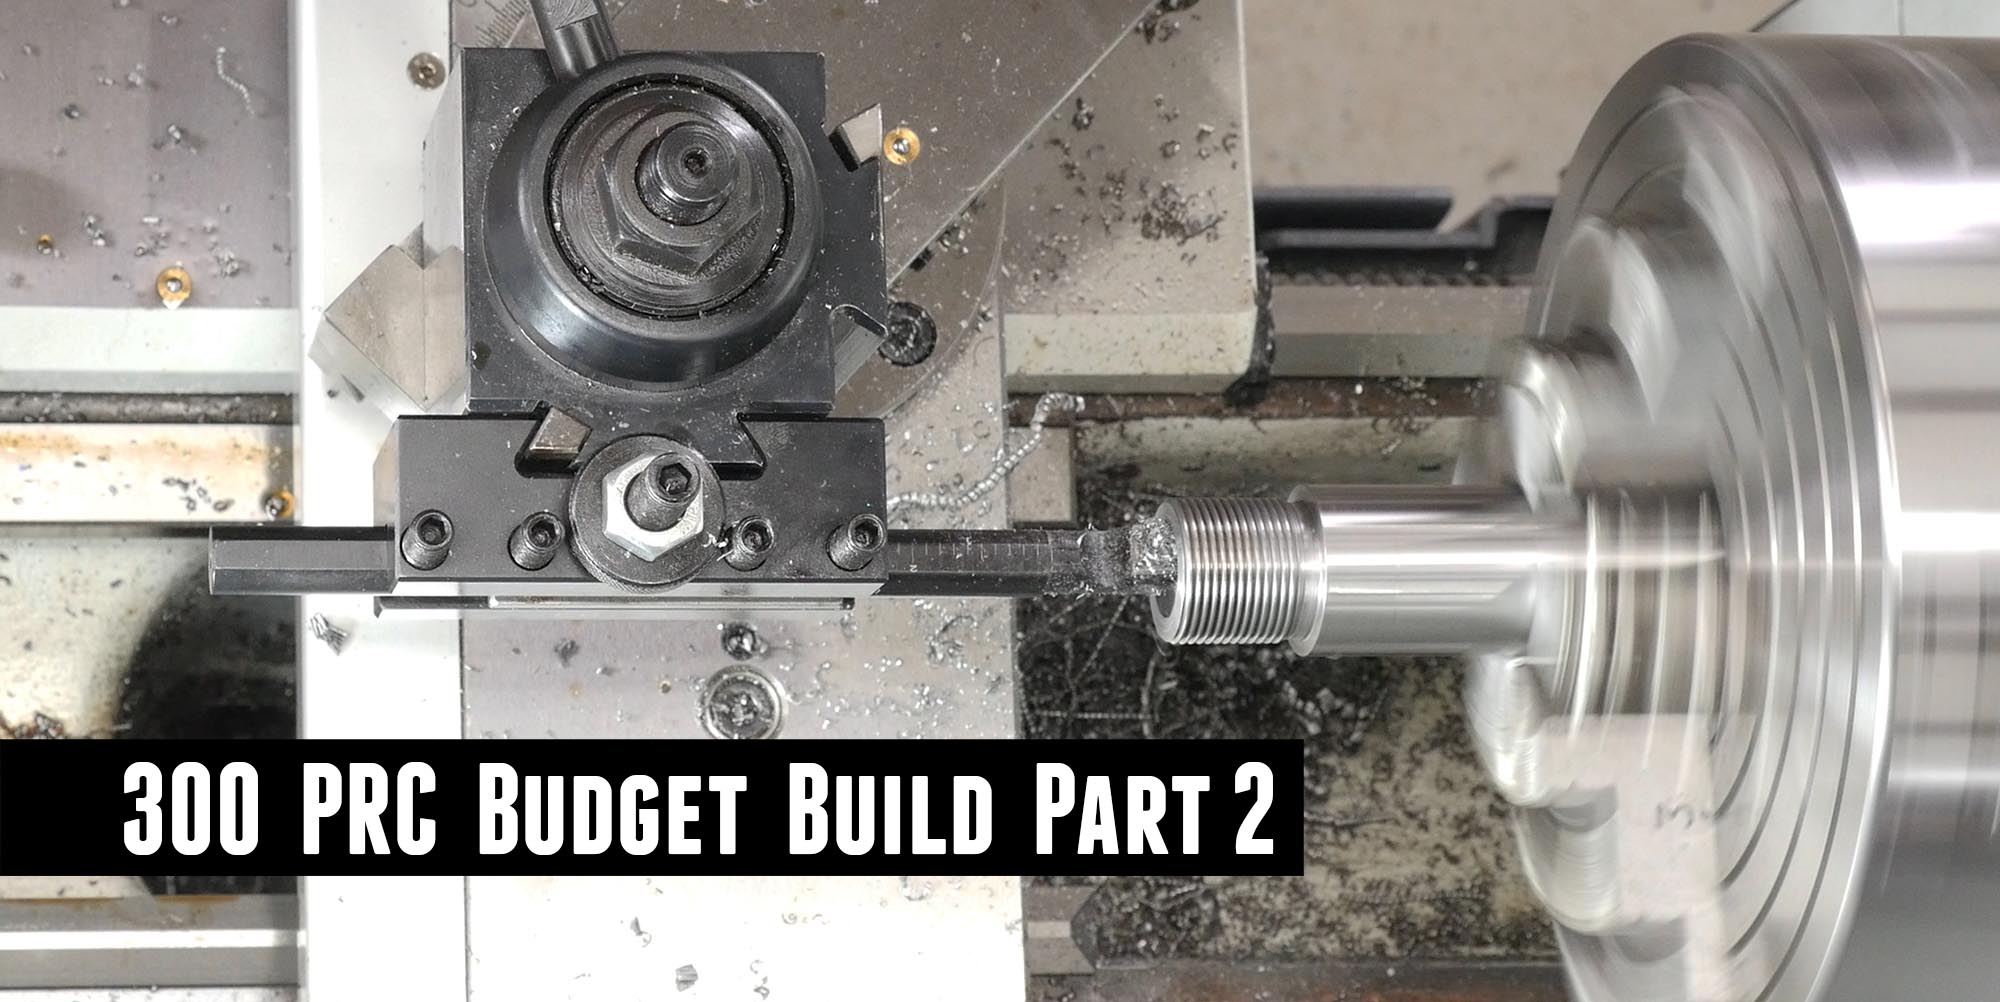
This “300 PRC Budget Build” has been one of my favorite builds so far, and a perfect follow-on to taking Gordy Gritters’ Precision Rifle Building Class. I used this build as an opportunity to take on some new challenges, and to see what I could do with a factory Remington 700 rifle.
If you haven’t already done so, here are some related stories I’ve published:
- TESTED: Remington 700 Long Range 300 Remington Ultra Magnum (the rifle used for this build as starting point)
- 300 PRC Budget Build part 1: Action Blueprinting (the first part of this build)
- 300 PRC Custom Build Overview
- 300 PRC Custom Build: Chambering and Machining the Barrel
- 300 PRC Custom Build: MDT ACC Chassis Assembly, TriggerTech Diamond Install
- 300 PRC Custom Build: Benchmark Tactical Brake Machining and Install
Disclaimer
Ultimate Reloader LLC / Making with Metal Disclaimer: (by reading this article and/or watching video content you accept these terms)
- The content on this website (including videos, articles, ammunition reloading data, technical articles, gunsmithing and other information) is for demonstration purposes only.
- Do not attempt any of the processes or procedures shown or described on this website.
- All gunsmithing procedures should be carried out by a qualified and licensed gunsmith at their own risk.
- Do not attempt to repair or modify any firearms based on information on this website
- Ultimate Reloader, LLC and Making With Metal can not be held liable for property or personal damage due to viewers/readers of this website performing activities, procedures, techniques, or practices described in whole or part on this website.
- By accepting these terms, you agree that you alone are solely responsible for your own safety and property as it pertains to activities, procedures, techniques, or practices described in whole or part on this website.
Taking Inventory for the Build
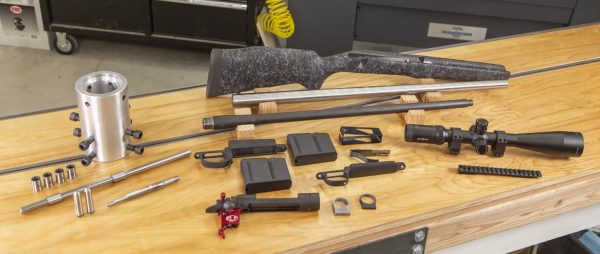
Rifle Parts (right-hand side, from top to bottom):
- Bell and Carlson M40 style Fiberglass Stock
- Benchmark Barrels 26″ finished length 8.5:1 twist MTU profile barrel blank
- 300 RUM factory take-off barrel (which I threaded the muzzle on)
- Accurate Mag long-action bottom metal
- Accurate Mag 300 PRC-length magazines
- Factory bottom metal with hinged floorplate
- Internal magazine
- Vortex Viper HS-T 6-24x50mm scope and rings
- EGW Remington 700 Long Action 20 MOA Scope Rail
- Trued Remington 700 Long-Action receiver, bolt + Elftmann Tactical ELF 700 SE Trigger
- Badger Ordnance 0.312″ thick tapered recoil lug
Gre-Tan Tools (left-hand side, from top to bottom), see part 1 of this series where these tools were used:
- Gre-Tan Rifles Action Blueprinting Jig
- Gre-Tan Rifles 1/2″ x 14″ Indicating Rod
- Gre-Tan Rifles Bushing Set for Remington 700 Actions
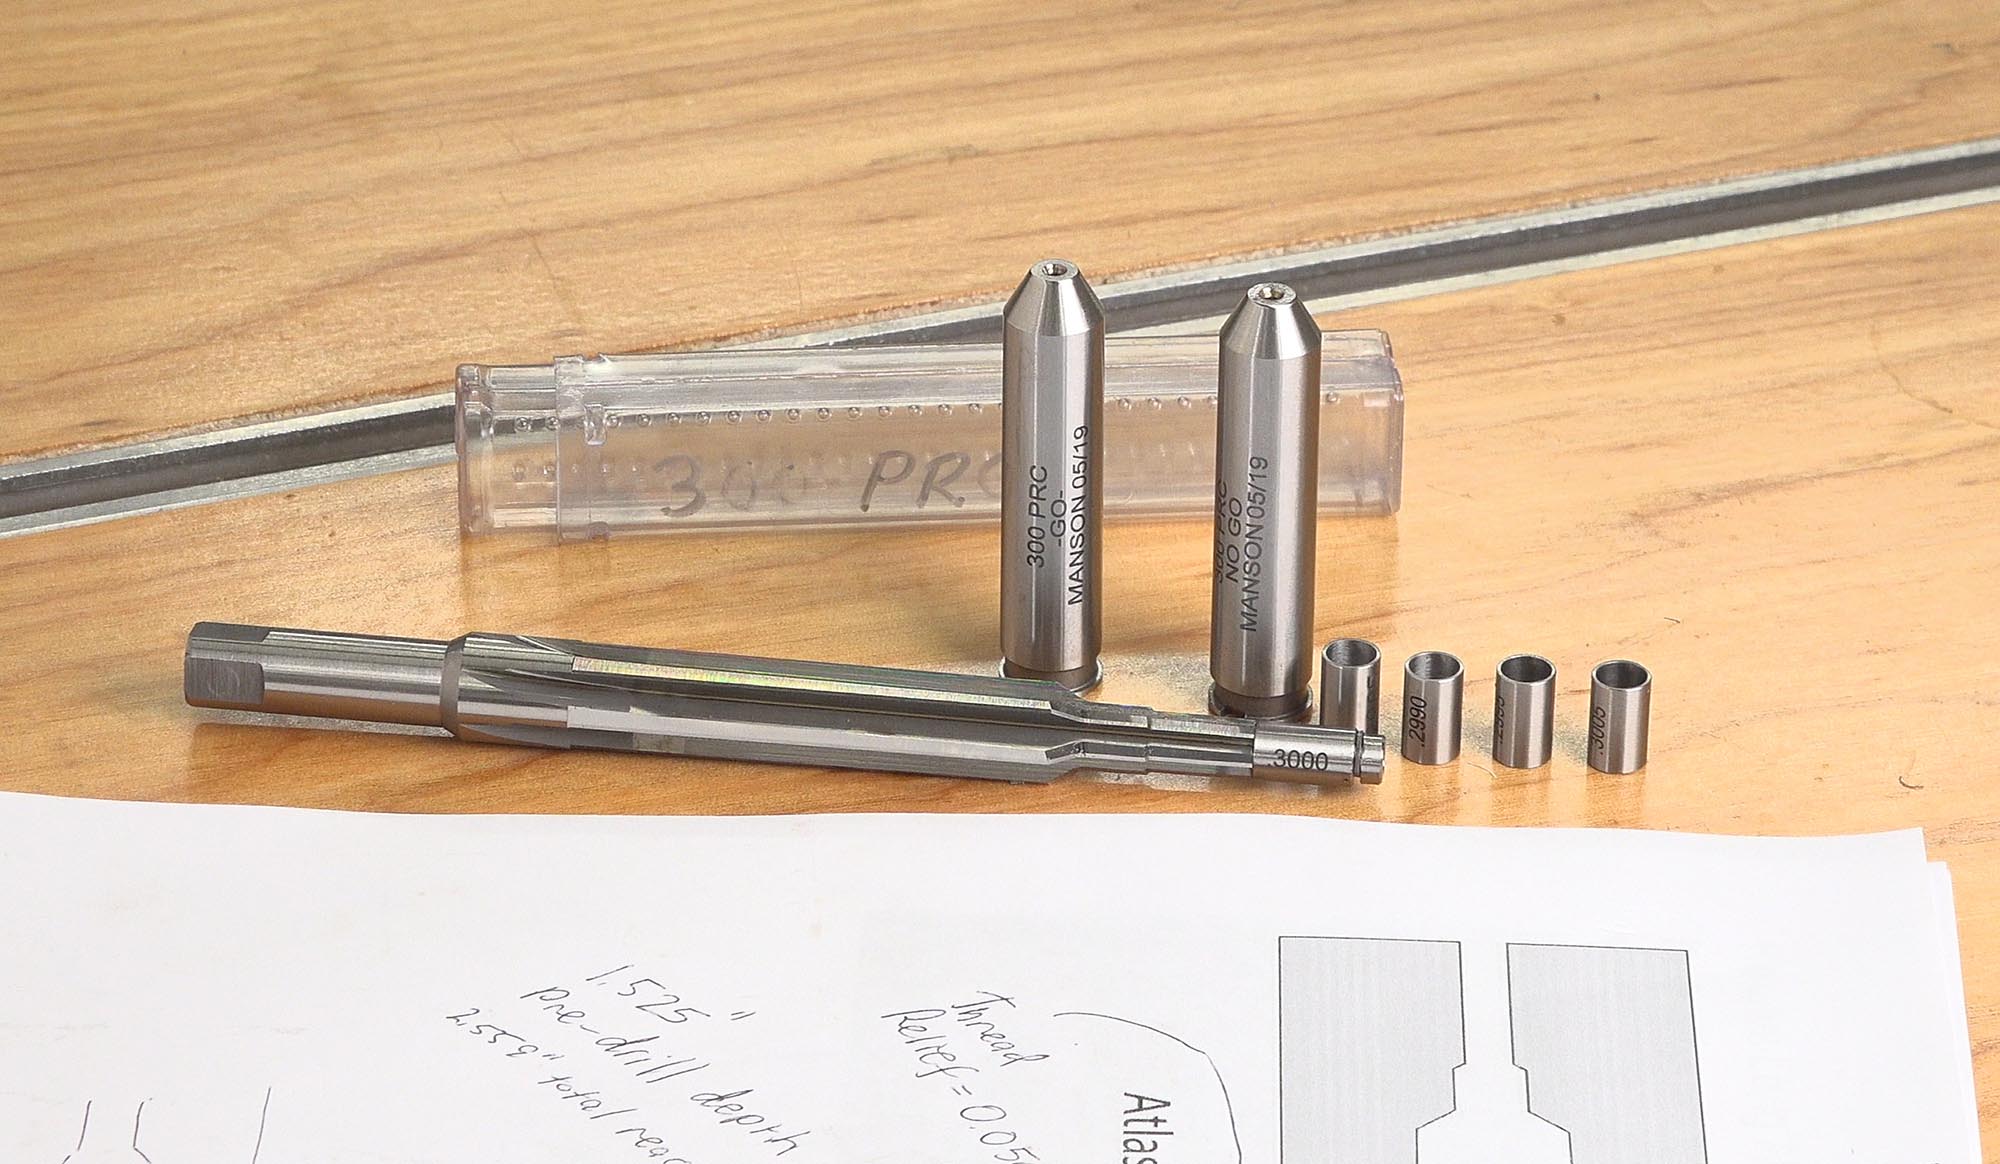
This build will use the following tooling from Dave Manson Precision Reamers:
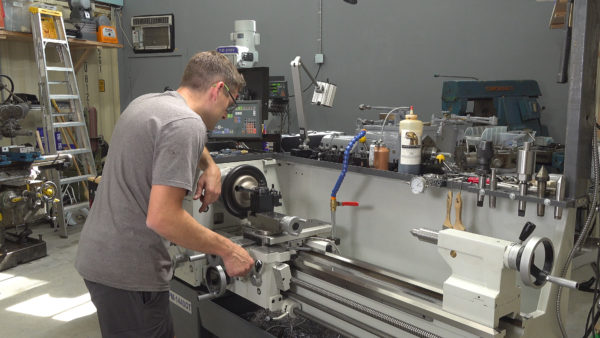
My Lathe
For this build, I’m using a Precision Matthews PM-1440GT. I believe this is the best gunsmithing lathe you can by new in the USA (Taiwanese made, not chinese, 2″ through-spindle capacity, Japanese high-precision spindle bearings, etc):
Also, I’ll be using the custom outboard spider that I built- you’ll want to check out that story!
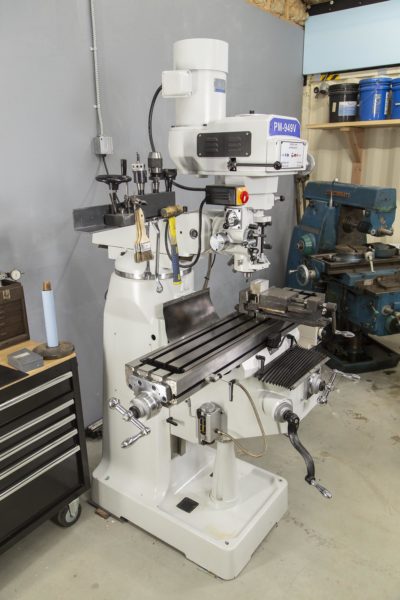
My Mill
For stock work in this build, I’m using my Precision Matthews PM-949-TV Bridgeport-Clone milling machine:
Barrel Work: Breech End
The barrel work on the for this build was very similar to what I did for the 300 PRC full-custom build (see that story HERE) with the following exceptions on the breech end:
- A Badger Ordnance 0.312″ thick recoil lug was used, non-pinned. This affects the tenon length.
- Receiver threads are standard 1 1/16″ x 16 TPI, but slightly oversize due to receiver thread truing. (for the 300 PRC full custom, the Atlas Tactical uses 1 1/16″ X 18 TPI threads like a lot of custom actions)
- A counterbore is used for a standard Remington 700 factory action (this build) where the Atlas Tactical I used did not need a counterbore.
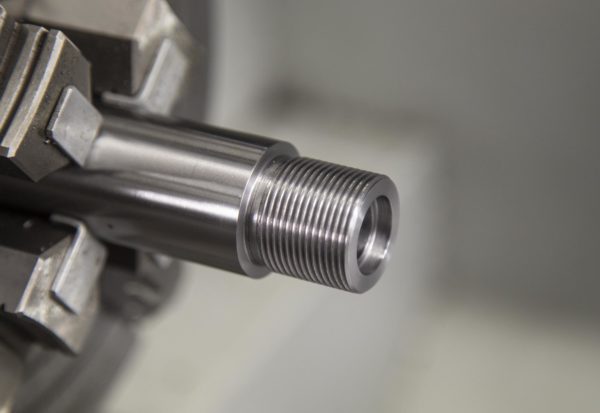
Barrel Work: Threading the Muzzle
From my Remington 700 224 Valkyrie Build (same exact process, except tool used to cut crown)
The muzzle threading operation was also nearly identical to the process of cutting and threading the breech-end tenon.
The steps were:
- Measure the Ruger Precision Rifle threaded muzzle key dimensions (this is a copy of what Ruger does for the RPR)
- Turn the tenon down, 0.020″ longer than needed
- Cut the thread relief
- Clean up the shoulder
- Cut the “step” on the muzzle end
- Thread the muzzle
- Face the muzzle end to length
- Cut the recessed crown
- Polish the end of the muzzle and crown with fine sandpaper
Here’s the muzzle end after profiling, but before cutting the step, and threading:

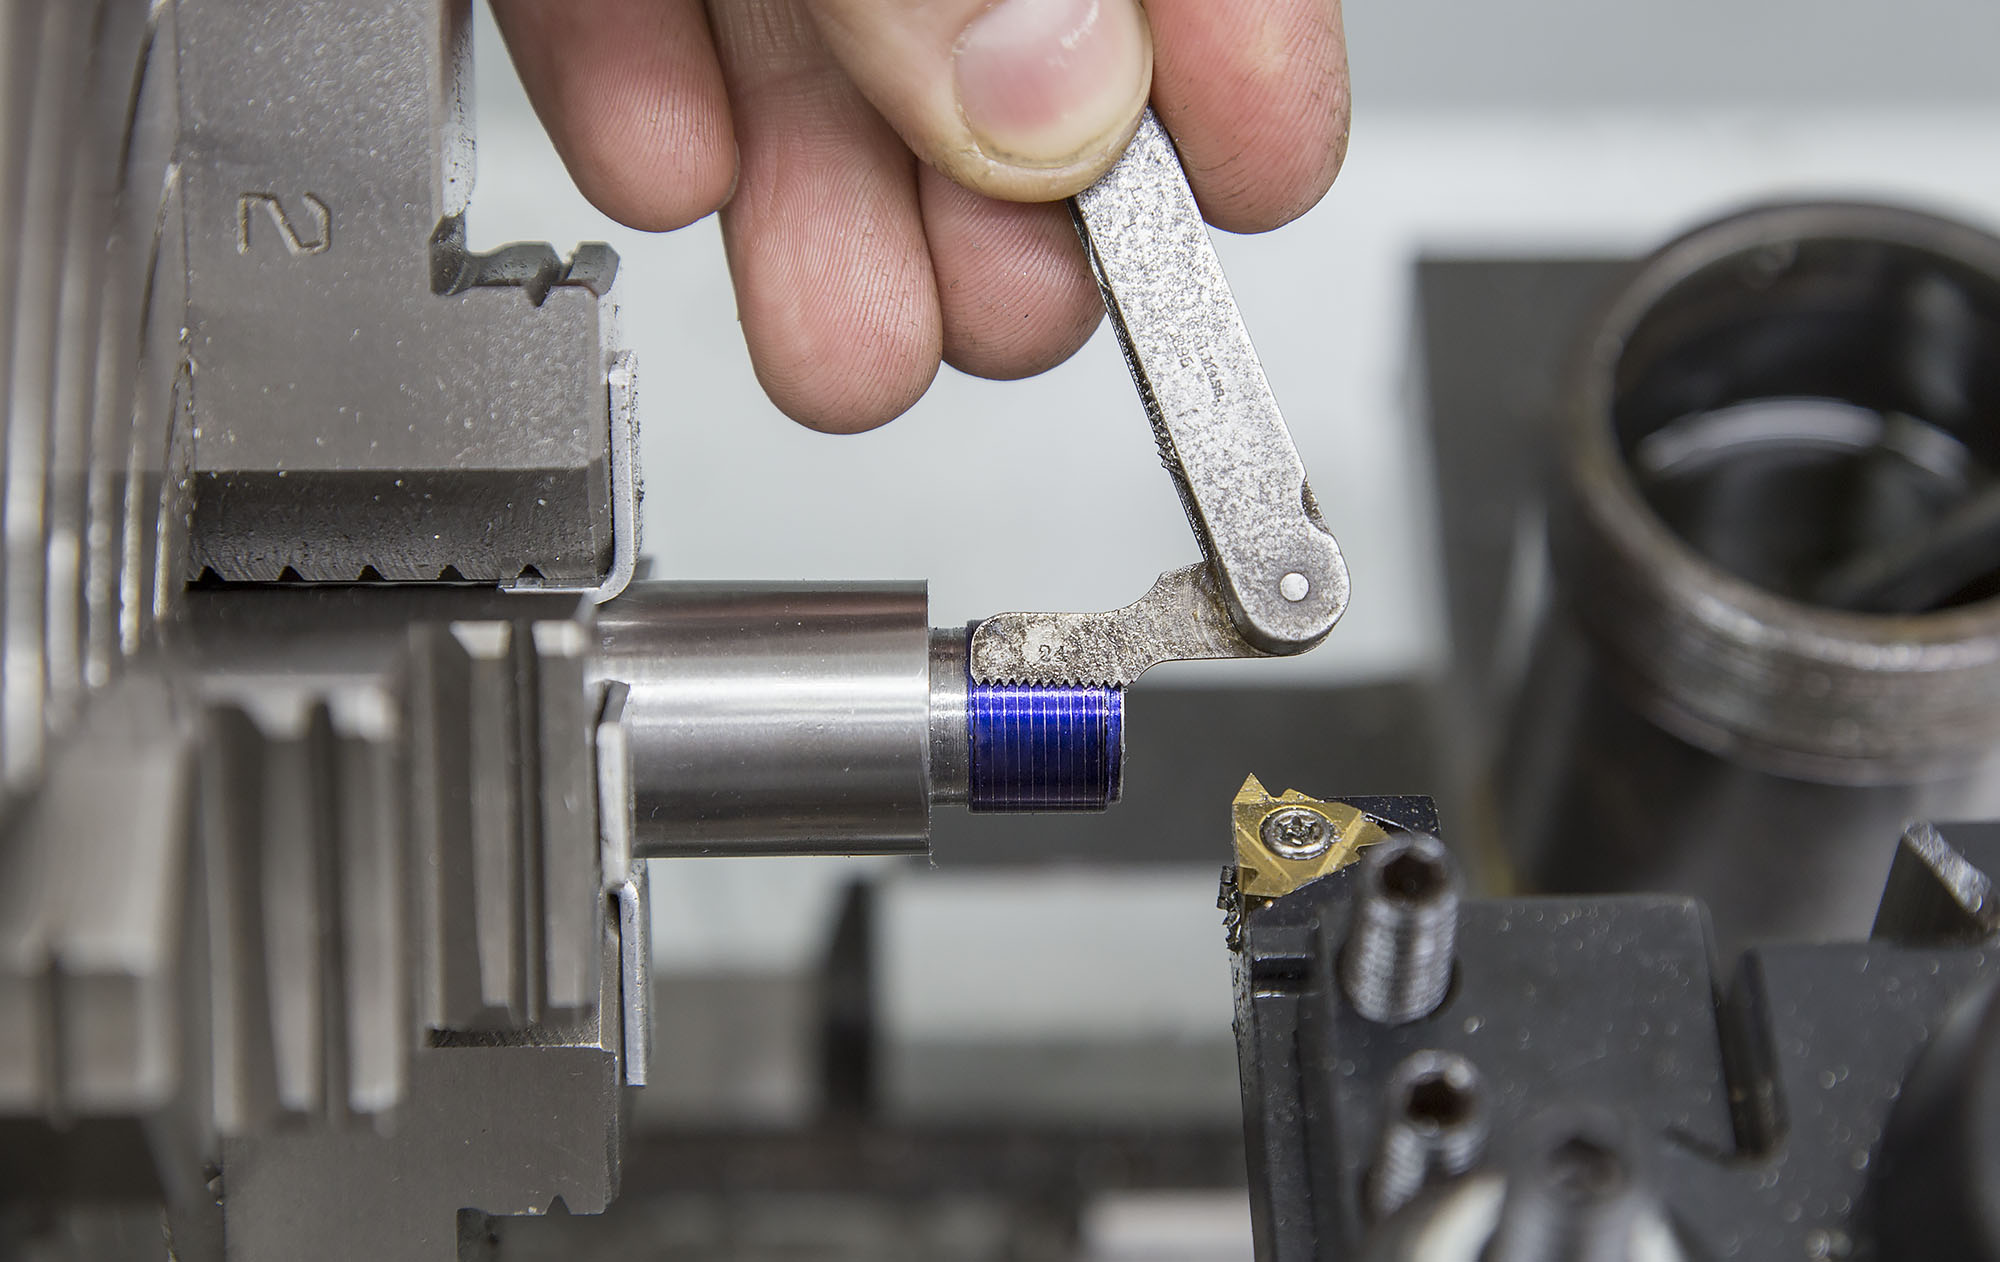
And checking the thread pitch (24 TPI) before threading:
Here’s the finished 300 PRC threaded muzzle:

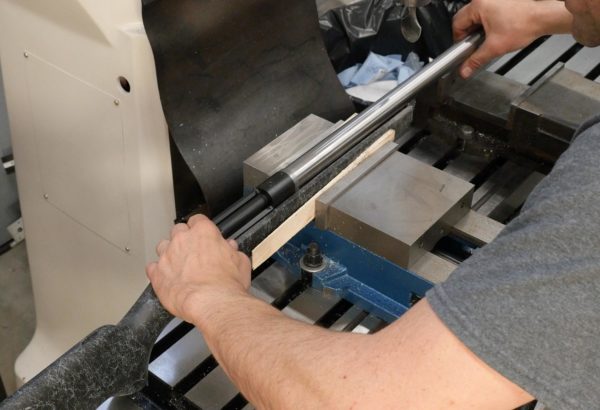
After all this, the barrel was installed in the action. Now we turn our attention towards the stock!
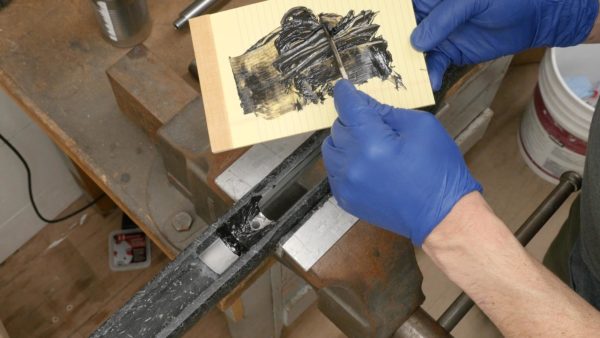
Preparing the Stock for Bedding
I had to do a few things in order to get the “dry fit” completed prior to bedding the barreled action to the stock. I started with some clearancing in the barrel channel to accommodate the heavier barrel profile:
![]()
When I checked, things looked absolutely perfect, with a generous clearance, just how I like it:
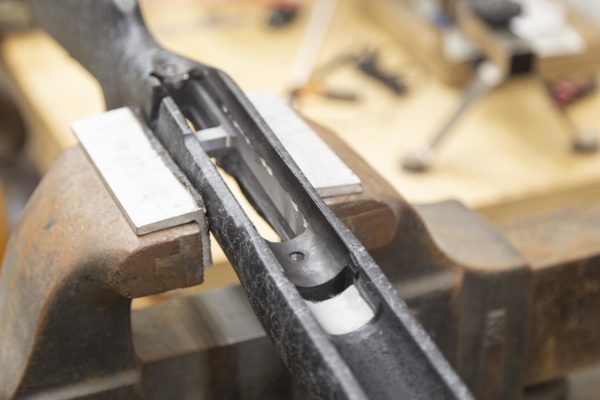
With the Elftmann Tactical trigger installed, I noticed some interference with the Accurate Mag bottom metal, so I increased clearance in the front of the trigger guard opening, and also along the sides using the Precision Matthews PM-949TV mill:
![]()
The problem? The bottom metal wouldn’t quite fit into the bottom of the stock. So I clearanced the opening a bit until I had a nice slide fit between the bottom metal and the stock. This kid of fitting and clearancing is necessary on most of my rifle builds. I’ve gotten used to having to do it!
![]()
At this point, the dry-fit was done, and it was time to bed the action to the stock. This took a couple passes because I “cheaped out” on my first epoxy mix. I thought it might be enough, which should have been my clue to just mix more up!
After a second pass to clean up some minor voids, the bedding job was looking good. Not 100% from a cosmetic standpoint, but 100% from a functional standpoint!
When the rifle was assembled, I noticed no movement between the barrel and forend while torquing the front action screw- a good sign!
The Completed Rifle
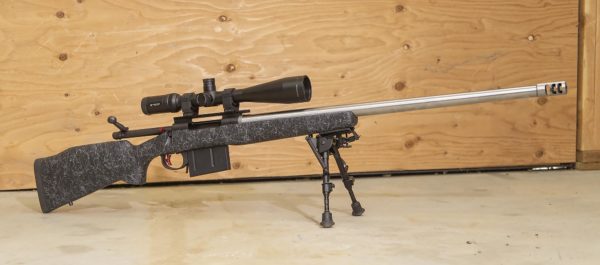
The completed rifle looks GREAT. Everything came together really nicely in the end, and I was thrilled to measure once-fired brass for both 300 PRC rifles (budget and custom) and see them measure the same for base-to-datum (headspace). That means that I can reload ammunition for these rifles the SAME way, and fire-formed brass will be identical between the two rifles. That’s AWESOME.
During barrel break-in, I’m seeing some good signs as well:
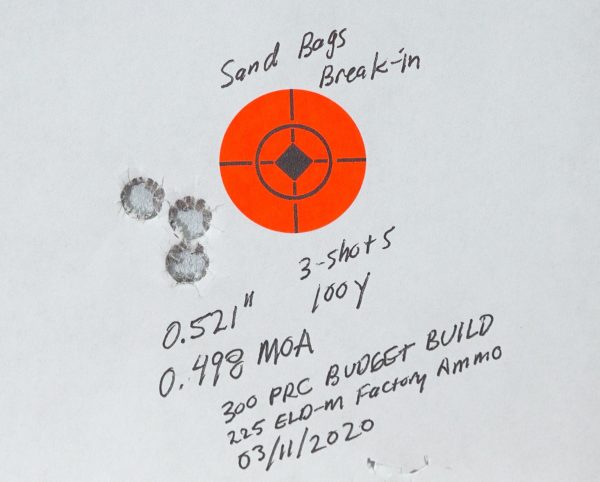
Here’s the thing: I know that with some load development, and by improving my “magnum rifle” shooting setup and skills, the results will be even better. (I think the shooter is the biggest factor here!).
I say: Mission Accomplished! And there will be lots more 300 PRC stories comparing the two rifles I built, and also shooting at long ranges. It’s going to be FUN!
Don’t miss out on Ultimate Reloader updates, make sure you’re subscribed!
Thanks,
Gavin


It is fun watching transform these bits into rifle. I just finished a built of a Valkyrie 224. But I used PT M700 Blueprinted with a Remage Barrell from NSS. Now I am waiting on the weather to warm up a bit to break in barrell along with some load development at the same time.
Below is the part list and prices, these builds are never cheap. $2776 just for rifle and glass. There is another $500 in tools, dies, cases, bullets,..
Remington 700 RH Short Action Stainless Blueprinted 6.8 spc bolt Pacific Tool $684
Barrel parts are from Northlands Shooter Supply
Criterion Remage Barrels SS Match, 24″, Light Varmint, 1-6.5 Twist, 11 degree Target Crown, 224 Valkyrie $331
NSS Precision Ground Recoil Lug $27
NSS Squared and Trued Barrel Nut $28
Buckeye Optics Stainless Steel 20 MOA Picatinny Rail Remington 700 Short Action $126
Timney Trigger $118
MTD ORYX Bolt-Action Rifle Chassis $438
Primal Rights 6BR AICS Conversion Kit 2 @ $45
Accurate-Mag Short Action Standard DSSF / AICS Compatible Detachable Box Magazines $146
UTG PRO US Made POI Picatinny Rings Low $40
Athlon Optics Midas TAC 6-24×50 APLR4 FFP MOA 30mm 85MOA 40MOA Rec. str pri $750
I wanted to see what my factory Rem 700 LSS would too. So I went to the range and shot a few boxes of ammo.LOL.
Sarcasm aside, It will easily do what I want it to at 1000 yards. Probably further. Pretty good for a factory 30-06. When I want better I’ll simply buy a custom rifle.
You have skills, knowledge and resources completely beyond me and yes I’m envious. My pride and joy, a Surgeon Scalpel chambered in 6.5 Creedmoor I ordered back when my fellow SRO thought I was taking a chance on an upstart cartridge. Basically my decision was based on how much performance I could afford in terms of barrel life. Overbore is a dirty word for someone on disability. This is getting to be like watching TOH building houses I’ll never afford with a quality of materials I’ll never afford which are built by builders who’s quality I’ll never afford. Anyway you could tackle projects that balance performance with the life of the barrel factored in. Possibly reviewing multiple sources for ordering complete rifles as well as videos on adding upgrades that are in reach of many enthusiasts. The shooting sports are under assault so we need to be as inclusive as possible. There should be room both objectives.