Your reloading bench has the best equipment and components. You produce top-quality ammunition. Your rifle is top shelf. The question remains, are you able to shoot as good as your gear? The Rifle Kraft test has some answers.
Disclaimer
Ultimate Reloader LLC / Making with Metal Disclaimer: (by reading this article and/or watching video content you accept these terms). The content on this website (including videos, articles, ammunition reloading data, technical articles, gunsmithing and other information) is for demonstration purposes only. Do not attempt any of the processes or procedures shown or described on this website. All gunsmithing procedures should be carried out by a qualified and licensed gunsmith at their own risk. Do not attempt to repair or modify any firearms based on information on this website. Ultimate Reloader, LLC and Making With Metal can not be held liable for property or personal damage due to viewers/readers of this website performing activities, procedures, techniques, or practices described in whole or part on this website. By accepting these terms, you agree that you alone are solely responsible for your own safety and property as it pertains to activities, procedures, techniques, or practices described in whole or part on this website.
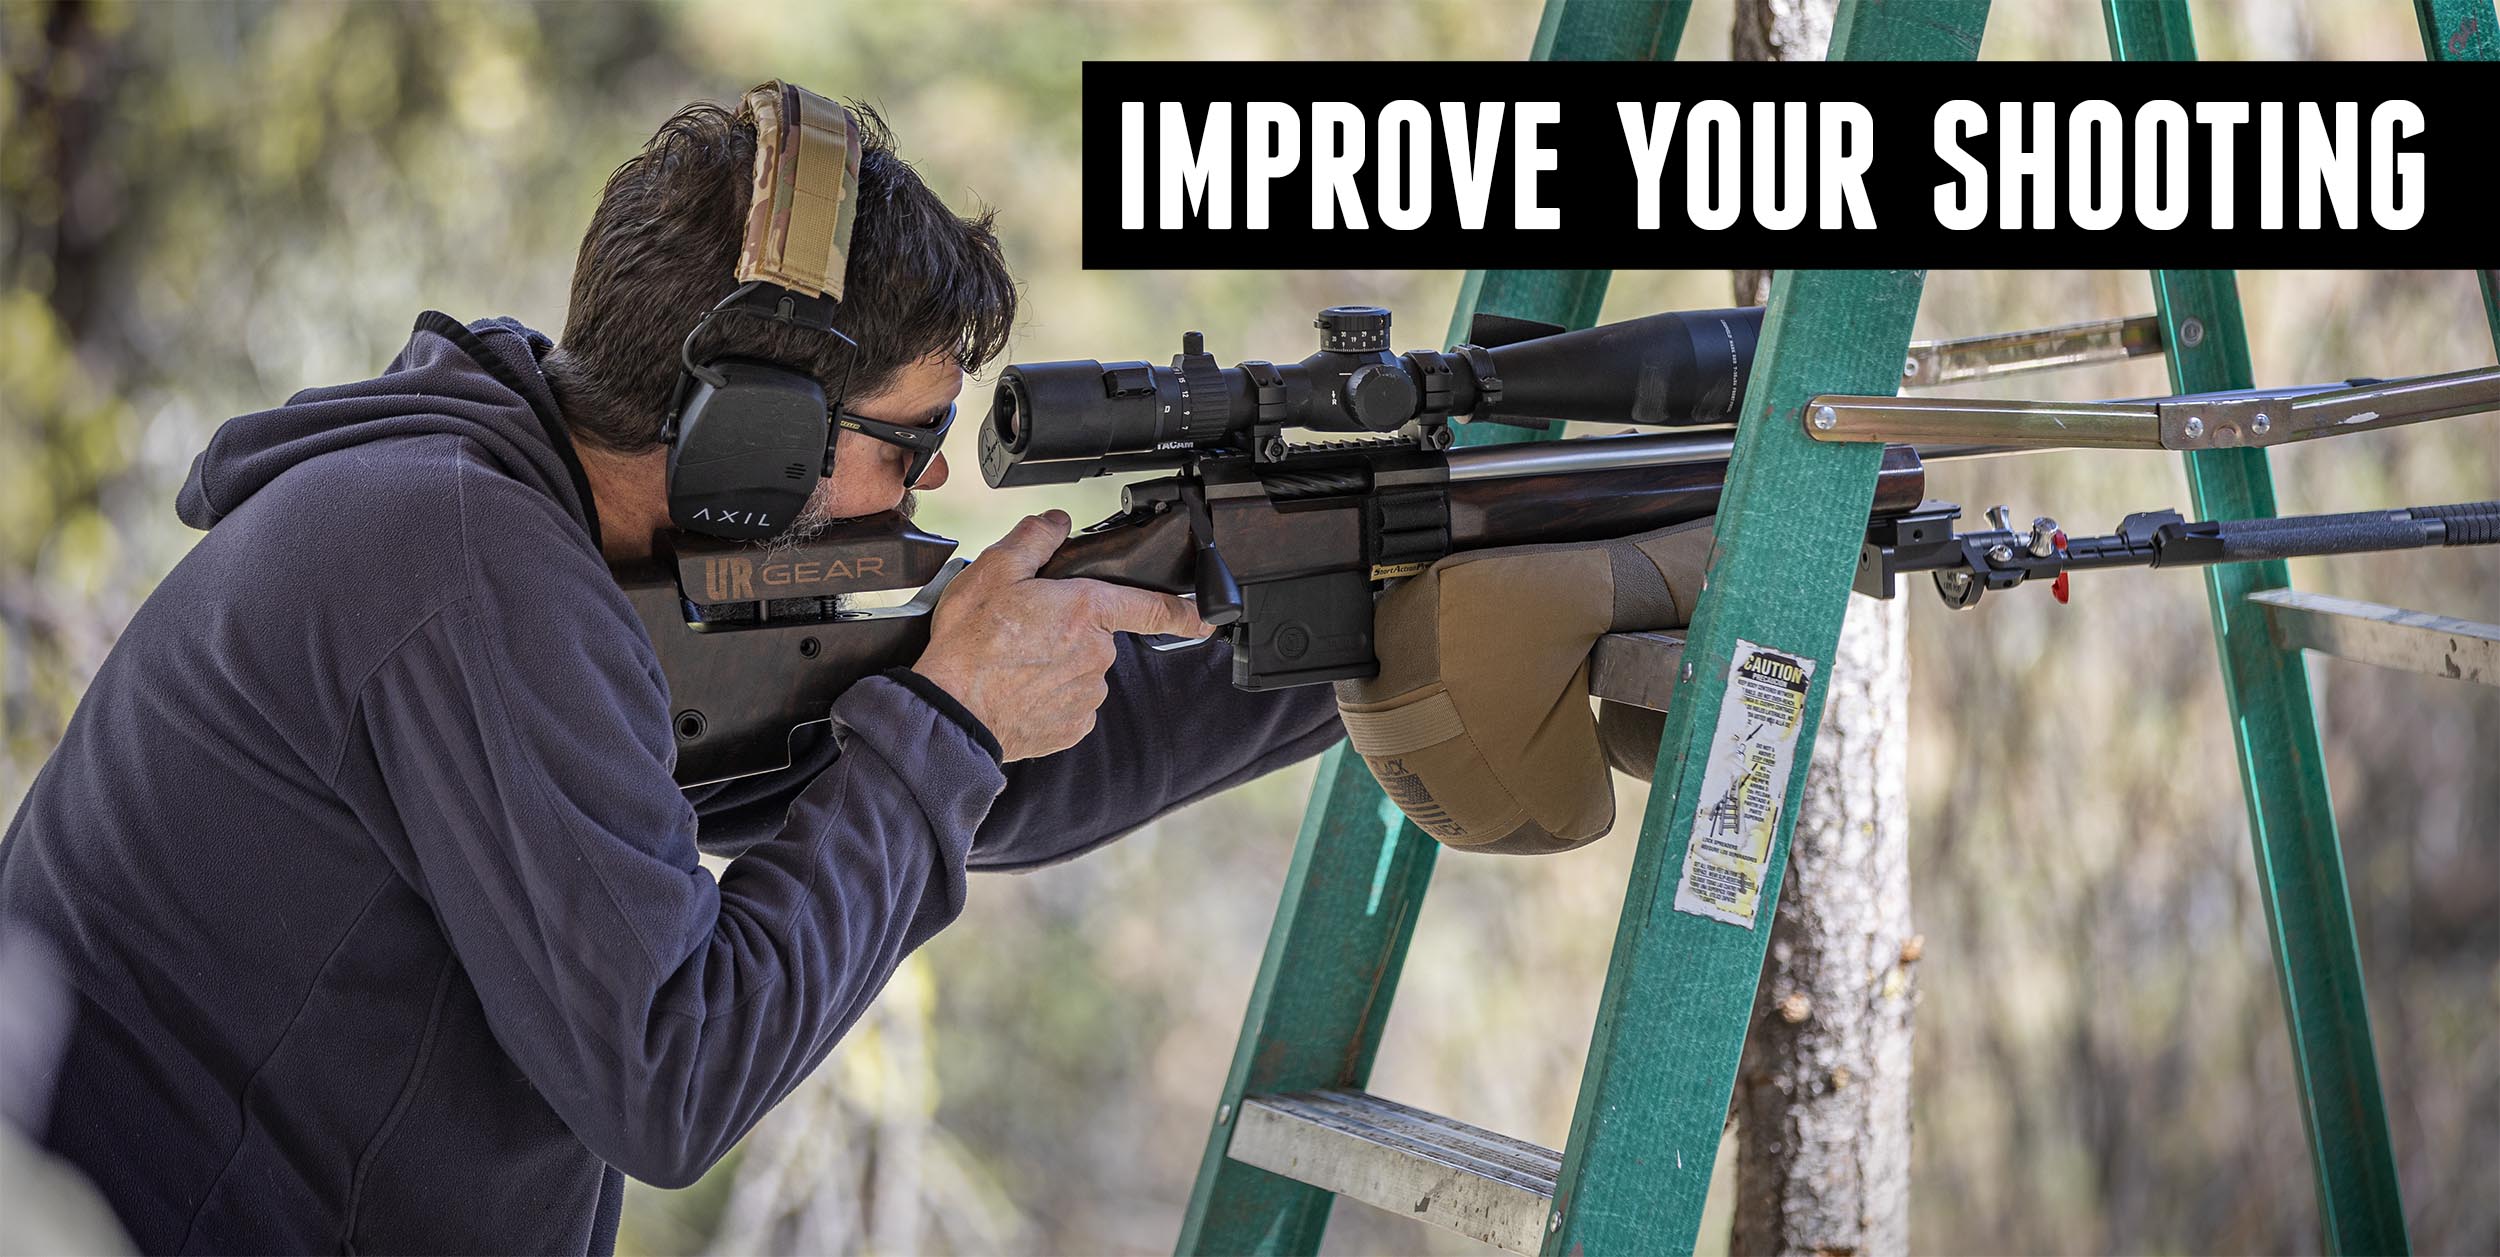
Both hunters and competitive shooters can benefit from the Kraft test, which tests your skills at building a position and hitting your target.
![]()
Rifle Kraft Test
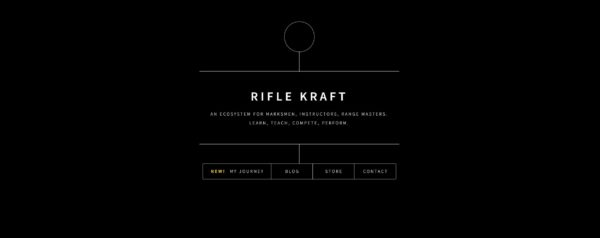
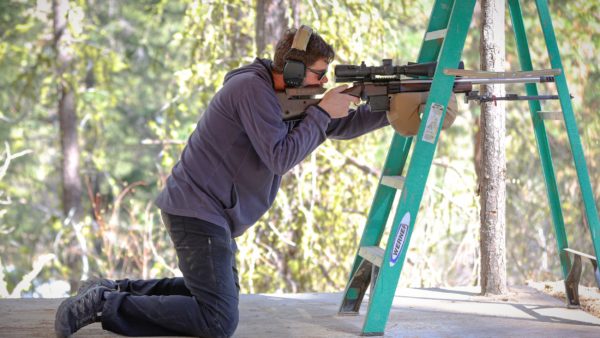
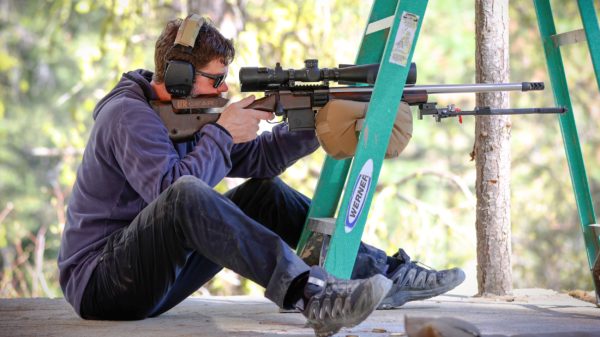
Designed by Chris Way, a competitive shooter out of Colorado, this web-based program tests a shooter’s ability to successfully hit a target while building and shooting from four different positions: standing, kneeling, sitting, and prone.
The first step is to print out the data target from the Rifle Kraft website. (You’ll need to make a free, basic-level account to do so.)
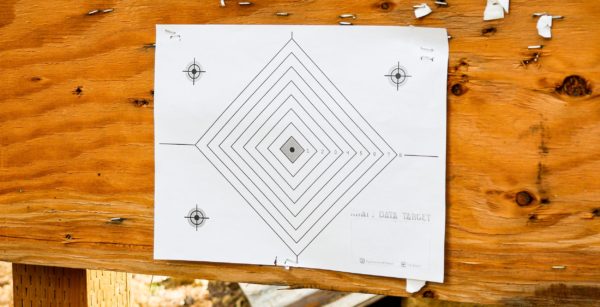
Place the target at 100 yards. This free target is designed to be shot with centerfire rifles. You can use a rimfire, but keeping the 100 yard distance is imperative for proper results. You will shoot one shot each from four supported positions: standing, kneeling, sitting, and prone. Repeat this sequence three times for a total of 12 shots, three in each position. No cheating! Do not shoot a three-shot group from one position and move on to the next. The point is to get in and out of a different position each shot. Ensure you have a camera or some other device set up to identify each shot. You can also have a spotter mark the shot locations and positions fired from on a blank target.
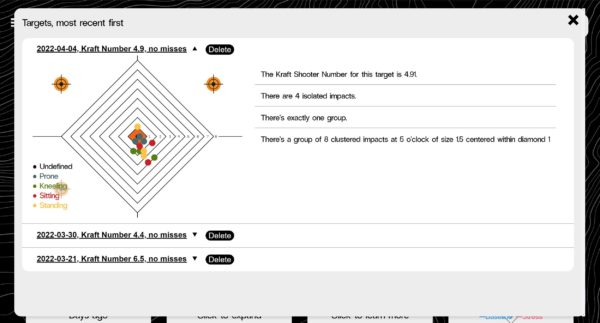
The next step is to enter this information into the website. Each shot is marked in a specific color to represent the position fired from. You will be able to see if the shots from each position were consistent with one another and with those from the other positions.
The main login screen shows your Kraft number, how many targets you have shot, links to articles, shooter brackets and areas to improve. There is also a link to the store for some really cool shirts.
Exam time
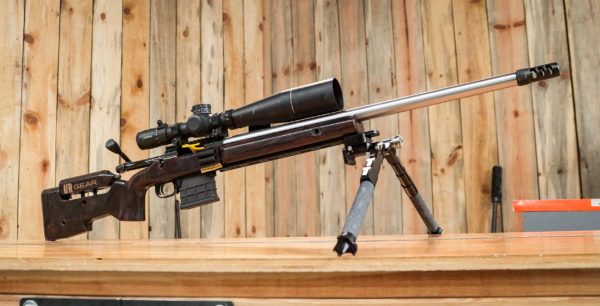
I have been using Gavin’s 223 Trainer with a Foundation stock for these tests. It is equipped with a Leupold Mark 5 scope and shoots well with the Berger 77Gr OTM load we recreated here.
This rifle is a joy to shoot. The Foundation stock on this Benchmark barreled BAT action with a two-stage Trigger Tech trigger is a quality combination. Adding this super accurate and consistent load from Berger provides the consistency needed to do a test like this.
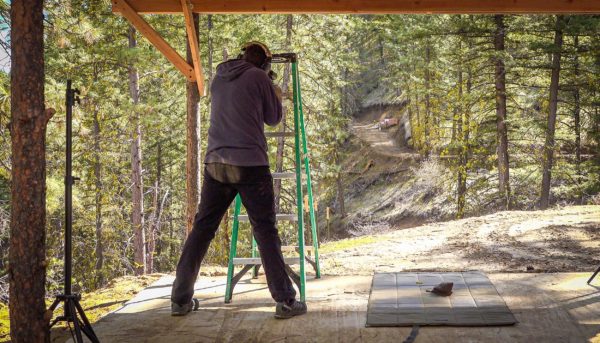
In order to do this test you will need a way to make supported positions. I chose a ladder.
Using a single ladder, I can shoot standing, kneeling and sitting all in one location. I didn’t have to manipulate my tripod each time or find multiple objects to build positions from — it was very simple.
I used a bag in conjunction with the ladder steps to shoot off of. It’s important to make sure, whenever you are using a bag, that the bag is settled. Smack it down and get your rifle set on the bag as soon as possible to get the fill to settle faster.
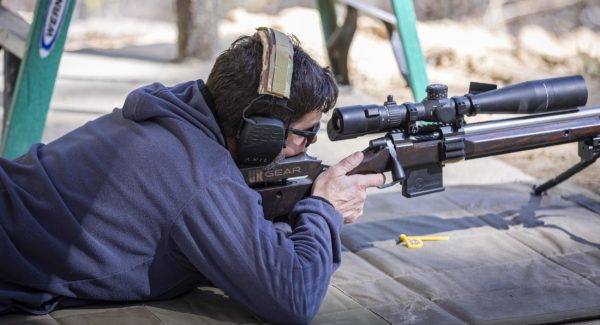
I set a mat next to the ladder for prone shots and opened up the MDT CKYE Pod Triple Pull bipod for a super-steady position.
Remember, you must record the location of each shot and the position fired from. I use a camera to record the target impacts. While reviewing the video, I record each shot and the position fired from on the Rifle Kraft website. As you can see on the website screenshots of my targets, each position is color coded. This allows you to see any patterns in shots fired from the same position.
Test results
Did I pass? I didn’t fail and neither will you. In fact, this test is really more of a drill designed to give you an idea of how tight your groups are when changing between positions. Any shots outside the center indicate you are changing something when you rebuild your position. The Kraft test doesn’t tell you what that something is, just that you need to investigate further.
Most of my shots were a bit low. I suspect my scope was off a little bit. The prone shots were all clustered together – as they should be with all of the prone shooting I do. I took the test a second time and it is significantly better than the first. The shots were still a bit low, but much closer together. Like taking any test for the second time, I had a better idea of what to expect and where my struggle points were.
Comparing the results, the most startling difference was in my standing. In the first test, my shots were far apart on the left side of the target. On the second test, they were still spread out, but on the right. This indicates something is inconsistent in my position, likely my NPA. Luckily, I had enough background to know that NPA is the most likely culprit.
My third test revealed some vertical stringing. I suspect this may be due to breathing and breaking the shots at different points during my breathing cycle.
I have done the test 3 times now. I will do test 4 in order to “unlock” the stress stage, another part of the free plan. However I wanted to share this as I already see benefits to doing this.
Conclusion
![]()
Chris Way has come up with a very good drill to test ourselves with. His Rifle Kraft test reminds you to question why your groups aren’t tighter or centered. The Kraft test, or drill, will help you to see patterns in shots from different positions. Ideally, it would be nice to know what shots to the left or right mean, but working with mentors and other shooters can help you diagnose your problems.
I’ve discovered some of my own areas for improvement:
- My dry fire training is helping but more is needed.
- My follow through needs work. I need to ensure I pull the trigger straight back.
- Everything needs to be consistent. This means taking more time to build or learn how to build a stable position.
- Deciding not to take a shot takes considerable discipline. If the wobble is too severe, stop, rest your muscles, and find the source of the issue.
This is not a timed test. Take time to build the most stable position possible. If you are not stable, start again and find a better position. Along with my dry fire practice, I plan on doing this test once a week if not every other.
I hope you take the time to try this Rifle Kraft test and see what you can learn from it!
Don’t miss out on Ultimate Reloader updates, make sure you’re subscribed!
Thanks,
Travis Fox


