
6.5 PRC is a great cartridge for long-range hunting, and I’m trilled to have my first 6.5 PRC build taking shape! A long time in planning, it has felt really good to get the core build completed on this awesome light-weight long-range hunting rifle. In this article, I’ll cover the process of chambering the barrel and machining the muzzle, and also touch on stock fitting in preparation for bedding. Let’s get to it!
Disclaimer
Ultimate Reloader LLC / Making with Metal Disclaimer: (by reading this article and/or watching video content you accept these terms)
- The content on this website (including videos, articles, ammunition reloading data, technical articles, gunsmithing and other information) is for demonstration purposes only.
- Do not attempt any of the processes or procedures shown or described on this website.
- All gunsmithing procedures should be carried out by a qualified and licensed gunsmith at their own risk.
- Do not attempt to repair or modify any firearms based on information on this website
- Ultimate Reloader, LLC and Making With Metal can not be held liable for property or personal damage due to viewers/readers of this website performing activities, procedures, techniques, or practices described in whole or part on this website.
- By accepting these terms, you agree that you alone are solely responsible for your own safety and property as it pertains to activities, procedures, techniques, or practices described in whole or part on this website.
Build Components and Parts
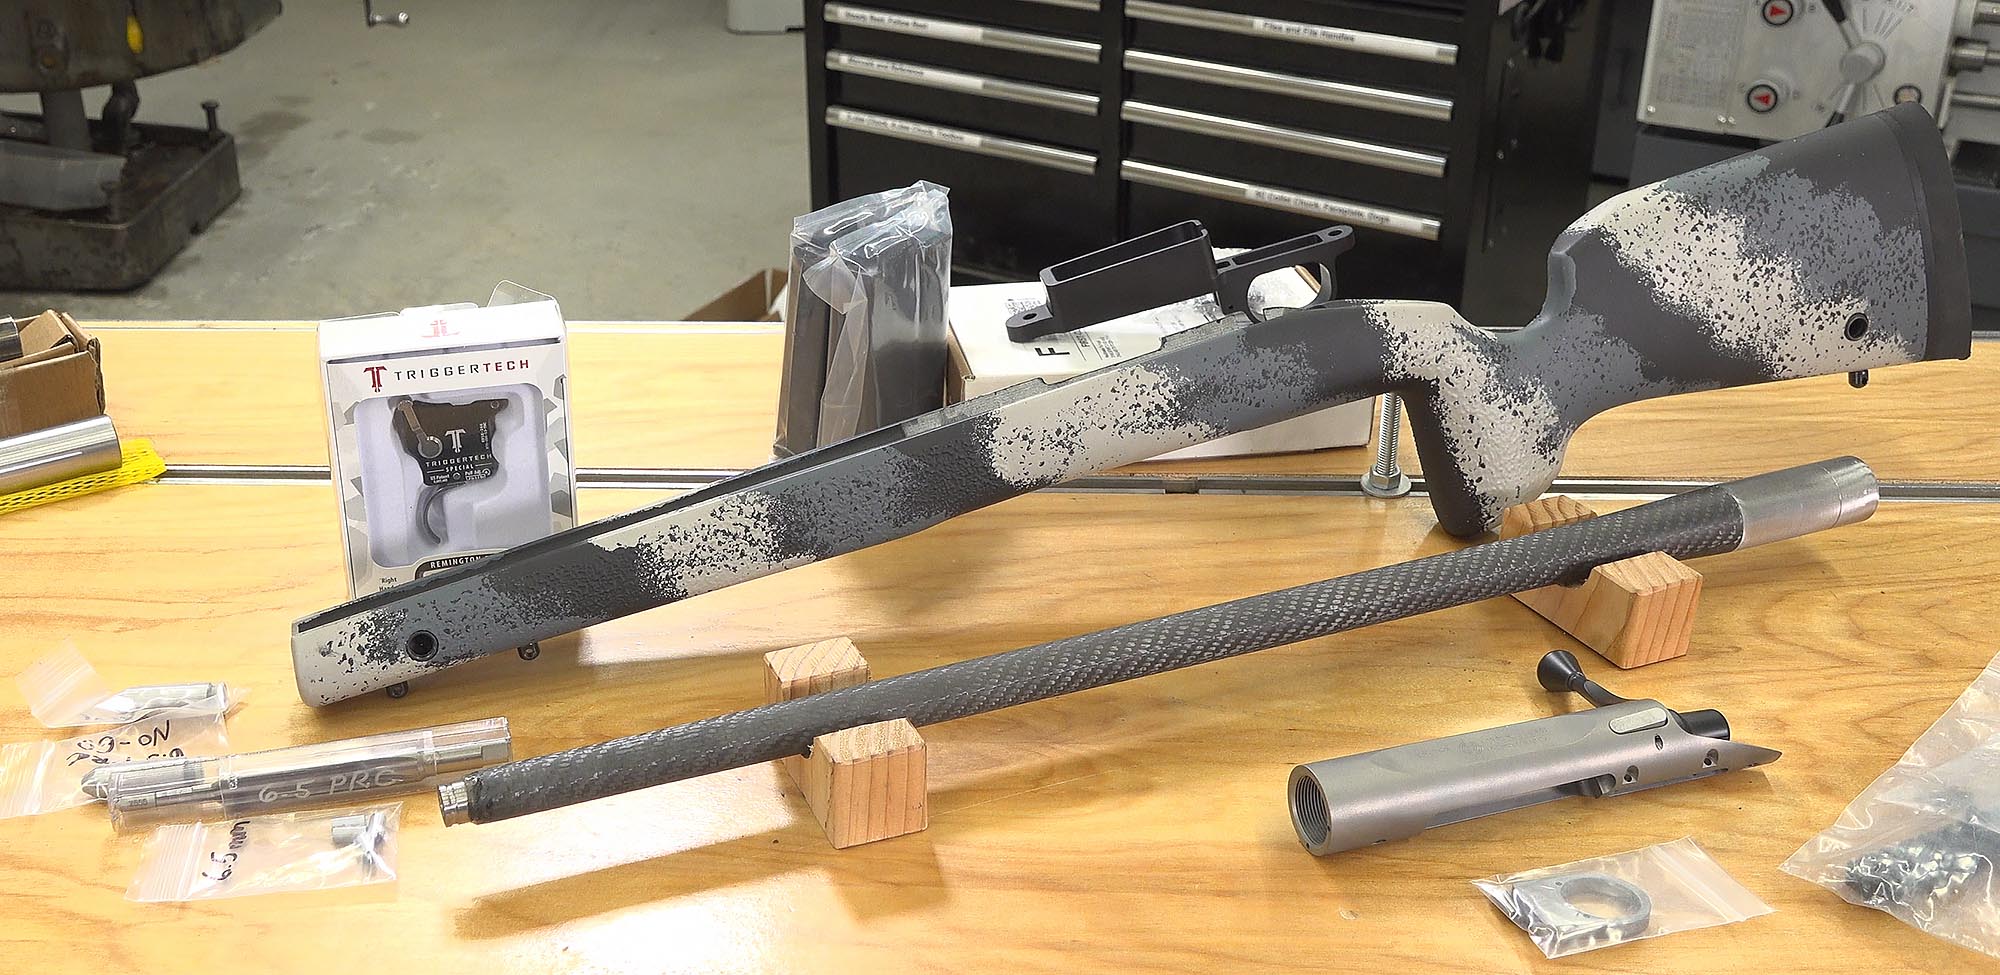
This build utilizes top-shelf components that will optimize both weight (this rifle is for packing in steep terrain) and also longevity and strength. Here’s a list of all of the components for the core build:
- Action: Pierce Engineering Titanium Remington 700 Footprint
- Barrel: Benchmark/Hell’s Canyon light weight carbon wrapped barrel, 1:8 twist
- Stock: Benchmark Carbon Fiber
- Trigger: TriggerTech Special
- Bottom Metal: Redsnake Tactical
- Magazines: Accurate Mag
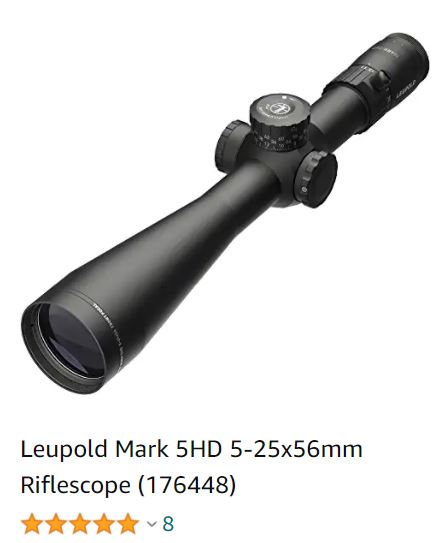
- Scope: Leupold Mark 5 HD
*Note: The products listed above were provided as samples for this build by the companies that manufacture these components. Ultimate Reloader is working with these companies (and others) to provide guidance and data for those who want to build 6.5 PRC rifles.
Measure Ten Times, Cut Once
If a carpenter “measures twice, then cuts once”, a machinist needs to take things even further! Any time you machine and fit a barrel to an action, much care and attention is needed to ensure that all of the dimensions will “land correctly”. This includes accounting for “crush” when tightening the action down to the barrel. In order to prepare for this build, I studied the prints that are available from Pierce Engineering, and also my own build sheet modified from Gordy Gritters’ Extreme Accuracy Institute.
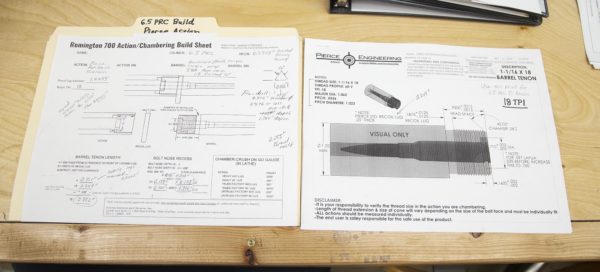
Above: My build sheet (left) next to Pierce Engineering’s print for the titanium action used for this build. NOTE: DO NOT USE MY DIMENSIONS/NUMBERS FOR YOUR BUILD.
I spent quite a while taking measurements, double checking my tolerances, and confirming all the factors involved in the build. With that, I was satisfied to move forward!
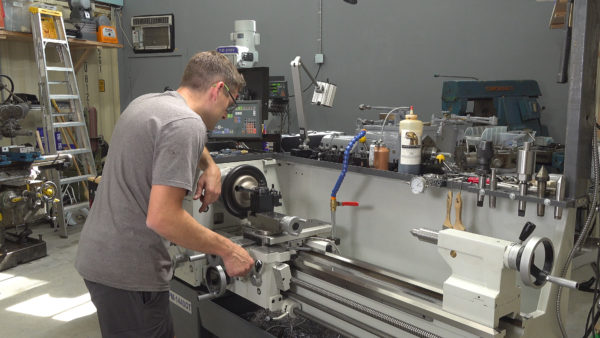
My Lathe
For this build, I’m using a Precision Matthews PM-1440GT. I believe this is the best gunsmithing lathe you can by new in the USA (Taiwanese made, not chinese, 2″ through-spindle capacity, Japanese high-precision spindle bearings, etc):
Also, I’ll be using the custom outboard spider that I built- you’ll want to check out that story!
Barrel Work: Breech End
The breech-end barrel work for this build was nearly identical to the recent 300 PRC that I built with one big exception: the Pierce Engineering action needs a traditional Remington 700 counterbore where the Kelbly’s Atlas Tactical does not! Another difference for this build was the reamer holder that I used. This time I tried the GreTan rifles fixed reamer holder. If you have a lathe that is in good alignment (headstock to tailstock), this is a great tool to hold your chambering reamer!
Above: the GreTan rifles fixed reamer holder with custom depth stop for indicator that I added. It works GREAT! Here’s a picture of the tooling used for the chambering process:
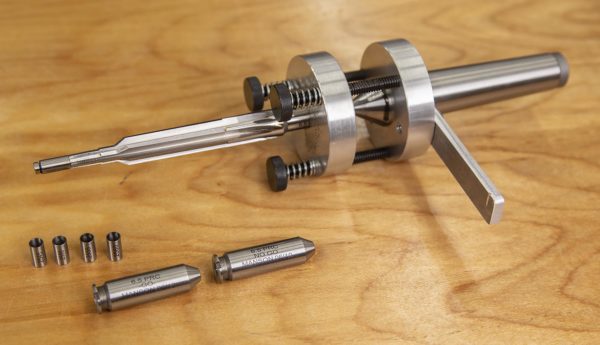
Above:
- Dave Manson 6-flute 6.5 PRC chambering reamer
- Dave Manson 6.5 PRC Go Gauge
- Dave Manson 6.5 PRC No-Go Gauge
- Dave Manson 6.5mm bushing set
- GreTan reamer holder (Morse Taper 3) with custom depth stop
*Note: The tooling shown above was provided by the companies that manufacture them. I appreciate the support in making these projects possible!
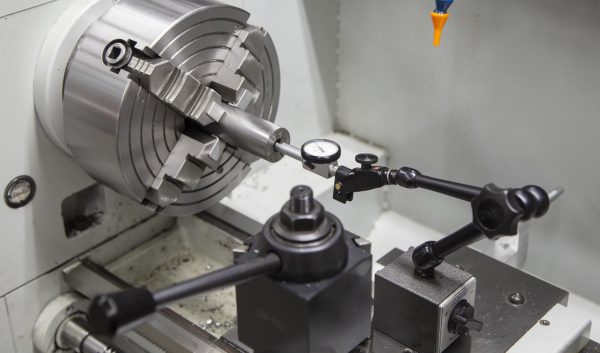
Because I had a 6-flute reamer and a groove barrel, I was vigilant about reamer chatter: this combination can setup a bad resonance while reaming! Sure enough, I had some chatter. After investigating all of the issues and trying a few things, I determined that I was using the wrong (undersize) reamer bushing. Fitting the correct reamer bushing took care of things (as well as applying guidance from Dave Manson and Gordy Gritters). I checked for chatter every 0.100″ or so of chamber cut, and ended up with a chamber running only about 0.0002″ TIR, a great result given circumstances. With chamber depth dead-on, I was very happy with this result:
Barrel Work: Muzzle End
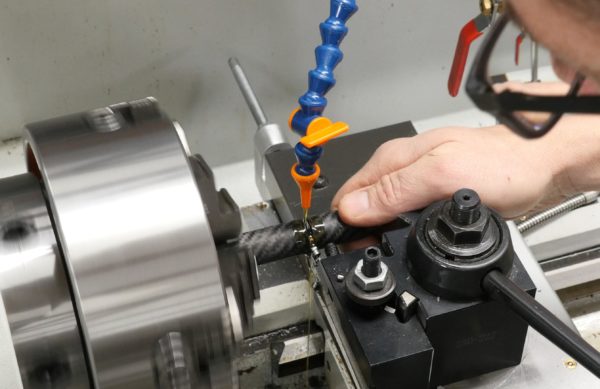
Above: Parting the excess portion of the barrel blank from the muzzle end
The muzzle end is where things got interesting for this build. I haven’t yet machined carbon fiber, and this was my first opportunity! This custom barrel (Benchmark core with Hell’s Canyon custom carbon wrap) was un-finished on the muzzle end- meaning I would need to fabricate and install a metal ring for the threaded muzzle. Not a problem, that’s why I have a lathe!
Here’s the process I followed:
- Part off excess from muzzle end (taking off about 2″)
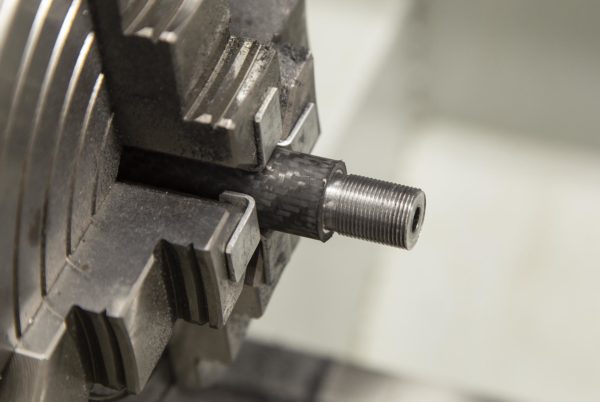
- Turn down muzzle end in preparation for threading 5/8 x 24
- Thread muzzle 5/8 x 24, with about 0.250″ extra length
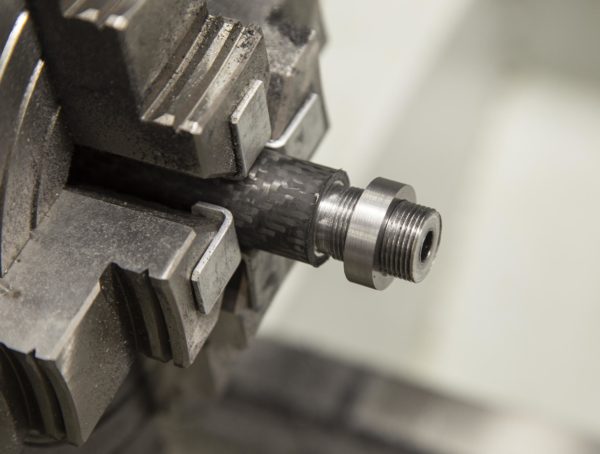
- Fabricate a stainless steel ring just larger than the carbon fiber “shoulder” threaded 5/8 x 24 on the inside
- Lock-Tite ring to muzzle end (tightened in place)
- Machine OD of ring to match diameter of carbon shoulder
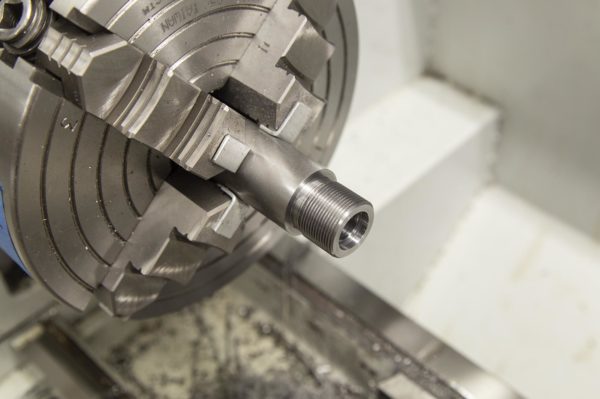
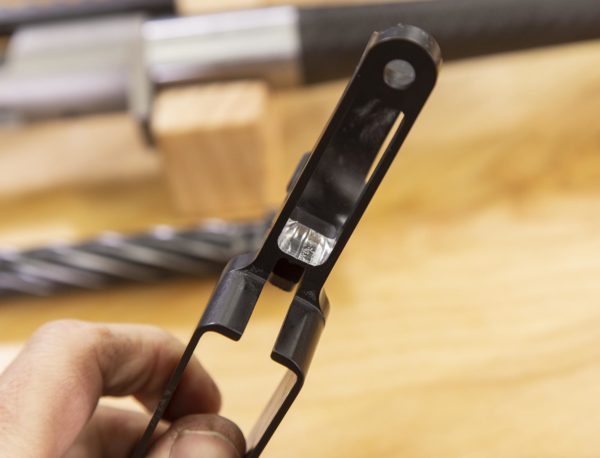
Here’s the threaded muzzle prior to the install of the ring:
And with the ring partially threaded on:
And the finished product, cut to length and with crown cut:
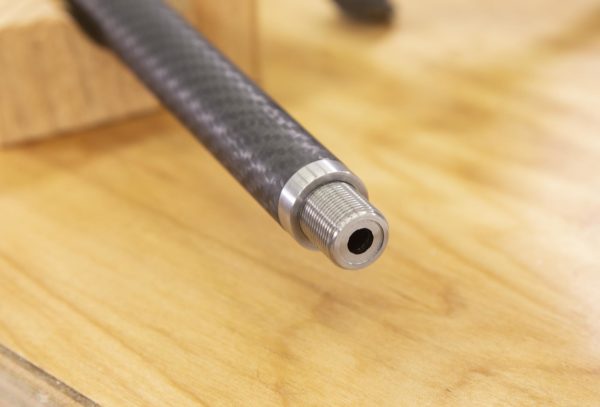
I’m very happy with that result!
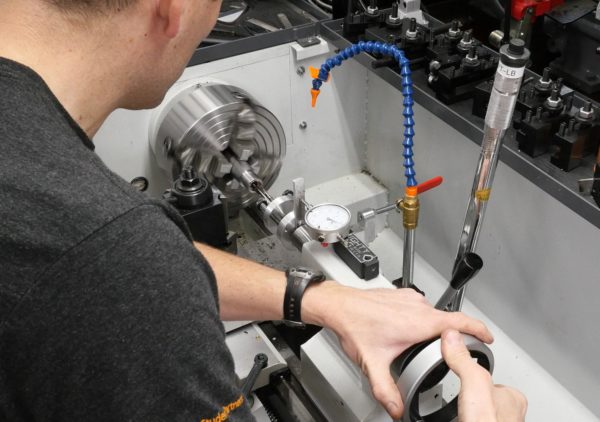
Fitting the Barreled Action to the Stock
Before performing a bedding job, I like to perform a series of checks and “dry-fit” each of the components together that will come in contact with the stock. For this build, I did the following:
- Clearanced bottom stock opening where the bottom metal slides in (some paint/finish was globbed into opening)
- Added more barrel channel inletting for proper barrel clearance
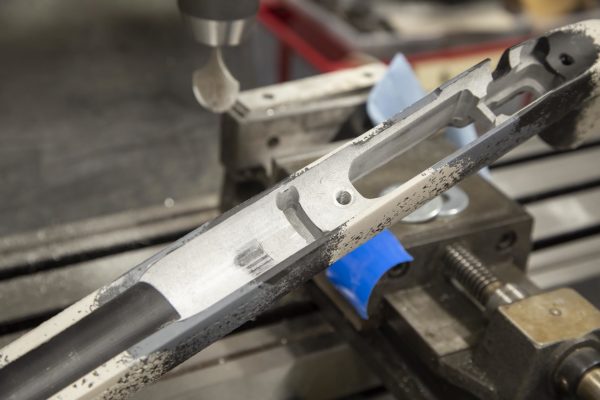
- Added trigger clearance (front of trigger) in bottom metal
I’ve had multiple custom rifles where trigger clearance is an issue, and in both cases I’ve milled out a recess to create the needed spacing. This time, I used my Precision Matthews PM-949TV and a ball-end mill (the only one I had that would reach!) to create the pocket in the bottom metal:
Once I had taken care of these fitting tasks, the fit between the barreled action, stock, and bottom metal was perfect.
What’s Next

Now that the core rifle build is complete, it’s time for epoxy bedding of the barreled action to the stock, and that’s what I’ll cover in my next story! Then, I’ll install a Leupold Mark 5 scope, then off to the range! If you have any feedback on this build so far, please leave a comment!
Optic for This Rifle
You can find the Leupold Mark 5 HD for sale here:
Don’t miss out on Ultimate Reloader updates, make sure you’re subscribed!
Thanks,
Gavin


What stock?
Thanks for taking the time to document and share your experiences. Thinking about starting a 6.5 PRC project sometime this year. Really enjoy your content.
Great, glad you enjoyed it Shane!
How much freebore did you end up with?