When you get serious about precision rifle ammunition, every detail counts. Using the right components, the right powder charge, and correct bullet seating depth are all critical for accurate loads. In order to “dial in” your seating depth its important to know the “to-lands” seating depth for a particular bullet in your rifle. When bullets are seated to this depth, the bullet’s ogive (curved portion that first contacts rifling) will be “just touching” the rifling. Most reloaders of precision rifle ammunition consider this “to-lands” seating depth to be the reference point or “datum” for load work-ups involving different bullet seating depths. In some cases, changing bullet seating depth by 0.010″ can have a meaningful effect on group size.
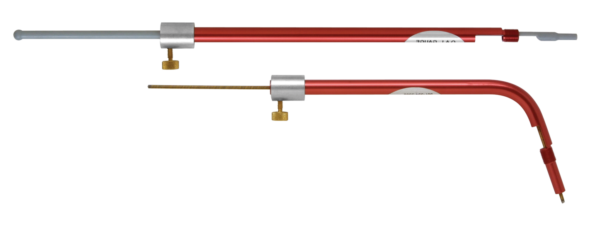
While there are multiple methods to determine bullet seating depth, perhaps the most straightforward is by using Hornady’s OAL gauge which uses modified cases that screw on to the gauge.
Hornady makes two of these gauges, straight (top below), and curved (bottom below):
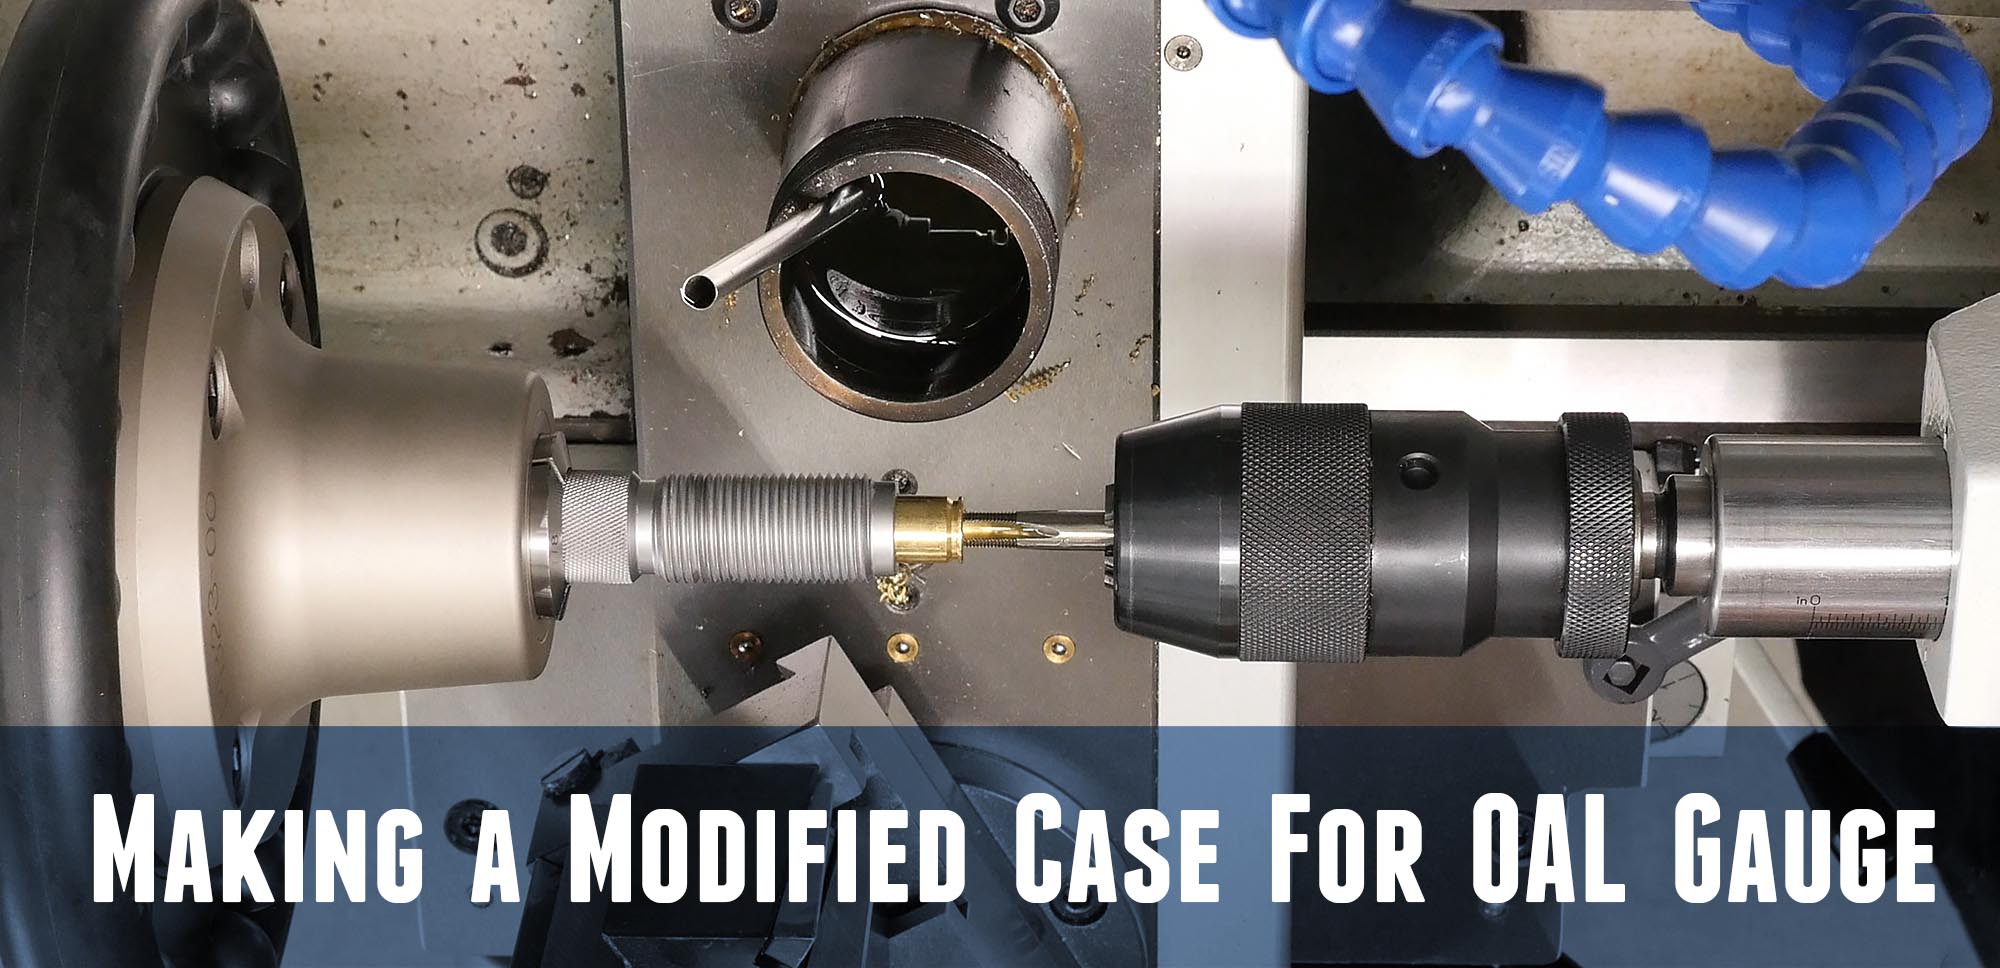
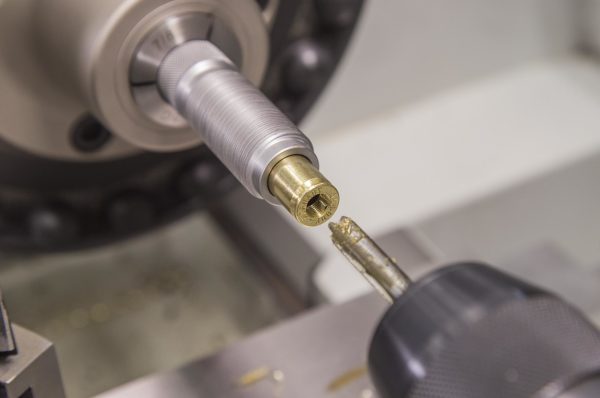
These modified cases have a threaded hole on the back of the cartridge where the primer would normally be located. In this post I’ll demonstrate how to make your own modified case using a metal lathe (yes, you need a metal lathe!).
Disclaimer
Ultimate Reloader LLC / Making with Metal Disclaimer: (by reading this article and/or watching video content you accept these terms)
- The content on this website (including videos, articles, ammunition reloading data, technical articles, gunsmithing and other information) is for demonstration purposes only.
- Do not attempt any of the processes or procedures shown or described on this website.
- All gunsmithing procedures should be carried out by a qualified and licensed gunsmith at their own risk.
- Do not attempt to repair or modify any firearms based on information on this website
- Ultimate Reloader, LLC and Making With Metal can not be held liable for property or personal damage due to viewers/readers of this website performing activities, procedures, techniques, or practices described in whole or part on this website.
- By accepting these terms, you agree that you alone are solely responsible for your own safety and property as it pertains to activities, procedures, techniques, or practices described in whole or part on this website.
My Lathe
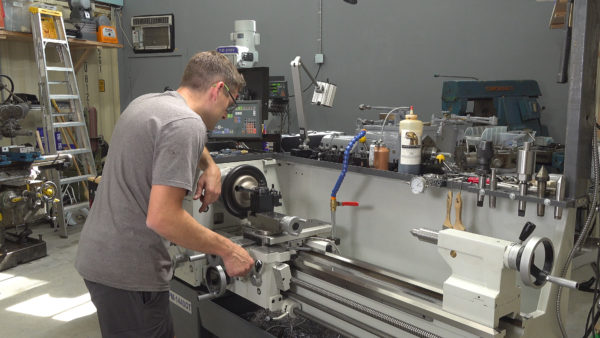
For this build, I’m using a Precision Matthews PM-1440GT. I believe this is the best gunsmithing lathe you can by new in the USA (Taiwanese made, not chinese, 2″ through-spindle capacity, Japanese high-precision spindle bearings, etc):
5C Collets and Collet Chuck: Must-Have for Your Lathe
For this demonstration, I’m using 5C collets (typical for lathe use, with 1 1/16″ capacity) to hold a standard 7/8 14 die (Hornady 300 PRC die in this case). A 5C collet chuck or collet closer is my preferred work holding solution espeically for threaded parts that need to be clamped by the threads. Collets run very concentric (very little runout) and can clamp delicate parts securely. Furthermore, they are VERY quick to use (clamping and un-clamping work).
More information about my 5C collet setup:
Drills and Tap
The Hornady OAL gauge tool uses 5/16″ x 36 TPI threading. You can find these taps on Amazon, like this one:
For drills, I use a small drill to get the primer drilled out and the hole started. Any drill around 3/16″ should work. After this, you’ll need to drill to the appropriate size for tapping 5/16 36. An “L” sized drill will do the trick for this! (for full-depth threads, you can also use an “M” drill as I showed in the video, but threads will be shallow).
Drilling and Tapping the Modified case
You’ll want to select a case that’s been fired in your rifle that has a nice slip fit when you insert and remove a bullet of appropriate diameter. It’s OK if the bullet is just a tad loose in the neck of the case.
Start by removing the decapping rod and lock nut from your sizer die. Install the die in a 7/8″ collet, clamping on the threads. Push the case firmly into the die- the taper of the case will hold it securely. You can give it a light rap with a dead blow hammer to give it some extra clamping force.
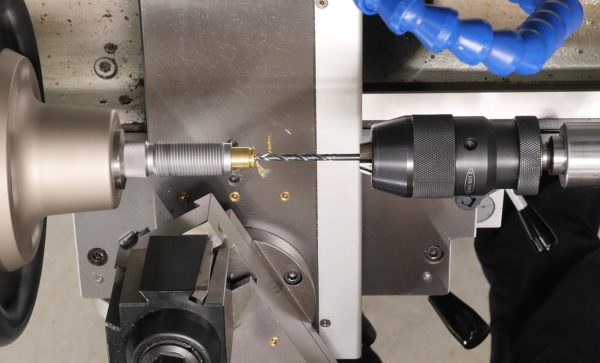
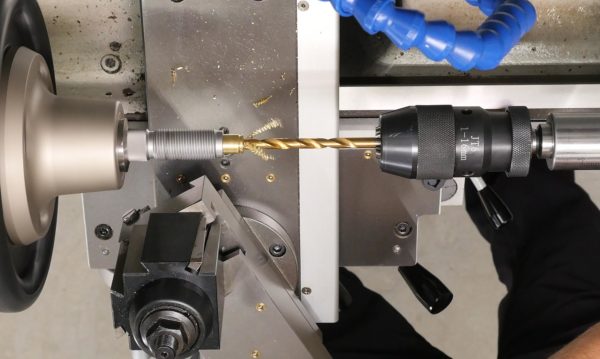
Now do the pre-drill of the hole:
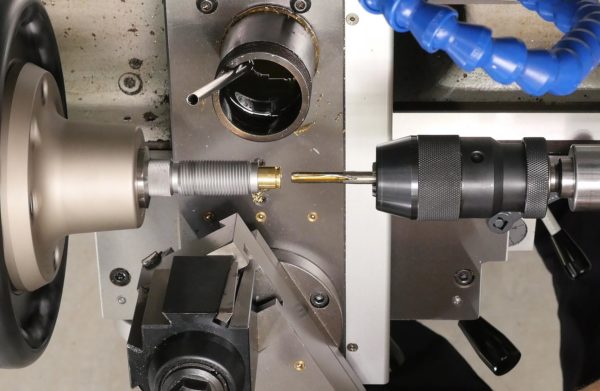
Assuming everything went to plan, install the “M” or “L” drill bit (L preferred) and drill out the hole again:
Now install the 5/16″ 36 TPI tap in the tailstock, shift the lathe to the lowest spindle speed, start the spindle, and push the tailstock to start the tap into the hole. You’ll want to use some cutting oil on the tap.
When the tap is most of the way into the case, stop the spindle, clamp the tailstock to the bed, and crank the tailstock quill (retracting) to use the tap as an extractor to pull the case out of the die (otherwise, this can be very difficult).
Done!
Now I’m ready to check my to-lands bullet seating depth for my 300 PRC full-custom! More on that shortly….
Don’t miss out on Ultimate Reloader updates, make sure you’re subscribed!
Thanks,
Gavin


Frankford arsenal came out with a nifty tool
for setting bullets off the lands. Two simple clamps on a rod from the muzzle end. Of course there’s the ole sharpie method. Tapping a fired case with the Hornady oal gauge is always a good method. Sinclair comparator inserts for CBTO measurements on calipers may be a better quality than Hornady’s.
You got to love Gavin’s shop. I doubt it can get any better than that. He makes good videos too. Thanks Gav.
I meant to type seating bullets off the lands,
however setting works out just as well. These iPhone
quick type auto word algorithms will get you know and then if you don’t double check- lol.
Yes having a lathe would be very nice. may have to fid an older one for sale and pick it up. Love the videos you make very informative. question have you ever used the RCBS percision gauge it will do the same and more.
Been there, done that, however 5/16-36 is not the right tap. The proper tap is +0.005 or +0.010 oversize, not sure which, I got by by offsetting the tailstock and settig the cutting edge of the tap horizontal to take a few thousanths extra out of the cut. never did buy the right tap, but they are available from Reiff & Nestor Company.
Let me explain,before you judge me a flamin ahs whole, The Stoney Point gage I had was an original model before Hornady bought them. Hornady may well have standardized the thread to 5/16-36 (not oversized) as this would reduce tooling costs. Again this was about 10 years ago when I was making the gage cases.Still a very useful tool. The throat depth is logged in my notebook for each rifle and is used for loading match ammo for each rifle. Thanks for the great articles, keep up the good work.