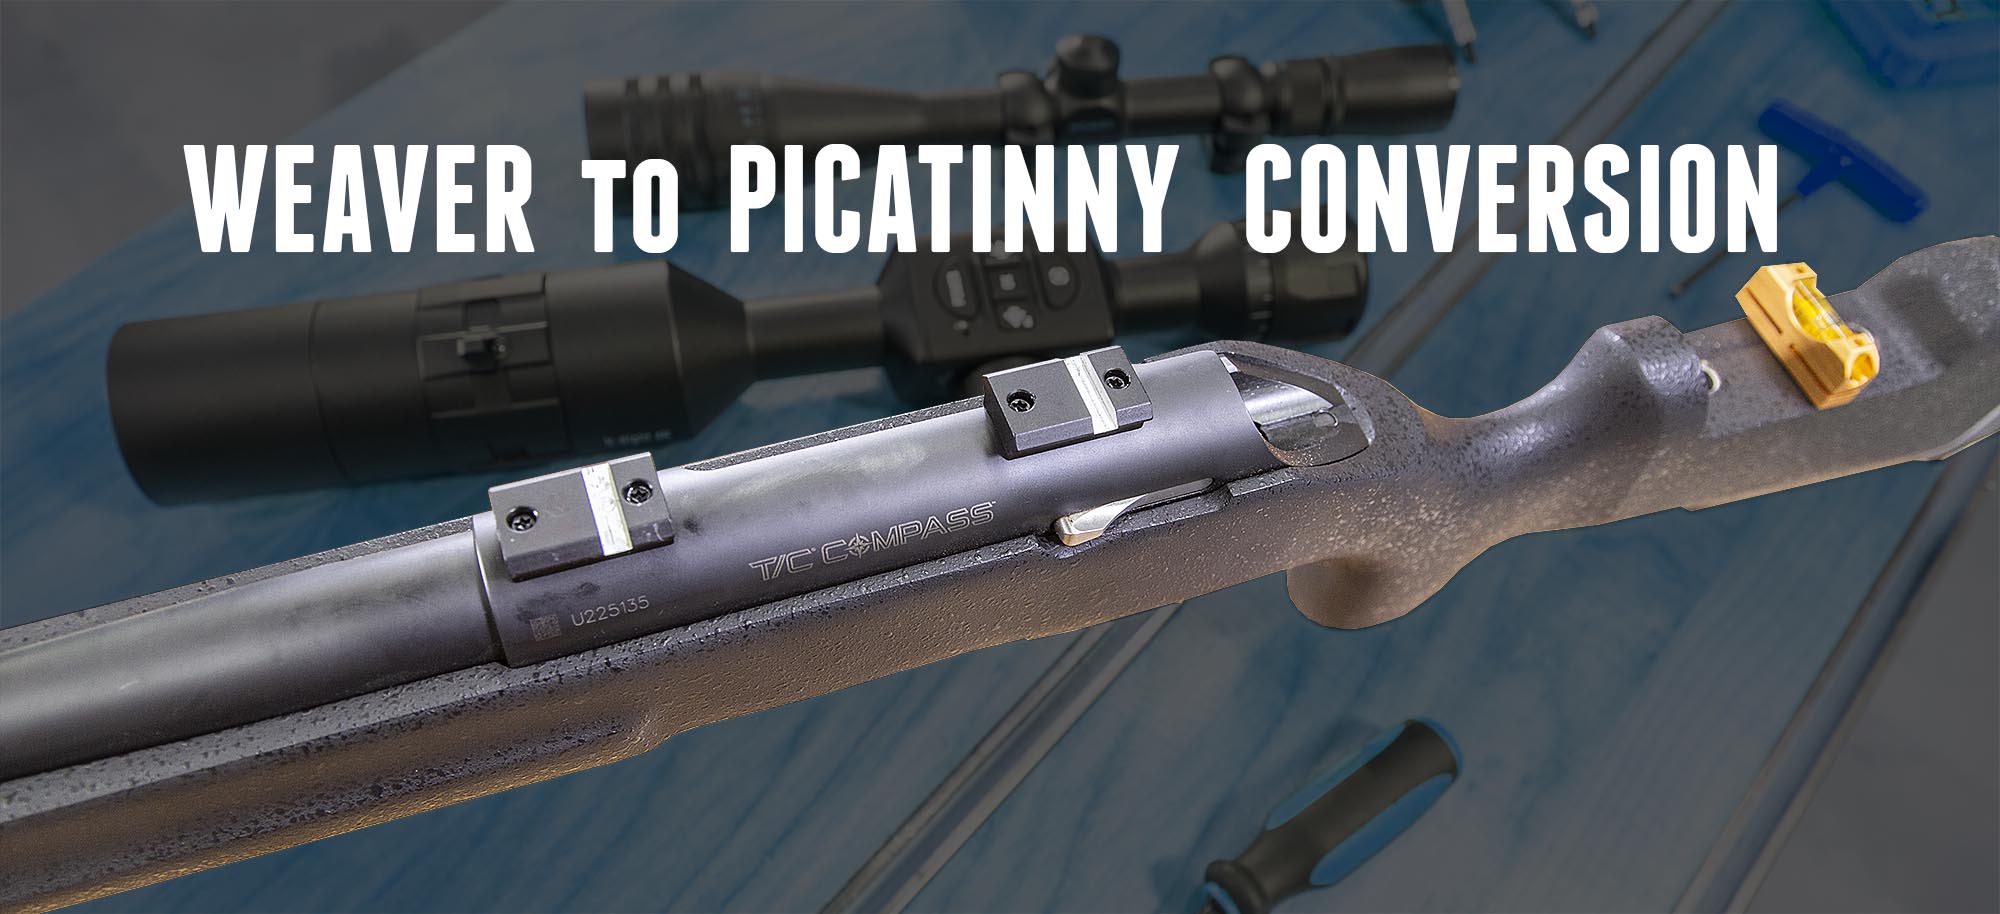
Why do we have standards that are “close but not quite compatible”? I ask myself that frequently when it comes to technology, tools, and firearms. I ran into this exact issue a few days ago when I went to install a scope on my TC Compass. The only scope rings I had that would work were Picatinny, where the rail sections (factory) on my Compass are Weaver. Close but no cigar! Good think I have a milling machine!
Weaver -vs- Picatinny
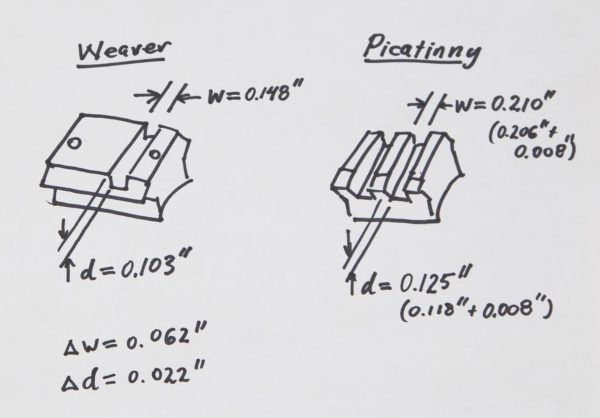
I took some quick measurements comparing my Weaver scope mount rail sections to a section of Picatinny rail I had laying around, and drew up a quick diagram: (click/tap to enlarge)
The cross-sectional profile of Weaver and Picatinny rails are essentially the same, there are two key differences:
- The slots on a Picatinny rail are wider and deeper than a Weaver rail section (~0.062″ wider, ~0.022″ deeper).
- Picatinny rails are continuous, and the spacing is assumed constant along the length, whereas Weaver rails commonly found for scope mounts only have one slot per rail section and the spacing is not assumed critical.
Because of difference #2 above, Weaver rails (as found on common bolt action rifles) can’t be easily converted to accept monolithic Picatinny mounts with multiple cross-bolts and clamps. An example of such a mount would be a one-piece cantilevered Picatinny scope mount. Even knowing that limitation, converting Weaver rails to accept devices with a single Picatinny cross-bolt and clamp is very helpful for scenarios like accepting individual scope rings.
Milling out Weaver Rails
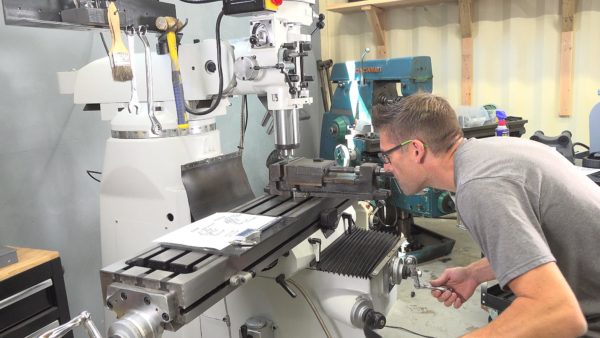
Above: Using my Precision Matthews PM-949TV Milling Machine to mill out a Weaver rail section
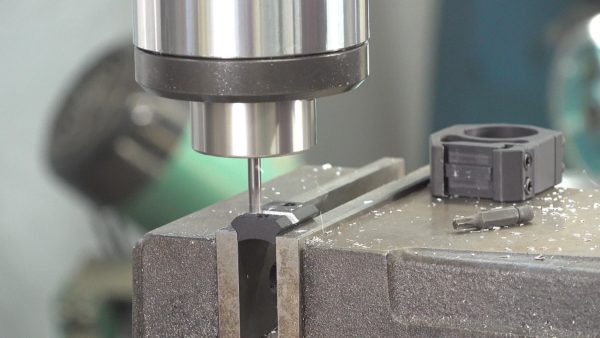
This project is a GREAT example of why it’s great to have a manual milling machine handy. A simple operation, and a great task to handle with a milling machine (faster than programming/using a CNC mill this time). For this project having a DRO is a huge bonus! I setup the PM-949TV (a high-quality Bridgeport Clone) with a 3/16″ solid carbide endmill, and prepared to mill out the Weaver slots.
This was a straightforward milling job, not even requiring a set of parallels (a rare situation). My setup and strategy for this job was simple:
- Clamp the Weaver rail section in milling vice
- Lower the endmill while spinning until it just “kisses” the anodized bottom of the Weaver slot
- Lower the endmill an additional 0.022″ (for 0.125″ total depth)
- Mill a widening pass along the length of the slot undersize (the endmill is 0.187″ wide, and the target width is ~0.212″)
- Measure the width of the widened slot
- Use the DRO to move the endmill to the correct position to make a 0.212″ wide slot
- Take the finishing pass
- Measure the finished slot depth and width
Both dimensions (width and depth) for the slot were within 0.001″, well within the tolerance I was going for. Mission accomplished!
Mounting the New Scope
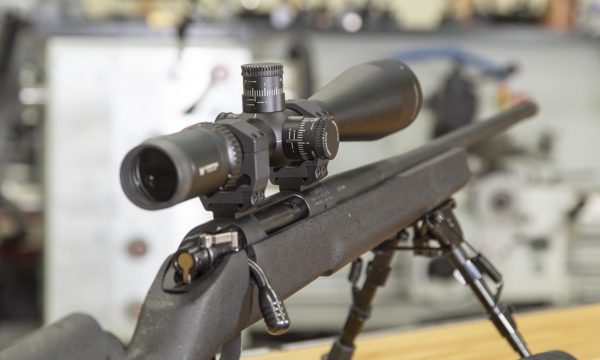
As I went to mount my ATN X-Sight Pro 4K, I immediately ran into an issue: not enough spread between the scope rings for the middle section of the scope! Not a big deal, as I had another 30mm tube scope on hand, and mounted that one instead (A Vortex Viper HS-T 6-24x50mm).
Everything went together perfectly once I picked a scope that would fit between the rings!
The picture above is a sneak peek at a project I just completed upgrading the TC Compass’ plastic stock to a Boyd’s Pro Varmint profile stock (a very nice stock!). Stay tuned for updates on that…
The moral of the story: if you want to have most flexibility with your firearms- you need a metal lathe and a milling machine! I use mine all the time. Please visit http://makingwithmetal to see more of what I’m doing with these machines!
Don’t miss out on Ultimate Reloader updates, make sure you’re subscribed!
Thanks,
Gavin






Not all of us have the resources to have our own lathe and milling machine. Can you demonstrate how to increase the size of a Browning Buck Mark weaver sight rail to accept a Burris Fast fire III picatinny one cross-bolt mount.