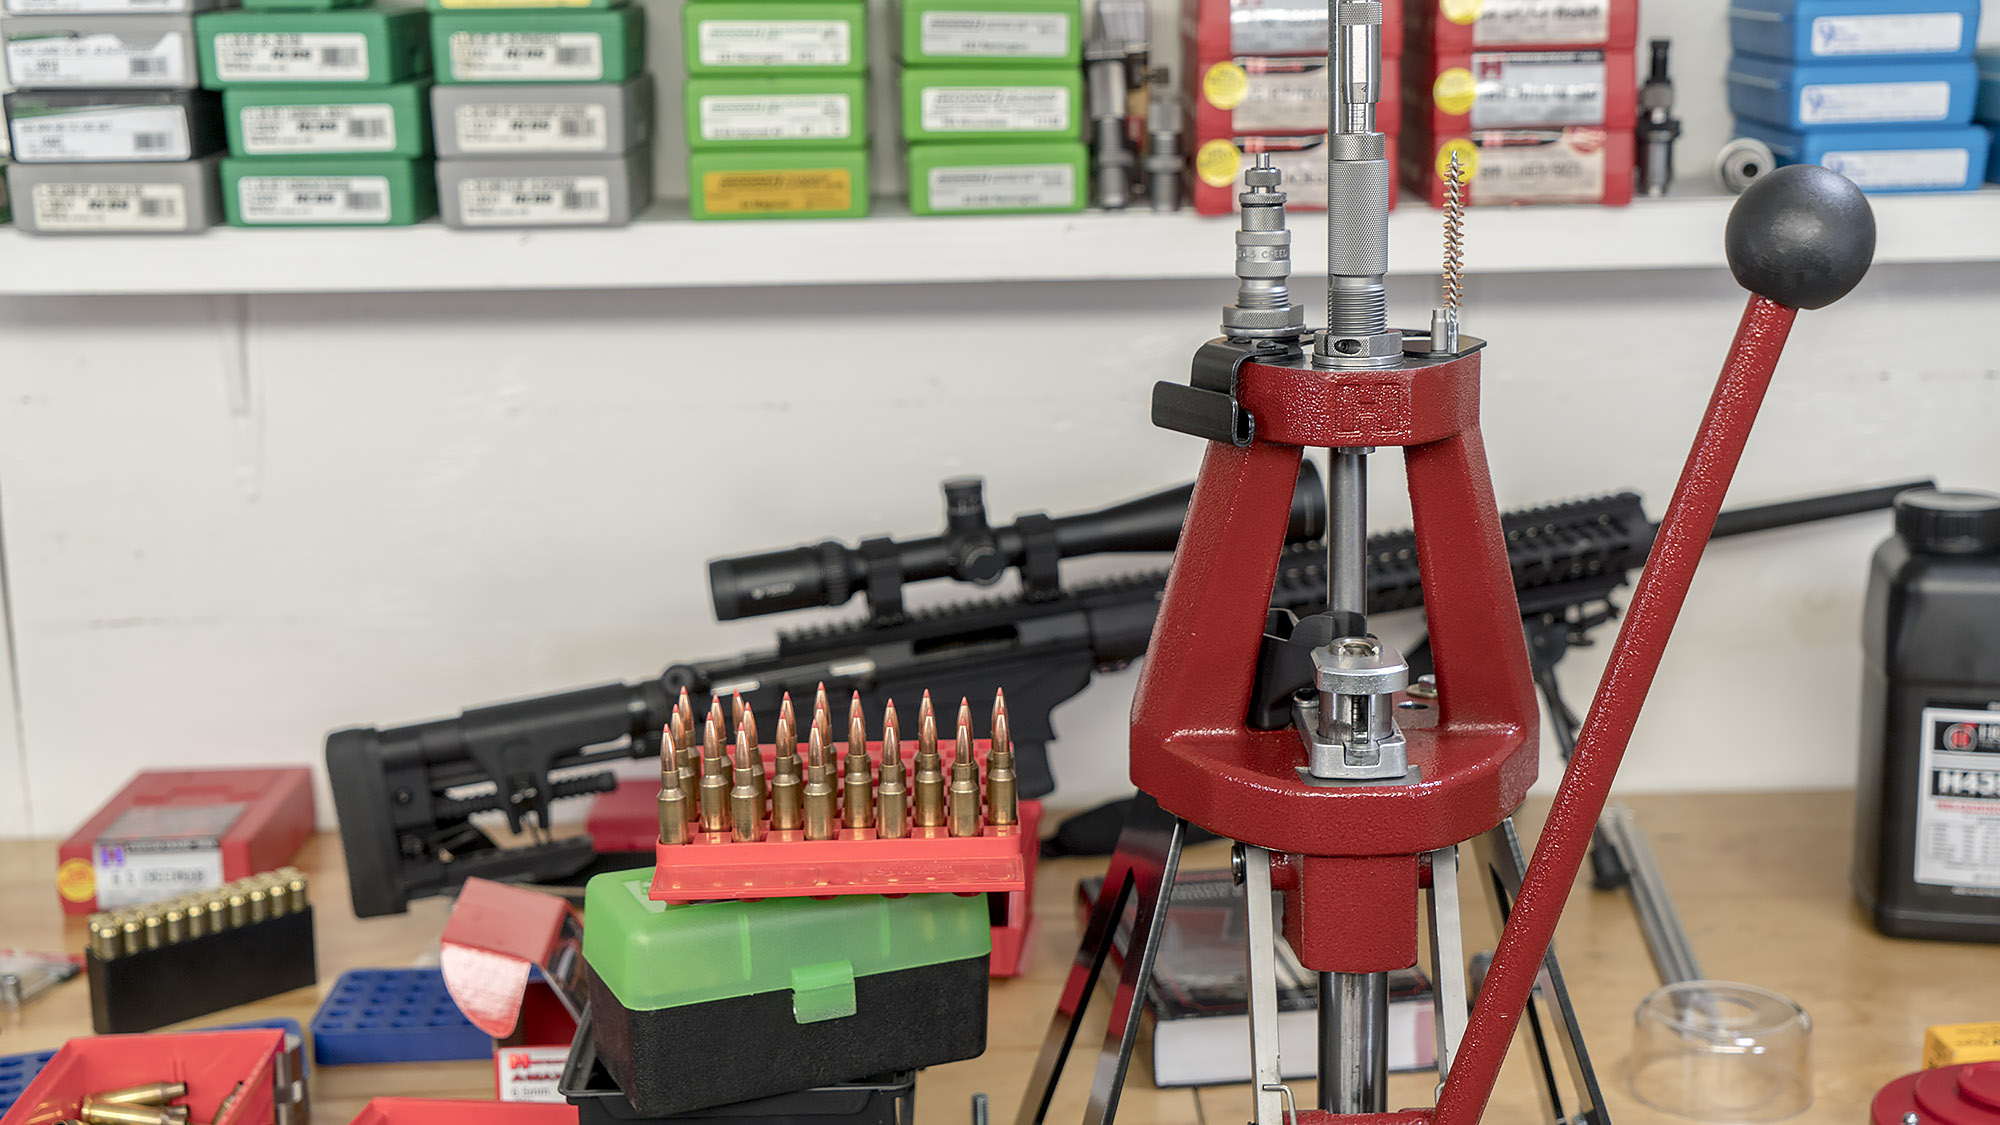
It’s time to take the reloading for the Ruger Precision Rifle to the next level! I’ve been loading ammunition “factory style” (new brass) on the Hornady Lock-N-Load AP 5-station progressive, and now it’s time to go single-stage. I’ve already gotten GREAT results- with groups in the sub-3/4″ range (a first-group-of-the-day 5-shot group measured just over 0.5″ recently). Now, I’ll see how “dialing in the gear” can potentially produce even better results. This is a great opportunity to use all of the gear included in the new Hornady Lock-N-Load Iron Press Kit!
In case you missed it, here are my first two posts covering the new Hornady Lock-N-Load Iron press kit:
- Hornady Lock-N-Load Iron Press Kit: Unboxing and Overview
- Hornady Lock-N-Load Iron Press Kit: Mounting and Setup
On to single stage loading! Here’s the complete video walk through:
The Hornady Lock-N-Load Iron Press worked great, here are some notes regarding the loading process. As noted in the video, I like to dump powder charges about 0.5 grains below the desired charge weight and then trickle up to the exact weight. For this load, the charge was 43.0 grains of Hodgdon H-4350, as you can see here, it’s easy to get your charge right on the money this way:
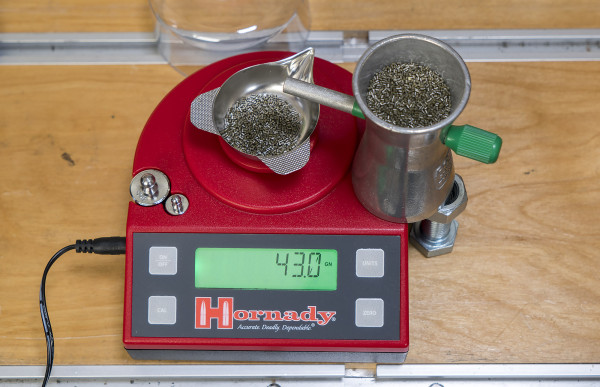
Note that there’s really nowhere to set your trickler when using the Hornady Lock-N-Load Scale. Not a big deal, you can see in the above picture a simple workaround. I simply took a 1/2″ bolt and nut which served as a precisely adjustable side stand for the trickler- problem solved!
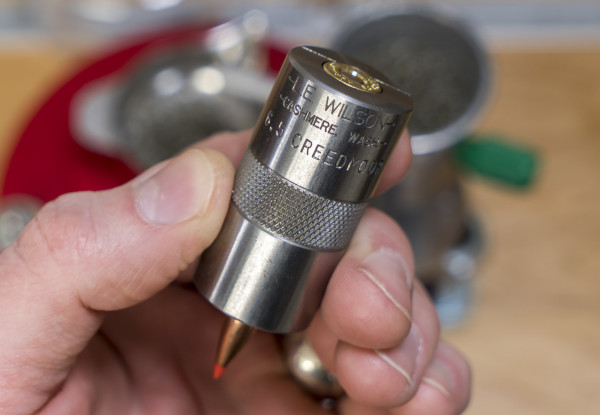
One tool that will save you a TON of time and frustration is a good case gage. Here I show using the L.E. Wilson case gage for 6.5 creedmoor. I have a more in-depth post HERE if you want to read up on exactly how these case gages are used. It’s awesome to know if your cases need trimming, and to know for sure that your ammunition will chamber reliably.
This was my first time loading with Hornady Match Grade bushing dies, including the bushing sizer that enables precise control over neck tension for the particular setup you are using. I used some factory ammunition as a guide to ensure I was in the right ballpark. It will be interesting to experiment with different bushings to see what affect different sizes will have on neck tension. Another benefit of bushing sizer dies is the fact that the bushings have a small degree of float inside the die. This results in more concentric sizing all else being equal.
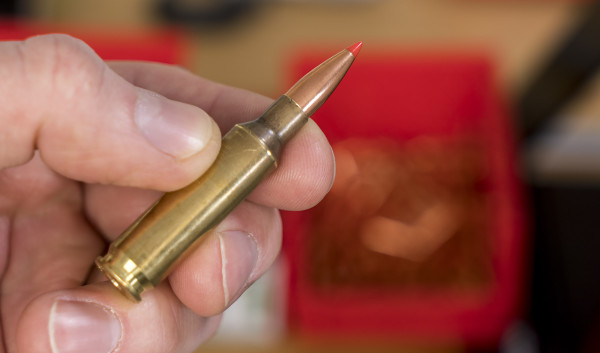
It’s always exciting to see the first cartridges come off the press. The Lock-N-Load Iron has a very easy stroke when sizing (mechanical advantage at top of the stroke) which is nice when working through a large batch of cases. I also really like the priming system: it’s very similar to the Lock-N-Load AP system with the exception of the arrangement of the slider, more of a “bar” on the Iron press as opposed to a flat slider on the AP.
Yes, it takes more time to load on a single stage, but it’s also a nice feeling to know you are in complete control of the process, and to enjoy the simplicity of the whole setup. Yes, it makes me feel like I need to be wearing a white lab coat or something like that. Progressive loading is to beer as single stage loading is to Scotch- there’s a time and place for both!
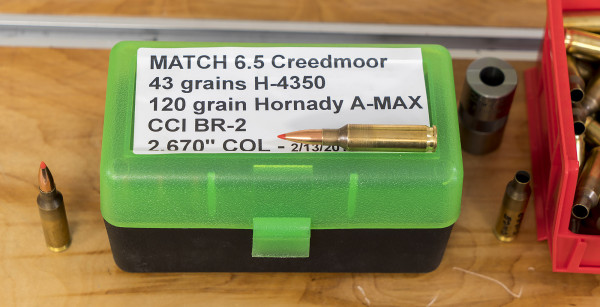
Here’s a summary of my load data, a great-shooting 120 grain bullet load:
- Brass: New Hornady 6.5 Creedmoor with chamfered primer pockets and case necks (inside and out)
- Bullet: Hornady AMAX 6.5mm 120 grain
- Powder: Hodgdon H4350, 43.0 grains
- Primer: CCI Br2 Large Rifle Benchrest
Note: This load data is for reference only. Always cross-reference with manufacturer’s load data. Ultimate Reloader is not responsible for errors or possible issues you may have when using this load data. Use at your own risk.
Will this ammunition produce smaller groups than the progressive loaded ammo? Only a trip to the range will tell for sure! Stay tuned.
Thanks,
Gavin















As always, great job Gavin!
How do you think this press does with concentricy? I have always been worried the that lock and load bushings would cause to much. I really like them in my progressive press for quick changes but I have never used them for procession ammo, just a Redding single stage for those.
Gavin, yet another fabulous video. First I liked the face that you explained the steps for making precision ammo (get your Lab Coat on). Secondly, and mostly I really liked how rock solid that press was. For that stability, do you attribute it to the Inline Fabrication mount, your bench or a combination of the two?
It’s funny that you mention lab coats when doing this load. Let me point out a couple things regarding the handling of your powder tray and calibration weights. Maybe it isn’t a big deal but here I go: your hands have grease and oil. You are transferring it to the pan. So now your scale is seeing pan+charge+oil. It can be a difference between over loading and under loading. My suggestion is to get nitrile gloves on. Secondly the same applies to calibration weights. Not only can your weights accumulate oil/grease, those weights will eventually oxidize causing a change in their published weight. Suggest you handle your weights with plastic tweezers and also put the weights in tiny ziplock bag (kind you use for say jewelry) to help slow down the oxidation process when not in use. Also a couple more observations. 1) put a concrete block or marble base below the scale to help prevent vibrational issues and 2) get the wind guard on.
How is the decapping on this press? I am surprised they did not figure out how to do the drop tube like the AP has. I was leaning towards a Forster CO-AX but might go this way for a new precision press but don’t want to chase primers all over the floor.
Gavin,
You videos over the years have inspired me to start off down the long and interesting road of reloading. I have been at it for a couple years off and on (due to a constant deployment cycle) and I am always on your site. Your videos really are a great learning tool and also a very comprehensive review of the equipment used. It has helped me decide what equipment I have on my bench. I would really love to see you show us some more on the differences between full length sized ammo and neck sized. I have read countless articles on the subject but yet to see the real differences on paper. I think a real apples to apples comparison is in order with the only difference being one step in the case prep. Thank you once again for the outstanding videos and keep them coming!
Could you tell me the Ram stroke length on this press? I can’t seem to find this anywhere. I have the regular hornady single stage and my 300 wm load is a little too tight for the standard hornady press when I seat my 215gr bergers out long. Thanks!
Do you prefer Forster co-ax or Hornady iron. Needing advice for my first precision loader