If you reload ammunition, you should care about metallurgy. If you demand accuracy and long life from your brass, the process of annealing your cases will become an important part of brass prep and maintenance. If you form cases, you’ll likely want to incorporate annealing into the process so that you can get the best results and ensure long life for your hand-crafted cases. For a long time I’ve been wanting to add an annealing machine to my reloading bench, and now is that time!
About Annealing Made Perfect
Annealing Made Perfect or “AMP” is a New Zealand based company that’s run by a father and son team: Matt and Alex Findlay. Back in 2012, Matt and Alex took on the challenge of making a “better annealing machine” that anyone could use to produce accurate and repeatable results EVERY TIME. Using their complimentary skill sets, Alex (with extensive shooting experience) and Matt (Engineering and tool making background) developed an induction annealing machine that achieved their goal of “attainable perfection” for case annealing. The second iteration of the AMP design (Mark II, the subject of this article) builds on the original design to further perfect the process and results.
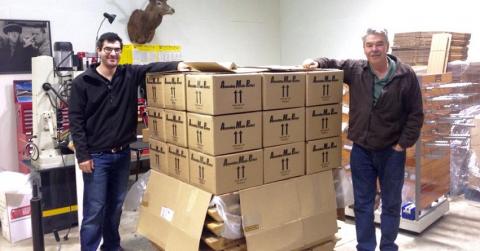
Above: Matt (left) and Alex (right) next to a stack of AMP annealers
You can read more about the history of AMP here: https://www.ampannealing.com/about/
I decided to partner with Alex and Matt for a couple reasons:
- Several people whos opinions I respect pointed me to the AMP annealing machine based on my requirements
- Alex and Matt are doing some really interesting research, and I want to collaborate with them! (I’ll be doing more “white lab coat” content here on Ultimate Reloader)
Here are some links to some of the interesting research the AMP team has published, very much worth the read if you are interested in rifle brass at the “microscopic” level!
ANNEALING UNDER THE MICROSCOPE Part 1
ANNEALING UNDER THE MICROSCOPE Part 2
ANNEALING UNDER THE MICROSCOPE Part 3
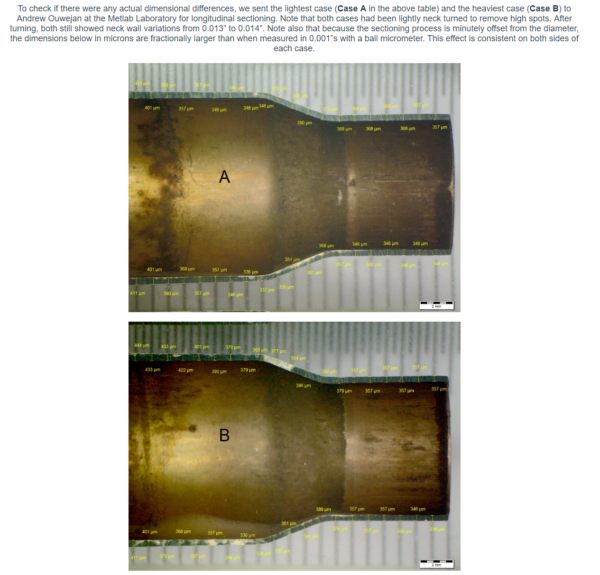
From “Annealing Under the Microscope Part 3”:
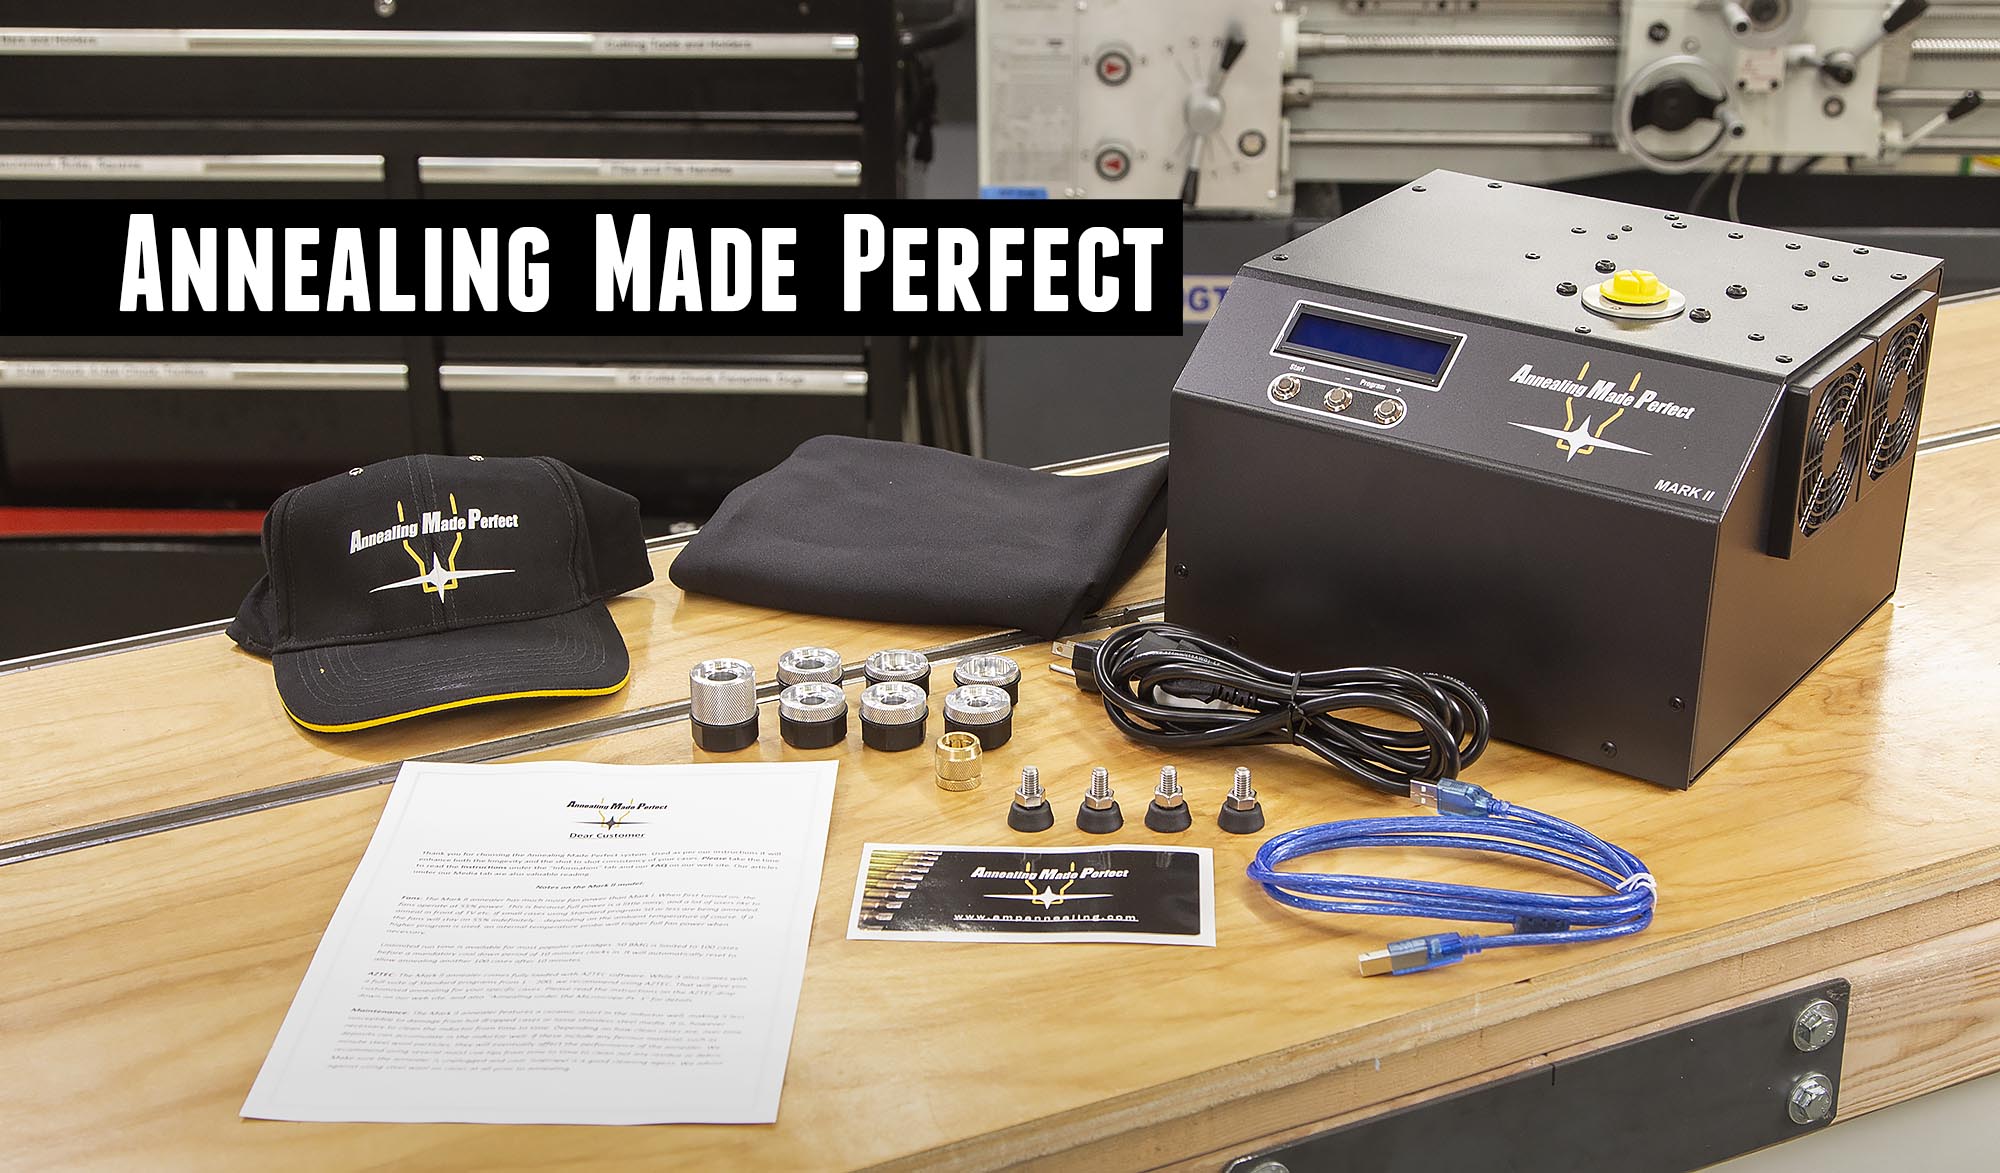
AMP Mark II Annealer: What’s Included
The Mark II AMP Annealer comes with everything you need to anneal brass cases except the individual caliber-specific pilots (like bushings) that precisely position the brass in the induction element. Here’s the contents of the Mark II Annealer as shown above:
- AMP Annealing machine
- Power cord
- USB Cord (for software updates)
- Rubber feet with locknuts
- Sticker and letter from AMP
- Shellholder grip (brass)
- Note: Pilots shown are sold separately- caliber specific however some are shared between different cartridges (Ex: 6.5 Creedmoor and 6mm Creedmoor use the same pilot)
- AMP hat
- AMP machine cover
Setting Up the AMP Mark II
Setting up the AMP Mark II Annealer literally couldn’t be easier- just take everything out of the box, screw in the feet, level the machine, and plug in the power cord- THAT’S IT!
Above: the hardest part of setting up the AMP Mark II: screwing in the feet. It should take about 1 minute!
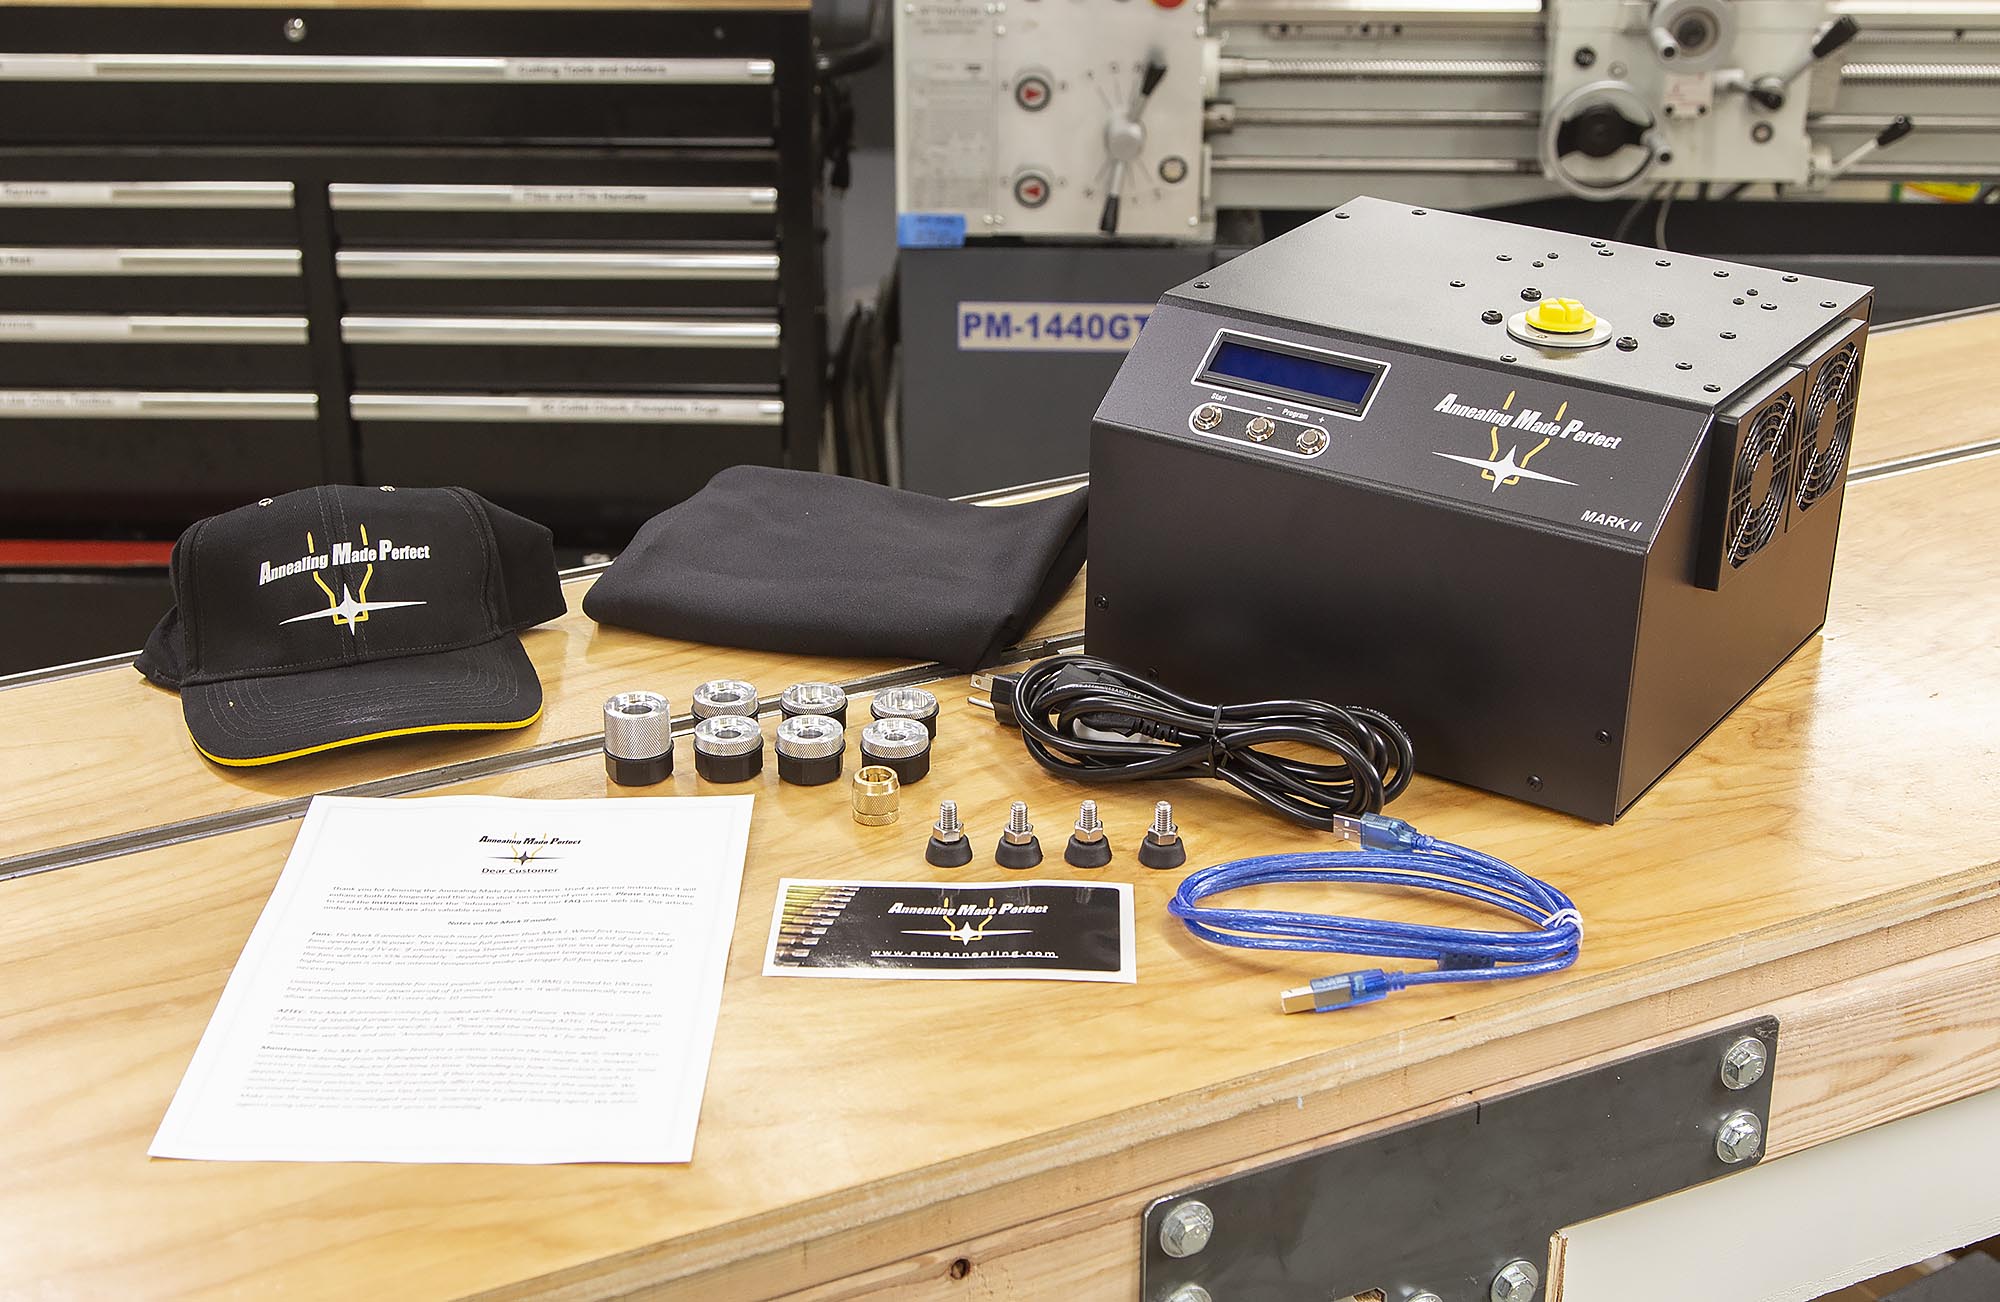
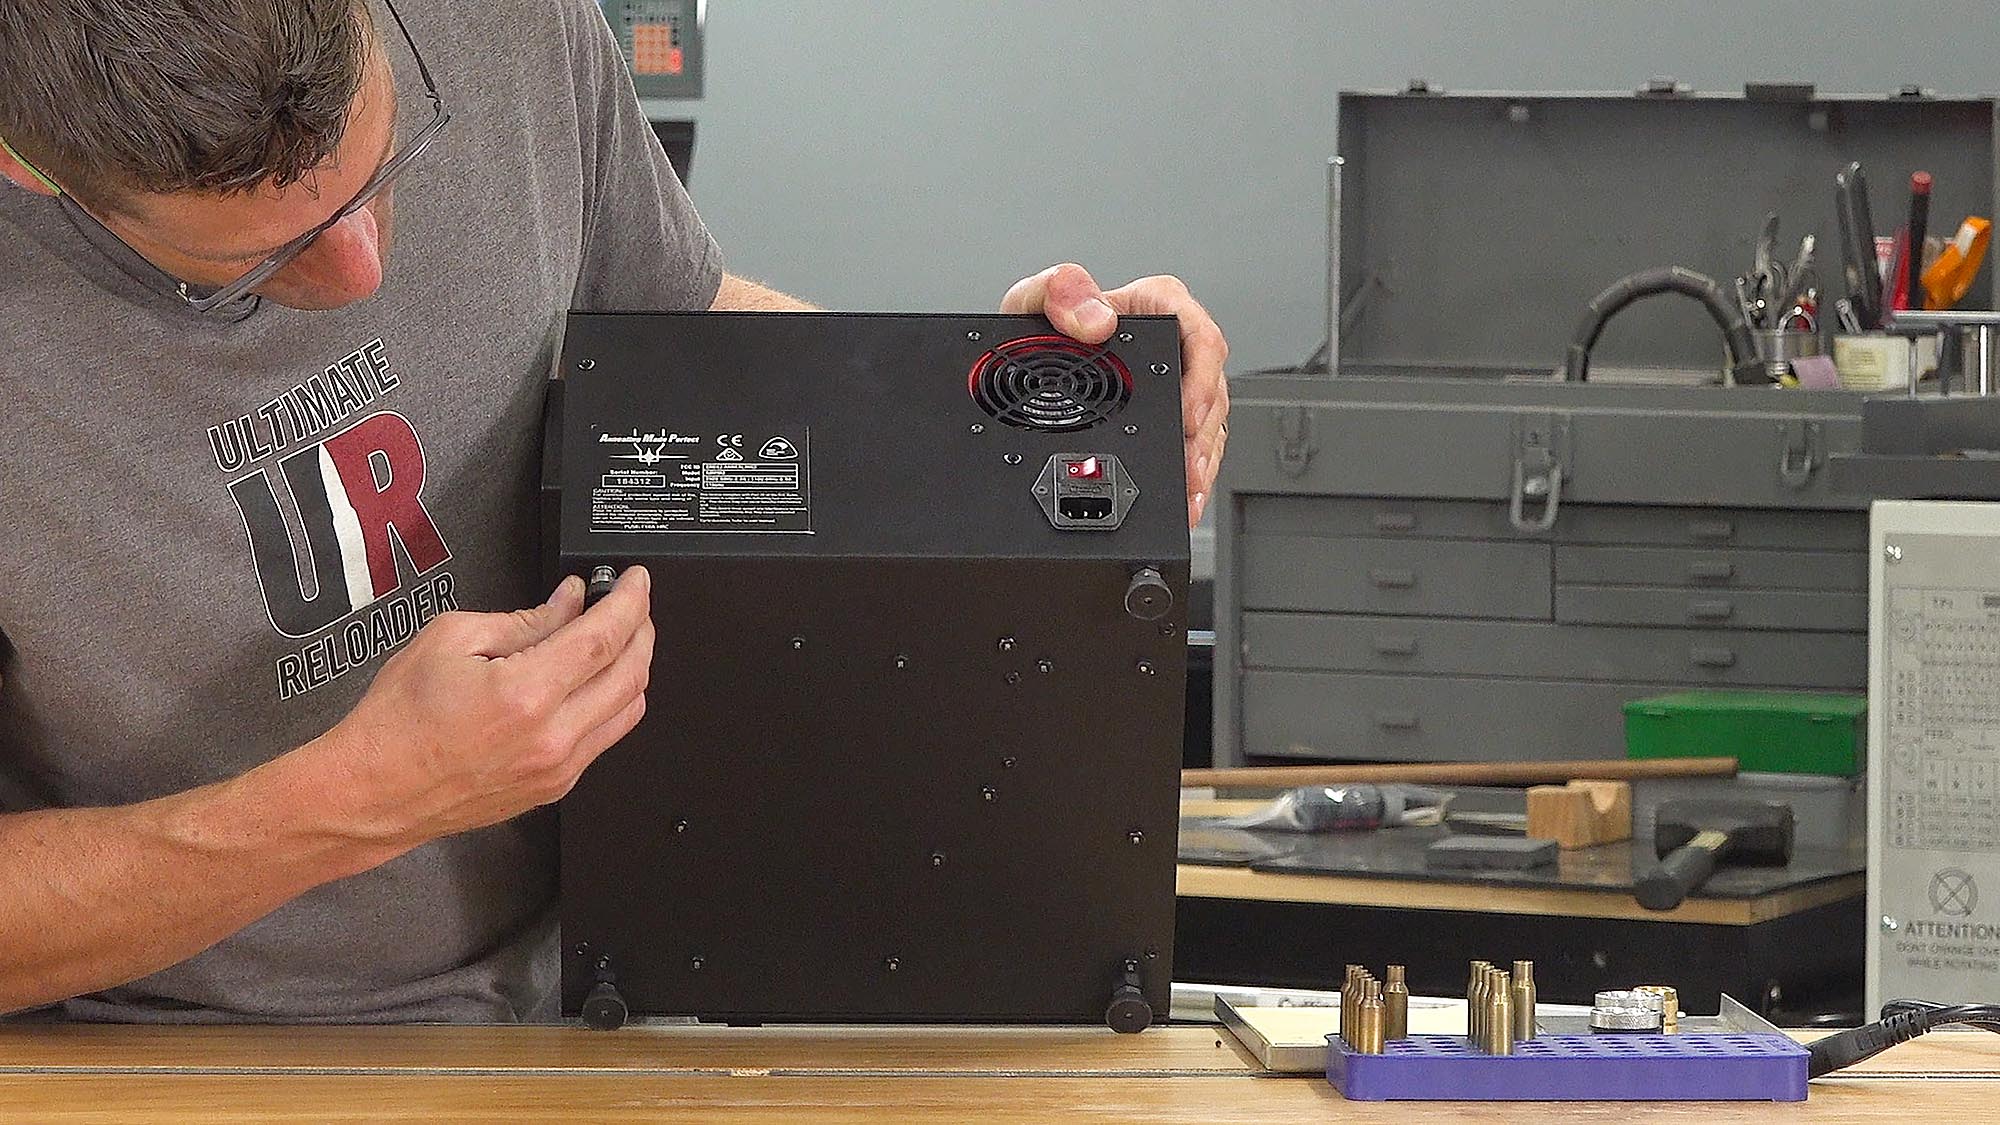
AMP Mark II Hardware Interface and Parts

Before I talk about how to use the AMP Mark II machine, let’s quickly go over the hardware interface and parts you’ll work with, shown above:
- Shellholder grip- two-piece collet-style grip for standard shellholders (the kind you use in a single-stage press)
- Shellholder (308 shellholder in this case)
- AMP Pilot (see chart on ampannealing.com for complete list)
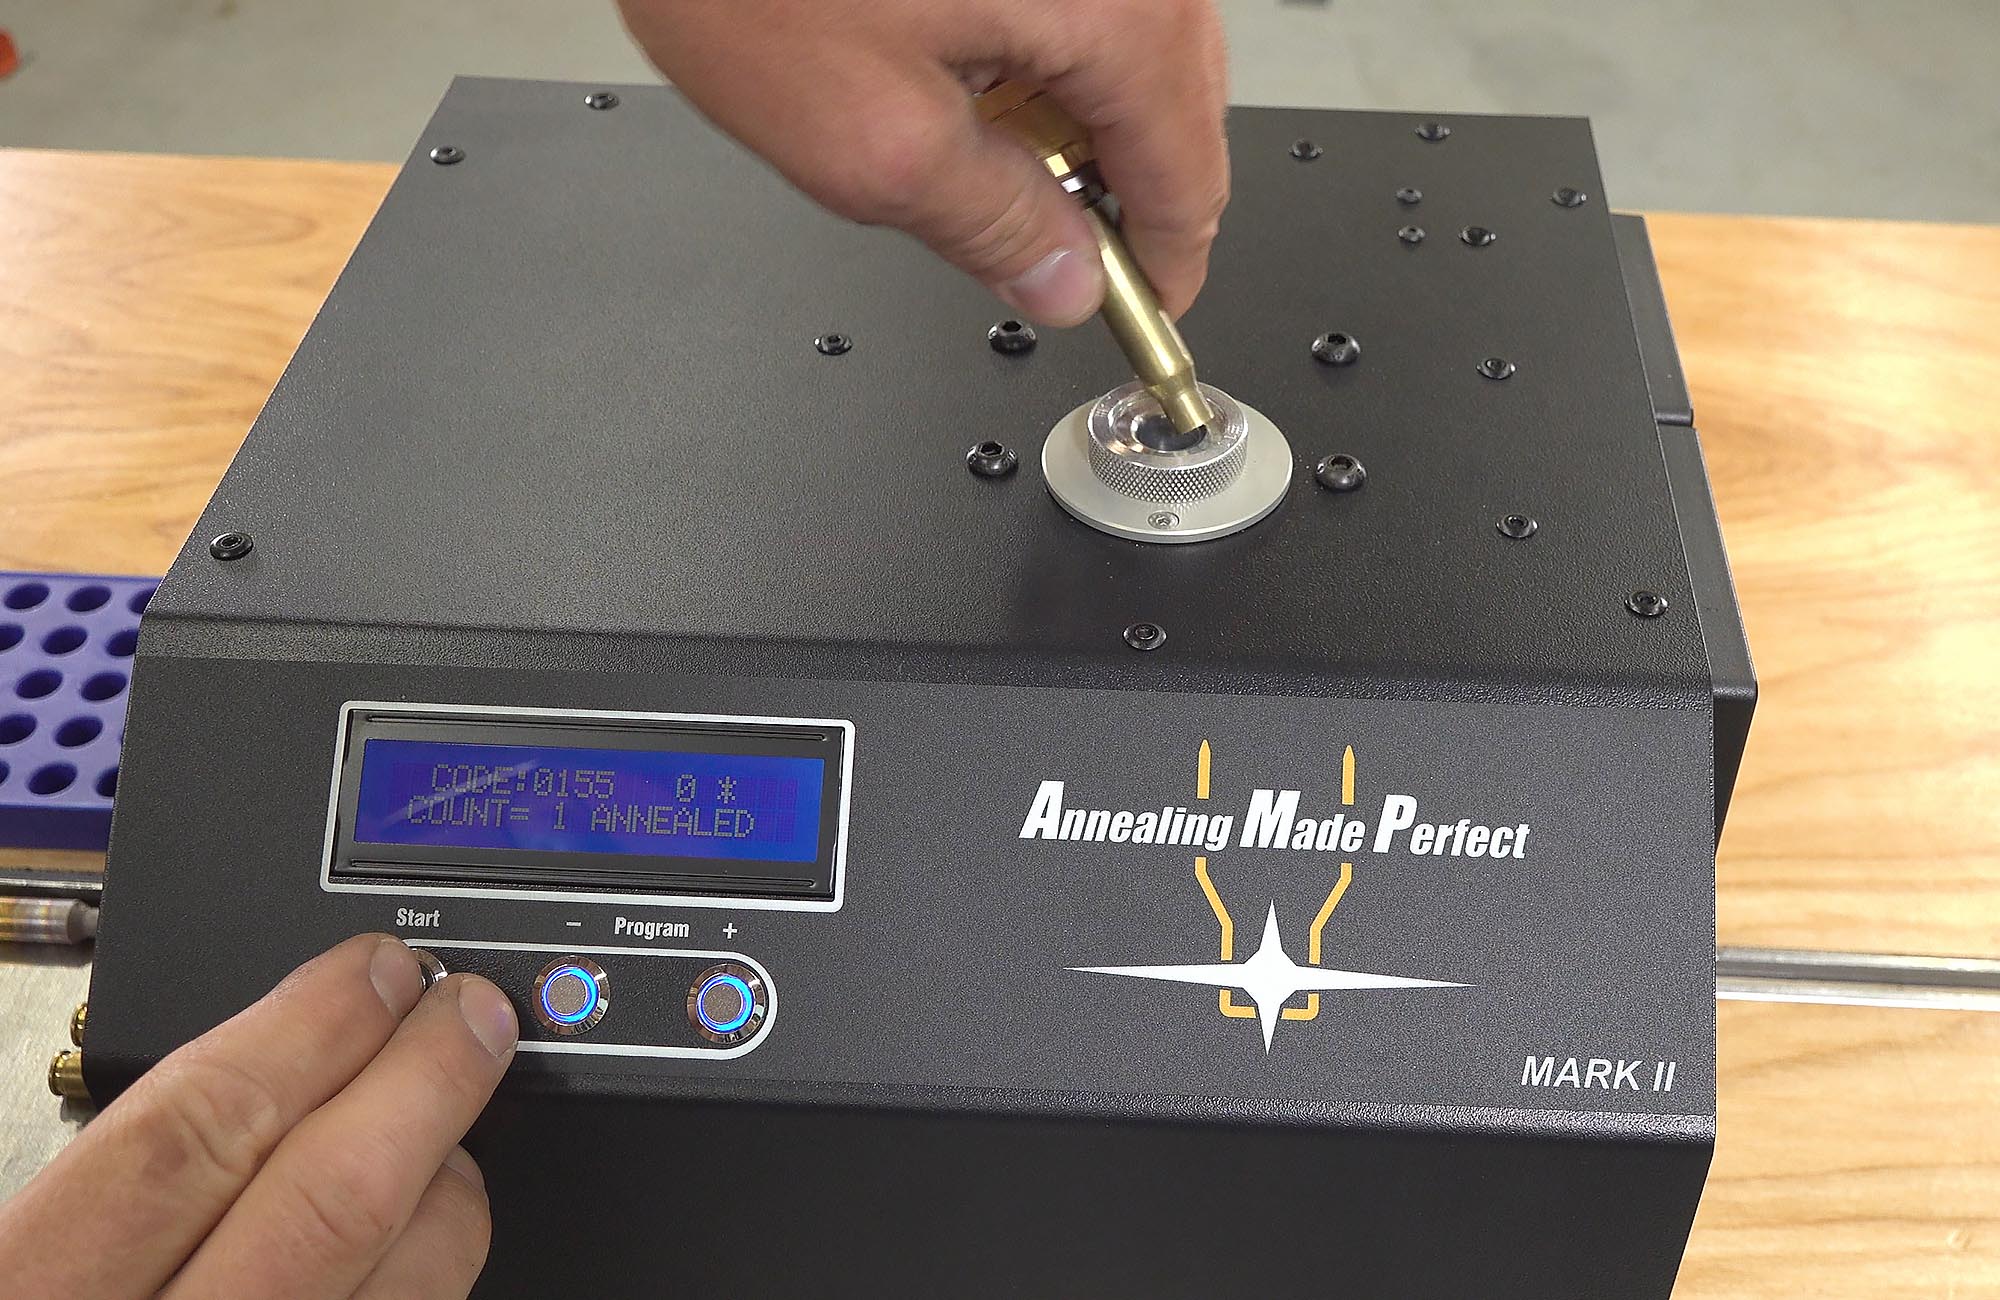
- Display
- Start button (also acts as “select/enter” button)
- – Button (holding “-” and “Start” goes BACK in any menu/option)
- + Button
Annealing with the AMP Mark II
The MARK II AMP Annealer includes and updated version of the AMP Annealing software (really “firmware”) called AZTEC. This is an improvement over the original operating mode of the Mark I AMP machine, which you can still run on the Mark II if there’s need to do so.
With AZTEC, the high-level process for annealing cases from scratch is as follows:
- Install pilot
- Install shellholder in shellholder grip
- Activate “AZTEC”, select “Analyze” and enter pilot code
- Insert “sacrificial case” into pilot using shellholder and grip
- Analyze a case (Select “Start”) – this brings the case to its melting point- the AMP machine uses the information gathered to generate an annealing code
- Anneal a batch of cases using the generated code
If you already have an annealing code, you can simply do the following:
- Install pilot
- Install shellholder in shellholder grip
- Enter an annealing code
- Anneal a batch of cases
A note about annealing codes: each code is specific to the brand/caliber of brass, and any modifications you’ve made. For example: Lapua 6.5 Creedmoor cases from the factory would use one code, where Lapua 6.5 Creedmoor cases that you’ve neck turned to a particular thickness would need their own code (using Analyze).
As I showed in the video, if you want to switch from one cartridge to another, the process is as follows:
- Check to see what pilot is needed, change pilot if needed
- Change shellholder in grip if different shellholder is needed
- Analyze new case to be annealed, or enter code
- Start annealing
Why Induction Annealing
I won’t get into all of the different methods of annealing here- instead I’ll point out some advantages that induction annealing has over other methods for annealing:
- It’s VERY accurate: the results for metal hardness/softness are very close to the desired level
- It’s VERY precise: results and hardness/softness for each case is very consistent and repeatable (a key consideration for extreme long-range shooting)
- It’s clean: there’s no mess (can’t be said of most other methods)
- It’s fast: the setup and the process is very fast
- There’s no open flames: this gives more flexibility for where you can anneal cases
Get Your Own AMP Annealer
If you are interested in getting your own AMP Annealer, you can now buy direct from AMP, even in the USA! For more information click on the image below:

This is just the start of my annealing journey- I’ll be forming cases with help form this annealer, conducting brass longevity tests, and be evaluating the effect annealing has on bullet seating force as well as velocity variation (for ammunition loaded with annealed cases). Make sure you’re subscribed!
Thanks,
Gavin


Been looking at AMP for a while. AZTEC made it better. Induction annealers are convenient. You got to make sure cases and prep are consistent and uniform for full potential of AZTEC . AMS(Annealing Made Simple)is another good induction annealer .Heck I hold them in my hand with a torch in a dark room- for 3-4 seconds – and I’m done. Thicker brass maybe 5 seconds. You learn to know what to look for. Tempilaq helps novices to learn . I don’t use a glove either.
Hello,
I was unable to buy AMP annealing mark 2 directly with 10% off.
Please let me know if this deal is available.
Thank you,
What Pilot did you use for the 223 basic brass anneal? I would like to form some 7mm TCU cases using that brass.
Thanks,
Marty K