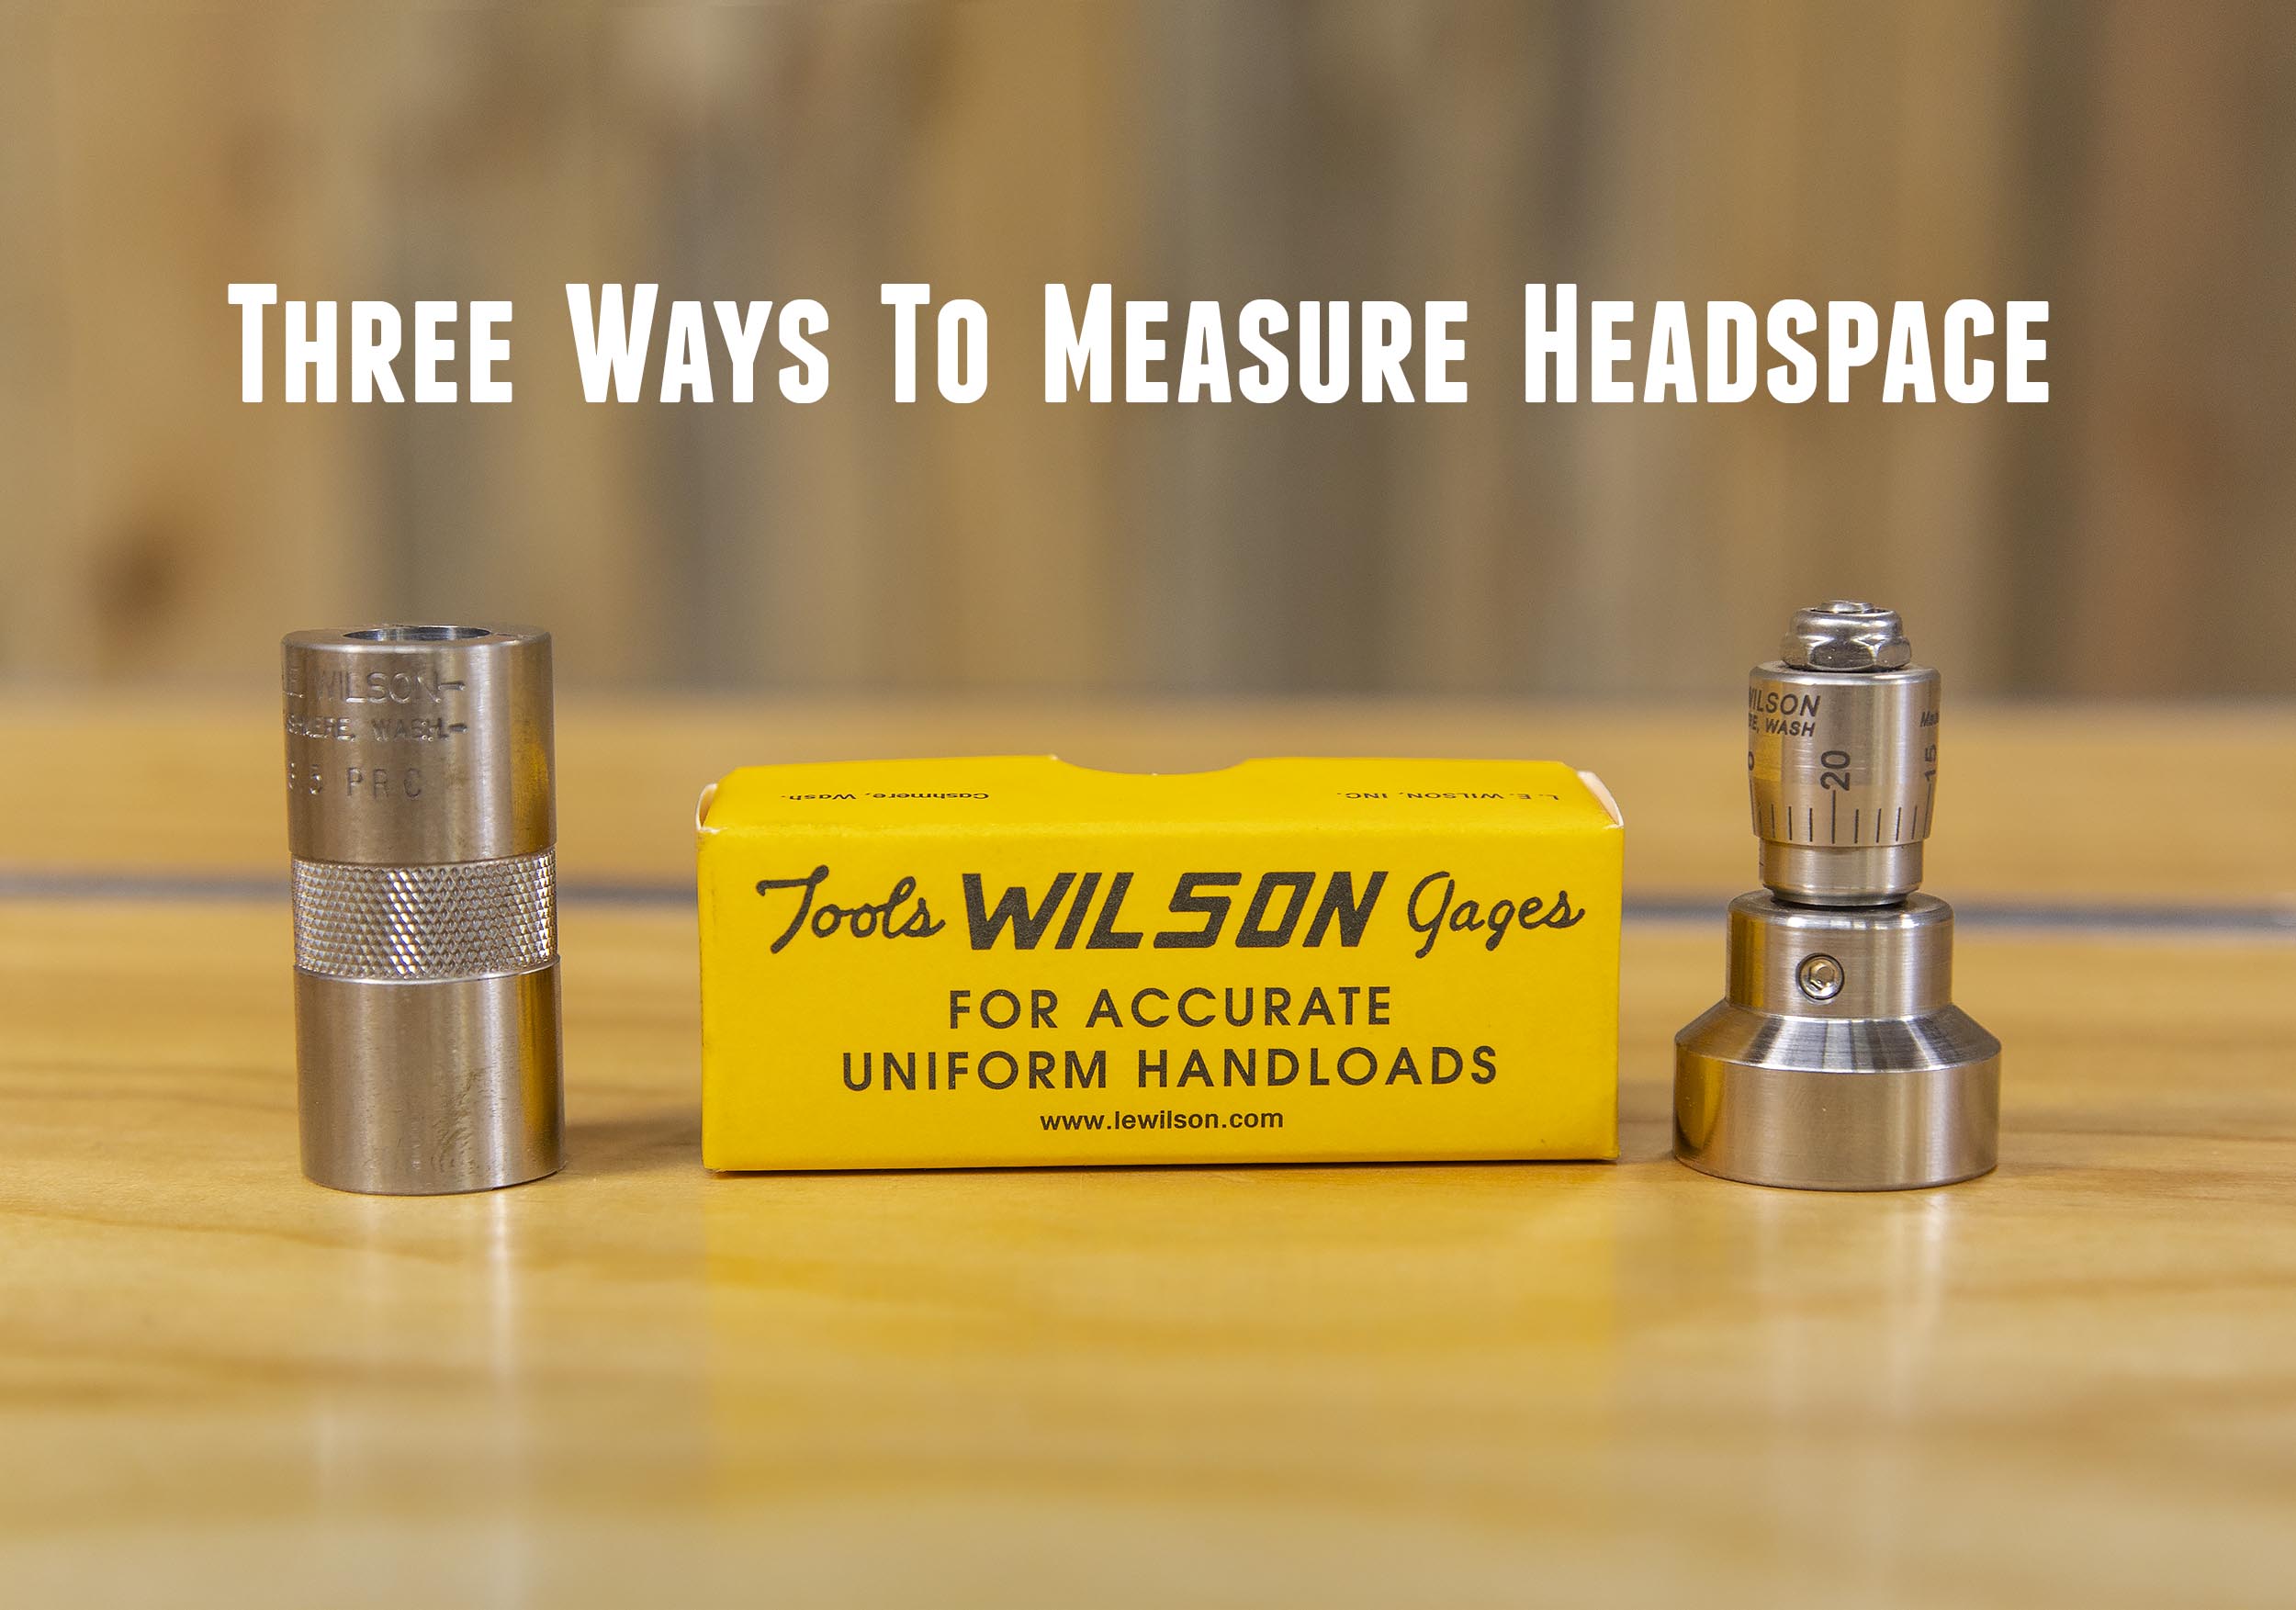
Headspace is an important consideration for both firearms inspection and for reloading. In this story, we’ll look at three ways to measure headspace for bottleneck rifle cartridge systems.
Disclaimer
Ultimate Reloader LLC / Making with Metal Disclaimer: (by reading this article and/or watching video content you accept these terms)
- The content on this website (including videos, articles, ammunition reloading data, technical articles, gunsmithing and other information) is for demonstration purposes only.
- Do not attempt any of the processes or procedures shown or described on this website.
- All gunsmithing procedures should be carried out by a qualified and licensed gunsmith at their own risk.
- Do not attempt to repair or modify any firearms based on information on this website
- Ultimate Reloader, LLC and Making With Metal can not be held liable for property or personal damage due to viewers/readers of this website performing activities, procedures, techniques, or practices described in whole or part on this website.
- By accepting these terms, you agree that you alone are solely responsible for your own safety and property as it pertains to activities, procedures, techniques, or practices described in whole or part on this website.
What is Headspace?
Headspace refers to the mechanical interface whereby a cartridge stops moving forward when chambered. For bottleneck rifle cartridges, headspace is a reference distance between the bolt face and a reference line on the shoulder:
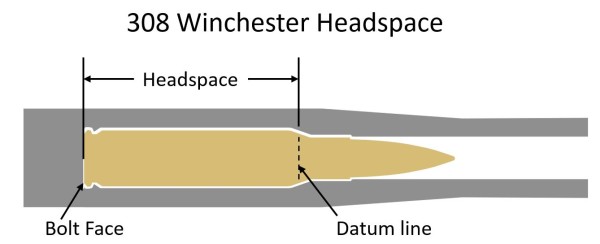
The term “headspace” can refer to the rifle’s chamber dimensions, and the distance between a cartridge’s shoulder and its case rim. For precision rifles, there’s typically very little difference between cartridge headspace and chamber headspace.
Now let’s talk about some different methods to measure headspace!
Method 1: Hornady Headspace Tool and Variants
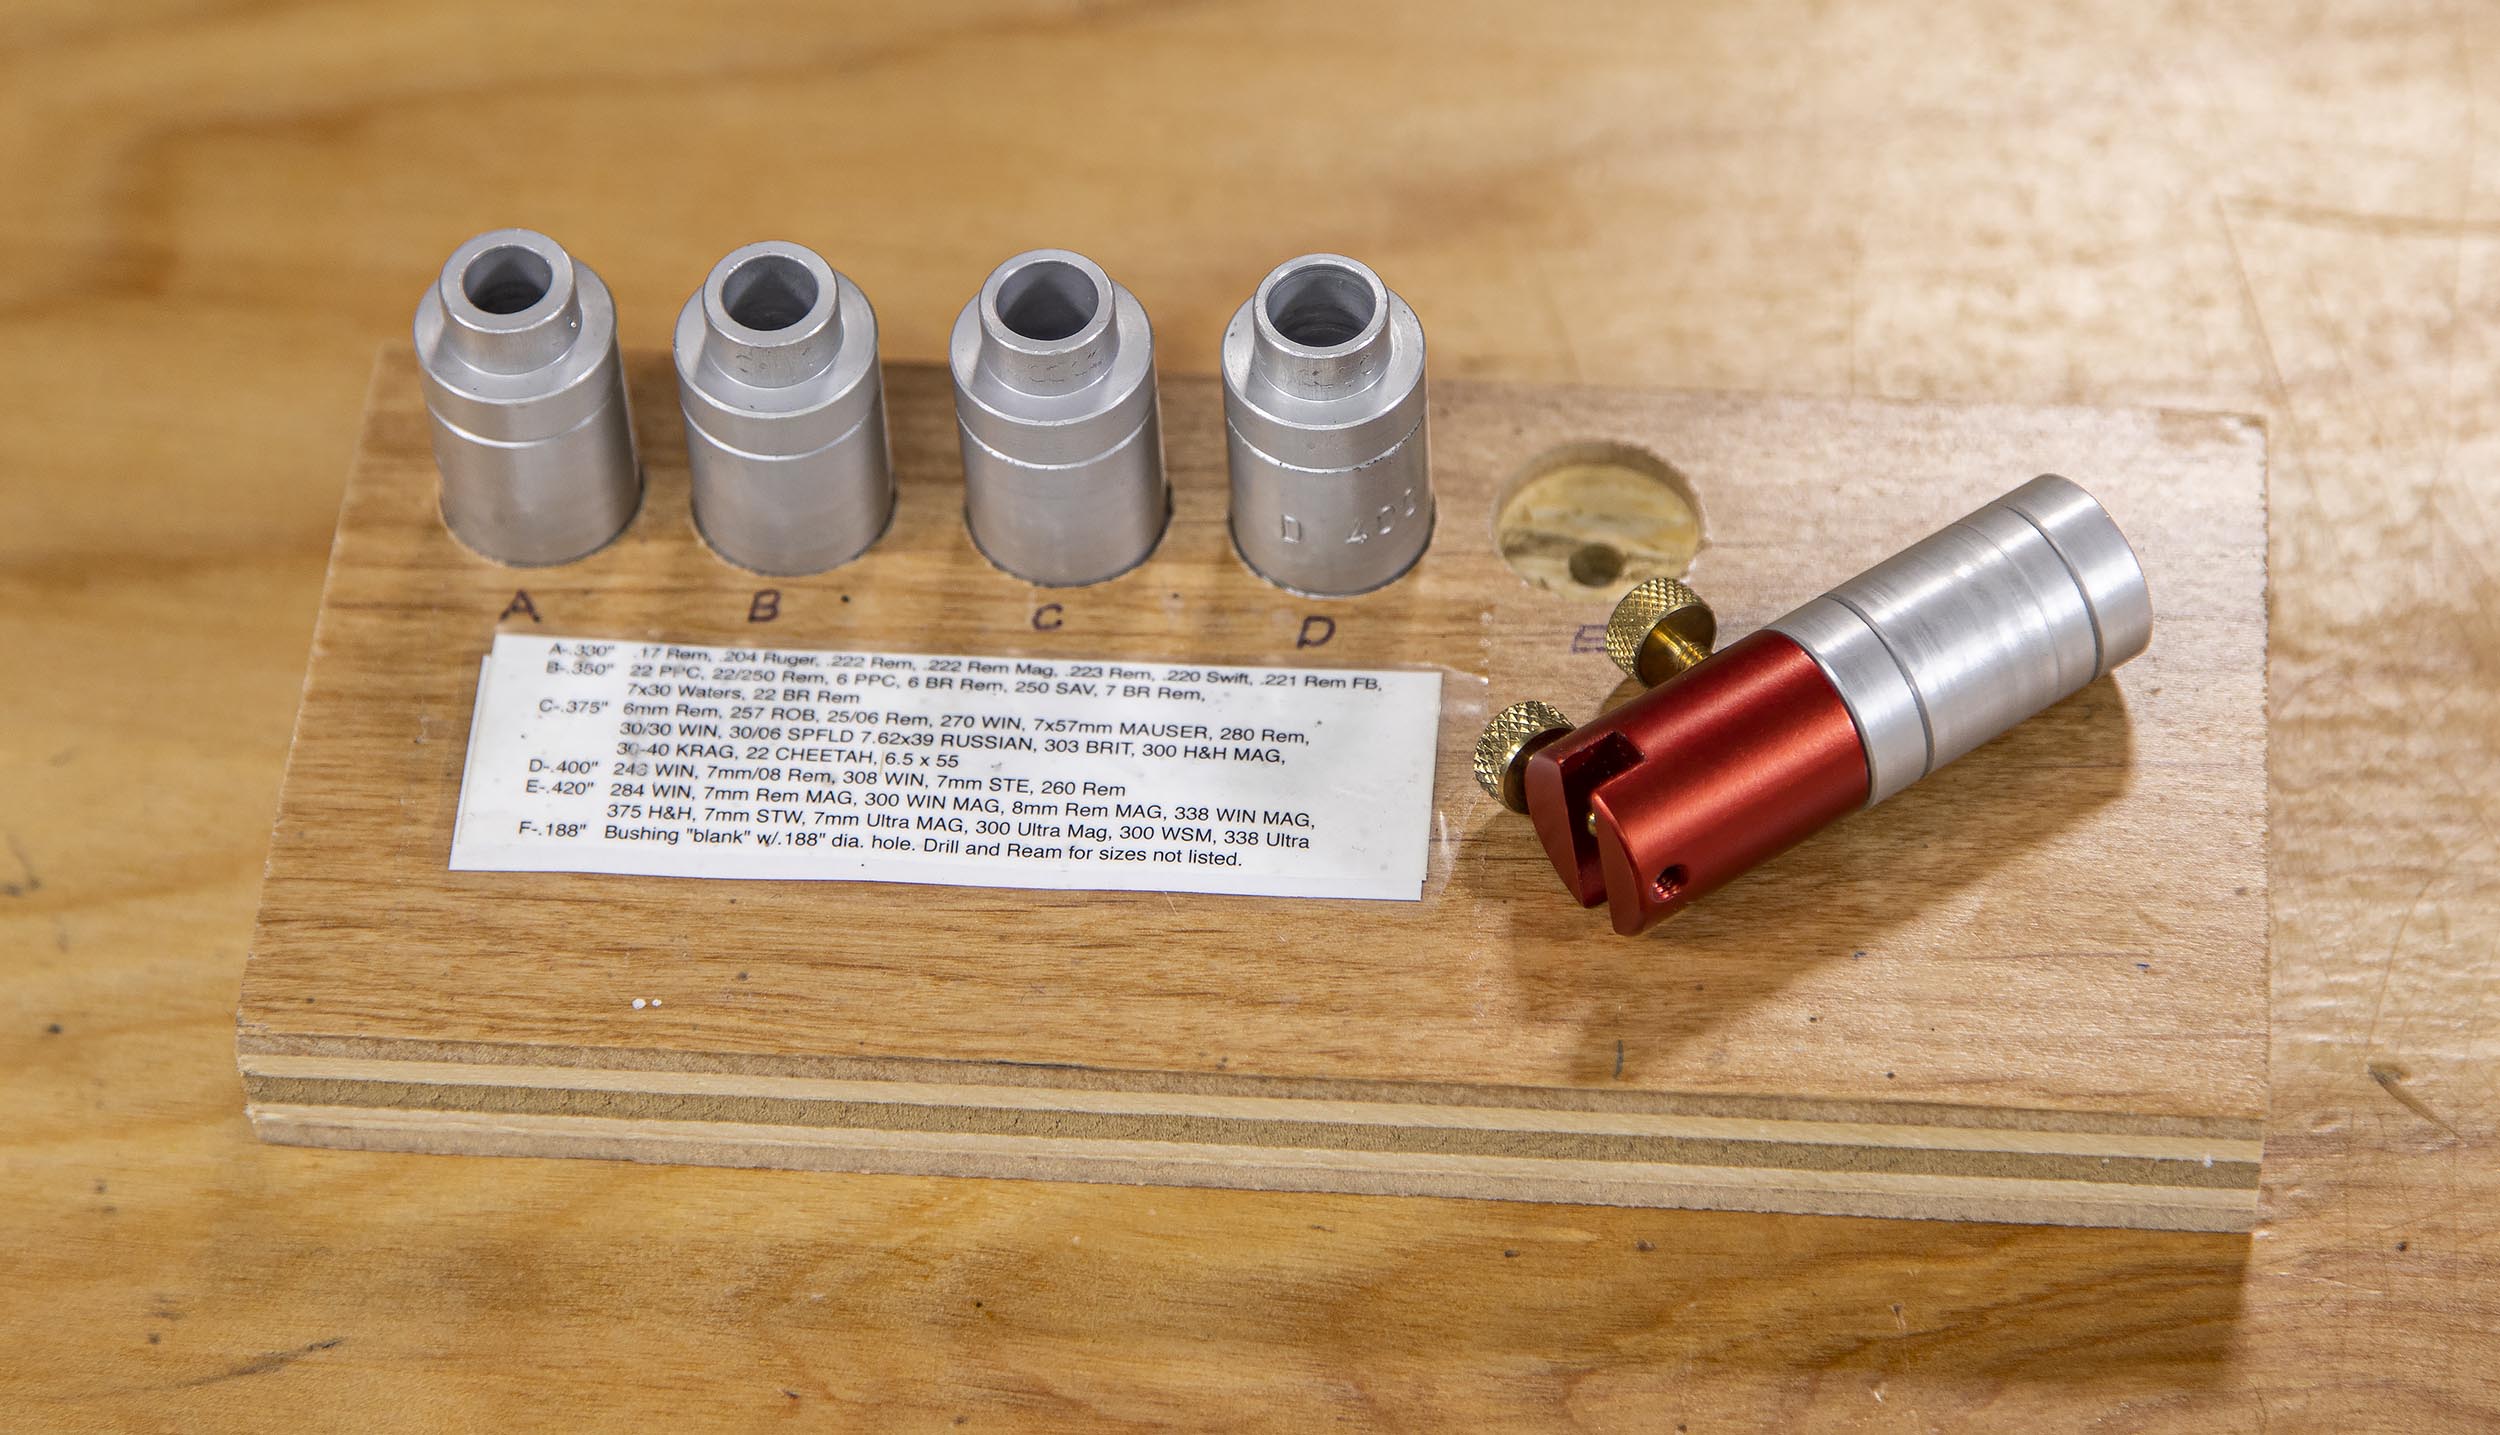
Above: Hornady Headspace Comparator Set with custom plywood rack
The Hornady Headspace Comparator Gage is a simple tool: you clamp it onto your digital calipers and read the “base to datum” value for a given headspace gage, shellcasing, or cartridge under test.
Here’s a picture of measuring headspace using a headspace gage:
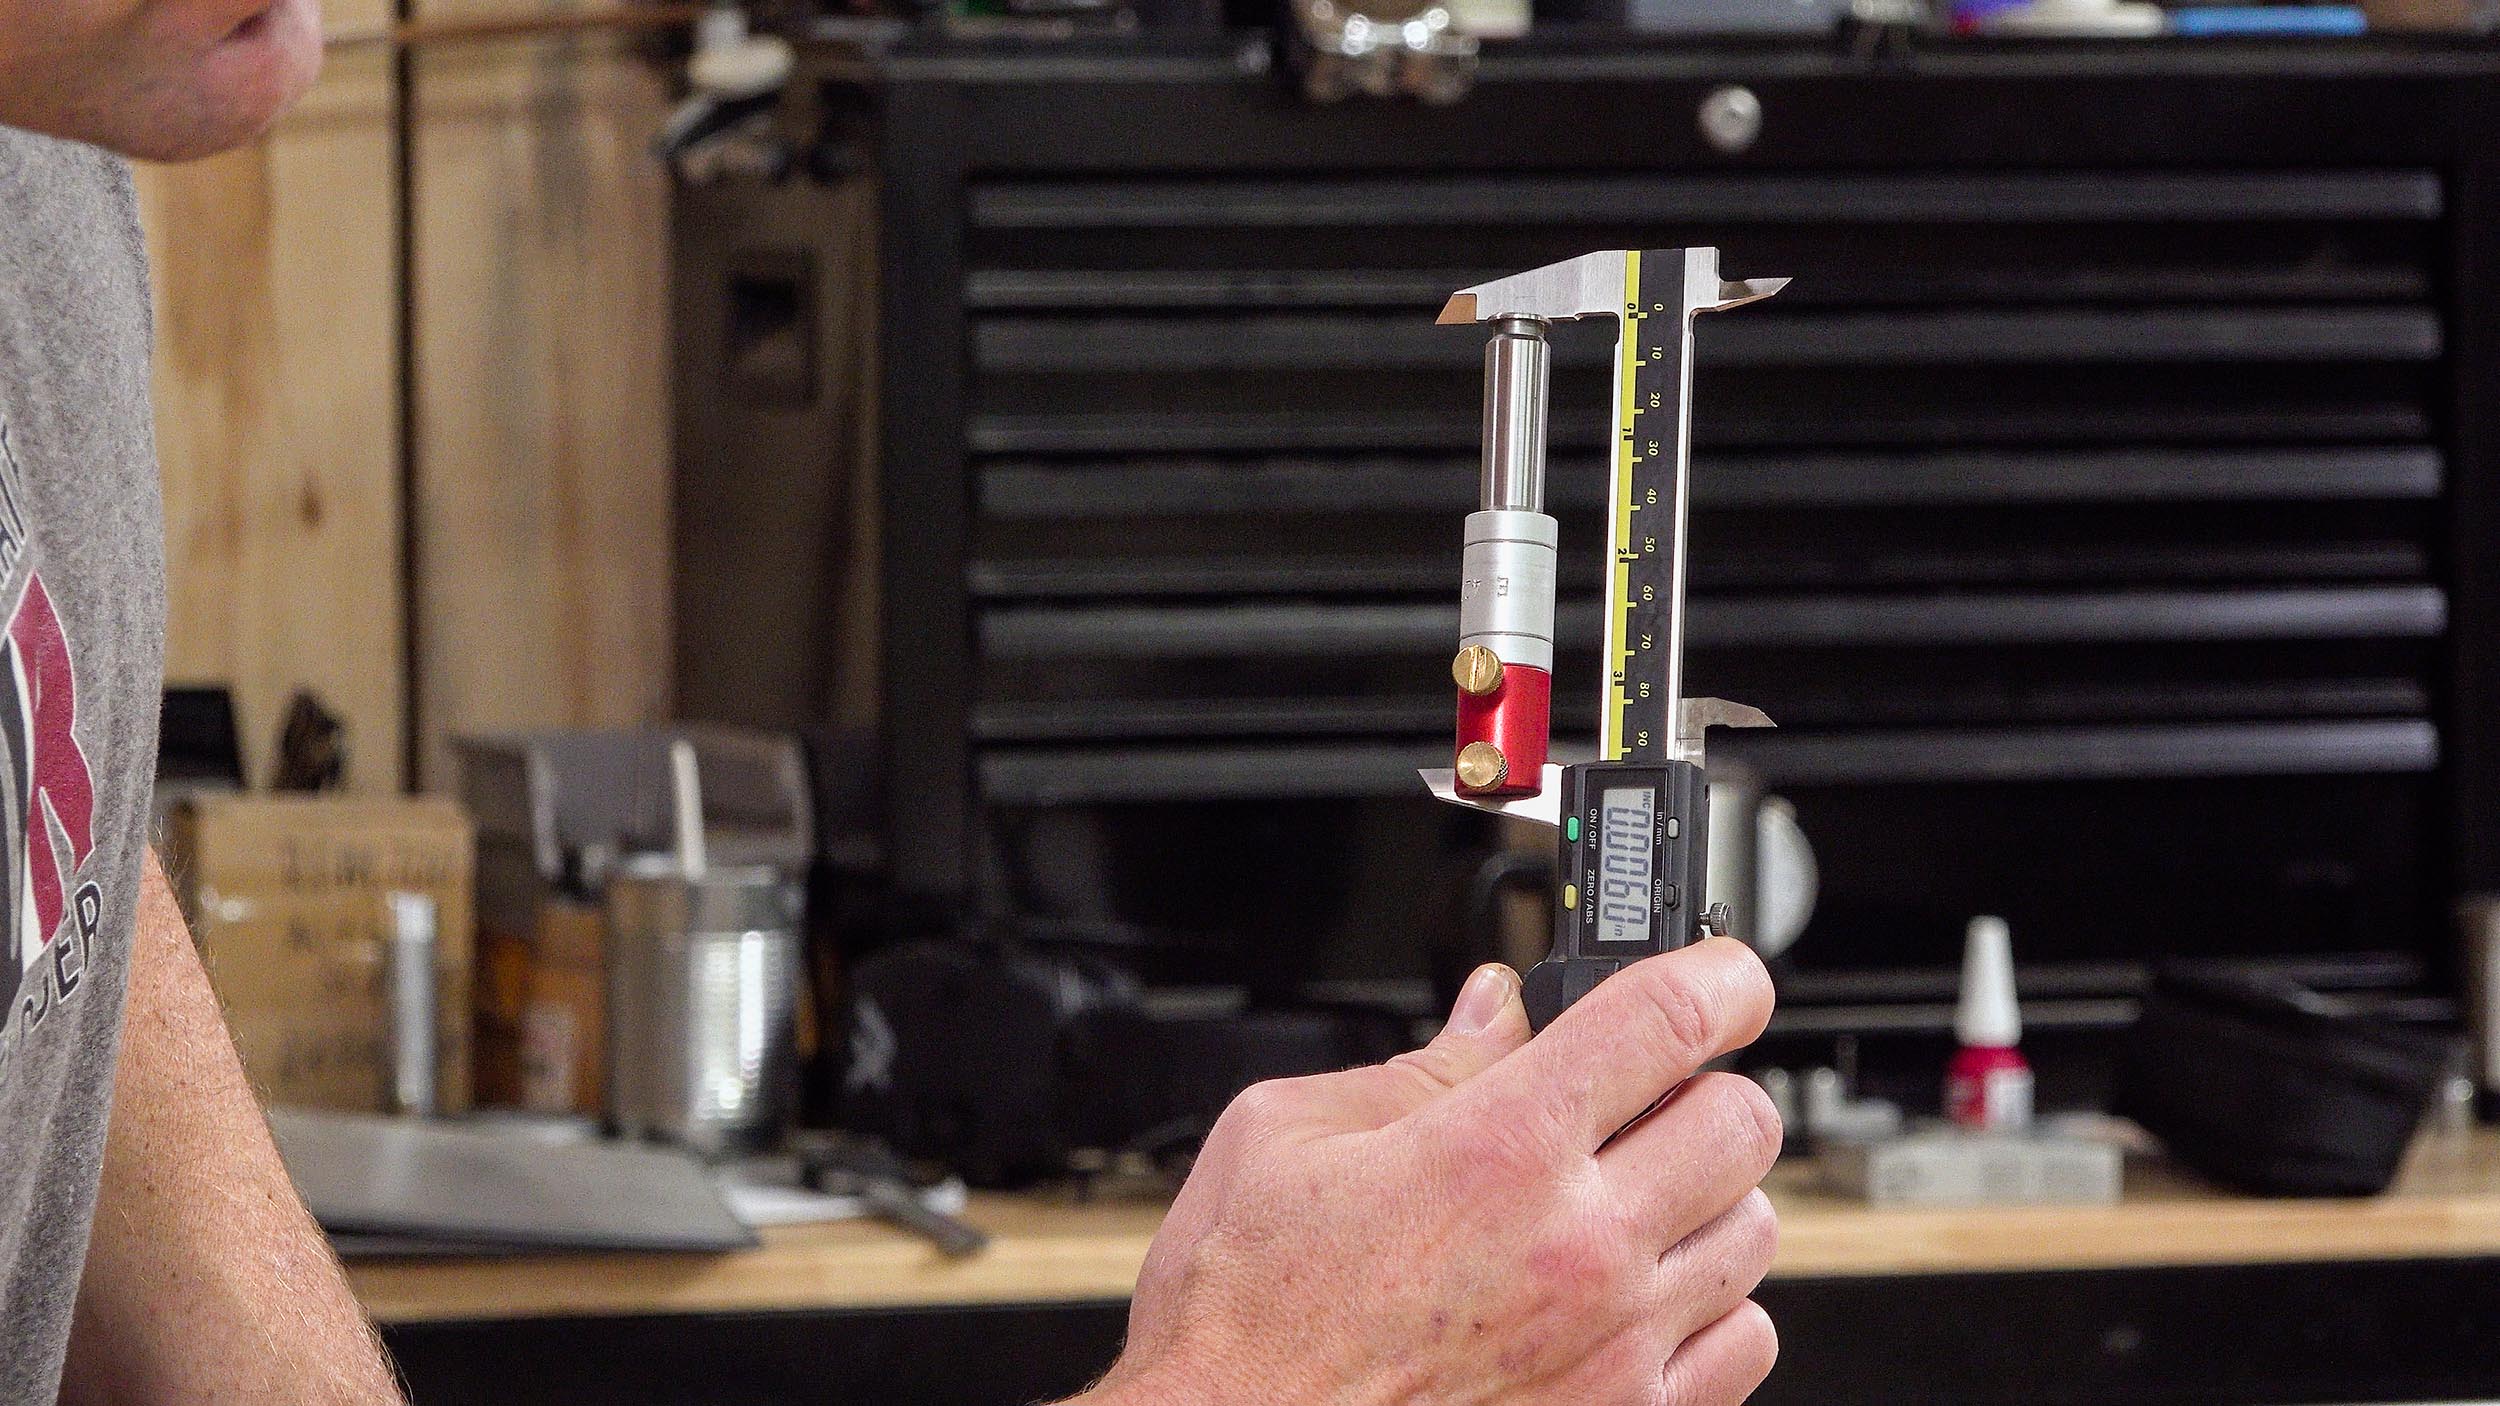
With this gage, you can test both absolute (actual base-to-datum) headspace and relative headspace, like the difference between a go-gage and no-go gage, or a specific shoulder bump value for a sizer die setup.
Pros
- Can measure absolute headspace (base-to-datum)
- Affordable
- Works with your digital calipers
Cons:
- Sharp edge around insert (mouth/hole) is susceptible to slight inconsistency and is fragile
- Allen key is required to change inserts (unless you upgrade screws like I did)
- Bullet comparator set is similar, but sold separately
There are other tools that work this same way, such as:
- DIY solutions, a bushing with a hole drilled in the center (see video)
- The Forster Datum Dial which has the same operating principle, but holds multiple reference diameters on a circular dial, see below
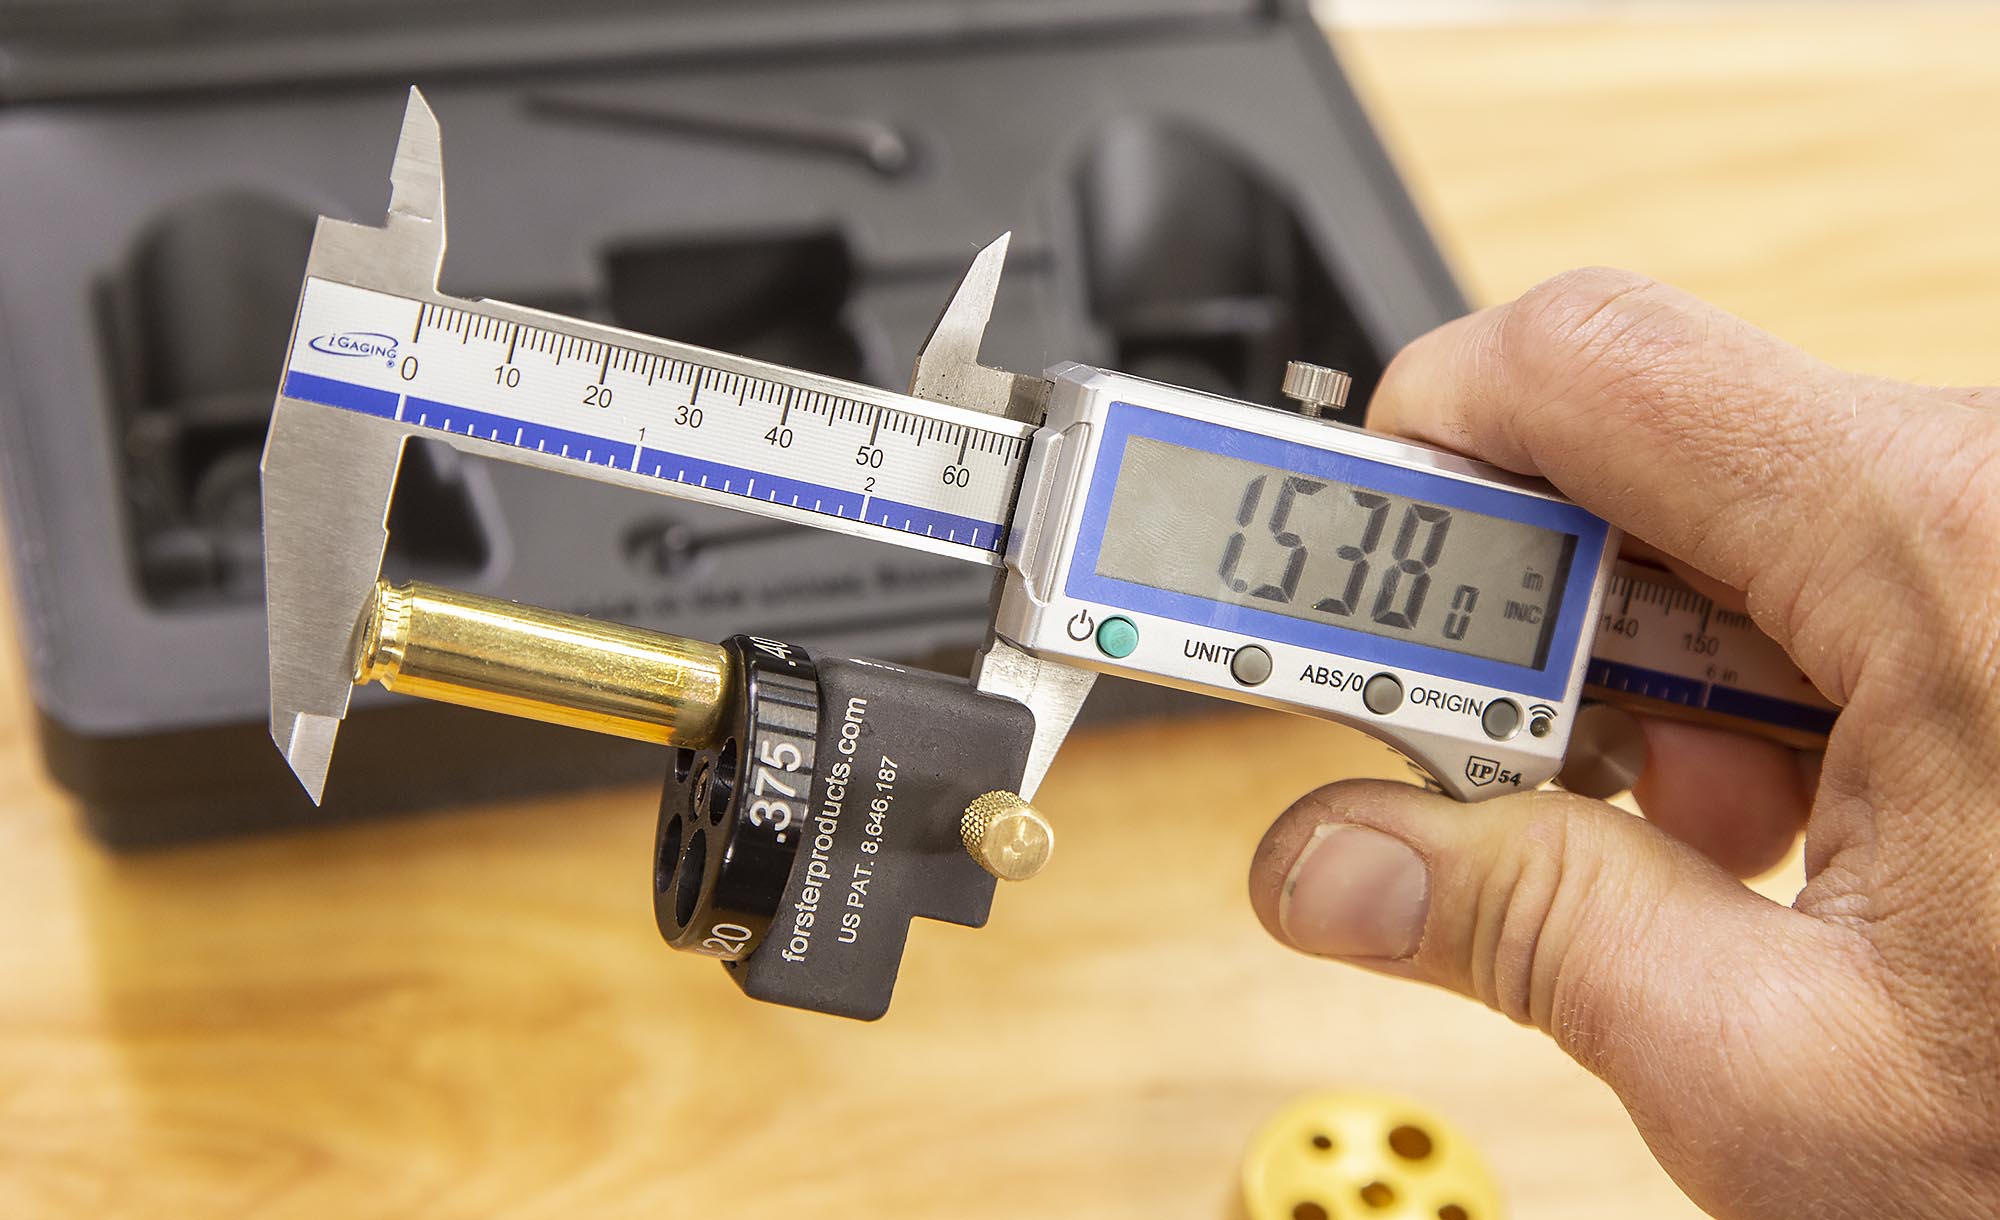
Above: Forster’s datum dial which can be used for both bullet seating depth as well as headspace measurements.
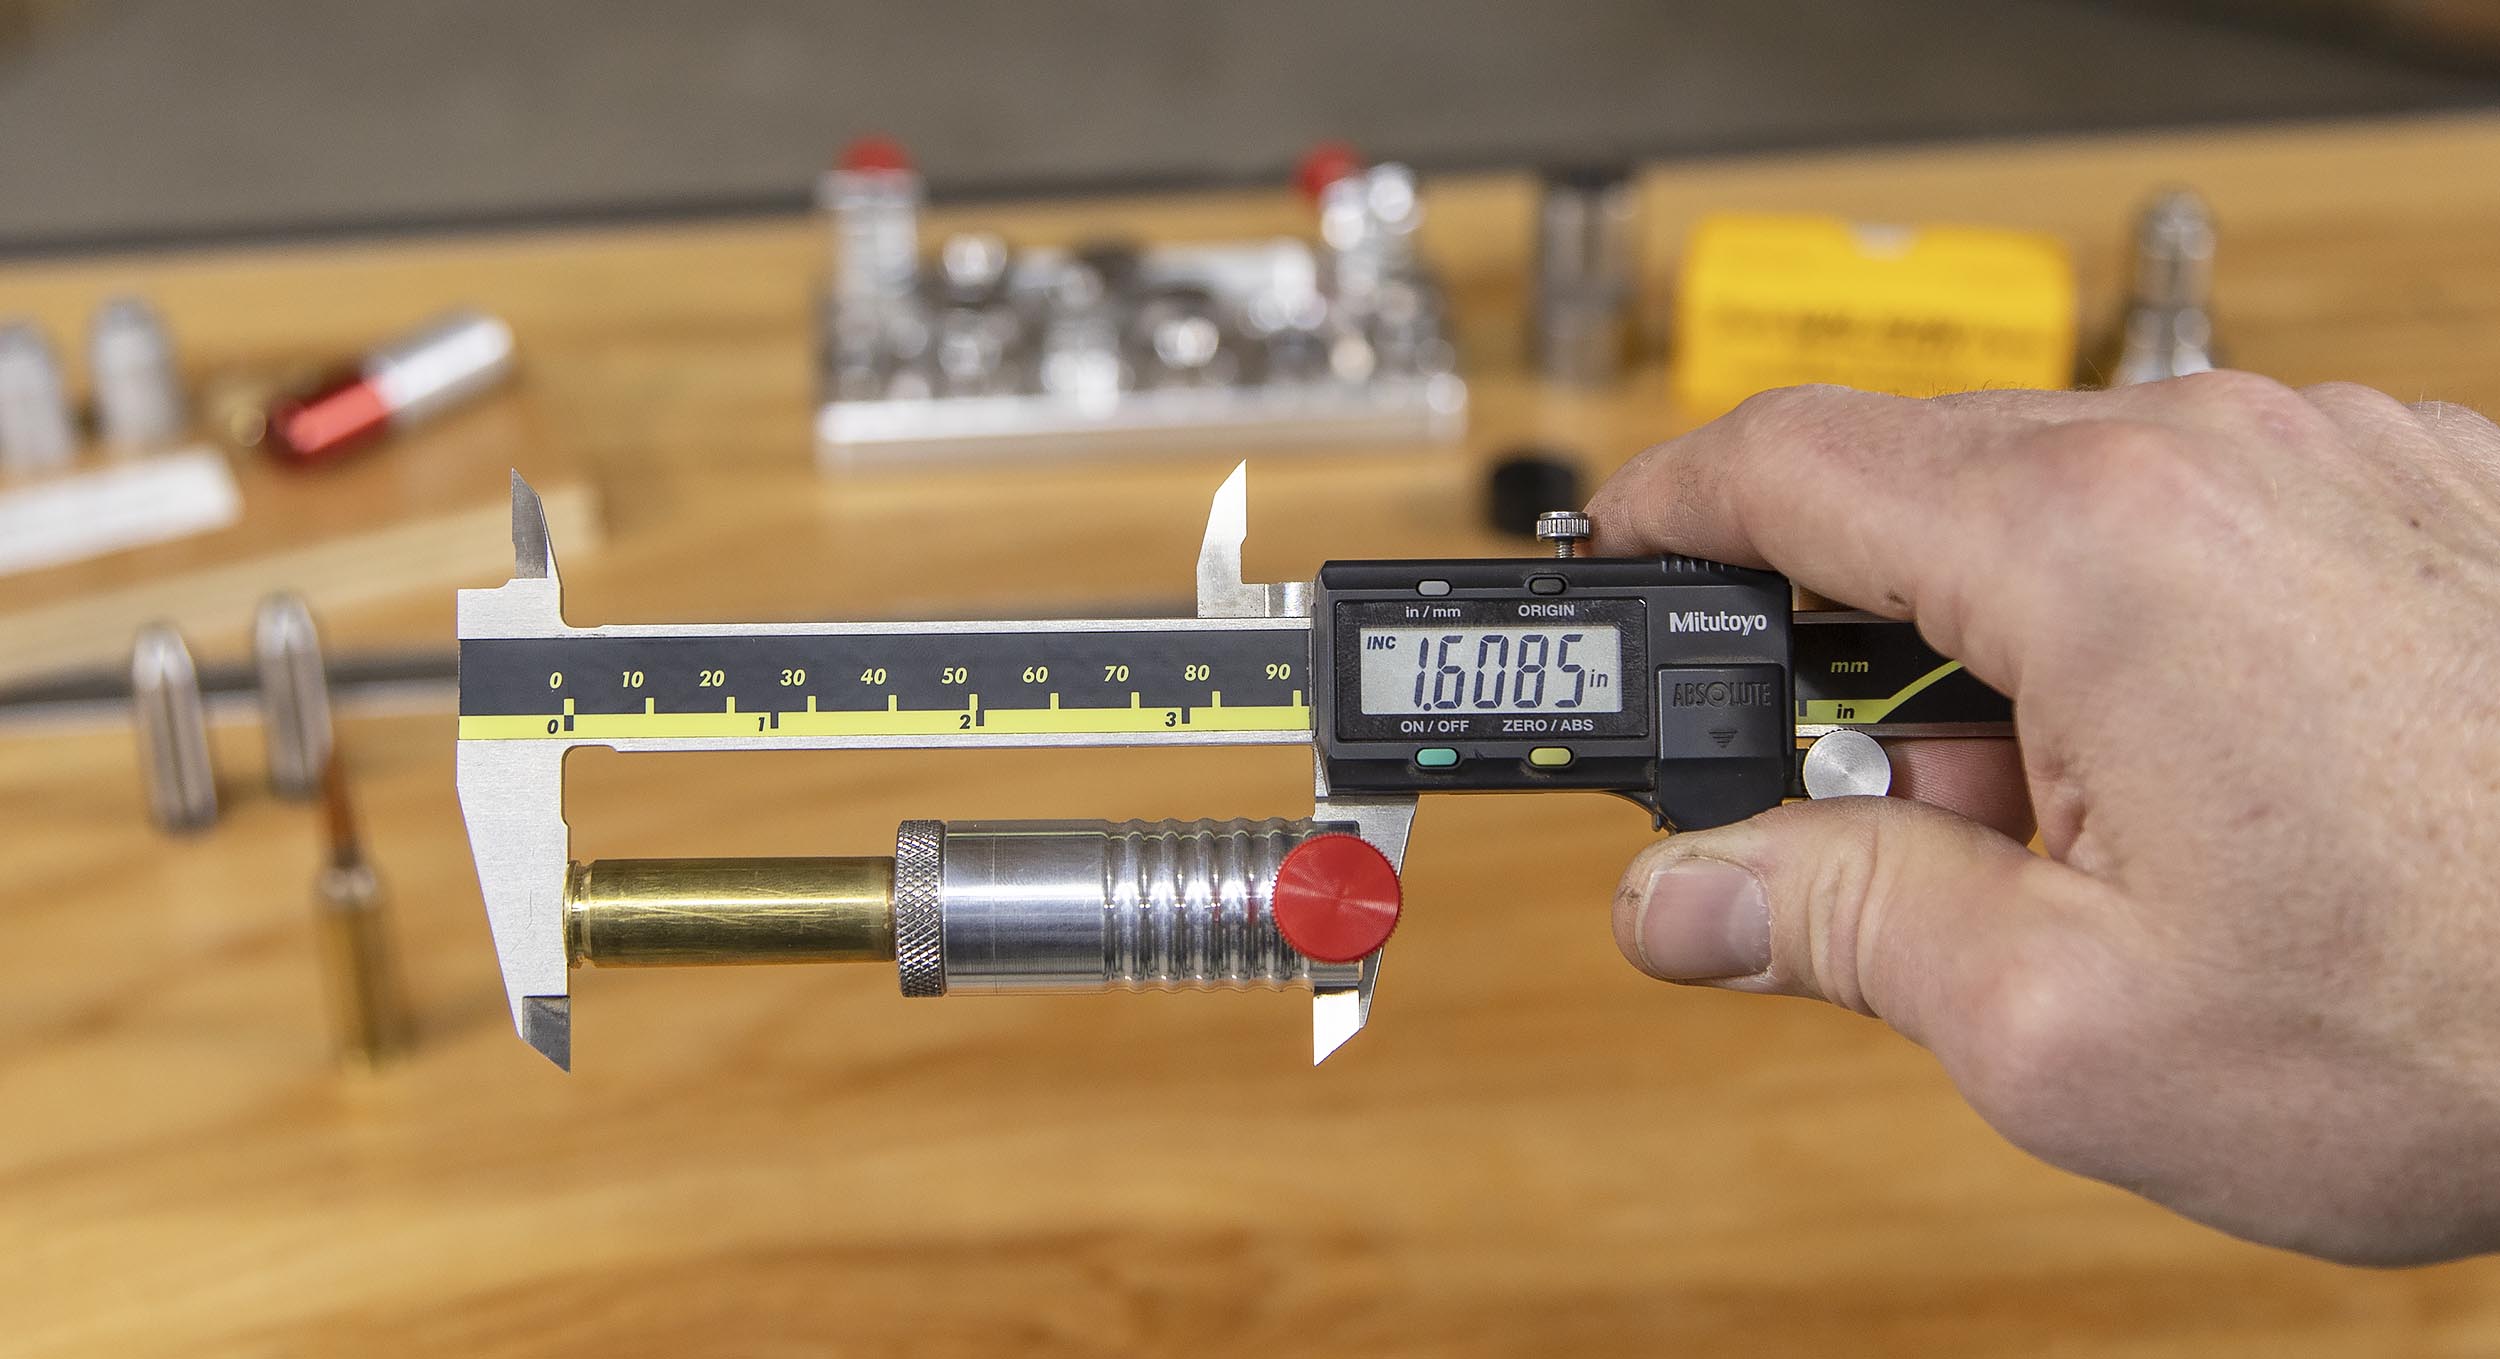
Method 2: LE Wilson Case Gage Micrometer
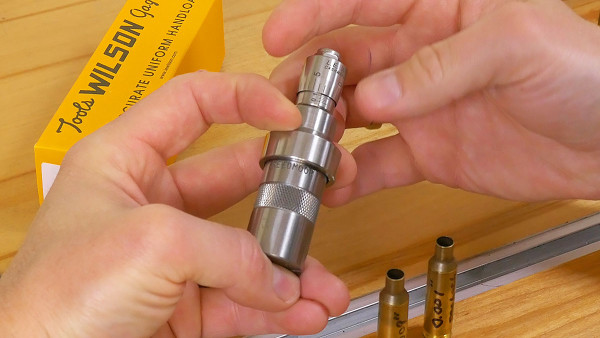
L.E. Wilson has a product which enables you to use your existing L.E. Wilson case gages to validate and measure your sizing die setup. It’s called the L.E. Wilson Case Gage Depth Micrometer. With this tool, you can take precision readings of the depth of the back of the case rim relative to the back surface of the case gage.
Here’s a video showing how this micrometer is used:
Pros
- Quality/finish
- Works with your existing case gages from LE Wilson
- Best emulation of rifle chamber
- Comes with gage block for setting zero
Cons:
- More expensive compared to budget tools
- Can’t be used for bullet seating depth
- Does not give direct reading for absolute headspace
Method 3: Short Action Customs Headspace Comparator
The Short Action Custom Modular Headspace Comparator Set is similar to the Hornady Headspace Comparator in operation with the following differences:
- Instead of interfacing the shoulder with a crisp hole edge, the SAC inserts have a bevel cut at the same angle as the cartridge or gage’s shoulder
- The inserts have thru-holes that are specific to neck diameter
- The inserts snap into place instead of being held by a screw
- The tool comes with a customer-selected assortment of inserts, and a billet aluminum tray/rack
Here’s the video showing this tool in action:
Pros
- Quality/finish/completeness
- You pick the inserts that you want
- Tool-less insert swaps
- Positive seating/repeatability due to contoured inserts
Cons:
- More expensive compared to budget tools
- Does not give direct reading for absolute headspace
Conclusion
Each of these tools has pros and cons! It’s likely that you’ll want to have a couple different types of tools on hand to take headspace measurements, especially if you’re doing any gunsmithing. I hope this guide has provided some valuable insights!
Get the Gear
Here’s links for the products shown:
- Hornady Headspace Comparator Set
- Forster Datum Dial
- L.E. Wilson Case Gage Depth Micrometer
- Short Action Custom Modular Headspace Comparator Set
Don’t miss out on Ultimate Reloader updates, make sure you’re subscribed!
Thanks,
Gavin


