I’ve been shooting A LOT lately! I’ve been working with the two 224 Valkyrie rifles I built to work up loads, and have been practicing a lot with each of these rifles. And when you’re shooting a lot of ammo, you need to think carefully about how you’re loading all of that ammo. In this case, we’re working with a long-range precision rifle cartridge. Does that mean we need to use a turret or single-stage press for this kind of ammo production? Yes and no. Read on to find out more!
Strategy
As I explained in the video- for 224 Valkyrie, I’m looking for the perfect balance of speed and precision when it comes to loading ammo. I’m a huge fan of loading rifle ammunition on a progressive press, but you can’t load precision ammo on a progressive the same way you load “plinking” ammo and expect great results.
Here are some specific issues that can be problematic when loading precision rifle ammunition on a progressive:
- Inconsistent shoulder bump (0.001″ is ideal for bolt guns, and 0.0025″ or so for semi-automatics). I’m hoping I can find a middle value that will work great in both my bolt gun AND my AR-15
- Powder bridging and clogging due to lube in case neck. I’ve had a lot of trouble with this specifically when loading 22 caliber cartridges (223, 22 Nosler, etc). The powder sticks to the lube, and clogs in the neck and drop tube. Sometimes you’ll get a “shower” of powder after the cartridge is lowered in the press.
So when I reload previously fired brass for 22 caliber cartridges, I like to do the following:
- Clean cases
- Lube cases
- Size and de-prime on a single stage or turret
- Check case length, trim if necessary
- Clean lube off the cases
- Finish loading on a progressive press
This is the work flow that I’ve adopted- obviously you’ll need to figure out what works best for you. Hopefully my workflow will at least provide some information and inspiration!
Components and Load Data
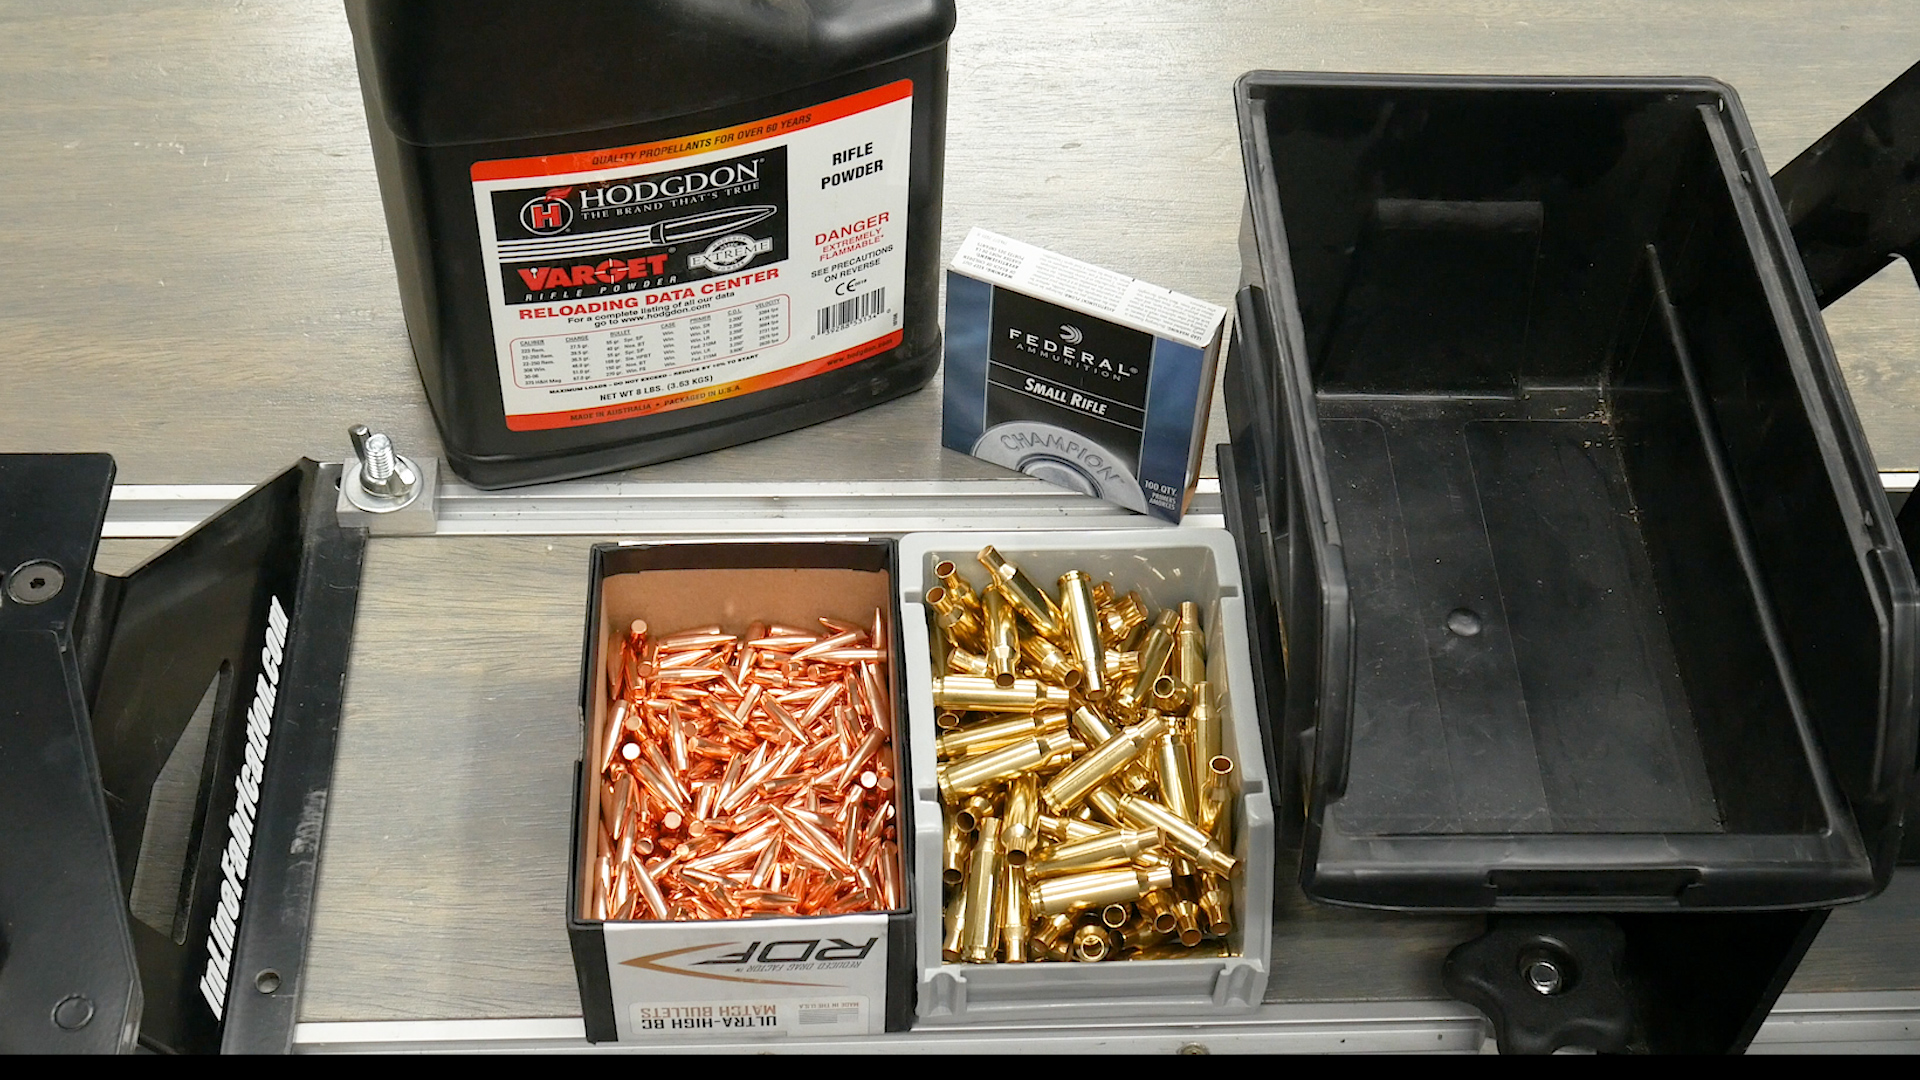
For this loading session, I’m using the following:
- New Starline 224 Valkyrie brass
- Nosler 70 grain RDF bullets
- Federal 205 small rifle primers
- 25.5 grains Varget (25.8 is max load)
Use load data at your own risk. Ultimate Reloader is not responsible for errors in load data on this website. Always cross-reference load data with manufacturer’s published data.
Press Setup
My RCBS Pro Chucker 7 was already setup for 223, so I decided to use it for 224 Valkyrie. A couple tweaks were necessary:
- Changing out the shellplate (224 Valkyrie uses a 6.8 SPC shellplate, RCBS #19)
- Changing out the dies
- Adjusting powder measure height (224 Valkyrie cases are slightly shorter)
- Adjusting powder charge
Here’s the die station utilization:
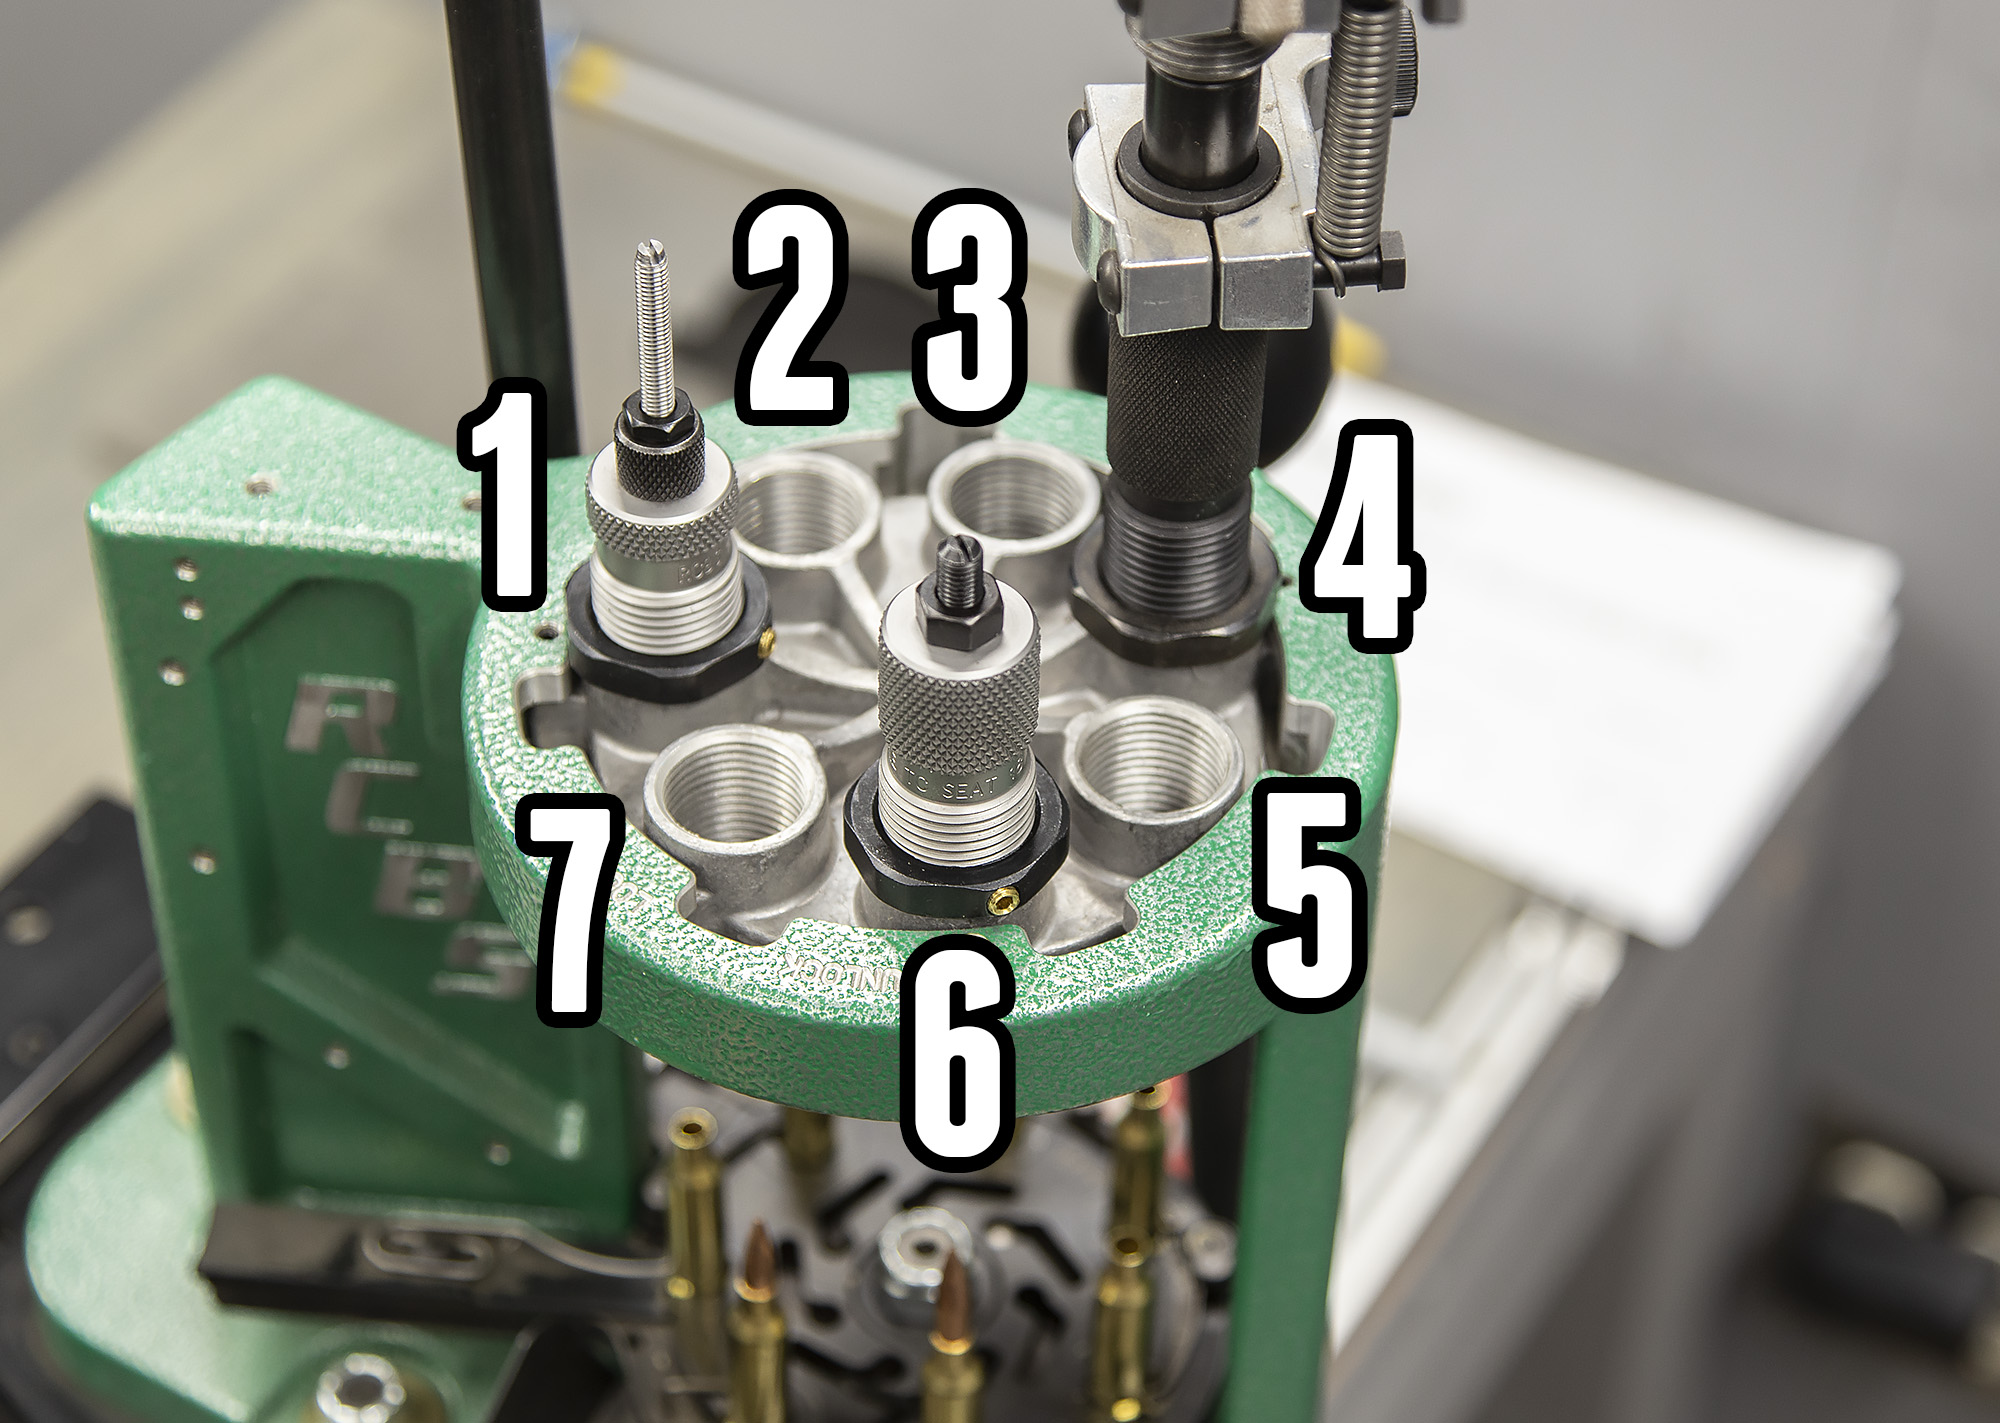
Above we have:
- Sizing/de-priming (die elevated, only using for expander ball for new brass)
- Empty
- Empty
- Powder charge
- Empty
- Bullet seating
- Empty
We could definitely use a powder check die in station #5, but with this load, a visual check is easy.
Here’s a look at the press ready to roll:

Equipment summary:
- RCBS Pro Chucker 7 reloading press
- RCBS Pro Chucker 7 #19 shellplate
- RCBS .224 Valkyrie 2 Small Base T/C Die Set
Yes, But Does It Shoot?
A lot of guys will tell you (imagine a grouchy sea captain voice): “If you want accurate ammunition, you HAVE to load it on a single stage”. I simply don’t believe this! I think it’s more about deciding WHERE to focus your energy, and the critical details you have to pay attention to (this does not include cleaning primer pockets for me 🙂 ).
I used this press setup for what I’ll loosely call “Hybrid OCW and 10-shot load development”, and the results were great. In fact, here’s evidence that my RCBS Uniflow powder measure is plenty accurate for the job:

That’s right- an AR-15 shooting a 5-shot group with an SD of 7.0 FPS, I’ll take that any day! It turns out, this load has worked great in both the Remington 700 224 Valkyrie rifle I built, and in the 224 Valkyrie AR-15 I just finished, both with top-quality Benchmark barrel blanks.
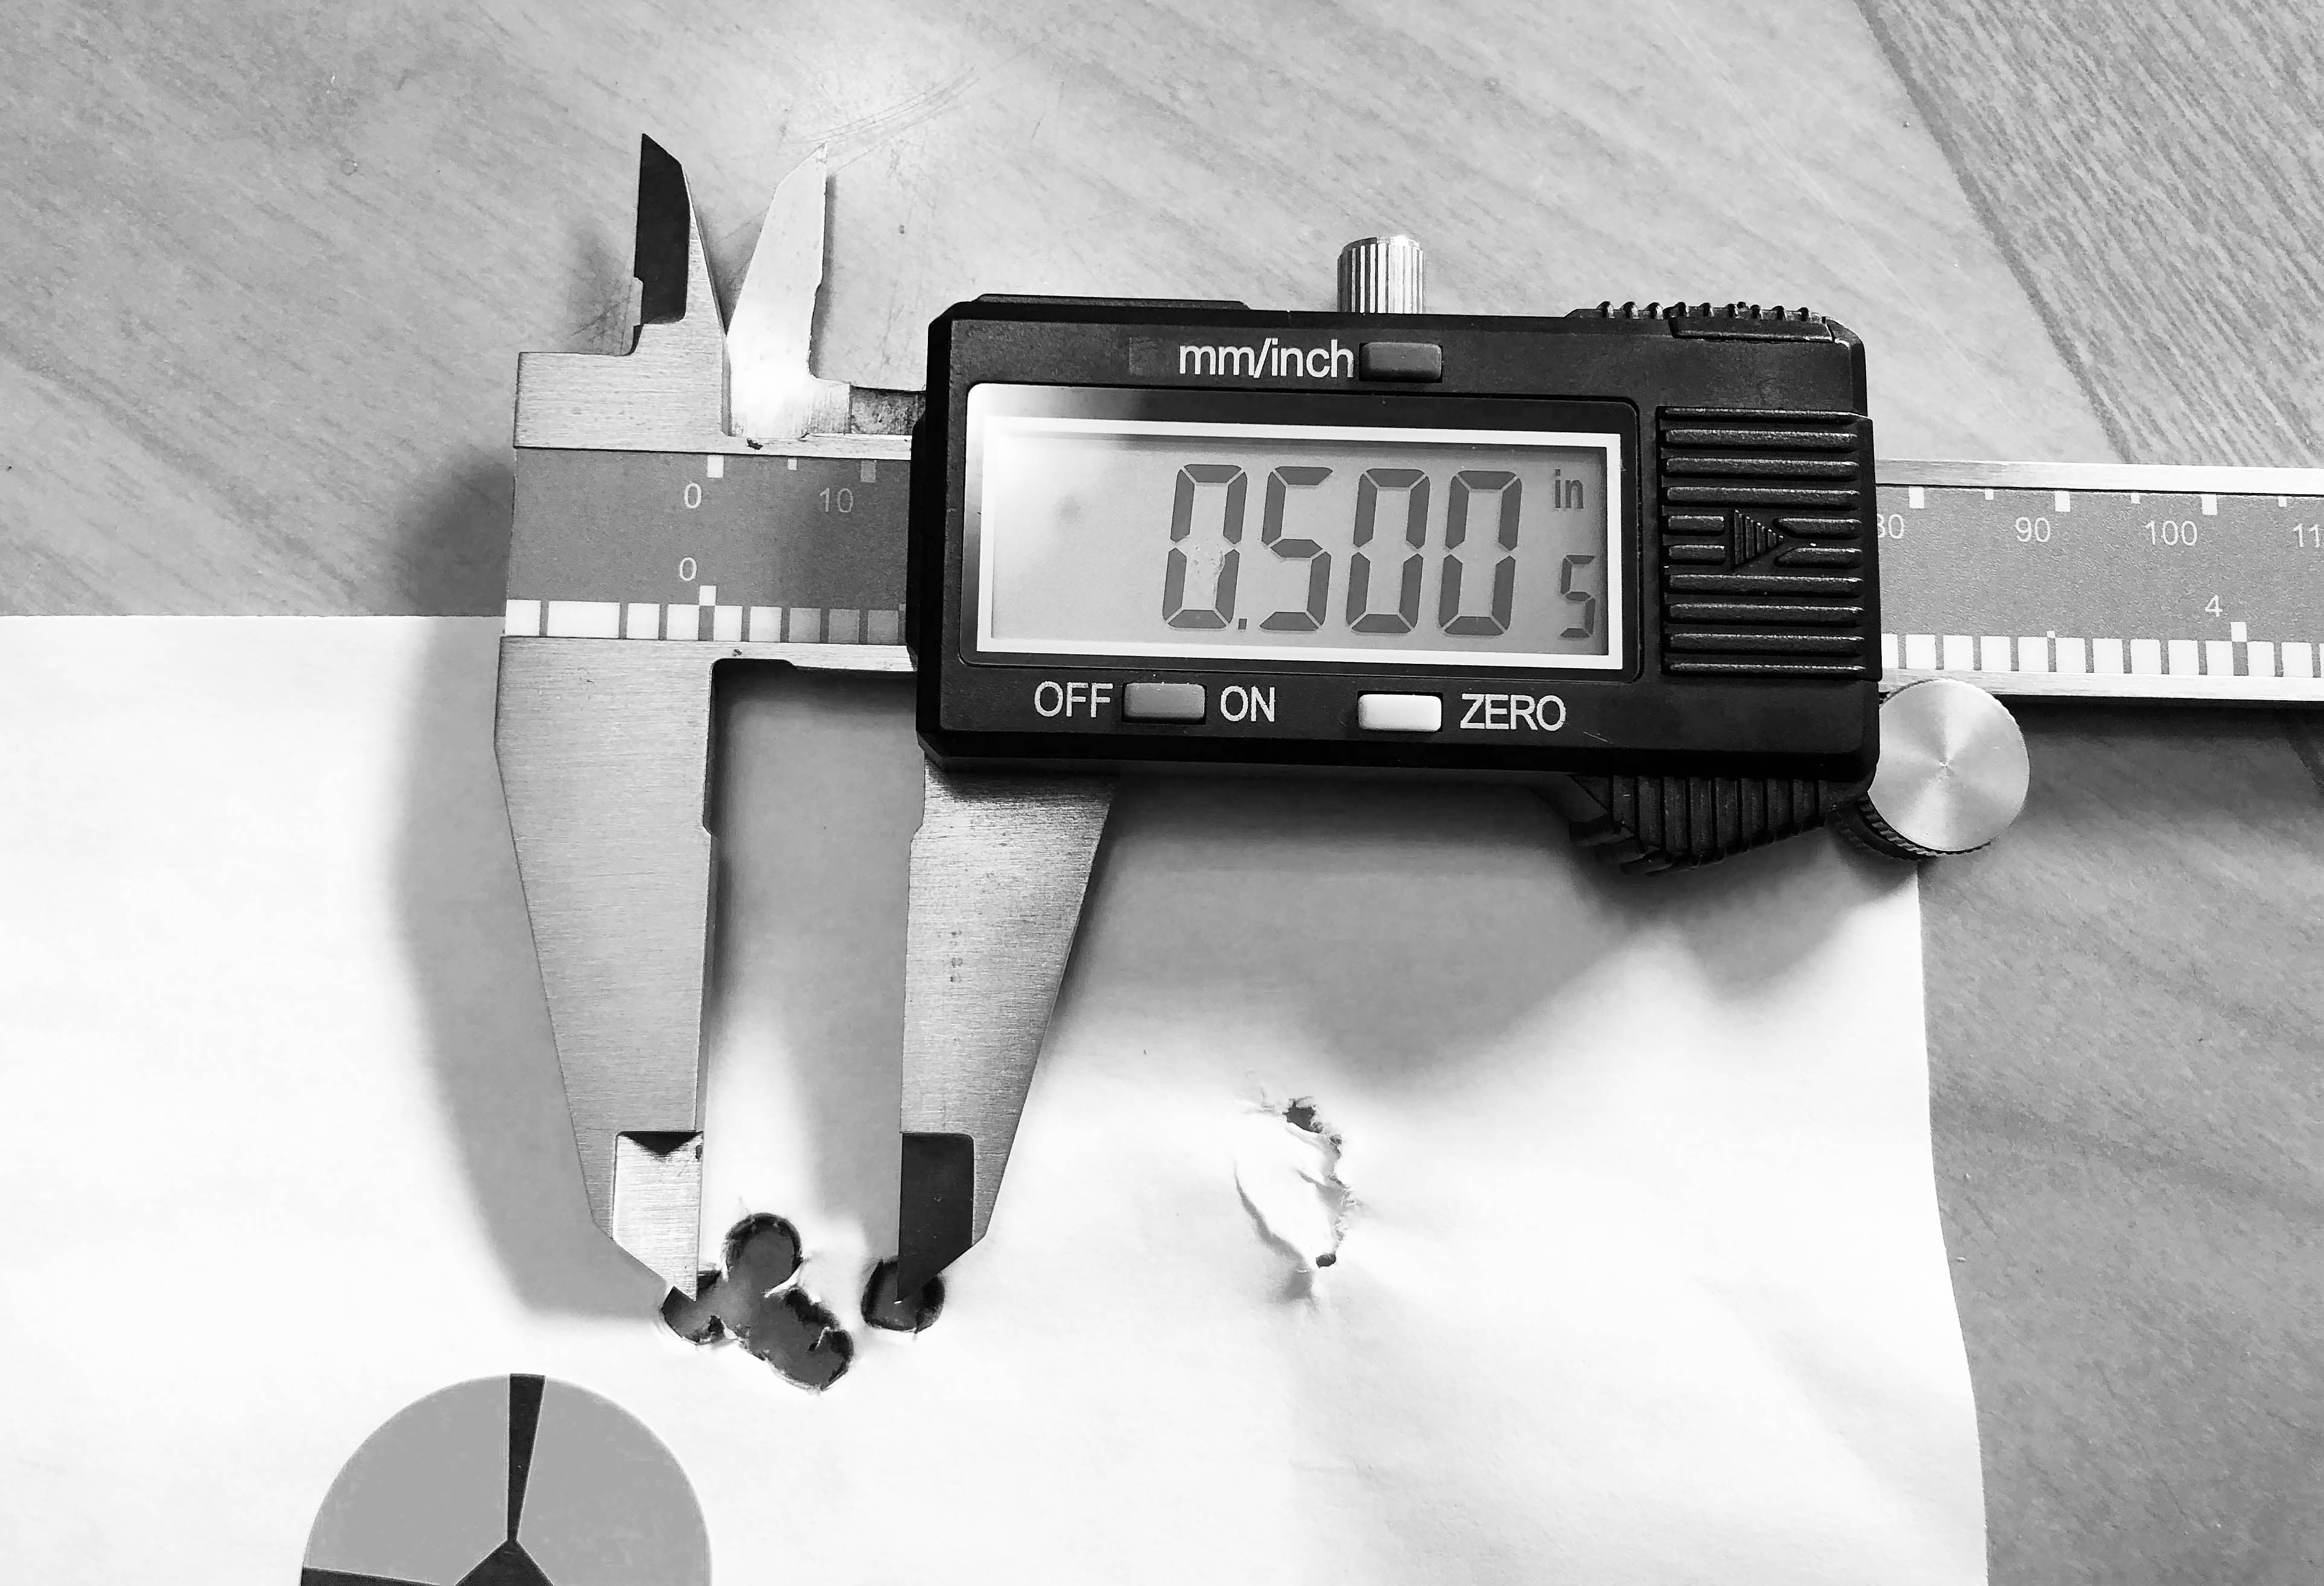
Here’s a sneak peek of my results with this load and the AR-15:
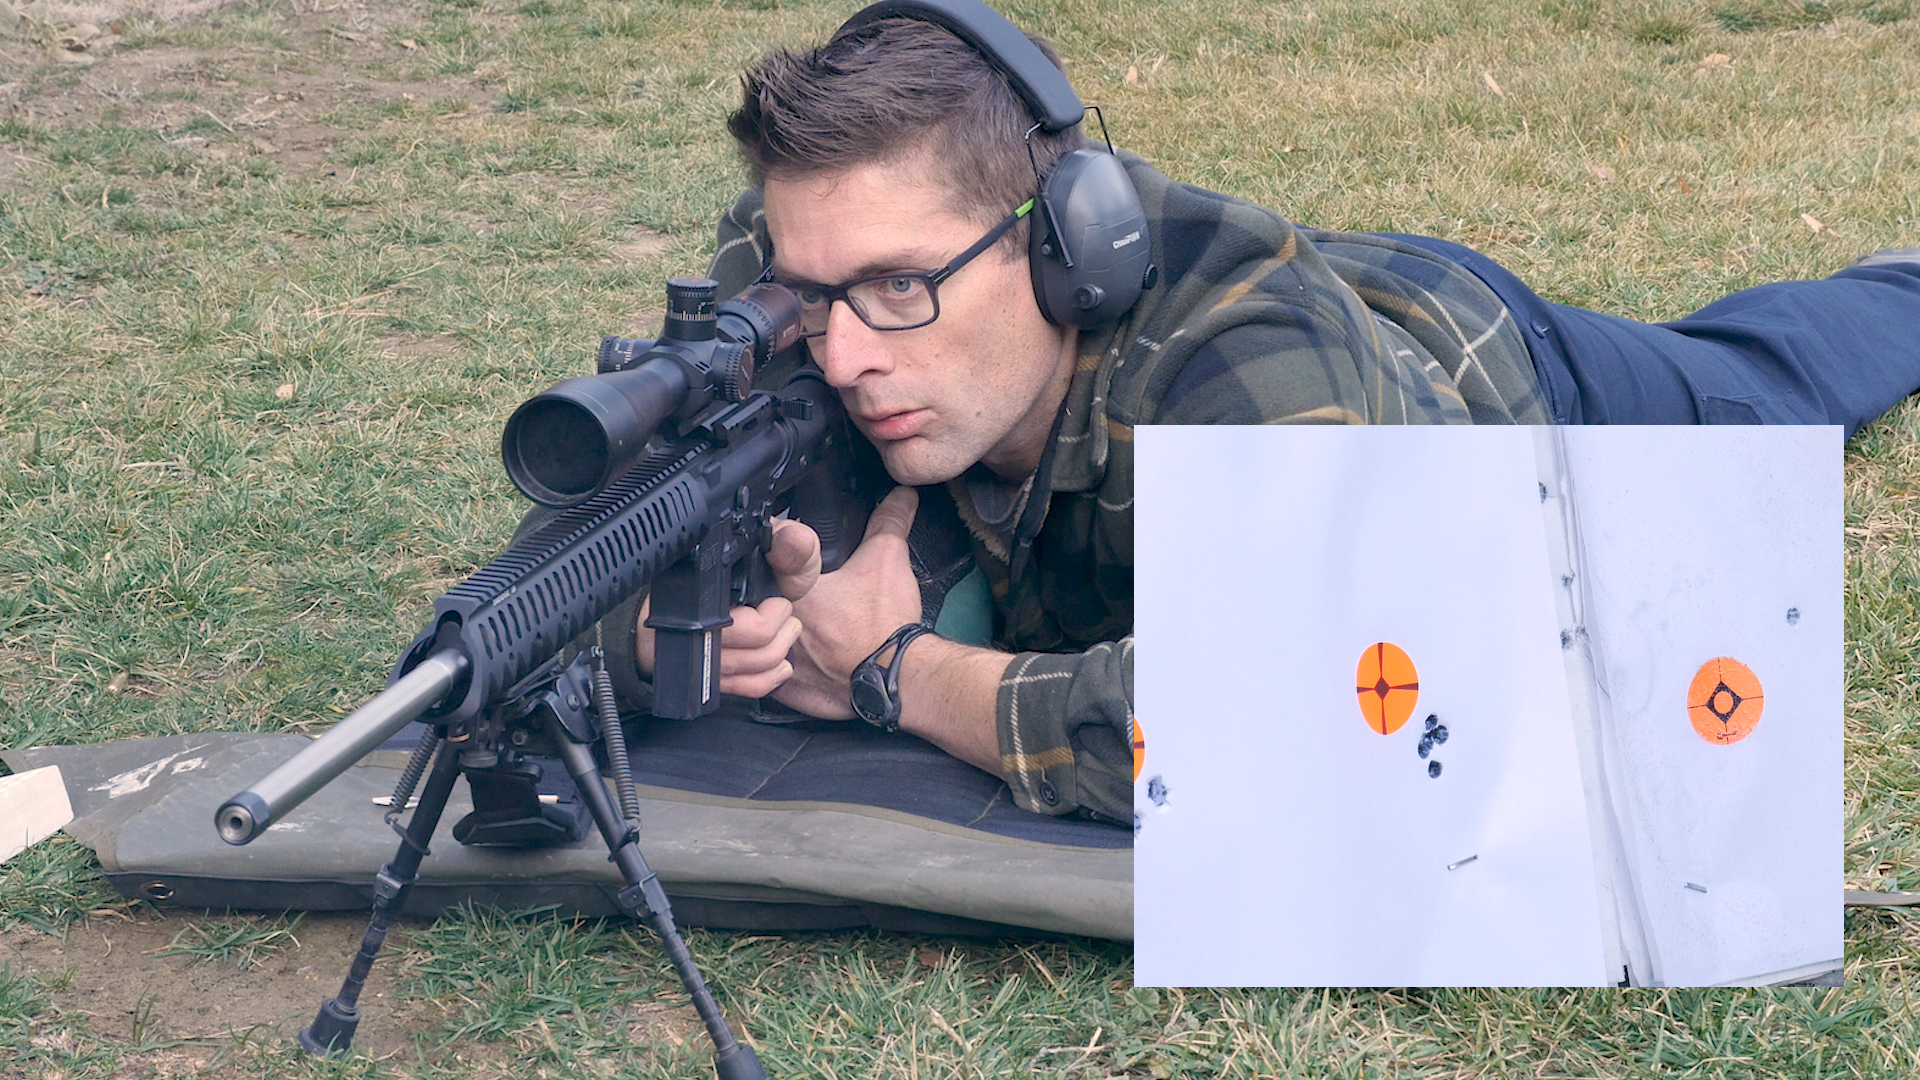
That’s kind of a scary “game face” (Blue Steel?). 🙂 My goal with the AR-15 for 224 Valkyrie was to consistently shoot ~ 1/2″ groups, and with this load, I can do that!
I’ll elaborate more on this load development story in a subsequent post and video!
Notes
The RCBS Pro Chucker 7 has worked great for 224 Valkyrie, and I’m glad I have it setup for all of the subsequent loading sessions I’ll be performing to keep the 224 Valkyrie ammunition stocked. If anyone tells you that you shouldn’t load precision rifle ammunition on a progressive- don’t believe them (unless you are in the middle of a benchrest competition- haha). I still load precision ammunition on a single stage (or turret), but only when I need more control and precision. Examples include 10-shot load development, hard-core match shooting, detailed chronograph work, or other testing scenarios. I still need to test bullet runout and seating depth consistency with this setup, but it has worked great for the AR-15 shooting I’m doing.
Do you load precision rifle ammunition on a progressive? I’d love to hear about your setup and your results: please leave a comment! If you’re looking for 224 Valkyrie gear and reloading supplies, check out Midsouth Shooters Supply!
Thanks,
Gavin


Great video as always Gavin. I just finished loading some 80 gr. ELD Match bullets over a few different measures of 2000-MR powder. I used the 2.260″ COAL. I thought about running some of the 73 gr ELD’s as well. So far the Berger 82 gr. BT Target bullets have grouped the best out of my CMMG upper. I should do a ladder to detect my nodes with the 2000-MR powder.