How you secure your barrel in your lathe, and the attention to detail aligning the barrel’s bore to the lathe spindle axis will both have a big effect on the outcome of your barreling work.
In this post, we’ll continue our 224 Valkyrie Remington 700 bolt-action rifle build with a focus on a few things:
- Preparing the barrel blank for barrel work
- Positioning and securing the barrel in the lathe
- Aligning the barrel’s bore axis to the lathe’s spindle axis
Series navigation:
- 224 Valkyrie Remington 700 Build P1: Planning the Build
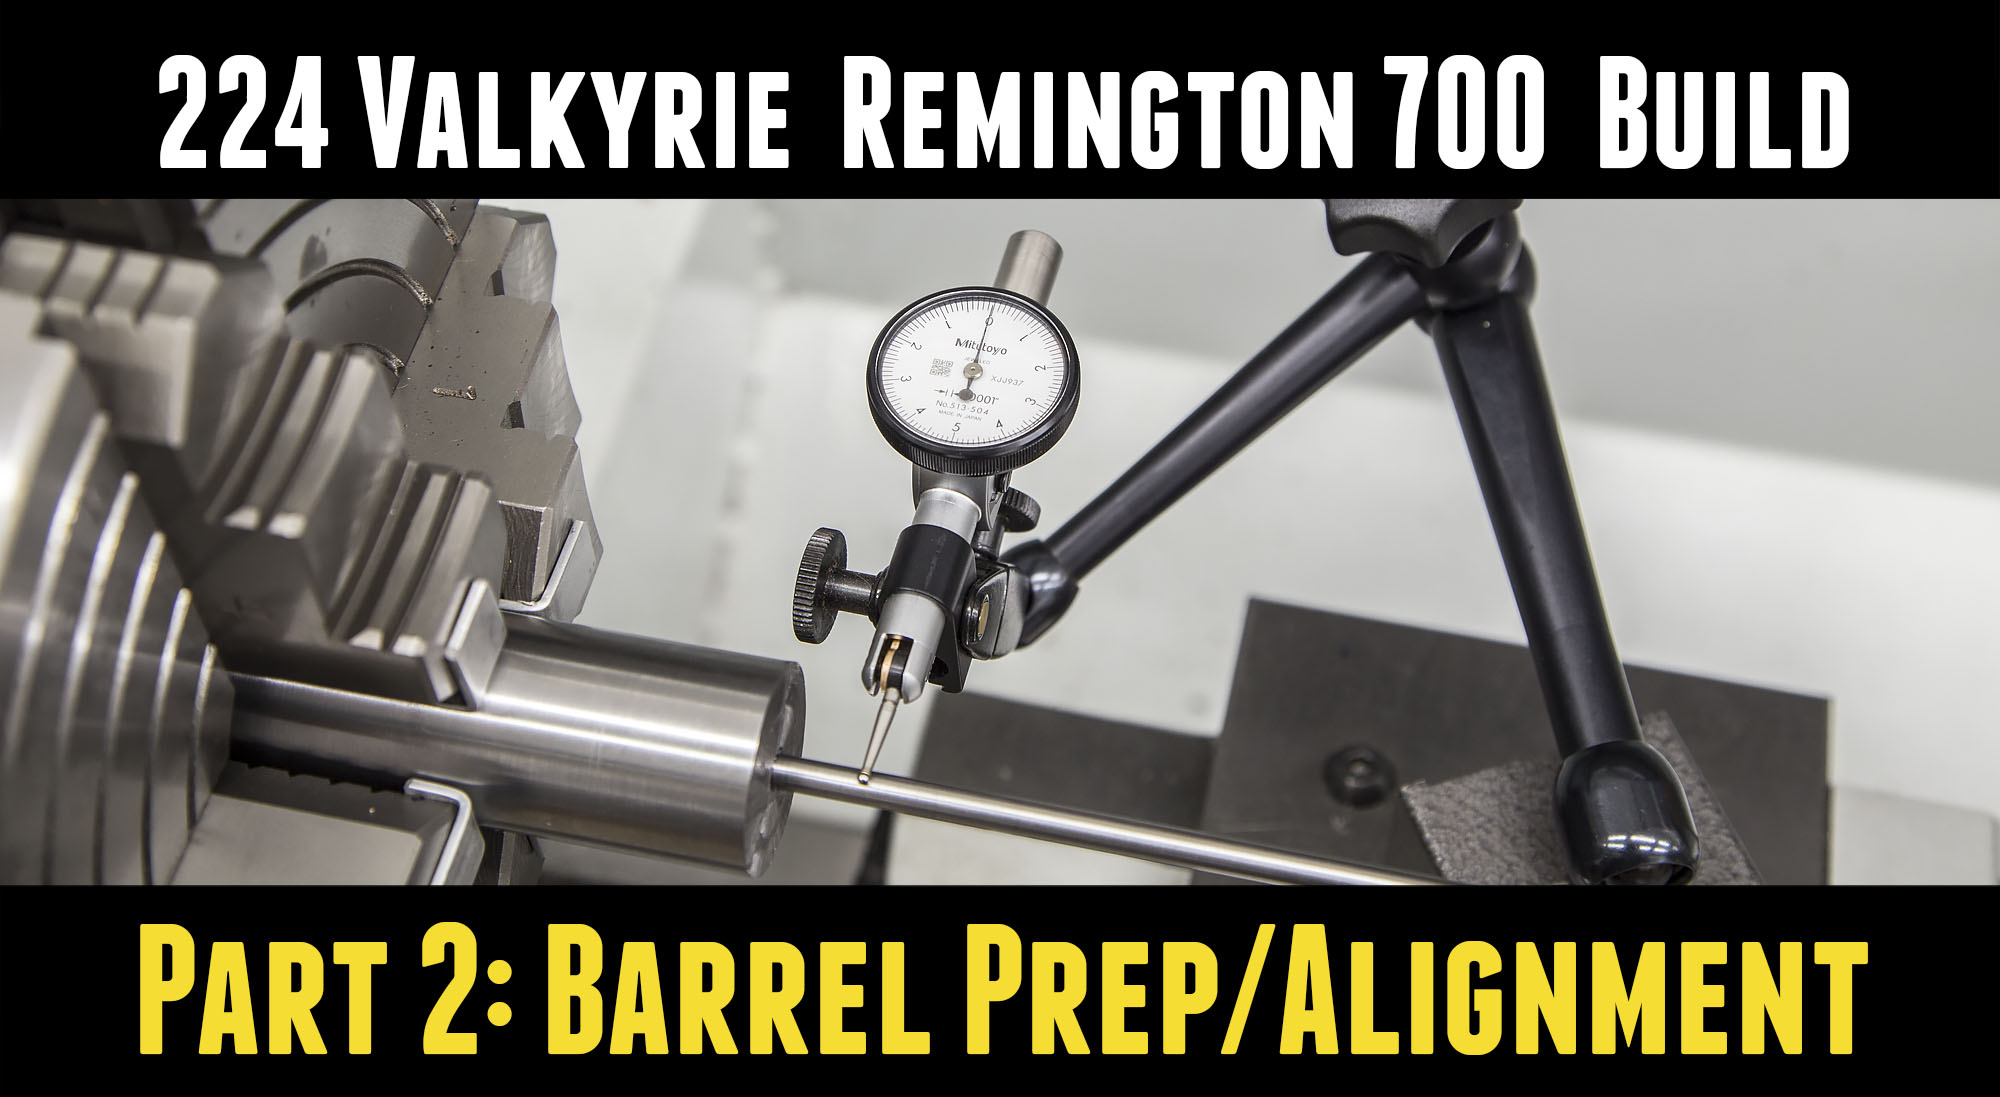
- 224 Valkyrie Remington 700 Build P2: Barrel Prep and Alignment In the Lathe (you are here)
- 224 Valkyrie Remington 700 Build P3: Chambering and Machining
- 224 Valkyrie Remington 700 Build P4: Muzzle Threading and Barrel Install
- 224 Valkyrie Remington 700 Build P5: Custom Thread Protector
- 224 Valkyrie Remington 700 Build P6: KRG Bravo Stock, TriggerTech Special Trigger
- 224 Valkyrie Remington 700 Build P7: AICS Magazine Conversion
- 224 Valkyrie Remington 700 Build P8: Barrel Break In, First Groups, First Loads
- Athlon Midas TAC 6-24x50mm HD Riflescope: In-Depth Overview
Disclaimer
Ultimate Reloader LLC / Making with Metal Disclaimer: (by reading this article and/or watching video content you accept these terms)
- The content on this website (including videos, articles, ammunition reloading data, technical articles, gunsmithing and other information) is for demonstration purposes only.
- Do not attempt any of the processes or procedures shown or described on this website.
- All gunsmithing procedures should be carried out by a qualified and licensed gunsmith at their own risk.
- Do not attempt to repair or modify any firearms based on information on this website
- Ultimate Reloader, LLC and Making With Metal can not be held liable for property or personal damage due to viewers/readers of this website performing activities, procedures, techniques, or practices described in whole or part on this website.
- By accepting these terms, you agree that you alone are solely responsible for your own safety and property as it pertains to activities, procedures, techniques, or practices described in whole or part on this website.
Preparing the Barrel Blank
When you order a barrel blank- there’s a few things you specify:
- The material (chromoly, stainless, carbon/stainless, …)
- The twist rate
- The grade (common, match, …)
- The profile
- The length
For this Remington 700 build, I’m using a Benchmark barrel blank with the following specs:
- Material: 416R stainless
- 1:7 twist rate
- Match grade
- Varmint profile (Sendero)
- 24″ length
But there’s a “special note” about the length- these barrel blanks typically are shipped with about an extra inch on each end. Here are the two 24″ barrel blanks for the 224 Valkyrie rifle builds I’m working on:
![]()
Sure enough, both of these barrel blanks measure 26″ overall, so before we start machining, we need to part off the ends, or cut them with a saw. As I mentioned in the video, I’ve had better luck cutting the ends with a saw compared to parting on the lathe. This “cutting off the ends” will remove any imperfections towards the ends, including the center drilling left on each end from the factory. You do need to be careful about your positioning when you decide how much to cut off each end. Look at key distances and dimensions like the gas block shoulder (AR-15) and enlarged shank (bolt rifle) to make sure things end up right-on. For this barrel blank, I cut the ends off with my metal cutting bandsaw.
Securing the Barrel in the Lathe
It’s obvious that in order to machine and chamber a rifle barrel blank, you need to decide how you’re going to secure that barrel in the lathe. There are two basic options for where the barrel is placed:
- Over the bed, outside of the spindle (old-school, typically when through-spindle capacity is small)
- Through the spindle (most gunsmiths do this now days)
Here’s a picture of how a barrel can be secured over the bed outside the spindle (here a custom rest is used in place of the typical steady rest):
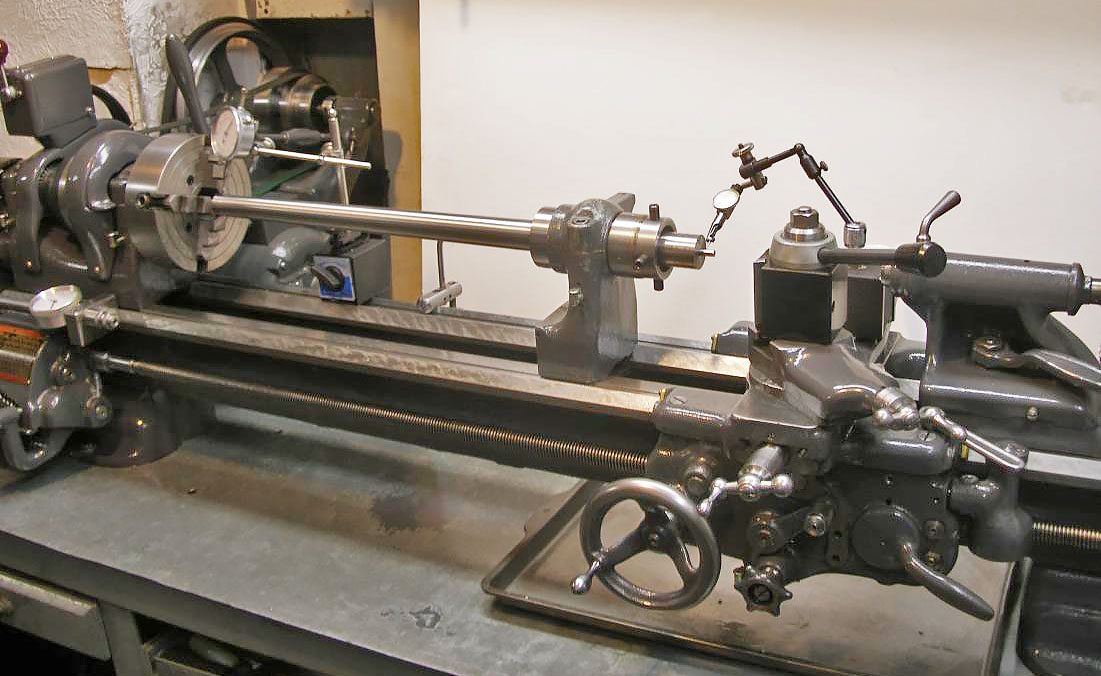
(image courtesy coyotechet on the discussion forum Practical Machinist)
And here’s the setup I use for my barrel jobs:
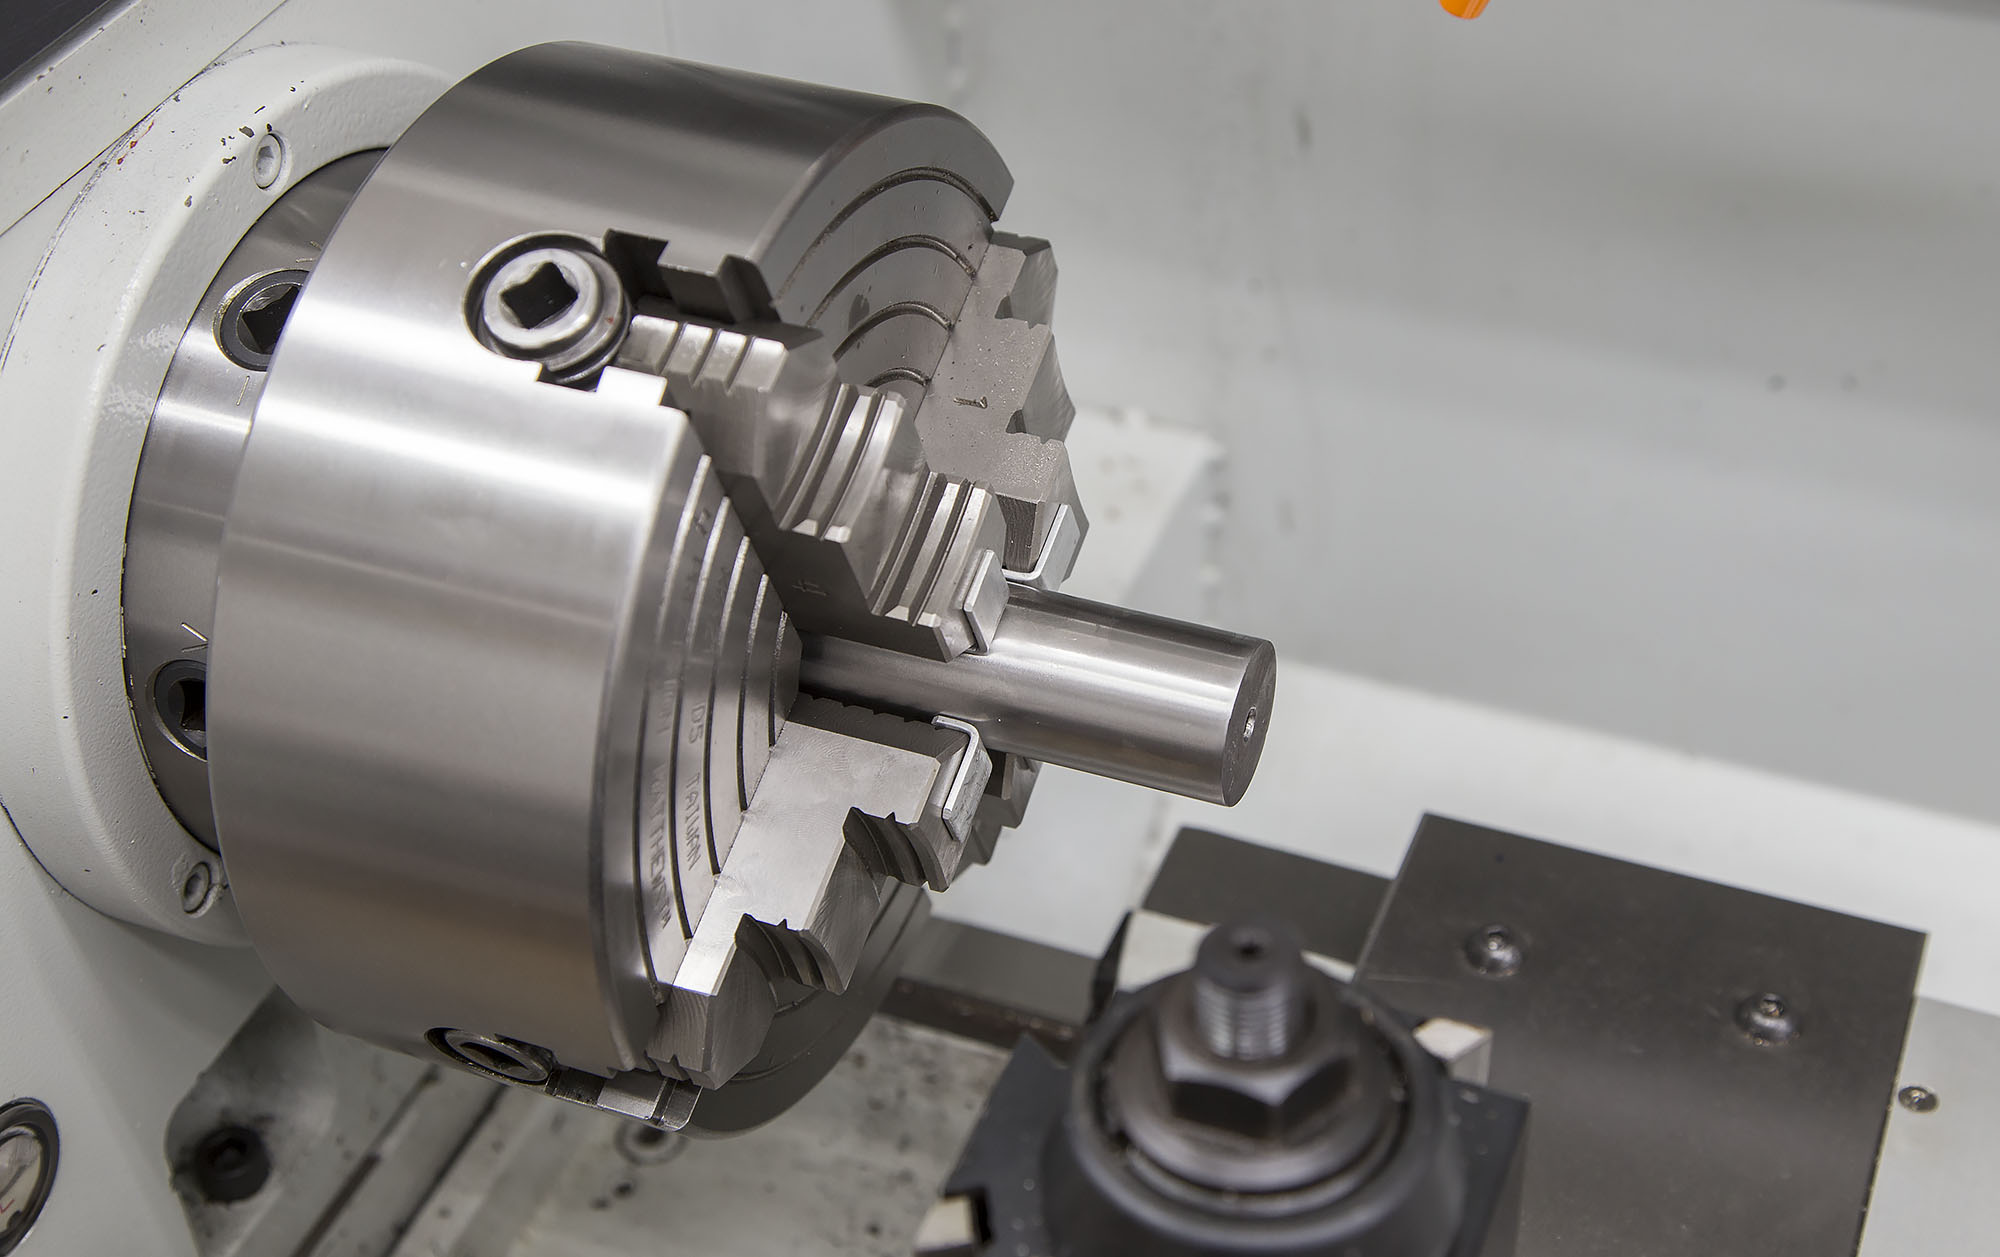
The end of the barrel you’re working on is held by a 4-jaw chuck with aluminum pads, and the other end is held by a lathe spider which has four aluminum tipped screws. The barrel passes through the entire length of the spindle. I’ve got a Precision Matthews PM-1440GT ultra-precision lathe which is great because it has 2″ through-spindle capacity! That means I can chamber 50-cal barrels through the spindle on this lathe! That’s awesome.
Here’s a diagram showing a cutaway of this arrangement:

What’s great about this kind of setup is how fast it can be to setup, and the room it gives you along the length of the bed to move the tailstock out of the way, use long tool setups in the tailstock, etc.
Aligning the Barrel in the Lathe
The alignment of the barrel is a critical process- it’s really where you can “beat” a factory rifle’s chamber with your own custom chambering job.
There are a few common ways to align a barrel in the lathe including:
- Indicating both ends (breech and muzzle) of the bore until they both run true
- Indicating the breech end of the barrel with a range rod or other fixture
- Reaching into critical sections of the bore to align these areas to the lathe spindle
I like to use “option 3” – because my ultimate goal is a uniform transition between the freebore and rifling (that section has to run dead true) and good alignment of the chamber opening when reaming. As Gordy Gritters points out in his DVD and book “Chambering Rifles for Accuracy” (written with Fred Zeglin) you can’t assume the bore axis runs straight through the barrel blank! The drill bit used to drill the barrel will have some “wander” to it- so It’s best to pin-point areas of the barrel bore you want to “focuse on” and align those areas to the lathe spindle axis.
I’m still experimenting with my techniques and tools, but here’s a basic overview of my process: (as shown in the video)
- Center the bore on a dead center mounted in the tailstock while bringing the chuck jaws against the barrel blank at the breech end
- Center the muzzle end of the barrel in the outboard spider, and tighten the spider set screws
- Use a Grizzly rod or long-reach indicator (I have one on order) at two distances inside bore to bring the bore into radial and angular alignment with the lathe spindle
Before finishing step 3 above, I’ll typically face off the end of the barrel blank to remove saw marks, and then use a center drill to remove burrs around the bore exit. That way the face of the barrel blank is “clean” and the Grizzly rod/bushing can enter without hang-ups.
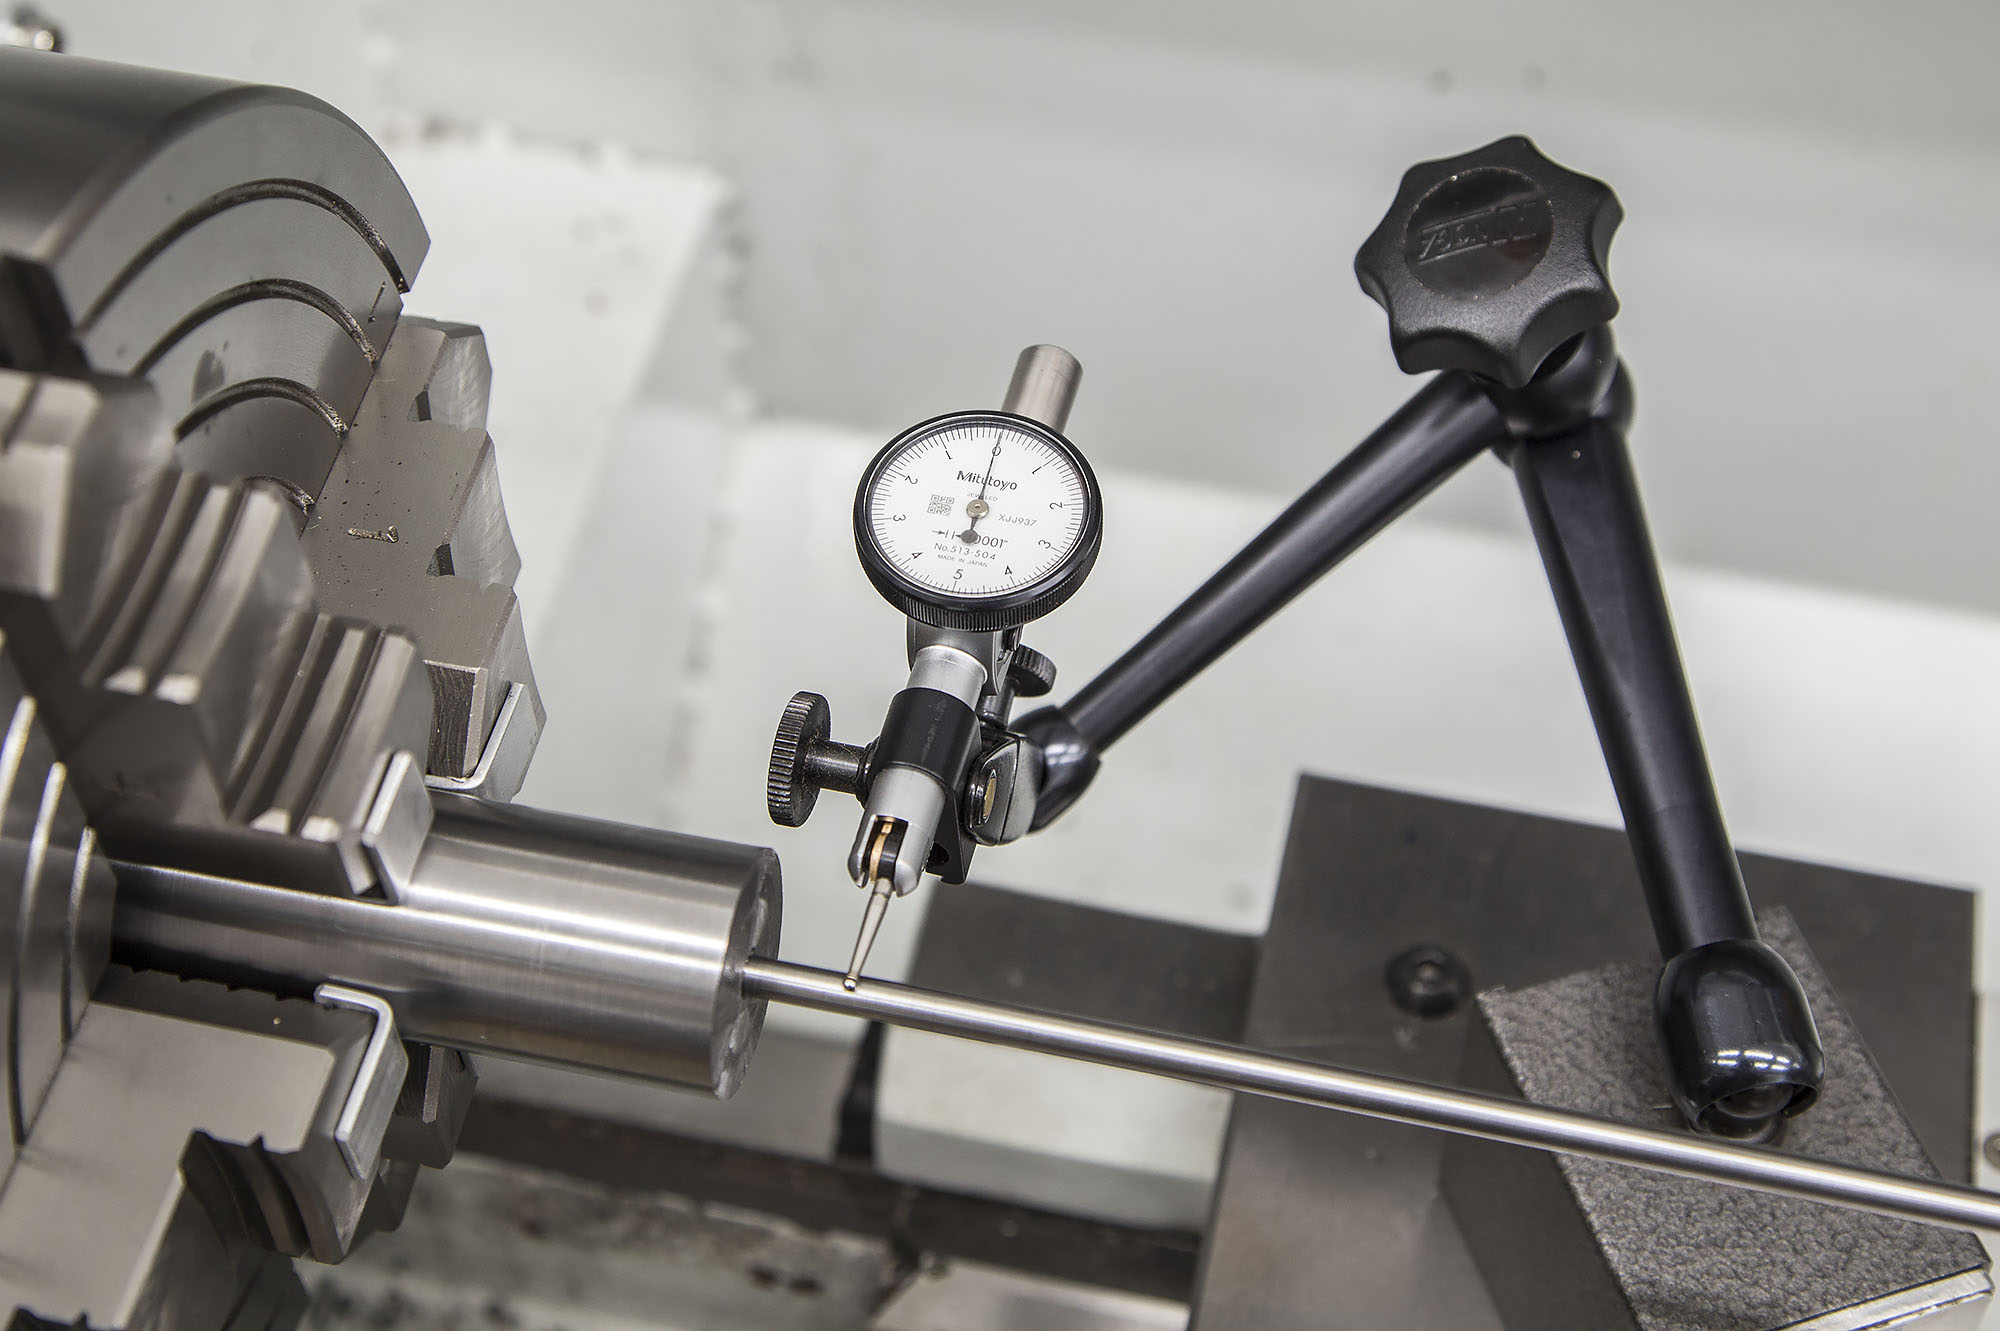
For this rifle I started with a 0.001″ indicator running on the Grizzly rod, and switched between the two points of interest in the bore (Gordy Gritters reccomends at the throat, and about 1.5″ further towards the muzzle).

I was experiencing some issues with erratic indicator readings further into the bore, so I focused on the throat area and the end of the breech end of the bore.
When the 0.001″ indicator showed the runout at less than 0.0005″ at both points of interest, I switched over to a 0.0001″ indicator. I followed the same process until i was happy with the alignment (about 0.0002″ TIR):
A quick note about bushings an grizzly rods: I’ve found that rotation of the barrel can fluctuate readings on the indicator. As shown in the video, I spin the barrel 90 degrees to each chuck jaw (jaw pointing vertical) and let the spindle glide to a stop. I find that the indicator will “settle into” a consistent reading if I do this. While the spindle is rotating, the readings can be “all over the place” (fluctuating about 0.001″ total). Because of this, I’m going to switch to long-reach indicators indicating off the barrel grooves. Hopefully that will work better!
When aligning a barrel through the spindle, the following adjustments are made:
- Radial alignment: 4-jaw chuck jaws
- Angular alignment: outboard spider screws
Since these two adjustments will influence each other, you’ll need to move between the points and make corrections a number of times. Once TIR (Total Indicator Reading) is acceptable at both locations, you’re done with alignment. Next, carefully tighten the chuck jaws incrementally with the 0.0001″ indicator and grizzly rod in place. As you tighten each chuck jaw, watch the indicator needle move and keep it “centered”. With some care, you’ll stay aligned.
This alignment process can take a lot of time (and be frustrating), but it’s worth it. Now it’s time for the fun part- the machining and chambering! I’ll cover that in the next post.
Thanks,
Gavin


WHAT BOLT FACE OF REMINGTON 700 DID YOU USE
The Benchmark guys opened up my factory 223 bolt to the 6.8SPC/Valkyrie bolt face!
Hang a small weight on the Grizzley rod it will help with that rod jump.