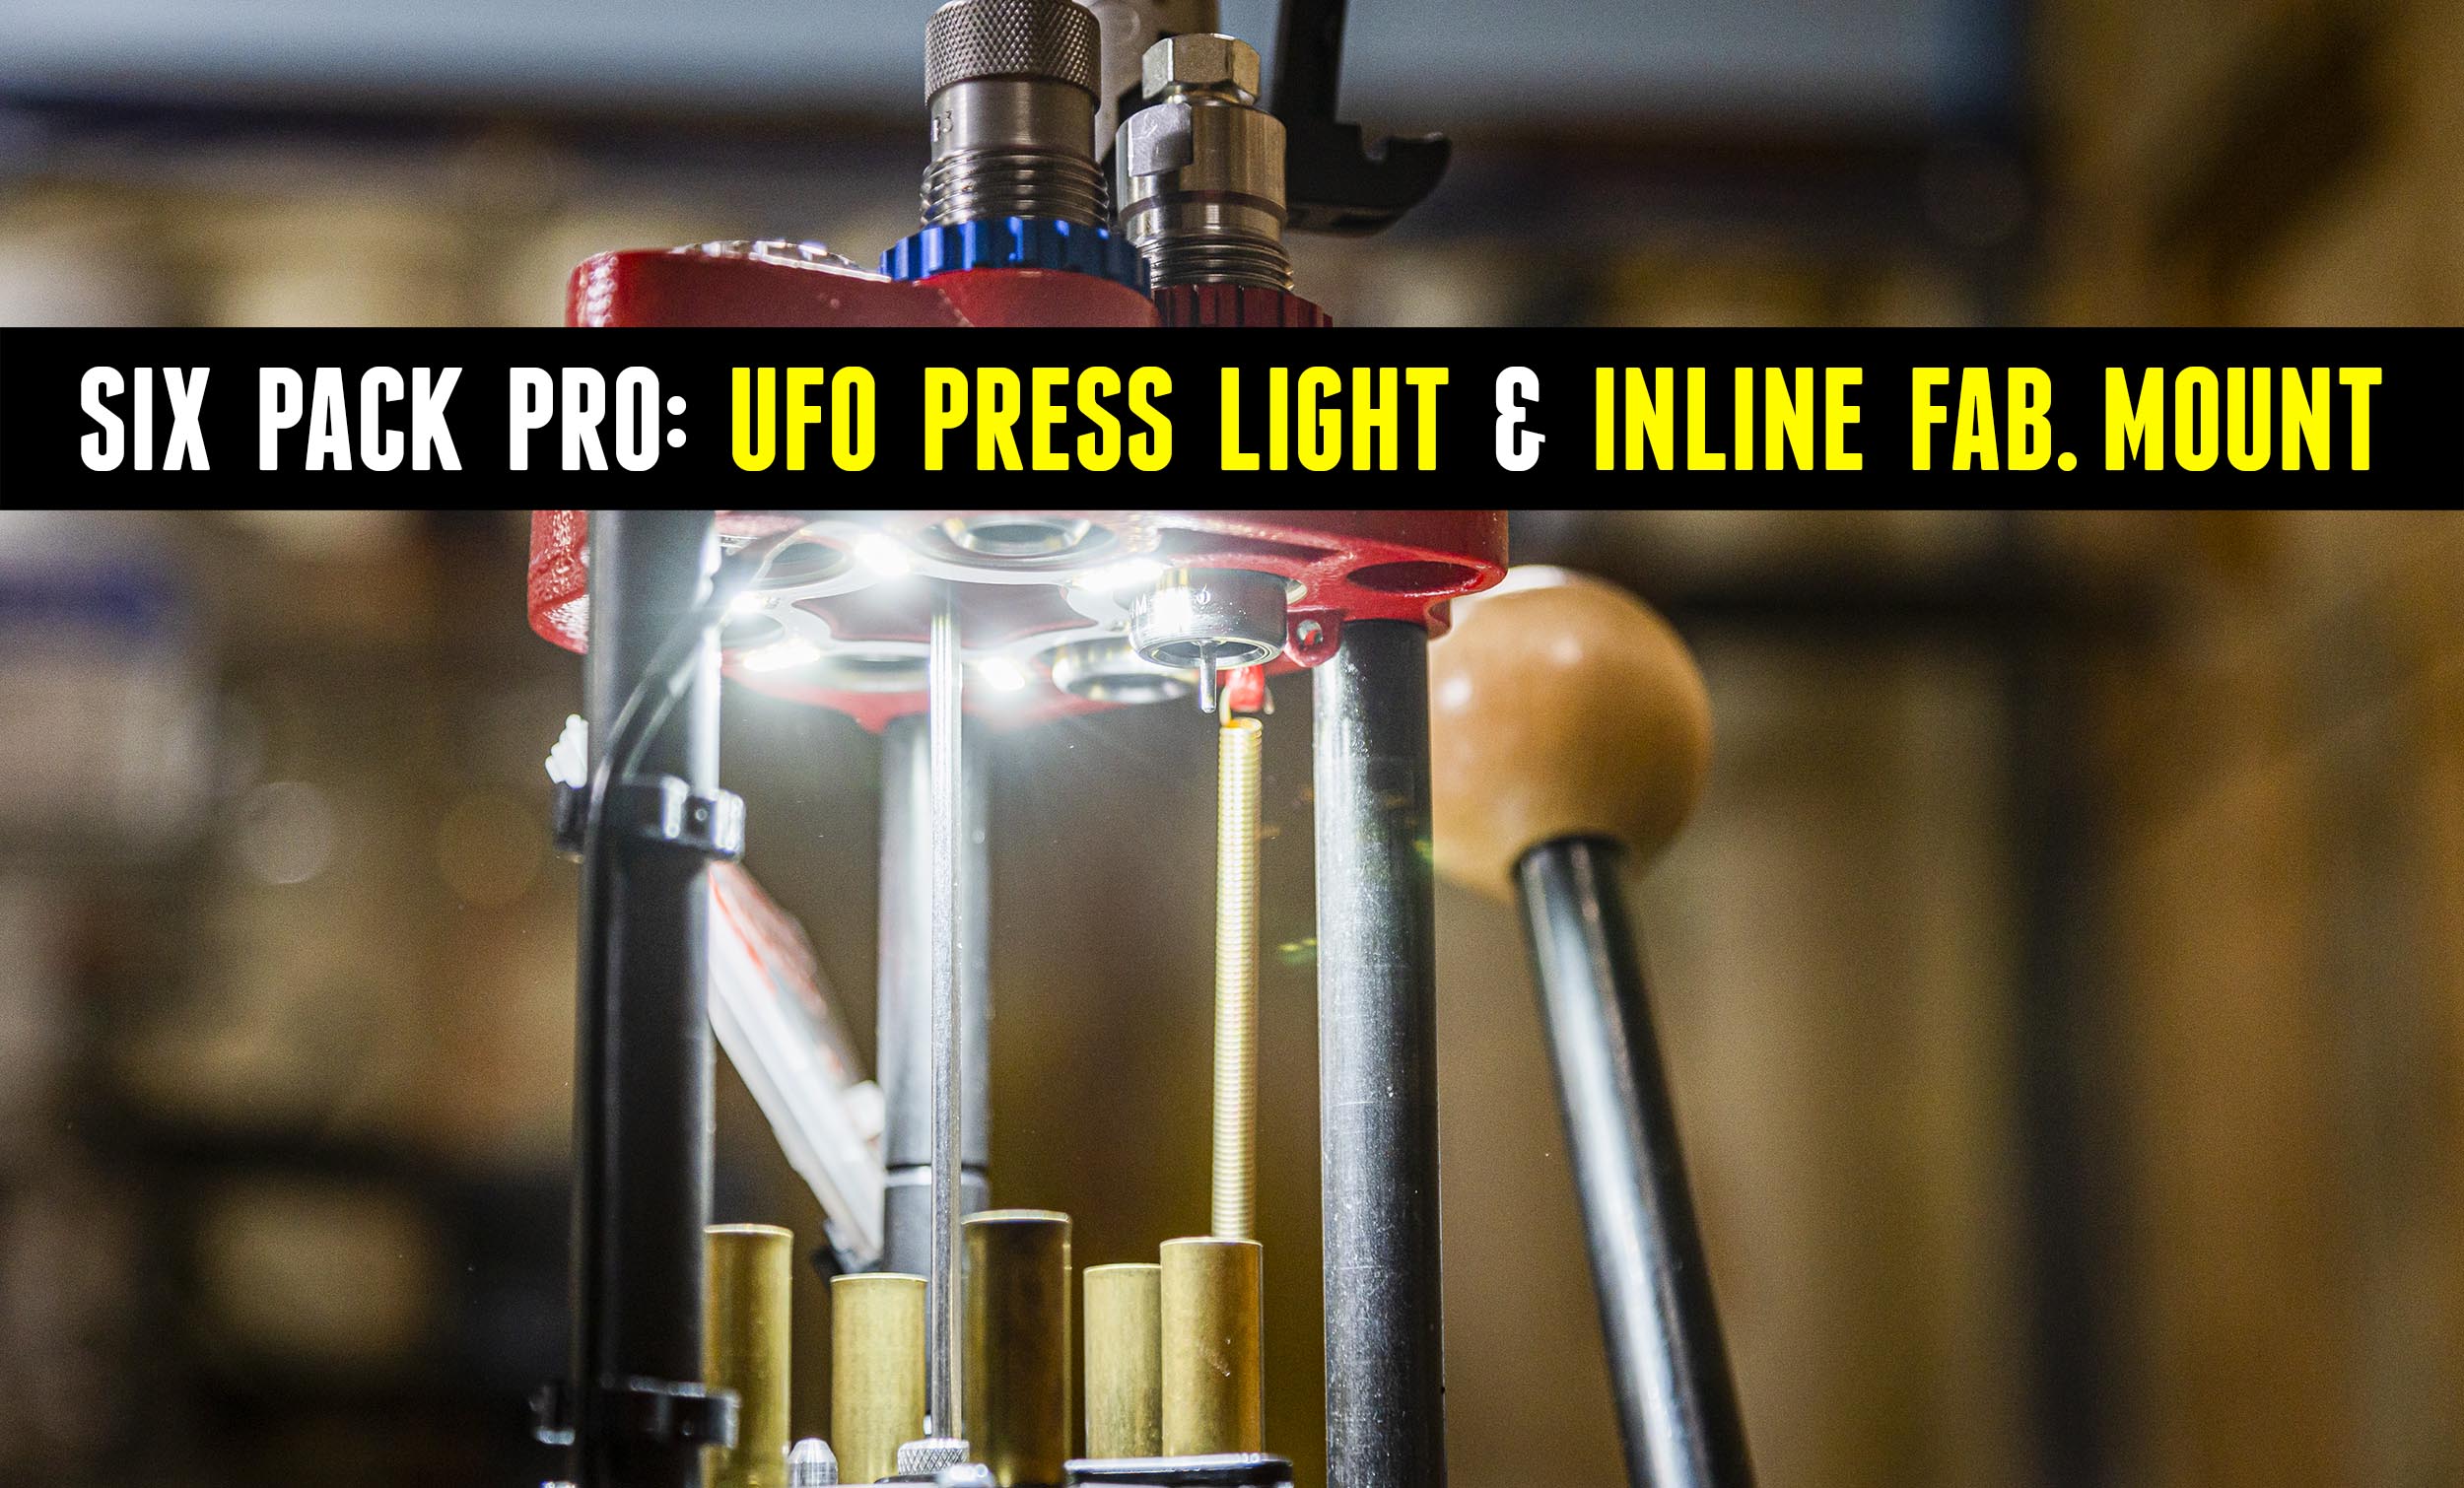
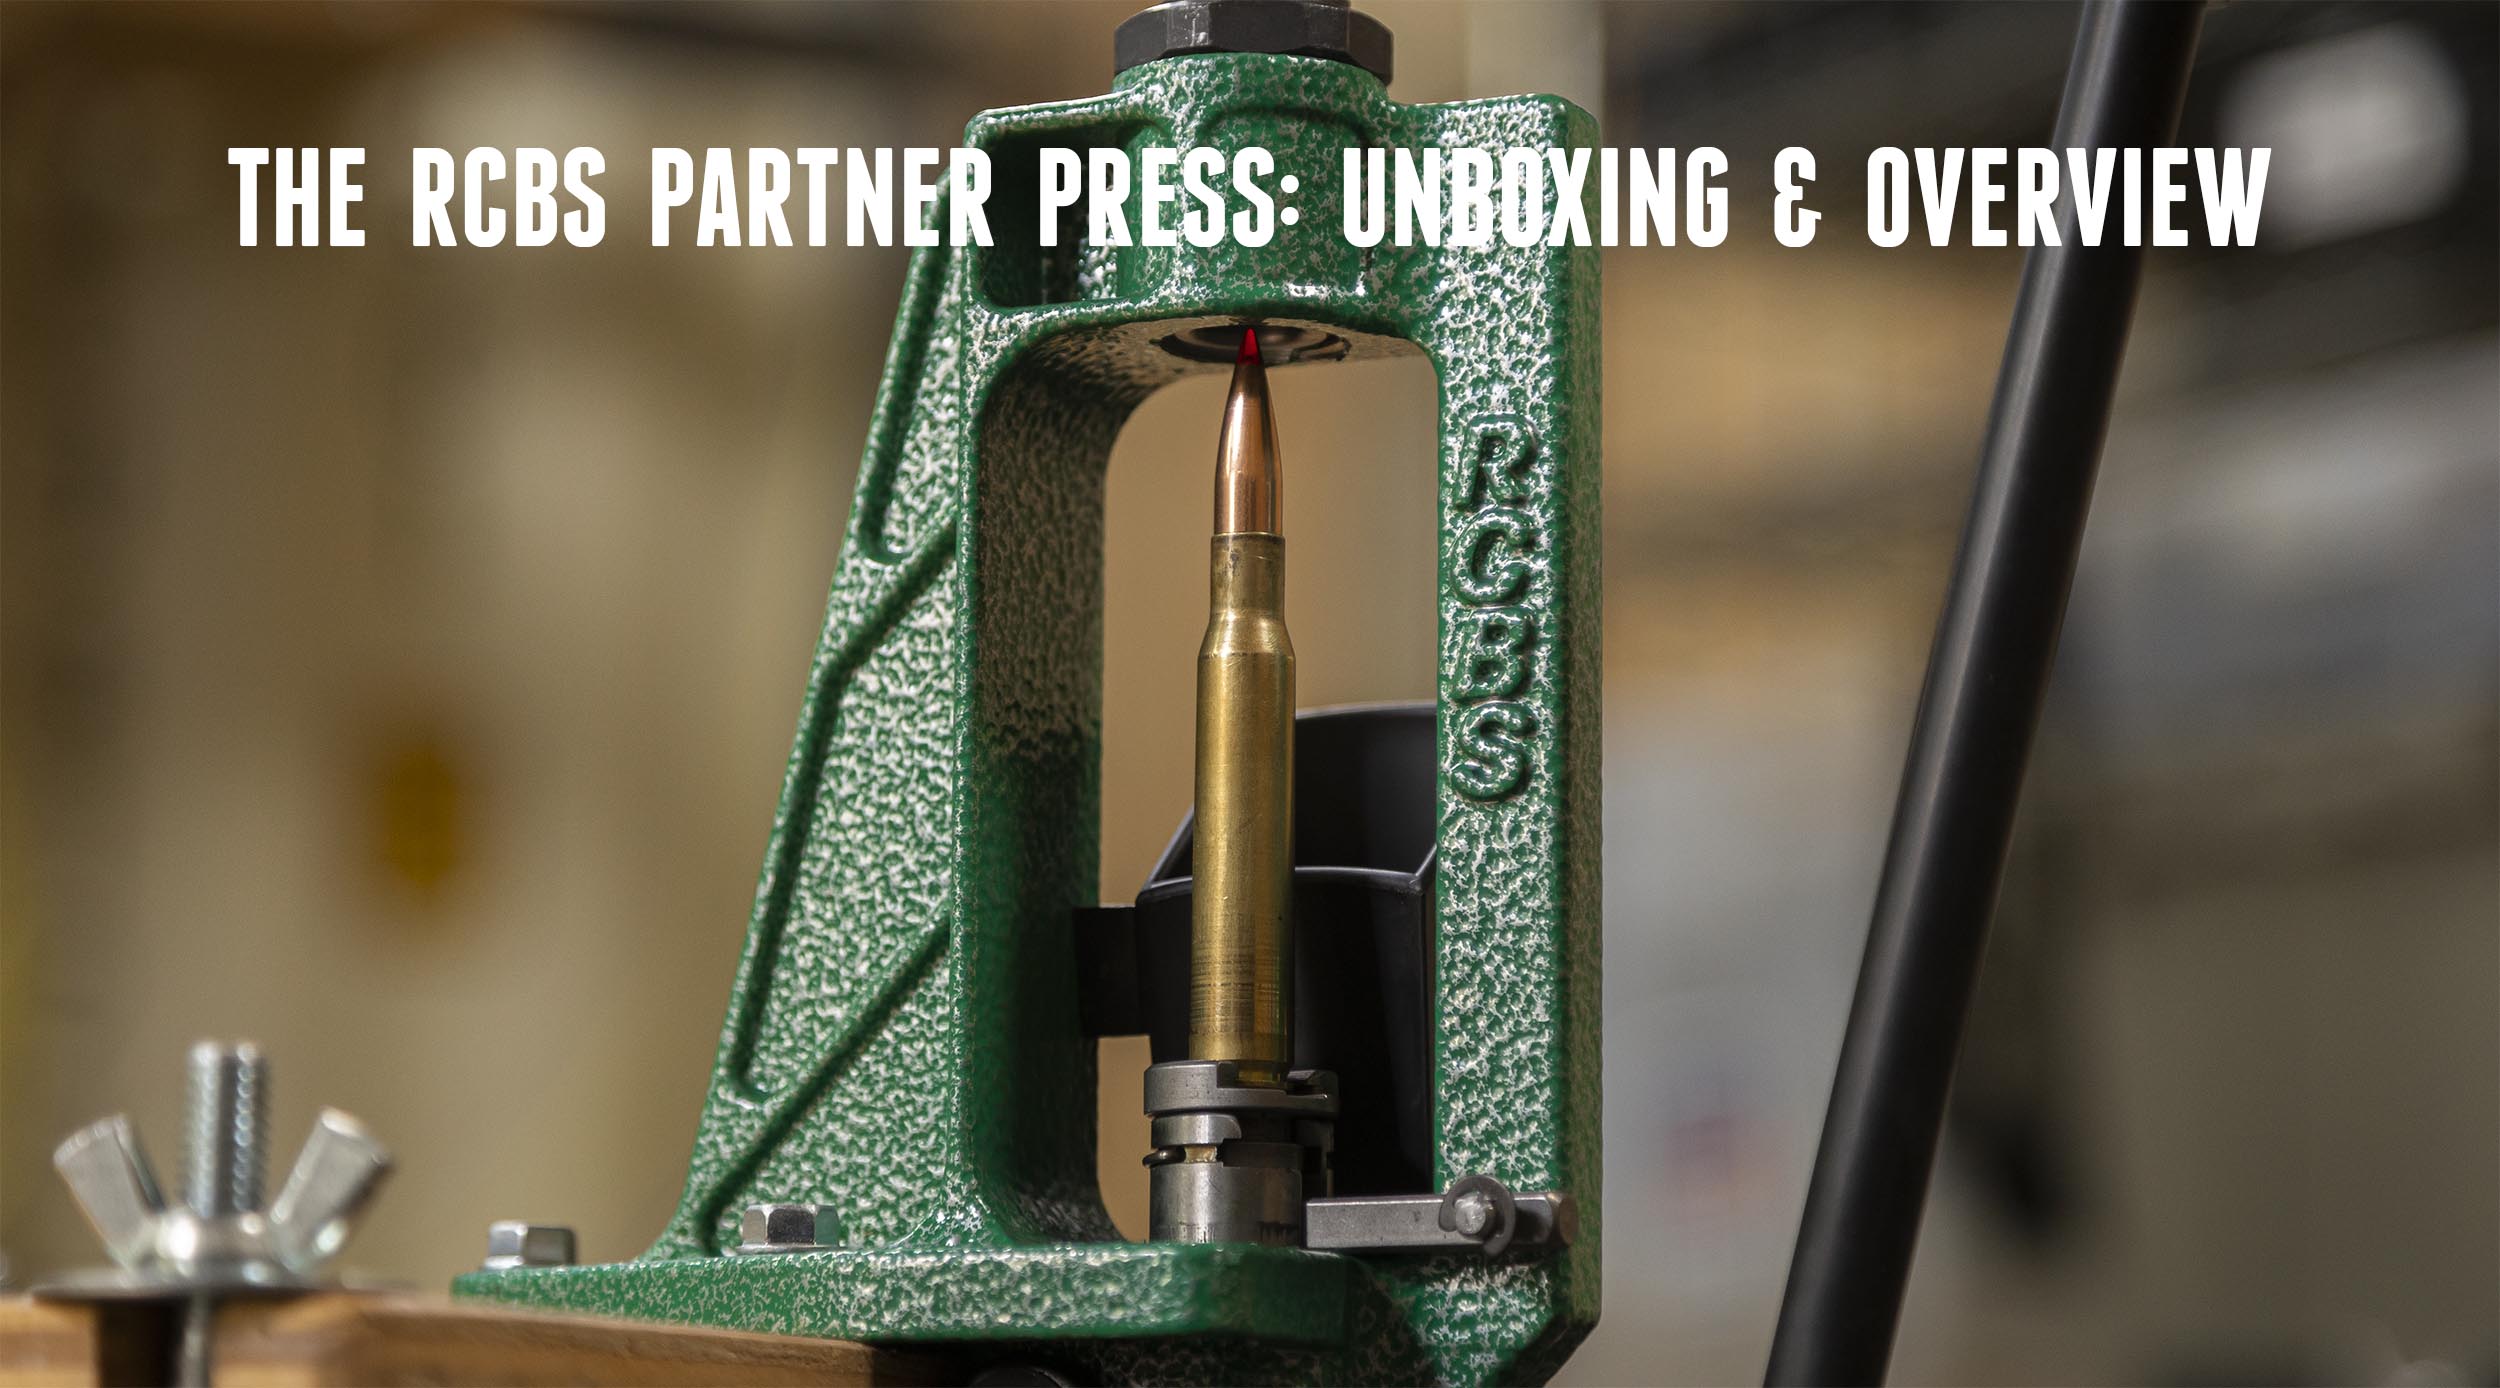
One of the best ways you can improve the reliability and overall effectiveness of you reloading press is to make sure it is mounted to something with no flex at all. This sounds easier than it really is to pull off. Even sturdy workbenches will typically flex enought to cause a bit of “mush” when seating primers, or raising the ram to the very top of the stroke. In order to build the ultimate in “rock-solid mounts” I crafted this pedestal from steel plate and a 4″x4″ steel column. Wow! What a difference that made! I can now feel “top of stroke” and primer seating much better than before.
Stay tuned here as I’ve had some request for plans, and will post here. Thanks!








LNL-AP Pedestal stand – Whats the price, including shipping?
Just ordered the Hornady LNL progressive and then saw this site. The stand is outstanding and I will be welding one up. Yours appears to be 38″ or so high. Do you find that height optimum or would you recommend another height?
I am going to order your roller handle as soon as I finish this email. Great site.
Let me check, that height sounds about right… Thanks!
Can you post on what the height is and also how big the base and top is? How thick also?
I’m working on my stand as well. Went to the metal scrap yard and picked up a piece round pipe (4″ dia. x 1/4″ thick x 46″ length . It is solid. It was considerably cheaper than the 4″ x 4″ square stock. Paid 15 cent/lb. Also picked up a piece of diamond plate .. but think I will have to go back and get the regular flat plate to make the press sit perfectly flat.
Not sure what the dimesions on the two holes that hold the press are (??) since my press is still on back order for the 3rd month. From the pictures on Gavin’s site though, the top plate appears to be about 6″ X 8″ or 10″ and the bottom floor piece about 10″ x 16″ ?? I bought and received the ergo Roller Handle and am well pleased with the quality. (Just nothing to mount it on yet)
Dave: The mounting holes should be 4″ apart- this will work for both the Lock-n-Load AP Progressive and the Hornady Lock-n-Load classic single stage press if you ever decide to get that unit. I spaced the holes 1 3/4″ back from the front edge. I also overdrilled the holes and welded nuts to the bottom of the plate for easy “one hand” press install/uninstall.
Hope this helps, let me know if you have any other questions.
I want to build one, can you please give me the dimensions? How much would it cost to make one? Also I want to ask you, Do you sale them? I bought the ergonomic handle from you and is very good and solid.
Thanks
Ethiel
Dave Gathright, if you come back to the site to read comments..Go to Natchez website. Find the LNL on there. Than ask to be emailed..That’s how I got mine..I have also found press’s for 4 others that way. 399.00 ..if you want further info let me know. but this place gets them in all the time. after having one back-ordered at Midway for 4 months and never heard a thing..Seriously this place had over 100 press’s just a week ago..Just hollar at me if you want more info,, Would be glad to share my email address..
Your press stand looks really great. Sure would appreciate an overall height measurement (floor to top plate). I’m not a welder so I’ll need to cut the parts and take them to be welded.
Thanks!
Rick
I just finished fabricating a stand similar to this and may have found an ‘issue’. I used 4″x4″ sq tubing for the post and 4″x8″x1/4″ plate for the top. Where I found an ‘issue’ was with the hole spacing on my LNL-AP and the stand’s top plate. The mounting holes are 3 3/4″ apart on my LNL-AP and when I set the plate on the post, the holes were right over the post tube. Solved this by milling out the tube to allow the nuts to fit and the bolt to extend a little past. All of this said, make sure you measure your LNL-AP hole spacing and think seriously about using 3″x3″ sq tube for the post.
Dean- I had the same issue! I just hung one mounting hole to one side of the wall of the column, and put the other one in the interior of the column. Glad you got it to work.
Don’t you think 3×3 would look wimpy? 🙂
Im substituting a 5 in tube inplace of the 4 inch and using a 3/8 in plate on top and tapping it so I dont have to worry about the nut issue.
Are you going to be offering these stands for sale anytime in the near future?
I am very interested in putting together a pedestal stand like this as well. Could you please post the plans/implementation info when you get a chance. Thanks for all the great info!
I too am very interested in your stand and handle for the Hornady LNL AP. I see the questions here but no replies. Do you reply to these questions and requests? If so, where can the answers be found?
PS: I am new to bloging, RSS, etc., so please forgive my lack of knowledge in this area.
Having a hard time finding the materials to build this stand. Can anyone suggest where to obtain the materials? Either specific or type of place? ( I live in Suffolk County NY).
Thanks
Leonard- I went to a local steel retailer and picked that 4″ x 4″ steel column out of the “remnants” bin as I recall. My advise is to not settle for anything smaller. Press rigidity is one of the most important aspects of reliable press operation.
After seeing Gavin’s stand a couple of years ago … I went to a steel supplier to buy the square 4 or 4.5 inch tube. They wanted a lot for the tube and plates on the top and bottom. So ….. I went to the scrap yard next door and found a round 4.5 inch tube and had it cut to lenght. Looked and found a 5/8 inch plate that was perfect for the top plate and a 1/2 inch plate that was perfect for the bottom. All of the scrap cost me about $18. Even found some little brace triangles for attaching the base to the tube. Did the welding and bolted to the garage floor …. VERY SOLID. Don’t get discouraged … keep looking in the scrap yard and improvise. You buy the scrap by the pound.
Nice work! As I’m sure you’ve found out- a totally solid mount for your press makes a huge difference with “feel” and in some cases can make your press work way better. Good work – $18. is a great bargain! Mind sending me a picture? 🙂
Hi
I looking to make one of these how big is the top and bottom plate and what did you use to mount it to the floor.
Thanks
Dave
Here’s some plans:
http://ultimatereloader.com/2010/01/20/lock-n-load-steel-stand-pedestal-plans-available/
It is mounted to the floor with concrete anchors and bolts…
Your floor stand looks solid. Better patent it and sell it to reloaders. What about coming up with something for securing a press on a bench. Also how to secure a bench that’s not leaning against a wall, secure from movement.
Great Stand.
My bench is very sturdy, so I don’t need the stand, but am interested in the steel plate and thumb wheel nuts that you used to bolt the LNL to the T track installed into your work bench top.
Do you sell the steel plate ?
Whats your thoughts on using something like this?
http://www.harborfreight.com/bench-grinder-stand-42986.html
When I had quoted the stand above to be made the estimate came in around 260$
http://www.downrange.tv/forum/index.php?topic=15225.0
The above guide says that 1/2″ bolts will fit in the Hornady and the author reports using 1/2″ bolts provides more stability. I’m just wondering if anyone else has tried this. I want to make this stand, but I’m not sure which size bolts would be best.
Finally got around to building the stand. Just need to clean and paint. I’m thinking of going Hornady red. I will post the final product with press mounted.
Finally got around to building the stand. Just need to clean and paint. I’m thinking of going Hornady red. I will post the final product with press mounted.
https://plus.google.com/photos/101617826547298579644/albums/5838315697721214289?authkey=CMv0-MuTjL3pXA
I saved up & bought LNL AP, LNL Classic, Case Prep Center, & misc other tooling. I just started cutting steel today to build my bench. The two 3x3x.120 wall front legs will be the stands for each press. I am using a solid core door for the bench top & am going to notch the door to fit around the front legs & slip under the 6″x8″x1/4″ top plates. It would be nice to weld up the whole thing, but it would require a forklift to move it so I making it in pieces to bolt together. The legs to this bench will be more stout than our metal tables in our shop at work! Can’t wait to get at least the Classic mounted so I can start decapping/depriming for wet tumbling. Been saving & buying a few things here & there & finally getting close to actually reloading.