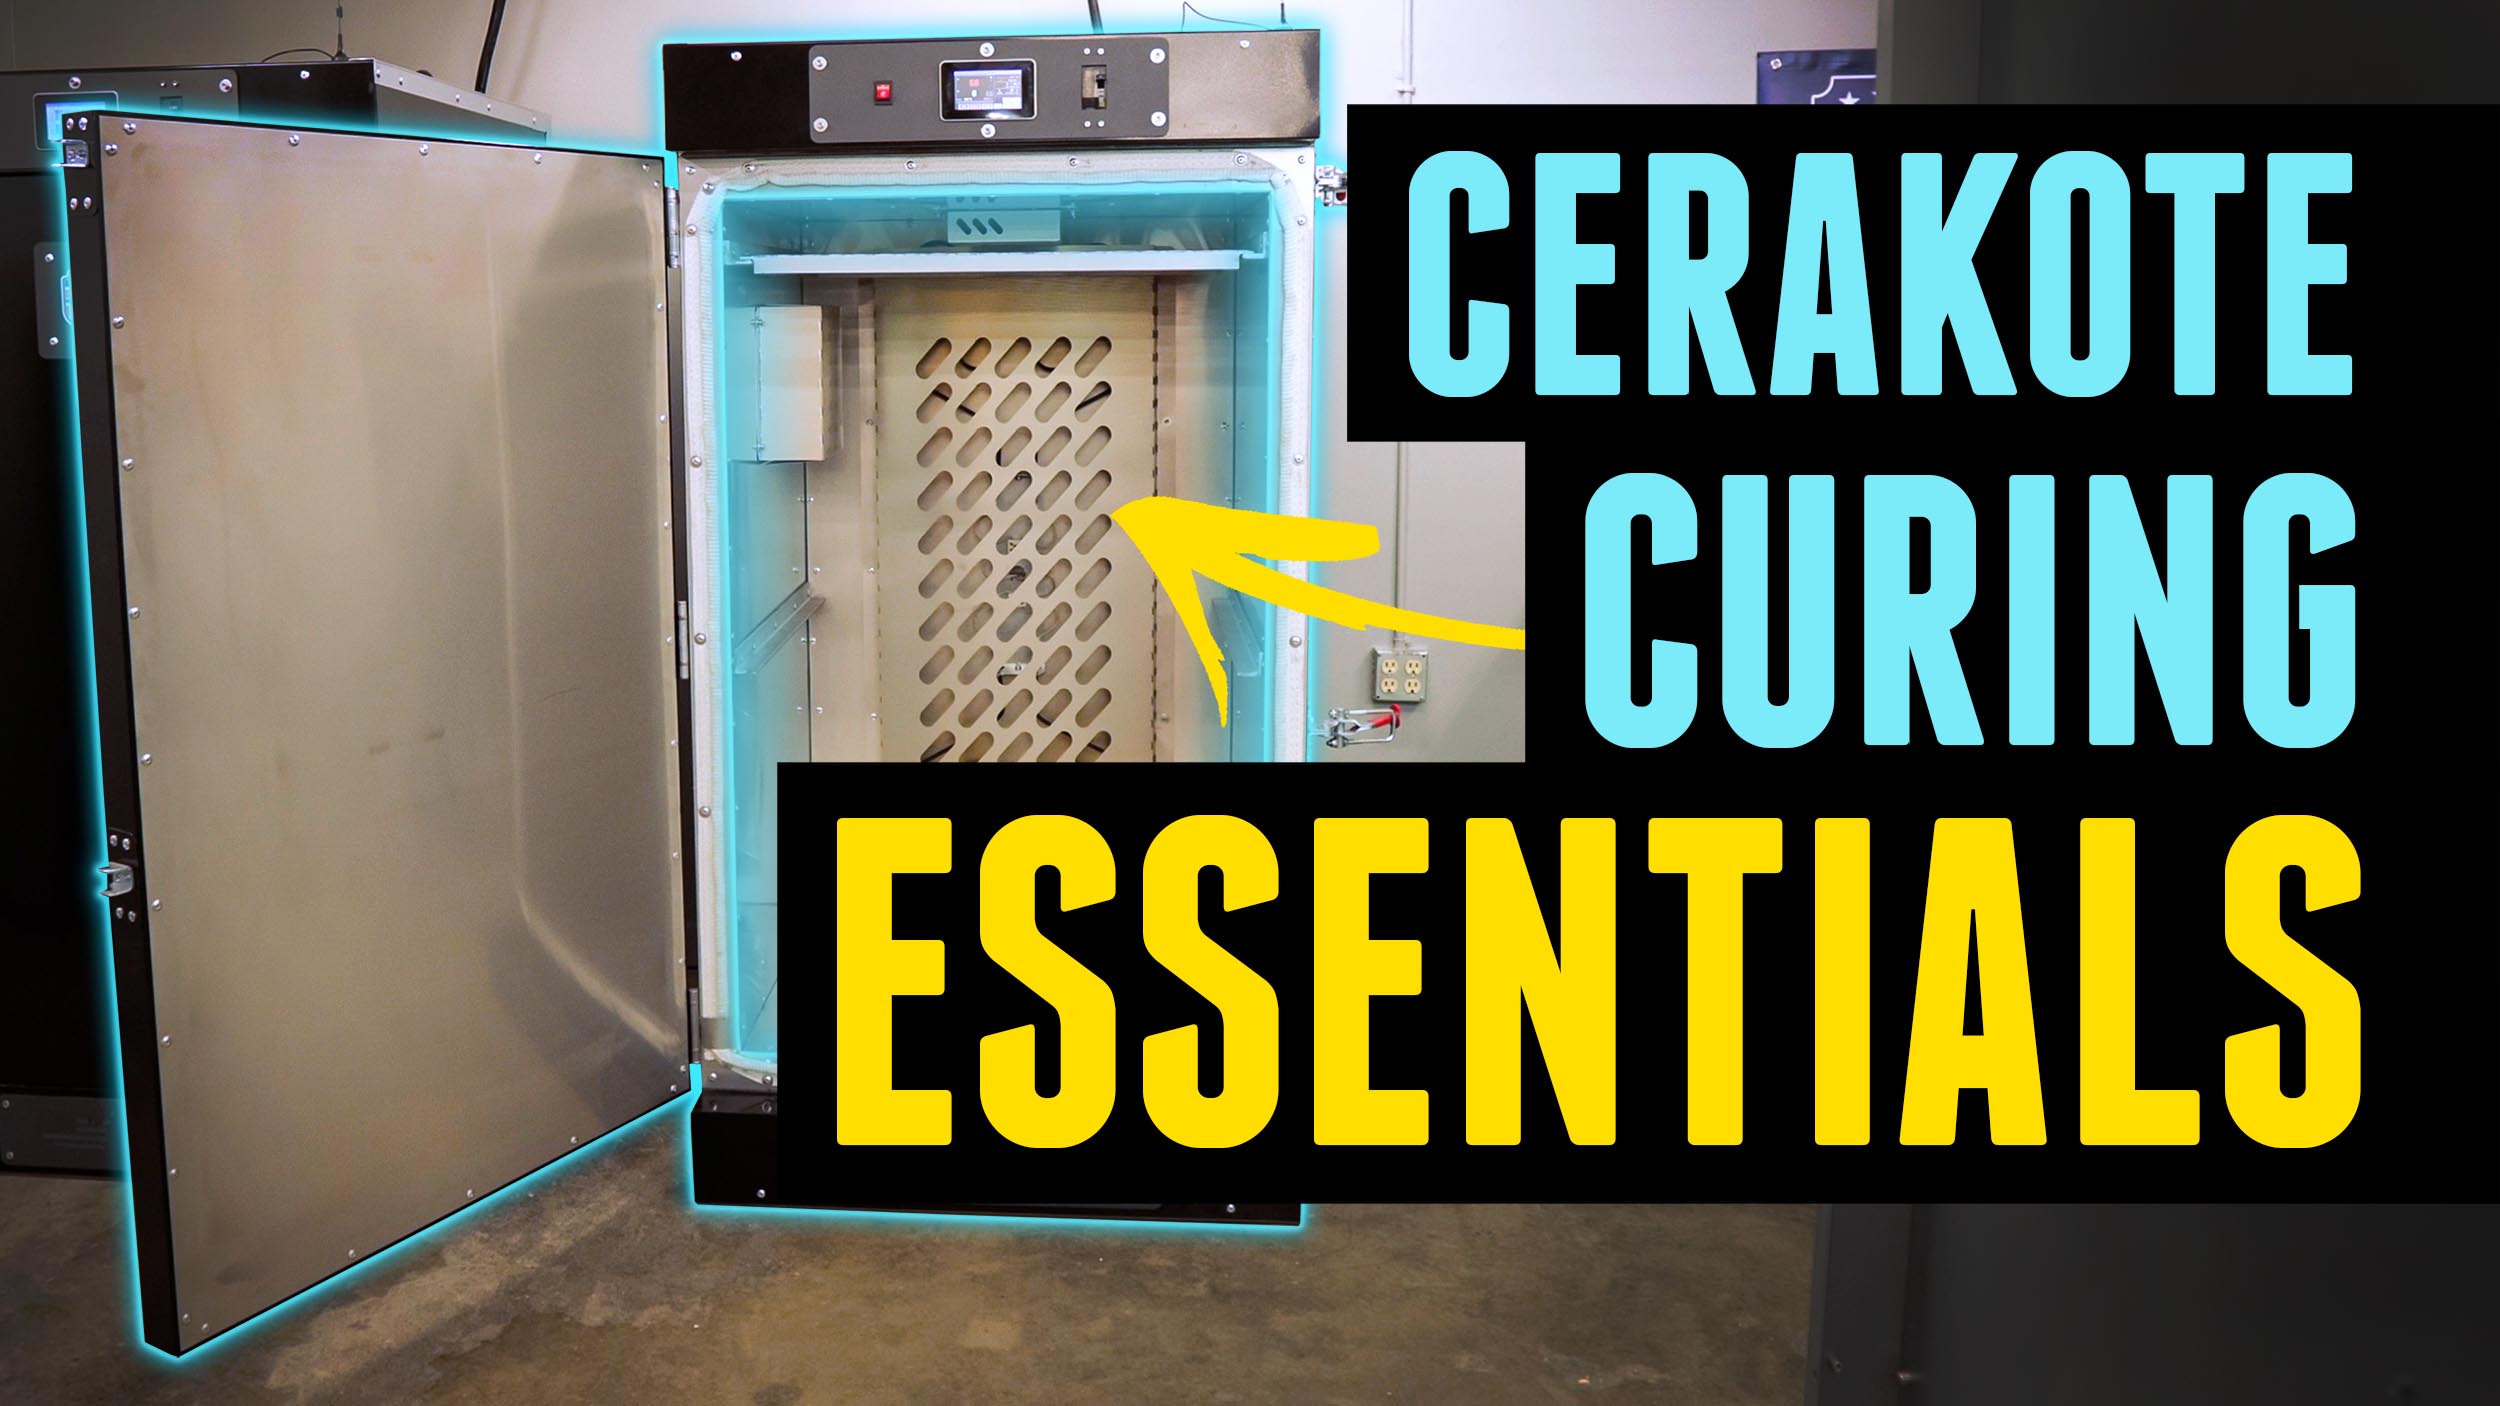
While everyone thinks about Cerakote spraying, the curing process is also essential to a quality Cerakote job.
Disclaimer
Ultimate Reloader LLC / Making with Metal Disclaimer: (by reading this article and/or watching video content you accept these terms). The content on this website (including videos, articles, ammunition reloading data, technical articles, gunsmithing and other information) is for demonstration purposes only. Do not attempt any of the processes or procedures shown or described on this website. All gunsmithing procedures should be carried out by a qualified and licensed gunsmith at their own risk. Do not attempt to repair or modify any firearms based on information on this website. Ultimate Reloader, LLC and Making With Metal can not be held liable for property or personal damage due to viewers/readers of this website performing activities, procedures, techniques, or practices described in whole or part on this website. By accepting these terms, you agree that you alone are solely responsible for your own safety and property as it pertains to activities, procedures, techniques, or practices described in whole or part on this website.
Critical Oven Features
Curing considerations start with your oven. I use the BAE-0200 from Built American (use code UR5 to save 5%.)
Whichever oven you use needs to have adequate interior space.

Air needs to be able to circulate between the parts and you have to be able to get the parts in and out without them touching one another.
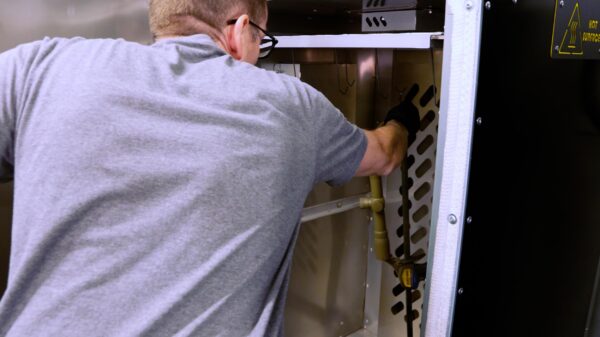
Convection action is also very important to ensure a uniform temperature. This is accomplished through a circulating fan.

Lastly, covered heating elements are critical. Direct radiation from uncovered elements will cause hot spots on the Cerakoted parts.
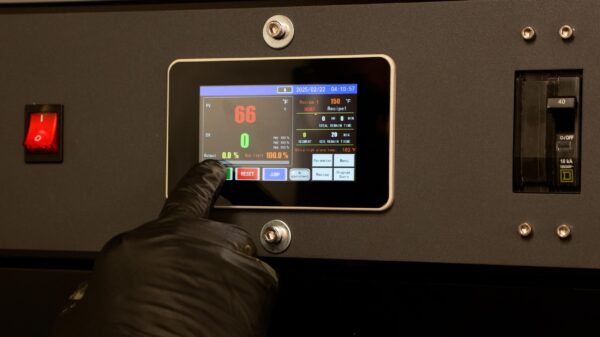
Temperatures and Times
Different materials require different curling temperatures and times, as do different types of Cerakote.
I have put together this handy chart for easy reference.
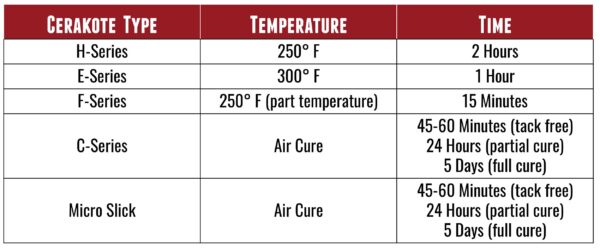
I primarily use H-Series Cerakote due to its versatility.

Cerakoting polymers, optics, and similar materials require different temperatures. (For a full overview on how to Cerakote a rifle scope, watch this video.)
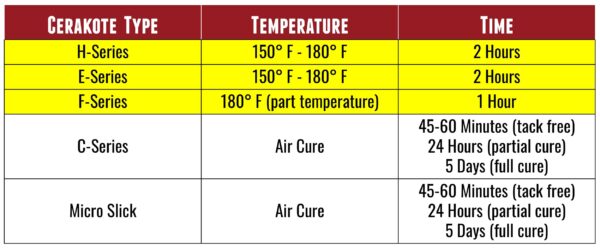
One Cerakote series I haven’t personally tried is the F-Series.

The cure time is extremely short, but it requires the full part being Cerakoted to be at the appropriate cure temperature. This can be a bit tricky, especially with thick metals.
Application Timing
It is important to follow the proper application sequences.

If you are coating a number of parts, you can rotate through with part flashing while you are coating another.
Common Issues
One of the most significant potential issues is solvent pop — bumps on the finished surface. This occurs when too much solvent is trapped between different coats of Cerakote and expands.
Issues like this are caused by inadequate flash time, contaminated product, expired product, or water or oil in the air supply. Truly fixing this problem requires sandblasting the part and reapplying the coating.
Conclusion
Quality Cerakote jobs require time and attention to detail, particularly during the curing process.

If you are looking for more information, consult Cerakote’s application guides or consider attending Cerakote Certified Applicator training.

Get the Gear

Use the code UR5 to save 5% sitewide on BuiltAmericanEquipment.com!
BAE-0200 Standup Capacity Cerakote Convection Oven
Don’t miss out on Ultimate Reloader updates, make sure you’re subscribed!
Thanks,
Gavin Gear


